Home>Garden Essentials>How To Make A Seed Sprout

Garden Essentials
How To Make A Seed Sprout
Modified: August 17, 2024
Learn how to make a seed sprout in your garden. Discover the secrets to successful seed germination and start growing your own plants at home.
(Many of the links in this article redirect to a specific reviewed product. Your purchase of these products through affiliate links helps to generate commission for Storables.com, at no extra cost. Learn more)
Introduction:
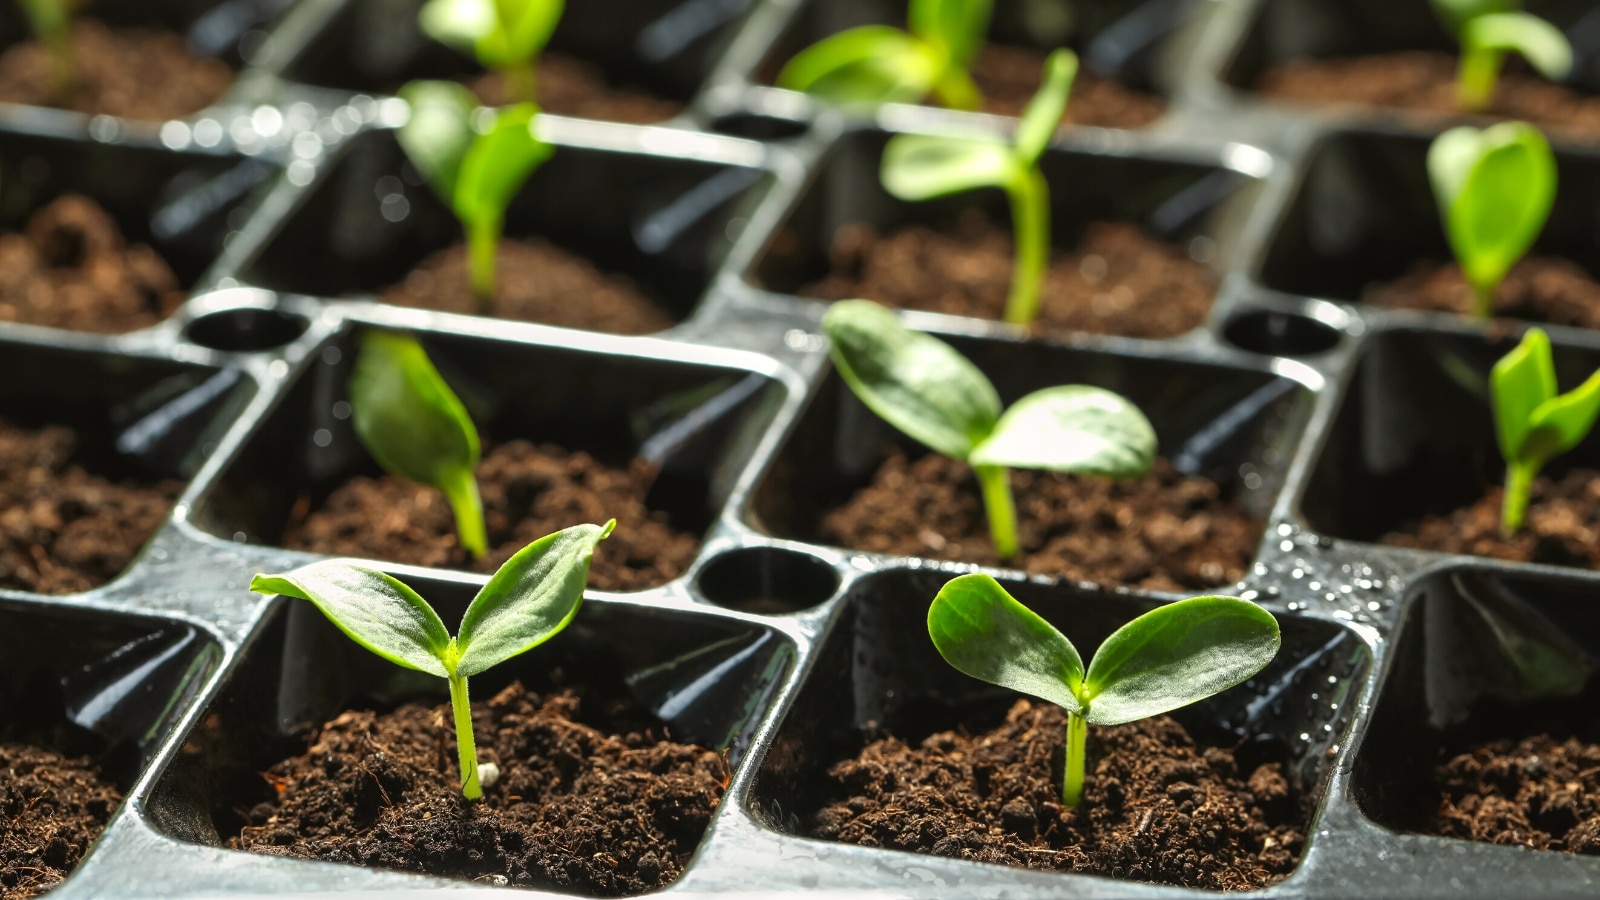
Welcome to the world of gardening, where nature’s magic unfolds right before your eyes. If you’ve ever marveled at the sight of tiny seedlings sprouting out of the soil, you might be wondering how you can recreate this phenomenon in your own garden. The process of making a seed sprout is not only fascinating but also an essential step towards growing healthy plants.
In this article, we will guide you through the process of making a seed sprout. Whether you’re a seasoned gardener looking to expand your knowledge or a beginner eager to delve into the world of gardening, you’ve come to the right place. With a few simple steps, some basic materials, and a touch of patience, you can witness the miracle of life as your seeds transform into vibrant sprouts.
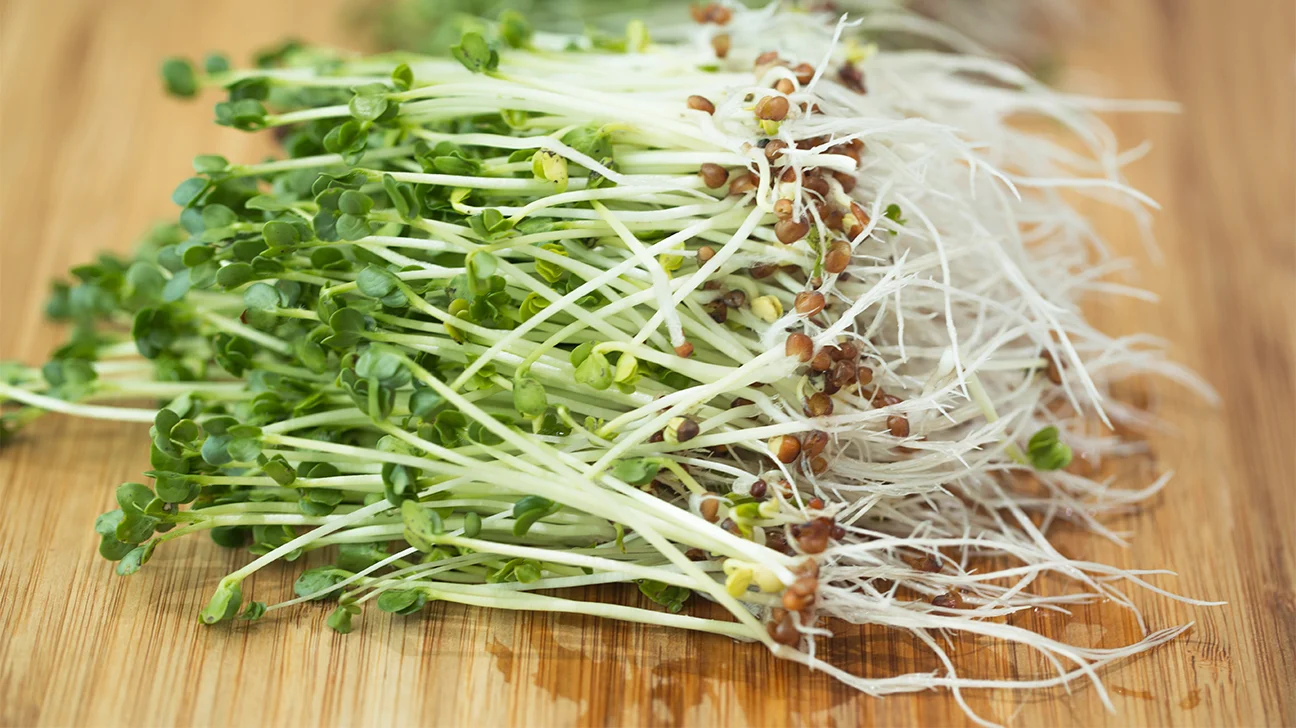
Before we dive into the process, let’s take a look at why sprouting seeds is important. Seed sprouting is essentially the first step in a plant’s life cycle. By germinating the seeds and allowing them to sprout, you are jump-starting their growth process. This helps increase the chances of successful plant development and ensures strong and healthy plants in the long run.
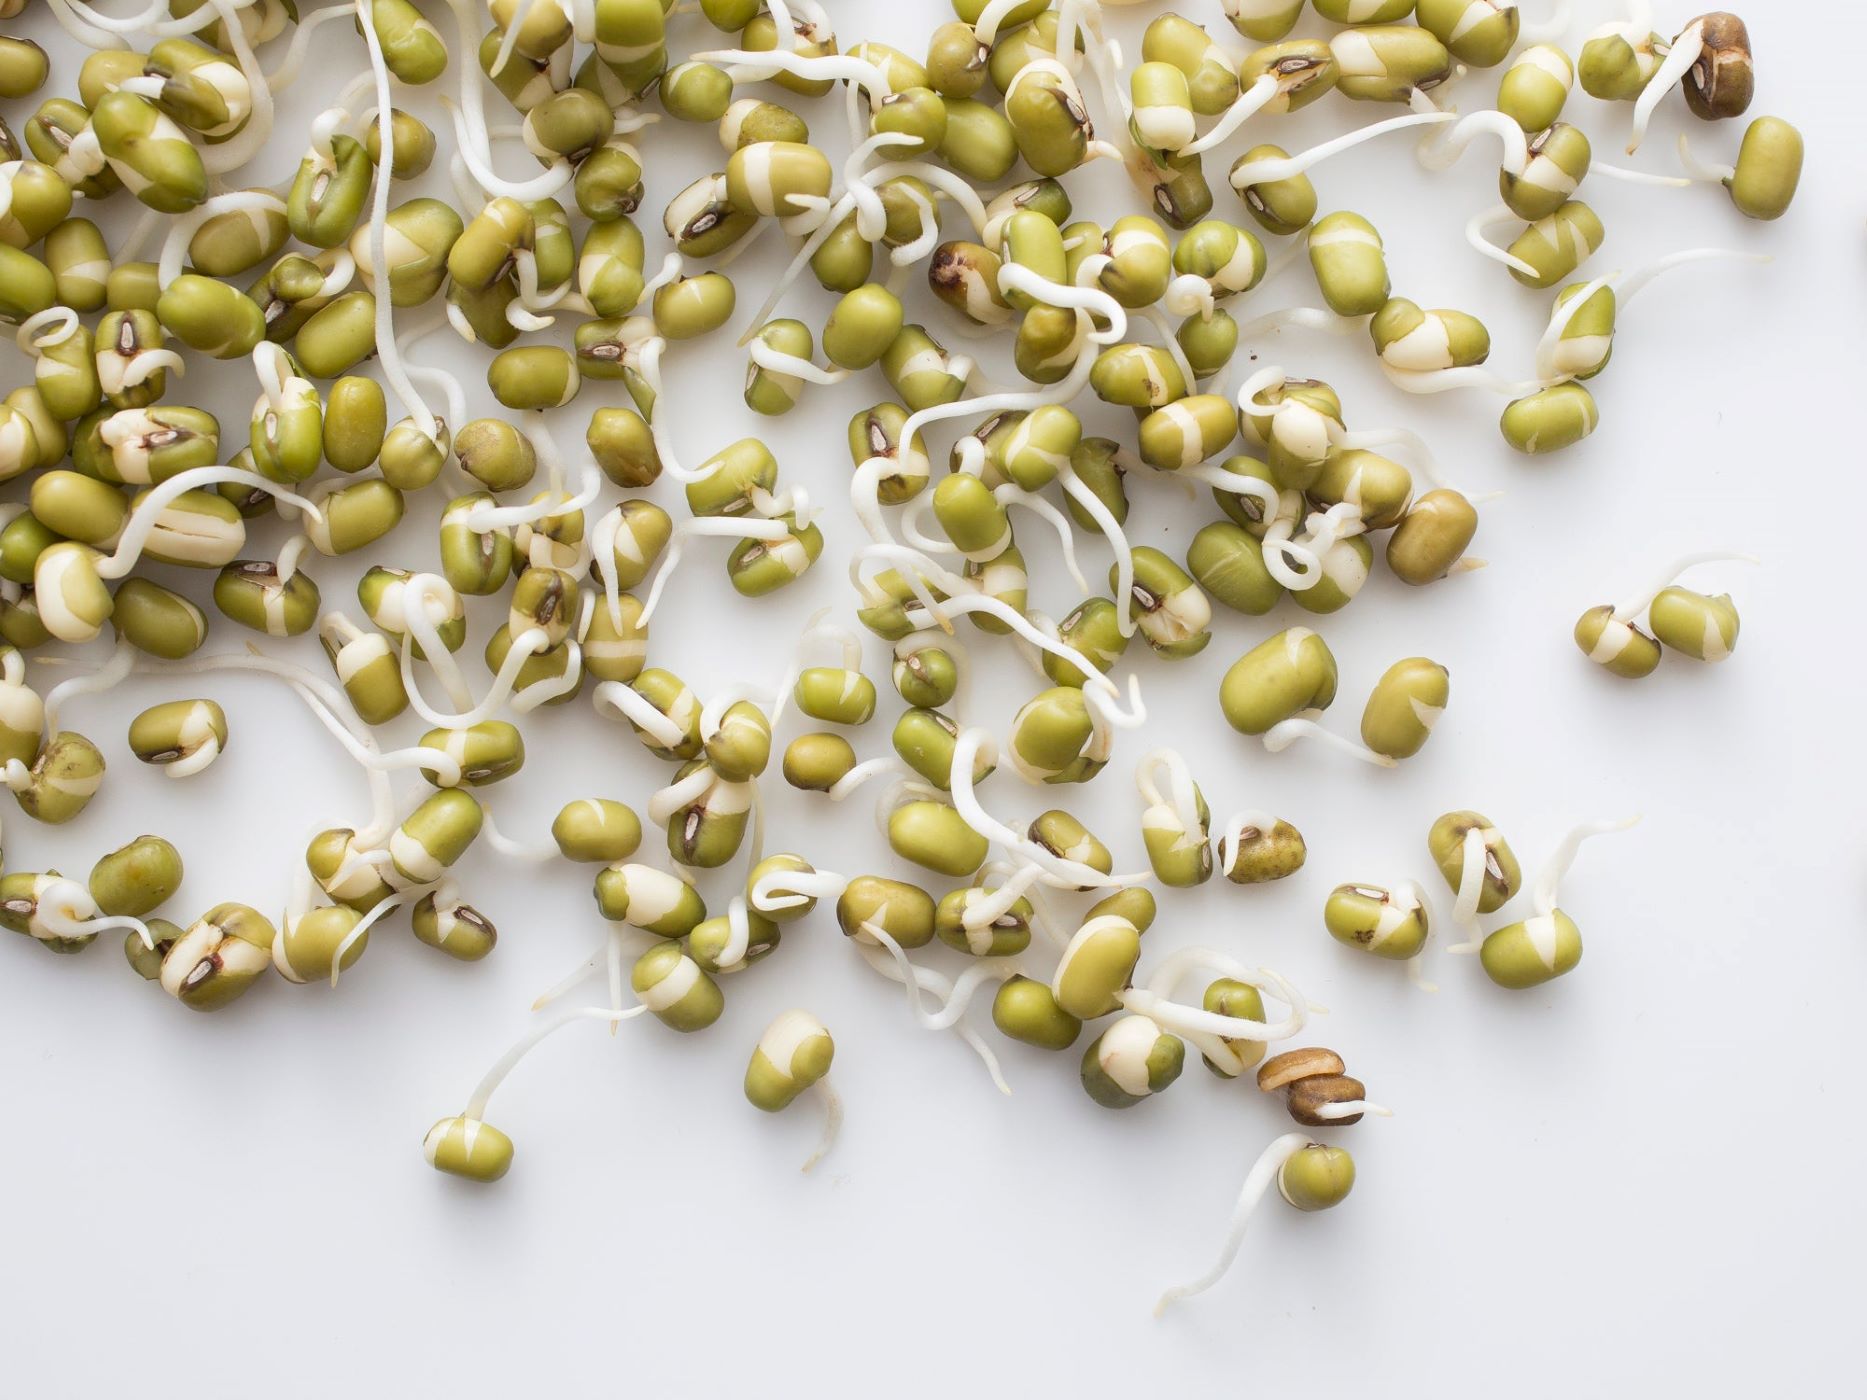
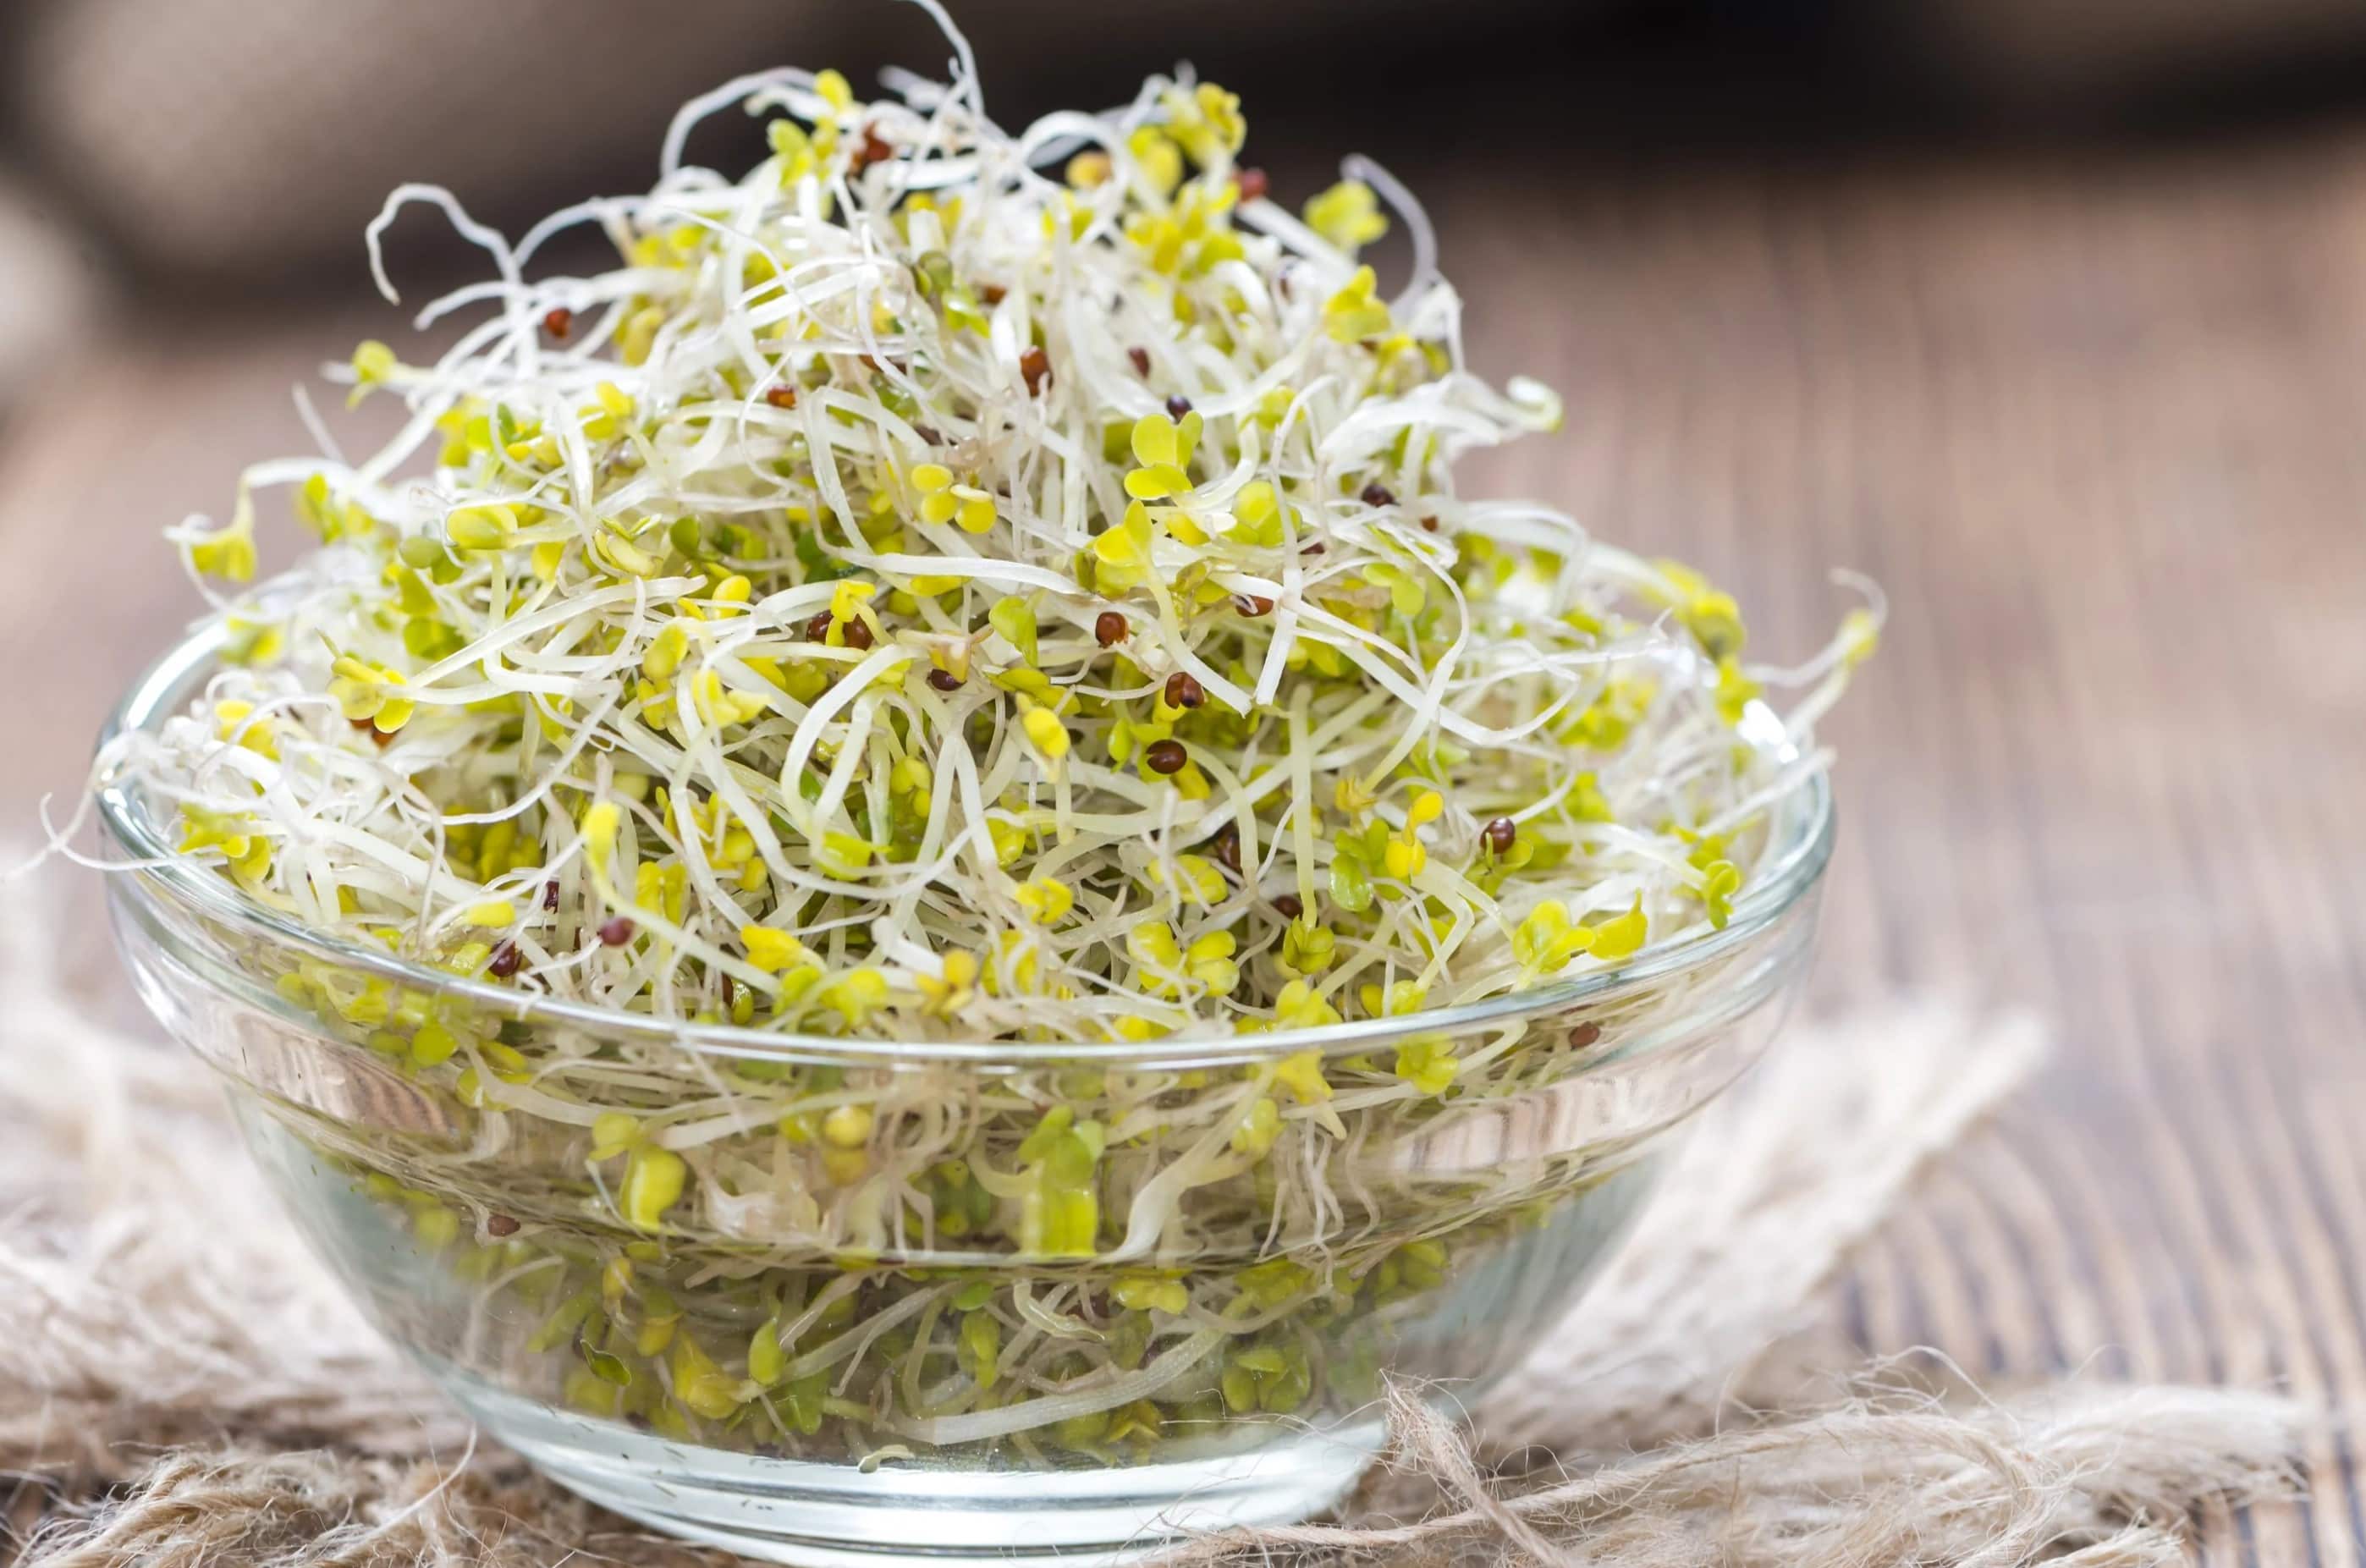
Not only does sprouting seeds aid in plant growth, but it also offers numerous other benefits. Sprouts are packed with essential nutrients and enzymes that are highly beneficial for our health. They are a rich source of vitamins, minerals, and antioxidants, making them a great addition to our diet. By sprouting seeds at home, you have easy access to fresh and nutritious sprouts that can elevate your meals.
To get started on your seed sprouting journey, let’s gather the materials you’ll need:
Key Takeaways:
- Sprouting seeds is an essential step in growing healthy plants and provides a bountiful source of vitamins and minerals for nutritious meals. It’s a magical journey of patience and discovery!
- By carefully selecting, soaking, planting, and caring for seeds, you can enjoy the satisfaction of growing your own fresh sprouts. It’s a rewarding and endless adventure in gardening!
Read more: How To Make Seed Potatoes Sprout
Materials Needed:
Before you start the seed sprouting process, it’s essential to gather all the necessary materials. Having everything prepared ahead of time will ensure a smooth and successful sprouting experience. Here are the materials you’ll need:
- Seeds: Choose high-quality seeds of the plant variety you wish to sprout. You can find a wide variety of seeds at your local nursery or online.
- Container: Select a suitable container for sprouting your seeds. This can be a seed tray, a shallow dish, or even a recycled container like a yogurt cup or an egg carton.
- Water: You’ll need clean, chlorine-free water for soaking and watering the seeds. If your tap water contains chlorine, leave it out overnight to allow the chlorine to dissipate.
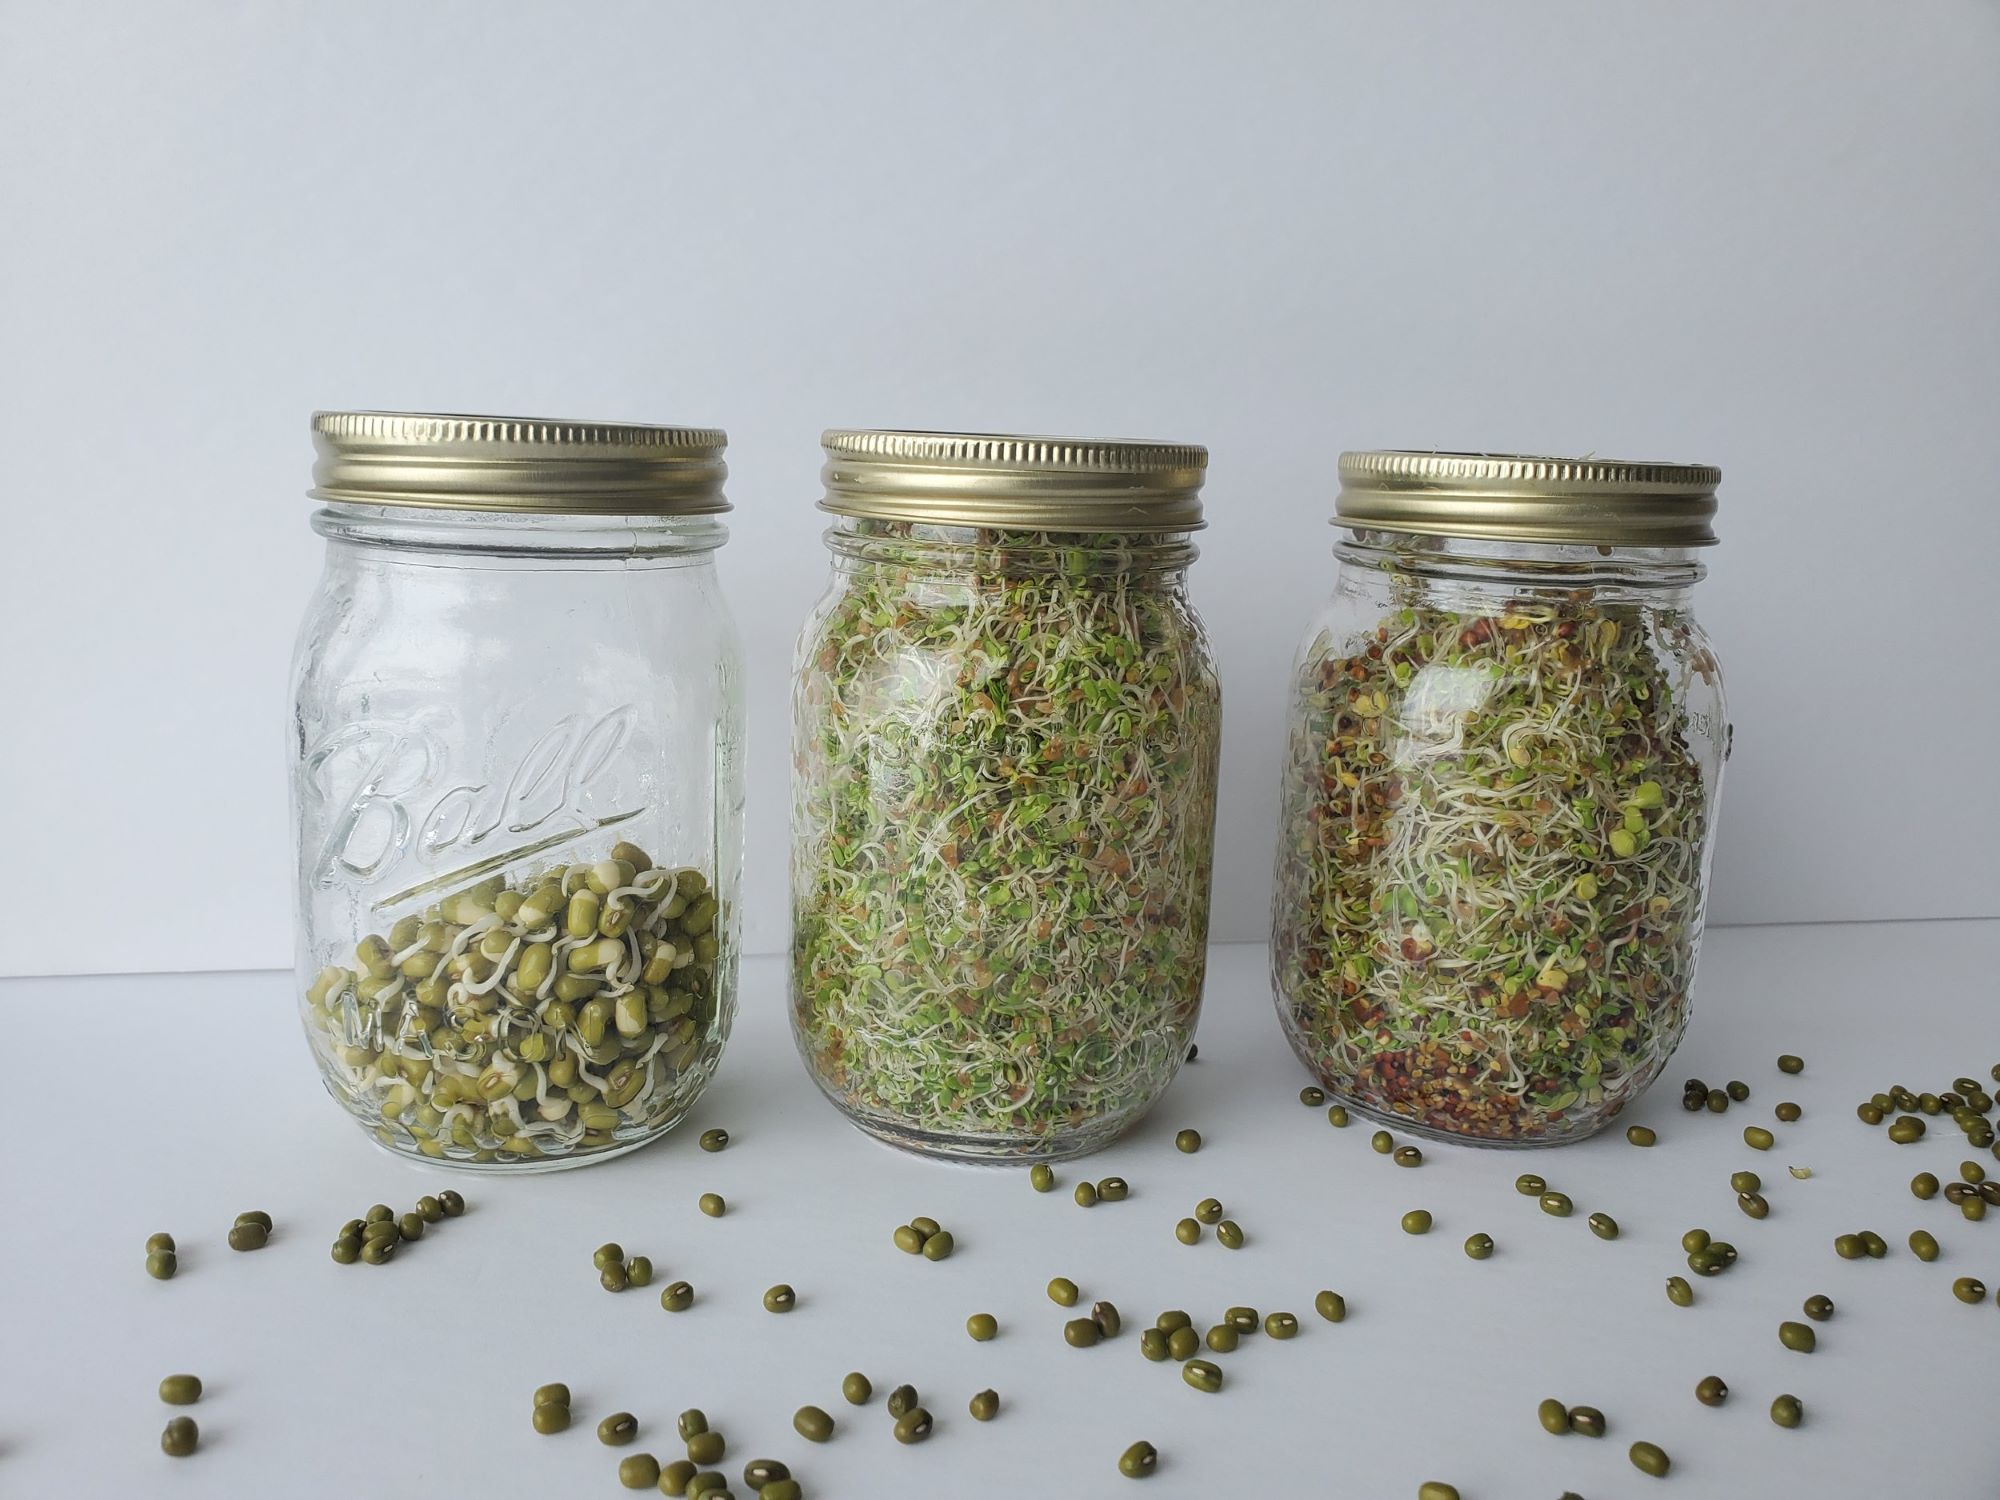
- Soaking vessel: Get a bowl or a jar for soaking the seeds. Make sure it’s large enough to accommodate the amount of seeds you’re planning to sprout.
- Paper towels or cheesecloth: These will be used for creating a moist environment for the seeds to sprout. Choose a material that allows for good air circulation.
- Sprouting rack or tray: Although not necessary, a sprouting rack or tray can make the process easier by providing proper drainage and ventilation.
- Spray bottle: A spray bottle filled with water will come in handy for misting the sprouts and keeping them moist during the growth phase.
- Labels: It’s a good idea to label your sprouting containers to keep track of the different seed varieties and their respective sprouting times.
Once you have gathered all these materials, you’re ready to move on to the next step: selecting the seeds.
Step 1: Selecting the Seeds
The first step in the seed sprouting process is selecting the right seeds for your desired sprouts. Whether you’re interested in sprouting vegetables, herbs, or even flowers, here are some important factors to consider when choosing your seeds:
- Quality: Look for seeds of high quality from reputable sources. Fresh seeds with high germination rates will increase your chances of successful sprouting.
- Variety: Decide which type of sprouts you’d like to grow. There are various options to choose from, including broccoli, alfalfa, radish, sunflower, and many more. Consider your preferences and the nutrients you want to incorporate into your meals.
- Organic vs. Non-organic: If possible, opt for organic seeds. They are produced without the use of synthetic fertilizers or pesticides, ensuring a healthier and more eco-friendly sprouting process.
- Source: Purchase seeds from a reliable source, such as a reputable nursery, gardening center, or online seed store. This ensures that you’re getting seeds from trusted suppliers with a track record of quality.
- Compatibility: Consider the climate conditions in your area and select seeds that are suitable for your region. Some seeds require specific growing conditions, so it’s important to choose varieties that will thrive in your local climate.
Once you’ve chosen your seeds, make sure to read the packet instructions for any specific requirements or guidelines provided by the seed supplier. This will give you valuable information about the optimal temperature, light conditions, and duration required for successful sprouting.
Now that you’ve selected your seeds, it’s time to move on to the next step: soaking the seeds.
Step 2: Soaking the Seeds
Soaking seeds is an important step in the seed sprouting process as it helps to kickstart the germination process by softening the seed coat. This allows the seed to absorb water and activate the enzymes necessary for sprouting. Follow these steps to properly soak your seeds:
- Rinse the seeds: Start by rinsing the seeds under running water to remove any dirt or debris that may be present on the surface.
- Choose the soaking vessel: Select a bowl, jar, or container that is large enough to hold your seeds and allows for ample water coverage.
- Add water: Fill the soaking vessel with clean, room temperature water. The water level should be about twice as high as the seeds, as they will absorb water and expand during the soaking process.
- Soak the seeds: Place the seeds into the water and gently swirl them around to ensure they are fully immersed. Let the seeds soak for the recommended duration, typically anywhere from 4 to 12 hours, depending on the seed variety.
- Discard floating or damaged seeds: After soaking, some seeds may float to the surface or appear damaged. Remove these seeds as they are unlikely to sprout successfully. Only keep the seeds that have properly sunk and appear healthy.
- Drain the seeds: Once the soaking time is up, carefully pour out the water, leaving the seeds in the vessel.
- Rinse the seeds again: Rinse the seeds with fresh water to remove any residual soaking water. Gently agitate the seeds to ensure thorough rinsing.
After soaking the seeds, they should be ready for the next step: preparing the growing container. But before we move on, let’s ensure we have all the necessary materials and equipment ready for this step.
Step 3: Preparing the Growing Container
Now that your seeds have been soaked and are ready to sprout, it’s time to prepare a suitable growing container for them. The growing container should provide a supportive and clean environment for the sprouts to grow. Follow these steps to properly prepare the container:
- Select a suitable container: Choose a container that is shallow, has drainage holes, and is large enough to accommodate your sprouting seeds. Seed trays, shallow dishes, or even recycled containers like yogurt cups or egg cartons can work well.
- Add a drainage layer: To ensure proper drainage, add a layer of small rocks or pebbles at the bottom of the container. This will prevent water from getting stagnant and promote healthy root development.
- Fill the container with a growing medium: Add a layer of moistened potting soil, seed starting mix, or a germination mat specifically designed for sprouting. Ensure that the growing medium is evenly distributed in the container and has adequate moisture for optimal seed germination.
- Space the seeds: Create small indentations or furrows in the growing medium using your finger or a pencil. Space the seeds according to the recommended distance provided on the seed packet or based on the size of the seeds.
- Place the seeds: Gently place each soaked seed into the prepared holes, ensuring they are properly covered with a thin layer of growing medium. Lightly press down on the soil to secure the seeds in place.
- Label the container: Use labels or markers to identify the seed variety and the date of planting. This will help you keep track of the sprouting progress and ensure proper care for each type of seed.
- Provide proper labeling: Cover the container with a clear plastic wrap or a transparent lid to create a mini greenhouse effect. This will help create a humid environment ideal for sprouting seeds.
Once you’ve prepared the growing container, it’s time to move on to the exciting part – planting the seeds! Let’s explore the next step in the seed sprouting process.
Read more: How To Sprout Onion Seeds
Step 4: Planting the Seeds
Now that you have prepared the growing container, it’s time to plant the soaked seeds. This step involves carefully placing the seeds into the prepared soil and ensuring they are properly covered. Follow these steps to plant your sprouting seeds:
- Moisten the soil: Before planting the seeds, ensure that the soil in the growing container is damp but not overly wet. If needed, mist the soil surface with water to provide the right level of moisture.
- Make small planting holes: Use your finger or a small tool to create small indentations in the soil. The depth of the holes should be approximately twice the size of the seeds or as recommended on the seed packet.
- Place the seeds: Carefully place each soaked seed into the prepared holes, ensuring that they are properly covered. Gently press the soil around the seeds to secure them in place.
- Spacing: Follow the recommended spacing guidelines for the specific seed variety you are planting. This will ensure that each sprout has enough space to grow without being overcrowded.
- Cover the seeds: Lightly cover the planted seeds with a thin layer of soil or growing medium. Be careful not to bury them too deeply, as this may hinder their ability to sprout and emerge from the soil.
- Mist the soil surface: After planting the seeds, mist the soil surface with water using a spray bottle. This will provide additional moisture and create a conducive environment for seed germination.
- Ensure proper labeling: Label the growing container with the seed variety and planting date. This will help you keep track of the sprouting progress and provide appropriate care for each type of seed.
Now that the seeds are planted, it’s time to move on to the next step – providing the right environment for the seeds to sprout. Let’s explore how to create an ideal growing environment in the upcoming step.
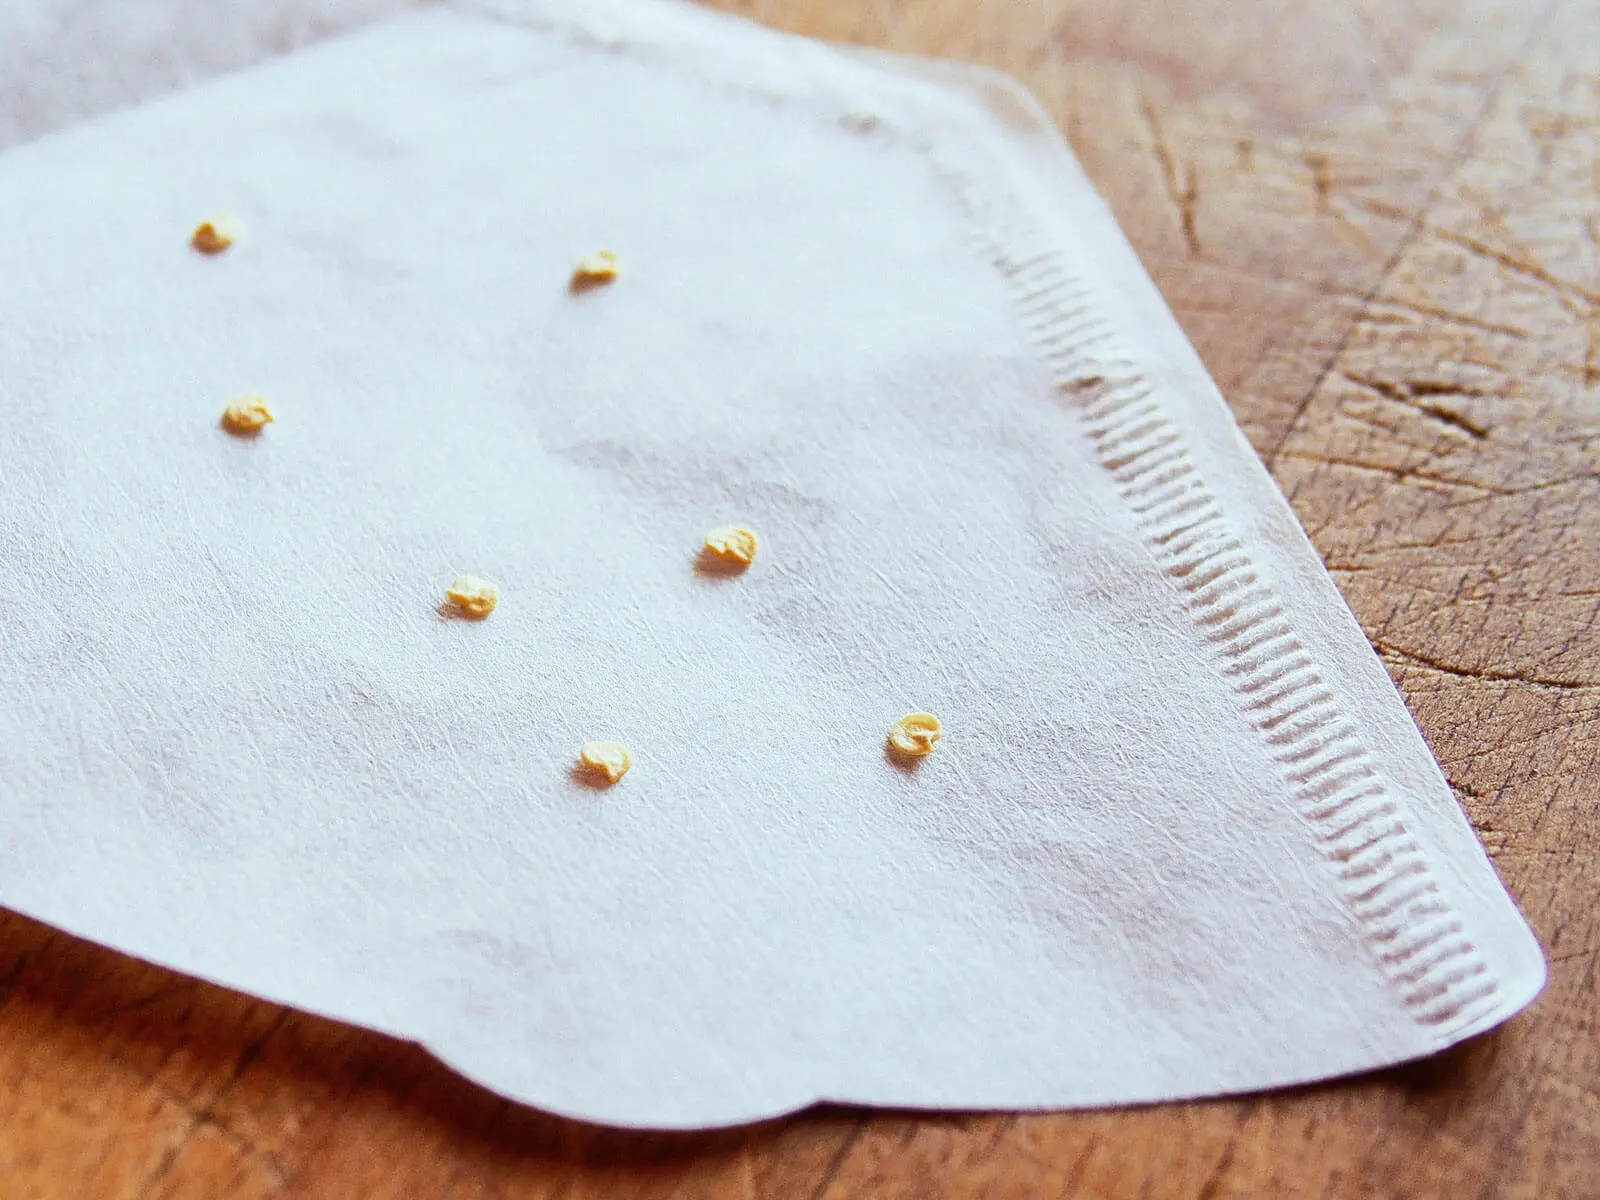
Soak the seeds in water for a few hours to soften the outer shell. Then place the seeds in a damp paper towel and keep it in a warm, sunny spot. Keep the paper towel moist and within a few days, you should see the seeds start to sprout.
Step 5: Providing the Right Environment
Creating the right environment is crucial for the successful sprouting of your seeds. This step involves providing the optimal conditions such as temperature, light, and humidity for the seeds to germinate and grow. Follow these steps to create an ideal environment for your sprouting seeds:
- Temperature: Most seeds require a consistent temperature range for germination. Refer to the seed packet or seed supplier’s instructions for the recommended temperature range. Typically, a temperature between 65°F and 75°F (18°C to 24°C) is suitable for many common seeds.
- Light: While some seeds require light to germinate, others prefer to sprout in darkness. Follow the instructions provided for the specific seed variety you are sprouting. If light is required, place the growing container in a well-lit area, but avoid direct sunlight, as it may cause the soil to dry out too quickly.
- Humidity: Seeds sprout best in a humid environment. To maintain the proper humidity levels, keep the container covered with plastic wrap or a transparent lid. This will help create a mini greenhouse effect, trapping moisture around the seeds.
- Ventilation: While maintaining humidity is important, it’s also crucial to provide proper air circulation for the sprouting seeds. Make small ventilation holes in the plastic wrap or lid to allow for the exchange of air.
- Check moisture levels: Regularly monitor the moisture levels in the soil and mist the surface with water as needed to prevent it from drying out. Be careful not to overwater, as this can lead to rotting or fungal issues.
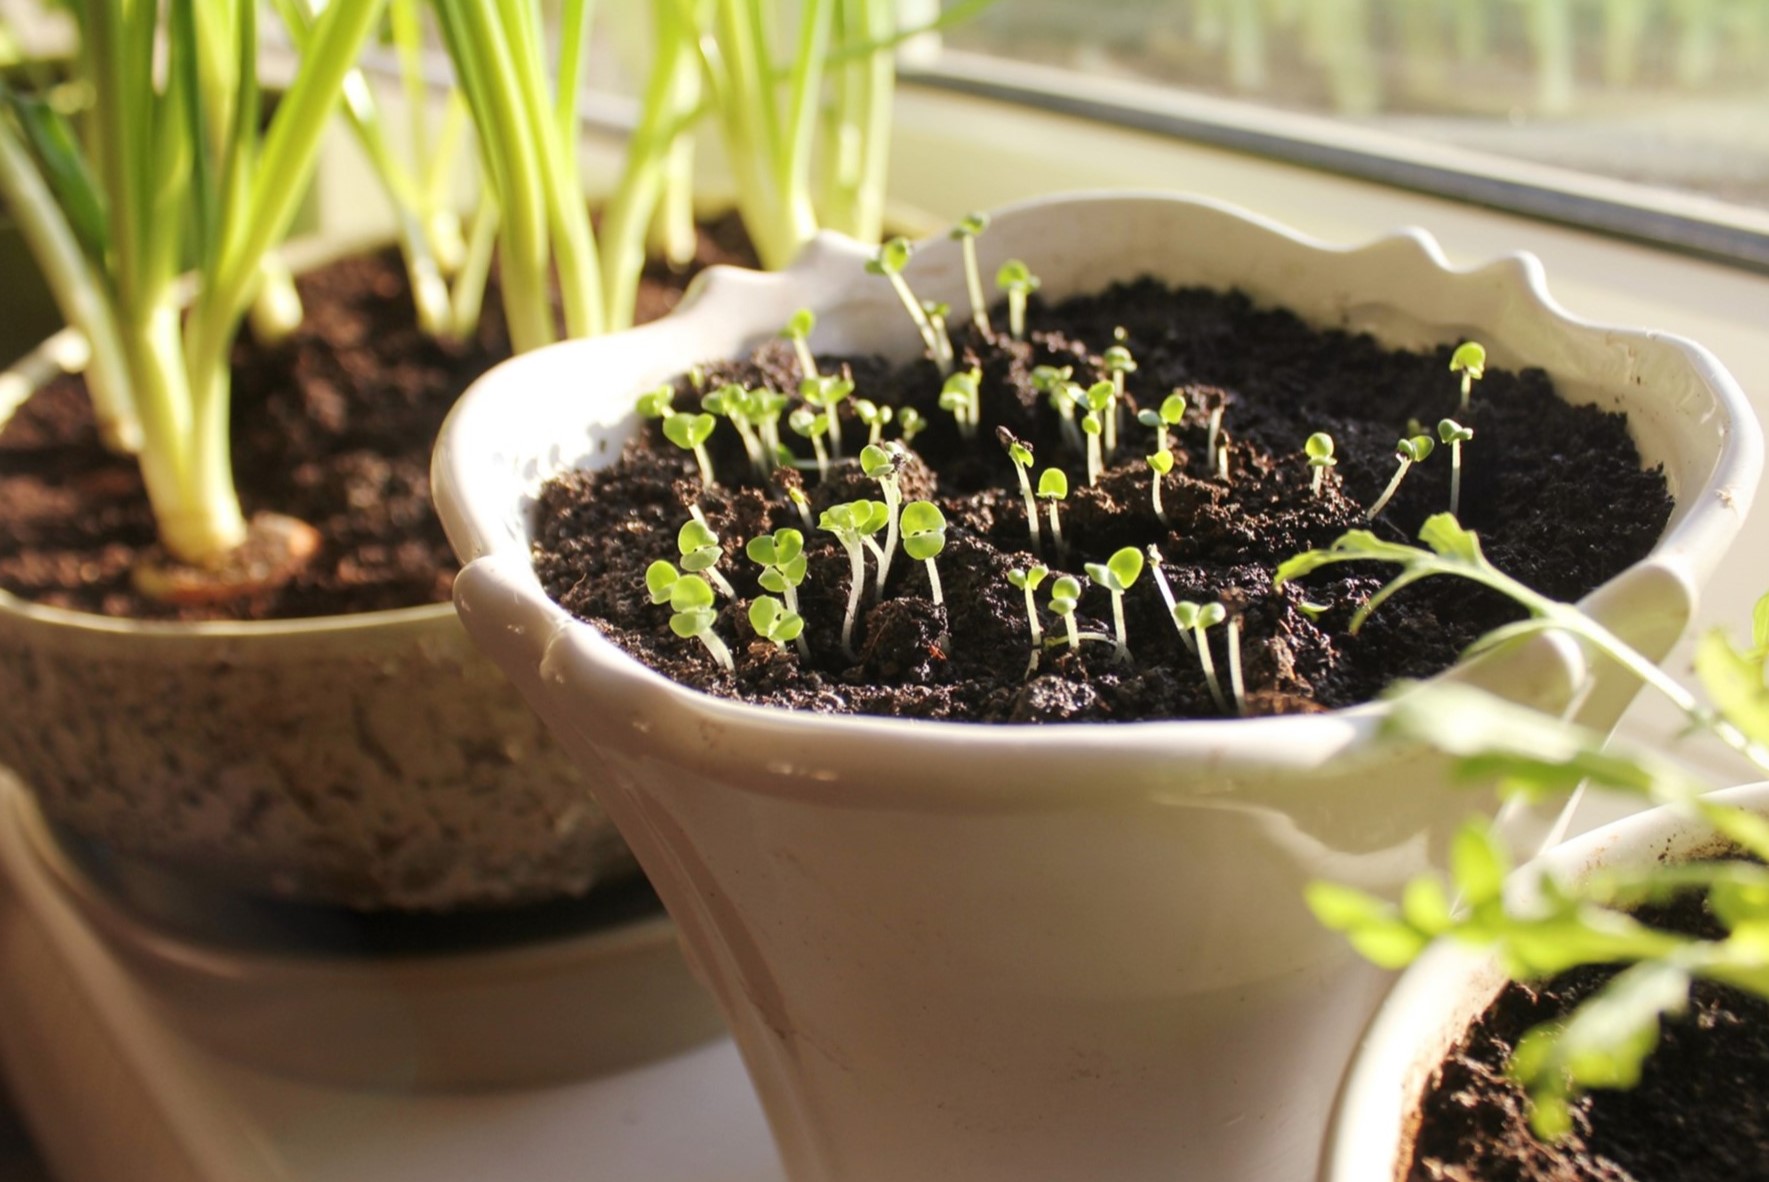
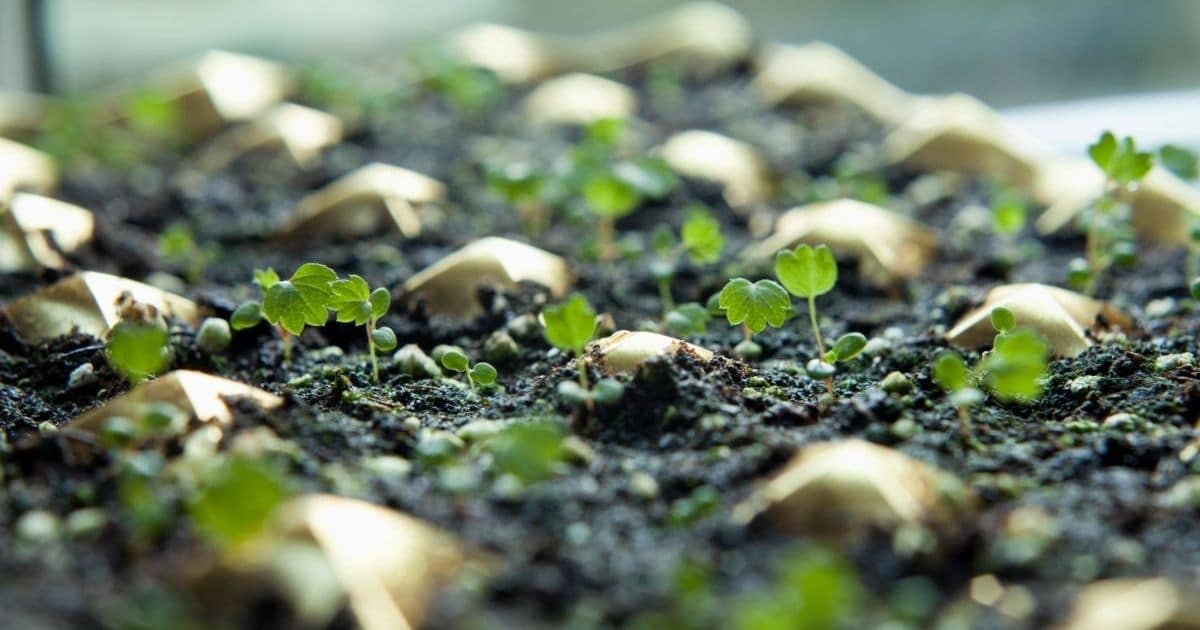
- Monitor for germination: Keep a close eye on the seeds for any signs of germination. Depending on the seed variety, this process can take anywhere from a few days to a couple of weeks. Once the seeds have sprouted, it’s time to move on to the next step – watering the sprouts.
Providing the right environment is crucial for the successful sprouting of your seeds. By following these steps, you will create an ideal setting for your seeds to thrive and grow into healthy sprouts. Now, let’s move on to the next step – watering the sprouts.
Step 6: Watering the Sprouts
Watering is a crucial aspect of caring for your sprouts. Proper hydration ensures their growth and development, but it’s important to strike a balance and avoid overwatering. Follow these steps to effectively water your sprouts:
- Watering frequency: Sprouts require consistent moisture, so make sure to check the moisture level of the soil daily. Depending on the humidity and temperature in your environment, you may need to water the sprouts once or twice a day.
- Misting: Using a spray bottle filled with clean water, mist the sprouts gently to avoid dislodging or damaging the delicate seedlings. Misting helps provide moisture without saturating the soil.
- Bottom watering: Alternatively, you can water the sprouts from the bottom by placing the growing container in a shallow tray filled with water. Allow the soil to absorb water through the drainage holes until the surface becomes moist.
- Avoid overwatering: Overwatering can lead to root rot and other fungal diseases. Ensure that the soil is moist but not waterlogged. If you notice any signs of excess moisture, adjust your watering frequency accordingly.
- Drain excess water: If water accumulates in the tray or container after bottom watering, carefully remove the excess water to prevent waterlogging and ensure proper drainage.
- Monitor the sprouts: Regularly observe the sprouts for any signs of wilting or discoloration, as this may indicate insufficient or excessive watering. Adjust your watering routine based on the needs of the sprouts.
- Adjust as the sprouts grow: As the sprouts develop, they may require more water. Be attentive to their growth stages and adjust your watering pattern accordingly.
Remember, maintaining appropriate moisture levels is key to keeping your sprouts healthy and thriving. By providing consistent and careful watering, you’ll promote their growth and ensure they have the hydration they need to flourish. With proper watering, you’re one step closer to nurturing your sprouts into mature plants.
Now, let’s move on to the next step – caring for the sprouts as they continue to grow.
Step 7: Caring for the Sprouts
As your sprouts continue to grow, it’s important to provide them with proper care to ensure their healthy development. Follow these steps to effectively care for your sprouts:
- Light exposure: Once the sprouts have emerged from the soil, provide them with adequate light. Place them in a location where they receive bright, indirect sunlight for around 8 to 12 hours a day. If natural light is insufficient, you can supplement with a grow light placed a few inches above the sprouts.
- Rotate the container: To encourage even growth, rotate the growing container daily. This prevents the sprouts from leaning towards the light source and promotes straight and upright stems.
- Monitor the temperature: Ensure that the temperature remains within the appropriate range mentioned on the seed packet. Most sprouts thrive in temperatures between 60°F and 75°F (15°C and 24°C). Avoid exposing them to extreme temperatures or drafts.
- Remove any debris: Regularly check the growing container for any fallen leaves or debris. Removing these can help prevent the development of mold or pests that may harm the sprouts.
- Provide support if needed: If your sprouts start to grow tall and appear weak, provide support by gently tying them to a thin stake or using a plant support structure. This will help keep them upright and prevent breakage.
- Avoid overcrowding: If the sprouts become too crowded, thin them out by carefully removing the weakest or excess seedlings. This will ensure that each sprout has enough space to grow and receive adequate nutrients and light.
- Protect from pests: Monitor the sprouts for any signs of pests such as aphids, mites, or fungal diseases. If you notice any issues, take appropriate measures to protect your sprouts, such as using organic pest control methods or consulting a gardening expert.
- Continue regular watering: Maintaining proper watering practices is crucial even as the sprouts grow. Ensure that the soil remains consistently moist, but not waterlogged, to provide the sprouts with the necessary hydration.
With consistent care and attention, your sprouts will continue to thrive and develop into healthy plants. Enjoy the process and watch as your efforts yield beautiful and flourishing sprouts.
Now, let’s move on to the final step – harvesting the sprouts when they are ready.
Read more: How Long For Seeds To Sprout
Step 8: Harvesting the Sprouts
Congratulations on reaching the final step of the seed sprouting process – harvesting your sprouts! The time to harvest will vary depending on the specific plant variety, but generally, sprouts are ready to be harvested when they have reached the desired size and have developed their first set of true leaves. Here’s how to properly harvest your sprouts:
- Observe the sprouts: Regularly check the sprouts to determine their growth stage. Sprouts should be harvested when they are young and tender, before they start developing a woody texture or become overly mature.
- Choose the harvesting method: There are two common methods for harvesting sprouts – by cutting or plucking. The method you choose depends on the type of sprout and personal preference.
- Cutting method: For plants with multiple sprouts, such as leafy greens, you can use clean scissors or a sharp knife to cut the sprouts just above the soil level. This allows the remaining sprouts to continue growing.
- Plucking method: Some sprouts, like microgreens, can be plucked directly from the soil surface. Gently grasp the base of the sprout near the soil and give it a gentle tug to remove it from the container.
- Harvesting guidelines: Harvest sprouts in small batches as you need them to ensure freshness. Avoid harvesting all the sprouts at once unless you plan to use or store them immediately.
- Rinse and dry: After harvesting, rinse the sprouts under clean water to remove any soil or debris. Pat them dry gently using a paper towel or a clean cloth. It’s important to handle the sprouts with care to prevent damage.
- Enjoy and store: Sprouts are best enjoyed fresh, either raw or cooked, to fully appreciate their delicate flavors and textures. If you have harvested more sprouts than you can consume immediately, store them in a sealed container in the refrigerator. Most sprouts can be stored for a few days to a week.
- Repeat the process: Once you have harvested your sprouts, you can repeat the seed sprouting process and enjoy a continuous supply of fresh, nutrient-packed sprouts throughout the year.
By following these harvesting guidelines, you can enjoy the fruits of your labor and savor the delicious and nutritious sprouts you have grown. Remember to appreciate the journey and take pride in your successful seed sprouting endeavors.
With this, we have covered all the steps of making a seed sprout. Happy sprouting and happy gardening!
Conclusion:
Congratulations! You have now learned how to make a seed sprout and embark on the wonderful journey of growing your own fresh and nutritious sprouts. This process not only allows you to witness the miracle of nature but also provides you with a bountiful source of vitamins, minerals, and antioxidants to enhance your meals.
By carefully selecting high-quality seeds, soaking them, preparing the growing container, planting the seeds, providing the right environment, watering the sprouts, and giving them proper care, you have set the stage for successful sprouting. Monitoring their growth and knowing the signs of readiness for harvesting ensures that you enjoy the freshest and tastiest sprouts possible.
Remember, gardening is a journey of patience, observation, and continuous learning. Each seed you sow is an opportunity for growth and discovery. As you gain experience and experiment with different seed varieties, you’ll become more adept at nurturing sprouts into thriving plants.
So, whether you’re sprouting vegetables, herbs, or flowers, the process remains the same. Enjoy the satisfaction of growing your own food and savor the flavors and benefits of your homegrown sprouts.
Don’t be afraid to try new seed varieties, experiment with different growing techniques, and explore creative ways to incorporate sprouts into your meals. The possibilities are endless, and the rewards are abundant.
Now that you have the knowledge and confidence to make your seeds sprout, it’s time to roll up your sleeves, get your hands dirty, and let nature work its magic. Happy sprouting and happy gardening!
Frequently Asked Questions about How To Make A Seed Sprout
Was this page helpful?
At Storables.com, we guarantee accurate and reliable information. Our content, validated by Expert Board Contributors, is crafted following stringent Editorial Policies. We're committed to providing you with well-researched, expert-backed insights for all your informational needs.

0 thoughts on “How To Make A Seed Sprout”