Home>Garden Essentials>How Long Until Pepper Seeds Sprout
Garden Essentials
How Long Until Pepper Seeds Sprout
Modified: August 28, 2024
Discover how long it takes for pepper seeds to sprout in your garden. Get expert tips and insights to ensure successful germination.
(Many of the links in this article redirect to a specific reviewed product. Your purchase of these products through affiliate links helps to generate commission for Storables.com, at no extra cost. Learn more)
Introduction
Welcome to the world of gardening! There’s something truly magical about growing your own plants from seeds, and pepper seeds are no exception. If you’re new to gardening or simply want to expand your knowledge on pepper seed germination, you’ve come to the right place.
In this comprehensive guide, we will explore everything you need to know about the germination process of pepper seeds. From understanding the factors that affect germination to providing optimal growing conditions, we’ll cover it all. So grab your gardening gloves and let’s dive in!
Pepper seeds, like all seeds, hold the potential of new life. They contain the genetic makeup that will eventually sprout into a pepper plant, ready to provide you with deliciously fresh peppers. But the journey from seed to plant is not always straightforward, and understanding the germination process is key to ensuring successful growth.
Throughout this article, we will discuss the various factors that can influence the germination of pepper seeds. From temperature and moisture levels to soil quality and seed viability, we will explore how each element plays a vital role in the sprouting process.
Additionally, we will guide you through the steps of preparing and planting your pepper seeds. Whether you choose to start your seeds indoors or sow them directly in the garden, we will provide helpful tips and techniques to optimize germination.
Once your seeds are planted, it’s crucial to provide them with the right growing conditions. We will delve into the ideal temperature, sunlight, and watering requirements necessary for pepper seedlings to thrive. Whether you’re growing peppers in containers or in the ground, understanding these conditions will help you create a favorable environment for your plants.
Monitoring and troubleshooting are also essential aspects of successful germination. We will discuss how to closely observe the progress of your seeds and identify any potential issues that may arise. From dealing with slow germination to addressing common pests and diseases, we’ll provide helpful suggestions to overcome these challenges.
Lastly, we will cover the exciting moment of harvesting your pepper plants. We’ll share tips on when to harvest, how to harvest, and the best ways to store your bountiful harvest. There’s nothing quite like enjoying the fruits of your labor, and freshly harvested peppers make all the effort worthwhile.
So, whether you’re a seasoned gardener looking to expand your pepper plant collection or a beginner eager to learn the ins and outs of pepper seed germination, this article is here to guide you. By the end, you’ll feel confident in your ability to successfully germinate and grow pepper plants from seeds.
So, let’s get started on this exciting journey of pepper seed germination!
Key Takeaways:
- Pepper seeds need optimal conditions like temperature, moisture, and soil quality to sprout successfully. Patience and care are key to nurturing healthy pepper plants.
- Harvest peppers at the right stage for peak flavor and handle them with care. Regular monitoring and troubleshooting can improve germination success.
Understanding Pepper Seeds
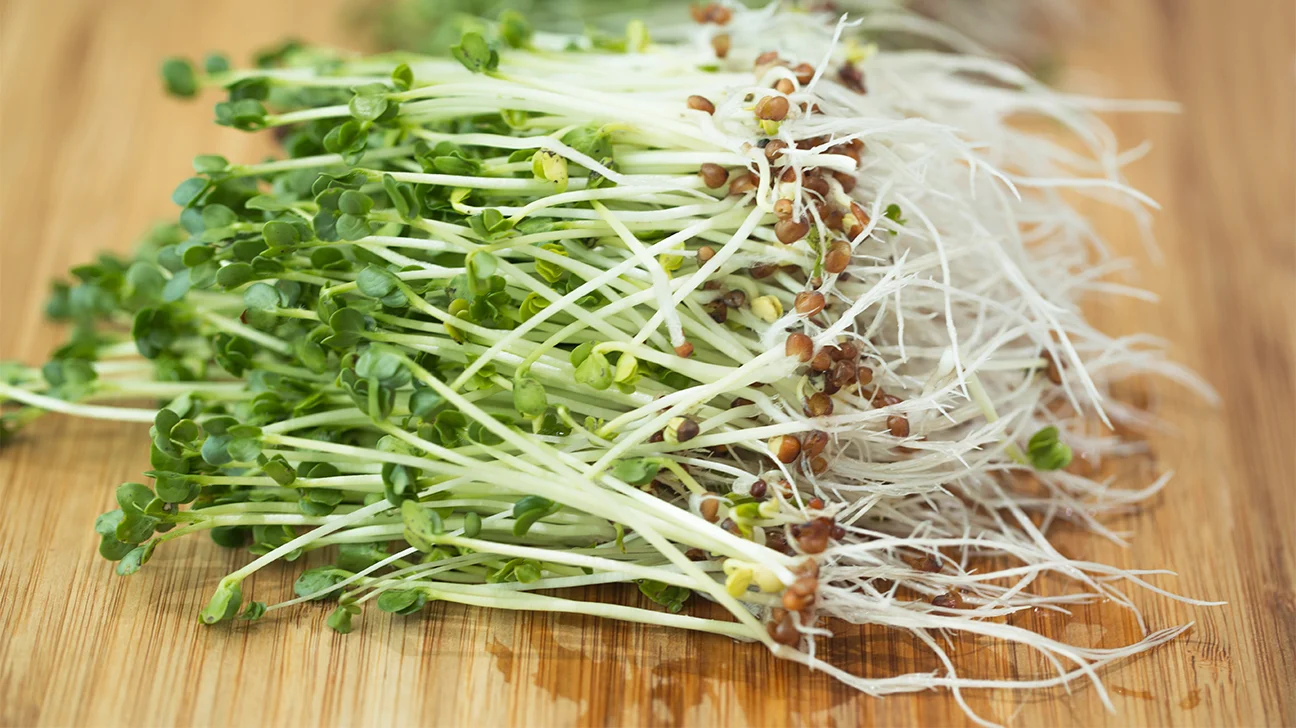
Before we dive into the germination process, let’s take a moment to understand the nature of pepper seeds. Pepper seeds are the small, round structures found within the pepper fruit. They come in a variety of sizes and colors, depending on the pepper variety.
Each pepper seed is enclosed in a protective outer coating called the seed coat. This seed coat acts as a barrier, protecting the embryo inside from external elements until it’s ready to sprout. The embryo contains all the genetic material necessary for the development of a pepper plant.
Pepper seeds have the incredible ability to remain dormant for extended periods until the conditions for germination are optimal. This dormancy is essential for the survival and dispersal of the plant species. It allows the seeds to withstand unfavorable environmental conditions and germinate when the time is right.
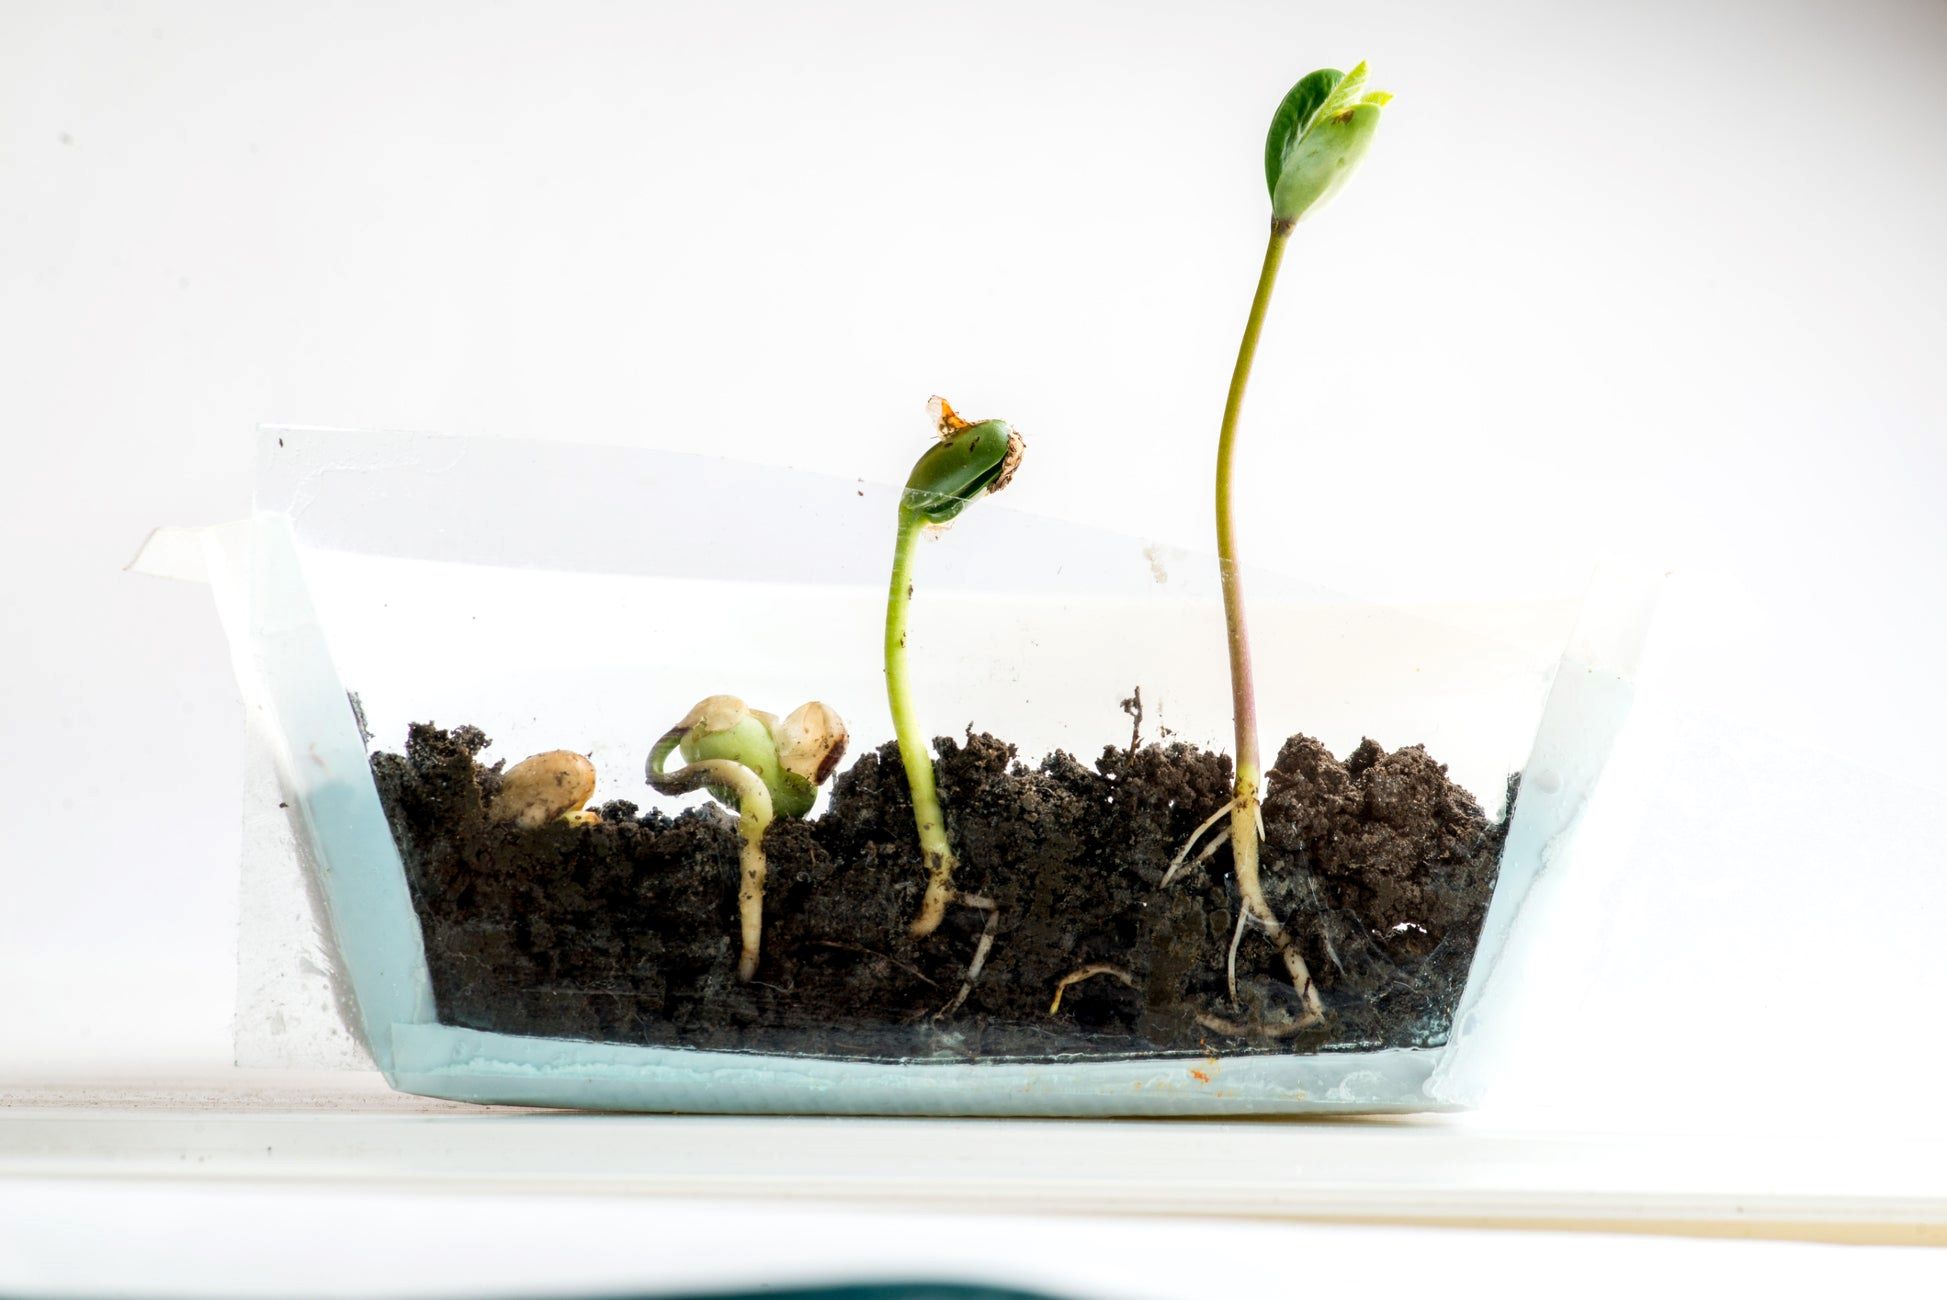
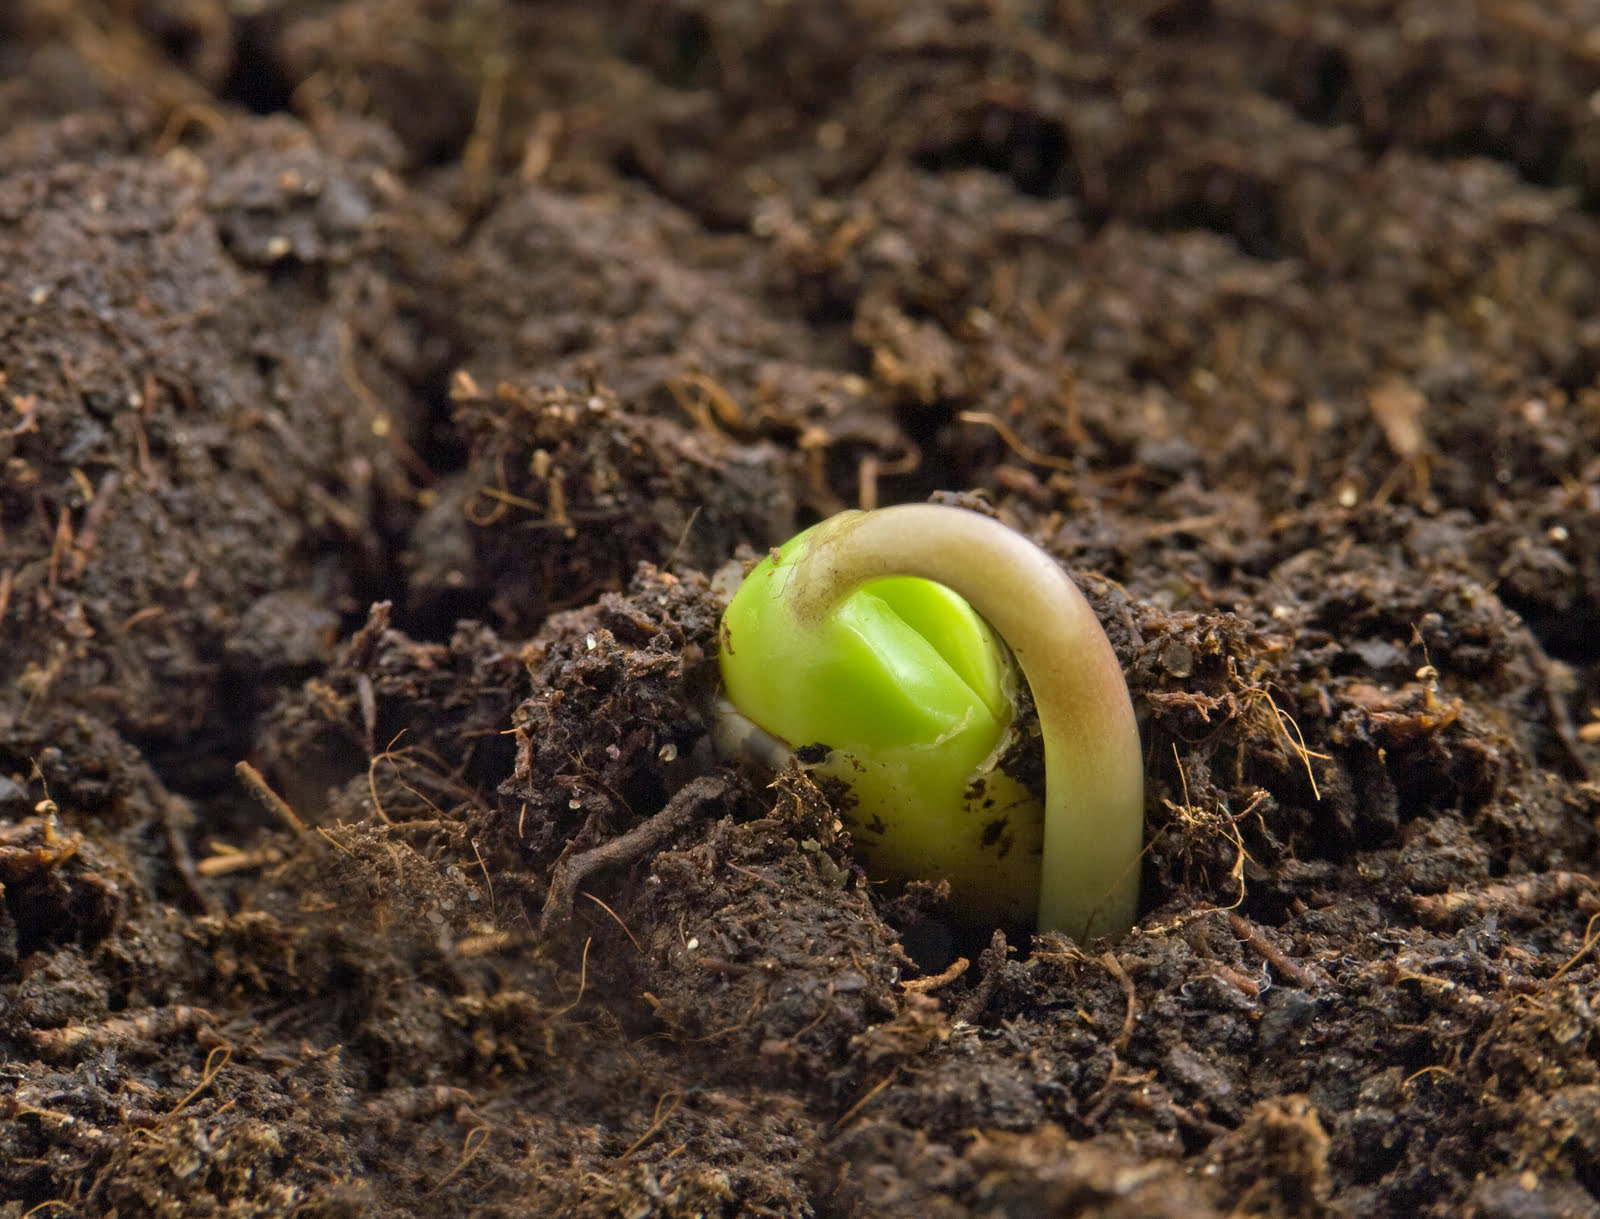
When the right conditions are met, the seed undergoes a process called germination. Germination is the awakening of the seed, causing it to sprout and initiate growth. This process involves the seed absorbing water, softening the seed coat, and activating the embryo.
It’s important to note that not all pepper seeds have the same germination rate. Some seeds may be more viable than others, meaning they have a higher likelihood of sprouting successfully. Factors such as seed age, storage conditions, and seed quality can influence the germination rate.
Pepper seeds also exhibit a range of germination times. Some varieties may sprout within a few days, while others may take several weeks. Patience is key when it comes to pepper seed germination, as it can sometimes be a slow and gradual process.
Lastly, it’s worth mentioning that pepper plants are typically grown as annuals in temperate climates. This means that they complete their life cycle within a year, from seed to fruit production. However, in warmer regions or with proper care, pepper plants can sometimes persist as perennials, providing multiple years of harvest.
Now that we have a basic understanding of pepper seeds and their germination process, it’s time to explore the factors that can affect the successful sprouting of these seeds. Understanding these factors will help us optimize the conditions necessary for pepper seed germination. So, let’s move on to the next section and delve into the world of germination requirements!
Factors Affecting Pepper Seed Germination
Pepper seed germination is influenced by several key factors that impact the seeds’ ability to successfully sprout and grow into healthy plants. Understanding these factors is crucial for providing the optimal conditions necessary for pepper seed germination. Let’s explore the main factors that affect the germination process:
- Temperature: Temperature plays a vital role in pepper seed germination. Most pepper varieties prefer a soil temperature between 70°F (21°C) and 85°F (29°C) for optimal sprouting. Lower temperatures can slow down germination, while higher temperatures may hinder or even prevent germination. Keep in mind the specific temperature preferences of your pepper variety when creating the ideal growing environment.
- Moisture: Adequate moisture is essential for successful pepper seed germination. When seeds are placed in moist soil, they absorb water and activate the germination process. However, it’s crucial to strike a balance. Excessive moisture can lead to damping-off, a fungal disease that can cause seedling death. Ensure the soil is moist but not overly saturated during the germination period.
- Light: Unlike some plant species, pepper seeds do not require light for germination. In fact, pepper seeds germinate best in darkness. Therefore, it’s unnecessary to expose pepper seeds to direct light during germination. However, once the seedlings emerge, they require ample sunlight for healthy growth and development.
- Soil Quality: The quality of the soil directly affects the germination and overall growth of pepper seeds. The soil should be well-draining to prevent waterlogged conditions that can lead to seed rot or fungal diseases. Additionally, it’s beneficial to amend the soil with organic matter, such as compost, to improve its nutrient content and moisture-retaining capacity.
- Seed Viability: The age and viability of pepper seeds influence their germination success. Freshly harvested pepper seeds generally have a higher germination rate than older seeds. However, some pepper varieties have longer seed viability than others. Proper seed storage in a cool, dry place can prolong seed viability. It’s also recommended to perform a simple germination test before planting to assess seed viability.
- Seed Depth: Pepper seeds should be planted at the appropriate depth for optimal germination. Most pepper seeds require a planting depth of about 1/4 inch (0.6 cm). Planting seeds too shallow or too deep can affect germination rates, as the seeds may not receive the necessary moisture or oxygen for sprouting.
By understanding and managing these factors, you can provide the best possible conditions for pepper seed germination. In the next section, we’ll cover the steps involved in preparing the seeds for planting.
Preparing Pepper Seeds for Planting
Before you can plant your pepper seeds, it’s essential to properly prepare them to maximize germination success. Taking the time to prepare your seeds will increase their viability and give them the best chance of sprouting into healthy pepper plants. Let’s explore the steps involved in preparing pepper seeds for planting:
- Seed Selection: Start by selecting high-quality pepper seeds from reputable sources. Look for seeds that are plump, firm, and free from any signs of damage or disease. Avoid using seeds that are discolored or have a wrinkled appearance, as these may have lower viability.
- Seed Cleaning: It’s a good practice to clean your pepper seeds before planting to remove any potential debris or pathogens. Rinse the seeds gently under running water, using a fine-mesh strainer to catch the seeds and prevent them from washing away.
- Seed Soaking: Pepper seeds can benefit from a soaking period before planting to help speed up germination. Fill a small container with warm water and place the cleaned seeds inside. Allow them to soak for 12 to 24 hours. This soaking process can soften the seed coat and promote faster germination.
- Seed Drying: After soaking, carefully remove the pepper seeds from the water and place them on a paper towel or a dry surface. Allow the seeds to air dry for a few hours until they are no longer damp. Ensure they are completely dry before proceeding to the next step.
- Seed Stratification (Optional): Some pepper varieties, particularly hot peppers, benefit from a process called stratification. This involves subjecting the seeds to cold temperatures to break their dormancy and simulate winter conditions. To stratify your pepper seeds, place them in a sealed plastic bag with a damp paper towel and refrigerate for about 2 to 4 weeks before planting.
- Seed Storage: If you have more seeds than you plan to sow immediately, it’s important to store them properly to maintain their viability. Place the completely dry seeds in airtight containers, such as small resealable bags or glass jars, and store them in a cool, dry, and dark place. A temperature between 35°F (1.6°C) and 50°F (10°C) is ideal for long-term seed storage.
By following these steps, you’ll ensure that your pepper seeds are clean, hydrated, and ready for planting. The preparation process enhances the chances of successful germination, giving your pepper plants a healthy start. Now that your seeds are prepared, it’s time to move on to the next section and explore the proper techniques for planting pepper seeds.
Planting Pepper Seeds
Now that your pepper seeds are prepared, it’s time to move on to planting them. Whether you choose to start your seeds indoors or directly sow them in the garden, the following steps will help you achieve successful germination and establish healthy pepper plants.
- Indoor Planting: If you prefer to start your pepper seeds indoors, begin by filling seed trays or small pots with a well-draining potting mix. Moisten the soil before planting to ensure it is evenly damp but not soaking wet. Make small indentations, around ¼ inch (0.6 cm) deep, in the soil using your finger or a pencil.
- Seed Placement: Place one pepper seed in each indentation and cover it with a thin layer of soil. Gently press the soil down to ensure good seed-to-soil contact. Label each tray or pot with the pepper variety and date of planting for easy identification.
- Optimal Growing Conditions: Provide the seeds with the optimal growing conditions for germination. Place the trays or pots in a warm location, such as on top of a heat mat or in a consistently warm room. Maintain a temperature range between 70°F (21°C) and 85°F (29°C) to promote germination. Lightly mist the soil surface with water to keep it evenly moist throughout the germination period.
- Direct Sowing: Alternatively, you can sow pepper seeds directly in the garden once the soil temperature reaches the desired range. Make sure all threats of frost have passed before planting. Prepare the planting area by loosening the soil and removing any weeds or debris. Make small holes, about ¼ inch (0.6 cm) deep and 12 to 18 inches (30 to 45 cm) apart, depending on the pepper variety.
- Planting Depth: Place one pepper seed in each hole and cover it with soil. Lightly firm the soil around the seed to ensure good contact. Water the planting area gently to settle the soil and provide moisture to the seeds.
- Protective Measures: To protect the newly planted seeds from birds or pests, you can cover the area with a lightweight row cover or netting. This will prevent animals from digging up the seeds or eating sprouts.
Whether you choose indoor planting or direct sowing, be patient and maintain consistent moisture levels throughout the germination period. Soon, you’ll see the first signs of sprouting, and your pepper plants will be on their way to a bountiful harvest.
Now that you’ve learned the proper techniques for planting pepper seeds, it’s time to move on to the next section, where we’ll discuss the optimal growing conditions necessary for healthy pepper seedlings.
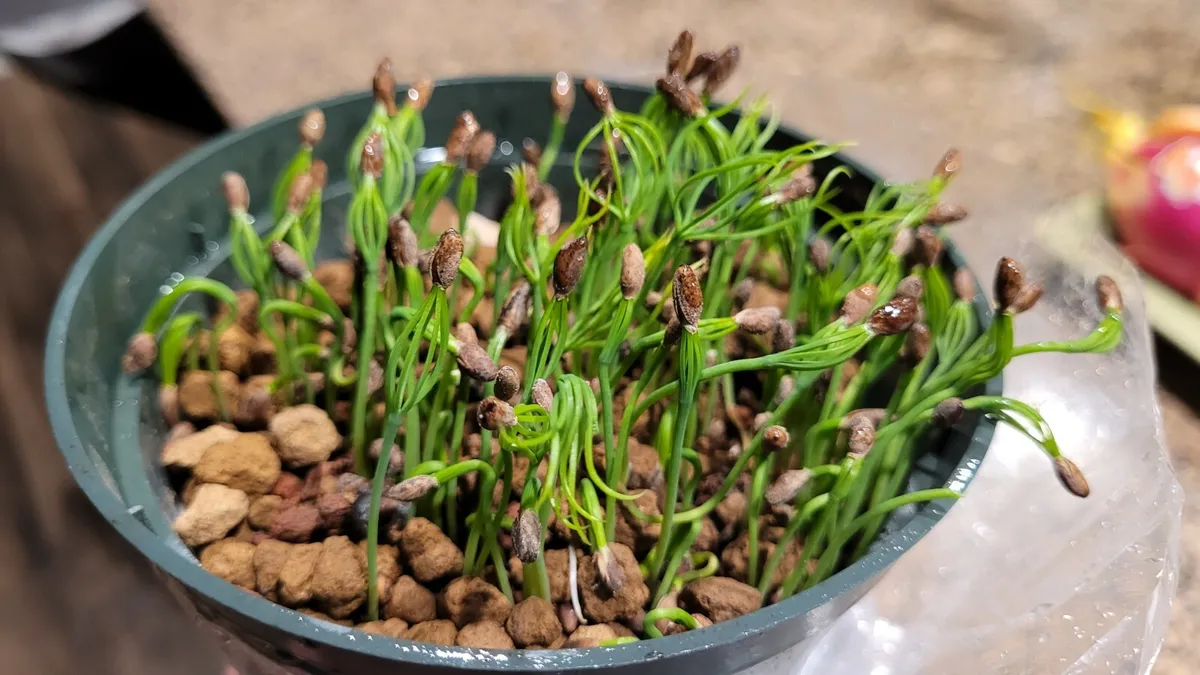
Pepper seeds usually take 7-14 days to sprout. Keep the soil consistently moist and provide warmth to speed up the germination process.
Read more: How Long Until Begonia Germinate
Providing Optimal Growing Conditions
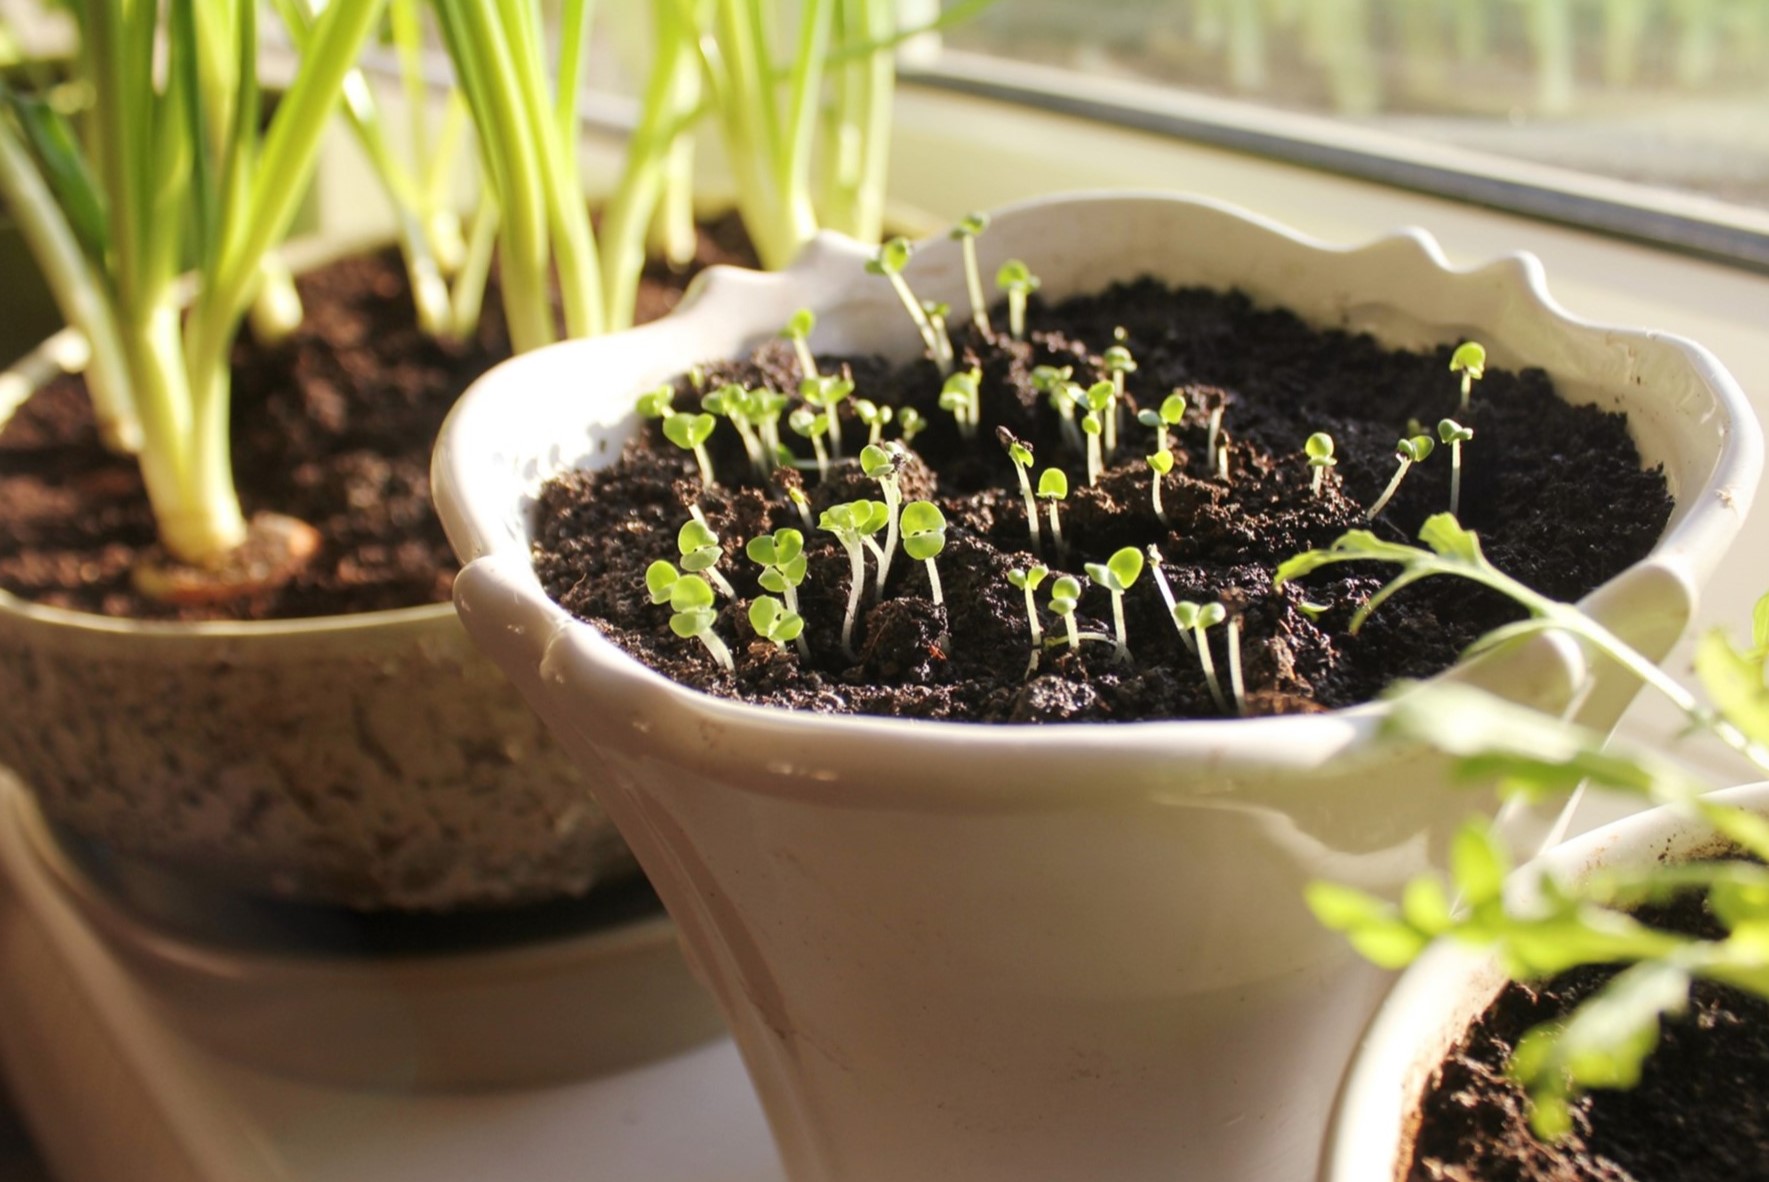
Once your pepper seeds have been planted, it’s important to provide them with the optimal growing conditions to ensure healthy seedling development. By creating a favorable environment, you’ll give your pepper plants the best chance to thrive. Let’s explore the key elements of providing optimal growing conditions for your pepper seedlings:
- Temperature: Pepper plants thrive in warm temperatures. During the germination period, maintain a temperature range between 70°F (21°C) and 85°F (29°C). Once the seedlings have sprouted, aim for a daytime temperature of around 70°F (21°C) and a slightly cooler nighttime temperature of about 65°F (18°C). Avoid exposing young seedlings to sudden temperature fluctuations or chilly drafts.
- Sunlight: Pepper plants require plenty of sunlight to grow and produce an abundant harvest. Provide your seedlings with at least 6 to 8 hours of direct sunlight per day. If natural sunlight is limited, you can supplement with fluorescent or LED grow lights placed a few inches above the seedlings. Adjust the height of the lights as the seedlings grow to maintain an optimal light intensity.
- Watering: Proper watering is crucial for the development of healthy pepper seedlings. Keep the soil consistently moist but not overly saturated. Water the seedlings from the base rather than overhead to prevent the leaves from getting wet, reducing the risk of fungal diseases. Aim to water deeply, providing enough moisture to reach the root zone without creating waterlogged conditions. Adjust the frequency of watering based on the moisture levels of the soil.
- Humidity: Pepper seedlings prefer a slightly higher humidity level to promote healthy growth. If the air in your growing area is dry, you can increase humidity by placing a tray of water near the seedlings or using a room humidifier. Another method is to cover the seedlings with a clear plastic dome or a plastic bag to create a greenhouse-like environment until they have established.
- Soil Nutrition: To provide essential nutrients, it’s beneficial to amend the soil with organic matter before planting. Add compost or well-rotted manure to enrich the soil and improve its fertility. Additionally, consider supplementing with a balanced organic fertilizer, following the package instructions for application rates. Monitor the seedlings for any signs of nutrient deficiencies and adjust fertilizer applications as needed.
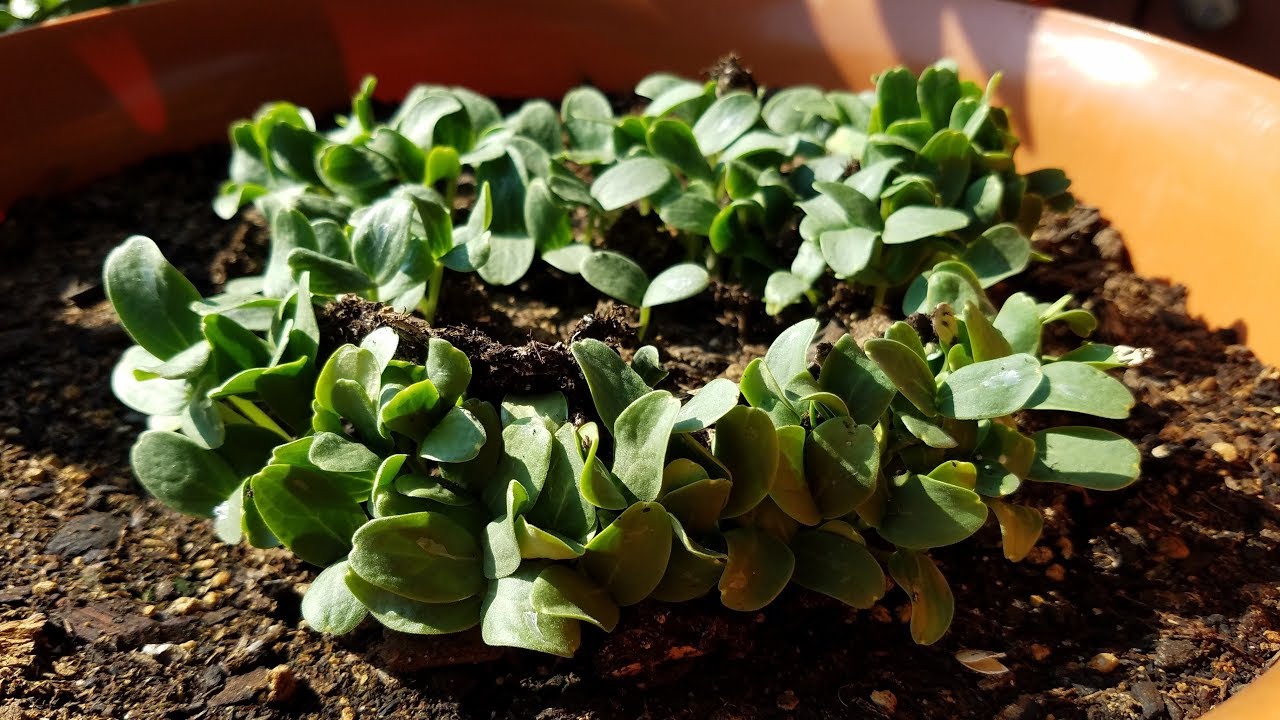
- Spatial Requirements: As pepper seedlings grow, they require sufficient space for their roots to spread and develop. If starting seedlings indoors, transplant them into larger pots when they have developed a few sets of true leaves. If planting directly in the garden, ensure proper spacing between plants to avoid overcrowding, providing adequate airflow and room for each plant to mature.
By following these steps and providing the optimal growing conditions for your pepper seedlings, you’ll set them up for success. With proper care and attention, your seedlings will grow into robust pepper plants, ready to produce a bountiful crop of flavorful peppers.
Now that you know how to provide optimal growing conditions for your pepper seedlings, let’s move on to the next section, where we’ll learn how to monitor their germination progress and troubleshoot any potential issues that may arise.
Monitoring Pepper Seed Germination
Once you’ve planted your pepper seeds and provided them with the optimal growing conditions, it’s important to monitor their germination progress closely. Monitoring allows you to assess the health and development of your seedlings, identify potential issues early on, and make any necessary adjustments. Here are some key steps to effectively monitor the germination of your pepper seeds:
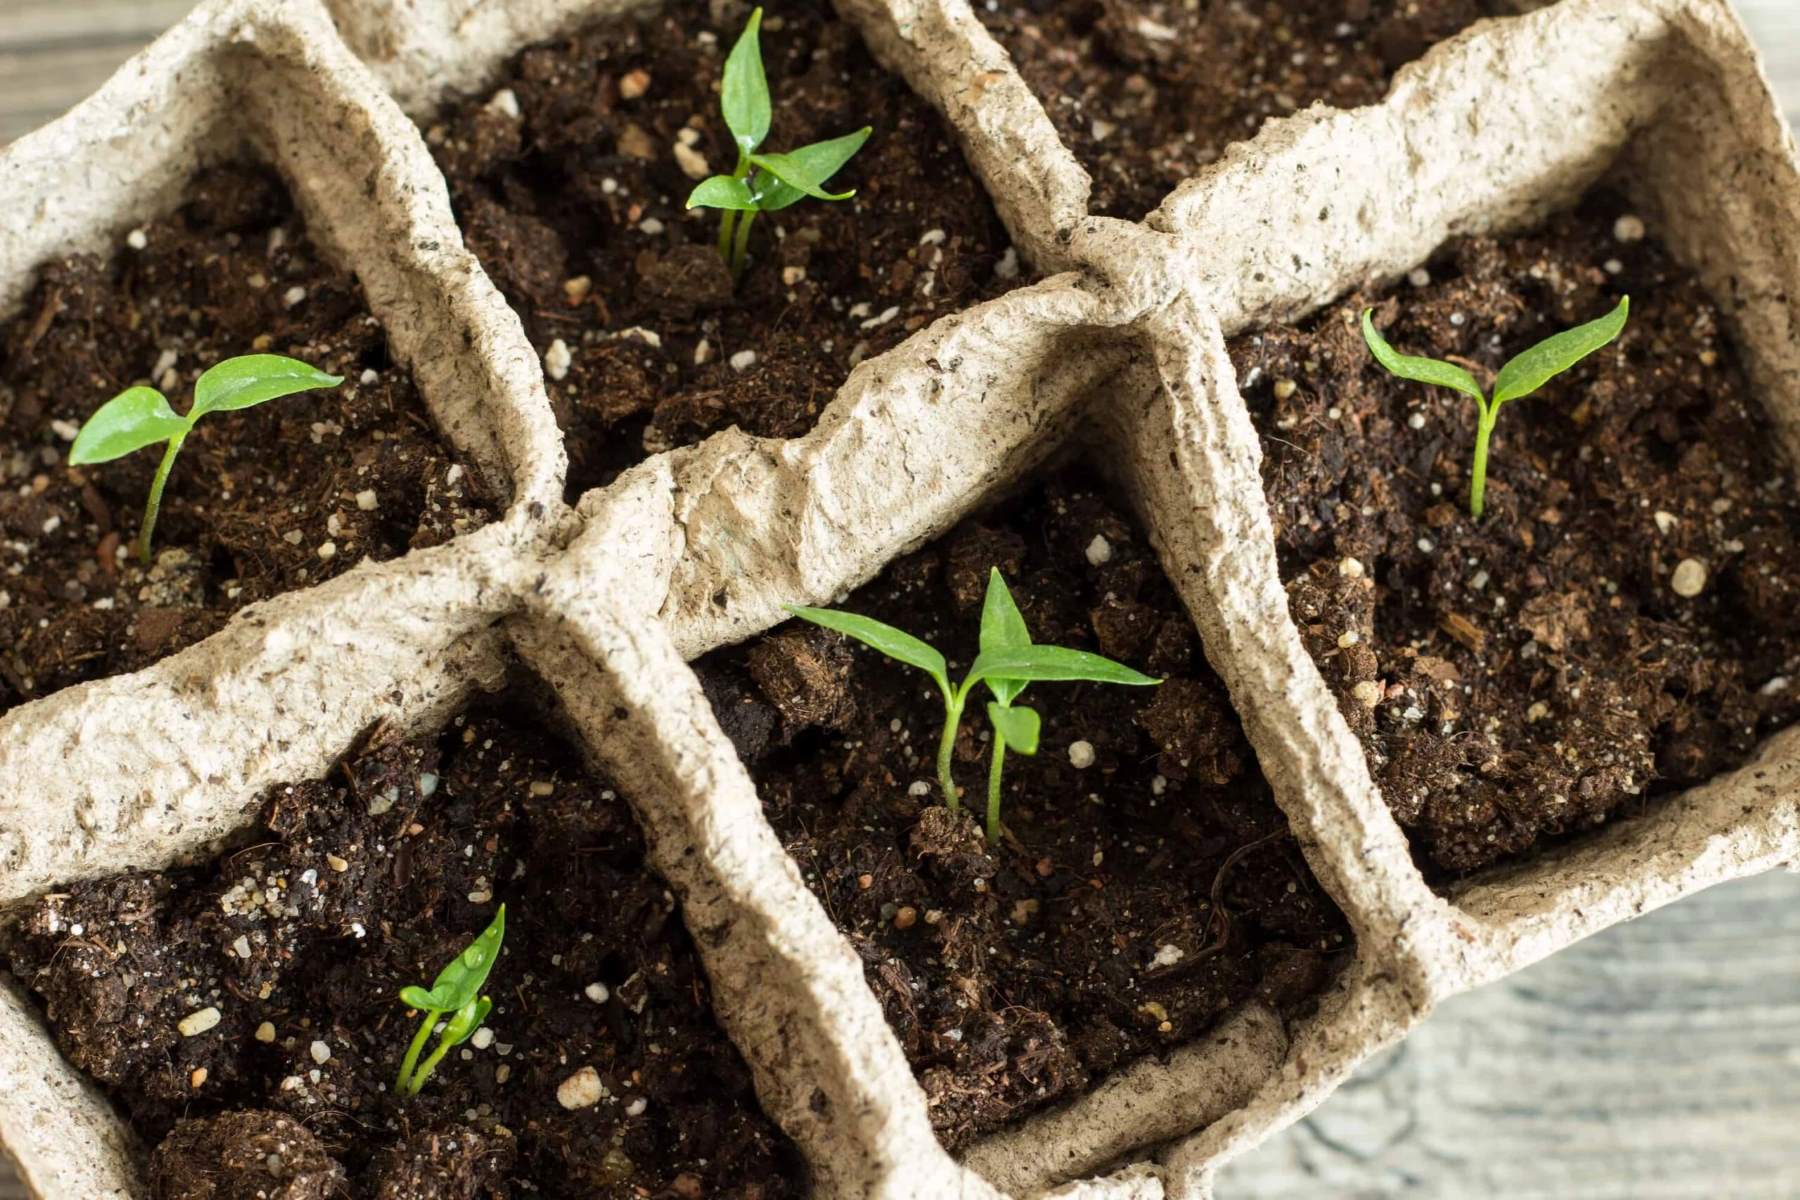
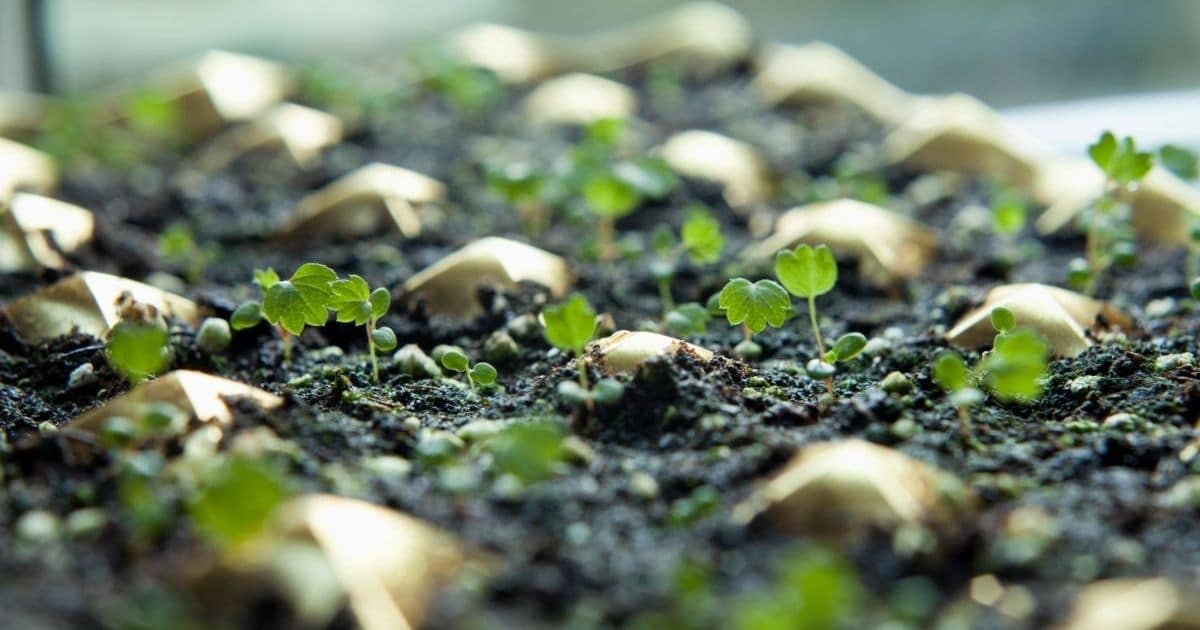
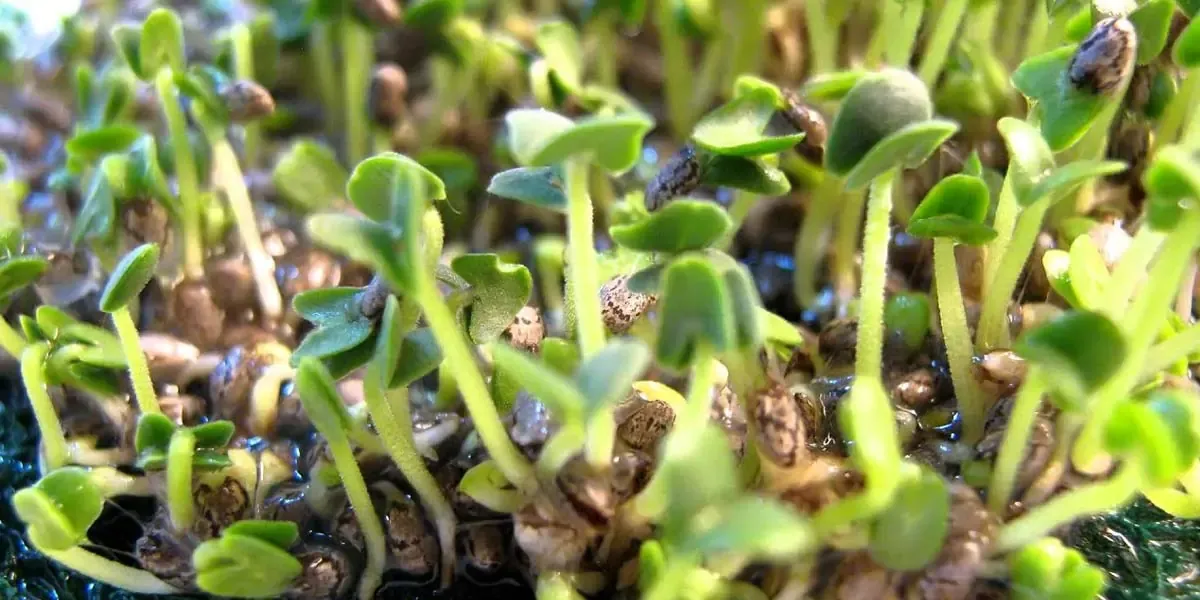
- Observation: Keep a close eye on your seed trays or garden bed to spot the first signs of germination. Typically, pepper seeds begin to sprout within 7 to 14 days, but some varieties may take longer. As the seedlings emerge, they will push through the soil surface, revealing their cotyledons or “seed leaves.”
- Counting Germinated Seeds: Take note of the number of seeds that have successfully germinated. Counting the germinated seeds helps you assess the germination rate and determine the success of your planting efforts. If the germination rate is low, it may indicate issues with seed quality, planting depth, or environmental conditions.
- Growth Assessment: Once the seedlings have emerged, observe their growth and development. Healthy seedlings should exhibit vigorous growth, with sturdy stems and vibrant green leaves. Monitor their height, leaf formation, and overall appearance. If the seedlings appear weak, pale, or leggy, it may indicate inadequate light or nutrient deficiencies.
- Watering: Continue to monitor the moisture levels of the soil. Stick your finger about an inch into the soil to assess moisture content. Water the seedlings whenever the soil feels dry to the touch. Avoid overwatering, as it can lead to root rot and other issues. Adjust your watering schedule as needed based on the prevailing conditions and the needs of your seedlings.
- Pest and Disease Identification: Keep an eye out for any signs of pests or diseases that may affect your pepper seedlings. Common pests include aphids, caterpillars, and spider mites. Look for feeding damage, discoloration, or stunted growth. Similarly, watch for signs of diseases such as damping-off, powdery mildew, or leaf spot. Early identification allows for prompt treatment and minimizes potential damage.
- Support and Care: As your seedlings grow, they may require additional support. Pepper plants tend to grow tall and can become top-heavy. Use stakes or plant supports to prevent them from bending or breaking. Regularly remove any weeds that may compete with your seedlings for nutrients and space. Provide adequate ventilation to prevent the buildup of humidity and discourage the growth of fungal diseases.
By actively monitoring the germination progress of your pepper seeds, you can make informed decisions and take proactive measures to ensure the health and success of your seedlings. Adjusting watering schedules, addressing pest or disease issues promptly, and providing necessary support will contribute to a successful growing season.
Now that we’ve covered how to monitor your pepper seed germination progress, let’s move on to the next section, where we’ll explore common issues that may arise during the germination process and how to troubleshoot them effectively.
Troubleshooting Pepper Seed Germination Issues
While pepper seed germination is generally a straightforward process, there can be certain issues that arise along the way. Understanding and troubleshooting these issues promptly can help improve the germination success of your pepper seeds. Here are some common problems that may occur during pepper seed germination and how to address them:
- Slow Germination: If your pepper seeds are taking longer than expected to germinate, ensure that the temperature is within the optimal range of 70°F (21°C) to 85°F (29°C). If the temperature is too low, consider using a seedling heat mat to provide gentle, consistent warmth. Additionally, check the moisture levels of the soil and adjust watering practices as needed.
- Poor Germination Rate: If you notice a low germination rate, it could be due to several factors. First, check the viability of your seed by conducting a simple germination test before planting. If the seeds are not viable, consider obtaining fresh seeds. Secondly, evaluate the planting depth. Seeds planted too deep may struggle to push through the soil. Adjust the planting depth to around ¼ inch (0.6 cm) for optimal results.
- Damping-Off: Damping-off is a fungal disease that can affect seedlings, causing them to wilt, rot, and eventually die. To prevent damping-off, ensure the soil is well-draining and avoid overwatering. Use clean, sterile seed trays or pots and provide good airflow around your seedlings. If damping-off occurs, remove the affected seedlings immediately and adjust the watering practices to prevent further spread.
- Leggy Seedlings: Leggy seedlings are tall and weak, with long, thin stems. This condition is often caused by insufficient light. If your seedlings are leggy, provide them with more direct sunlight or increase the intensity and duration of artificial grow lights. Ensure the lights are positioned close enough to prevent stretching of the stems. Transplant leggy seedlings deeper into the soil, burying a portion of the stem, to promote sturdier growth.
- Pest Infestations: Aphids, caterpillars, and other pests can target pepper seedlings and hinder their growth. When dealing with pests, start by using organic methods such as handpicking and introducing beneficial insects like ladybugs or lacewings. If the infestation persists, consider using organic pest control products labeled safe for edible plants. Regularly inspect your seedlings for signs of pest activity and take action promptly.
- Nutrient Deficiencies: Nutrient deficiencies can manifest as yellowing leaves, stunted growth, or poor overall development. If you notice such symptoms, it may indicate a lack of essential nutrients. Ensure the soil is well-amended with organic matter, providing a good base of nutrients. Consider supplementing with a balanced organic fertilizer to address any deficiencies. Adjust the fertilizer application rates based on the specific requirements of your pepper plants.
By troubleshooting and addressing any issues that arise during pepper seed germination, you can promote healthier growth and increase the success rate of your seedlings. Regular observation, timely action, and proper modifications will ultimately lead to a more successful growing experience.
Now that you’re equipped with the knowledge to troubleshoot germination issues, let’s move on to the next section where we’ll explore the exciting moment of harvesting your pepper plants!
Harvesting Pepper Plants
After months of careful cultivation and tending to your pepper plants, the exciting moment arrives when it’s time to harvest the delicious fruits of your labor. Harvesting peppers at the right stage of maturity ensures peak flavor and texture. Here are some tips to guide you through the pepper harvesting process:
- Determine Maturity: Different pepper varieties have different maturity stages, so it’s important to identify when each type is ready for harvest. Most peppers are harvested when they reach their full size and color, but before they become overripe. Generally, green peppers can be harvested when they are fully developed, while colored peppers should be allowed to ripen further on the plant until they reach their desired color.
- Check for Color and Firmness: Assess the color and firmness of the peppers to determine their readiness for harvest. Green peppers should have reached their mature green color and be firm to the touch. Colored peppers should display uniform coloration and be slightly softer when gently pressed. Avoid harvesting peppers that appear underdeveloped, wrinkled, or discolored.
- Use Pruning Shears or Scissors: To harvest peppers, use clean and sharp pruning shears or scissors. Cut the pepper stem about ½ inch (1.3 cm) above the fruit, taking care not to damage the plant or nearby fruits. Avoid pulling or twisting the peppers from the plant, as this can lead to damage or breakage.
- Harvesting Chili Peppers: If you’re growing chili peppers, they can be harvested at various stages of maturity depending on your preference. Harvest green chili peppers when they have reached their full size but are still green. For hotter and more mature chili peppers, wait until they develop their desired color, whether it’s red, orange, yellow, or another hue.
- Regular Harvesting: It’s important to regularly harvest ripe peppers to encourage the production of new fruits. Leaving overripe or rotting peppers on the plant can signal to the plant that its reproductive cycle is complete, leading to a decline in productivity. Regularly inspect your pepper plants and harvest any mature peppers to keep the plant productive throughout the growing season.
- Post-Harvest Care: After harvest, handle your peppers with care to avoid bruising or damaging the delicate fruits. Keep them in a cool place, ideally around 50°F (10°C), to maintain their freshness. Avoid washing peppers until you’re ready to use them, as excess moisture can lead to spoilage. Stored properly, peppers can stay fresh for up to a week in the refrigerator.
- Enjoy the Fruits of Your Labor: The moment you’ve been waiting for has arrived! Use your home-grown peppers in a variety of culinary creations—whether it’s adding a kick to your favorite dishes, pickling them for future enjoyment, or preserving them for use during the colder months. There’s nothing quite like savoring the flavors of your own freshly harvested peppers.
By harvesting your peppers at the right stage and handling them with care, you can fully enjoy the fruits of your labor. Remember, harvesting is an ongoing process throughout the growing season, so keep a close eye on your plants and savor the rewards of your successful pepper cultivation.
Now that you’ve become a pepper harvesting expert, it’s time to wrap up our comprehensive guide to pepper seed germination. We hope this information has been valuable and will empower you to continue exploring the joys of gardening and growing your own delicious peppers.
Happy harvesting!
Read more: How Long Until Basil Germinate
Conclusion
Congratulations! You have now completed our comprehensive guide to pepper seed germination. We’ve covered everything from understanding pepper seeds and the factors that affect their germination, to preparing and planting the seeds, and providing optimal growing conditions. We’ve also discussed monitoring the germination progress, troubleshooting any issues that may arise, and finally, the exciting moment of harvesting your pepper plants.
Through this journey, you’ve gained valuable insights into the magical process of bringing pepper seeds to life. You now understand the importance of temperature, moisture, light, and soil quality in ensuring successful pepper seed germination. You’ve learned how to properly prepare and plant your seeds, monitor their progress, and troubleshoot any challenges that may arise along the way.
With each step, you’ve nurtured your pepper seedlings and created the ideal conditions for them to flourish. From the first signs of sprouting to the bountiful harvest, you’ve witnessed the growth and development of your plants, and now you can enjoy the fruits of your labor in the form of flavorful, homegrown peppers.
Gardening is not only a rewarding experience but also a continuous learning process. As you continue your journey, don’t hesitate to explore new pepper varieties, experiment with different growing techniques, and learn from your own successes and challenges. Every season offers new opportunities to refine your skills and expand your garden.
Remember to share your love for gardening with others. Whether it’s passing down your knowledge to family and friends or joining gardening communities, the joy of growing your own peppers can be shared and celebrated together.
We hope this guide has provided you with the information and inspiration you need to confidently germinate and grow your own pepper plants. As you witness the transformation of tiny seeds into vibrant plants, may it strengthen your connection with nature and bring you closer to the beauty and abundance of the plant kingdom.
Now, it’s time for you to take what you’ve learned and put it into practice. Get your hands in the soil, sow those pepper seeds, and nurture them with care. With patience, dedication, and a dash of green thumbs, you’ll be rewarded with a bountiful harvest of homegrown peppers.
Happy gardening and may your pepper plants flourish!
Ready to spruce up your garden with some creative boundaries? Our article on garden fence ideas offers unique designs that can change your outdoor space's look and feel. And if you're curious about nurturing more than just peppers, our guide on seed germination provides valuable insights into getting various plants off to a good start. Whether you're a seasoned gardener or starting fresh, these reads are packed with practical advice to help your garden thrive.
Frequently Asked Questions about How Long Until Pepper Seeds Sprout
Was this page helpful?
At Storables.com, we guarantee accurate and reliable information. Our content, validated by Expert Board Contributors, is crafted following stringent Editorial Policies. We're committed to providing you with well-researched, expert-backed insights for all your informational needs.
0 thoughts on “How Long Until Pepper Seeds Sprout”