Home>Gardening & Outdoor>Garden Tools & Equipment>How To Clean A Lawnmower
Garden Tools & Equipment
How To Clean A Lawnmower
Modified: October 20, 2024
Learn how to properly clean and maintain your lawnmower with our expert tips. Keep your garden tools and equipment in top shape for a healthy lawn.
(Many of the links in this article redirect to a specific reviewed product. Your purchase of these products through affiliate links helps to generate commission for Storables.com, at no extra cost. Learn more)
Introduction
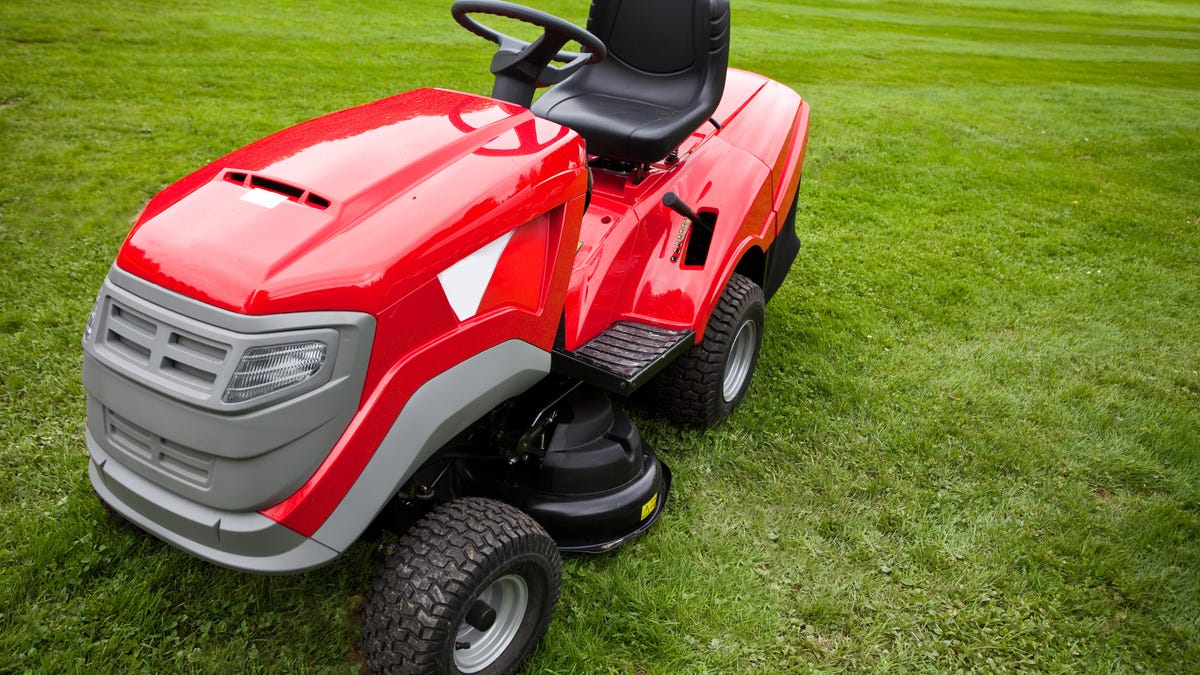
Maintaining a lush, well-manicured lawn requires regular care and attention, and a crucial aspect of this upkeep is ensuring that your lawnmower remains in optimal condition. Over time, mowers can accumulate grass clippings, dirt, and debris, which can impede their performance and longevity. Therefore, learning how to effectively clean your lawnmower is essential for preserving its functionality and enhancing its lifespan.
Regular cleaning not only ensures that your lawnmower operates efficiently but also reduces the risk of corrosion and damage caused by the accumulation of grass and debris. By following a few simple steps, you can keep your lawnmower in top shape, promoting a healthy and vibrant lawn.
In this comprehensive guide, we will walk you through the process of cleaning your lawnmower, offering valuable insights and practical tips to help you maintain this essential garden tool. From safety precautions to step-by-step cleaning instructions, you will gain the knowledge and confidence to keep your lawnmower in pristine condition, ensuring a beautifully manicured lawn for years to come. Let's delve into the essential steps required to effectively clean a lawnmower and keep it running smoothly.
Key Takeaways:
- Regularly cleaning your lawnmower is crucial for maintaining a healthy and vibrant lawn, preventing corrosion, and ensuring efficient mowing sessions.
- Prioritizing safety, meticulous cleaning of the deck, blades, undercarriage, and engine, and thorough reassembly are essential for preserving the longevity and effectiveness of your lawnmower.
Read more: How To Clean A Lawnmower Carburetor
Safety Precautions
Prior to embarking on the cleaning process, it is vital to prioritize safety to prevent accidents and injuries. Here are some essential safety precautions to observe:
- Disconnect the Spark Plug: Before initiating any cleaning procedures, disconnect the lawnmower’s spark plug to eliminate the risk of accidental starts. This precaution ensures that the engine cannot engage while you are working on the mower, preventing potential injuries.
- Work in a Well-Ventilated Area: Cleaning your lawnmower in a well-ventilated space helps to dissipate any fumes from fuel or cleaning agents, reducing the risk of inhaling harmful substances.
- Wear Protective Gear: Utilize appropriate protective gear, such as gloves and safety goggles, to shield yourself from debris, sharp edges, and cleaning agents. Safety goggles safeguard your eyes from potential splashes of cleaning solutions or debris, while gloves provide protection from sharp mower blades and corrosive substances.
- Stabilize the Mower: Ensure that the lawnmower is placed on a stable, level surface before commencing the cleaning process. This prevents the mower from tipping over during cleaning, reducing the risk of accidents.
- Handle Fuel Carefully: If the lawnmower requires fuel drainage as part of the cleaning process, handle the fuel with caution. Use approved containers and follow proper disposal guidelines for old fuel.
By adhering to these safety precautions, you can create a secure environment for cleaning your lawnmower, mitigating potential hazards and ensuring a safe and efficient cleaning process.
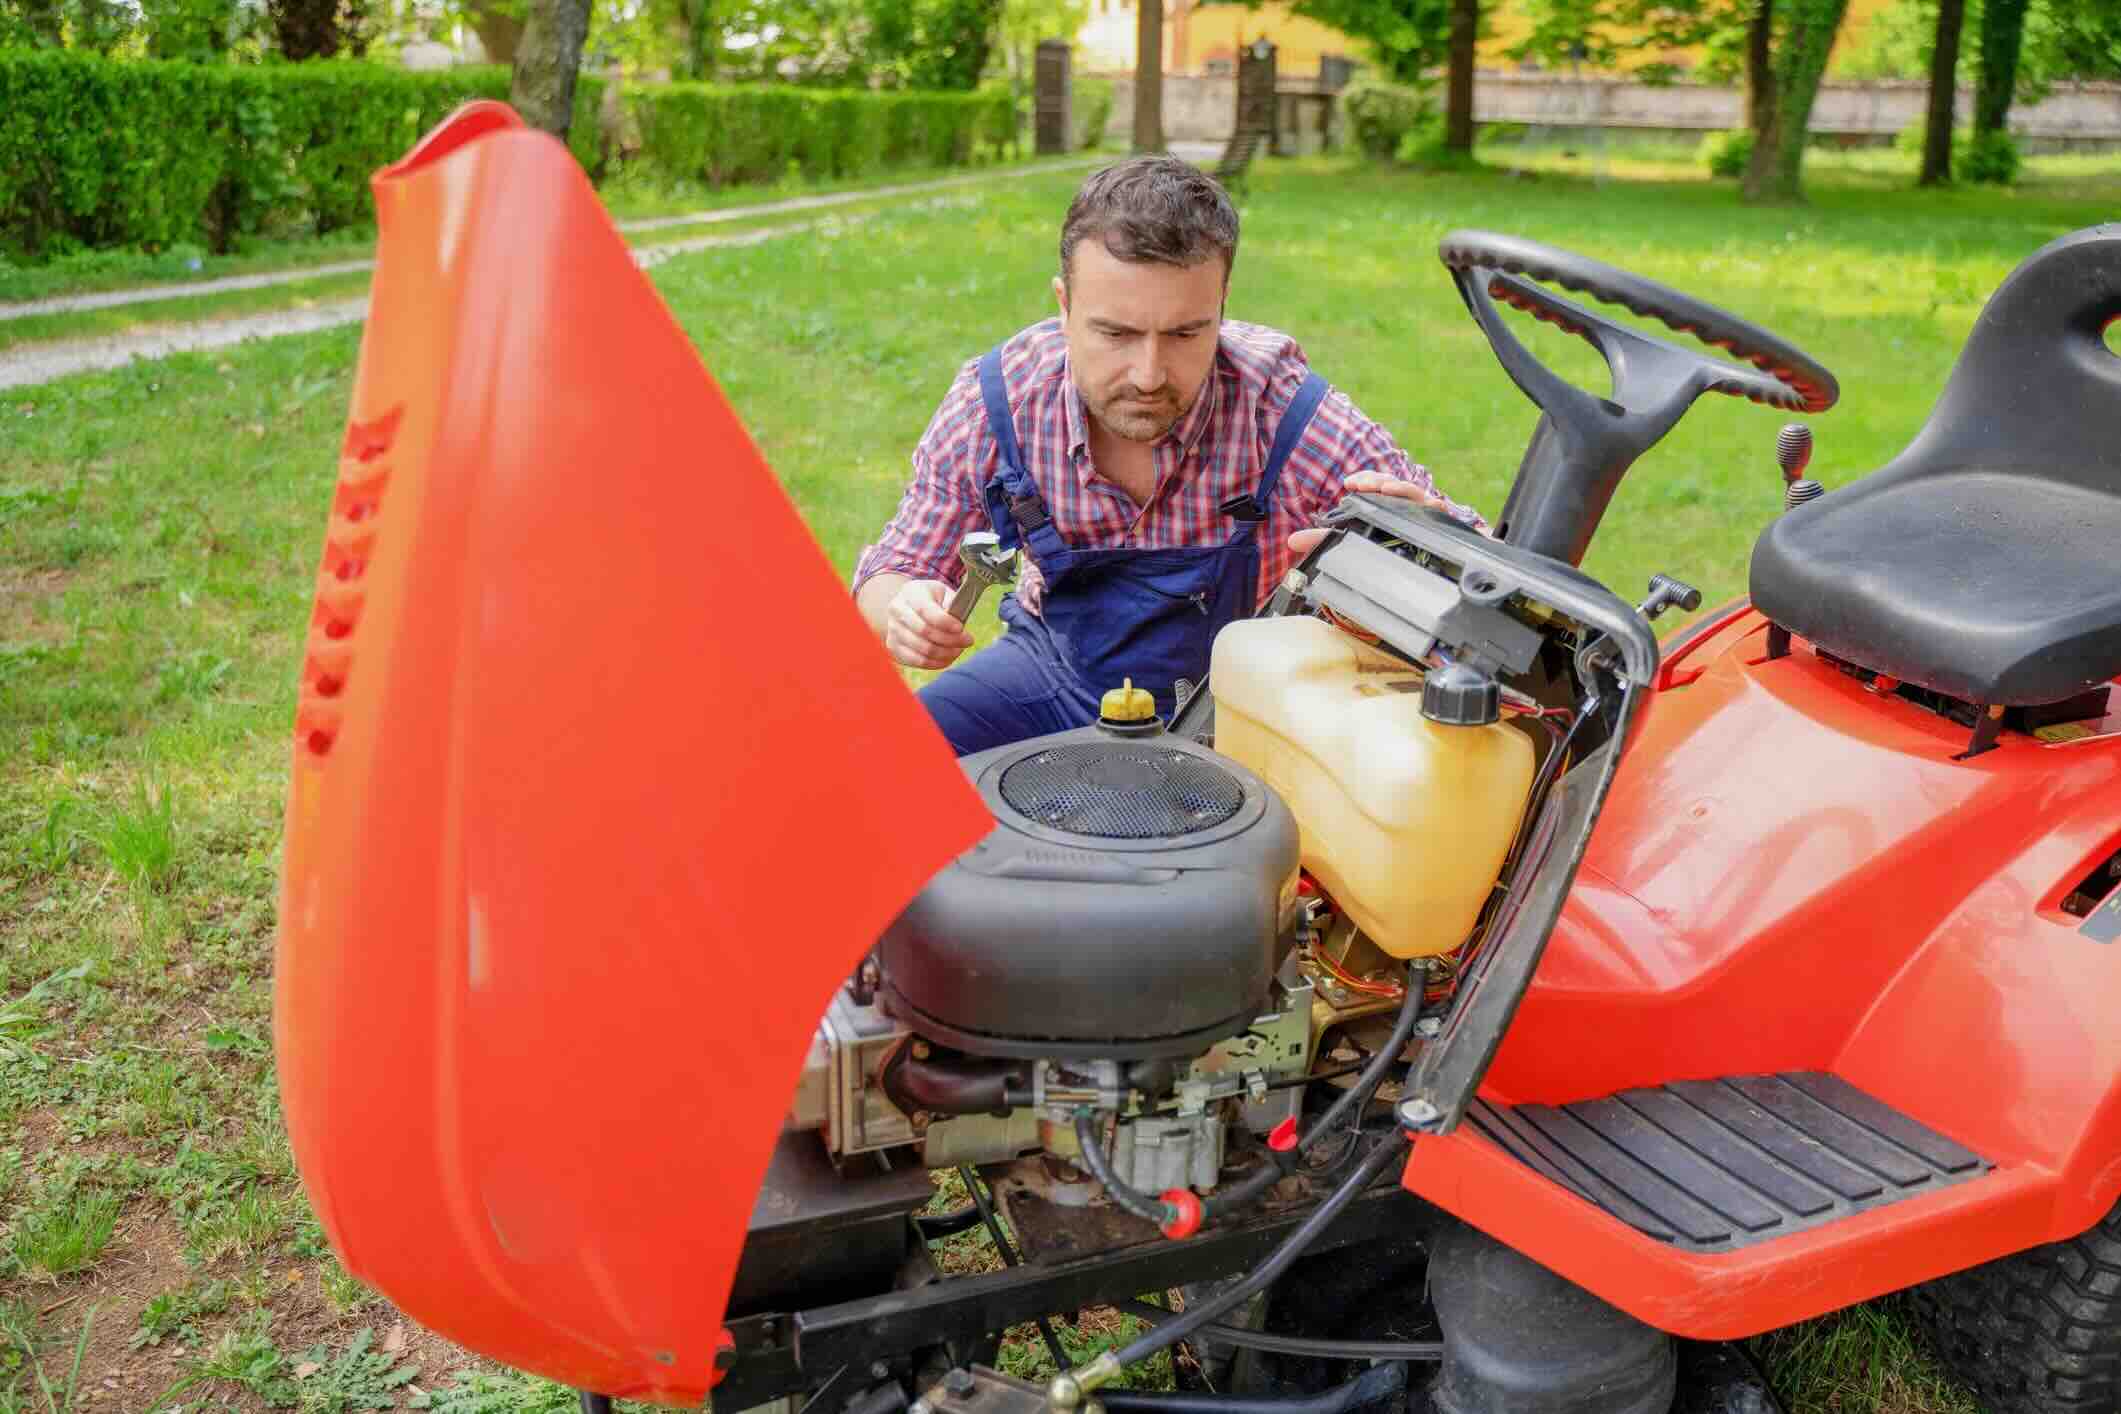
Step 1: Preparation
Before diving into the cleaning process, it’s essential to prepare your lawnmower and gather the necessary tools and materials. Here’s a comprehensive guide to the preparatory steps:
- Gather Essential Tools: Collect the tools required for the cleaning process, including a socket wrench, a putty knife or scraper, a wire brush, a sturdy brush, a garden hose with a spray nozzle, and cleaning rags. These tools will aid in effectively removing debris and grime from various components of the lawnmower.
- Choose a Suitable Location: Select a well-ventilated outdoor area for cleaning the lawnmower. Performing the cleaning process outdoors prevents the accumulation of fumes and allows for easy access to water and disposal facilities.
- Allow the Mower to Cool: If the lawnmower has been recently used, allow it to cool down before initiating the cleaning process. This precaution prevents accidental burns and ensures safe handling of the mower’s components.
- Inspect the Mower: Conduct a brief inspection of the lawnmower to identify any visible damage, loose components, or excessive debris accumulation. This visual assessment helps in determining the areas that require focused cleaning and potential repairs.
- Secure Replacement Parts (if necessary): If the inspection reveals damaged or worn-out components, such as air filters or spark plugs, consider procuring replacement parts to ensure the optimal performance of the lawnmower after cleaning.
By meticulously preparing for the cleaning process, you can streamline the subsequent steps and ensure that you have all the necessary resources at your disposal. This proactive approach sets the stage for a thorough and effective cleaning session, promoting the longevity and efficiency of your lawnmower.
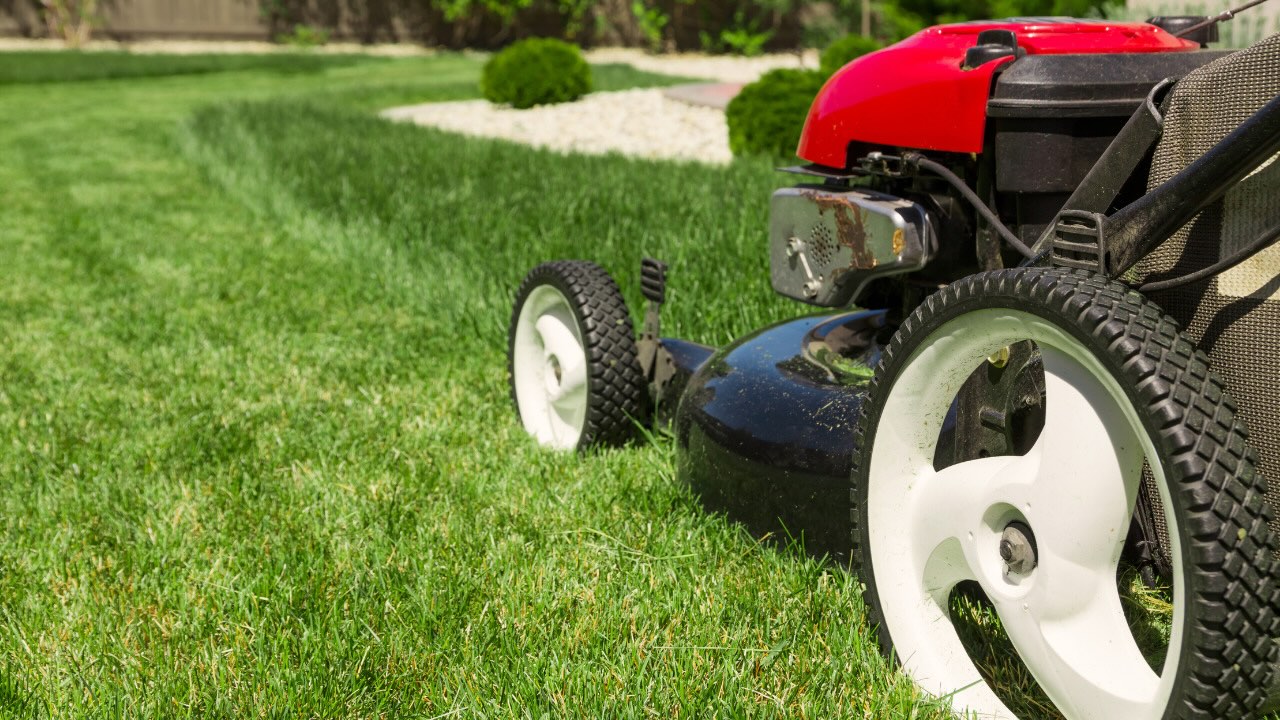
Step 2: Cleaning the Deck
The deck of a lawnmower is particularly susceptible to the accumulation of grass clippings, dirt, and moisture, which can lead to corrosion and hinder the mower’s cutting performance. Here’s a detailed guide on how to effectively clean the deck of your lawnmower:
- Remove Excess Debris: Begin by using a putty knife or scraper to gently dislodge any caked-on grass clippings and debris from the underside of the deck. Take care to avoid damaging the deck’s surface while removing the accumulated debris.
- Scrub the Deck: Utilize a wire brush or a sturdy brush to scrub the deck’s surface, dislodging residual grass clippings and dirt. Focus on areas with stubborn buildup, ensuring that the entire deck is thoroughly cleaned.
- Rinse with Water: Using a garden hose equipped with a spray nozzle, thoroughly rinse the deck to remove loosened debris and grime. Pay close attention to the corners and crevices, ensuring that all residual dirt is effectively washed away.
- Inspect for Damage: While cleaning the deck, take the opportunity to inspect the surface for signs of corrosion, rust, or structural damage. Identifying any issues at this stage allows for timely intervention and prevents potential deterioration of the deck.
- Dry the Deck: After rinsing, use cleaning rags to dry the deck thoroughly. Ensuring that the deck is completely dry helps prevent the onset of rust and corrosion, preserving the structural integrity of the mower.
By diligently cleaning the deck of your lawnmower, you can prevent the accumulation of corrosive debris and maintain a clean, efficient cutting surface. This essential maintenance step contributes to the overall performance and longevity of your lawnmower, ensuring pristine results with each mowing session.
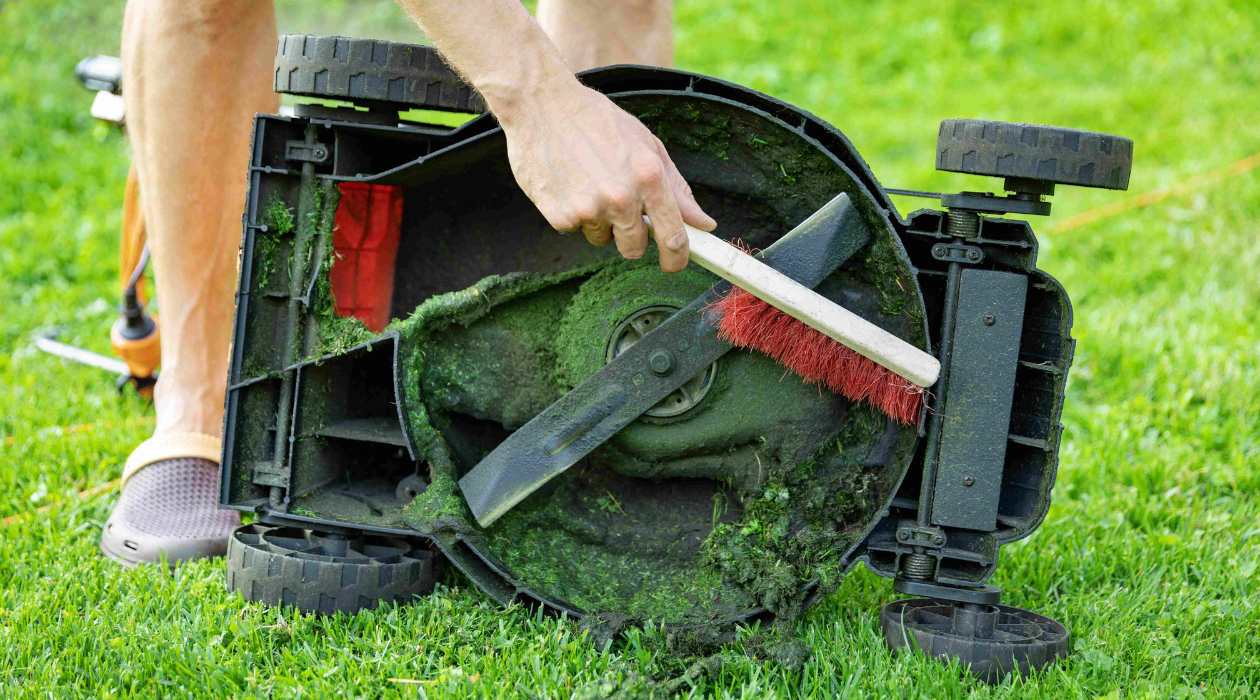
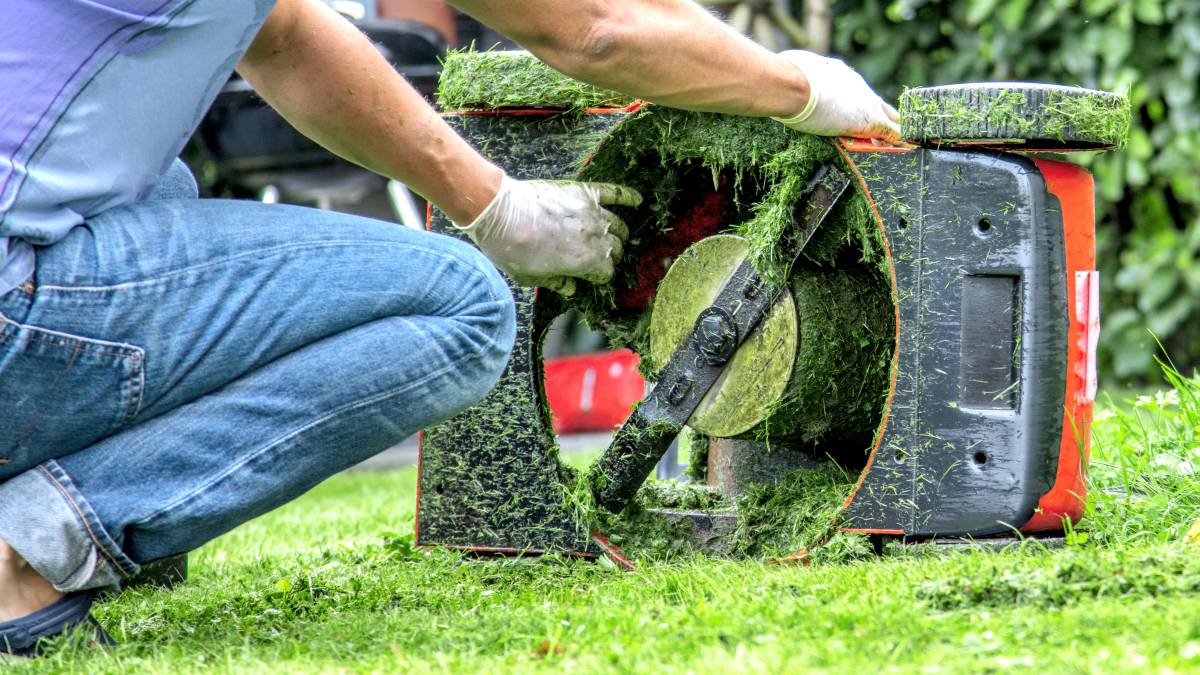
Step 3: Cleaning the Blades
The blades of a lawnmower play a pivotal role in achieving a clean and precise cut, making it crucial to keep them free from debris and grime. Here’s a comprehensive guide on how to effectively clean the blades of your lawnmower:
- Ensure Safety Measures: Prior to handling the blades, ensure that the lawnmower’s spark plug is disconnected to prevent accidental starts. Additionally, wear protective gloves to safeguard your hands from the sharp edges of the blades.
- Remove the Blades: Using a socket wrench, carefully remove the retaining bolt or nut that secures the lawnmower blades in place. Once the blades are detached, handle them with caution to avoid any accidental cuts or injuries.
- Scrape Off Residual Debris: Utilize a putty knife or scraper to gently remove any residual grass clippings, dirt, or hardened debris from the blades. Pay close attention to the cutting edges and the area around the center mounting hole.
- Clean with a Wire Brush: Use a wire brush to thoroughly clean the blades, focusing on removing any stubborn residue and ensuring that the cutting surfaces are free from encrusted debris. This step is essential for restoring the sharpness and efficiency of the blades.
- Rinse and Dry the Blades: After scrubbing the blades, rinse them with water to remove loosened debris and grime. Once cleaned, dry the blades meticulously to prevent the onset of rust and corrosion.
- Inspect and Sharpen: While the blades are removed, take the opportunity to inspect them for signs of damage, wear, or dullness. If necessary, sharpen the blades or consider replacement if they exhibit extensive wear or damage.
- Reinstall the Blades: Once the blades are clean and dry, securely reattach them to the lawnmower, ensuring that the retaining bolt or nut is tightened to the manufacturer’s specifications.
Thoroughly cleaning and maintaining the blades of your lawnmower is essential for achieving a precise and efficient cut, promoting the health and aesthetics of your lawn. By adhering to these cleaning guidelines, you can ensure that your lawnmower operates at its optimal capacity, delivering exceptional results with each mowing session.
Before cleaning your lawnmower, make sure to disconnect the spark plug to prevent accidental starts. Then, use a wire brush to remove grass and debris from the underside of the mower deck. Finally, wash the mower with soapy water and dry it thoroughly before storing.
Read more: How To Clean A Lawnmower Air Filter
Step 4: Cleaning the Undercarriage
The undercarriage of a lawnmower is prone to accumulating a substantial amount of grass clippings, dirt, and moisture, which can impede the mower’s functionality and lead to corrosion. Here’s a detailed guide on how to effectively clean the undercarriage of your lawnmower:
- Elevate the Mower: Safely elevate the front of the lawnmower, allowing access to the undercarriage. You can use a sturdy support or carefully tilt the mower onto its rear wheels, ensuring stability and preventing accidental tipping.
- Remove Excess Debris: Using a putty knife or scraper, gently dislodge any compacted grass clippings and debris from the undercarriage. Take care to clear the area around the discharge chute and the blade housing, ensuring thorough debris removal.
- Scrub and Rinse: Utilize a sturdy brush and a garden hose with a spray nozzle to scrub and rinse the undercarriage, focusing on dislodging residual debris and grime. Pay particular attention to the areas surrounding the blade housing and the discharge chute.
- Inspect for Clogs: While cleaning the undercarriage, inspect the discharge chute and the pathway for any clogs or obstructions. Clear any blockages to ensure unimpeded grass clippings discharge during mowing.
- Dry Thoroughly: After rinsing, use cleaning rags to dry the undercarriage meticulously. Ensuring that this area is completely dry helps prevent the accumulation of moisture, reducing the risk of corrosion.
- Lubricate Moving Parts: Once the undercarriage is clean and dry, consider applying a light coat of lubricant to the moving components, such as the height adjustment mechanisms and the blade spindle. This lubrication helps maintain smooth operation and prevents rust formation.
By meticulously cleaning the undercarriage of your lawnmower, you can prevent the buildup of corrosive debris and maintain unobstructed grass clippings discharge, ensuring optimal mowing performance. This essential maintenance step contributes to the longevity and efficiency of your lawnmower, facilitating pristine results with each mowing session.
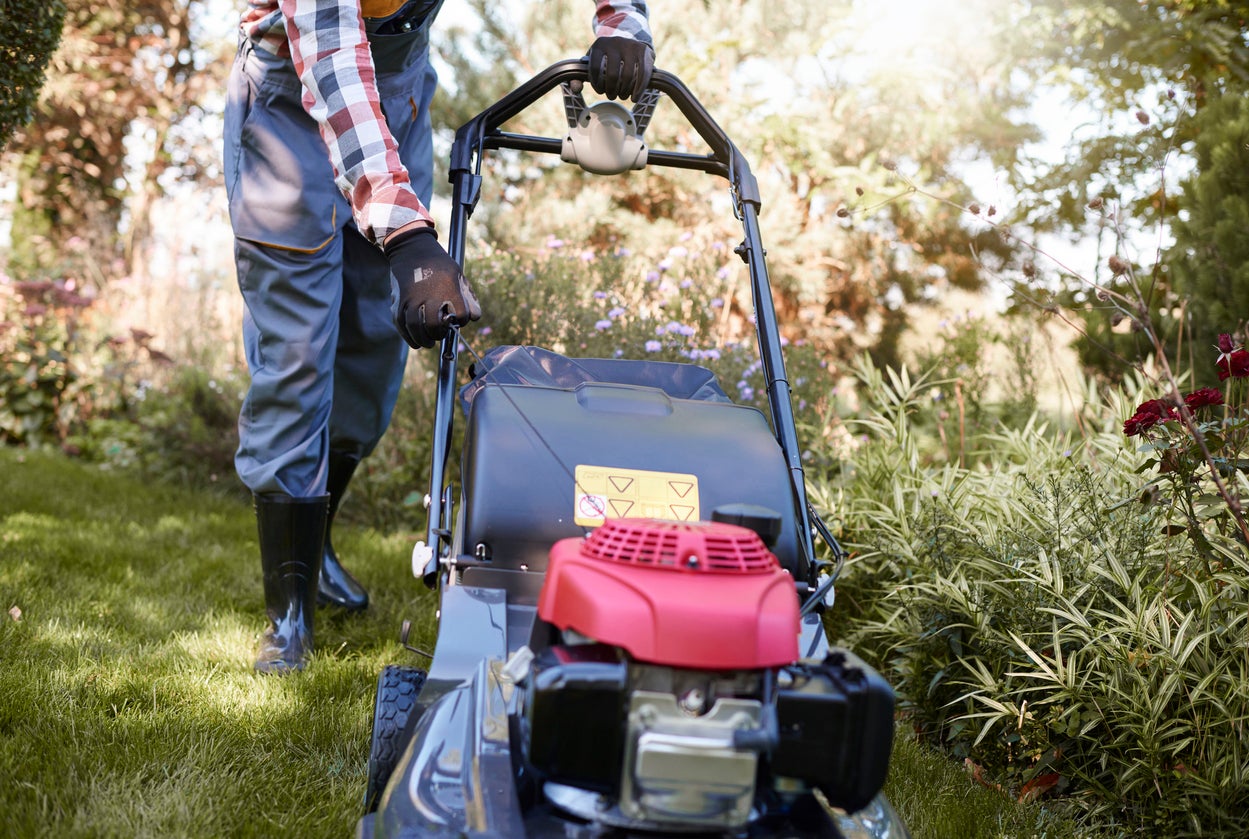
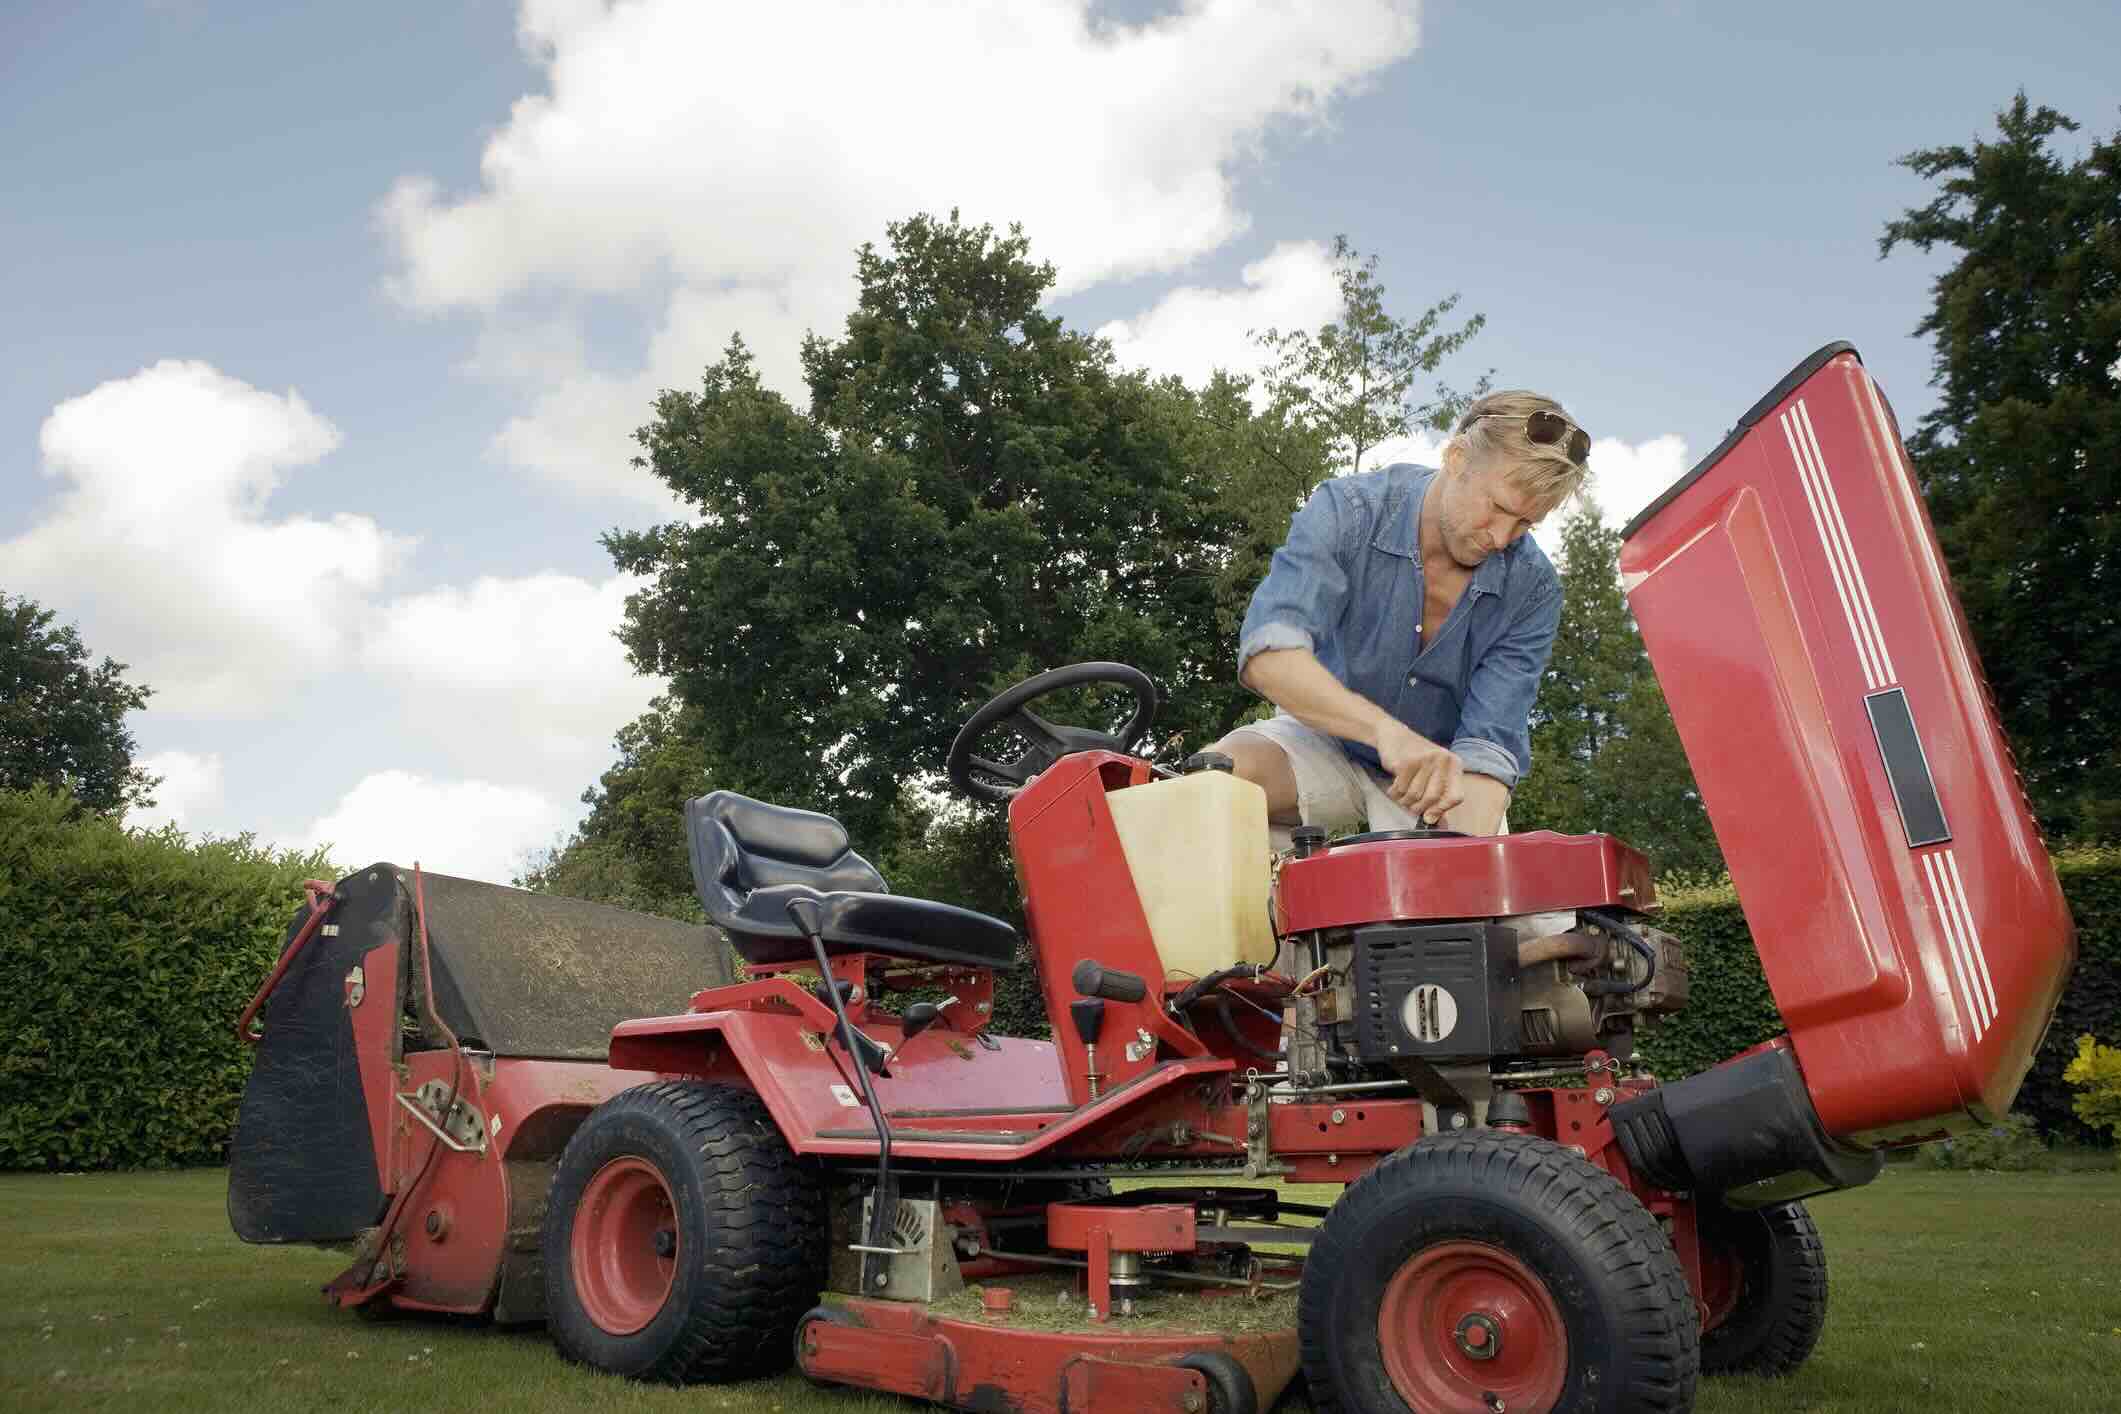
Step 5: Cleaning the Engine
While the engine of a lawnmower is a resilient and vital component, it is susceptible to the accumulation of dirt, grass clippings, and debris, which can impede its performance and longevity. Here’s a comprehensive guide on how to effectively clean the engine of your lawnmower:
- Disconnect the Spark Plug: Prior to cleaning the engine, disconnect the lawnmower’s spark plug to prevent accidental starts. This precaution ensures that the engine cannot engage while you are working on the mower, promoting a safe cleaning process.
- Remove Debris and Residue: Use a soft brush or compressed air to gently remove loose debris, grass clippings, and dirt from the engine’s exterior. Take care to avoid pushing debris into the engine’s openings or sensitive components.
- Clean the Cooling Fins: If the engine is equipped with cooling fins, carefully clean them using a soft brush or a specialized fin cleaning tool. Clearing away debris from the fins promotes optimal airflow and prevents the engine from overheating during operation.
- Inspect and Clean the Air Filter: Remove the air filter and inspect it for dirt and debris accumulation. If necessary, clean the air filter according to the manufacturer’s guidelines or replace it with a new filter to ensure unimpeded airflow to the engine.
- Check the Oil Level: Take this opportunity to check the lawnmower’s oil level and condition. If the oil appears dirty or is at an inadequate level, consider performing an oil change to maintain the engine’s optimal lubrication.
- Inspect for Oil and Fuel Leaks: While cleaning the engine, inspect for any signs of oil or fuel leaks. Addressing leaks promptly prevents potential damage to the engine and ensures safe and efficient operation.
- Reconnect the Spark Plug: Once the engine is clean and any necessary maintenance tasks are completed, reconnect the spark plug to prepare the lawnmower for subsequent use.
By conscientiously cleaning and inspecting the engine of your lawnmower, you can ensure that it operates at its peak performance, delivering reliable and efficient functionality. This meticulous maintenance step contributes to the longevity and effectiveness of your lawnmower, allowing for consistent and optimal mowing results.
Step 6: Reassembling the Lawnmower
After completing the meticulous cleaning and maintenance tasks, it’s time to reassemble the various components of your lawnmower to prepare it for future use. Here’s a comprehensive guide on the essential steps for reassembling your lawnmower:
- Securely Reattach the Blades: If you removed the lawnmower blades for cleaning or maintenance, securely reattach them to the blade spindle, ensuring that the retaining bolt or nut is tightened to the manufacturer’s specifications. This step is crucial for ensuring safe and efficient mowing operations.
- Reinstall the Air Filter: If the air filter was removed for cleaning or replacement, reinstall it according to the manufacturer’s guidelines, ensuring a secure and proper fit. A clean and functional air filter is essential for maintaining optimal engine performance.
- Reconnect the Spark Plug: Ensure that the lawnmower’s spark plug is securely reconnected, providing the necessary electrical connection for starting and operating the mower. This step is vital for initiating the engine during subsequent use.
- Inspect and Replenish Fluids: Check the lawnmower’s oil level and condition, topping up or replacing the oil as needed to ensure proper lubrication of the engine. Additionally, verify the fuel level and quality, replenishing or replacing the fuel if necessary for optimal performance.
- Perform a Functional Check: Before using the lawnmower, conduct a brief functional check to ensure that all components are securely reassembled and that the mower operates smoothly. Engage the engine briefly to verify that it starts and runs effectively.
- Adjust and Test: If the lawnmower features adjustable components such as cutting height settings, ensure that they are appropriately configured for your lawn’s requirements. Test the mower on a small patch of grass to verify its cutting performance and operational efficiency.
By diligently reassembling your lawnmower and conducting a thorough functional check, you can ensure that it is primed for reliable and efficient mowing operations. This meticulous attention to reassembly contributes to the longevity and effectiveness of your lawnmower, facilitating consistent and optimal mowing results.
Conclusion
Maintaining a clean and well-maintained lawnmower is essential for achieving a beautifully manicured lawn and ensuring the longevity of your valuable garden tool. By following the comprehensive cleaning and maintenance steps outlined in this guide, you can preserve the performance and efficiency of your lawnmower while promoting the health and aesthetics of your lawn.
From prioritizing safety precautions to meticulously cleaning the deck, blades, undercarriage, engine, and reassembling the mower, each step plays a crucial role in ensuring that your lawnmower operates at its optimal capacity. By adhering to these guidelines, you can prevent the accumulation of corrosive debris, maintain sharp and efficient cutting surfaces, and safeguard the engine’s performance, ultimately contributing to the pristine results of each mowing session.
Regular cleaning and maintenance not only enhance the functionality of your lawnmower but also reduce the risk of costly repairs and extend its lifespan. Additionally, a well-maintained lawnmower contributes to a healthier and more attractive lawn, elevating the overall aesthetics of your outdoor space.
By integrating these cleaning and maintenance practices into your lawn care routine, you can enjoy the benefits of a reliable and efficient lawnmower, ensuring that your lawn remains a source of pride and beauty. Embrace the proactive approach to lawnmower care outlined in this guide, and reap the rewards of a lush, well-manicured lawn for years to come.
Frequently Asked Questions about How To Clean A Lawnmower
Was this page helpful?
At Storables.com, we guarantee accurate and reliable information. Our content, validated by Expert Board Contributors, is crafted following stringent Editorial Policies. We're committed to providing you with well-researched, expert-backed insights for all your informational needs.


0 thoughts on “How To Clean A Lawnmower”