Home>Garden Essentials>How To Make Flax Seed Gel
Garden Essentials
How To Make Flax Seed Gel
Modified: August 29, 2024
Learn how to make your own flax seed gel for your garden and achieve healthier, lusher plants. Use this natural, cost-effective solution today!
(Many of the links in this article redirect to a specific reviewed product. Your purchase of these products through affiliate links helps to generate commission for Storables.com, at no extra cost. Learn more)
Introduction
Welcome to the world of natural beauty remedies! If you’re looking for a budget-friendly and chemical-free solution to tame your hair and promote healthy skin, then flax seed gel is your ultimate go-to product. Flax seed gel, also known as “flaxseed gel” or “flax gel,” is a versatile and nourishing substance that can be easily made at home. Not only does it offer numerous benefits for your hair and skin, but it also provides an eco-friendly alternative to commercial hair gels and beauty products.
Flax seed gel is derived from the seeds of the flax plant, scientifically known as Linum usitatissimum. Historically, flax seeds have been recognized for their nutritional value and medicinal properties. The gel extracted from these seeds contains essential fatty acids, vitamins, and minerals that play a vital role in maintaining the health and appearance of your hair and skin.
Whether you have curly, straight, or textured hair, flax seed gel can work wonders for you. It helps to define and enhance curls, smooth frizz, moisturize dry hair, and promote overall hair health. Additionally, flax seed gel can be used as a natural styling product and can provide a gentle hold without the stiffness and stickiness often associated with commercial gels.
Not only is flax seed gel beneficial for your hair, but it is also a fantastic skincare product. It has soothing and anti-inflammatory properties that can calm irritated skin, reduce redness, and promote a healthy complexion. Flax seed gel is suitable for all skin types and can be used as a moisturizer, face mask, or even as a base for homemade beauty concoctions.
The best part about flax seed gel is that it is incredibly easy and cost-effective to make at home. With just a few simple ingredients and a little bit of time, you can create your own customized flax seed gel that is free from harmful chemicals and additives commonly found in commercial products. By making your own flax seed gel, you have complete control over the ingredients, ensuring that you are using only the best for your hair and skin.
In this article, we will walk you through the step-by-step process of making flax seed gel. We will also discuss its application and share some useful tips and tricks to help you get the most out of this amazing natural beauty product. So, get ready to embark on a journey towards healthier hair and glowing skin with the magic of flax seed gel!
Key Takeaways:
- Flax seed gel is a natural, DIY beauty product that moisturizes hair, defines curls, reduces frizz, and nourishes skin. It’s easy to make at home and free from harmful chemicals.
- Making flax seed gel is a simple process that involves soaking, cooking, straining, and customizing the gel. It can be used for hair styling and as a moisturizer or face mask for the skin.
Read more: How To Use Flax Seed Gel For Hair
Benefits of Flax Seed Gel
Flax seed gel offers a multitude of benefits for your hair and skin. Here are some of the key advantages this natural beauty product provides:
- Moisturizes and Hydrates: Flax seed gel is packed with essential fatty acids, including omega-3, that help to moisturize and hydrate your hair and skin. It penetrates deeply into the hair shaft, providing long-lasting hydration and preventing dryness.
- Defines Curls: If you have curly or wavy hair, flax seed gel can be a game-changer. It helps to enhance and define your natural curls, giving them a more bouncy and polished look.
- Reduces Frizz: Frizzy hair can be a constant struggle, but flax seed gel can come to the rescue. It smooths down frizz and flyaways, leaving your hair looking sleek and well-managed.
- Stimulates Hair Growth: Flax seed gel promotes hair growth due to its high concentration of omega-3 fatty acids. These essential nutrients nourish the hair follicles, strengthen the roots, and stimulate healthy hair growth.
- Soothes Itchy Scalp: If you have an itchy or irritated scalp, flax seed gel can provide relief. Its anti-inflammatory properties help to soothe the scalp, reduce itchiness, and alleviate discomfort.
- Conditions and Softens: Flax seed gel acts as a natural conditioner, leaving your hair soft, smooth, and manageable. It detangles knots and adds a luxurious feel to your strands.
- Nourishes the Skin: Flax seed gel is not just beneficial for your hair; it also nourishes and rejuvenates your skin. It can help to improve skin texture, reduce inflammation, and leave your complexion looking radiant and youthful.
- Safe and Natural: Unlike many commercial hair gels and beauty products, flax seed gel is free from harmful chemicals, silicones, and artificial fragrances. It is a natural and eco-friendly alternative that is gentle on your hair and skin.
With its array of benefits, flax seed gel is truly a beauty powerhouse. Whether you’re looking to tame unruly hair, promote hair growth, or nourish your skin, flax seed gel can provide the solution you’ve been searching for. So, let’s dive into the process of making this incredible natural beauty product!
Materials Needed
Making flax seed gel at home requires only a few simple and readily available materials. Here’s what you’ll need:
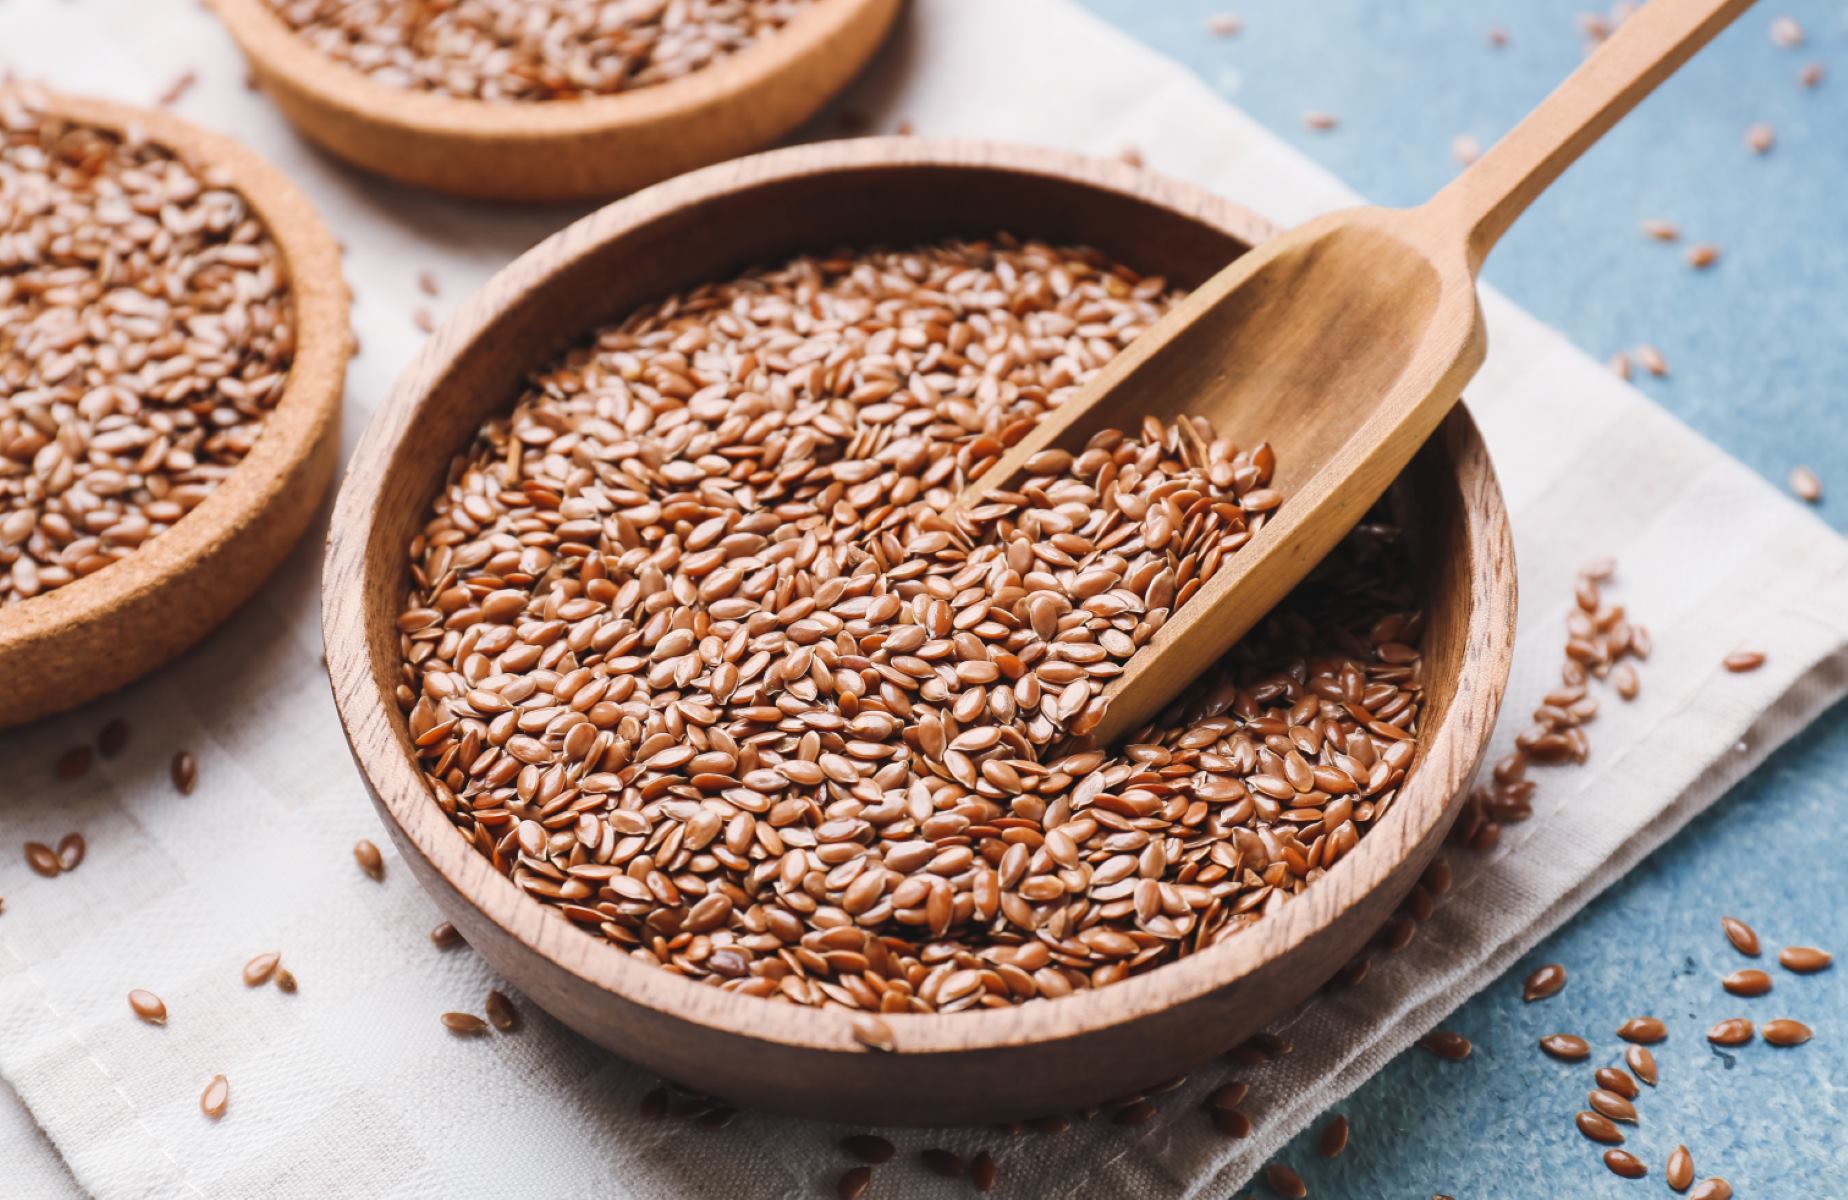
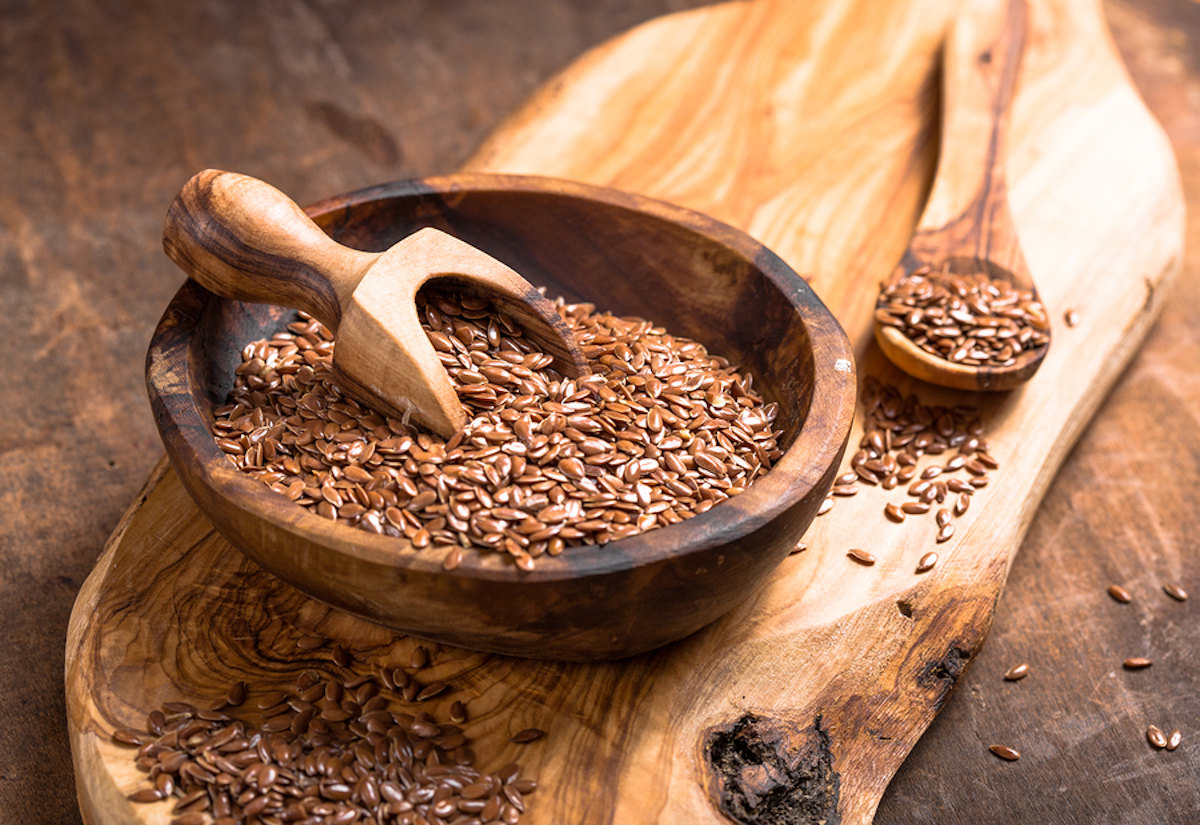
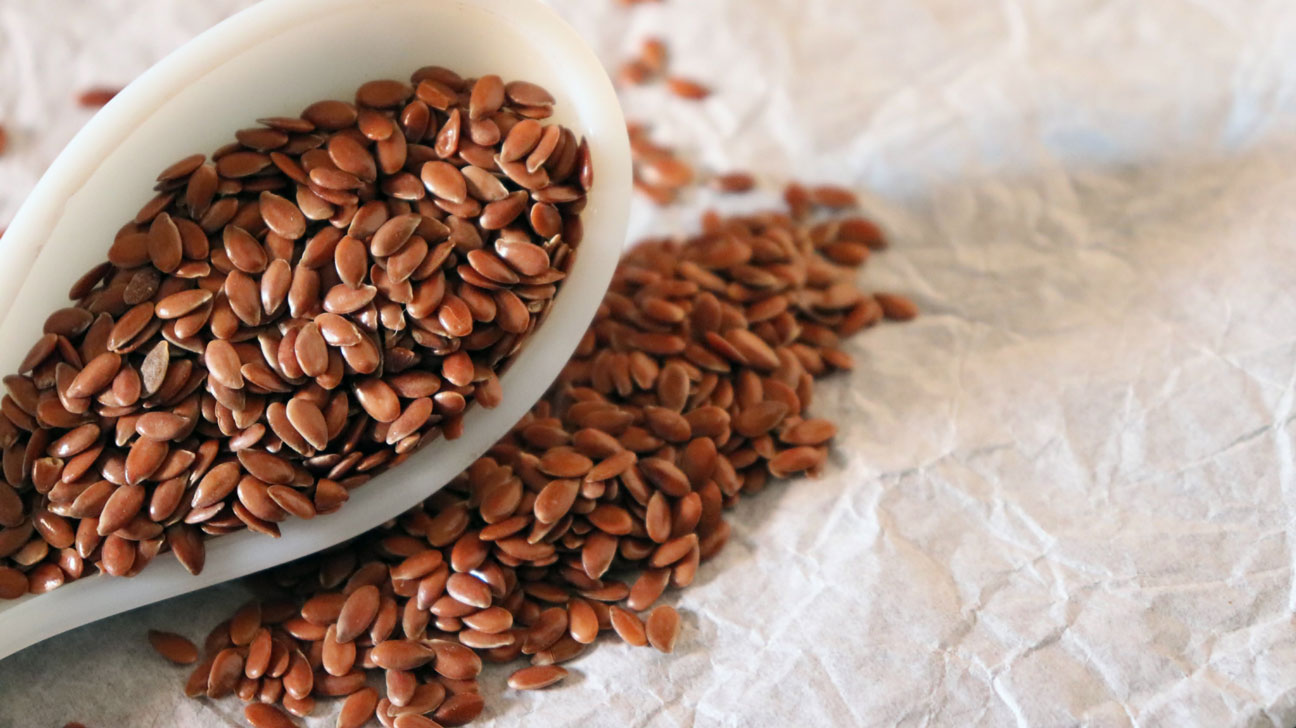
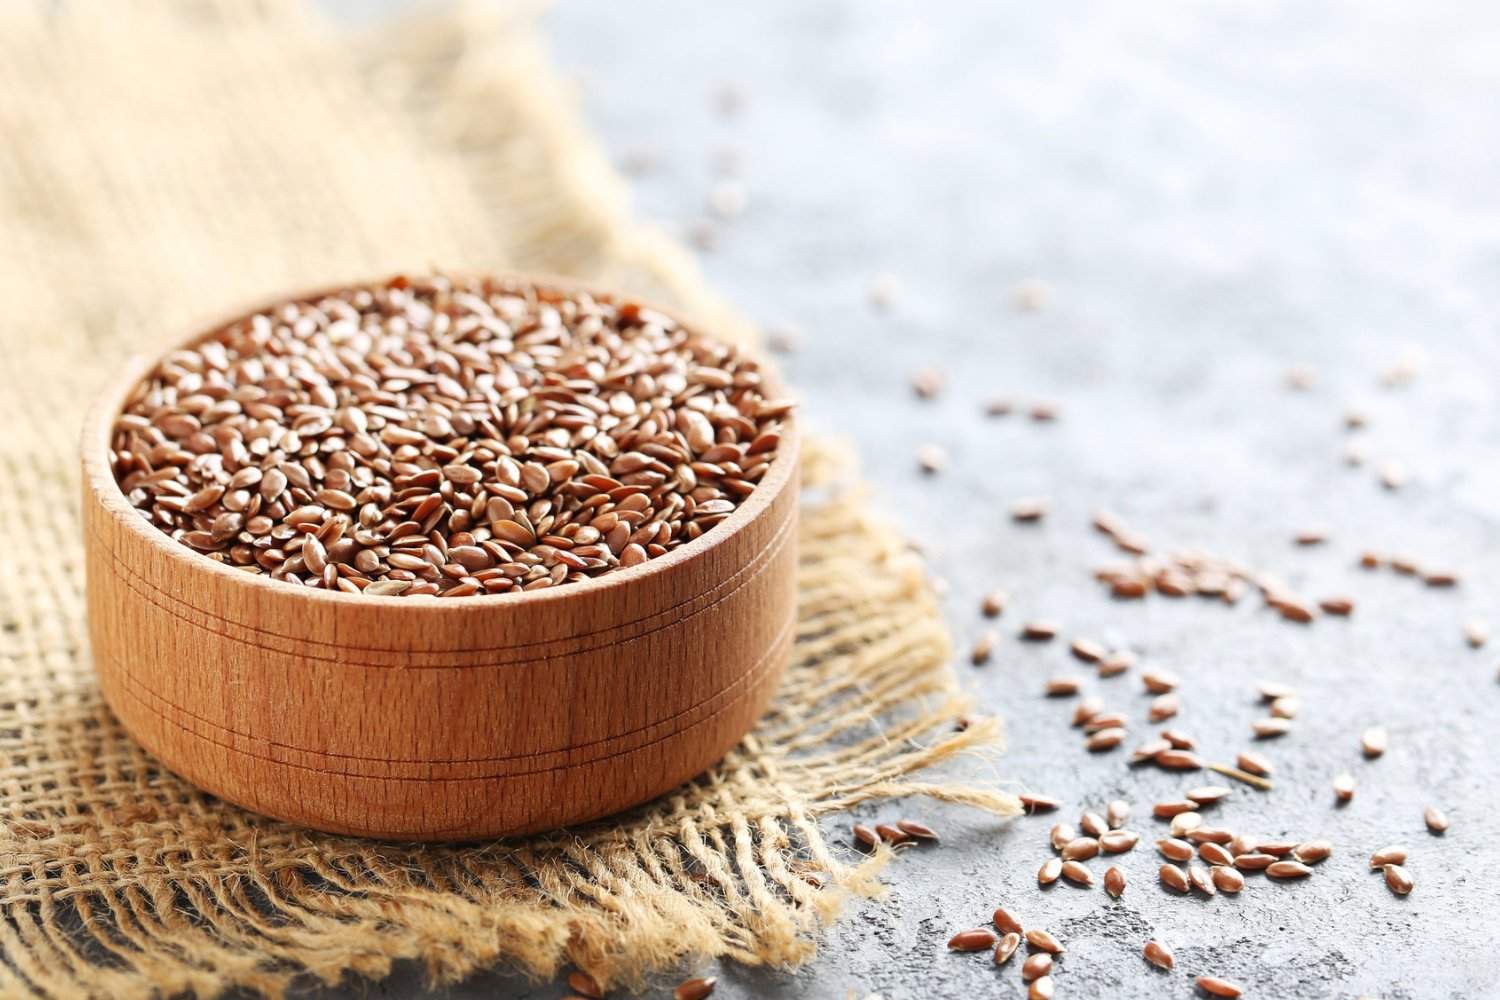
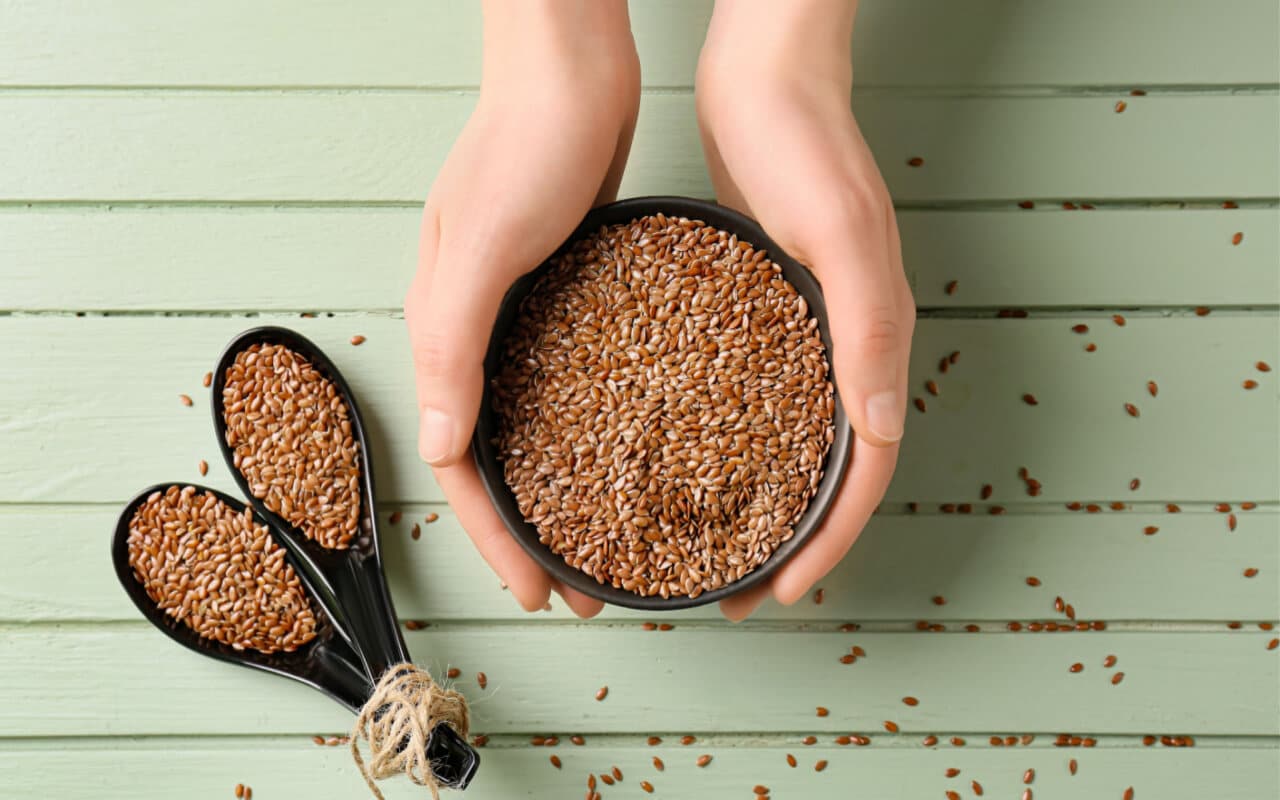
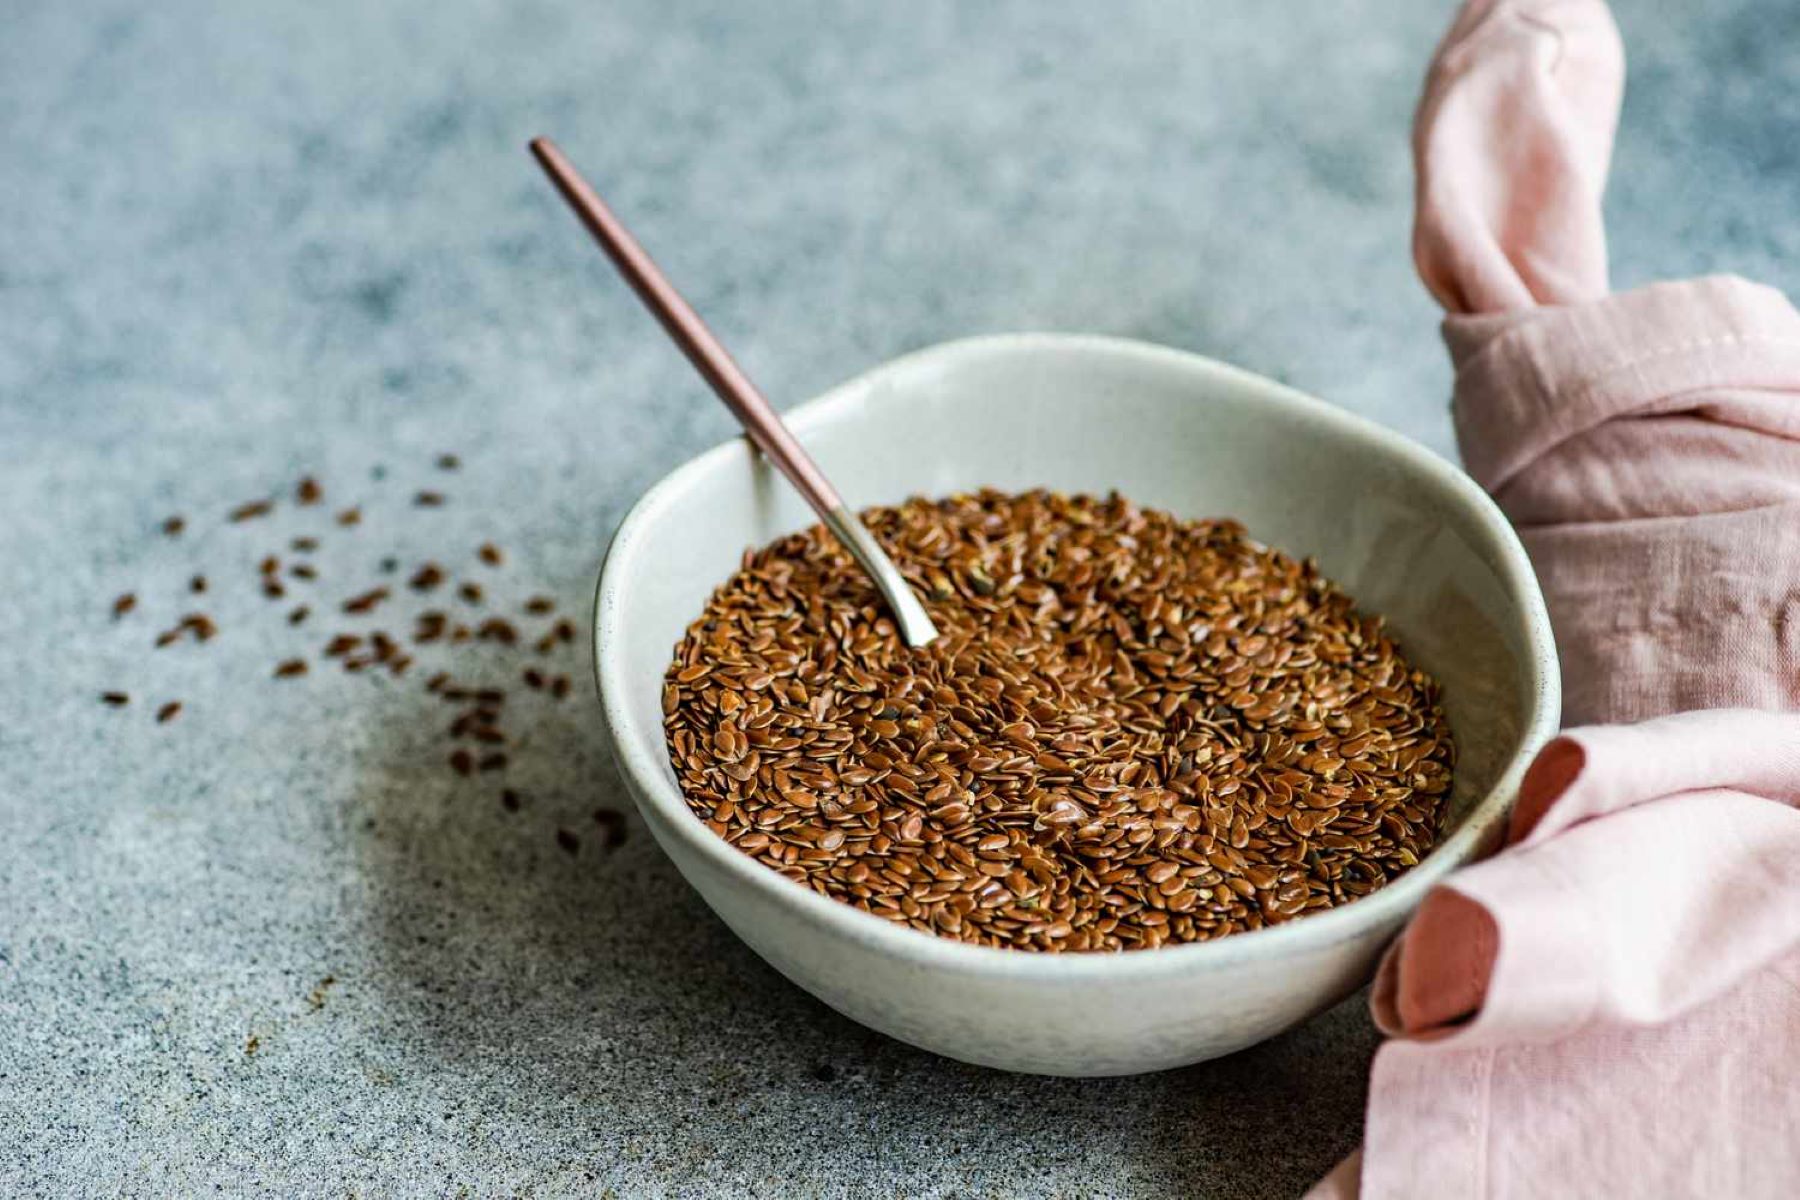
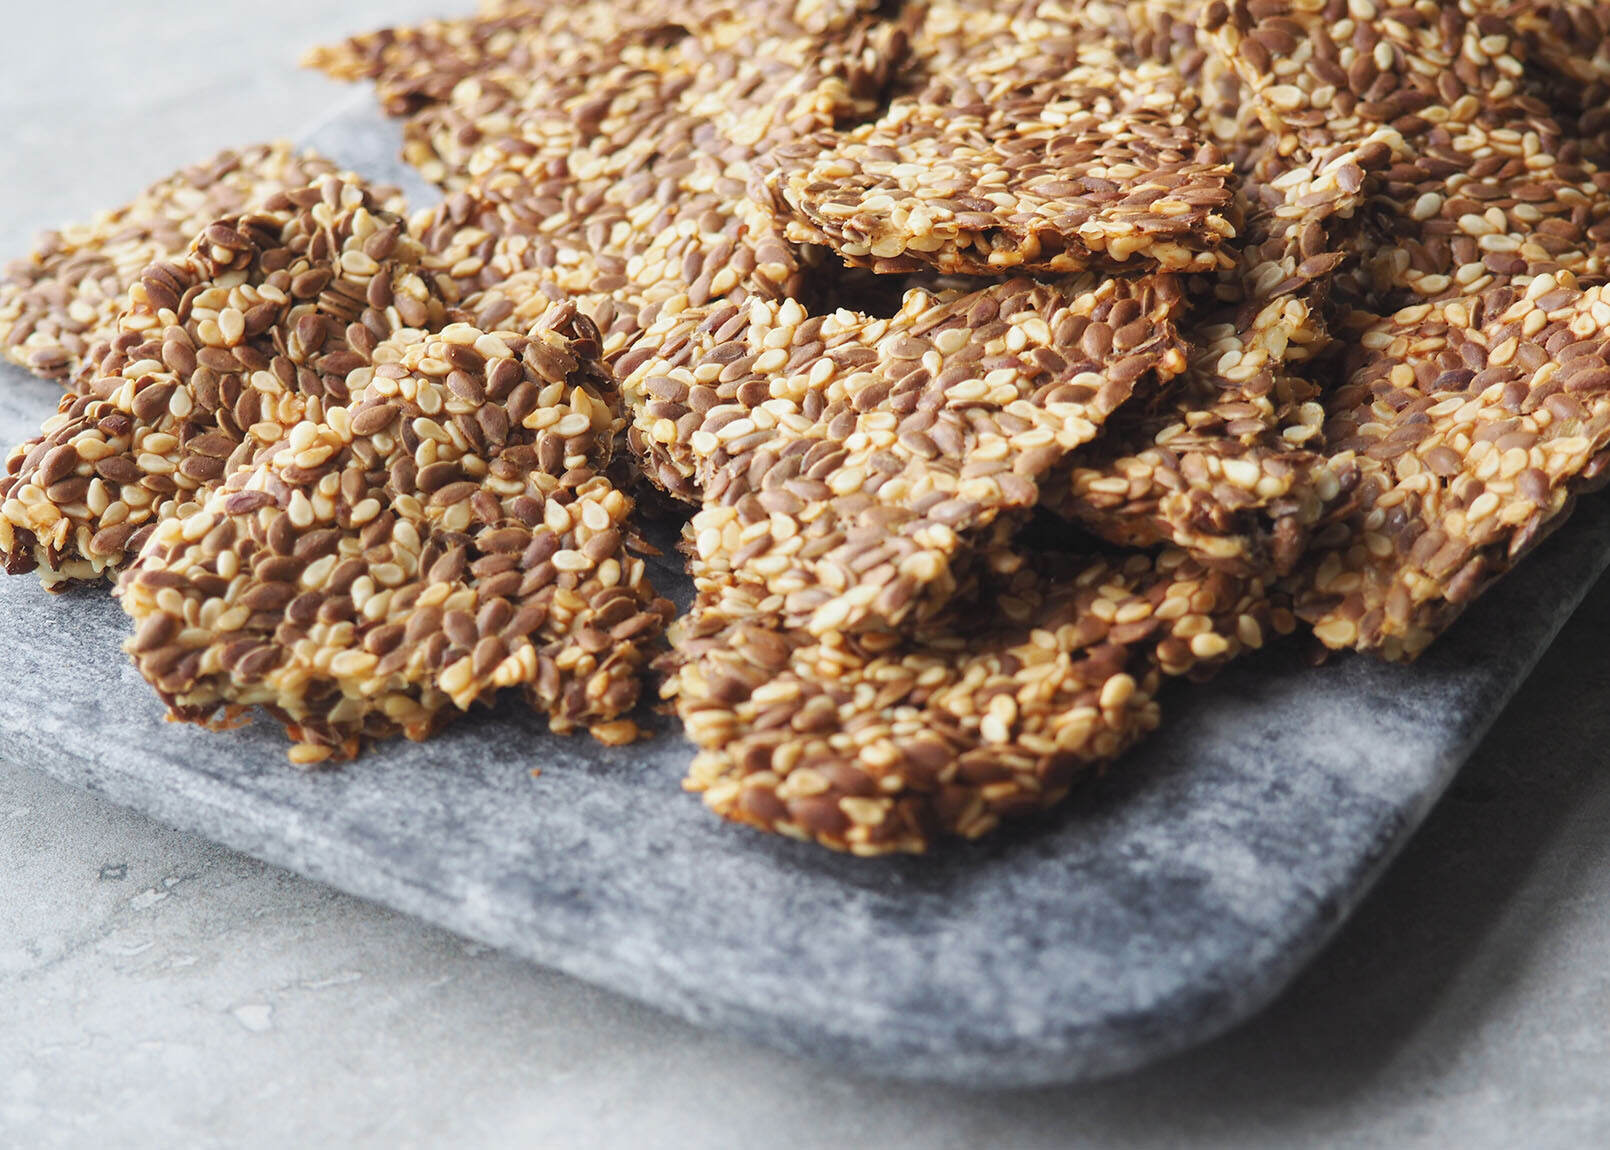
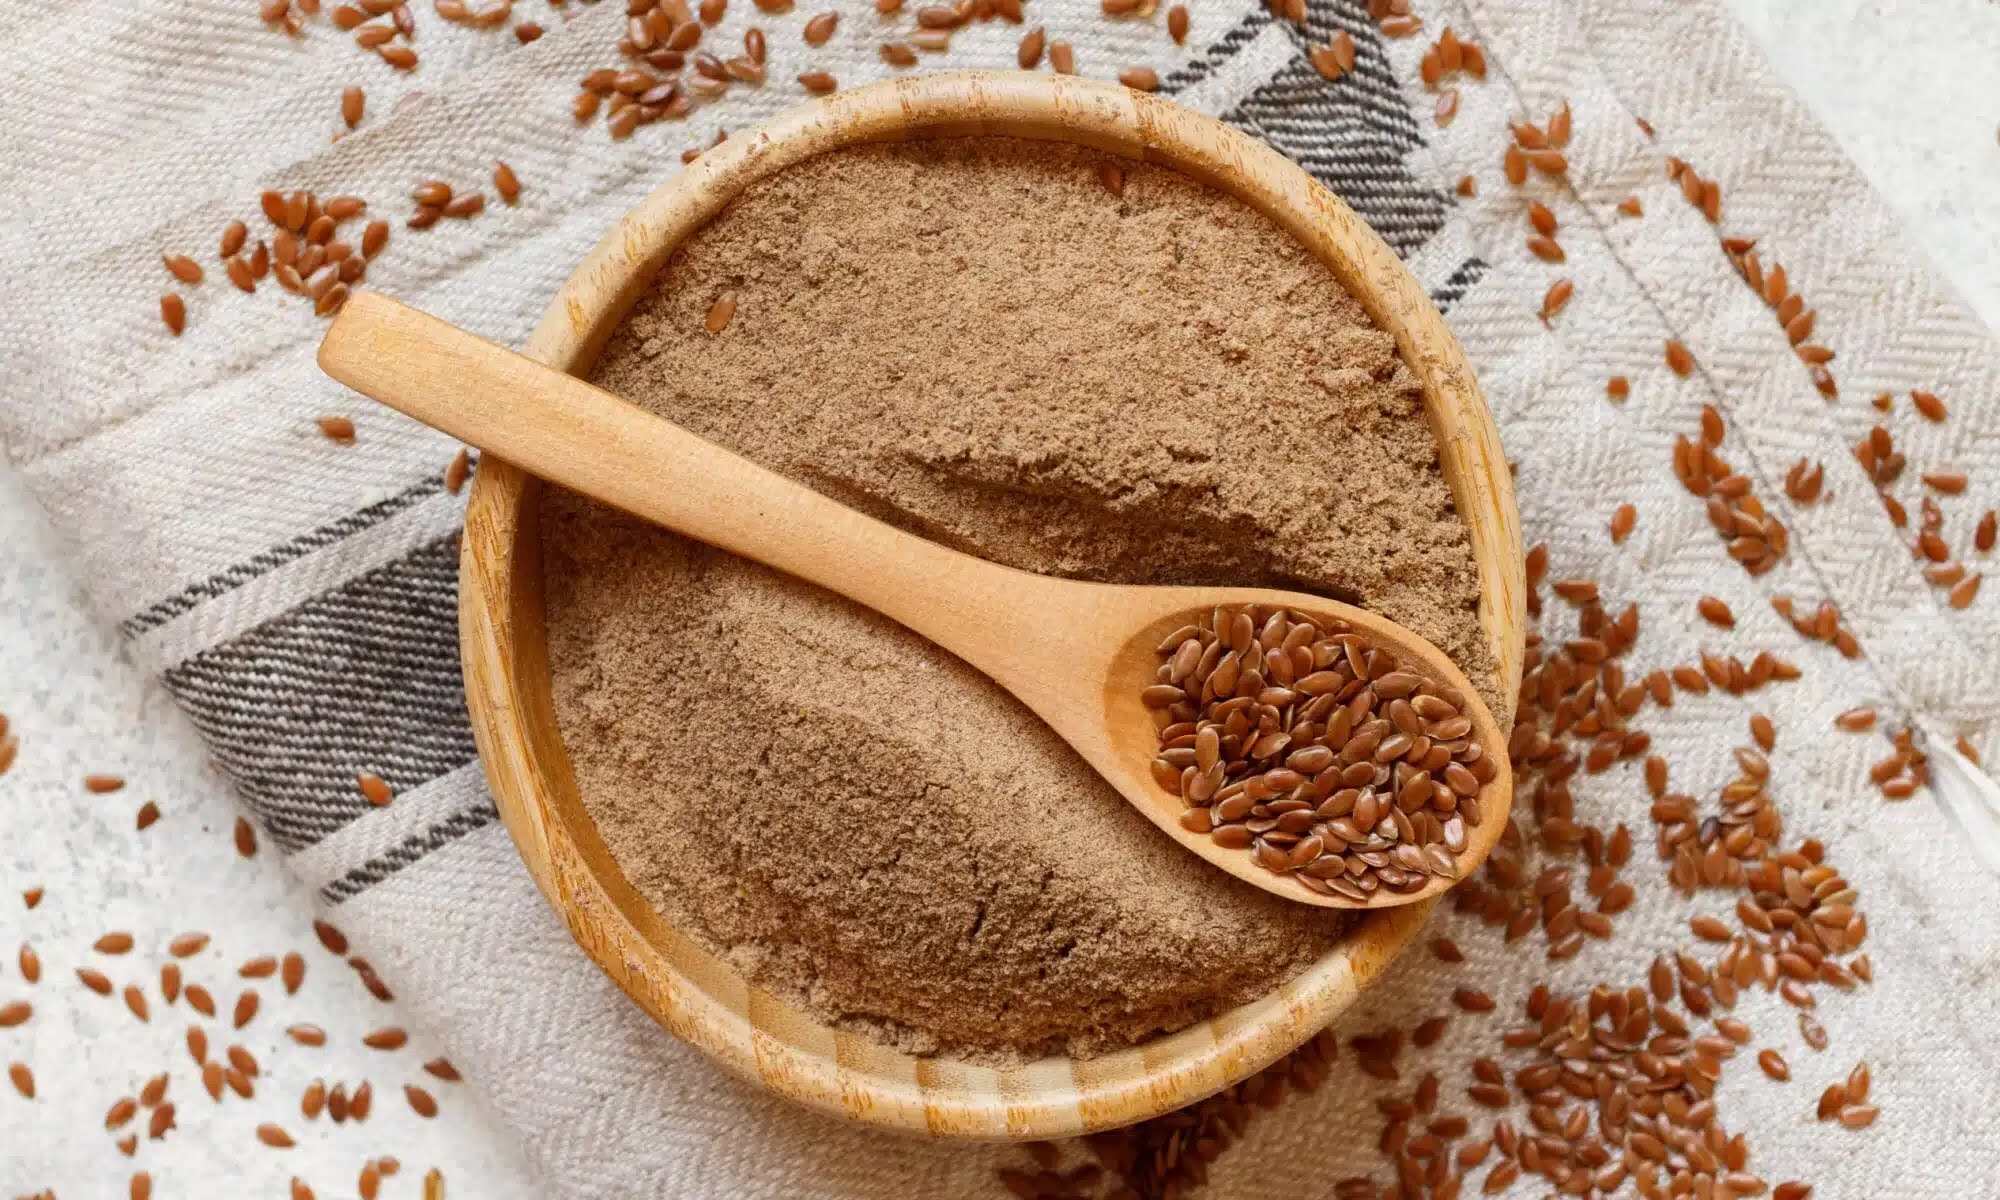
- Flax Seeds: The star ingredient of this DIY gel is flax seeds, also known as linseeds. You can find them in most grocery stores or health food stores. Opt for organic and whole flax seeds for the best results.
- Water: You’ll need filtered water to soak the flax seeds and extract the gel. Using clean, filtered water ensures that your gel is free from impurities.
- A Pot or Saucepan: To cook the flax seeds and water mixture, you’ll need a small pot or saucepan. Make sure it’s large enough to hold the mixture without overflowing.
- A Fine-Mesh Strainer or Cheesecloth: Once the gel is cooked, you’ll need to strain it to remove any solid particles. A fine-mesh strainer or cheesecloth works well for this purpose.
- A Bowl or Container: You’ll need a bowl or container to collect the strained flax seed gel. Make sure it’s clean and suitable for storing the gel.
- An Essential Oil (Optional): Adding a few drops of your favorite essential oil is optional but can give your flax seed gel a pleasant scent. Popular choices include lavender, rosemary, or peppermint essential oil.
- A Storage Container: Once you’ve made your flax seed gel, you’ll need a container to store it in. Opt for a glass jar or bottle with a tight-fitting lid to keep your gel fresh and prevent spoilage.
These are the basic materials you’ll need to make your own flax seed gel. It’s important to gather everything before you begin to ensure a smooth and hassle-free process. Now that you have all the necessary materials, let’s move on to the step-by-step instructions on how to make flax seed gel.
Step-by-Step Instructions
Making your own flax seed gel is a simple and straightforward process. Follow these step-by-step instructions to create your customized gel:
- Measure the ingredients: Start by measuring ¼ cup of flax seeds and 2 cups of water. The ratio of flax seeds to water can be adjusted based on the desired consistency of your gel.
- Soak the flax seeds: Place the flax seeds in a bowl and cover them with the 2 cups of water. Let them soak for at least 4 hours or overnight. This allows the flax seeds to release their natural gel-like substance.
- Cook the mixture: Transfer the soaked flax seeds and water mixture to a pot or saucepan. Bring it to a boil over medium heat, stirring occasionally. Once it reaches a boil, reduce the heat to low and simmer for about 15-20 minutes. Keep stirring intermittently to prevent the mixture from sticking to the bottom of the pot.
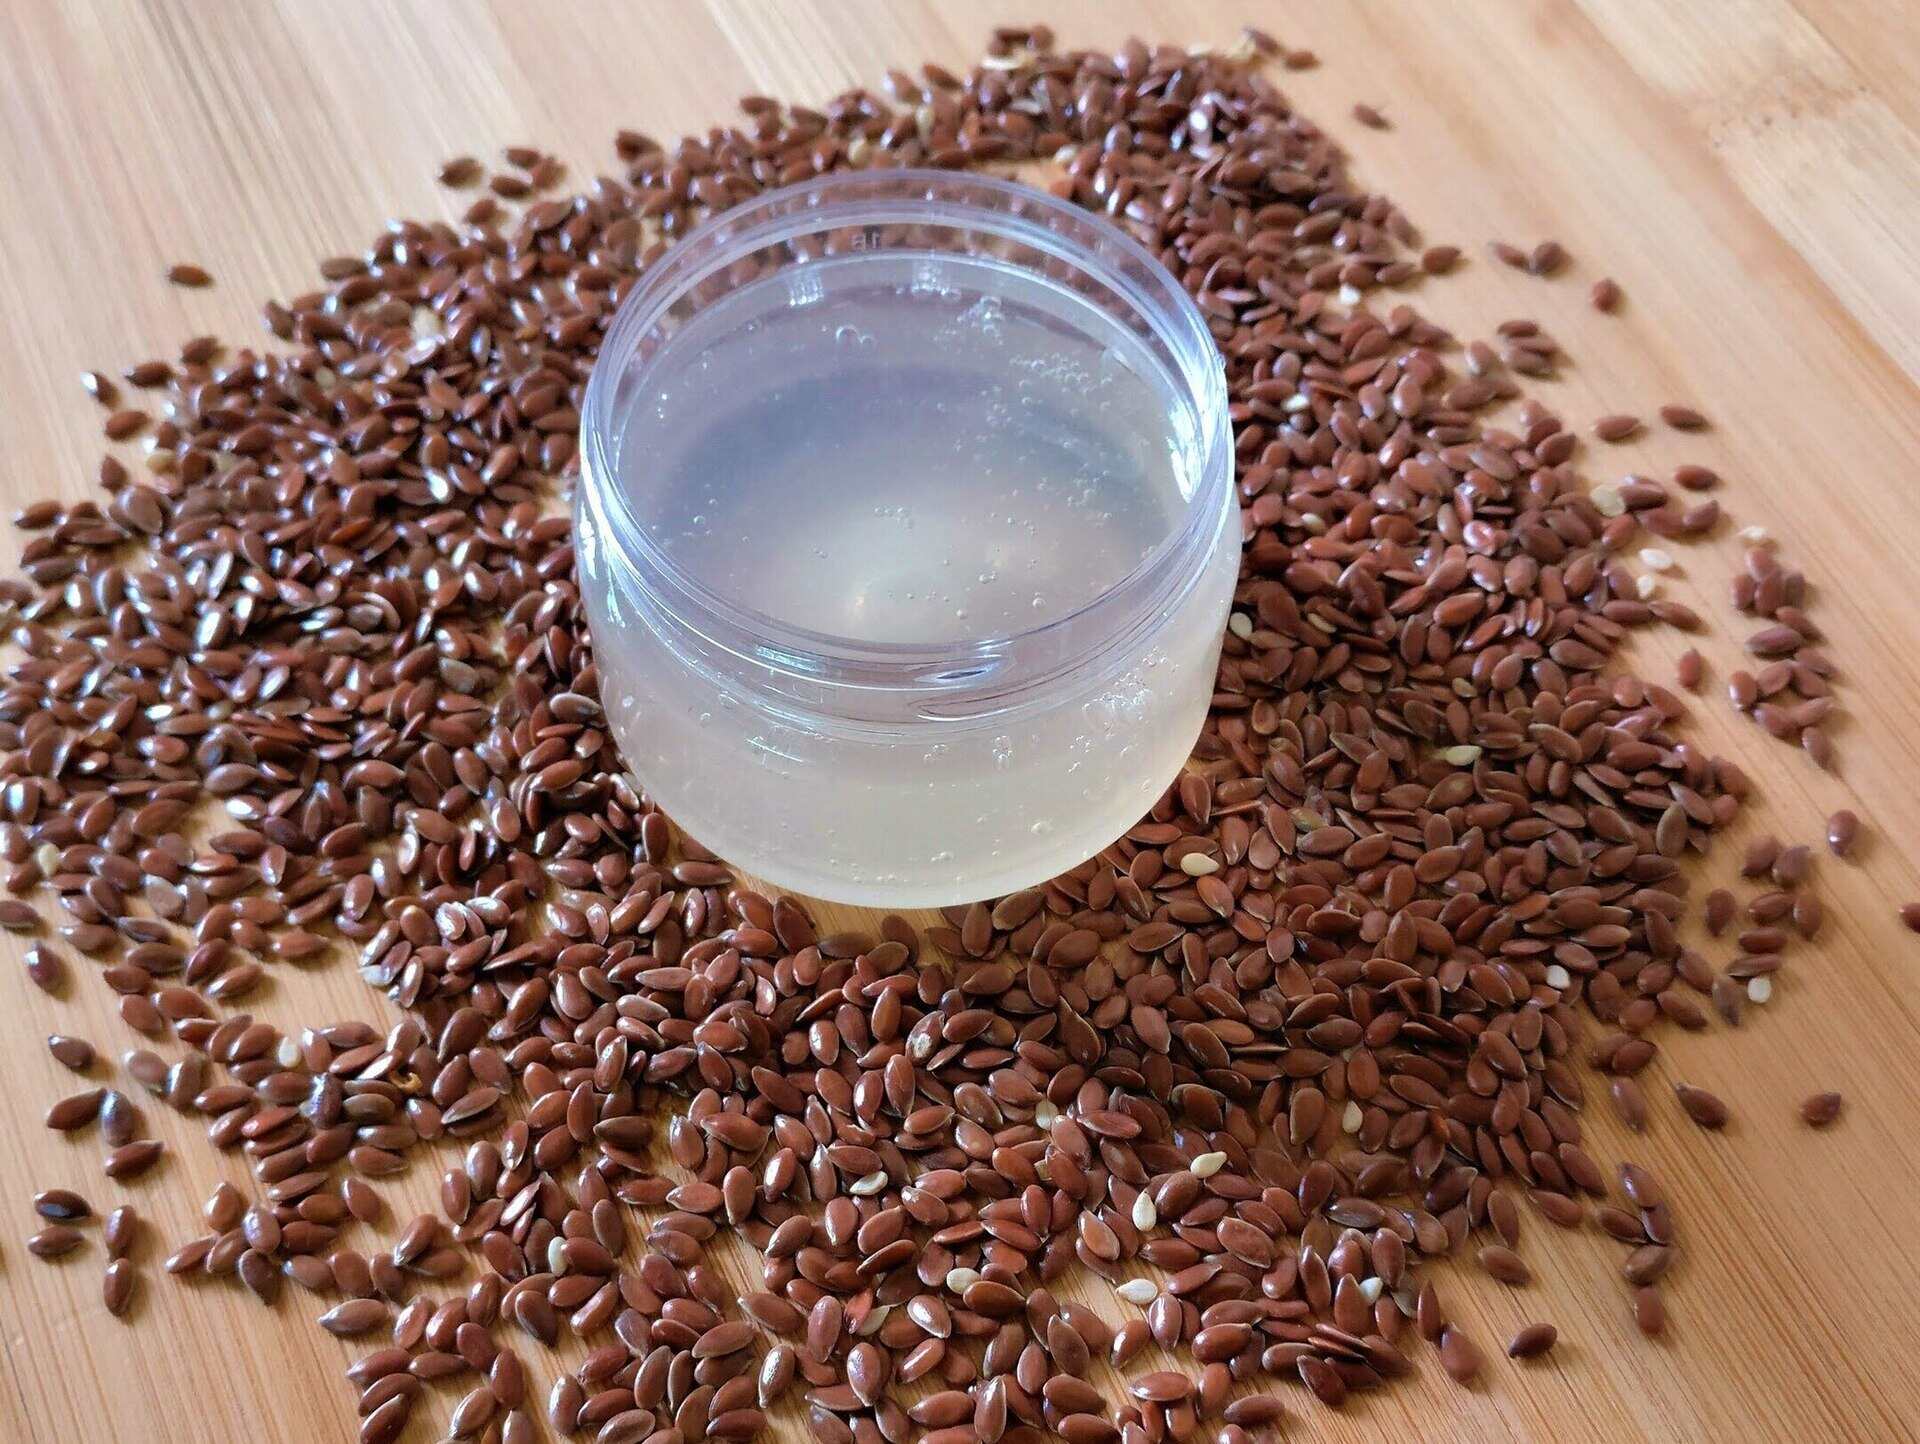
- Strain the gel: After the mixture has simmered and thickened to a gel-like consistency, remove it from the heat. Place a fine-mesh strainer or cheesecloth over a bowl or container. Slowly pour the mixture into the strainer, allowing the liquid gel to pass through while straining out the flax seeds. Gently press the gel with a spoon or spatula to extract as much gel as possible.
- Cool and add optional ingredients: Let the strained flax seed gel cool down to room temperature. At this point, you can add a few drops of your favorite essential oil if desired. Stir well to incorporate the oil into the gel.
- Transfer to a storage container: Once the gel has cooled and any optional ingredients have been added, transfer it to a clean, airtight storage container. Preferably, use a glass jar or bottle with a tight-fitting lid to preserve the freshness and longevity of the gel.
That’s it! You have successfully made your own flax seed gel. It’s now ready to use and enjoy the multitude of benefits it offers for your hair and skin.
Now let’s explore how to apply this incredible gel and get the most out of it.
Application of Flax Seed Gel
Now that you have your homemade flax seed gel ready, it’s time to put it to use. Here’s how you can effectively apply and incorporate flax seed gel into your hair and skincare routine:
Read more: How To Make Flax Seed Eggs
For Hair:
- Start with clean, damp hair: Begin by washing and conditioning your hair as usual. Towel-dry your hair until it’s damp but not soaking wet.
- Section your hair: If you have long or thick hair, it’s best to section it into smaller parts to ensure even distribution of the gel.
- Take a small amount of flax seed gel: Scoop a small amount of the gel onto your fingers or a wide-toothed comb. Remember, a little goes a long way, so start with a small amount and add more if needed.
- Apply the gel to your hair: Apply the gel evenly throughout your hair, focusing on the mid-lengths to the ends. Use your fingers or a wide-toothed comb to distribute the gel, ensuring it coats each strand.
- Style as desired: Once the gel is applied, you can either let your hair air dry or use a diffuser to gently dry it with a low heat setting. As your hair dries, you’ll notice the gel defining your curls and reducing frizz.
- Refresh and reactivate: If you want to refresh your curls or reactivate the gel on the second or third day, just spritz your hair with a little water and scrunch it with your hands. This helps revive the gel and give your curls a boost.
For Skin:
- Cleanse your face: Start by cleansing your face using your favorite gentle cleanser. Pat dry with a clean towel.
- Apply a thin layer of flax seed gel: Take a small amount of gel and gently massage it onto your face, focusing on areas that need extra nourishment or hydration.
- Allow it to absorb: Let the gel sit on your skin for a few minutes to allow it to fully absorb. You can leave it on as a moisturizer or wash it off after 10-15 minutes for a quick hydration boost.
- Follow up with your skincare routine: Once the gel has absorbed, you can continue with your regular skincare routine, including serums, oils, or creams.
- Use as a face mask: For a more intensive treatment, you can apply a slightly thicker layer of flax seed gel to your face and leave it on for 15-20 minutes as a soothing and hydrating face mask. Rinse it off with warm water and enjoy your refreshed complexion.
Remember, everyone’s hair and skin are unique, so feel free to experiment and adjust the amount of gel you use to achieve the desired results. With consistent use, you’ll soon experience the full benefits of flax seed gel for your hair and skin.
Before we conclude, here are a few tips and tricks to help you get the most out of your flax seed gel.
To make flax seed gel, use a 1:3 ratio of flax seeds to water, boil for 10 minutes, strain, and let it cool. Add essential oils for fragrance and preservation.
Tips and Tricks for Making Flax Seed Gel
While making flax seed gel is a relatively simple process, these tips and tricks can help you achieve the best results and make the experience even more enjoyable:
- Use whole flax seeds: It’s best to use whole flax seeds instead of pre-ground flax seeds. Whole seeds retain their natural gel-like properties, ensuring a thicker and more effective gel.
- Soak the seeds overnight: For optimal gel extraction, soak the flax seeds for at least 4 hours or overnight. This allows the seeds to release their mucilage, which is responsible for the gel texture.
- Experiment with the ratio: The ratio of flax seeds to water can be adjusted based on your preferences. If you prefer a thicker gel, use a higher ratio of flax seeds. For a lighter consistency, reduce the amount of flax seeds.
- Add essential oil: Adding a few drops of essential oil can provide a pleasant scent to your flax seed gel. Choose a scent that you enjoy and ensure it is safe for use on your skin and hair.
- Keep stirring while cooking: Stir the flax seed and water mixture constantly while it simmers to prevent it from sticking to the bottom of the pot. This also ensures even cooking and a smooth gel texture.
- Use a fine-mesh strainer: Straining the gel with a fine-mesh strainer or cheesecloth helps remove any solid particles and ensures a smooth and consistent texture.
- Store in a cool, dry place: To prolong the shelf life of your flax seed gel, store it in a cool, dry place away from direct sunlight. This helps prevent spoilage and maintains the gel’s quality.
- Customize with other ingredients: Feel free to experiment and customize your flax seed gel by adding other ingredients. You can infuse it with aloe vera gel, hair-friendly oils, or even a dash of citrus juice for added benefits.
- Start with a small amount: When applying flax seed gel to your hair or skin, start with a small amount and add more as needed. It’s easier to add more gel than to remove excess, so start conservatively and adjust as desired.
- Be patient: Flax seed gel may take some trial and error to find the perfect balance for your hair or skin. Remember to be patient and give your hair and skin time to adjust and respond to the natural ingredients.
By following these tips and tricks, you can make the most out of your flax seed gel and enjoy its benefits to the fullest. Now, let’s address some commonly asked questions about flax seed gel.
Frequently Asked Questions
Here are some common questions that people ask about flax seed gel:
- Can I use ground flax seeds instead of whole seeds?
- How long does flax seed gel last?
- Can I add other ingredients to my flax seed gel?
- Can I use flax seed gel on all hair types?
- Is flax seed gel suitable for sensitive skin?
- Can I use flax seed gel as a leave-in conditioner?
- Can I use flax seed gel on colored or chemically-treated hair?
- How often should I use flax seed gel?
It’s best to use whole flax seeds for making flax seed gel. Ground flax seeds may not produce the same gel-like consistency and can result in a thinner and less effective gel.
Flax seed gel can typically last for up to two weeks when stored properly in a cool, dry place. However, it’s always a good idea to check for any signs of spoilage or an unpleasant odor before using it.
Absolutely! You can get creative and customize your flax seed gel by adding other ingredients like aloe vera gel, essential oils, or natural hair-friendly oils. Just make sure to research and consider the compatibility and benefits of the additional ingredients.
Yes, flax seed gel can be used on all hair types. It works wonders for defining curls, taming frizz, and moisturizing the hair. Just adjust the amount of gel used based on your hair type and desired results.
Flax seed gel is generally well-tolerated by most skin types, including sensitive skin. However, everyone’s skin is different, so it’s always a good idea to do a patch test before applying it all over your face. If any irritation occurs, discontinue use.
Yes, flax seed gel can double as a leave-in conditioner. After applying it to your hair, you can leave it in without rinsing. It provides moisture, definition, and nourishment to your hair throughout the day.
Flax seed gel is safe to use on colored or chemically-treated hair. In fact, it can help to nourish and protect your hair from further damage. However, it’s always a good idea to do a strand test first to ensure compatibility with your specific hair treatment.
You can use flax seed gel as often as needed, depending on your hair’s texture and needs. Some people use it daily, while others prefer to use it a few times a week. Observe how your hair responds and adjust the frequency accordingly.
With these frequently asked questions answered, you are now equipped with the knowledge to make the most of flax seed gel. Let’s wrap up this article.
Read more: How To Make Chia Seed Gel
Conclusion
Flax seed gel is a versatile and natural beauty product that offers numerous benefits for your hair and skin. By making your own flax seed gel at home, you have control over the ingredients and can ensure that you’re using a chemical-free and eco-friendly product. This gel helps to moisturize, define curls, reduce frizz, stimulate hair growth, and nourish the skin, making it a go-to solution for various beauty needs.
With just a few simple materials and a little bit of time, you can create a customized flax seed gel that works perfectly for your hair type and skin needs. Remember to soak the flax seeds, cook them to extract the gel-like substance, and strain the mixture into a smooth and silky gel. Apply it to your hair as a styling product or use it as a moisturizer or face mask for your skin.
As with any natural product, it may take some experimentation to find the perfect ratio and adjust it based on your preferences. Additionally, feel free to add other ingredients such as essential oils or natural oils to customize your flax seed gel and enhance its benefits.
Now that you’re armed with the knowledge and steps to create your own flax seed gel, it’s time to enjoy the wonders it offers for your hair and skin. Embrace the natural and holistic approach to beauty, and say hello to healthier, more vibrant hair and a glowing complexion!
So, go ahead and give flax seed gel a try. Your hair and skin will thank you for it!
Frequently Asked Questions about How To Make Flax Seed Gel
Was this page helpful?
At Storables.com, we guarantee accurate and reliable information. Our content, validated by Expert Board Contributors, is crafted following stringent Editorial Policies. We're committed to providing you with well-researched, expert-backed insights for all your informational needs.


0 thoughts on “How To Make Flax Seed Gel”