Home>Garden Essentials>How To Grow Chia Seeds In Terracotta
Garden Essentials
How To Grow Chia Seeds In Terracotta
Modified: August 16, 2024
Learn how to successfully grow chia seeds in terracotta pots in your garden. Get expert tips and advice for a thriving chia garden.
(Many of the links in this article redirect to a specific reviewed product. Your purchase of these products through affiliate links helps to generate commission for Storables.com, at no extra cost. Learn more)
Introduction
Gardening is a wonderful hobby that allows us to connect with nature and reap the rewards of our labor. If you’re looking for a versatile and nutritious plant to add to your garden, chia seeds are an excellent choice. Not only are they packed with essential nutrients, but they are also easy to grow, especially when grown in terracotta pots.
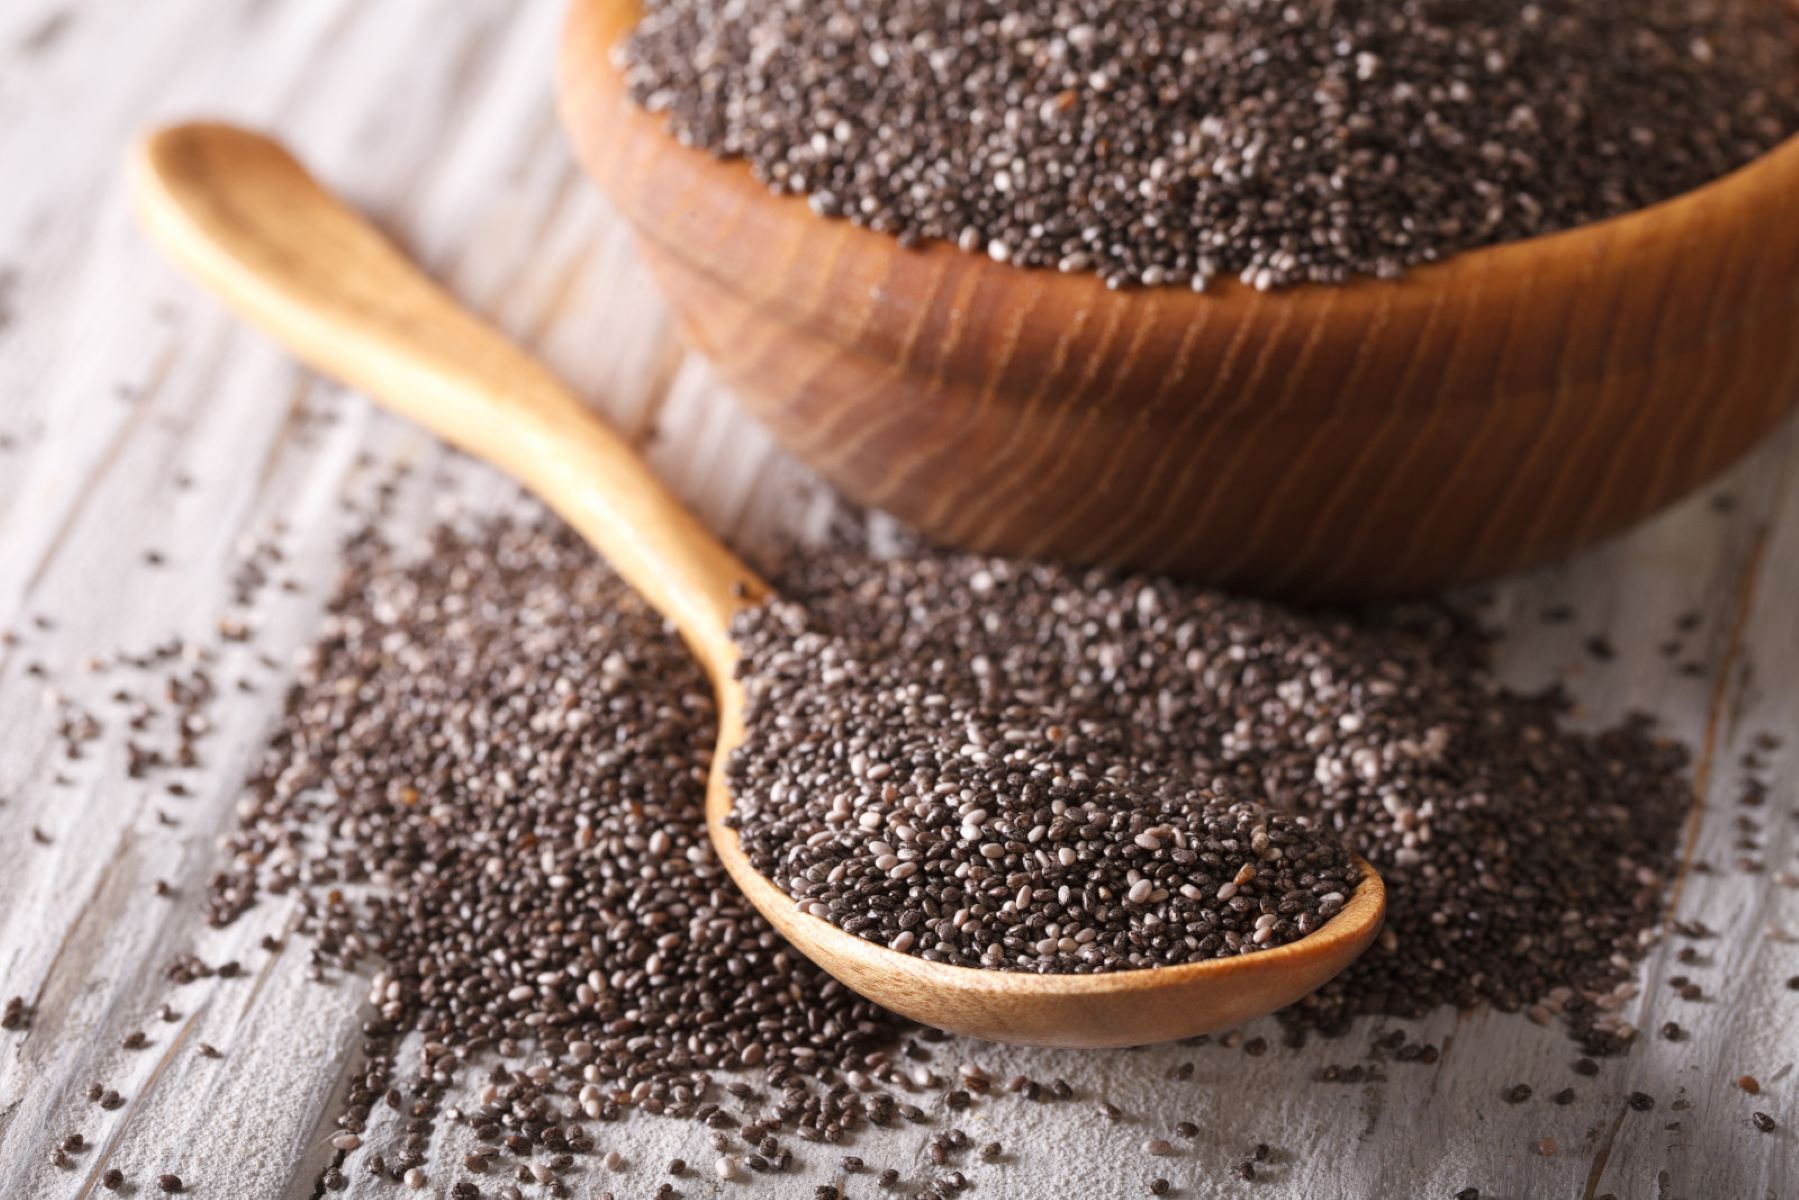
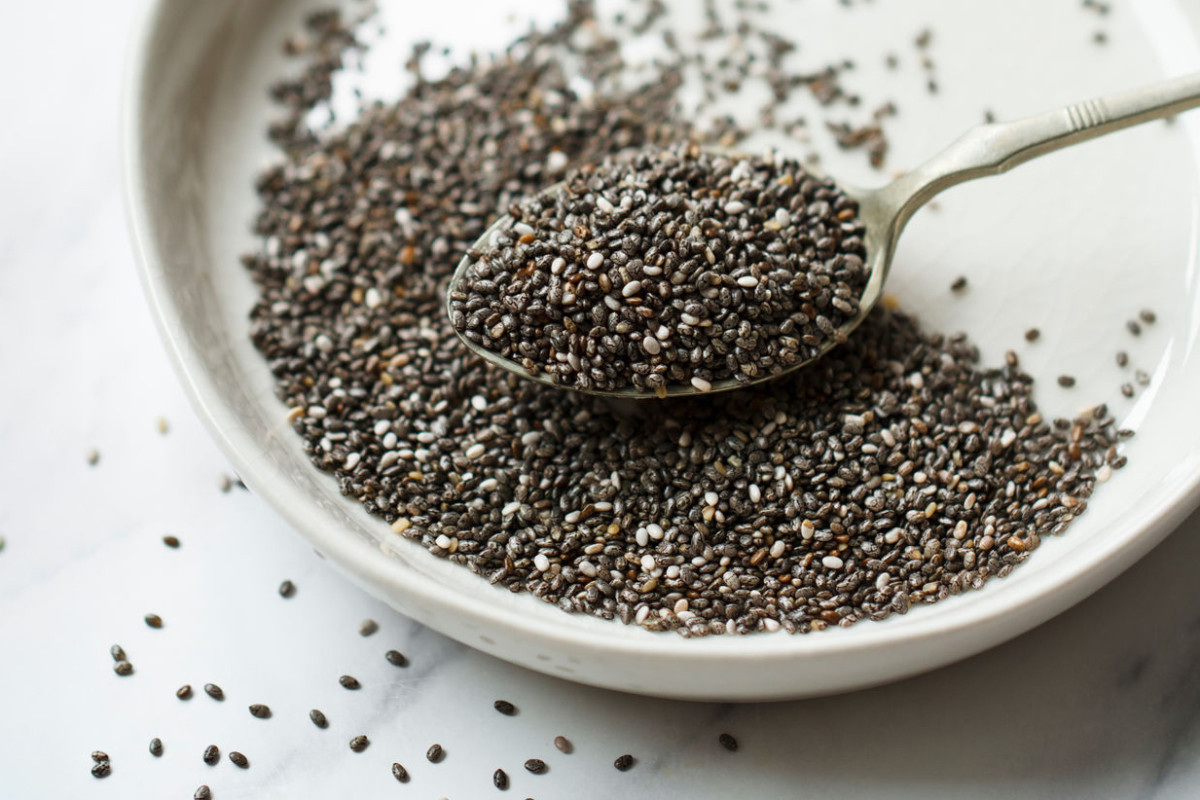
Chia seeds have gained popularity in recent years due to their numerous health benefits. These tiny seeds are rich in omega-3 fatty acids, fiber, antioxidants, and protein, making them a powerhouse of nutrition. By growing chia seeds in your terracotta pots, you can have a fresh supply of this superfood right at your fingertips.
One of the advantages of growing chia seeds in terracotta pots is the excellent drainage they provide. Terracotta is a porous material that allows excess water to evaporate, preventing the roots from becoming waterlogged. This is crucial for chia plants, as they prefer well-draining soil to thrive. Additionally, the terracotta pots provide a natural and aesthetic appeal to your garden, giving it a rustic touch.
In this article, we will guide you through the process of growing chia seeds in terracotta pots. From choosing the right pot to harvesting the seeds, we’ll cover all the essential steps to ensure a successful and rewarding gardening experience. So, let’s get started on this delightful journey of growing your own chia seeds!
Key Takeaways:
- Grow chia seeds in terracotta pots for a nutritious and rewarding gardening experience. Choose the right pot, prepare the soil, and provide consistent watering and sunlight for healthy plant growth.
- Harvest and store chia seeds for a fresh and versatile superfood supply. Prune plants for optimal growth, harvest seeds at the right time, and store them in airtight containers for long-lasting freshness.
Read more: How Chia Seeds Grow
Choosing the Right Terracotta Pot
When it comes to growing chia seeds, selecting the right terracotta pot is crucial for the health and growth of your plants. Here are a few factors to consider when choosing your pot:
- Size: Chia plants have a shallow root system, so opting for a wider and shallower pot is ideal. This allows for better spread of the roots and ensures proper aeration in the soil.
- Drainage: Look for pots that have drainage holes at the bottom. This will prevent water from pooling and causing root rot. Terracotta pots naturally provide good drainage, making them an excellent choice.
- Material: Terracotta pots have several advantages. They provide good insulation, ensuring the roots don’t get too hot during warmer months. The porous nature of terracotta also enables air circulation in the soil, promoting healthier root growth.
- Appearance: Terracotta pots have a beautiful, rustic charm that adds aesthetic appeal to any garden. Consider the overall design and look of your garden when choosing the shape and style of your terracotta pot.
Additionally, ensure that the pot you choose is large enough to accommodate multiple chia plants if you plan on growing more than one. The size of the pot will determine how many seeds you can plant and how much space the plants will have to grow.
Remember to wash the terracotta pot thoroughly before planting to remove any dirt or debris. This prevents potential pathogens and creates a clean environment for your chia seeds to thrive.
By selecting the right terracotta pot, you provide your chia plants with a suitable growing environment which ensures optimal growth and healthy seed production.
Preparing the Soil
Before planting your chia seeds, it is essential to prepare the soil to provide the necessary nutrients and conditions for optimal growth. Here’s how you can prepare the soil for your chia plants:
- Remove Weeds: Start by removing any existing weeds or unwanted plants from the area where you plan to plant your chia seeds. Weeds can compete for nutrients and water, impacting the growth of your chia plants.
- Loosen the Soil: Use a garden fork or shovel to loosen the soil. Chia plants prefer well-draining soil, so loosening it will improve aeration and water drainage.
- Amend the Soil: Chia plants thrive in nutrient-rich soil. Add organic matter such as compost or well-rotted manure to the soil to improve its fertility. This will provide the necessary nutrients for healthy plant growth.
- Adjust pH Level: Chia plants prefer slightly acidic to neutral soil with a pH range of 6.0 to 7.5. Test the soil pH using a soil testing kit and make any necessary adjustments by adding soil amendments such as sulfur or lime.
- Mix in Sand or Perlite: If your soil tends to be heavy and poorly draining, adding sand or perlite can improve its drainage qualities. Mix in these amendments to ensure that the soil drains well and doesn’t become waterlogged.
Once you have prepared the soil, rake it to create a smooth and even surface. This will make it easier to sow the chia seeds and provide a suitable environment for their germination and growth.
Remember, well-prepared soil is the foundation for healthy plant growth. By taking the time to prepare the soil, you are ensuring that your chia plants have the best possible start in their growth journey.
Planting Chia Seeds
Now that you have prepared the soil, it’s time to plant your chia seeds in the terracotta pot. Follow these steps for successful chia seed planting:
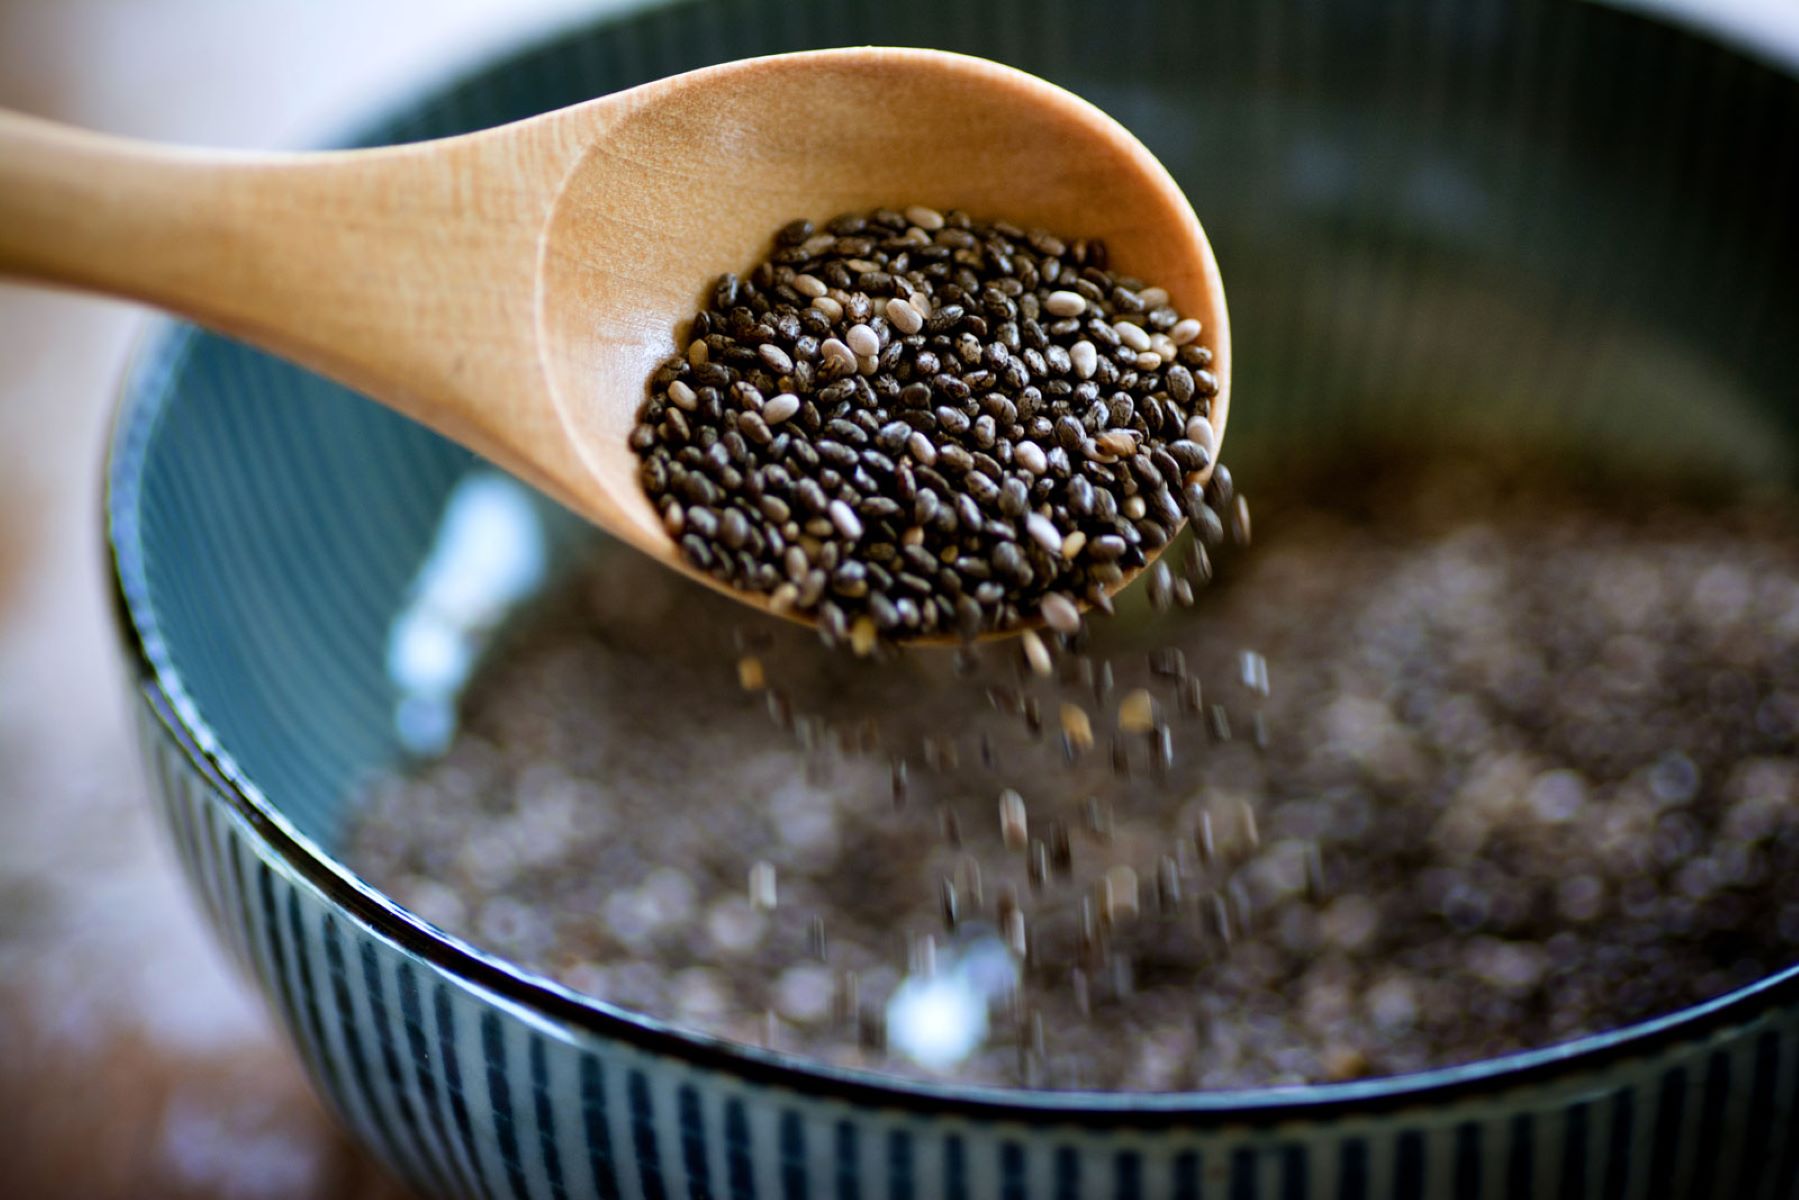
- Sow the Seeds: Sprinkle the chia seeds evenly on the prepared soil surface. You can choose to sow them directly or lightly press them into the soil. Chia seeds are tiny, so be cautious not to sow them too densely.
- Cover with a Thin Layer of Soil: Gently sprinkle a thin layer of soil over the chia seeds to cover them. Make sure the seeds are not buried too deep, as they require light to germinate.
- Water the Seeds: After sowing the seeds, moisten the soil with a gentle spray of water. Avoid overwatering, as excessive moisture can lead to seed rot. Keep the soil consistently moist but not waterlogged.
- Provide Warmth and Light: Chia seeds germinate best in warm temperatures between 70-85°F (21-29°C). Place the terracotta pot in a sunny location where the plants can receive at least 6-8 hours of sunlight daily.
- Thin out the Seedlings: Once the chia seedlings have sprouted and reached a height of about 2-3 inches, thin them out to ensure proper spacing. Leave around 6-8 inches of space between each plant to allow for healthy growth.
Chia seeds typically germinate within 7-14 days, depending on the temperature and environmental conditions. Be patient and consistent with watering to encourage successful germination and establishment of the chia plants.
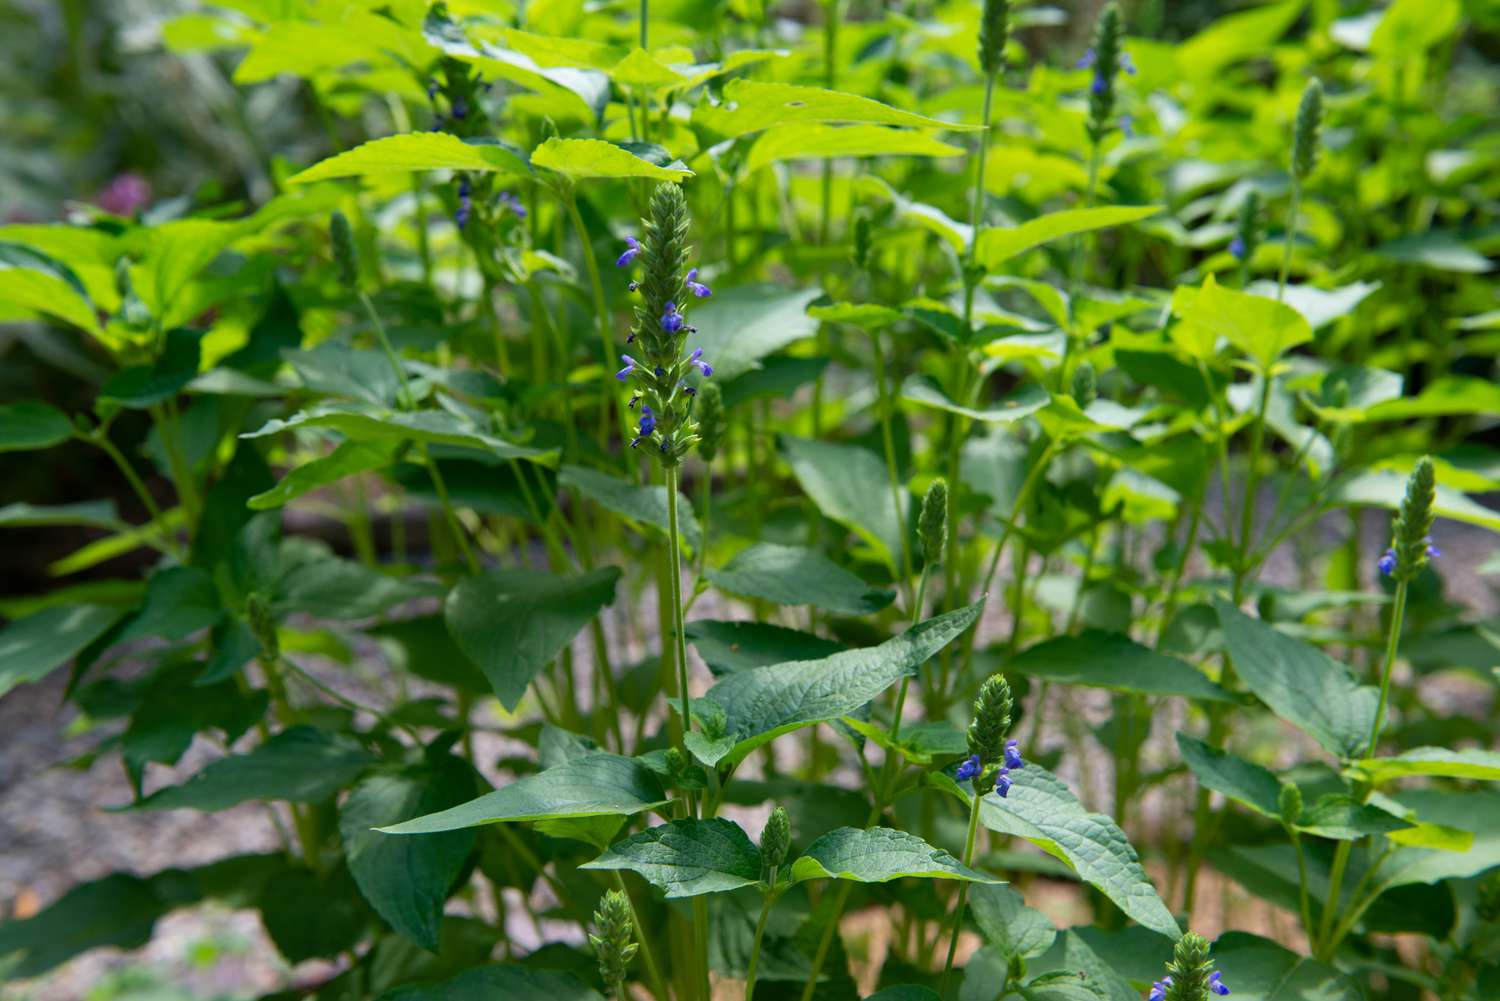
Remember that chia plants are known for their rapid growth, so it’s important to provide them with enough space and light to thrive. With proper care and attention, your chia seeds will soon transform into vibrant and healthy plants.
Watering and Sunlight Requirements
Proper watering and adequate sunlight are crucial for the healthy growth and development of chia plants. Here’s what you need to know about watering and sunlight requirements:
Watering:
Chia plants require regular watering to ensure their roots stay moist, but not waterlogged. Here are some watering tips:
- Consistency: Water the chia plants consistently, keeping the soil evenly moist. Avoid allowing the soil to dry out completely, as this can hinder the growth of the plants.
- Drainage: Terracotta pots provide excellent drainage, preventing the roots from sitting in water and potentially rotting. Ensure that water can freely flow out of the drainage holes to avoid overwatering.
- Frequency: Water the chia plants whenever the top inch of soil feels dry to the touch. This usually translates to watering every 2-3 days, but adjust the frequency based on temperature and humidity levels.
- Watering from Below: To avoid disturbing the delicate chia seedlings, consider watering the pot from below. Fill a saucer or tray with water and place the pot in it. The soil will soak up the water through the drainage holes, promoting healthier root growth.
Sunlight:
Chia plants thrive in full sunlight and require a minimum of 6-8 hours of direct sunlight daily. Here are some tips for providing adequate sunlight:
- Placement: Choose a sunny location for your terracotta pot, such as a south-facing window or a spot in your garden that receives ample sunlight. Ensure that the chia plants are not shaded by taller plants or structures.
- Rotate the Pot: If your pot is placed indoors, rotate it every few days to expose all sides of the chia plants to sunlight. This will ensure even growth and prevent the plants from leaning towards the light source.
- Supplement with Artificial Light: If you don’t have access to sufficient sunlight, you can supplement with artificial grow lights. Place the lights a few inches above the chia plants and keep them on for 10-12 hours a day to mimic natural sunlight.
By providing the proper amount of water and sunlight, you are creating optimal growing conditions for your chia plants. These factors play a crucial role in their overall health, development, and eventual seed production.
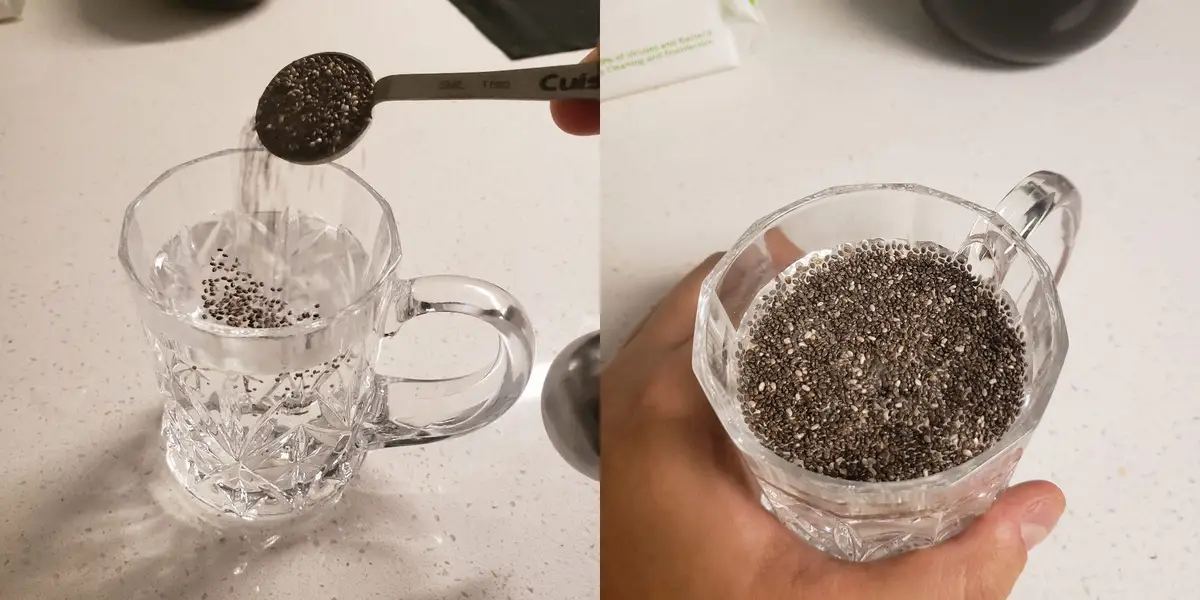
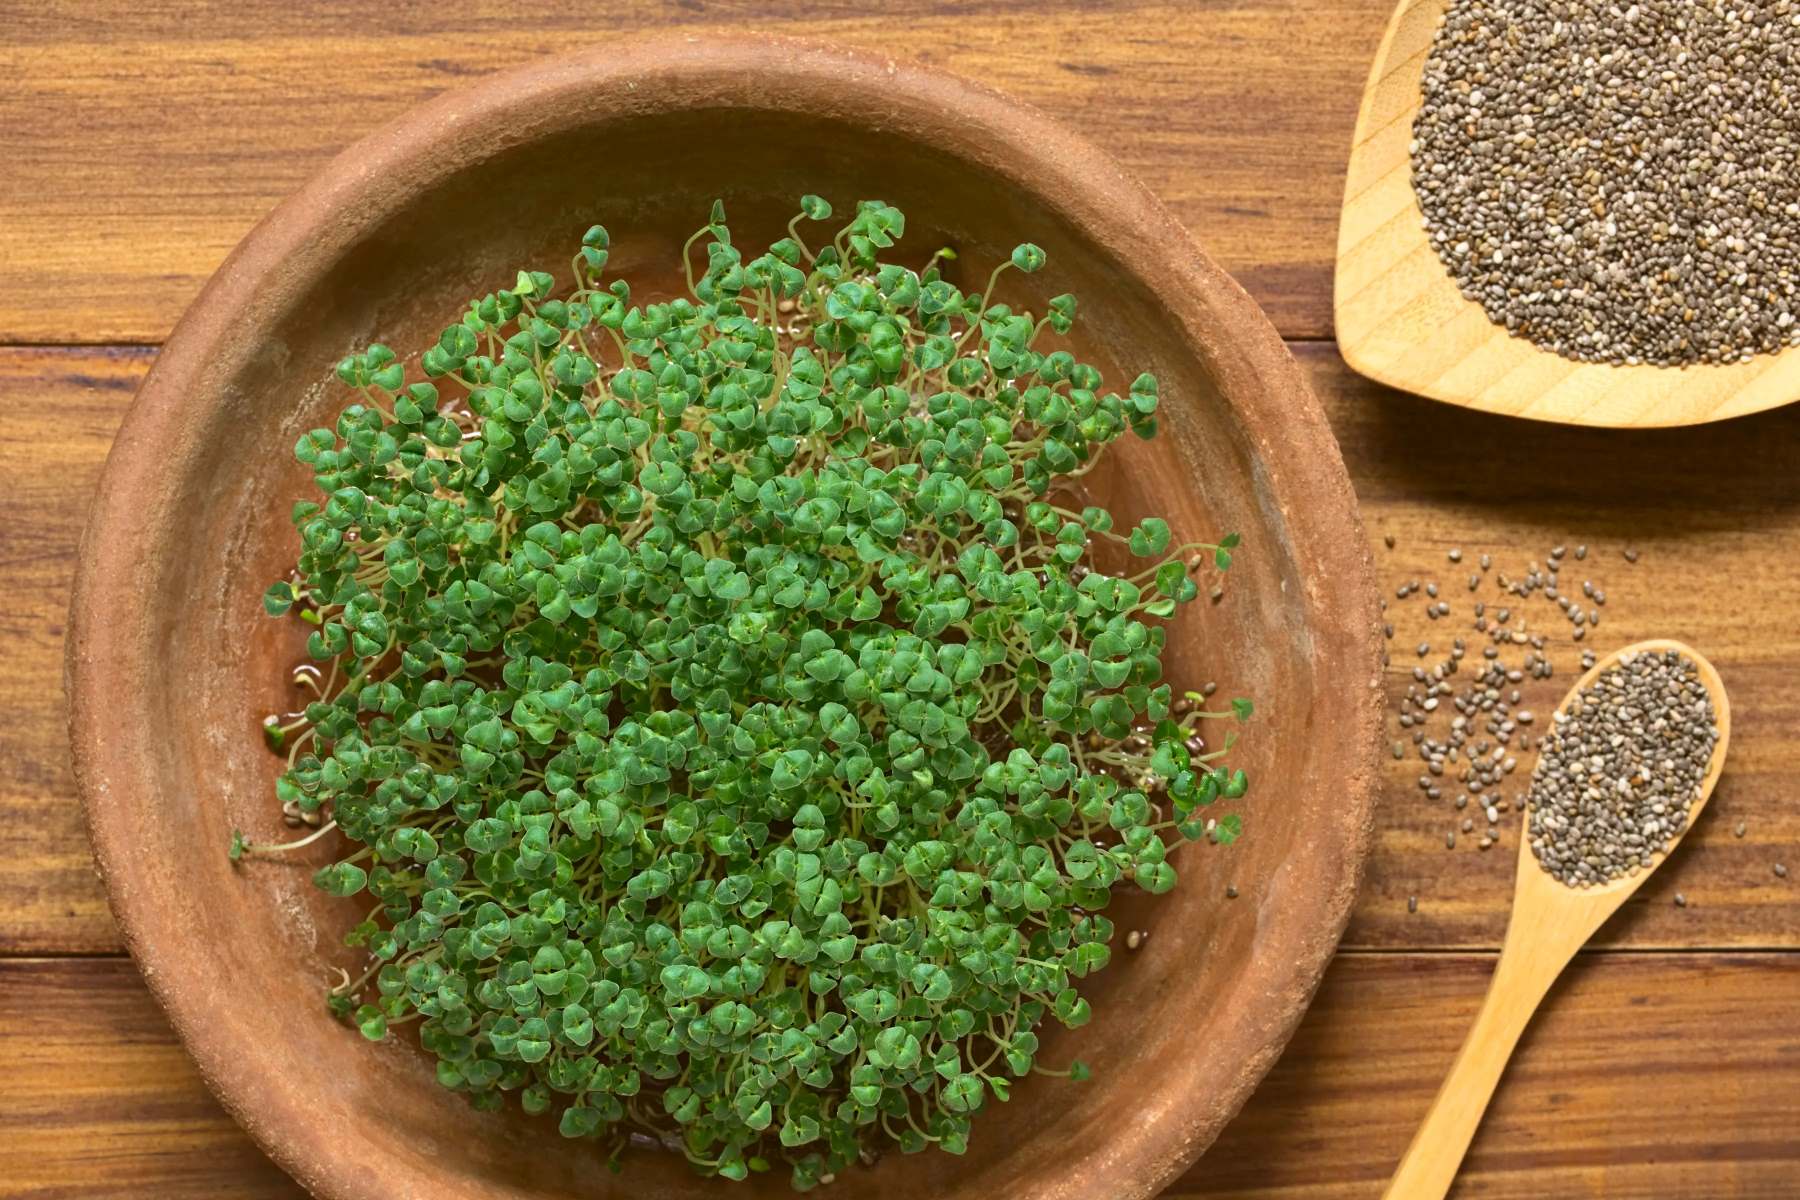
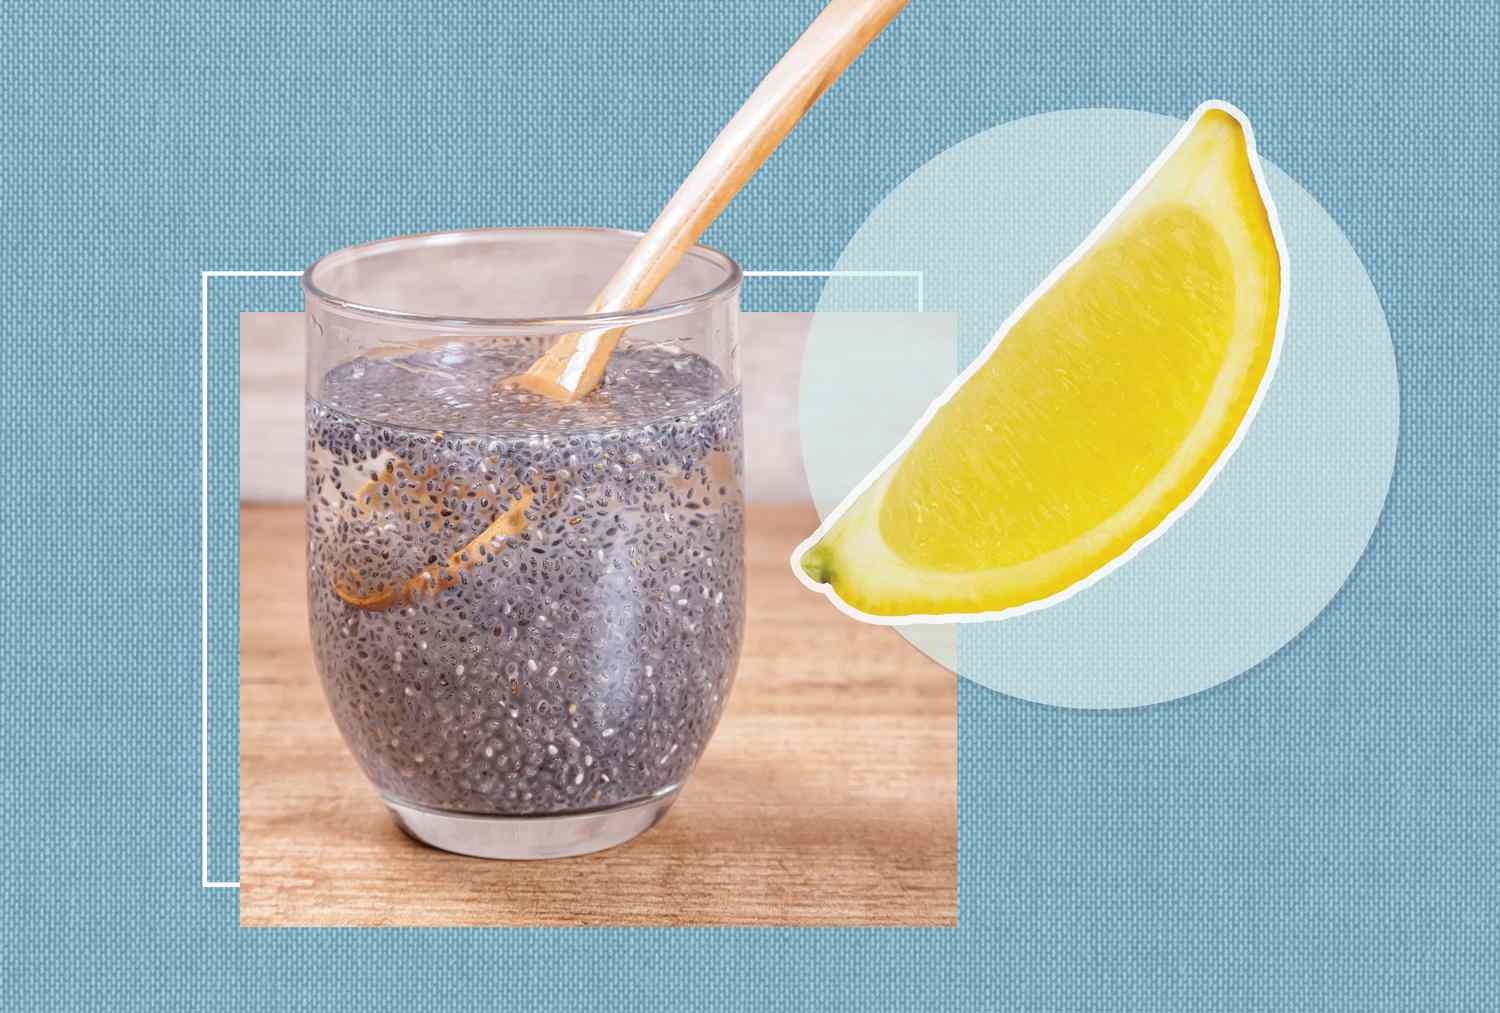
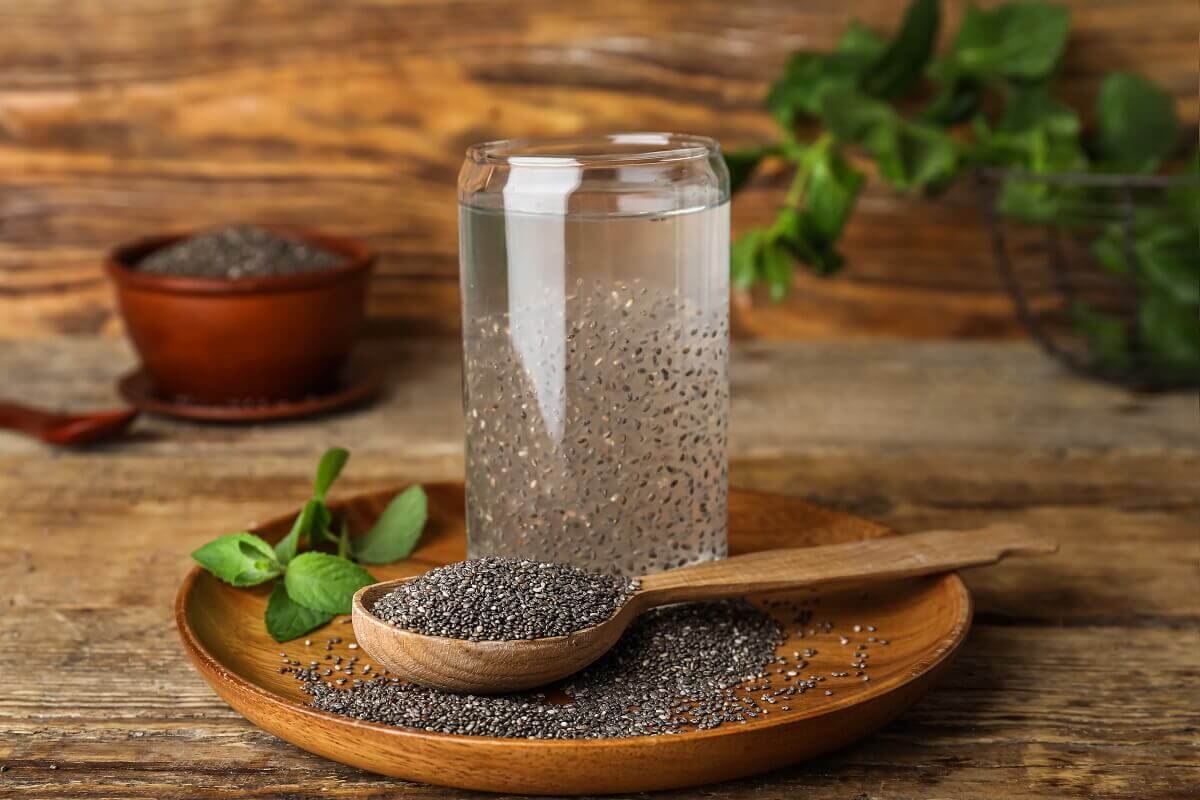
To grow chia seeds in terracotta, soak the seeds in water for a few hours, then spread them evenly on a damp terracotta dish. Place the dish in a sunny spot and water regularly to keep the soil moist. Harvest the chia sprouts when they are a few inches tall.
Read more: How To Grow Chia Seeds In The Garden
Fertilizing Chia Plants
While chia plants are known to be low-maintenance, providing them with essential nutrients through fertilization will promote healthier growth and increase seed production. Here’s how to fertilize your chia plants:
- Choose the Right Fertilizer: Look for a balanced, organic fertilizer specifically formulated for herbs or vegetables. Chia plants benefit from a fertilizer with a ratio of N-P-K (nitrogen, phosphorus, and potassium) of around 5-10-10 or 10-10-10.
- Timing: Start fertilizing your chia plants about 2-3 weeks after they have been transplanted or have emerged from seedlings. This allows the plants to establish their root systems before introducing additional nutrients.
- Application: Follow the instructions on the fertilizer packaging for the recommended dosage. Generally, you can dissolve the fertilizer in water and apply it to the soil around the base of the chia plants. Avoid getting the fertilizer on the leaves, as it can cause leaf burn.
- Frequency: Fertilize your chia plants once every 4-6 weeks throughout the growing season. Over-fertilizing can lead to excessive leaf growth at the expense of seed production, so it’s important to avoid applying too much fertilizer.
- Organic Alternatives: If you prefer to use organic methods, consider amending the soil with well-rotted compost or aged manure. These natural amendments will provide a slower release of nutrients to the chia plants.
Remember, chia plants are resilient and can tolerate less-frequent fertilization if your soil is already rich in nutrients. Regularly monitor the plants for any signs of nutrient deficiencies, such as yellowing leaves or stunted growth, and adjust the fertilization schedule accordingly.
By providing your chia plants with the right nutrients, you’re ensuring they have the essential elements needed for vigorous growth and abundant seed production. This will ultimately result in a bountiful harvest of nutritious chia seeds.
Pruning and Harvesting Chia Seeds
Pruning and harvesting are important steps in the life cycle of chia plants. Proper pruning helps maintain the health of the plants, while harvesting ensures you can enjoy the fruits of your labor. Here’s what you need to know:
Pruning:
Chia plants have a tendency to bush out and become quite dense. Pruning helps promote airflow, reduces the risk of disease, and encourages more uniform growth. Follow these pruning guidelines:
- Pinch off Tops: When the chia plants reach a height of about 12-18 inches, pinch off the tops of the plants. This will encourage branching and promote a bushier growth habit.
- Remove Dried or Yellowing Leaves: Regularly inspect the chia plants and remove any dried or yellowing leaves. This helps improve aesthetics while preventing the spread of diseases.
- Thin Out Overcrowded Plants: If your chia plants have become overcrowded, thin them out by removing some of the weaker or less healthy plants. This allows for better airflow and reduces competition for nutrients and sunlight.
Pruning is best done in the morning when the plants are well-hydrated and less likely to undergo stress. Use clean and sharp pruners or scissors to make clean cuts and minimize the risk of introducing diseases.
Harvesting:
The ultimate goal of growing chia plants is to harvest their nutritious seeds. Here’s how to harvest chia seeds:
- Timing: Chia plants typically take about 3-4 months to reach maturity. Monitor the plants for signs of maturity, such as dried flower heads and brown seeds.
- Seed Collection: To harvest the chia seeds, cut the flower heads when they have turned brown and feel dry to the touch. Place the flower heads in a dry, well-ventilated area, allowing them to fully dry out completely.
- Removing Seeds: Once the flower heads are completely dry, gently rub them between your hands or use a sieve to separate the chia seeds from the flower bracts.
- Storing: Store the harvested chia seeds in airtight containers, such as glass jars, in a cool and dark place. Properly stored chia seeds can stay fresh for up to two years.
Harvesting chia seeds can be a rewarding and satisfying experience. The seeds can be used in a variety of recipes, such as smoothies, baking, and as a topping for salads and cereals.
By pruning the chia plants and harvesting the seeds at the right time, you’re ensuring the ongoing health and productivity of your garden. These steps contribute to the overall success of your chia growing endeavor.
Storing Chia Seeds
Once you have harvested your chia seeds, it’s important to store them properly to maintain their freshness and quality. Here are some tips for storing chia seeds:
- Drying: Before storing chia seeds, ensure they are completely dry. Spread them out on a clean, dry surface and allow them to air-dry for a few days. This helps remove any remaining moisture, preventing mold or spoilage during storage.
- Airtight Containers: Transfer the dried chia seeds into airtight containers, such as glass jars or resealable bags. Make sure the containers are clean, dry, and free from any moisture. Airtight storage prevents exposure to air and moisture, which can cause the seeds to become stale or lose their nutritional value.
- Cool and Dark Location: Store chia seeds in a cool and dark place, away from direct sunlight and heat sources. Light and heat can degrade the quality of the seeds and shorten their shelf life. A pantry or cupboard is an ideal location for long-term storage.
- Absorbent Packets: To further protect the chia seeds from moisture, consider adding moisture-absorbent packets, such as silica gel packets, to the storage containers. These packets help absorb any excess moisture and maintain the dryness of the seeds.
- Labeling and Date: It’s a good practice to label your containers with the date of storage. This helps keep track of the freshness of the chia seeds, allowing you to rotate and use older seeds first.
When stored properly, chia seeds can maintain their quality for up to two years. However, to enjoy the maximum nutritional benefits, it’s recommended to consume them within a year of harvest.
Before using the stored chia seeds, give them a quick visual and smell check. Discard any seeds that appear discolored, have a rancid smell, or show signs of mold or insect infestation.
Remember, proper storage techniques ensure that your chia seeds remain fresh, flavorful, and packed with nutrients. This allows you to enjoy the benefits of these versatile seeds in a variety of culinary creations for an extended period.
Conclusion
Growing chia seeds in terracotta pots is not only a rewarding gardening experience but also a great way to have a fresh supply of nutritious superfood right at your fingertips. With the right terracotta pot, proper soil preparation, and attention to watering and sunlight, you can successfully grow chia plants and harvest their bountiful seeds.
Choosing the right terracotta pot ensures proper drainage and adds a rustic charm to your garden. Preparing the soil with organic matter and adjusting the pH level creates a fertile environment for chia plants to thrive. Sowing the seeds, watering consistently, and providing adequate sunlight encourages healthy growth.
Fertilizing the chia plants and practicing proper pruning techniques help maintain their overall health and productivity. Harvesting the chia seeds at the right time ensures maximum seed development and quality. Storing the seeds in airtight containers in a cool and dark location prolongs their freshness and nutritional value.
By incorporating chia seeds into your garden, you not only have the opportunity to enjoy a bountiful harvest, but you also reap the benefits of their incredible nutritional content. These tiny seeds are rich in omega-3 fatty acids, fiber, antioxidants, and protein, making them a valuable addition to your diet.
So, why not embark on this delightful journey of growing your own chia seeds in terracotta pots? With the comprehensive knowledge provided in this article, you have all the tools to create a thriving and fruitful garden. Enjoy the process, and relish the satisfaction of nurturing chia plants from seed to harvest!
Frequently Asked Questions about How To Grow Chia Seeds In Terracotta
Was this page helpful?
At Storables.com, we guarantee accurate and reliable information. Our content, validated by Expert Board Contributors, is crafted following stringent Editorial Policies. We're committed to providing you with well-researched, expert-backed insights for all your informational needs.

0 thoughts on “How To Grow Chia Seeds In Terracotta”