Home>Garden Essentials>How To Make Oil From Seeds
Garden Essentials
How To Make Oil From Seeds
Modified: September 1, 2024
Learn how to make oil from seeds in your home garden. Discover the step-by-step process and start enjoying homemade oils.
(Many of the links in this article redirect to a specific reviewed product. Your purchase of these products through affiliate links helps to generate commission for Storables.com, at no extra cost. Learn more)
Introduction
In the world of gardening, it’s not just about the plants and flowers that add beauty to your outdoor space. The seeds that are often overlooked also hold a great deal of potential. Did you know that some seeds can be used to make oil? It’s true! By extracting oil from seeds, you can create your own homemade oils that are not only cost-effective but also free from additives and preservatives.
In this article, we will guide you through the process of making oil from seeds. We’ll cover everything from choosing the right seeds to filtering and storing the final product. So, if you’re eager to explore the world of seed oil extraction, let’s dive right in!
Key Takeaways:
- Harness the power of nature’s seeds by making your own homemade oils. Choose the right seeds, clean and prepare them, and follow proper extraction and storage techniques for flavorful, additive-free oils.
- Enjoy the satisfaction of creating your own oils from seeds. With fresh, high-quality seeds and the right methods, you can make delicious, healthy oils for cooking, skincare, and more.
Read more: How To Make Grape Seed Oil
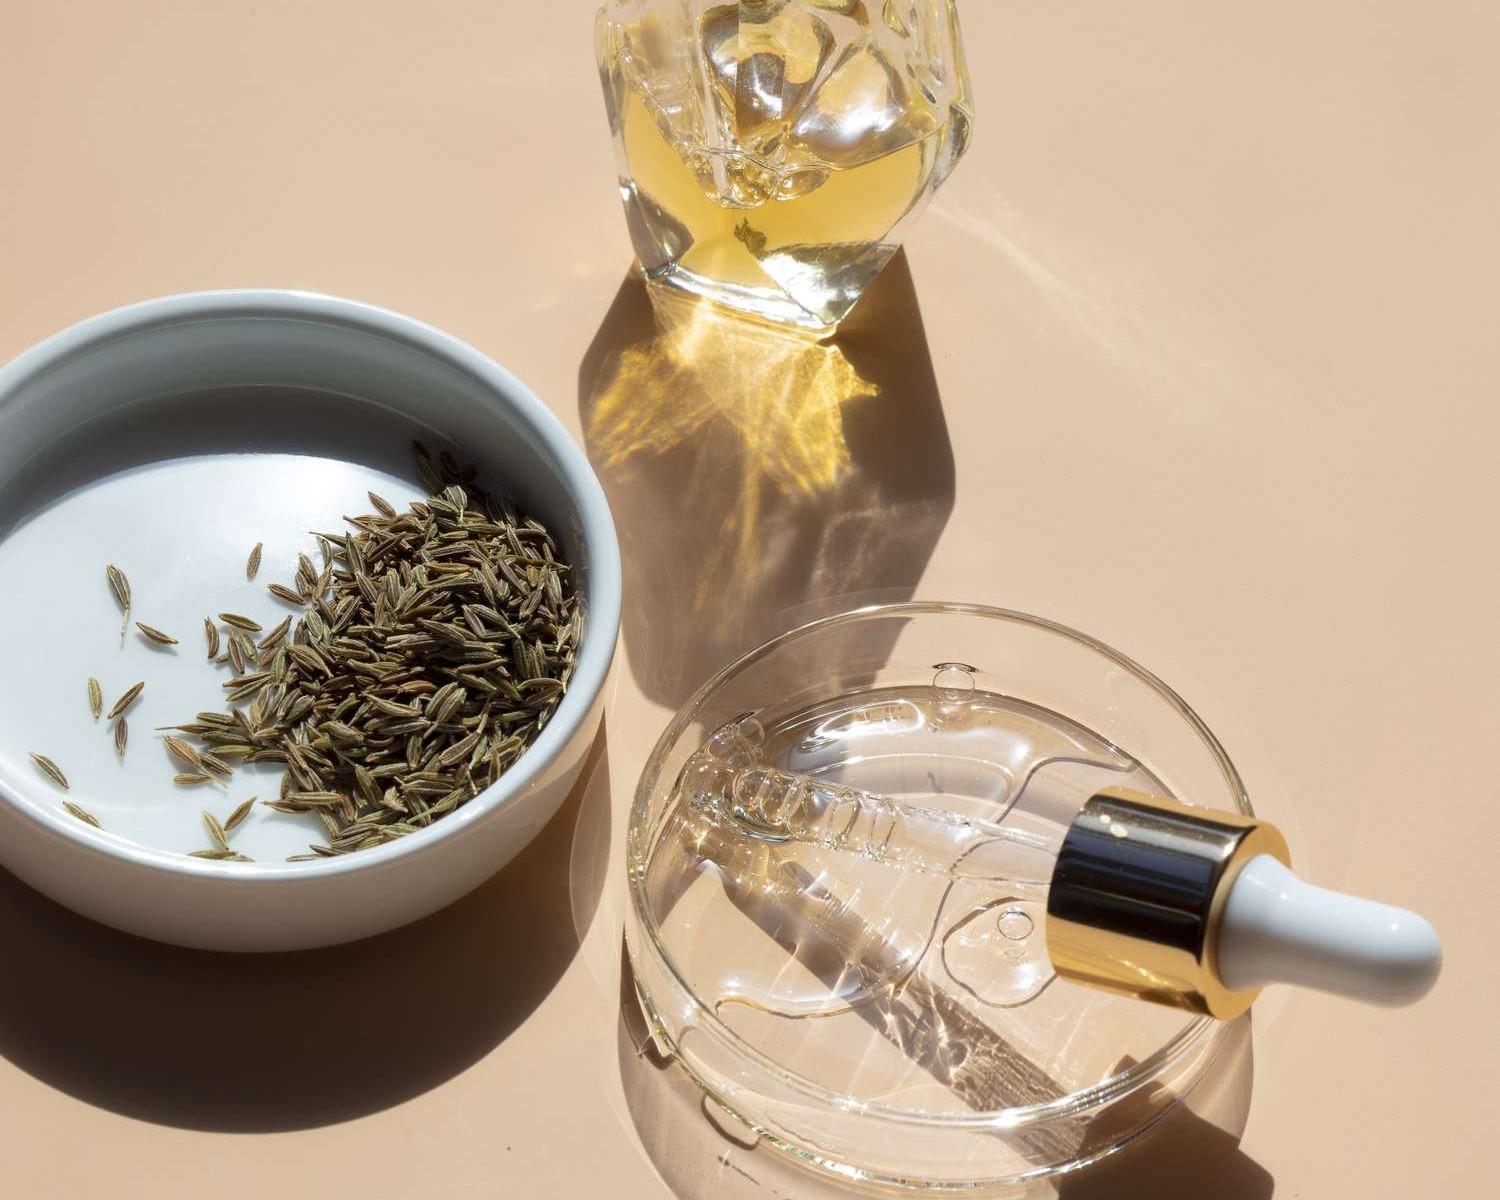
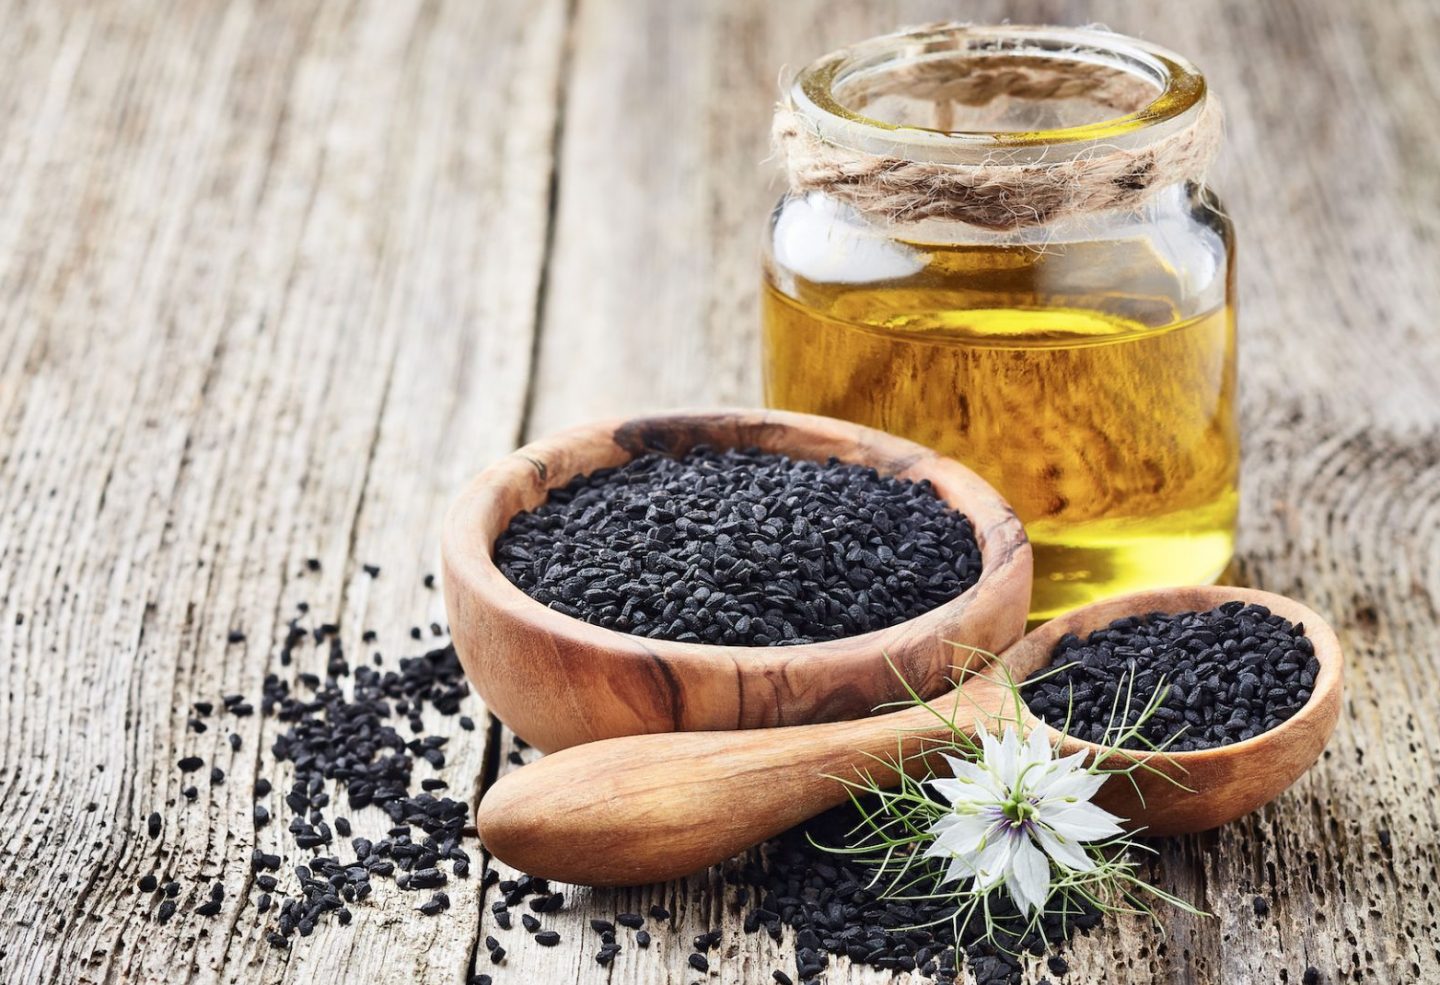
Choosing the Right Seeds
When it comes to making oil from seeds, it’s important to start with the right kind of seeds. Not all seeds are suitable for oil extraction, so you’ll need to choose the ones that contain a high amount of oil. Here are a few popular seed options:
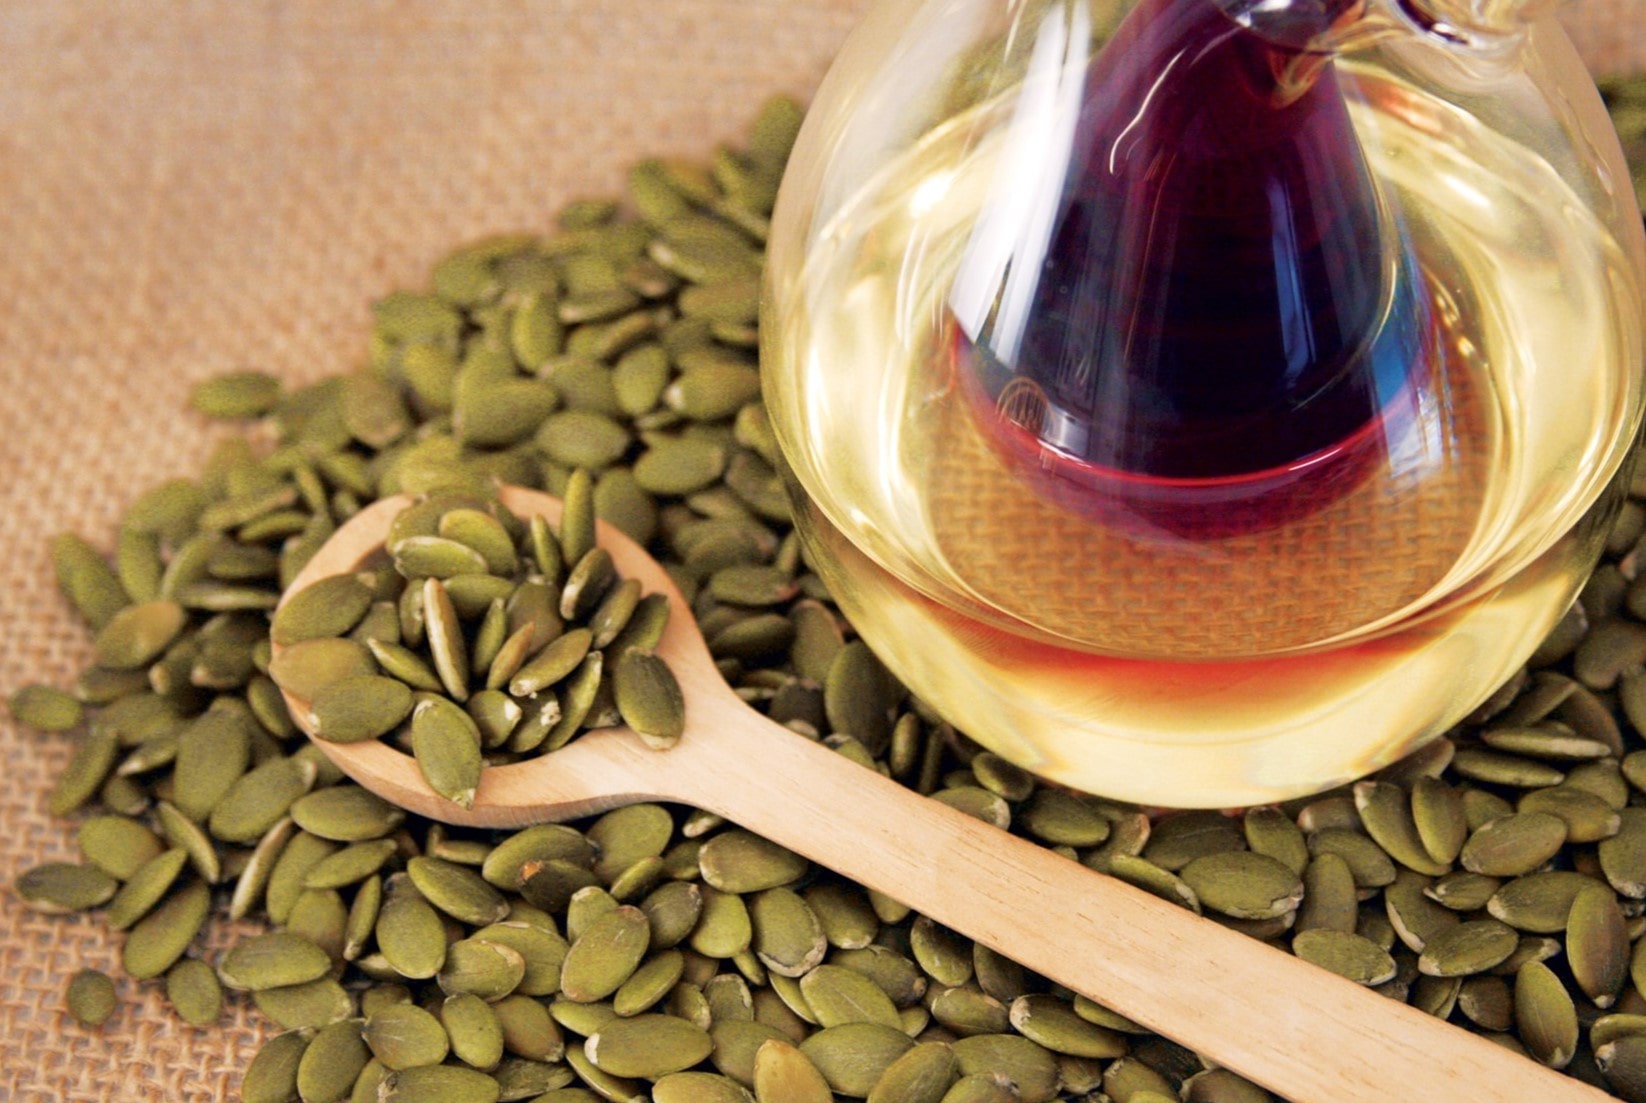
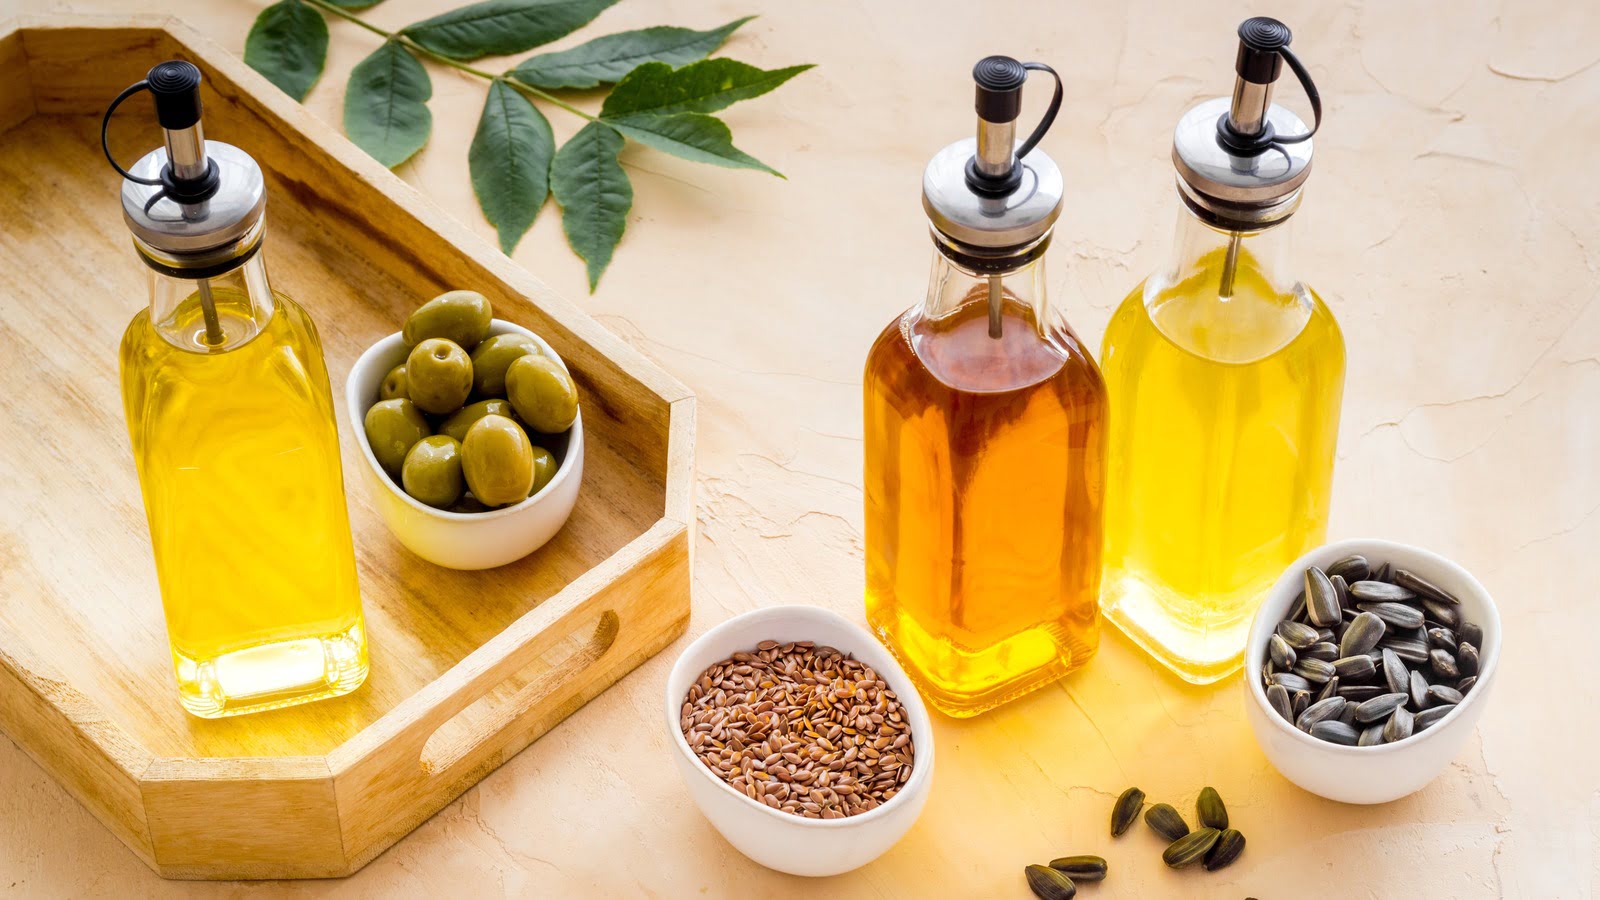
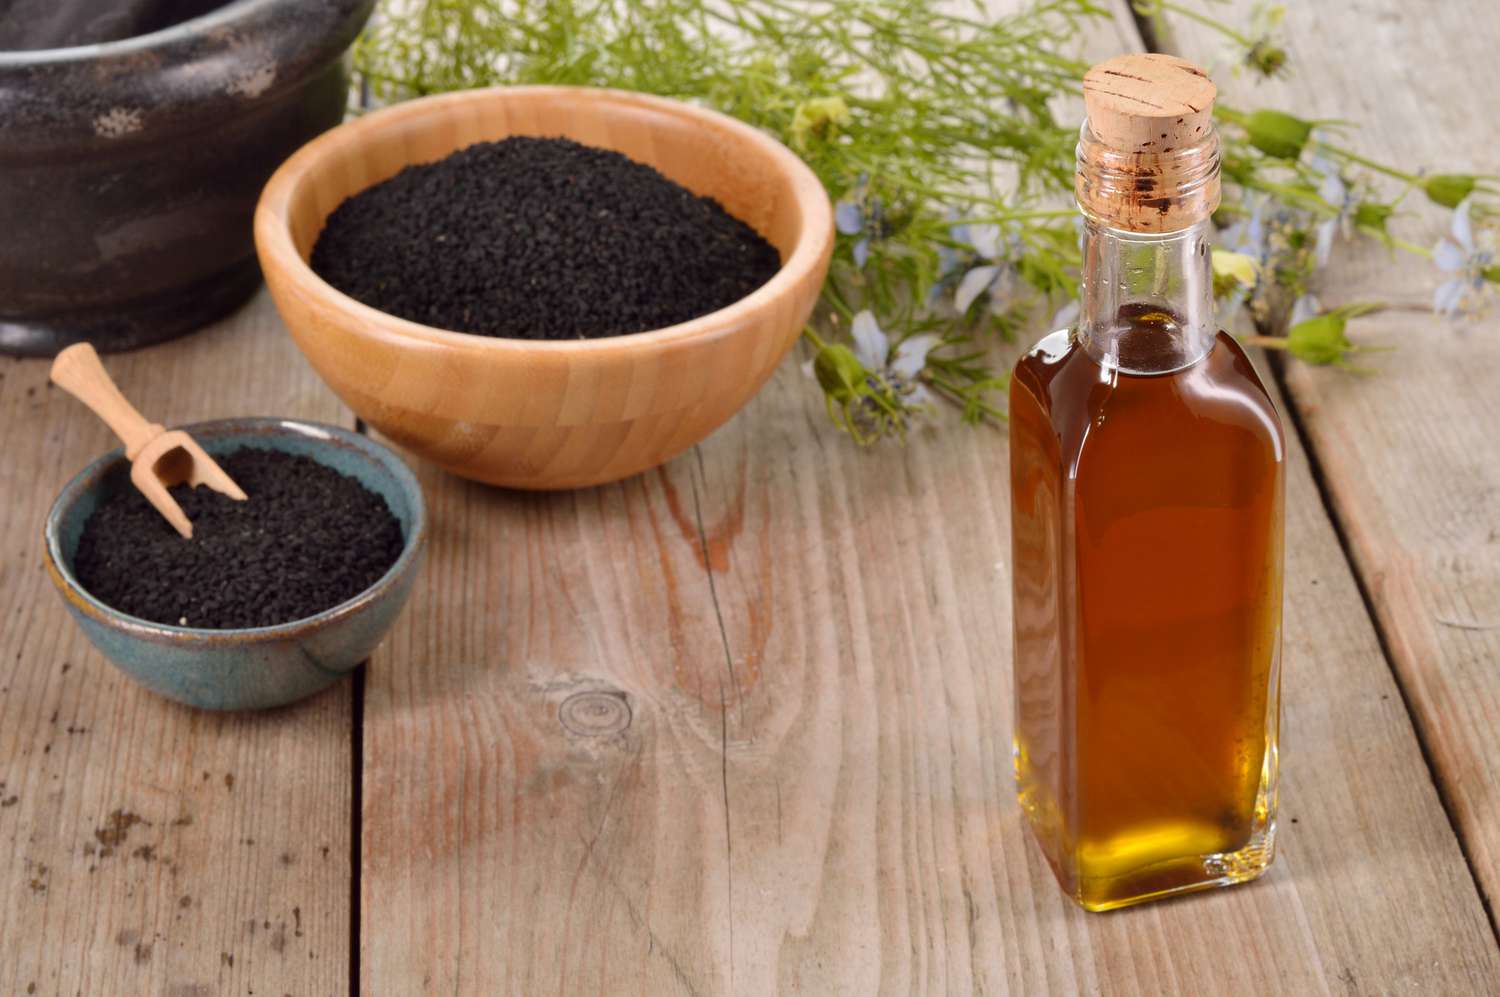
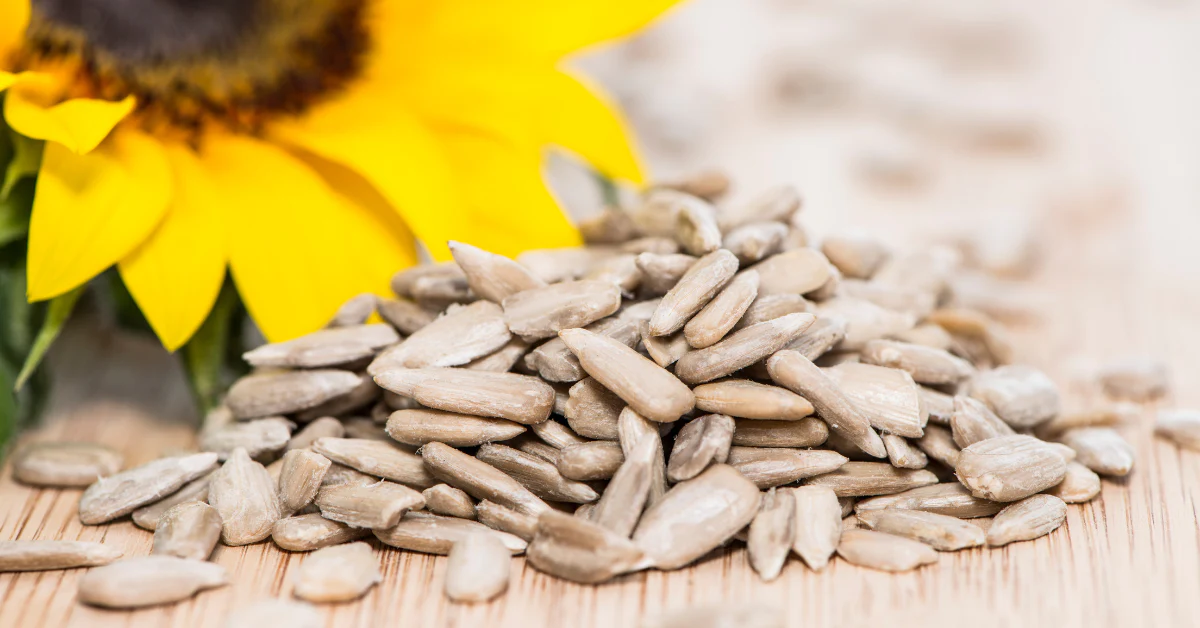
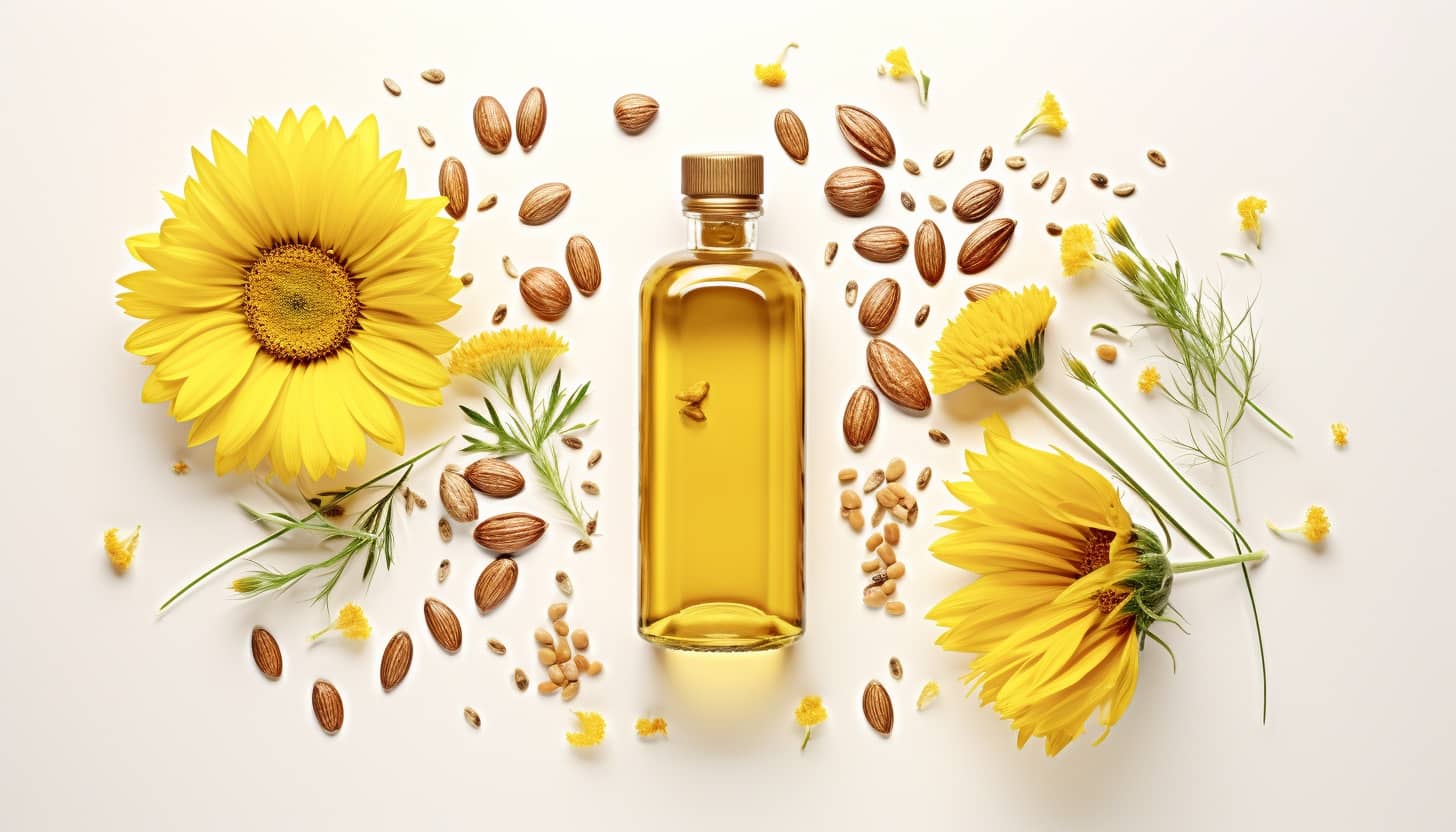
- Sunflower Seeds: Sunflower seeds are a popular choice for oil extraction due to their high oil content and pleasant taste. They can be easily found in most grocery stores or purchased online.
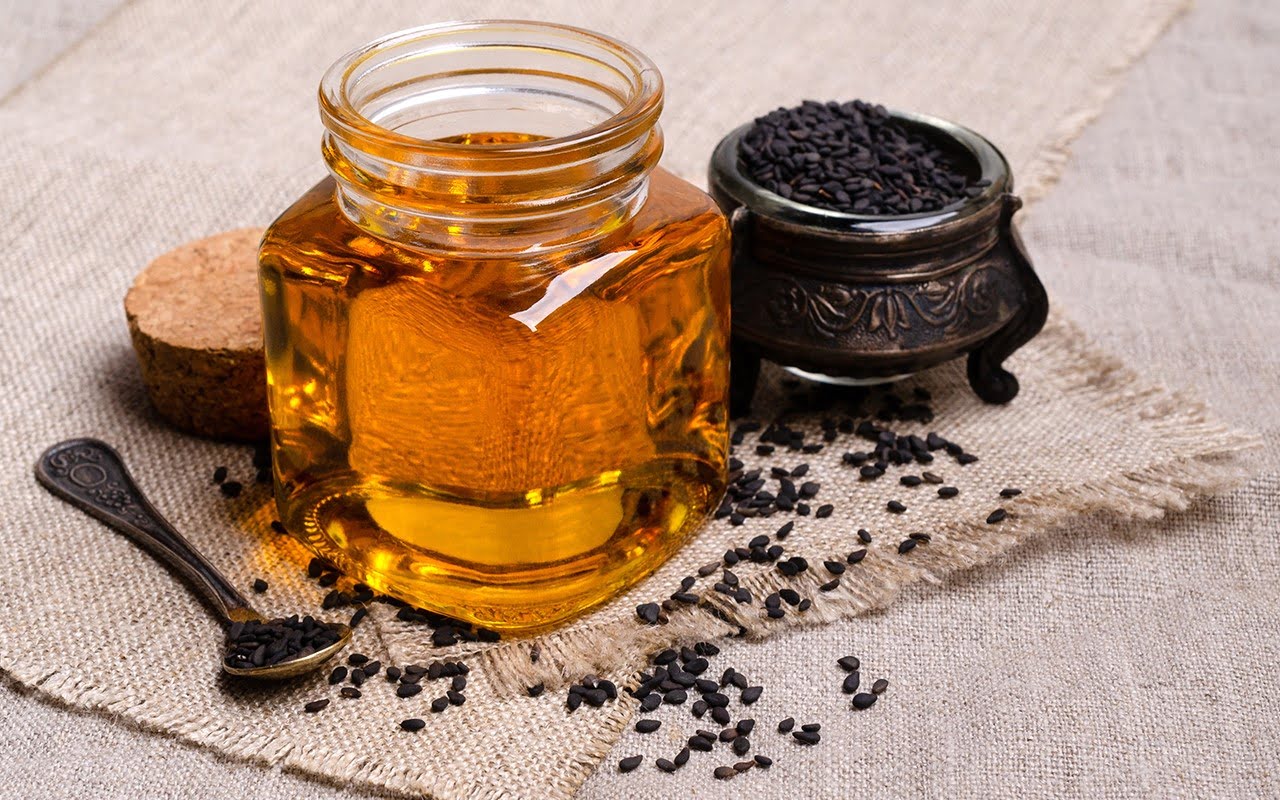
- Sesame Seeds: Sesame seeds are rich in oil and are commonly used in various cuisines. They have a distinct nutty flavor and can be a great choice for homemade oil.
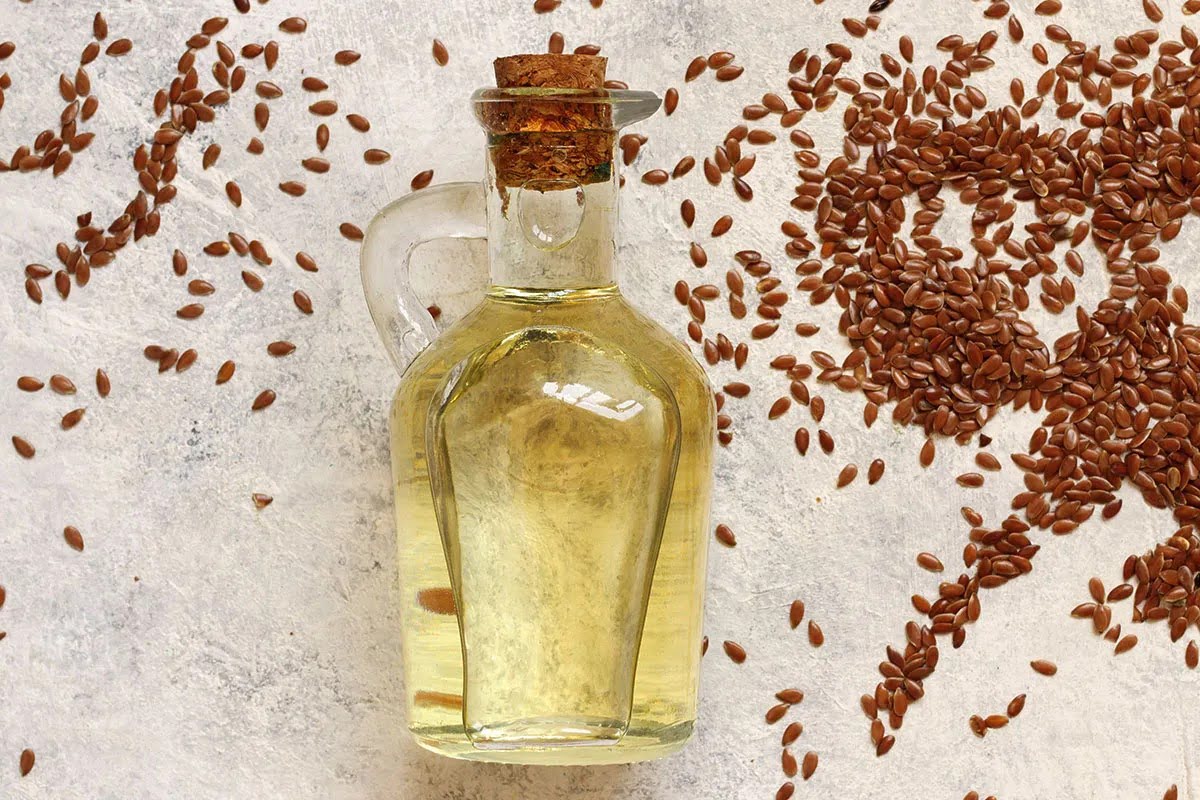
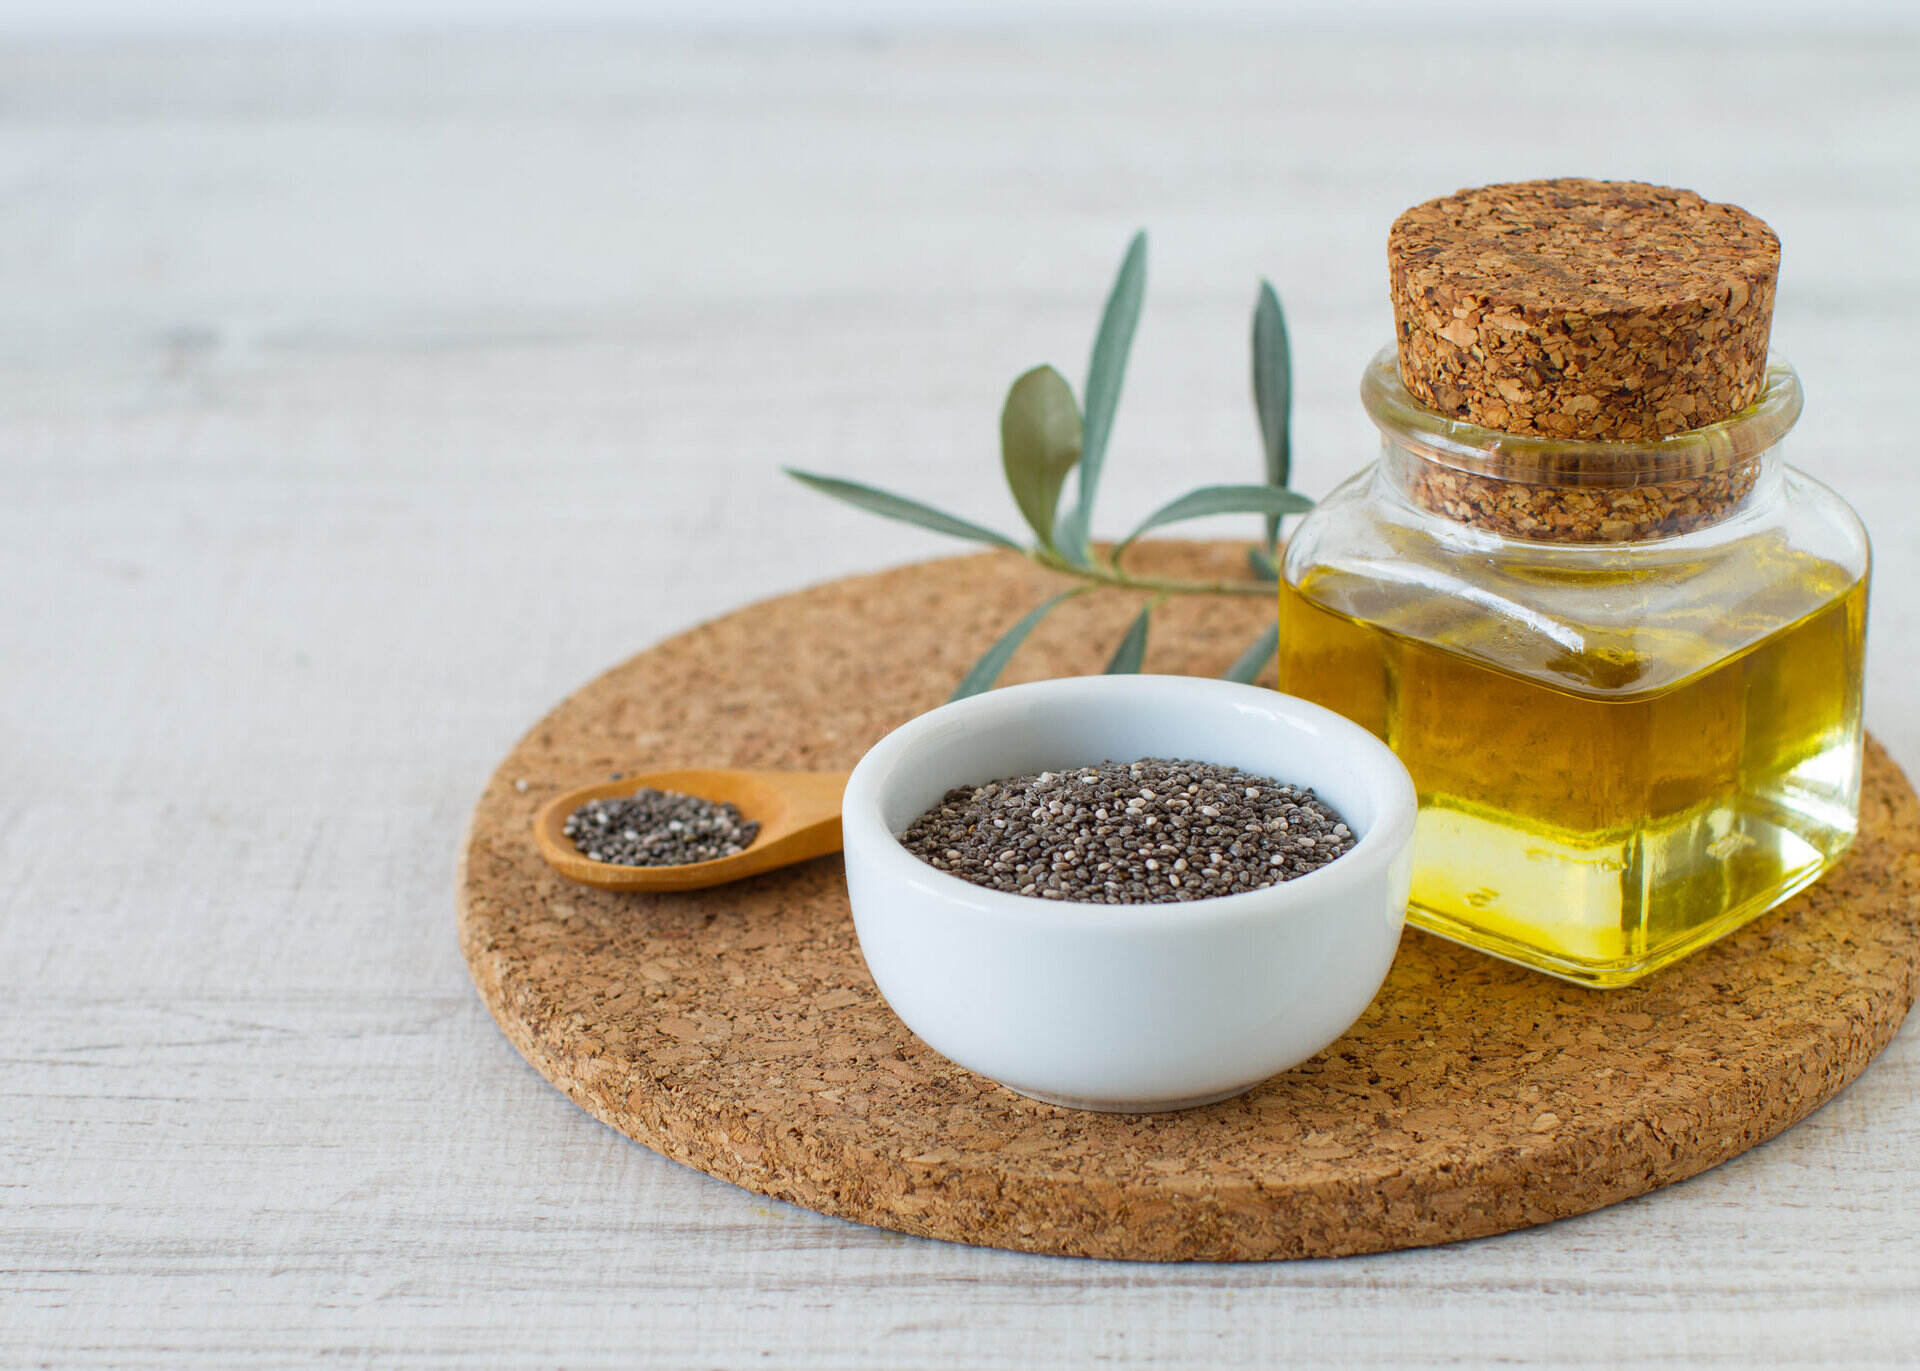
- Flaxseeds: Flaxseeds are known for their high omega-3 fatty acid content and are a popular choice for health-conscious individuals. They can be used to make flaxseed oil, which is beneficial for its nutritional properties.
- Mustard Seeds: Mustard seeds are commonly used to make mustard oil, which has a unique and pungent flavor. This oil is often used in Indian cooking and can add a delicious kick to your dishes.
These are just a few examples, and there are many other seeds that can be used for oil extraction. It’s important to research the specific seed you’re interested in using to determine its oil content and suitability for extraction. Additionally, make sure that the seeds you choose are fresh and of high quality, as this will directly impact the flavor and quality of the oil.
Once you’ve chosen the right seeds, it’s time to move on to the next step: cleaning and preparing the seeds for oil extraction.
Cleaning and Preparing the Seeds
Before you can start extracting oil from seeds, it’s crucial to clean and prepare them properly. This step ensures that any impurities or debris are removed, resulting in a higher-quality oil. Here’s how you can clean and prepare the seeds:
- Rinse the Seeds: Start by rinsing the seeds under cold running water to remove any dirt or dust. Gently agitate the seeds with your hands to ensure a thorough rinse.
- Remove Foreign Objects: Carefully inspect the seeds and remove any foreign objects such as stones, twigs, or damaged seeds. These unwanted elements can affect the quality of the oil and should be discarded.
- Dry the Seeds: After rinsing, spread the seeds on a clean, dry towel or paper towel. Allow them to air dry completely. Make sure there is no moisture left on the seeds, as it can lead to mold formation.
- Storage: If you’re not planning to use the seeds immediately, store them in an airtight container in a cool, dry place. This will help maintain the freshness and quality of the seeds.
By following these steps, you’ll ensure that your seeds are clean, free from impurities, and ready for the oil extraction process. Once the seeds are cleaned and prepared, it’s time to move on to the next step: grinding or crushing the seeds.
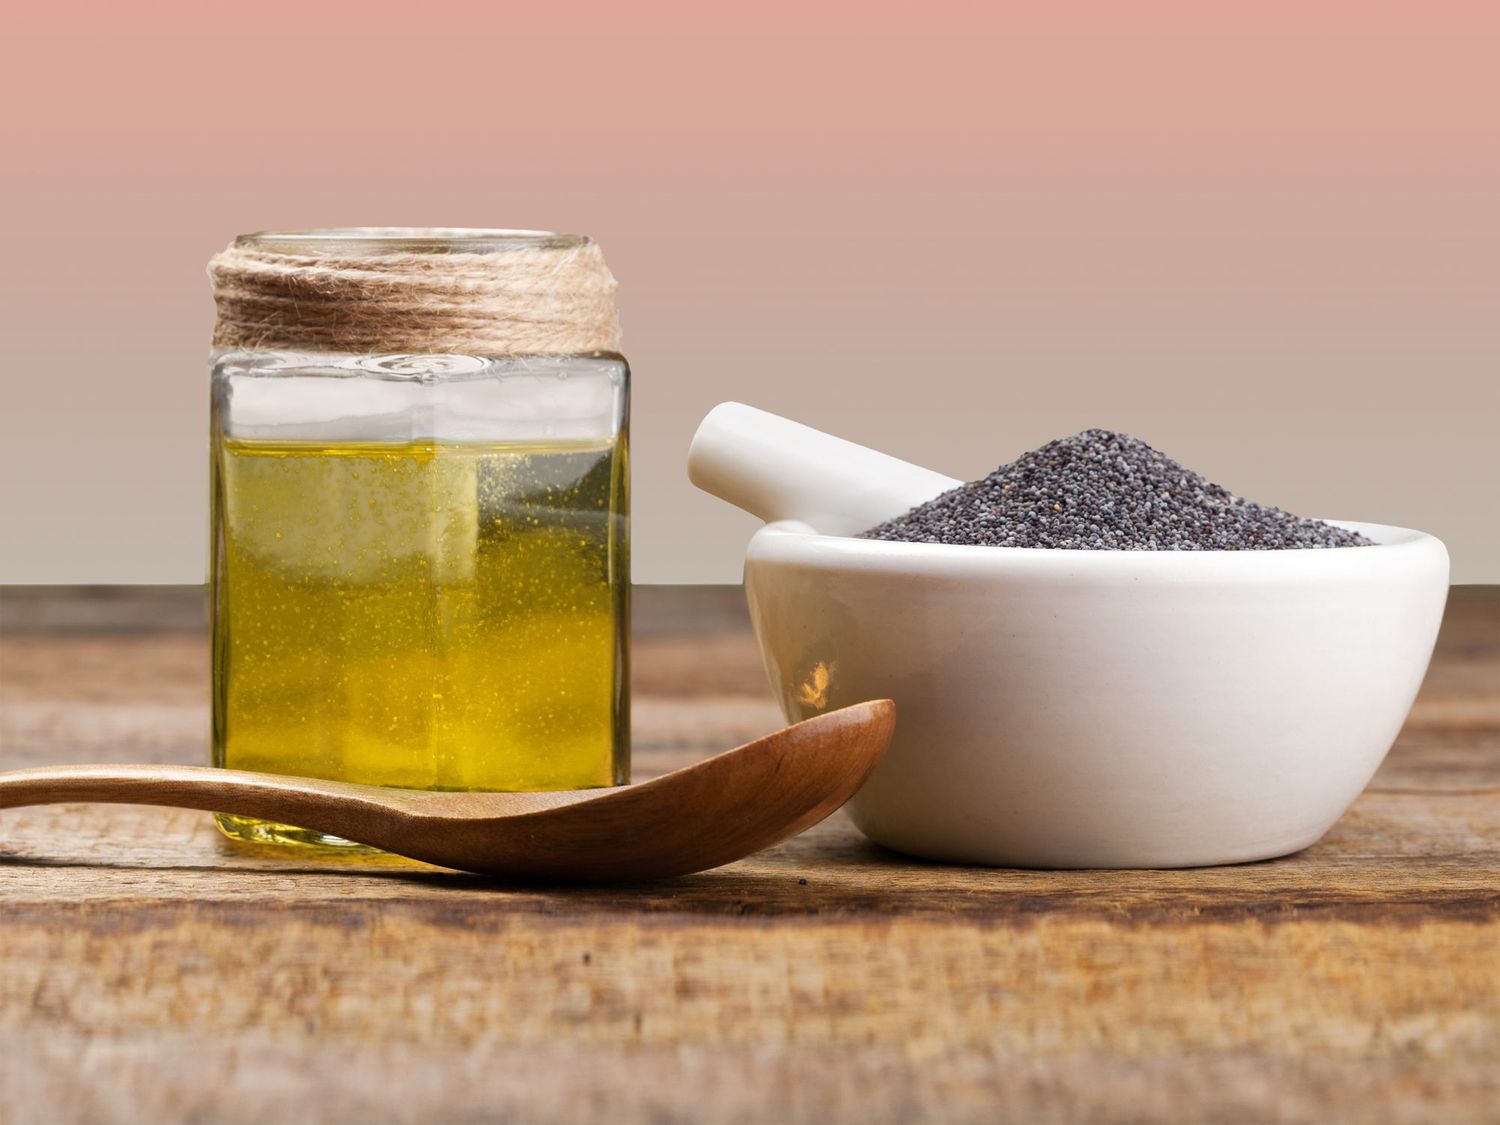
Grinding or Crushing the Seeds
Once the seeds are cleaned and prepared, the next step in making oil from seeds is to grind or crush them. Grinding or crushing the seeds helps to release the oil trapped inside the seeds, making it easier to extract. Here are a few methods you can use:
- Manual Grinding: If you prefer a more hands-on approach, you can use a mortar and pestle to manually grind the seeds. This method allows you to have more control over the grinding process and the texture of the resulting paste.
- Blender or Food Processor: For larger quantities of seeds, using a blender or food processor can be a convenient option. Simply add the seeds to the blender or food processor and pulse until the desired consistency is achieved. Be careful not to overdo it, as the seeds can turn into a paste.
- Seed Mill: If you frequently make oil from seeds, investing in a seed mill can save you time and effort. A seed mill is specifically designed to grind seeds into a fine powder or paste, making it ideal for oil extraction.
When grinding or crushing the seeds, it’s important to strike a balance. You want to break down the seeds enough to release the oil, but not so much that they turn into a paste. The consistency should be similar to wet sand.
Once the seeds are ground or crushed, it’s time to move on to the next step: extracting the oil.
When making oil from seeds, ensure the seeds are clean and dry before pressing. Use a high-quality oil press to extract the oil, and store it in a cool, dark place to maintain freshness.
Extracting the Oil
After preparing the seeds and grinding them to the desired consistency, it’s time to extract the oil. There are different methods you can use depending on the type of seed and your personal preference. Here are a few common methods for extracting oil from seeds:
- Heat Extraction: This method involves heating the ground or crushed seeds to facilitate the release of oil. You can use a double boiler or a slow cooker to gently heat the seeds. As the heat increases, the oil will start to separate from the seeds. Once the oil has risen to the surface, carefully skim it off and transfer it to a separate container.
- Cold Press: Cold pressing is a popular method for extracting oil from seeds, especially for seeds that are sensitive to heat. In this method, a mechanical press is used to slowly apply pressure to the ground or crushed seeds. The pressure causes the oil to be squeezed out, leaving behind a solid residue. The oil is collected and stored for further use.
- Solvent Extraction: Solvent extraction involves using a solvent, such as hexane, to dissolve the oil from the ground or crushed seeds. This method is commonly used in large-scale commercial oil production. However, it’s important to note that solvent extraction may not be suitable for homemade oil production due to safety concerns.
When extracting the oil, it’s important to follow proper safety precautions, especially when dealing with heat or solvents. Make sure to read and understand the instructions for the specific extraction method you’re using. Additionally, keep in mind that different seeds may require different extraction methods, so it’s always a good idea to do some research or consult a guide specific to the seed you’re working with.
Once you have successfully extracted the oil, the next step is to filter and store it.
Read more: How To Make Pumpkin Seed Oil
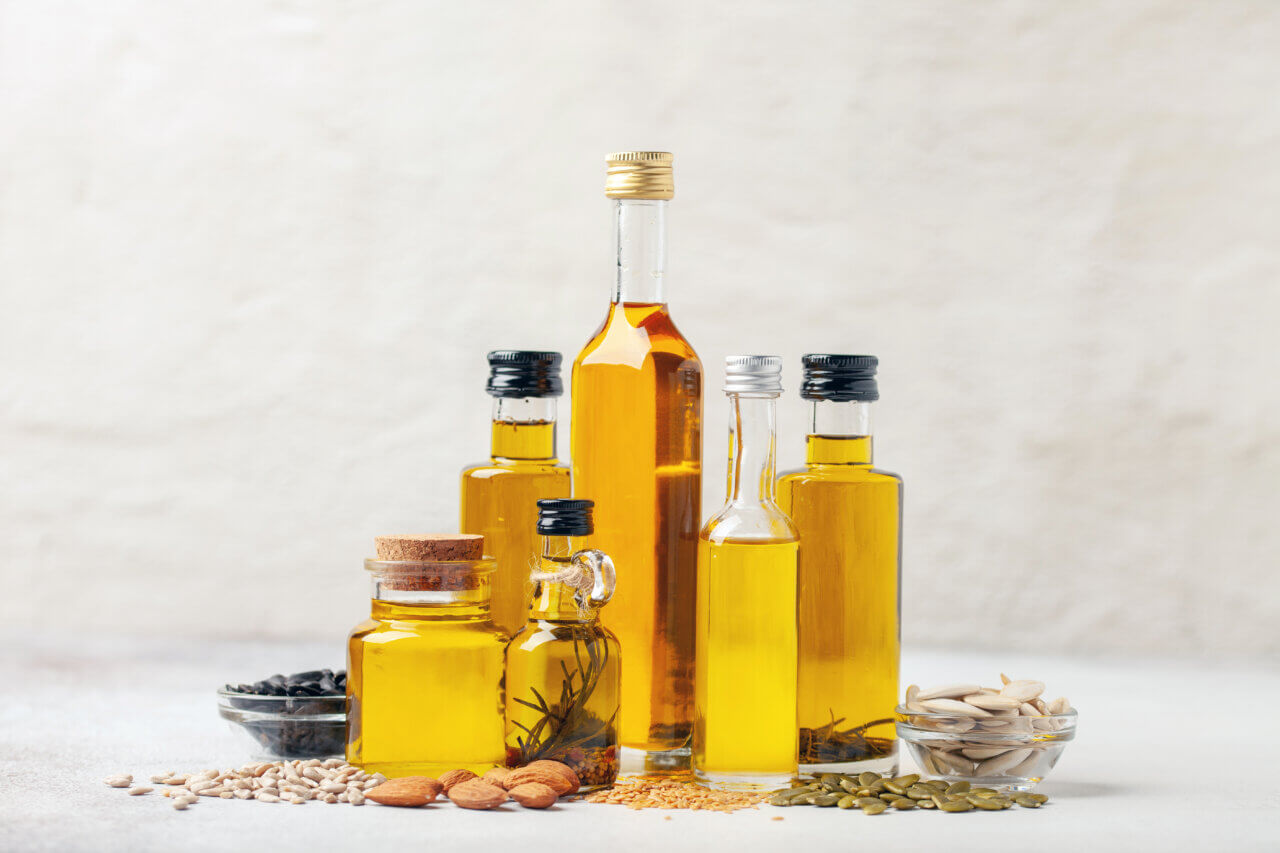
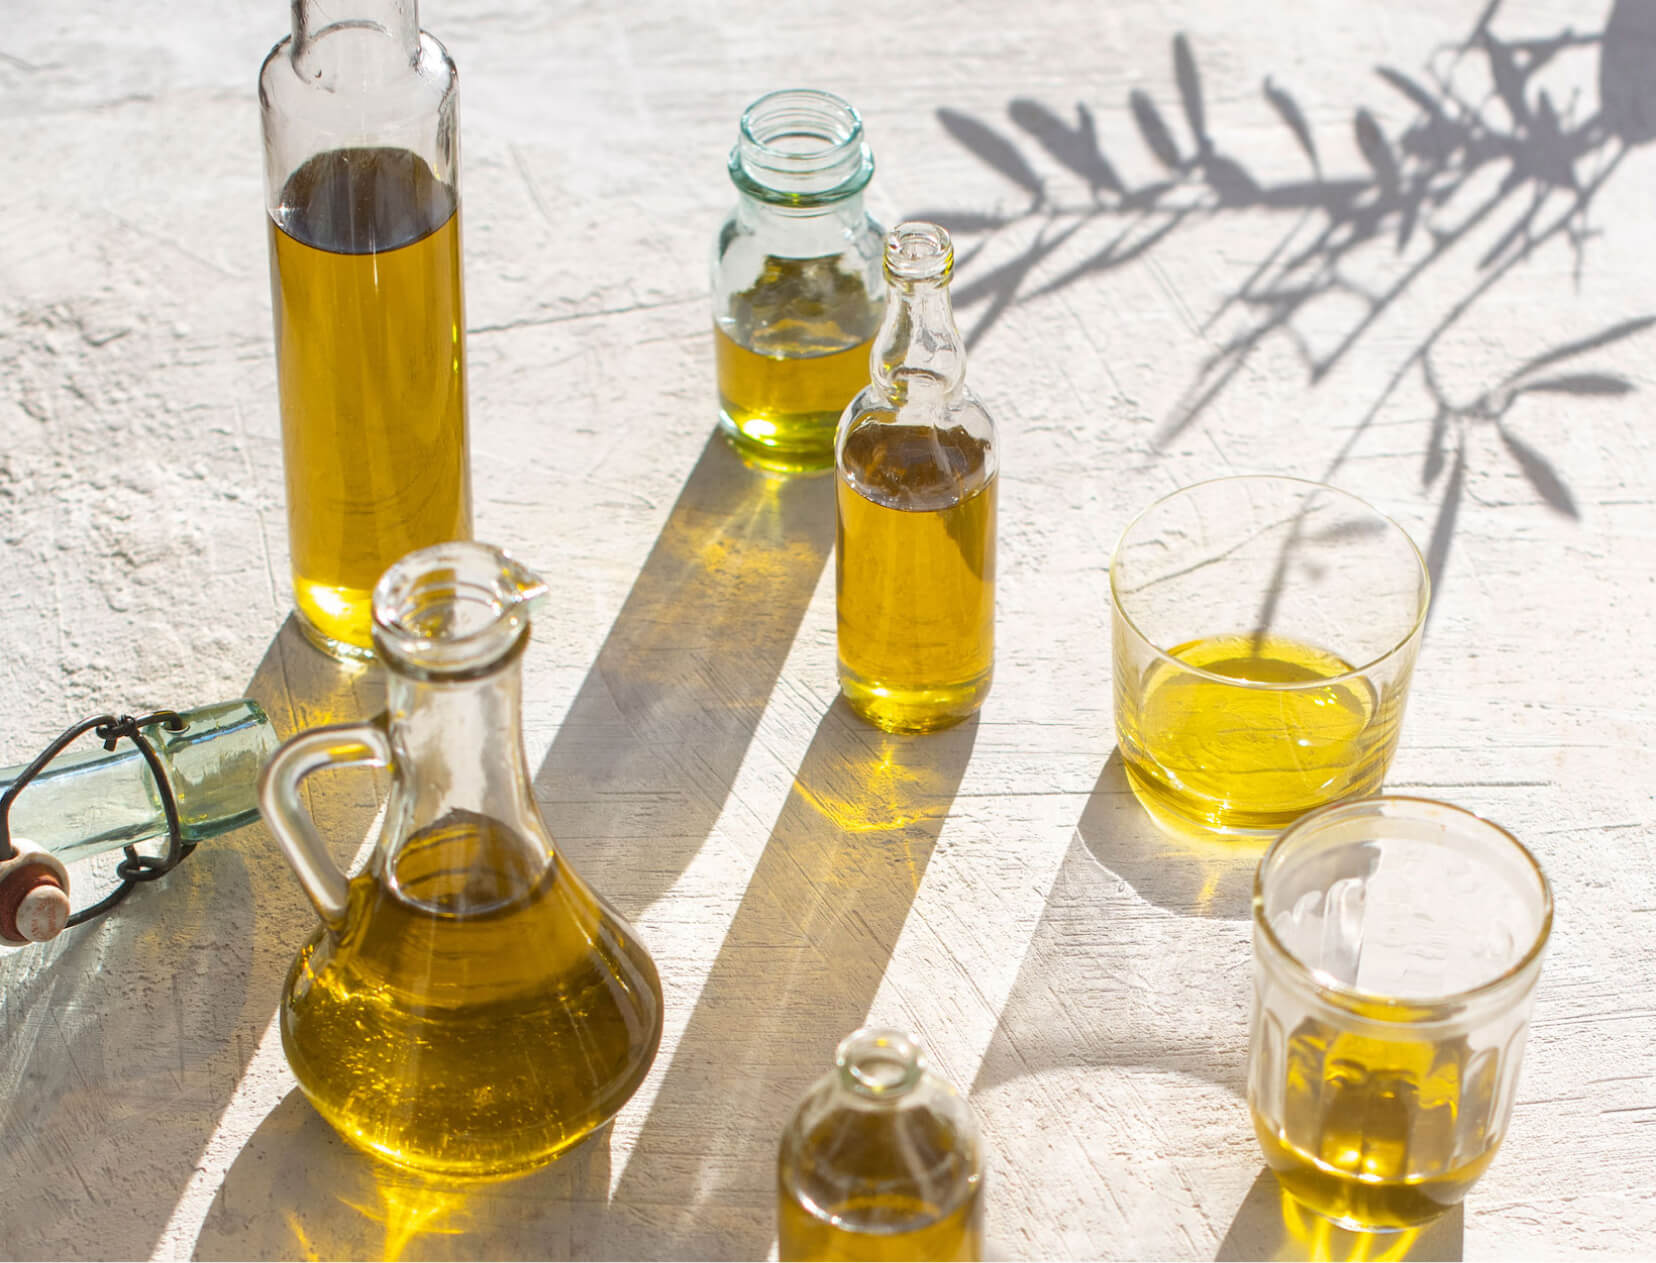
Filtering and Storing the Oil
After extracting the oil from the seeds, it’s important to filter it to remove any impurities or solids that may have been carried over during the extraction process. Filtering the oil helps to ensure its purity and clarity. Here’s how you can filter and store the oil:
- Settlement Method: Allow the extracted oil to settle in a glass or stainless steel container for a few hours or overnight. During this time, any sediments or solids will settle to the bottom. Carefully pour the clear oil into a separate container, leaving behind the sediment.
- Straining Method: Alternatively, you can use a fine mesh strainer or cheesecloth to strain the oil. Place the strainer or cheesecloth over a clean container and slowly pour the extracted oil through it. The strainer will catch any solids, leaving you with pure oil.
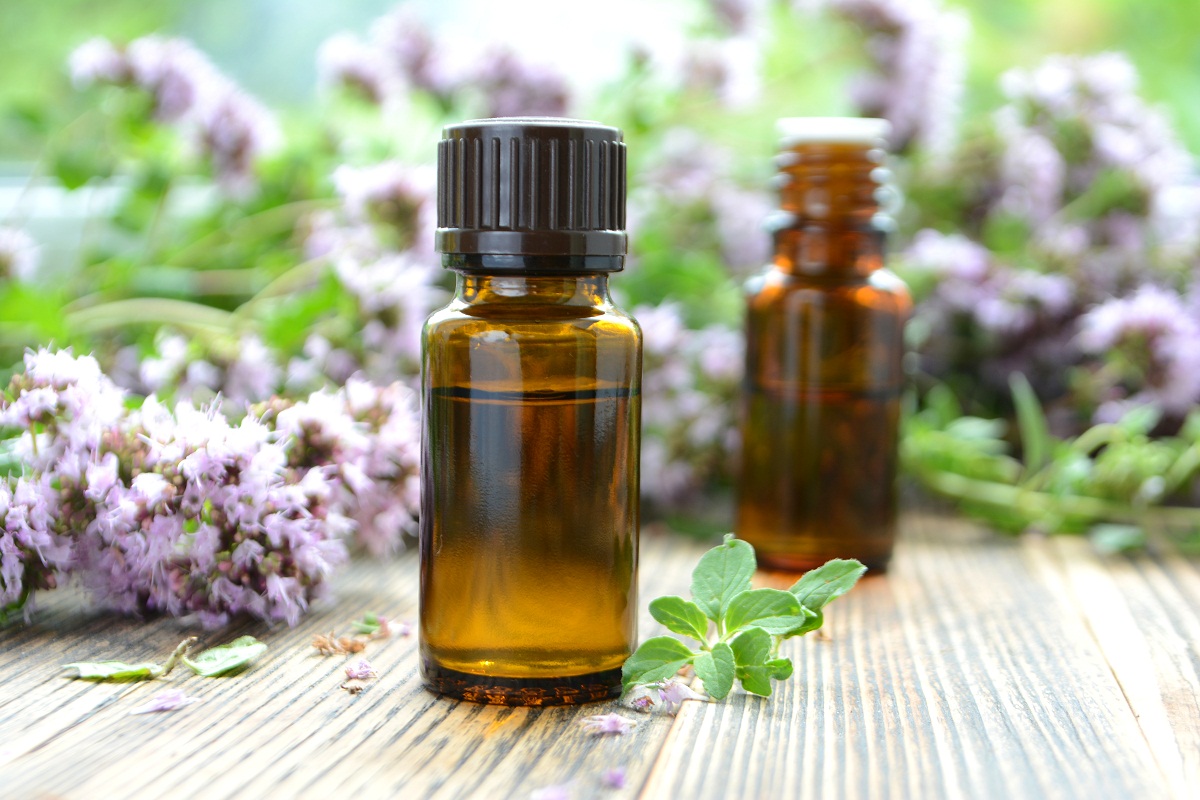
- Storage: Once the oil is filtered, it’s important to store it properly to maintain its freshness and quality. Transfer the filtered oil into dark glass bottles or containers that can block out light. Exposure to light can cause the oil to degrade quickly. Store the oil in a cool, dark, and dry place, such as a pantry or cupboard, away from heat and direct sunlight. Properly stored oil can typically stay fresh for several months.
Label the bottles or containers with the type of oil and the date of extraction. This will help you keep track of the freshness and ensure you use the oil within its optimal period.
It’s worth noting that homemade oils may have a shorter shelf life compared to commercially processed oils due to the absence of preservatives. Therefore, it’s best to make smaller batches of oil to ensure its freshness and quality.
Congratulations! You’ve successfully made your own oil from seeds. Now you can enjoy the fruits of your labor by using the homemade oil in cooking, skincare, or any other application you desire.
Conclusion
Making oil from seeds is a rewarding and satisfying process that allows you to harness the potential of nature’s tiny powerhouses. By choosing the right seeds, cleaning and preparing them, grinding or crushing them, extracting the oil, and filtering and storing it properly, you can create your own homemade oils that are free from additives and preservatives.
Whether you prefer the rich and nutty flavor of sunflower seed oil, the aromatic and versatile sesame seed oil, or the nutritional benefits of flaxseed oil, the choice is yours. With a little bit of knowledge and effort, you can make oils that not only enhance the flavors of your dishes but also offer incredible health benefits.
Remember to choose fresh and high-quality seeds, and follow the proper techniques for cleaning, grinding, extracting, and storing the oil. Safety precautions should always be taken, especially when dealing with heat or solvents during the extraction process.
Once you have successfully made your own oil, experiment with using it in cooking, salad dressings, homemade skincare products, and more. The possibilities are endless, and you can enjoy the satisfaction of using a homemade product that you have created with your own hands.
So, why not embark on a journey into the world of seed oil extraction? Not only will you gain a deeper appreciation for the power of nature’s seeds, but you’ll also have the pleasure of enjoying your homemade oils in a variety of delightful ways. Happy seed oil making!
Frequently Asked Questions about How To Make Oil From Seeds
Was this page helpful?
At Storables.com, we guarantee accurate and reliable information. Our content, validated by Expert Board Contributors, is crafted following stringent Editorial Policies. We're committed to providing you with well-researched, expert-backed insights for all your informational needs.
0 thoughts on “How To Make Oil From Seeds”