Home>Garden Essentials>How To Make Sunflower Seeds From A Sunflower
Garden Essentials
How To Make Sunflower Seeds From A Sunflower
Modified: October 18, 2024
Learn how to make sunflower seeds from your own garden sunflowers. Find out the step-by-step process for harvesting, drying, and roasting fresh sunflower seeds.
(Many of the links in this article redirect to a specific reviewed product. Your purchase of these products through affiliate links helps to generate commission for Storables.com, at no extra cost. Learn more)
Introduction
Welcome to the world of sunflower seeds! If you’ve ever found yourself crunching on these delicious little morsels and wondered how they are made from a sunflower, you’re in the right place. In this article, we will guide you through the process of turning a sunflower into a savory snack that is not only satisfying to eat but also packed with nutritional benefits.
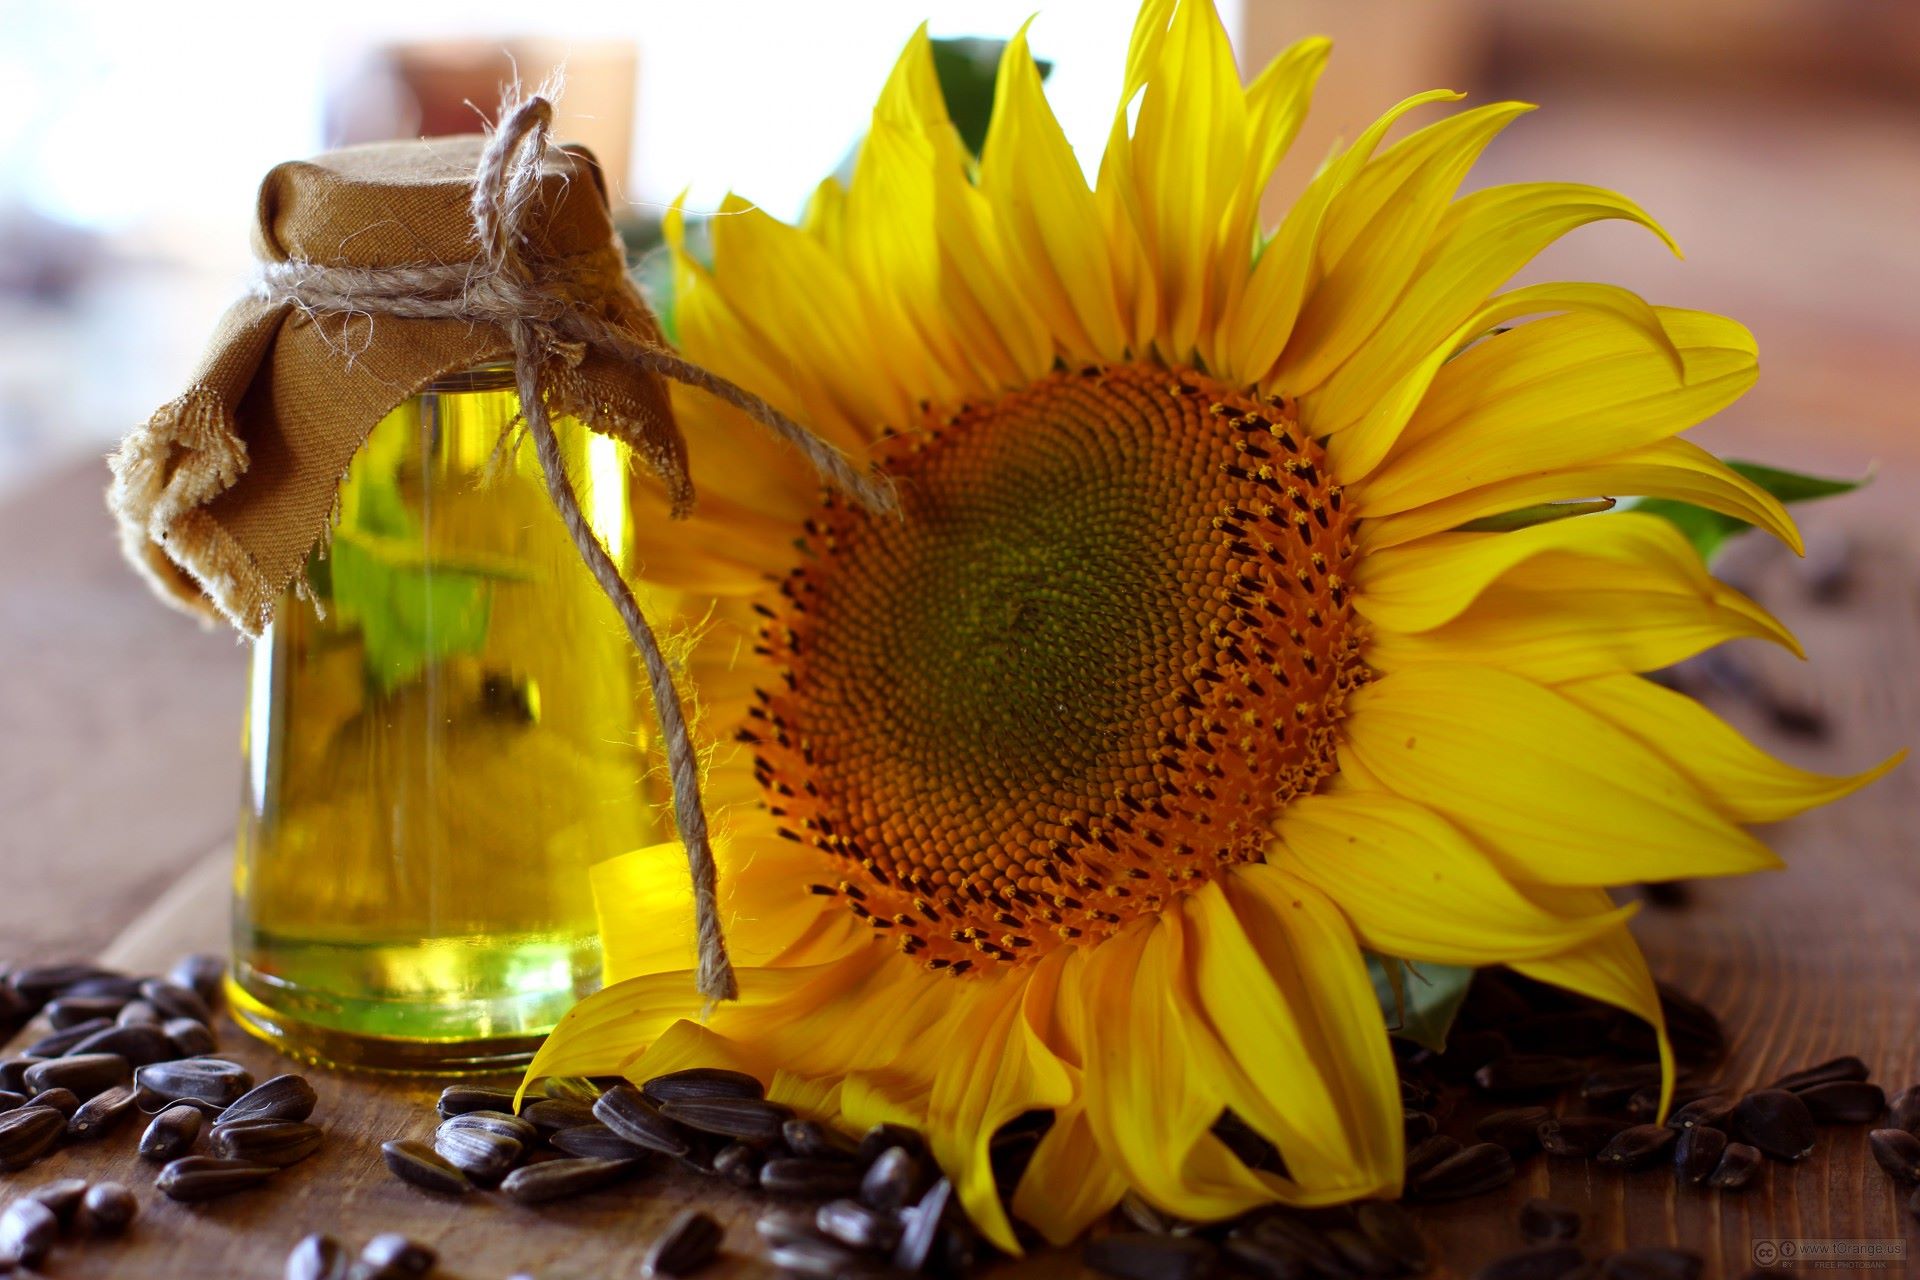
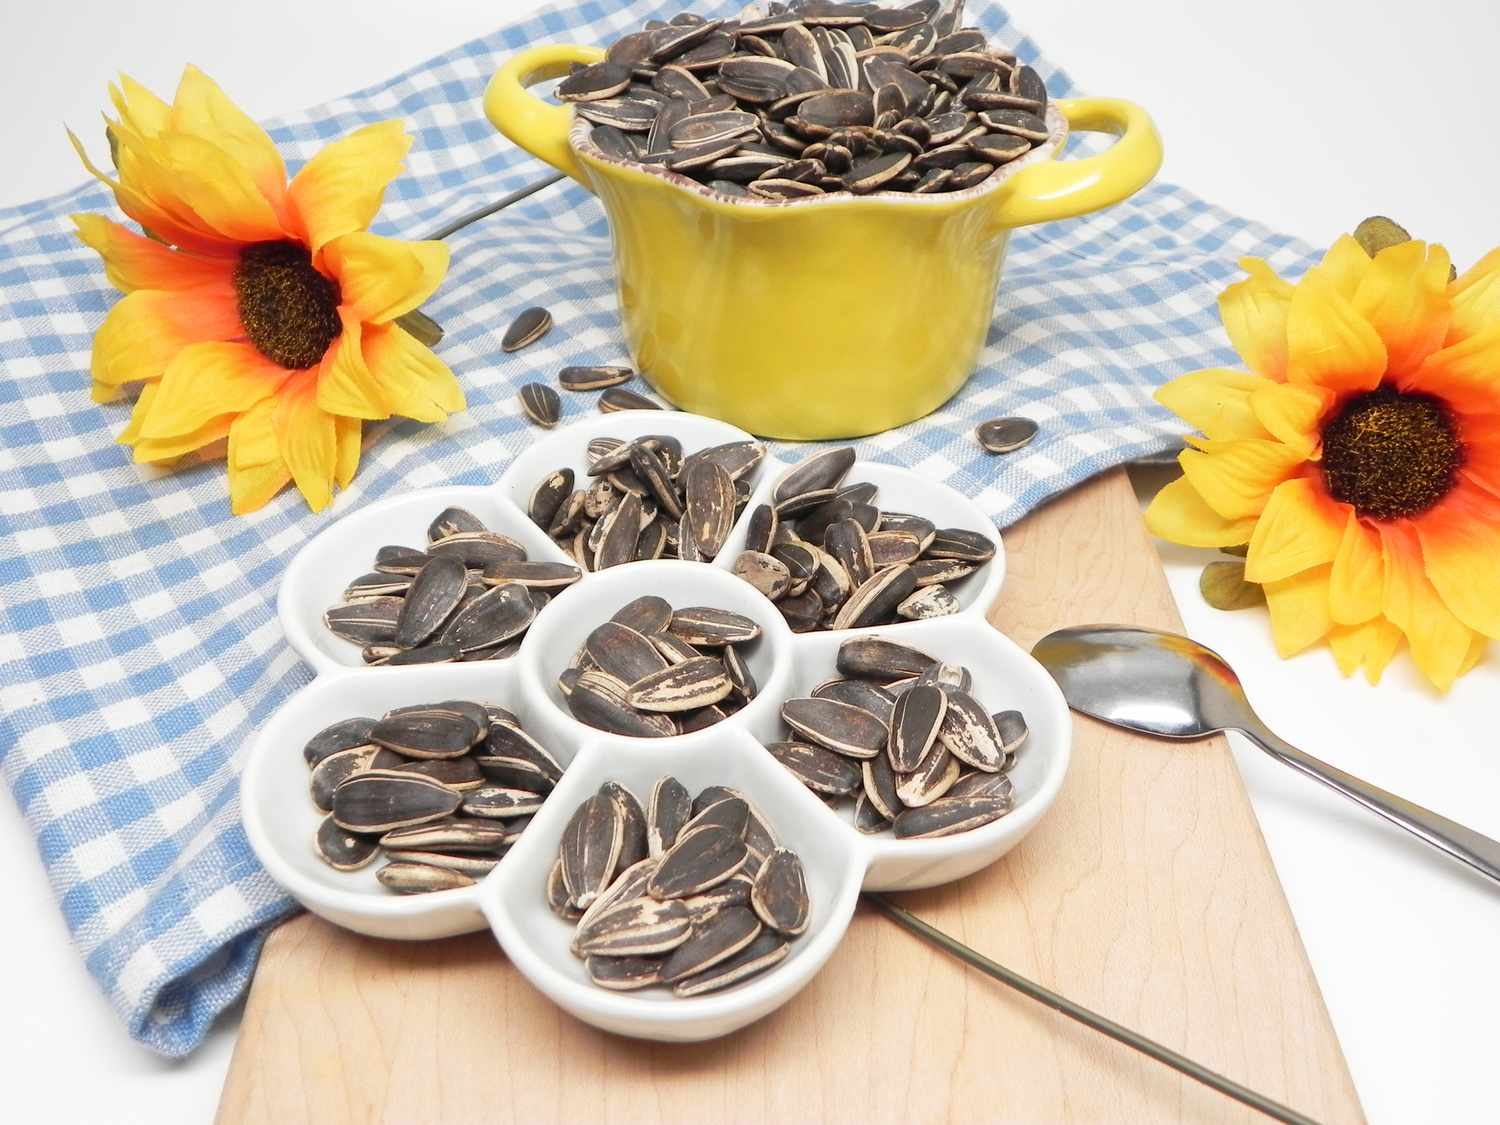
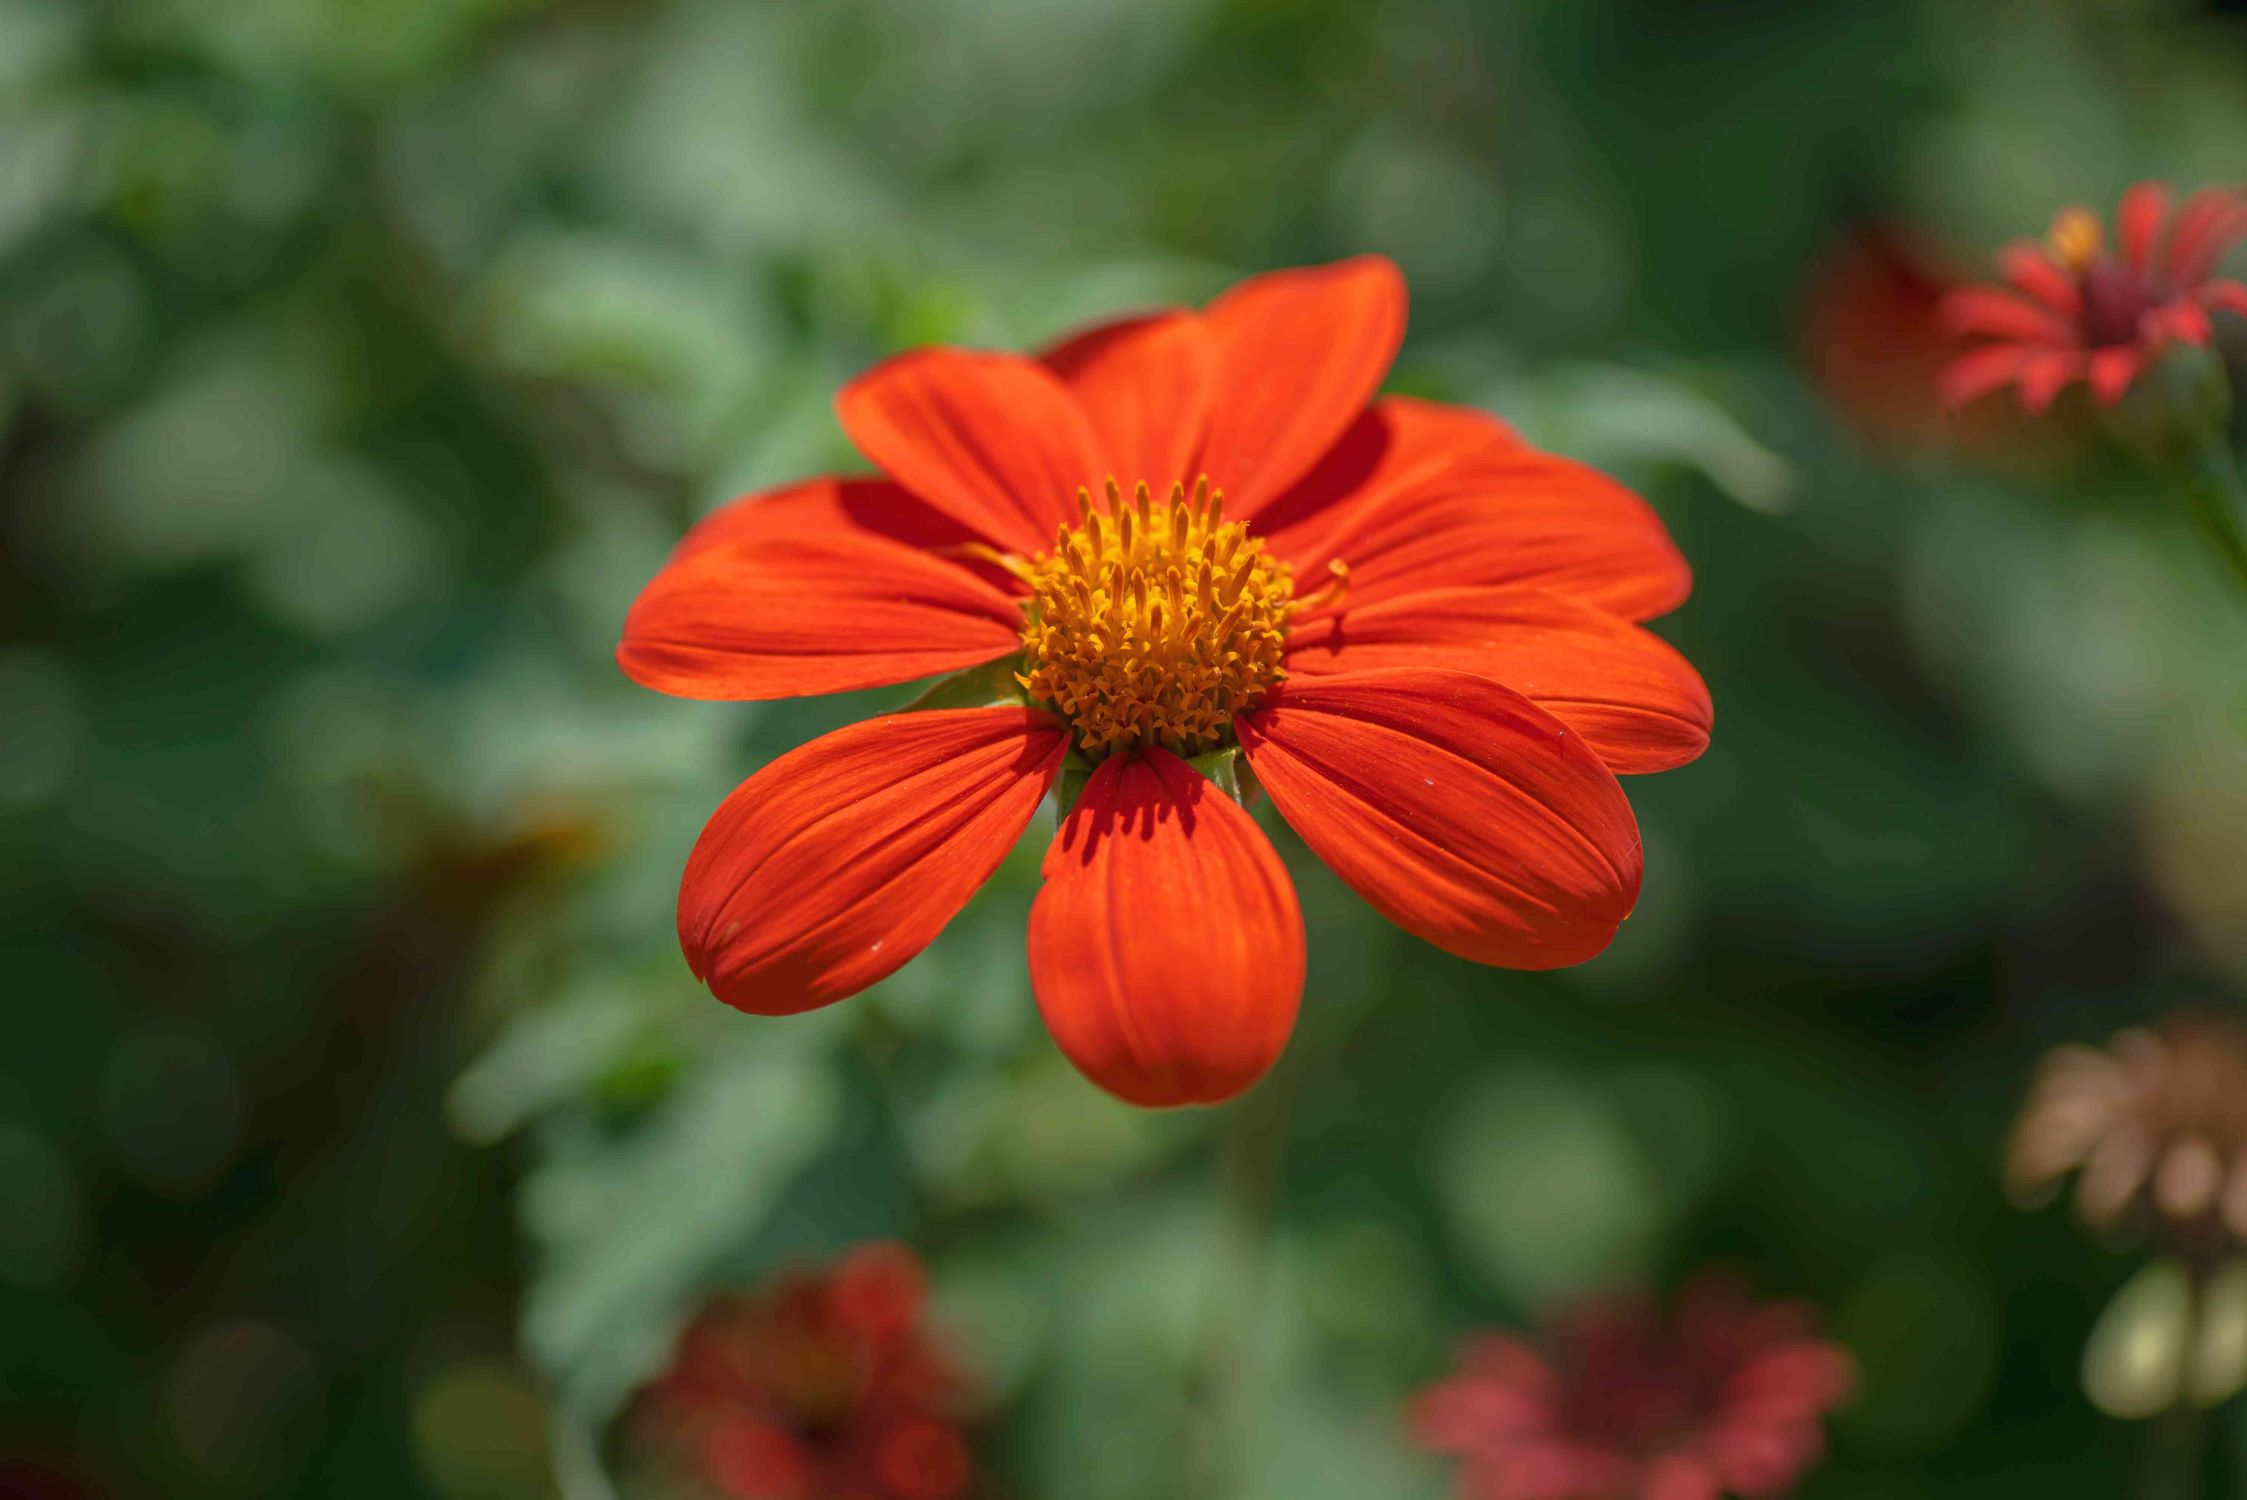
Sunflowers are not only known for their vibrant blooms but also for their edible seeds. These seeds are a popular and nutritious snack that can be enjoyed on their own or as an addition to salads, baked goods, and other culinary creations. Making your own sunflower seeds from scratch allows you to control the entire process, from selecting the sunflower to roasting the seeds to perfection.
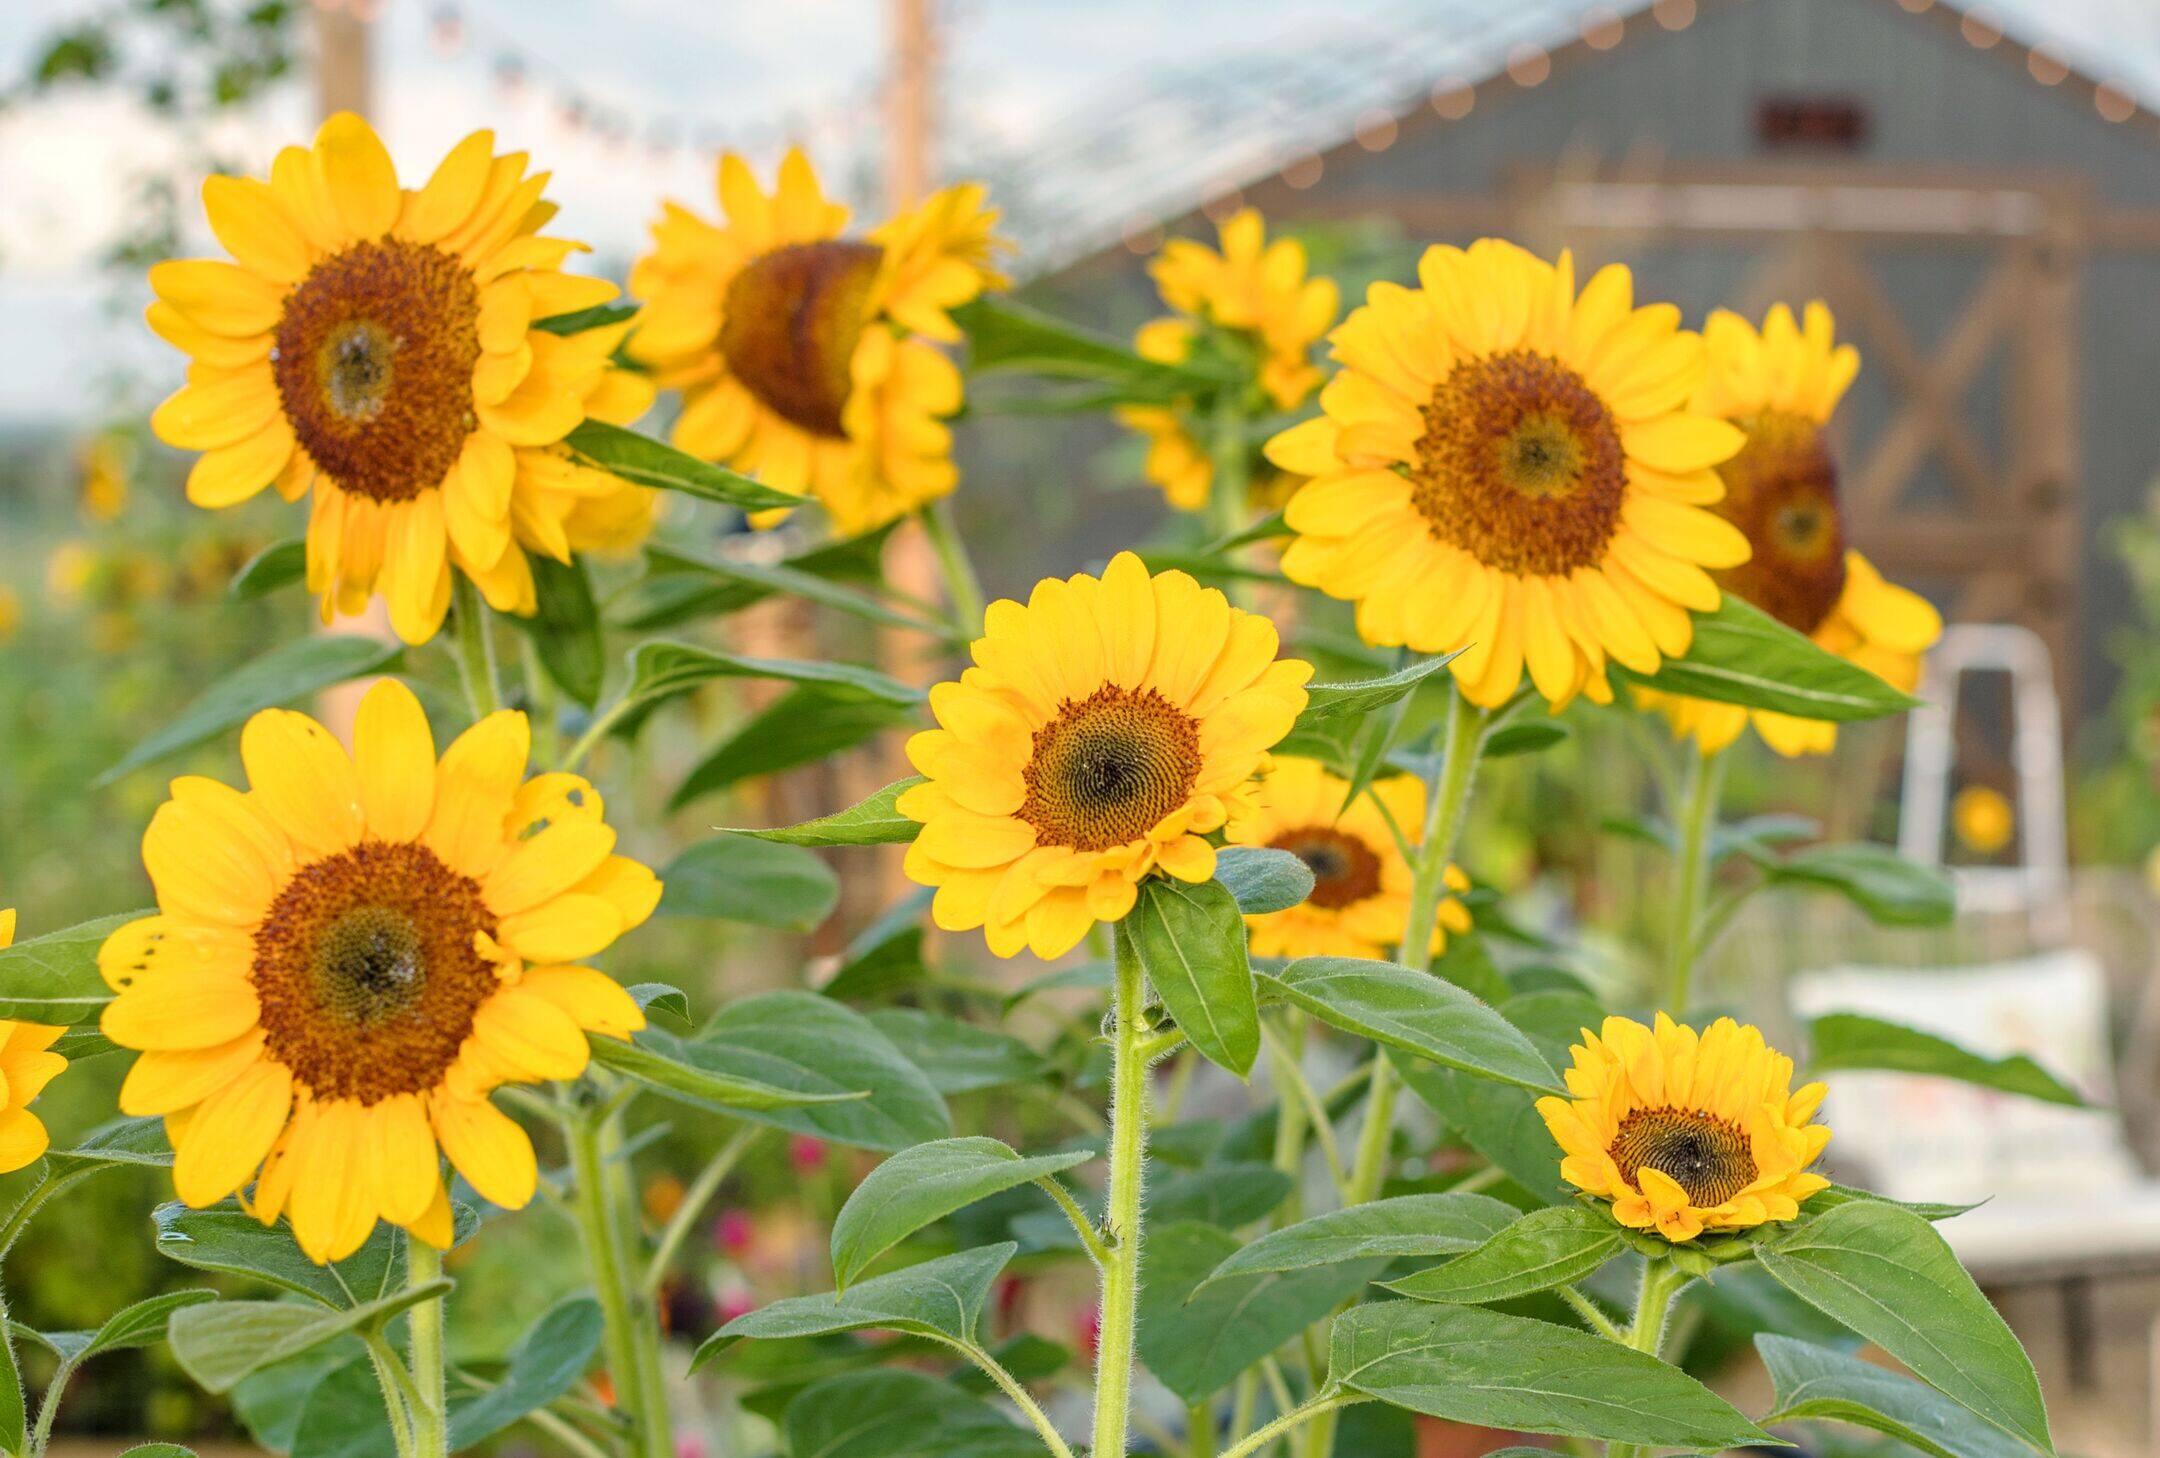
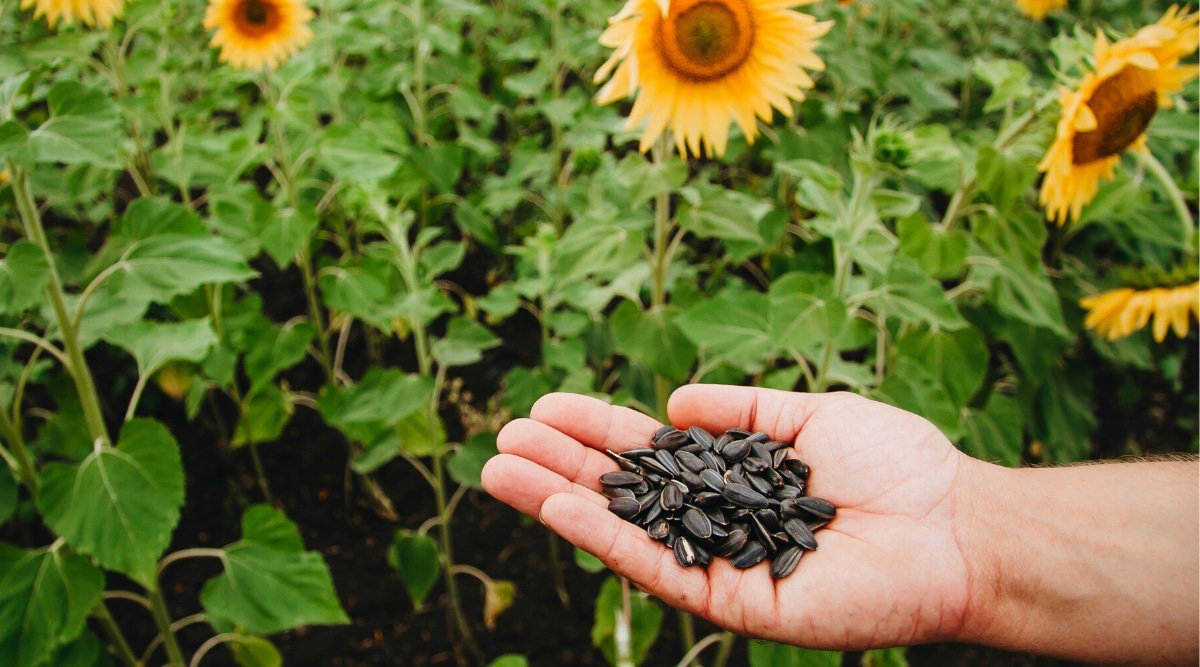
Before we delve into the step-by-step process, it’s essential to choose the right type of sunflower. There are two main varieties: oilseed sunflowers and non-oilseed sunflowers. The former is primarily grown for its oil extraction, while the latter produces larger seeds that are ideal for snacking.
Once you’ve identified the perfect sunflower, it’s time to harvest it. Harvesting is best done when the head of the sunflower turns brown and the back of it becomes dry. This usually happens in late summer or early fall. Carefully cut the head of the sunflower, making sure to leave a few inches of stem attached to facilitate the drying process.
The next step in our quest to make sunflower seeds is drying the sunflower heads. This is a crucial step as proper drying ensures that the seeds don’t become moldy or stale. Hang the sunflower heads upside down in a well-ventilated area, allowing them to air dry for approximately two weeks. Once completely dry, gently tap the head to release the seeds.
With the dried sunflower head in hand, it’s time to remove the seeds. Start by placing the head on a clean and dry surface, such as a large bowl or a flat tray. Rub the head with your hands, applying gentle pressure to loosen the seeds. As you do this, the seeds will start to fall out naturally. You can also use your fingers to pluck any stubborn seeds.
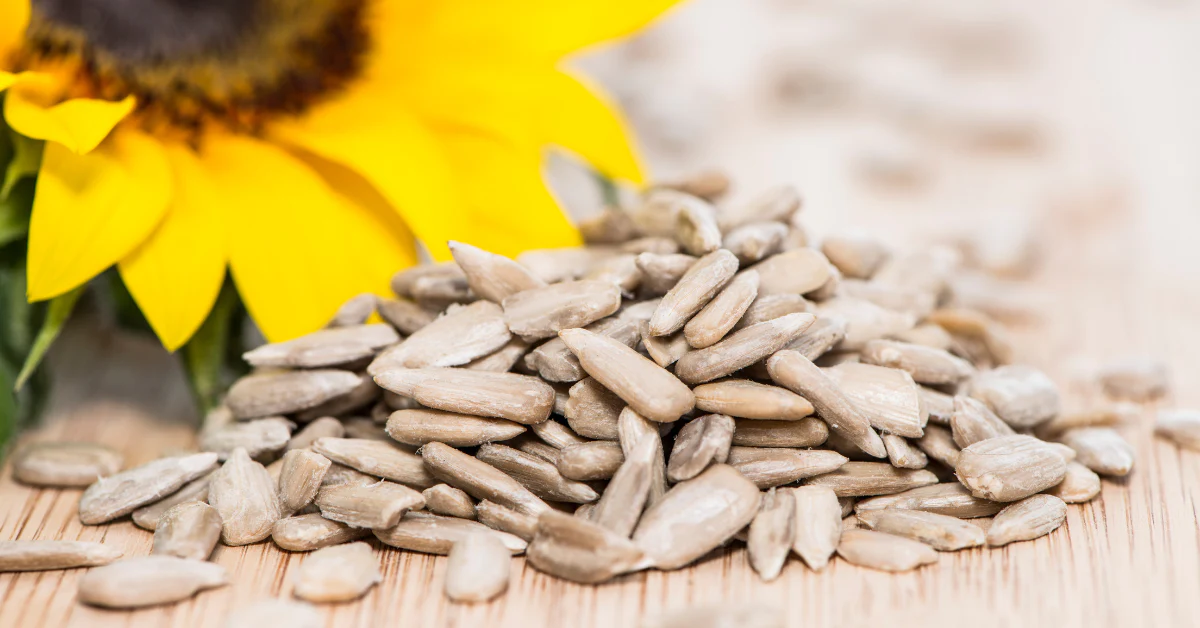
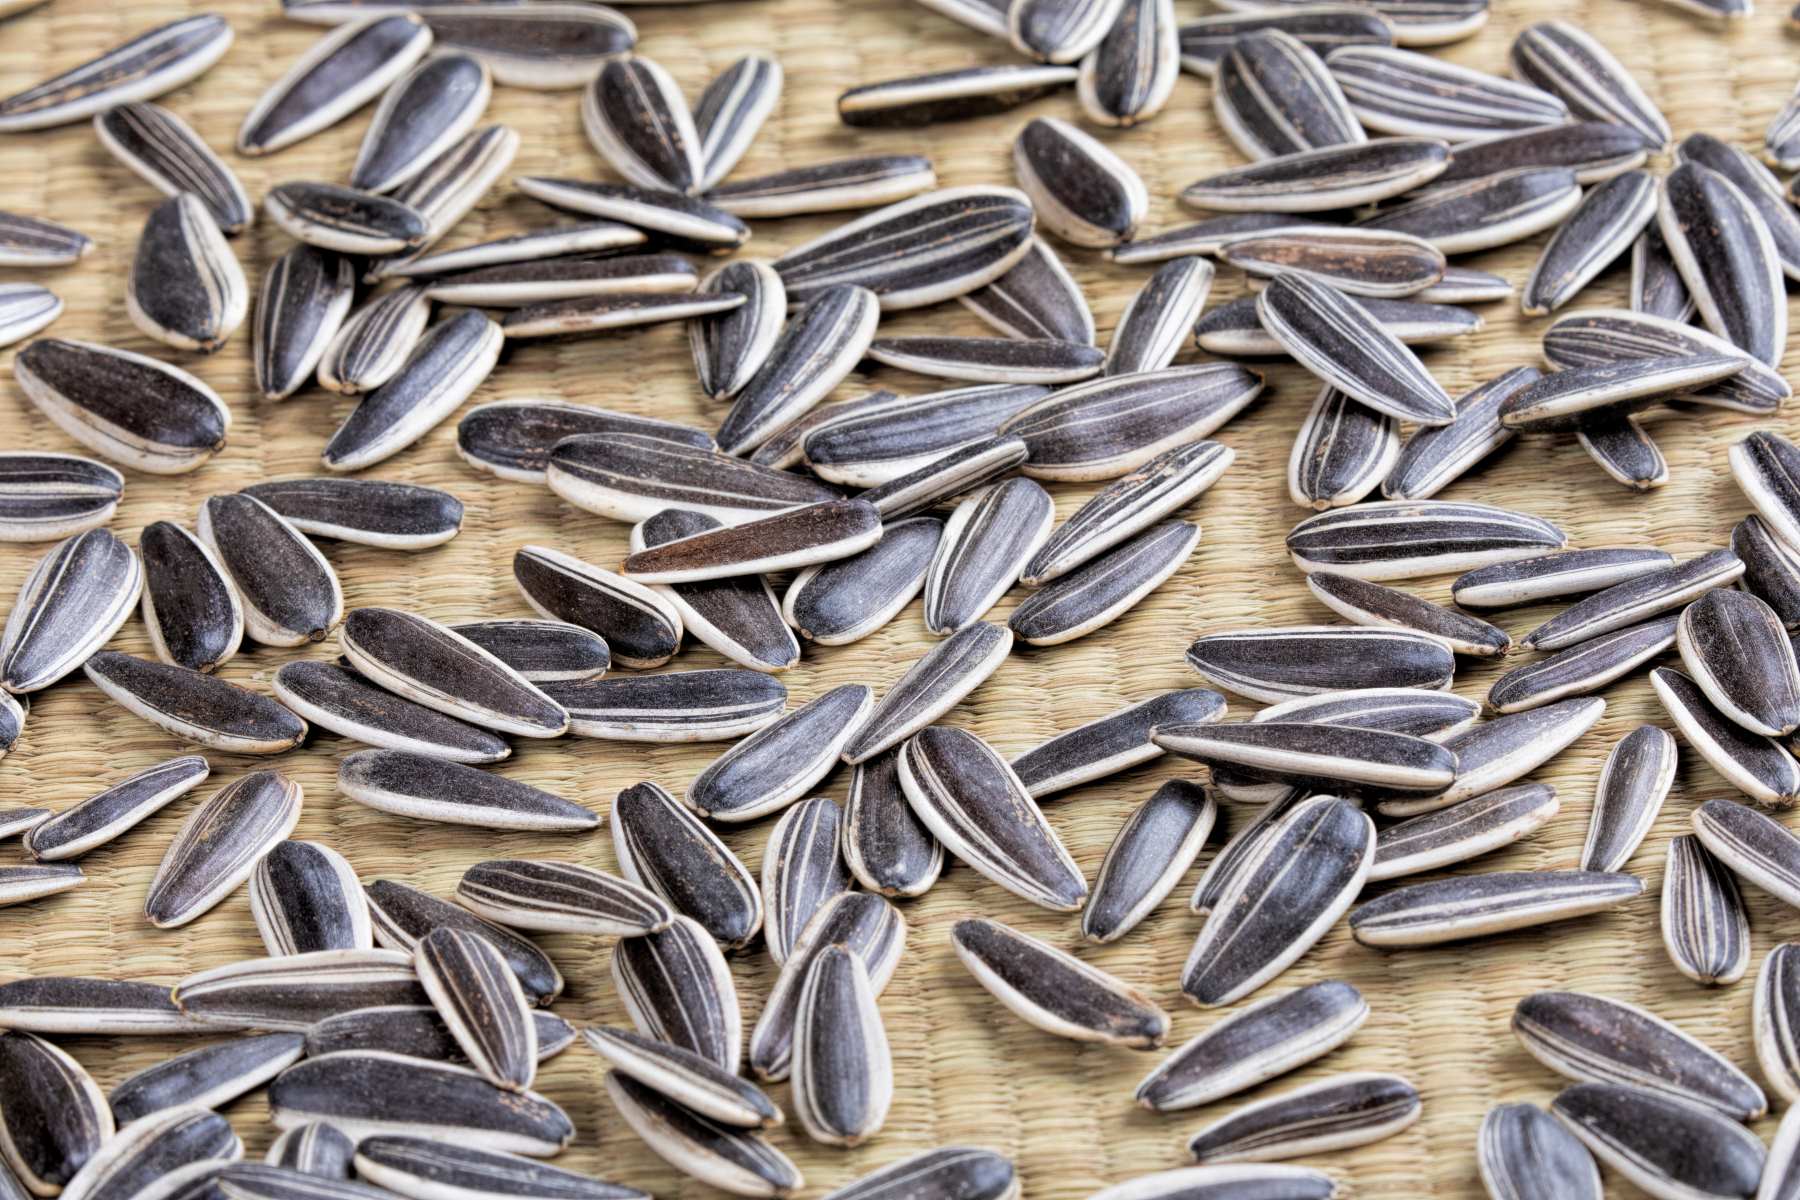
Cleaning the sunflower seeds is the next step. This ensures that any remaining debris or plant material is removed, resulting in clean and ready-to-roast seeds. Place the seeds in a colander or strainer and rinse them under cold water, vigorously shaking them to remove any loose dirt or particles. Pat them dry with a clean towel or paper towel.
Roasting is what truly transforms sunflower seeds into a delectable and crunchy snack. Preheat your oven to 350 degrees Fahrenheit (175 degrees Celsius). Spread the cleaned sunflower seeds evenly on a baking sheet and drizzle them with a small amount of oil, such as olive oil or melted butter. Sprinkle with salt or any other desired seasonings. Bake in the preheated oven for around 15-20 minutes, or until the seeds turn golden brown.
Finally, once the sunflower seeds are roasted to perfection, it’s time to store them. Allow the seeds to cool completely before transferring them into an airtight container, such as a glass jar or a resealable bag. Store them in a cool, dark place, such as a pantry or cupboard, to maintain their freshness and flavor.
And there you have it! You have successfully made sunflower seeds from a sunflower. Now, whenever you’re in the mood for a nutritious and tasty snack, you can enjoy the fruits of your labor. So go ahead, grab a handful of your homemade sunflower seeds and savor the natural goodness!
Key Takeaways:
- Turn sunflowers into tasty, nutritious seeds by harvesting, drying, and roasting them. Enjoy the satisfying process of creating a healthy snack from scratch!
- Select non-oilseed sunflowers, dry the heads, remove the seeds, and roast them for a delicious, crunchy snack. Enjoy the natural goodness of homemade sunflower seeds!
Read more: How To Get Sunflower Seeds From A Sunflower
Selecting and Harvesting the Sunflower
When it comes to making sunflower seeds from scratch, selecting the right sunflower and harvesting it at the right time are crucial steps in the process. Let’s explore these steps in detail.
First and foremost, it’s important to choose the right type of sunflower. There are two main varieties to consider: oilseed sunflowers and non-oilseed sunflowers. Oilseed sunflowers are primarily grown for their oil extraction, while non-oilseed sunflowers produce larger seeds that are ideal for snacking. Non-oilseed sunflowers are the preferred choice for making sunflower seeds at home.
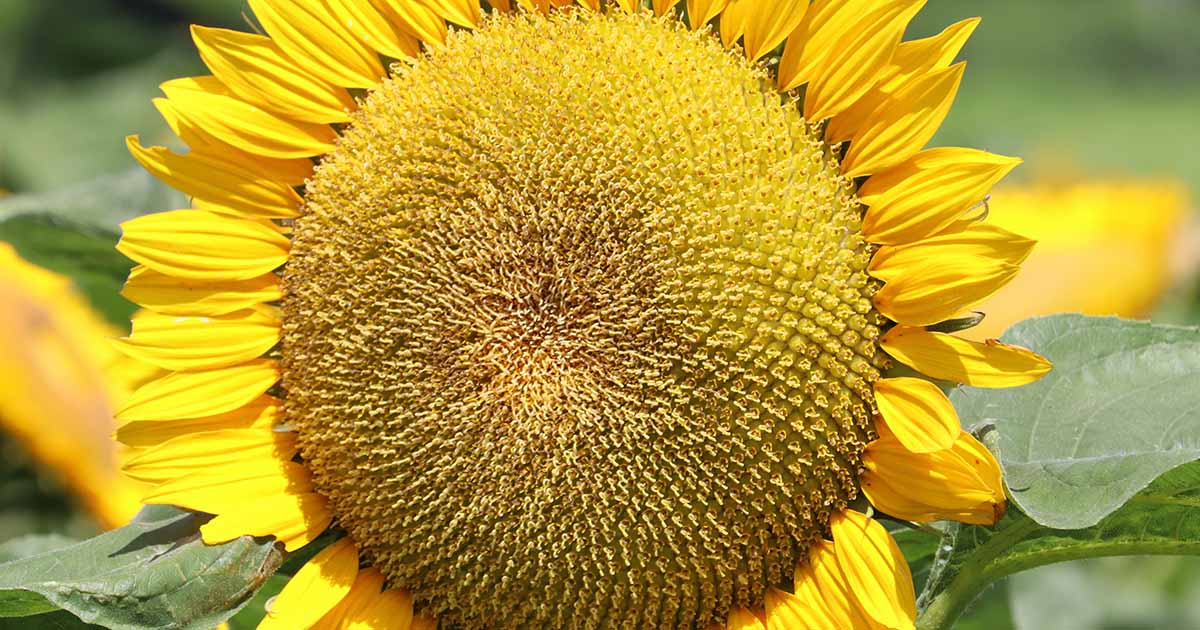
Once you’ve identified the type of sunflower you want, it’s time to consider the quality of the flower itself. Look for a sunflower that has a fully developed head with petals that have started to fade or fall off. This indicates that the sunflower is reaching its maturity and is ready for harvesting.
Timing is crucial when it comes to harvesting sunflowers for their seeds. The optimal time to harvest is when the head of the sunflower has turned brown and the back of it has dried out. This usually occurs in late summer or early fall, depending on your location and climate.
To harvest the sunflower, carefully cut the head from the stem using sharp garden shears or a knife. Leave a few inches of the stem attached to the head. This will allow for easier handling and drying of the sunflower head.
After you’ve harvested the sunflower heads, it’s time to move on to the drying process. Proper drying is essential to prevent mold or spoilage of the seeds. Start by removing any excess leaves or debris from the sunflower head. Then, using a string or twine, tie the sunflower head upside down in a well-ventilated area.
Find a cool, dry place where the sunflower head can hang undisturbed for approximately two weeks. Good airflow is important to ensure proper drying. Make sure to choose a location away from moisture or high humidity, as this can prolong the drying process and increase the risk of mold formation.
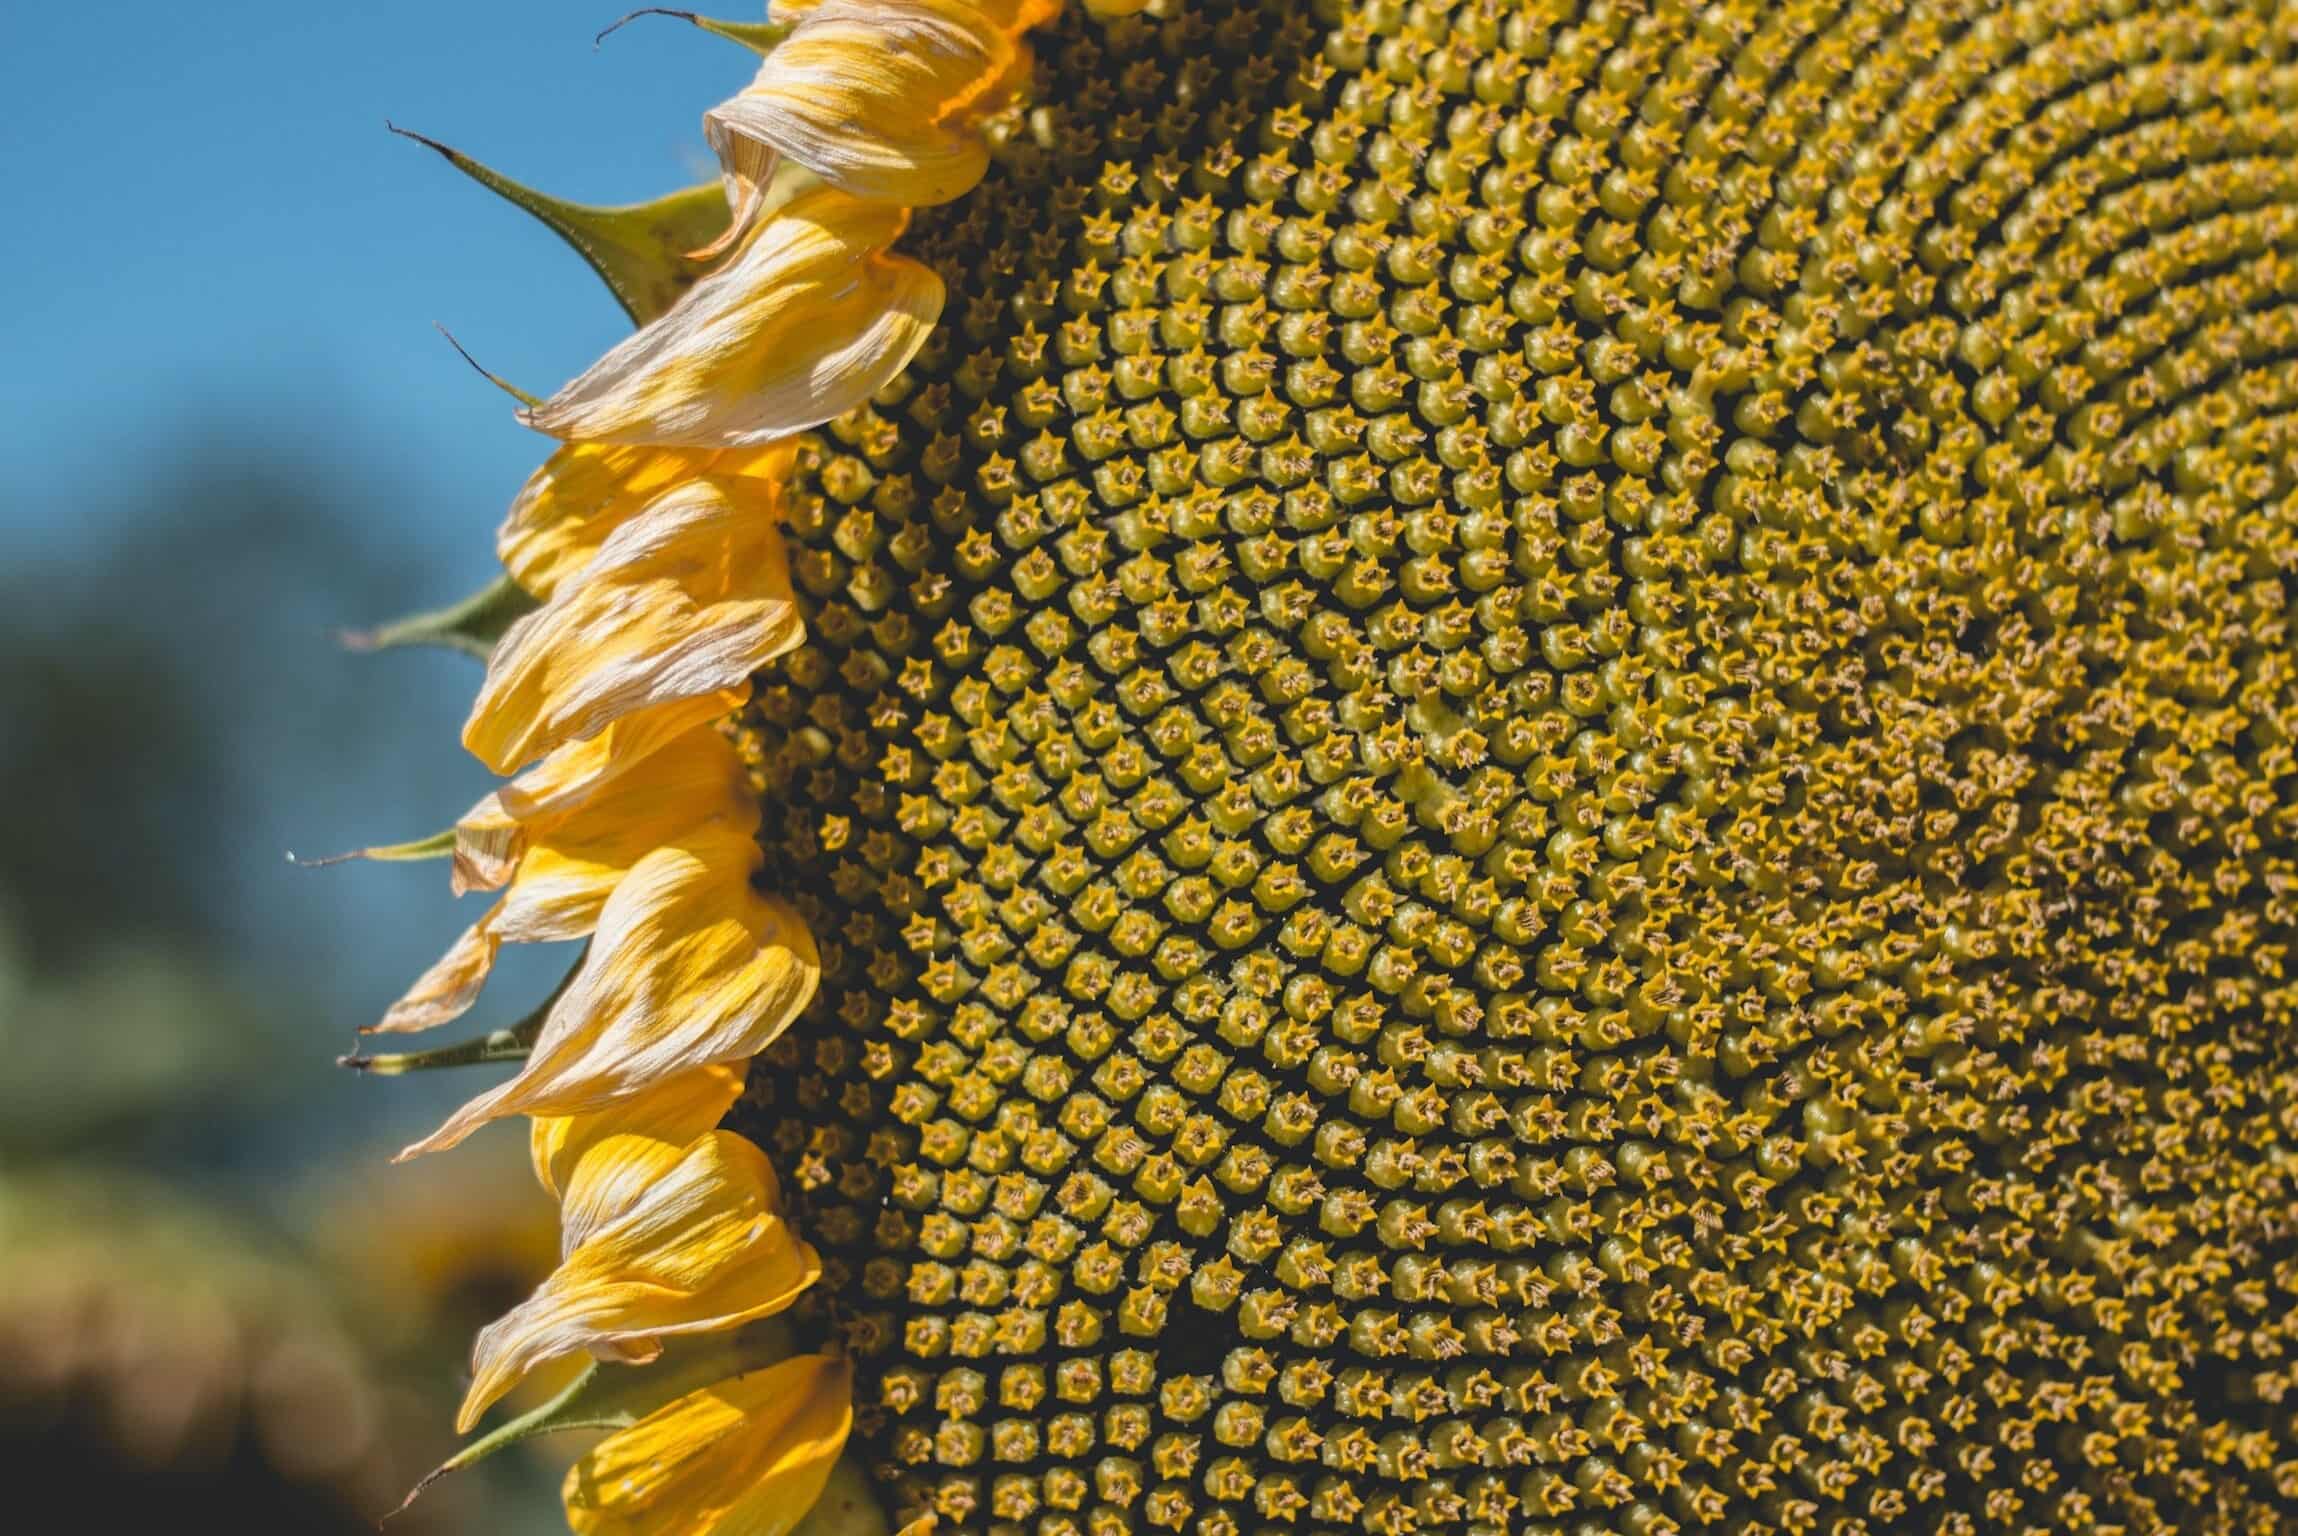
During the drying process, you will notice that the petals and leaves of the sunflower head will continue to wither and fall off. This is a natural part of the drying process. As the sunflower head dries, the seeds inside will also dry out and become easier to remove.
After two weeks or when the sunflower head feels completely dry, it’s time to move on to the next step: removing the sunflower seeds. Gently tap or shake the sunflower head to loosen the seeds. You may need to apply gentle pressure with your fingers to help release any stubborn seeds.
Continue tapping and shaking the sunflower head until most of the seeds have fallen out. You can also use your fingers to pluck out any remaining seeds. Be patient and gentle during this process, as sunflower seeds are delicate and can easily be damaged.
Now that you’ve successfully selected and harvested the sunflower, and removed the seeds, you’re ready to move on to the next steps in making delicious sunflower seeds.
Drying the Sunflower Heads
After harvesting the sunflower heads, the next crucial step in the process of making sunflower seeds is properly drying them. Drying ensures that the seeds are preserved and ready for further processing. In this section, we will guide you on how to dry sunflower heads effectively.
First, remove any excess leaves or debris from the sunflower heads. This will help facilitate the drying process and prevent any unwanted moisture or mold growth. You can gently brush off any loose debris with your hands or a soft brush.
Once the sunflower heads are clean, it’s time to begin the drying process. Find a well-ventilated area where you can hang the sunflower heads upside down. This can be a basement, a garage, or any place with good airflow. Avoid areas that are prone to high humidity or moisture, as this can prolong the drying time and increase the risk of mold development.
Using a string or twine, tie the sunflower heads securely to allow them to hang upside down. Leave enough space between each head to ensure proper air circulation. This will allow the moisture to escape and the seeds to dry out evenly.
During the drying process, the sunflower heads will continue to wither. The petals and leaves may start to fade in color and gradually fall off. This is a natural part of the drying process, as the focus is on removing moisture from the seeds.
Avoid exposing the sunflower heads to direct sunlight during the drying process. While sunlight can help speed up drying, it can also cause the seeds to become overly dry and their flavor to degrade. Keeping them in a shaded area will ensure a more balanced and controlled drying process.
Allow the sunflower heads to hang undisturbed for about two weeks. This is a general guideline, but the drying time may vary depending on factors such as humidity, temperature, and the size of the sunflower heads. To check if the heads are fully dry, gently touch the back of the head. If it feels dry and the seeds inside are brittle, they are likely ready for the next step.
Once the sunflower heads are completely dry, carefully remove them from their hanging position. Place them on a clean and dry surface, such as a large tray or a bowl. You will notice that the seeds inside the heads have loosened and are ready to be extracted.
If there are any remaining petals or plant material attached to the seeds, gently rub the sunflower head with your hands to remove them. Some seeds may naturally detach as you do this, and others may require a slight tug. Be patient and handle the seeds with care to avoid damaging them.
And there you have it! You have successfully dried the sunflower heads, preparing them for the next step of extracting the sunflower seeds. Now, let’s move on to the exciting process of removing the seeds from the sunflower heads.
Removing the Sunflower Seeds
Now that the sunflower heads have been properly dried, it’s time to move on to the exciting process of removing the seeds. This step requires a bit of patience and finesse, but with the right technique, you’ll have a bounty of sunflower seeds ready to be transformed into a delicious snack. Let’s get started!
Find a clean and dry surface, such as a large bowl or a flat tray, to work on. Place the dried sunflower head on the surface, making sure it is stable and won’t roll around.
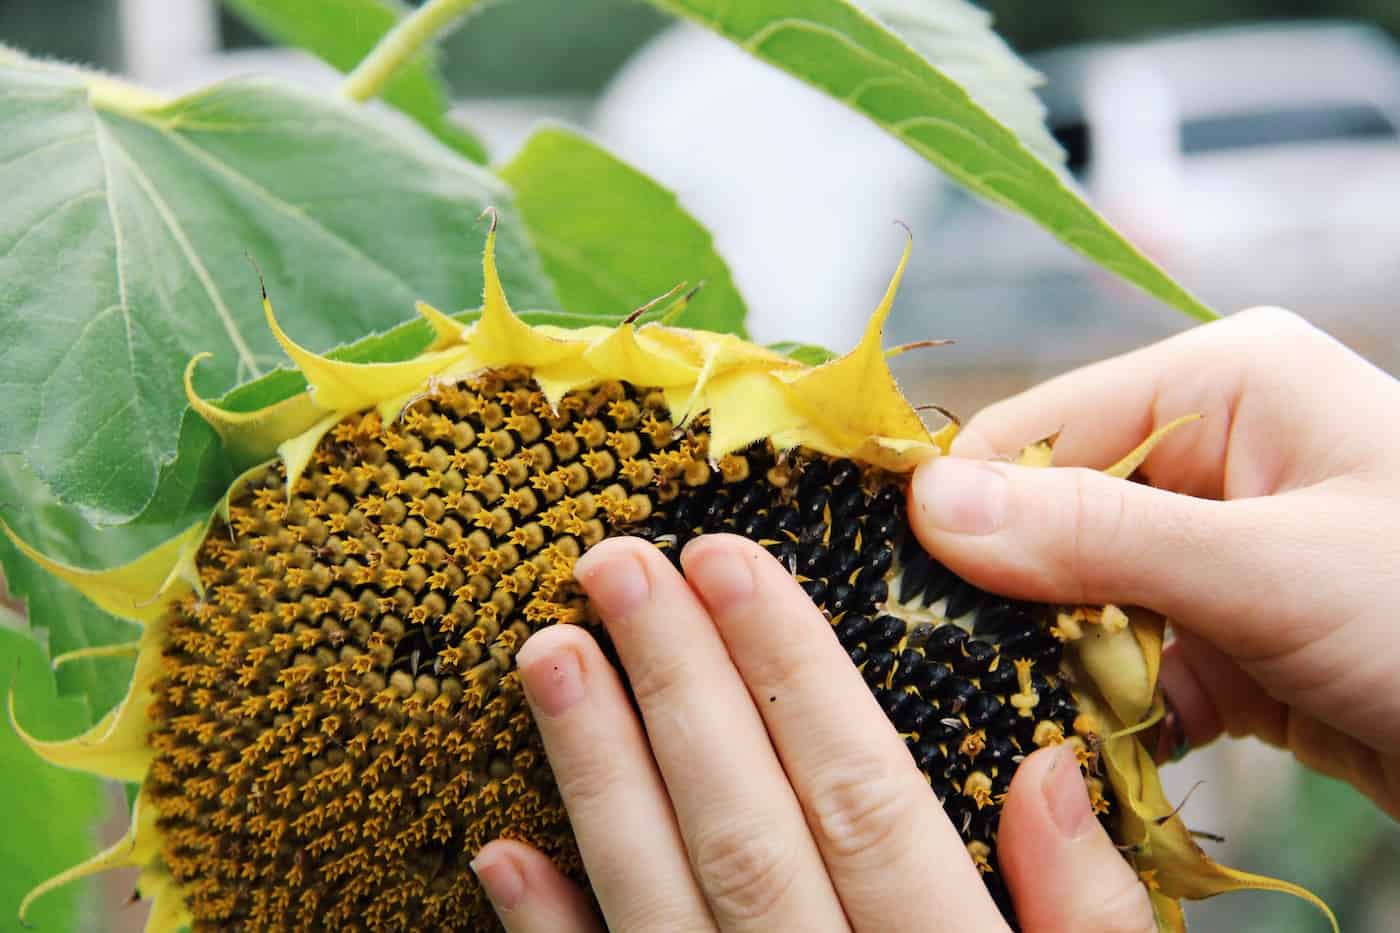
Start by gently rubbing the sunflower head with your hands. Apply gentle pressure and use circular motions to help loosen the seeds. As you do this, you will notice that some seeds will naturally fall out of the head. These are the easiest ones to remove, so collect them and set them aside.
Continue rubbing and moving your hands over the surface of the sunflower head to encourage more seeds to loosen. Be patient and thorough in this process, as some seeds may require a bit more effort to dislodge.
If you encounter any stubborn seeds that are still attached to the sunflower head, you can use your fingers to pluck them out individually. Be careful not to exert too much force or damage the seeds in the process. Take your time and handle them with care.
As you remove the seeds, you may notice that some of them still have bits of the sunflower head attached. This is normal and can be easily remedied. Simply take a clean cloth or a soft brush and gently wipe away any lingering debris. Alternatively, you can blow on the seeds to remove any loose particles.
Continue the process of rubbing, plucking, and cleaning until you have extracted all or most of the seeds from the sunflower head. You may find that smaller seeds can be more challenging to remove, so take your time and be thorough to avoid leaving any behind.
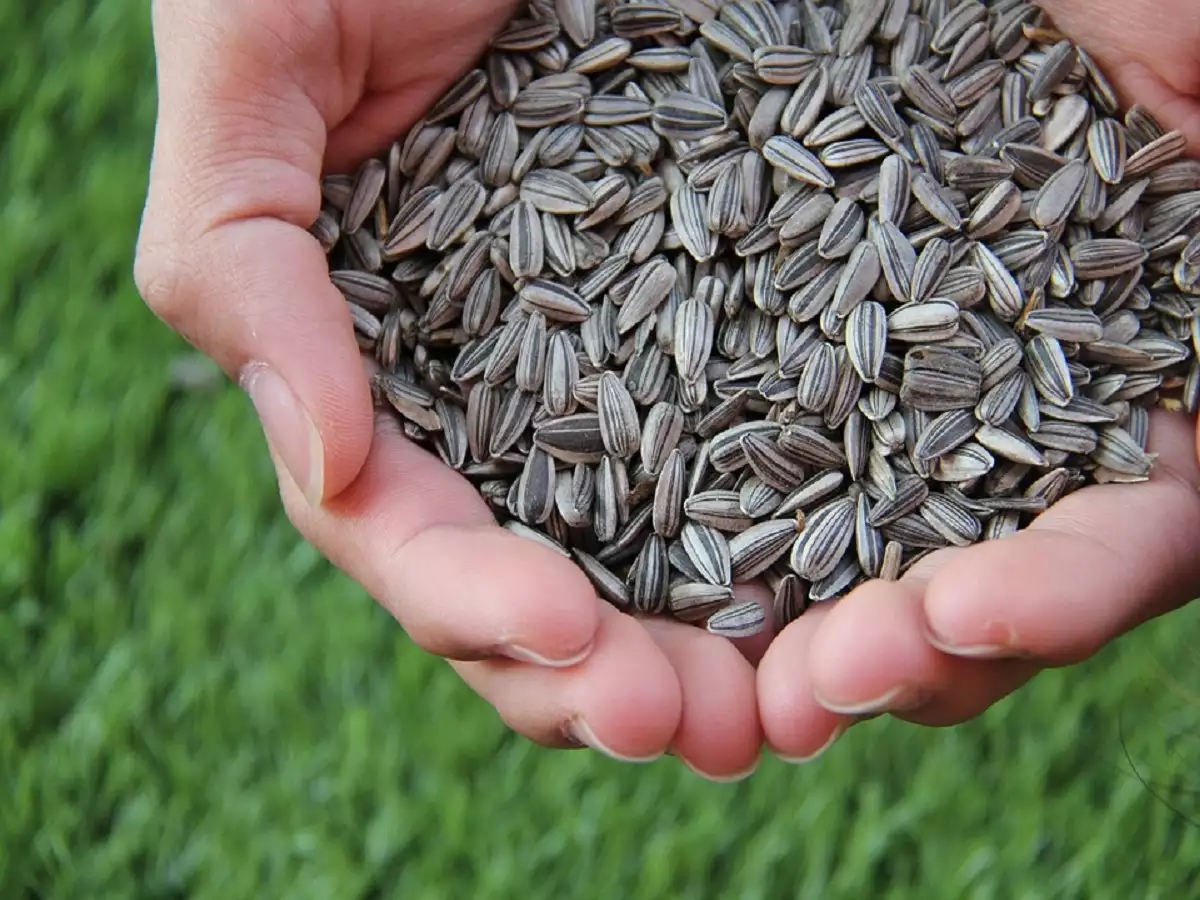
As you work through the sunflower head, it’s not uncommon to discover some seeds that are not fully developed or appear damaged. Discard those seeds and focus on collecting the healthy, plump ones.
Once you’ve successfully removed the seeds from the sunflower head, give them a final inspection and clean any remaining debris or plant material that might be clinging to them. You want the seeds to be as clean as possible before moving on to the next step.
Congratulations! You have now successfully extracted the sunflower seeds from the sunflower head. It’s time to move on to the next stage of the process: cleaning the sunflower seeds to ensure they are ready for roasting or consumption. Stay tuned to learn how to clean and prepare the sunflower seeds for the final steps of this exciting journey!
After harvesting a sunflower head, remove the seeds by rubbing them with your fingers or a fork. Rinse the seeds and spread them out to dry for a few days. Enjoy as a snack or use in recipes!
Cleaning the Sunflower Seeds
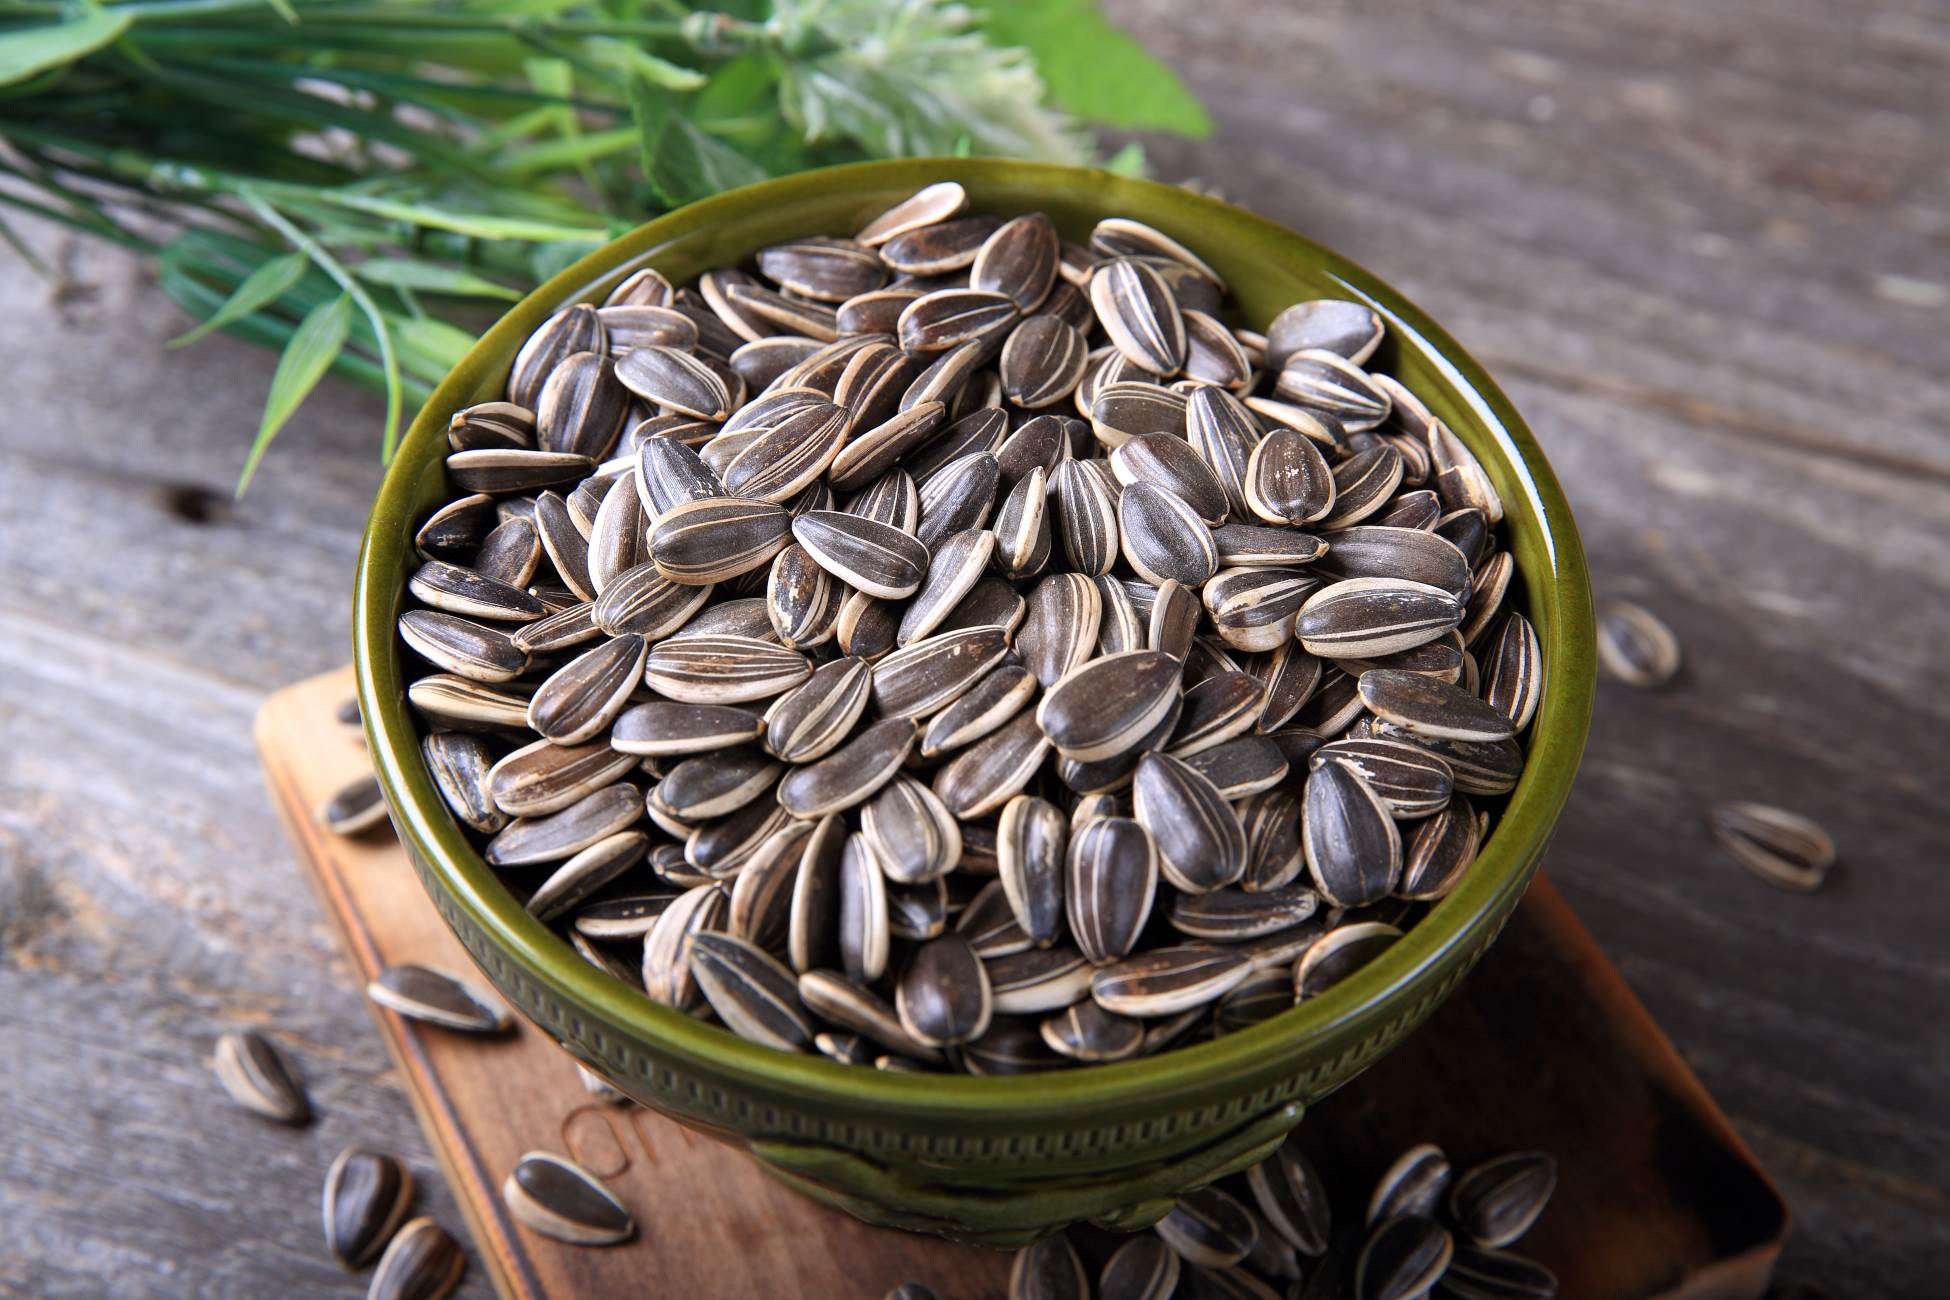
Now that you’ve successfully removed the sunflower seeds from the sunflower head, it’s time to ensure they are clean and ready for consumption or further processing. Cleaning the seeds not only removes any remaining debris but also ensures their quality and taste. In this section, we will guide you through the process of cleaning the sunflower seeds.
Start by placing the sunflower seeds in a colander or strainer. Make sure the colander has small enough holes to prevent the seeds from falling through.
Rinse the seeds under cold running water, allowing the water to flow over them. Gently swish the seeds around in the colander to help dislodge any remaining debris or small particles. This will help ensure that the seeds are thoroughly cleaned.
While rinsing the seeds, you may notice that some float to the top. These floating seeds are empty or immature, and it’s best to discard them. Use your fingers or a spoon to skim off these floating seeds and remove them from the colander.
Continue rinsing until the water running through the colander appears clear, indicating that all the loose debris has been removed from the seeds. This process may take a few minutes, depending on the amount of debris present.
Once the seeds are rinsed clean, it’s essential to remove excess moisture. Gently shake the colander to remove any excess water, or lightly pat the seeds dry with a clean towel or paper towel. Avoid rubbing the seeds vigorously, as this can cause damage or remove the outer protective layer of the seeds.
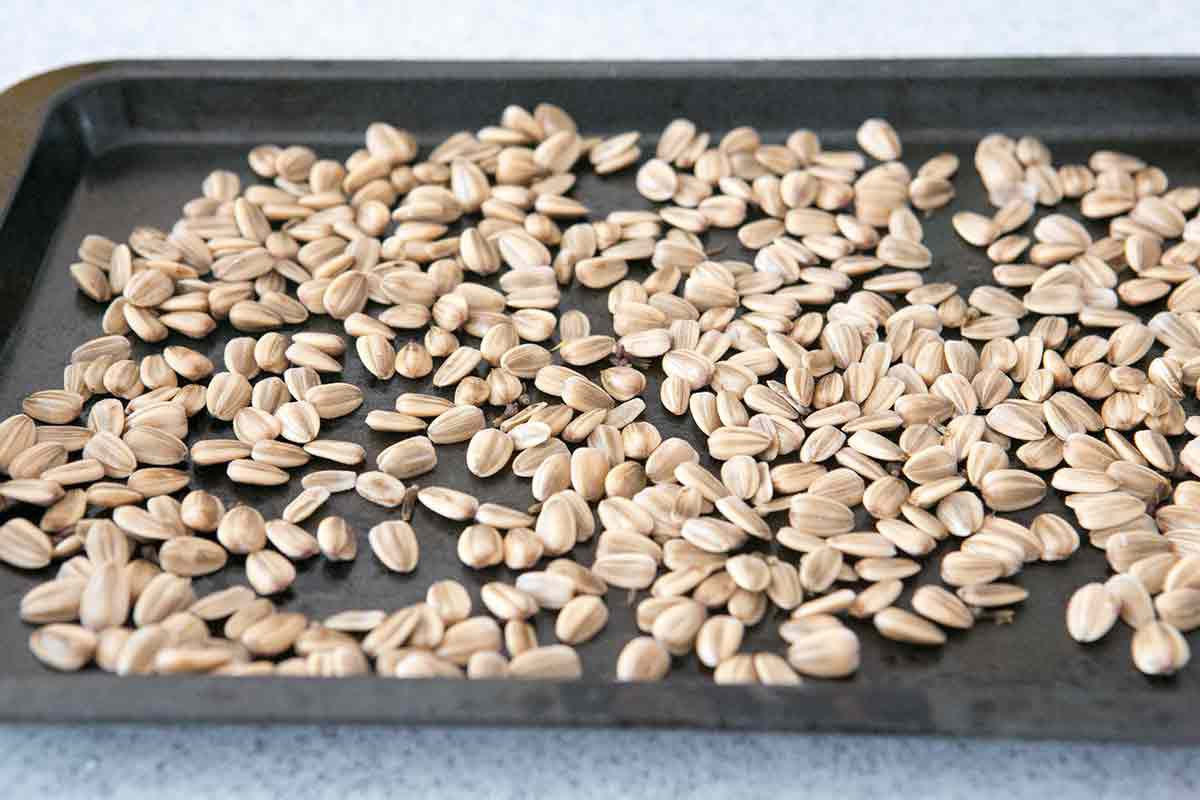
Transfer the cleaned and dried seeds to a clean and dry surface, such as a baking tray or a large plate. Spread them out in a single layer to allow them to air dry completely. Leave them in a well-ventilated area for a few hours or overnight, ensuring that they are not exposed to any moisture.
During the drying process, occasionally give the seeds a gentle toss or stir to help them dry evenly. This will prevent any potential moisture buildup and ensure that the seeds are ready for the next step.
Once the sunflower seeds are completely dry, give them a final inspection to ensure they are clean and free of any debris or moisture. Remove any remaining small pieces or plant material that may have been overlooked during the cleaning process.
Congratulations! You have now successfully cleaned the sunflower seeds, and they are ready to be roasted or enjoyed as a healthy and delicious snack. The cleaning process ensures that the seeds are of the highest quality, both in terms of taste and hygiene.
Now that the sunflower seeds are clean, it’s time to move on to the exciting step of roasting them to perfection. Stay with us as we guide you through the process of roasting sunflower seeds to bring out their irresistible flavor and crunch!
Read more: How To Save Seeds From Sunflowers
Roasting the Sunflower Seeds
Roasting sunflower seeds is a fantastic way to enhance their flavor and create a crispy and satisfying snack. With just a few simple steps, you can transform your freshly cleaned sunflower seeds into a delicious treat. So let’s dive into the exciting process of roasting sunflower seeds!
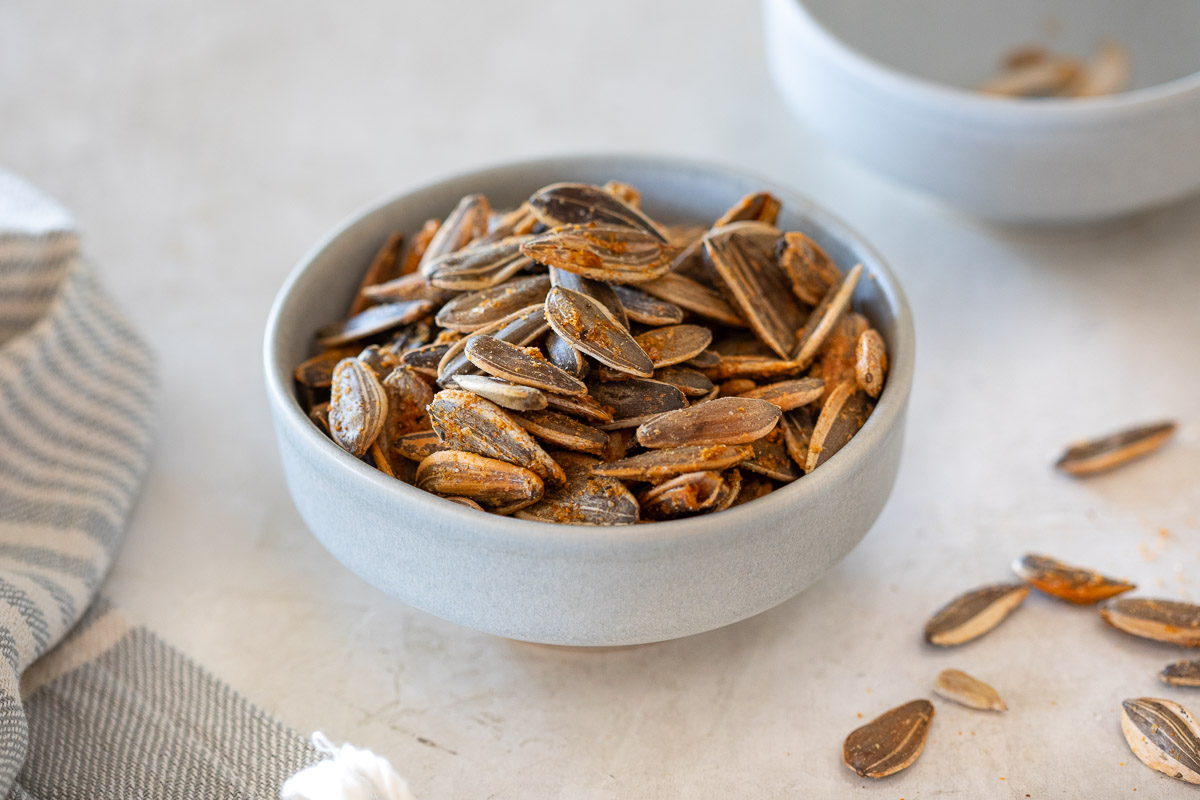
Preheat your oven to 350 degrees Fahrenheit (175 degrees Celsius). This temperature provides the perfect balance of heat to achieve a golden-brown color and a crunchy texture for the sunflower seeds.
Spread the cleaned sunflower seeds evenly on a baking sheet or a shallow baking pan. It’s important to ensure that the seeds are spread out in a single layer to allow for even roasting.
Drizzle a small amount of oil over the sunflower seeds. You can use olive oil, vegetable oil, or any other oil of your choice. The oil helps to enhance the flavor and crispness of the seeds. Use just enough oil to coat the seeds lightly.
Next, season the sunflower seeds with salt or any other desired seasonings. Classic salt is a great choice, but feel free to experiment with different flavors such as garlic powder, paprika, or even a touch of cayenne pepper for some heat. Sprinkle the seasoning evenly over the seeds.
Using clean hands or a spatula, gently toss the seeds to ensure they are evenly coated with the oil and seasonings. This will give every seed an equal chance to absorb the flavors and roast to perfection.
Place the baking sheet with the seasoned sunflower seeds into the preheated oven. Set a timer for approximately 15-20 minutes, but keep a close eye on them to avoid burning. Every oven is different, so the roasting time may vary. Stir or shake the seeds on the baking sheet every 5-7 minutes to ensure even cooking and prevent any hotspots.
As the seeds roast, you will notice a delightful aroma filling your kitchen. Around the 15-minute mark, start checking for doneness. The seeds should appear golden brown and have a crispy texture. If some seeds still seem soft or pale, continue roasting for another few minutes until they achieve that desired golden color.
Once the sunflower seeds are perfectly roasted, remove them from the oven and let them cool completely on the baking sheet. The cooling process allows the seeds to become even crispier and ensures that you don’t burn yourself when enjoying them.
After the sunflower seeds have cooled, it’s time to indulge in their delectable flavor and enjoy all your hard work! Grab a handful or sprinkle them over salads, granola, or yogurt for an added crunch.
If you have extra roasted sunflower seeds, store them in an airtight container like a glass jar or a resealable bag for future snacking. They will stay fresh and crunchy for several weeks when stored in a cool, dark place like a pantry or cupboard.
Get ready to savor the irresistible taste of your homemade roasted sunflower seeds. The process may take a little time and effort, but the result is a delicious and nutritious snack that you can enjoy anytime. So go ahead, grab a handful of your flavorful roasted sunflower seeds and indulge in their crunchy goodness!
Storing the Sunflower Seeds
Now that you have successfully roasted your delicious sunflower seeds, it’s time to talk about their proper storage. Proper storage ensures the longevity and freshness of the seeds, allowing you to enjoy their amazing taste and nutritional benefits over time. Let’s explore the best practices for storing sunflower seeds.
First, allow the roasted sunflower seeds to cool completely before transferring them to a storage container. This will prevent moisture buildup and maintain their crispy texture.
Choose an airtight container, such as a glass jar with a tight-fitting lid or a resealable bag, to store the sunflower seeds. Airtight containers protect the seeds from moisture, air, and light, all of which can contribute to spoilage and a loss of flavor.
Before transferring the seeds, make sure the container is clean and dry. Any moisture or contaminants can compromise the quality of the seeds and lead to spoilage. Take a moment to ensure the container is suitable for long-term storage.
Gently pour the roasted sunflower seeds into the airtight container. If you have a large amount of seeds, it may be helpful to do this in small batches to ensure even distribution.
Seal the container tightly to prevent any air from entering. This step is important because exposure to air can cause the seeds to become rancid or lose their crispness.
Label the container with the date of storage. This allows you to keep track of how long the seeds have been stored and ensure you consume them within a reasonable timeframe. Sunflower seeds can generally stay fresh for several months when stored properly.
Choose a cool, dark place to store the container of sunflower seeds. A pantry or cupboard is an ideal location, as it protects the seeds from exposure to heat and light, which can accelerate the degradation process.
Avoid storing the sunflower seeds near strong-smelling foods or spices, as they are highly absorbent and can take on these flavors. This can alter the taste of the seeds and result in an undesirable eating experience.
It’s worth noting that some people prefer to store their sunflower seeds in the refrigerator or freezer to extend their shelf life. While this can help keep the seeds fresh, it’s important to use airtight freezer bags or containers to protect them from moisture and other odors in the fridge or freezer.
When you’re ready to enjoy the sunflower seeds, simply open the container and savor their delicious flavor. They can be eaten on their own as a snack, added to trail mixes, used as toppings for salads or baked goods, or incorporated into various recipes for added crunch and taste.
Remember to check the storage container periodically for any signs of spoilage, such as mold or an off smell. If you detect any of these indicators, it’s best to discard the seeds to avoid any potential health risks.
By following these storage guidelines, you can enjoy your homemade sunflower seeds for an extended period, ensuring that they remain fresh, flavorful, and full of nutritional goodness.
So go ahead, store your sunflower seeds properly, and savor their delightful taste whenever the snacking urge strikes!
Conclusion
Congratulations! You have now learned the step-by-step process of turning a sunflower into delicious and nutritious sunflower seeds. By selecting the right sunflower, harvesting it at the proper time, and following the drying, seed removal, cleaning, roasting, and storage techniques, you can enjoy homemade sunflower seeds that are bursting with flavor and goodness.
Making sunflower seeds from scratch allows you to have full control over the entire process, from seed selection to the final roasting. It’s a rewarding experience that not only produces a delectable snack but also allows you to connect with nature and appreciate the journey from the sunflower field to your plate.
Sunflower seeds are not only tasty but also packed with numerous health benefits. They are an excellent source of protein, healthy fats, vitamins, minerals, and antioxidants. Incorporating sunflower seeds into your diet can contribute to heart health, lower cholesterol levels, promote better digestion, support brain function, and boost your immune system.
Whether enjoyed on their own as a snack, sprinkled over salads, or incorporated into baked goods and other culinary creations, sunflower seeds provide a delightful crunch and a burst of flavor. They are a versatile ingredient that can elevate various dishes and add a nutritional punch to your meals.
Remember to select non-oilseed sunflowers for the best snacking seeds and ensure they are fully matured before harvesting. Take your time during the drying process to properly remove the seeds from the sunflower head, clean them thoroughly, and roast them with your preferred seasonings.
Proper storage in airtight containers in a cool, dark place will help preserve the freshness and crunch of the sunflower seeds. Regularly check for any signs of spoilage and enjoy them within a reasonable timeframe.
By following these steps, you can enjoy the goodness and flavors of homemade sunflower seeds whenever you desire. Get creative with your favorite seasonings and recipes to add a delightful twist to this nutritious and versatile snack.
So why wait? Grab some sunflower heads, follow the process, and embark on your journey of turning a sunflower into tasty sunflower seeds. Enjoy the satisfaction of knowing you’ve made a healthy and delicious snack from scratch. Happy snacking!
Frequently Asked Questions about How To Make Sunflower Seeds From A Sunflower
Was this page helpful?
At Storables.com, we guarantee accurate and reliable information. Our content, validated by Expert Board Contributors, is crafted following stringent Editorial Policies. We're committed to providing you with well-researched, expert-backed insights for all your informational needs.

0 thoughts on “How To Make Sunflower Seeds From A Sunflower”