Home>Garden Essentials>How To Start Grapes From Seeds
Garden Essentials
How To Start Grapes From Seeds
Modified: March 15, 2024
Learn how to start growing grapes from seeds in your garden with our easy step-by-step guide. Start your own grape vineyard today!
(Many of the links in this article redirect to a specific reviewed product. Your purchase of these products through affiliate links helps to generate commission for Storables.com, at no extra cost. Learn more)
Introduction
Welcome to the wonderful world of grape gardening! Growing grapes from seeds can be a rewarding and fulfilling experience. Not only does it provide you with an abundance of delicious fruits, but it also allows you to witness the fascinating journey of a tiny seed transforming into a thriving grapevine.
Starting grapes from seeds is a bit different from propagating them through cuttings, but the process can be just as exciting. This article will guide you through the steps of collecting grape seeds, preparing them for germination, nurturing the seedlings, and finally transplanting them into your garden.
Before we delve into the step-by-step instructions, it’s important to note that growing grapes from seeds requires patience and dedication. Unlike some other plants, grapevines grown from seeds may not exhibit the same desirable traits as their parent plants. As such, the resulting grapes may not have the same flavor, color, or size as the original variety.
However, growing grapes from seeds can lead to the discovery of unique and interesting new grape varieties. So, if you’re up for a gardening adventure, let’s get started on this grape-growing journey!
Key Takeaways:
- Growing grapes from seeds is a patient and rewarding journey, offering the chance to discover unique grape varieties. With proper care and dedication, you can witness the transformation from tiny seeds to thriving grapevines.
- Harvesting grapes at the right time ensures maximum flavor and sweetness. By handling the grapes with care and savoring the delicious taste, you can enjoy the ultimate reward of your hard work.
Read more: How To Start Grape Seeds
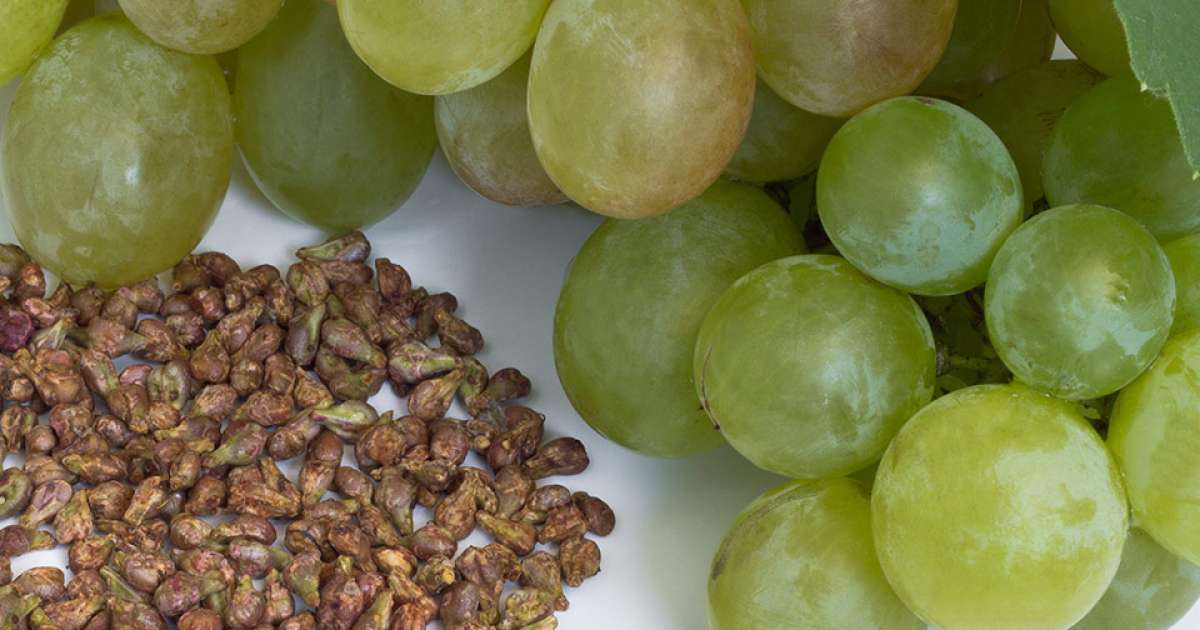
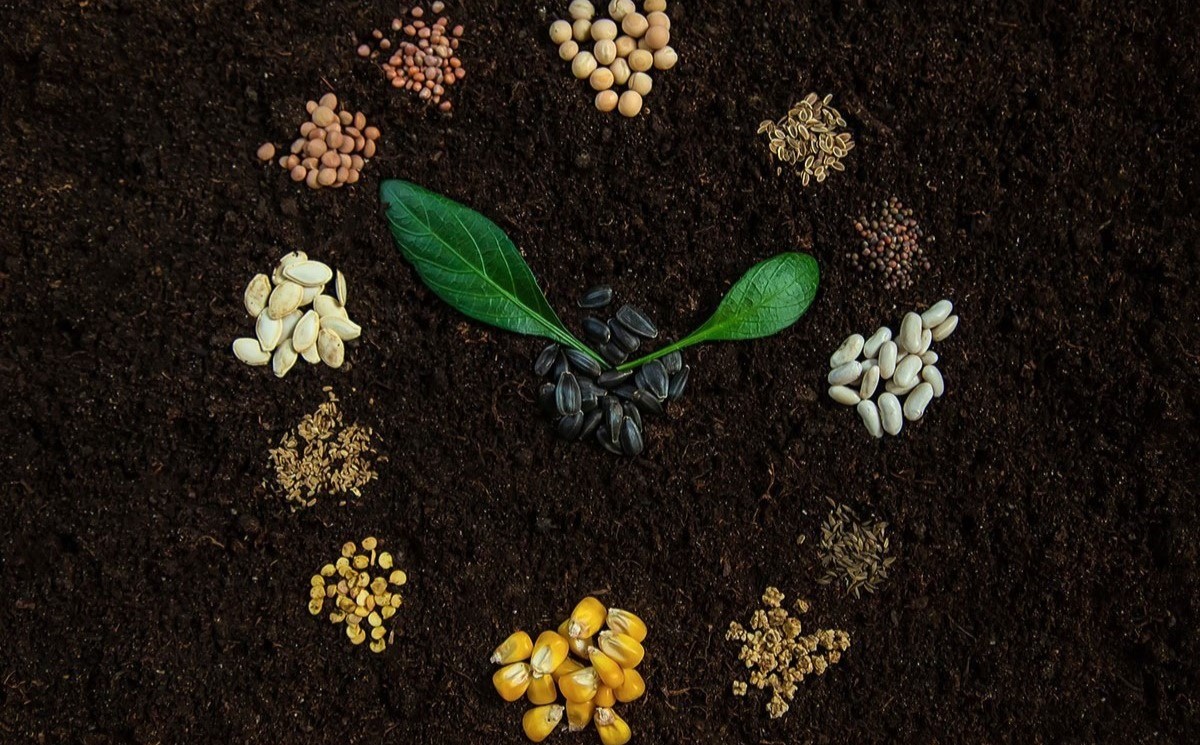
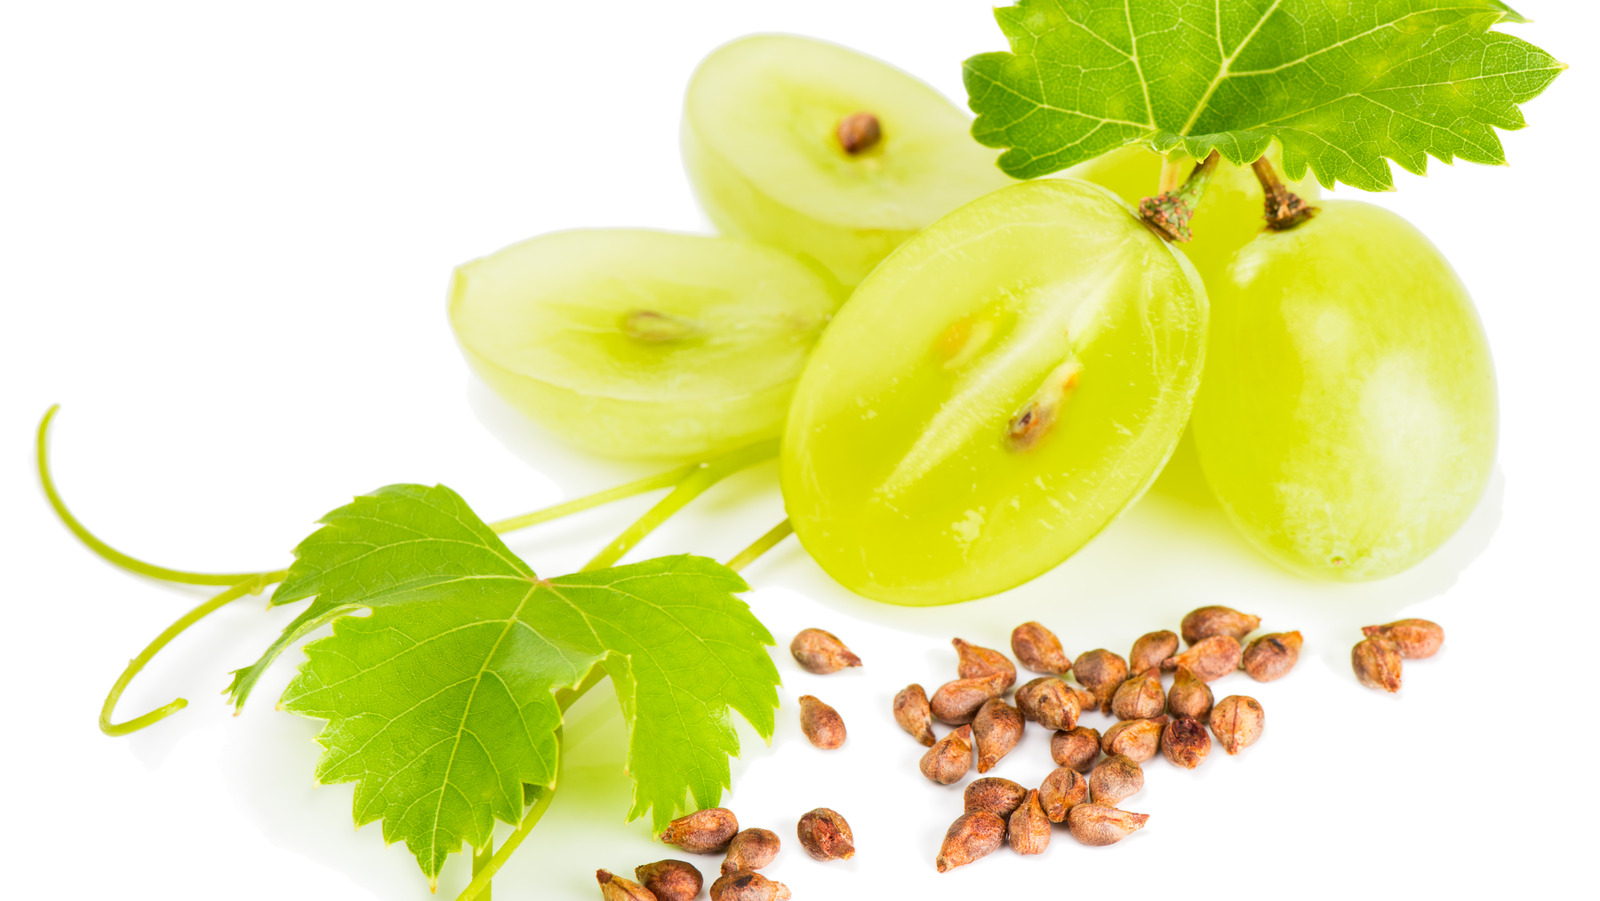
Step 1: Collecting Grape Seeds
The first step in starting grapes from seeds is to collect the seeds themselves. To do so, you’ll need to acquire ripe grapes from a variety that you want to grow. Here’s how you can collect grape seeds:
- Choose fully ripe grapes: Select grapes that are fully mature and have reached their peak ripeness. Look for grapes that are plump, juicy, and free from any signs of damage or disease. Different grape varieties have different ripening times, so be sure to pick grapes when they are ready.
- Remove the seeds: Once you have your ripe grapes, gently squeeze or cut them open to reveal the seeds. Grape seeds are typically found within the flesh of the grape, so you’ll need to separate them from the pulp. Be careful not to damage the seeds during this process.
- Clean the seeds: After removing the seeds from the grapes, rinse them under cool running water to remove any remaining pulp or debris. Gently pat them dry with a clean towel and allow them to air dry completely. It’s important to ensure that the seeds are clean and dry before proceeding to the next step.
- Store the seeds: Once the seeds are dry, place them in an airtight container such as a small plastic bag or a glass jar with a tight-fitting lid. Label the container with the grape variety and date of collection. Store the seeds in a cool, dark, and dry location until you’re ready to start the germination process.
Collecting grape seeds is an essential first step to growing grapes from seeds. By carefully selecting and cleaning the seeds, you’re setting the stage for successful germination and the growth of healthy grape seedlings.
Step 2: Preparing the Seeds for Germination
Once you’ve collected the grape seeds, it’s time to prepare them for the germination process. This step is crucial in ensuring the seeds have the best conditions for successful sprouting and growth. Here’s how you can prepare the grape seeds for germination:
- Scarify the seeds: Grape seeds have a hard outer shell that can hinder germination. To break this dormancy and promote germination, you’ll need to scarify the seeds. This can be done by gently nicking or filing the outer shell of each seed. Be careful not to damage the delicate inner seed.
- Soak the seeds: After scarifying, place the grape seeds in a small container and cover them with warm water. Let the seeds soak for 24 to 48 hours. This soaking process helps to soften the outer shell and further encourage germination.
- Stratify the seeds (optional): Some grape varieties benefit from a period of cold stratification, which mimics the natural winter conditions they would experience outdoors. To stratify the seeds, dampen a paper towel or coffee filter, place the seeds inside, and fold it up. Put the seed packet in a plastic bag and store it in the refrigerator for about 6 to 8 weeks.
- Remove any floating seeds: After soaking or stratifying, carefully inspect the seeds. Remove any seeds that are floating, as they may be non-viable. The viable seeds will sink to the bottom of the container.
By scarifying, soaking, and optionally stratifying the grape seeds, you’re providing them with optimum conditions to break dormancy and germinate. These preparatory steps increase the chances of successful seed germination, leading to healthier and stronger grape seedlings.
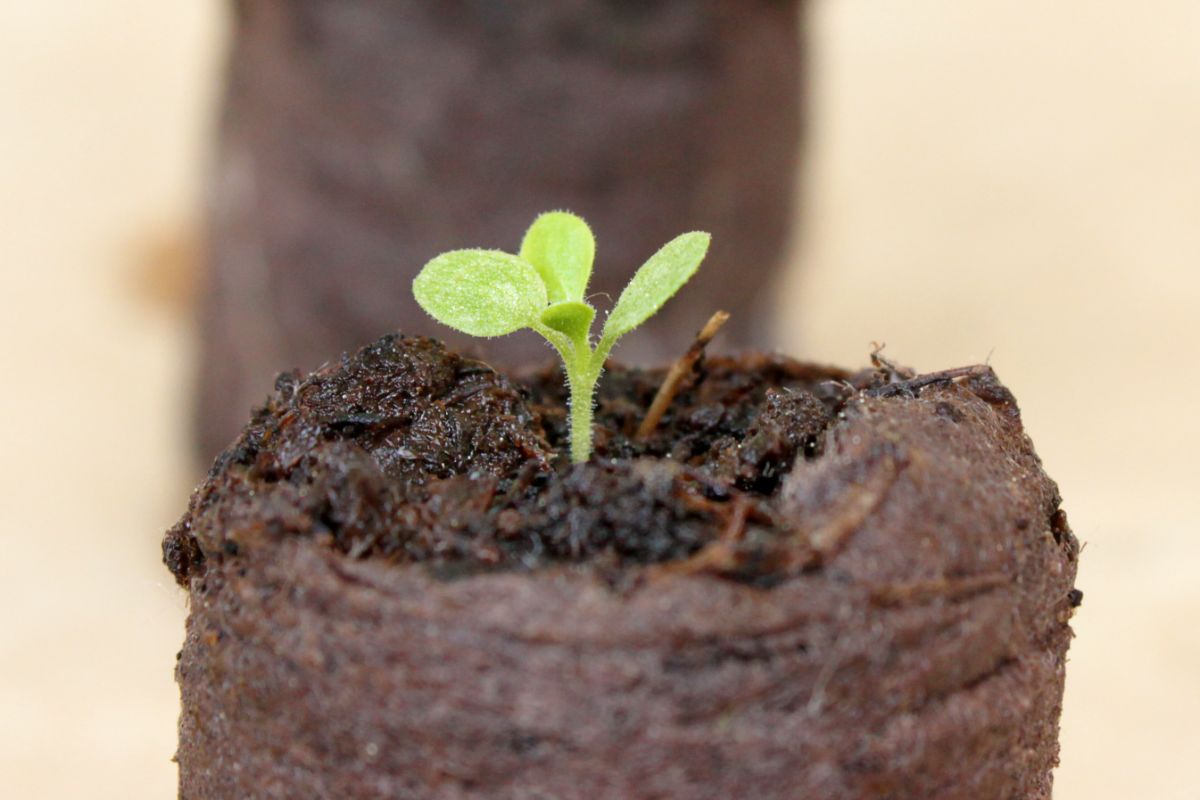
Step 3: Germinating the Grape Seeds
Now that your grape seeds are prepared, it’s time to move on to the germination process. Germination is the stage where the seeds sprout and begin their journey towards becoming grape seedlings. Follow these steps to germinate your grape seeds:
- Choose a germination method: There are several methods you can use to germinate grape seeds, including the paper towel method, the peat pellet method, or the seed starting mix method. Each method has its advantages, so choose the one that suits you best.
- Paper towel method: Wet a paper towel and wring out any excess water. Place the scarified seeds on one half of the damp paper towel and fold the other half over to cover the seeds. Put the paper towel with the seeds in a plastic bag and seal it. Keep the bag in a warm location, around 70°F (21°C), and check it regularly for signs of sprouting.
- Peat pellet method: If you prefer a self-contained germination method, consider using peat pellets. Pre-moisten the peat pellets according to the manufacturer’s instructions and place one seed in each pellet’s center. Then, follow the manufacturer’s recommendations for proper care and maintenance.
- Seed starting mix method: Fill a seed tray or small pots with a quality seed starting mix. Plant one grape seed in each container, making sure to bury it 1 inch (2.5 cm) deep. Water the mix thoroughly and cover the containers with plastic wrap or a humidity dome to maintain moisture. Place the tray or pots in a warm location.
- Provide adequate warmth and moisture: Regardless of the germination method you choose, it’s important to keep the seeds warm and consistently moist. This will help facilitate sprouting. Check on the seeds regularly to ensure the environment remains damp but not waterlogged.
- Monitor germination progress: Be patient and monitor the germination progress. It can take anywhere from a couple of weeks to a couple of months for the grape seeds to sprout. Once you see the first signs of sprouting, continue to provide the seeds with proper care and attention as they grow into seedlings.
Germinating grape seeds is an exciting and crucial step in the process of growing grapes from seeds. By following these steps and providing the necessary warmth and moisture, you’re giving your grape seeds the best chance to germinate and begin their journey towards becoming healthy grape seedlings.
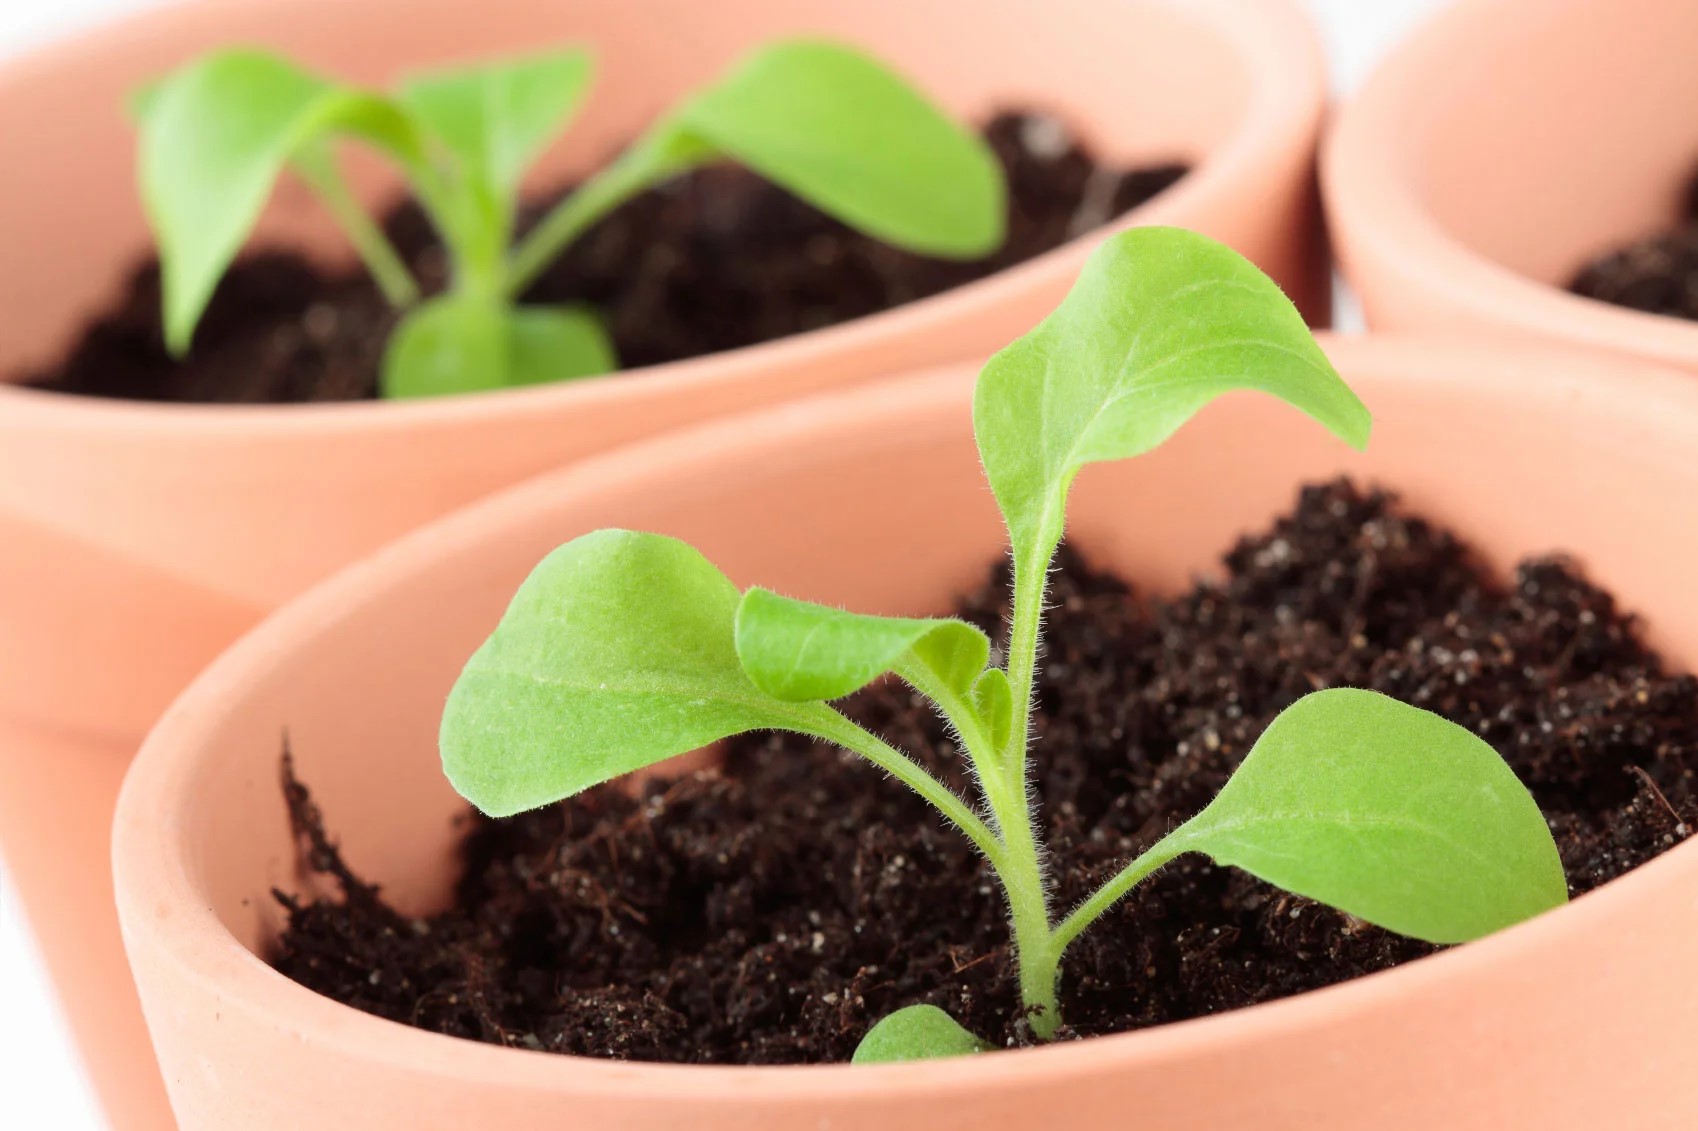
Step 4: Transplanting the Seedlings
Once the grape seedlings have grown and developed strong root systems, it’s time to transplant them into larger containers or your garden. Transplanting is an important step that allows the seedlings to establish themselves in their new environment. Follow these steps to transplant the grape seedlings:
- Prepare the transplanting location: Decide whether you want to transplant the seedlings into larger pots or directly into the garden. If transplanting into pots, choose containers that are at least 10-12 inches (25-30 cm) in diameter and have good drainage. If transplanting into the garden, select a sunny location with well-draining soil.
- Prepare the planting holes: If transplanting into the garden, dig holes in the soil that are slightly larger than the root ball of the seedlings. Space the holes at least 6-8 feet (1.8-2.4 meters) apart to provide ample room for the grape vines to grow. If transplanting into pots, fill the pots with fresh potting soil, leaving enough room for the root ball.
- Carefully remove seedlings from containers: Gently water the seedlings a few hours before transplanting to help loosen the soil. Then, tip the container upside down and tap the bottom to release the seedling’s root ball. Be careful not to damage the delicate roots.
- Place seedlings in planting holes: If transplanting into the garden, place the seedling’s root ball into the prepared hole and gently backfill with soil. If transplanting into pots, make a hole in the potting soil and carefully place the seedling’s root ball inside. Firmly press the soil around the seedling to ensure good contact.
- Water thoroughly: After transplanting the seedlings, water them thoroughly to help settle the soil and reduce transplant shock. Provide enough water to saturate the root zone, but avoid overwatering, as excess moisture can lead to root rot.
- Provide support (optional): Depending on the growth habit of the grape variety you are growing, you may need to provide support for the vines. Install trellises or stakes near the plants to support their growth and ensure proper training.
Transplanting the grape seedlings is an exciting milestone in their journey towards becoming mature grape plants. By following these steps and providing proper care post-transplant, you’re setting the stage for healthy growth and a bountiful harvest.
To start grapes from seeds, first soak the seeds in water for 24 hours. Then plant them in a pot with well-draining soil, and keep the soil consistently moist. Place the pot in a sunny spot and wait for the seeds to germinate.
Read more: How To Grow Grapes From Seed
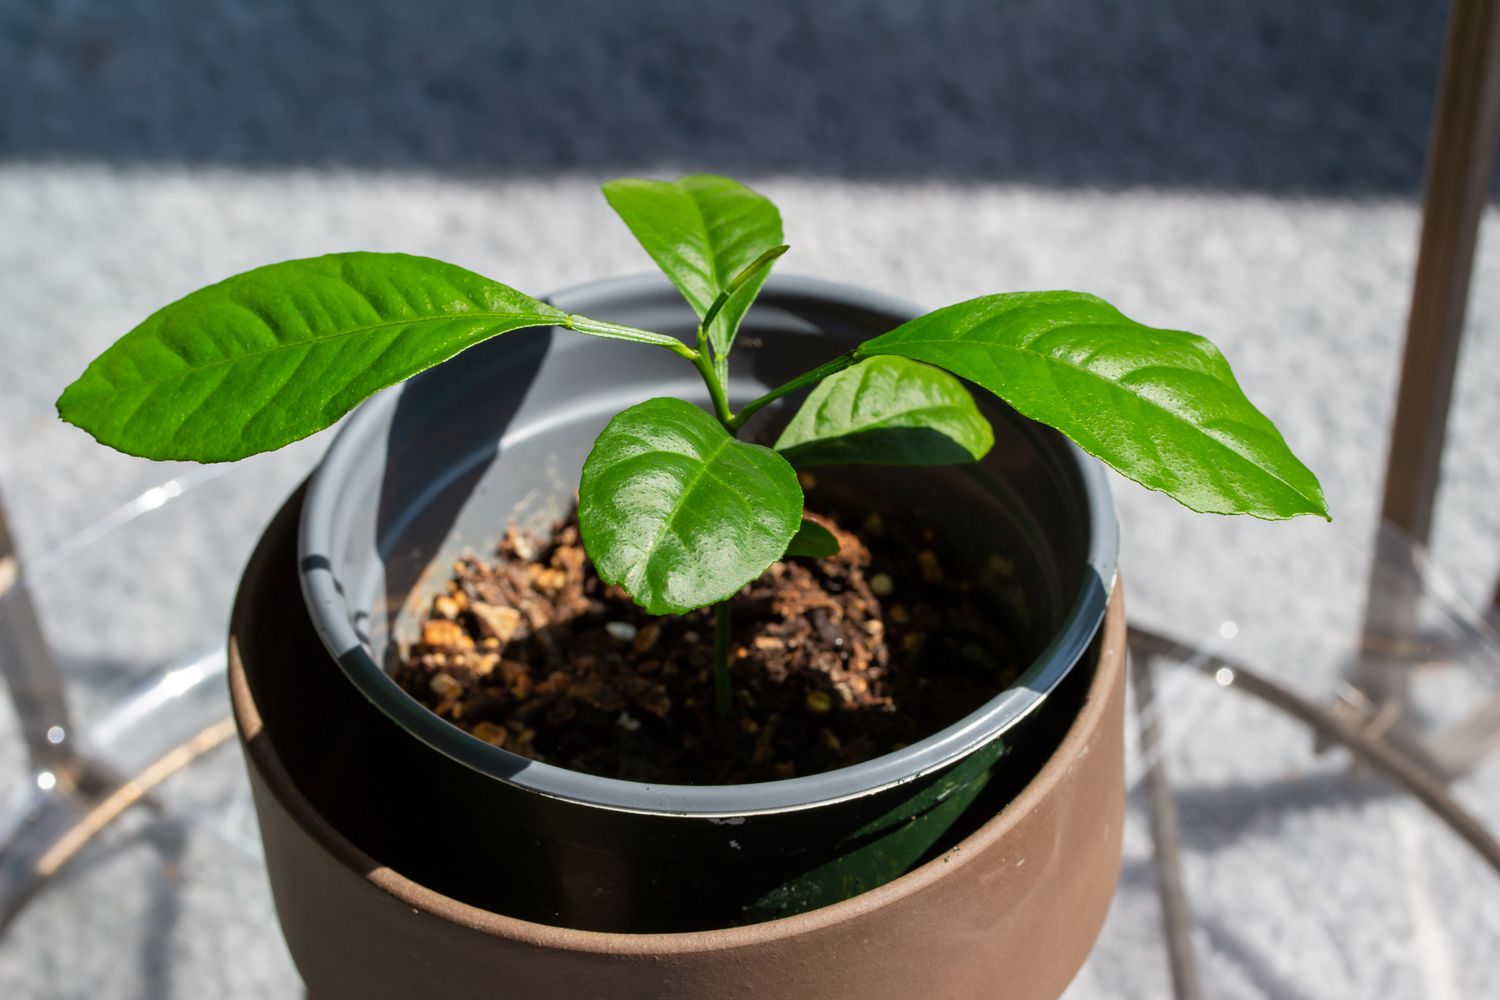
Step 5: Caring for Grape Seedlings
Once the grape seedlings are transplanted into their new containers or garden, they require consistent care to ensure healthy growth. Proper care during the seedling stage sets the foundation for strong and productive grape vines. Here are some important steps to care for your grape seedlings:
- Watering: Water the seedlings regularly to keep the soil evenly moist. While grapevines are tolerant of drought conditions, adequate water is crucial for their early establishment. Water deeply, ensuring that the roots receive sufficient moisture, but avoid waterlogging, as it can lead to root rot.
- Sunlight: Grapevines thrive in full sunlight. Ensure that the seedlings receive at least 6-8 hours of direct sunlight each day. If growing indoors, provide them with bright, indirect light or use grow lights to supplement natural light.
- Fertilization: Feed the grape seedlings with a balanced fertilizer. Choose a fertilizer with equal amounts of nitrogen, phosphorus, and potassium. Follow the label instructions for application rates and frequency. Start fertilizing once the seedlings have established their root systems.
- Pruning: As the seedlings grow, they will develop multiple shoots. To encourage strong and well-branched vines, prune back excessive shoots, leaving only the strongest and healthiest ones. Prune during the dormant season to shape the vines and remove any dead or diseased wood.
- Weed control: Keep the area around the grape seedlings free from weeds. Weeds compete with the young plants for nutrients and water. Regularly remove any weeds that may emerge near the base of the seedlings.
- Pest and disease management: Monitor the seedlings for any signs of pests or diseases. Common grape pests include aphids, spider mites, and grape leafhoppers. Treat infestations promptly using organic or chemical pest control methods. Additionally, keep an eye out for fungal diseases, such as powdery mildew or downy mildew, and take preventive measures to minimize their impact.
- Training and support: Depending on the grape variety and the desired growth habit, train the seedlings by tying them to supports such as trellises or wires. Regularly check the vines and adjust the ties as they grow to ensure proper support and training.
Caring for grape seedlings requires attention to detail and consistent monitoring. By providing them with the necessary water, sunlight, nutrients, and protection against pests and diseases, you’ll help establish healthy and vigorous grapevines that will reward you with a plentiful harvest in the future.
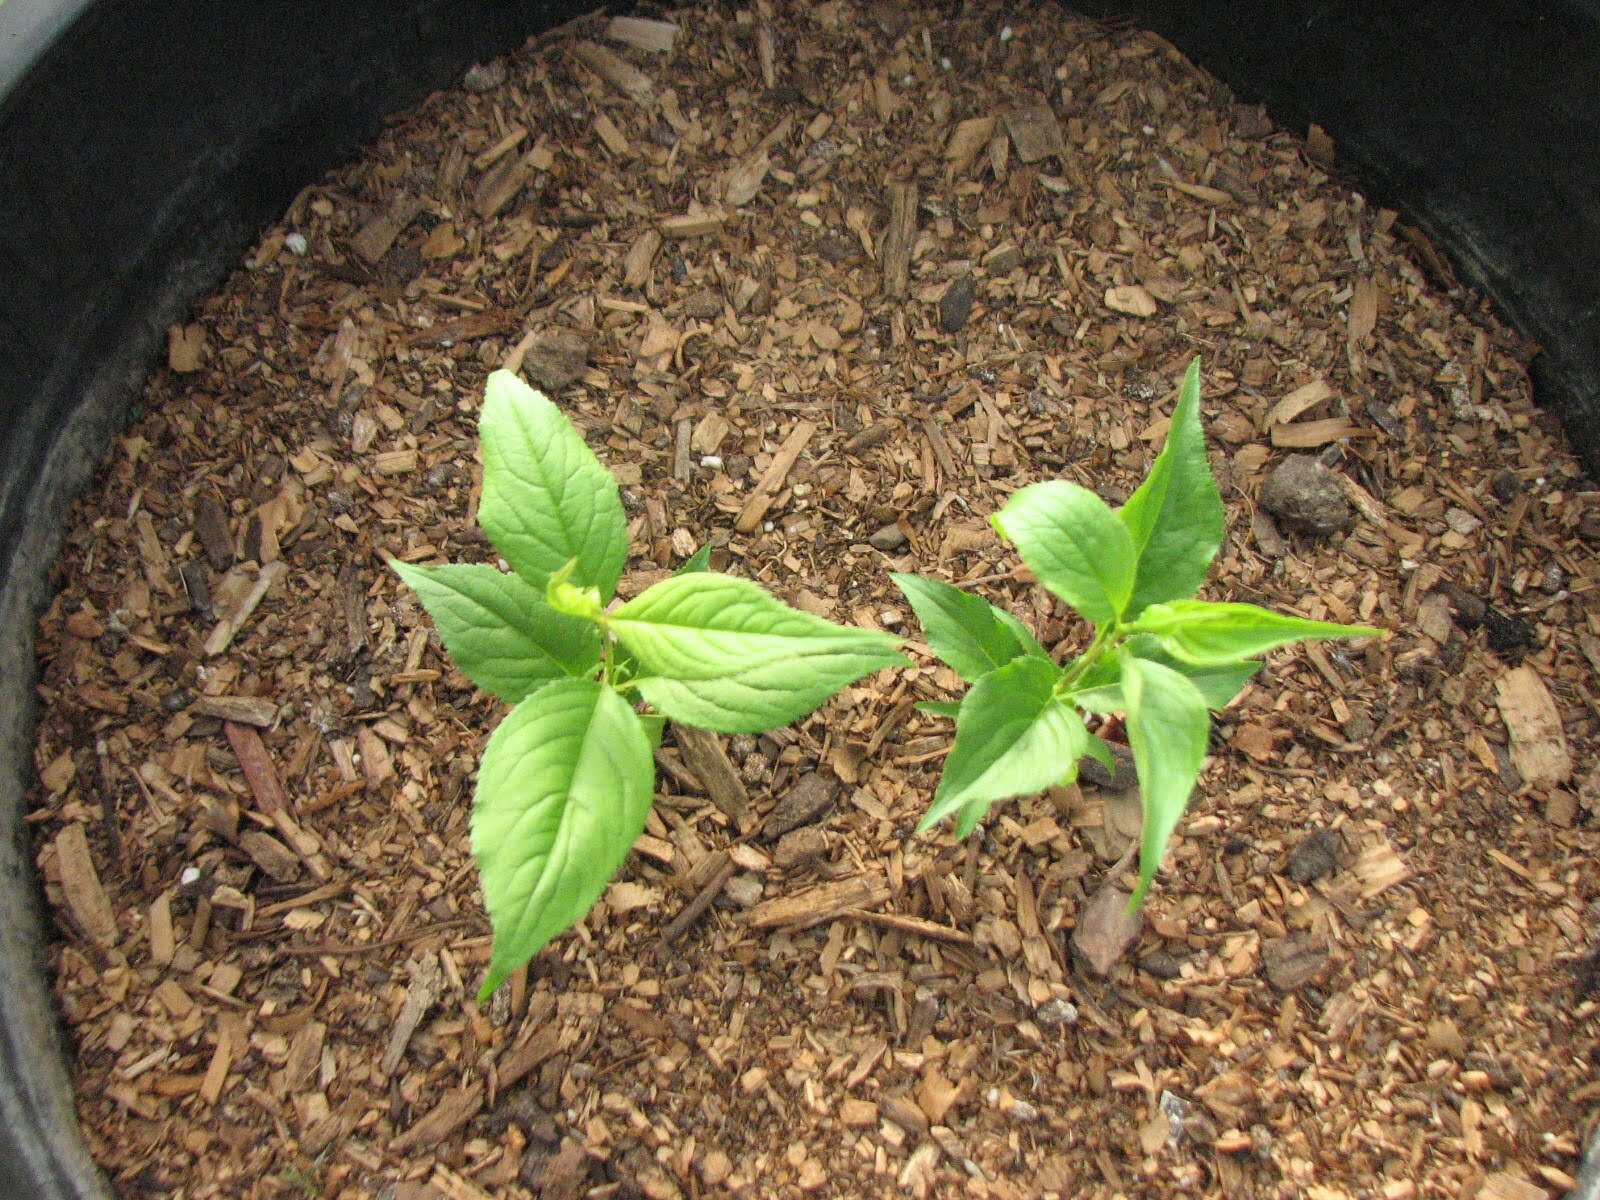
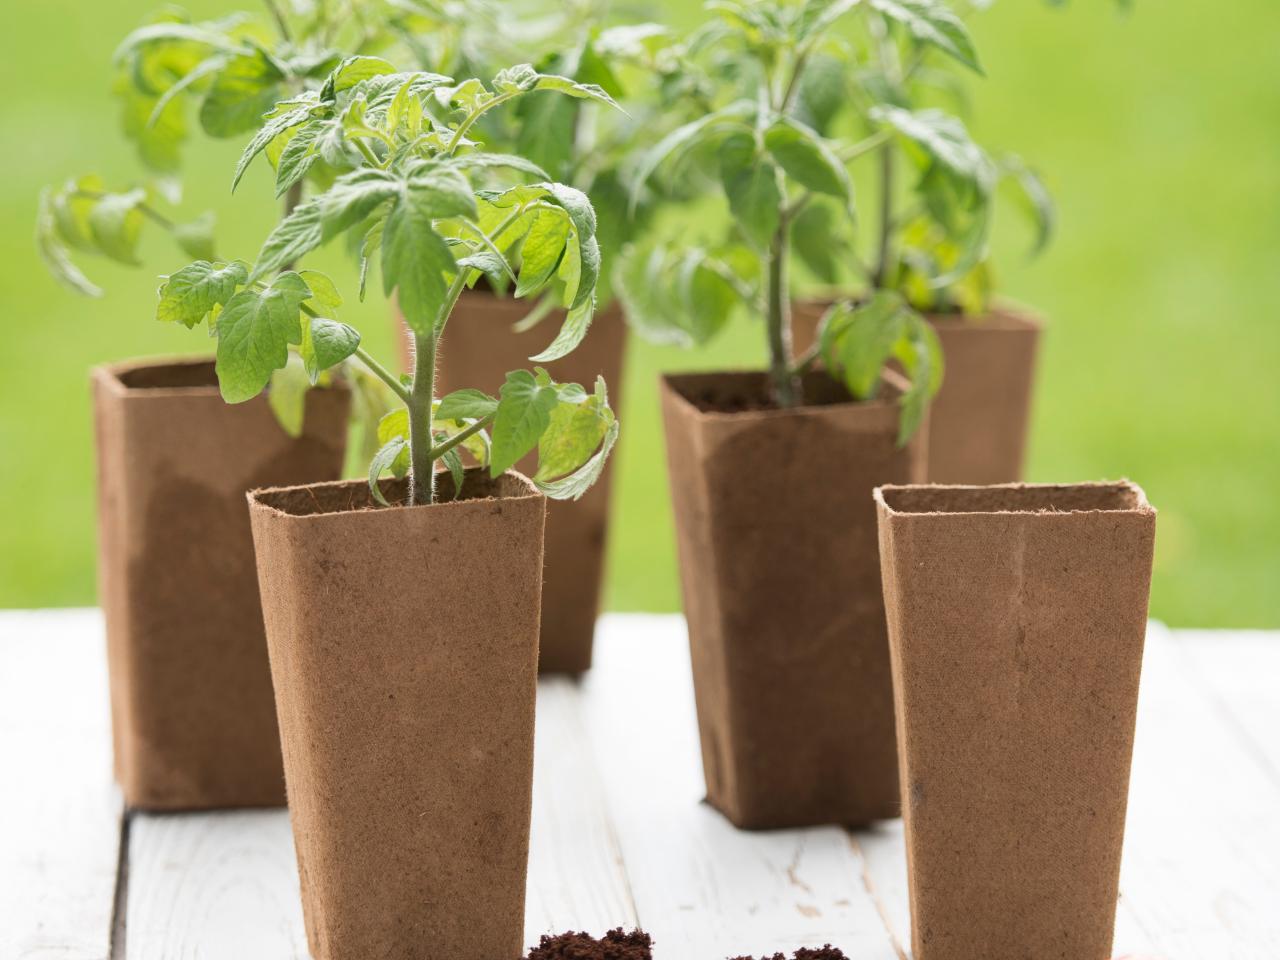
Step 6: Transferring the Seedlings to the Garden
Once your grape seedlings have grown stronger and the weather conditions are favorable, it’s time to transfer them from their containers to the garden. Transferring the seedlings to the garden allows them to establish their roots in the soil and start their journey towards becoming mature grapevines. Follow these steps to successfully transfer your grape seedlings to the garden:
- Choose the right location: Select a suitable location in your garden for planting the grape seedlings. Grapes thrive in full sunlight, so choose a spot that receives at least 6-8 hours of direct sunlight each day. Ensure that the soil is well-draining and rich in organic matter.
- Prepare the soil: Before planting, prepare the soil by loosening it with a garden fork or tiller. Remove any weeds, rocks, or debris, and incorporate compost or well-rotted organic matter to improve the soil’s fertility and drainage.
- Dig planting holes: Dig holes in the soil that are large enough to accommodate the root ball of each seedling. Space the holes at least 6-8 feet (1.8-2.4 meters) apart to allow the grapevines ample room to grow and spread.
- Transplant the seedlings: Gently remove the seedlings from their containers, being careful to avoid damaging the roots. Place each seedling into a planting hole, making sure that the base of the stem is at ground level. Backfill the hole with soil and firm it gently around the seedling, ensuring that it stands upright.
- Water the seedlings: After transplanting, thoroughly water the grape seedlings to settle the soil and provide moisture to the roots. Water deeply and regularly during the early stages of growth to help the plants establish themselves in their new environment.
- Provide support: Depending on the grape variety and growth habit, provide support for the young vines. Install trellises, stakes, or wires near each plant to guide their growth and provide stability.
- Mulch the soil: Apply a layer of organic mulch, such as straw or wood chips, around the base of each grape seedling. Mulch helps to conserve moisture, suppress weed growth, and regulate soil temperature.
- Monitor and care for the seedlings: Regularly monitor the grape seedlings for any signs of stress, such as wilting or pest/disease damage. Take necessary action promptly to address any issues and ensure their healthy growth.
Transferring the grape seedlings to the garden is a significant step in their journey towards becoming productive grapevines. By providing them with the right growing conditions, support, and proper care, you’re setting the stage for a successful harvest in the future.
Step 7: Providing Proper Care for Grape Plants
Once your grape plants are established in the garden, it’s important to provide them with ongoing care to ensure their health and productivity. Proper care for grape plants involves a combination of regular maintenance, monitoring, and proactive measures. Follow these steps to provide the proper care for your grape plants:
- Watering: Grape plants require regular watering, especially during the dry periods of the growing season. Provide deep, thorough watering to ensure the root zone receives sufficient moisture. Aim for about 1 inch (2.5 cm) of water per week, either through rainfall or irrigation.
- Fertilization: Feed your grape plants with a balanced fertilizer in the early spring, just as new growth starts. Look for fertilizers specifically formulated for fruit-bearing plants or follow soil test recommendations. Avoid excessive nitrogen fertilization, as it can promote excessive vegetative growth at the expense of fruit production.
- Pruning: Regular pruning is essential for maintaining the health and productivity of grape plants. Prune the plants during their dormant season, typically in late winter or early spring. Remove any dead, diseased, or damaged wood, and thin out excess growth to improve air circulation and sun exposure in the canopy.
- Training: Train your grape plants along a trellis or support system to help guide their growth and maximize fruit production. Prune and tie the vines as needed to maintain a structured framework and prevent overcrowding.
- Pest and disease management: Monitor your grape plants for pests and diseases regularly. Common grape pests include aphids, spider mites, and grape berry moth. Use organic or chemical control methods to manage infestations. Keep an eye out for fungal diseases such as powdery mildew or black rot, and take preventive measures like proper spacing, good air circulation, and regular removal of infected plant parts.
- Weed control: Keep the area around your grape plants free from weeds, as they compete for nutrients and moisture. Regularly remove any weeds that emerge near the base of the plants, being careful not to disturb the shallow grape roots.
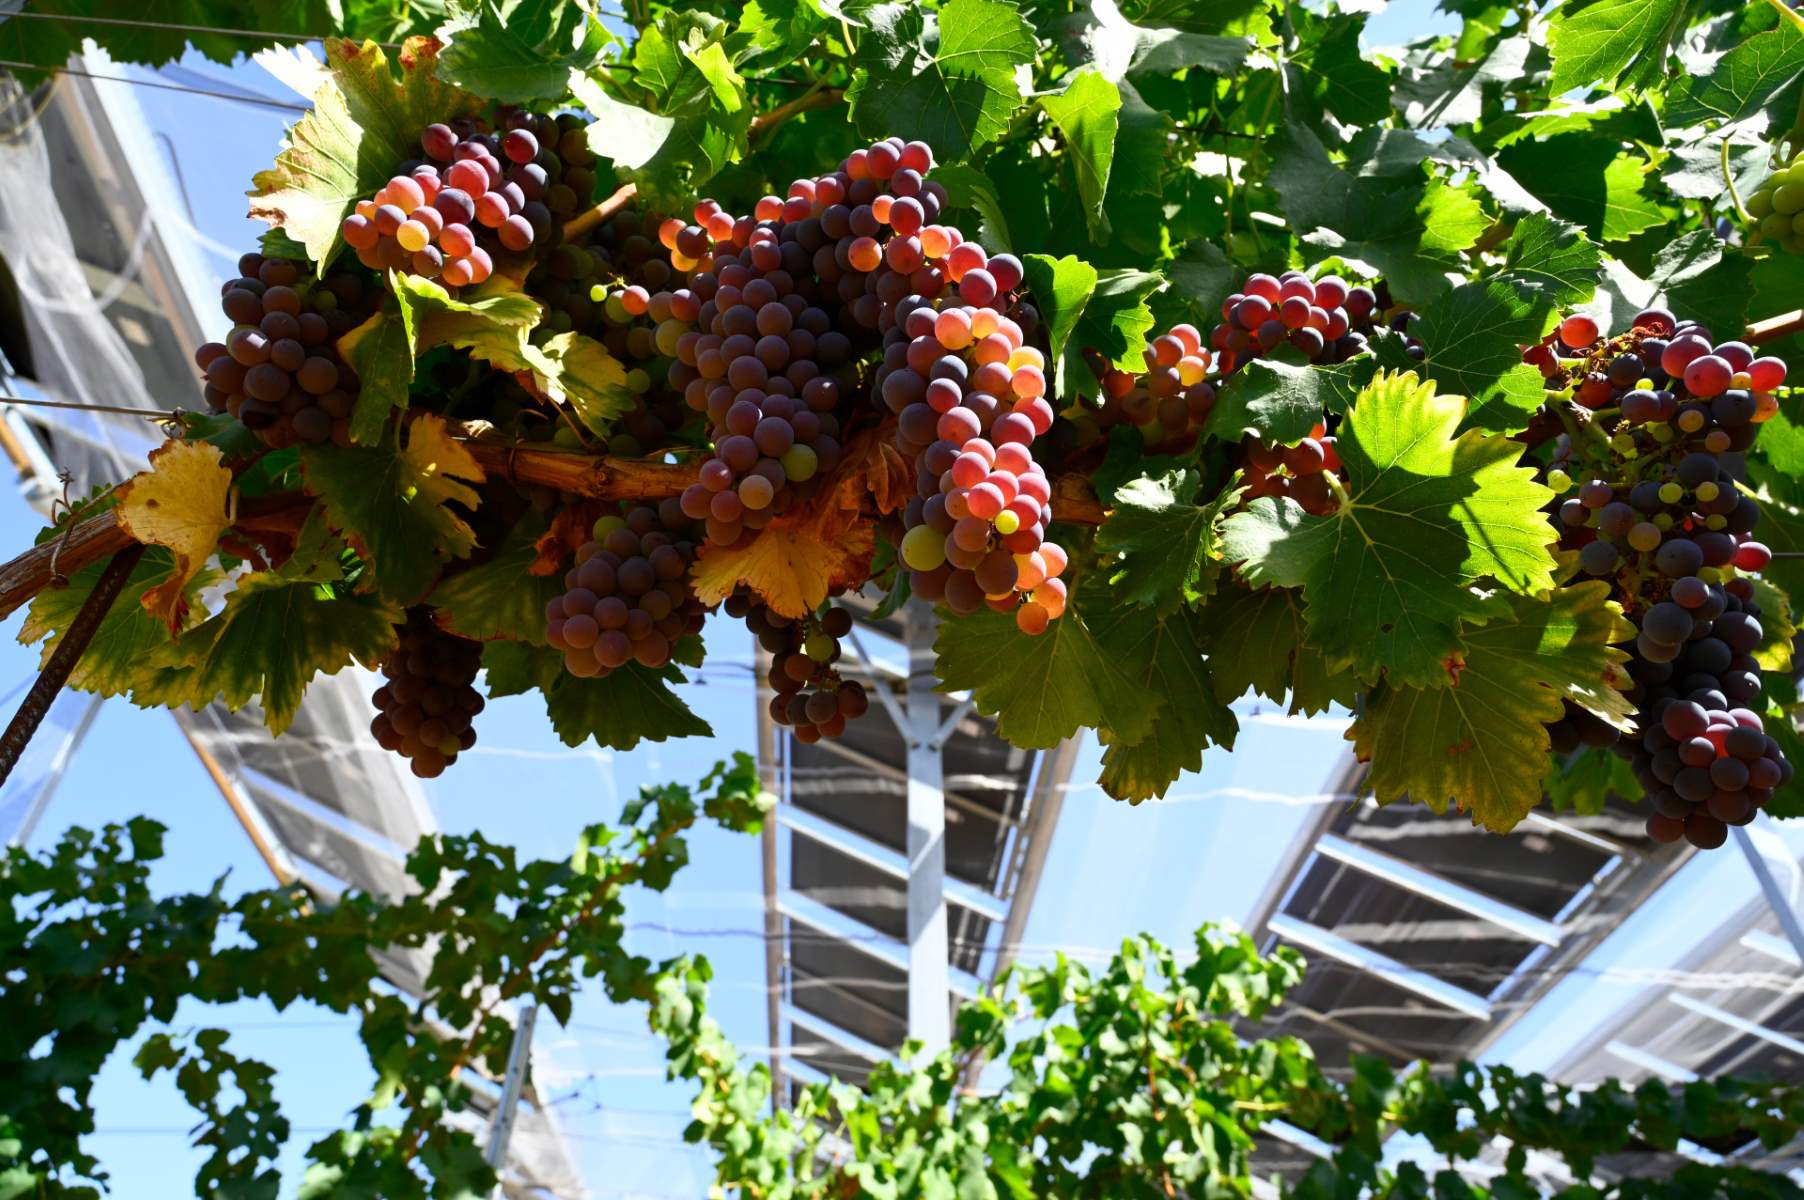
- Harvesting: Monitor the ripening process of your grapes and harvest them at their peak. Grapes are ready for harvest when they change color, become plump, and taste sweet. Gently cut the grape clusters from the vines, taking care not to damage the surrounding foliage or remaining fruit.
- Winter protection: In regions with cold winters, protect your grape plants from frost and freezing temperatures. Mulch around the base of the plants to insulate the roots and consider covering them with burlap or other protective materials during extreme cold snaps.
Providing proper care for your grape plants is essential for their long-term health and productivity. By following these steps and monitoring your plants regularly, you can enjoy a bountiful harvest of delicious grapes season after season.
Step 8: Harvesting Grapes
The ultimate reward of growing grape plants is the joy of harvesting the sweet and juicy grapes you’ve worked so hard to cultivate. Harvesting grapes at the right time ensures maximum flavor and sweetness. Follow these steps to harvest your grapes:
- Timing the harvest: Grapes are ready for harvest when they reach their peak ripeness. Different grape varieties have different ripening times, so it’s important to know the specific characteristics of your grape variety. Look for changes in color from green to their specific shade, such as red, purple, or greenish-yellow.
- Inspecting grape clusters: Examine the grape clusters closely. The grapes should be plump, firm, and fully colored. Gently squeeze a few grapes to test their firmness and taste a few to gauge their sweetness. Avoid harvesting grapes that are underripe or overripe, as they may not have the ideal flavor and texture.
- Using pruning shears: To harvest the grapes, use clean pruning shears or scissors to cut the clusters from the vine. Snip the stem just above the cluster, leaving a short stem attached to the grapes. Be careful not to damage the surrounding foliage or other developing clusters.
- Collecting the harvest: As you harvest the clusters, place them gently into baskets or containers. Take care not to overcrowd or crush the grapes, as this can lead to bruising and spoilage. Harvest the grapes in small batches to maintain their quality and freshness.
- Post-harvest handling: After harvesting, handle the grapes with care. Avoid rough handling or dropping them, as this can cause bruising and damage. If there are any damaged or spoiled grapes, separate them from the rest of the harvest.
- Storing and enjoying: Grapes are best enjoyed fresh, so consume them within a few days of harvest. Store the unwashed grapes in perforated plastic bags or breathable containers in the refrigerator to maintain their freshness. Before consumption, rinse the grapes gently under cool water and pat them dry.
Harvesting grapes is a rewarding and enjoyable process that marks the culmination of your hard work. By harvesting the grapes at the right time and handling them with care, you can savor the delicious taste of your homegrown grapes and share them with family and friends.
Read more: How To Start Coneflower From Seed
Conclusion
Starting grapes from seeds can be a fascinating and fulfilling journey for any gardening enthusiast. While it may require patience and dedication, the process of growing grapes from seeds allows you to witness the transformation of tiny seeds into thriving grapevines. By following the steps outlined in this guide, you can successfully collect grape seeds, prepare them for germination, and nurture the seedlings until they are ready to be transplanted into your garden.
Throughout the process, it is important to provide proper care for the grape seedlings, ensuring they receive adequate water, sunlight, and nutrients. Regular monitoring for pests, diseases, and weeds is also key to maintaining the health and vitality of the plants. Training the vines and providing support as they grow will help guide their growth and maximize fruit production.
When the time comes, the ultimate reward of your efforts will be the sweet and flavorful grapes that you can harvest. By timing the harvest correctly and handling the grapes with care, you can enjoy the fruits of your labor and share the bounty with family and friends.
Keep in mind that growing grapes from seeds may yield different results compared to propagating them from cuttings. The resulting grapes may have unique characteristics that deviate from the parent plant. However, this presents an exciting opportunity to discover new grape varieties and flavors.
Growing grapes from seeds is a journey filled with learning, patience, and the joy of witnessing nature’s wonder. Whether you’re a seasoned gardener or a beginner, take on the challenge and embark on this rewarding adventure. Soon, you’ll have your own thriving grapevines, providing you with delicious grapes to enjoy for years to come.
Frequently Asked Questions about How To Start Grapes From Seeds
Was this page helpful?
At Storables.com, we guarantee accurate and reliable information. Our content, validated by Expert Board Contributors, is crafted following stringent Editorial Policies. We're committed to providing you with well-researched, expert-backed insights for all your informational needs.


0 thoughts on “How To Start Grapes From Seeds”