Home>Garden Essentials>How To Make Pumpkin Seed Oil
Garden Essentials
How To Make Pumpkin Seed Oil
Modified: August 16, 2024
Discover the secrets of making homemade pumpkin seed oil in your garden. Learn step-by-step instructions and enjoy the benefits of this nutritious oil.
(Many of the links in this article redirect to a specific reviewed product. Your purchase of these products through affiliate links helps to generate commission for Storables.com, at no extra cost. Learn more)
Introduction
Welcome to the fascinating world of pumpkin seed oil! If you’re a gardening enthusiast looking to add a unique and flavorful element to your cooking repertoire, then you’ve come to the right place. Pumpkin seed oil, derived from the seeds of certain varieties of pumpkins, is a versatile and nutritious culinary ingredient that adds rich flavor and numerous health benefits to a variety of dishes.
In this article, we will guide you through the process of making pumpkin seed oil from scratch, providing you with step-by-step instructions on the selection, harvesting, roasting, grinding, pressing, filtering, and storing of pumpkin seeds to extract the precious oil. So, let’s dive in and unlock the secrets of this delightful culinary treasure.
Before we get started, it’s worth mentioning that pumpkin seed oil is often referred to as “green gold” due to its vibrant green color and its high value in both the culinary and health industries. So, get ready to embark on a journey that combines gardening knowledge with the principles of oil extraction.
But first, let’s explore the importance of choosing the right pumpkin variety to produce the best-quality pumpkin seed oil.
Key Takeaways:
- Making pumpkin seed oil involves choosing the right pumpkins, harvesting, roasting, grinding, pressing, filtering, and storing. It’s a rewarding process that adds unique flavor and health benefits to your cooking.
- Homemade pumpkin seed oil offers a rich, nutty taste and vibrant green color. It’s packed with essential nutrients and can be used in salads, soups, roasted vegetables, and dips for a delightful culinary experience.
Read more: What Is Pumpkin Seed Oil
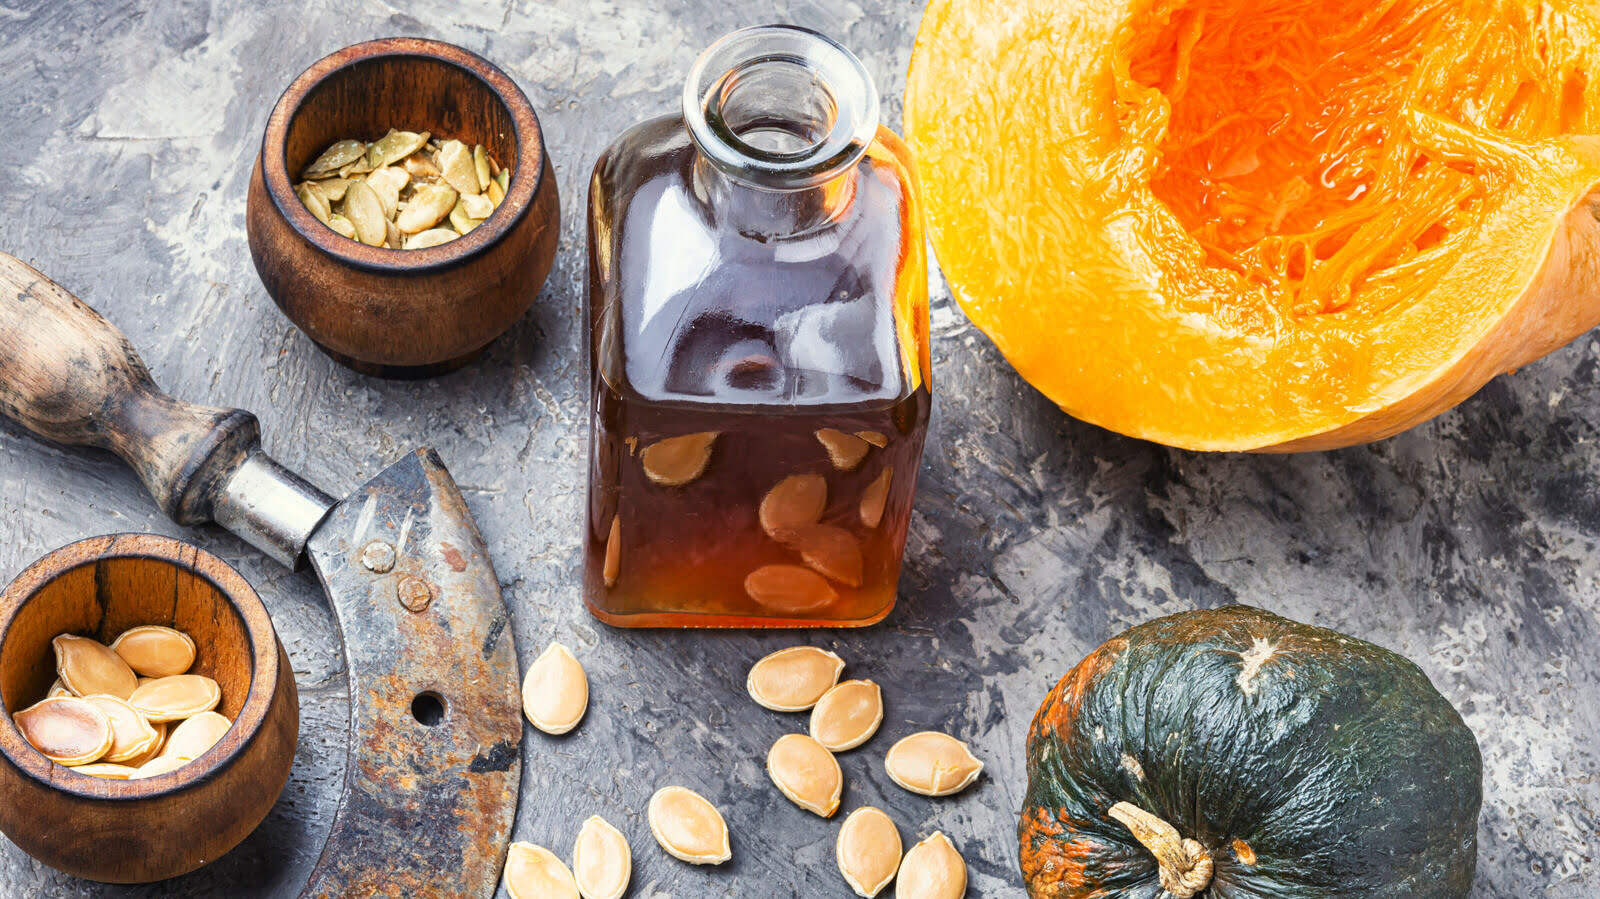
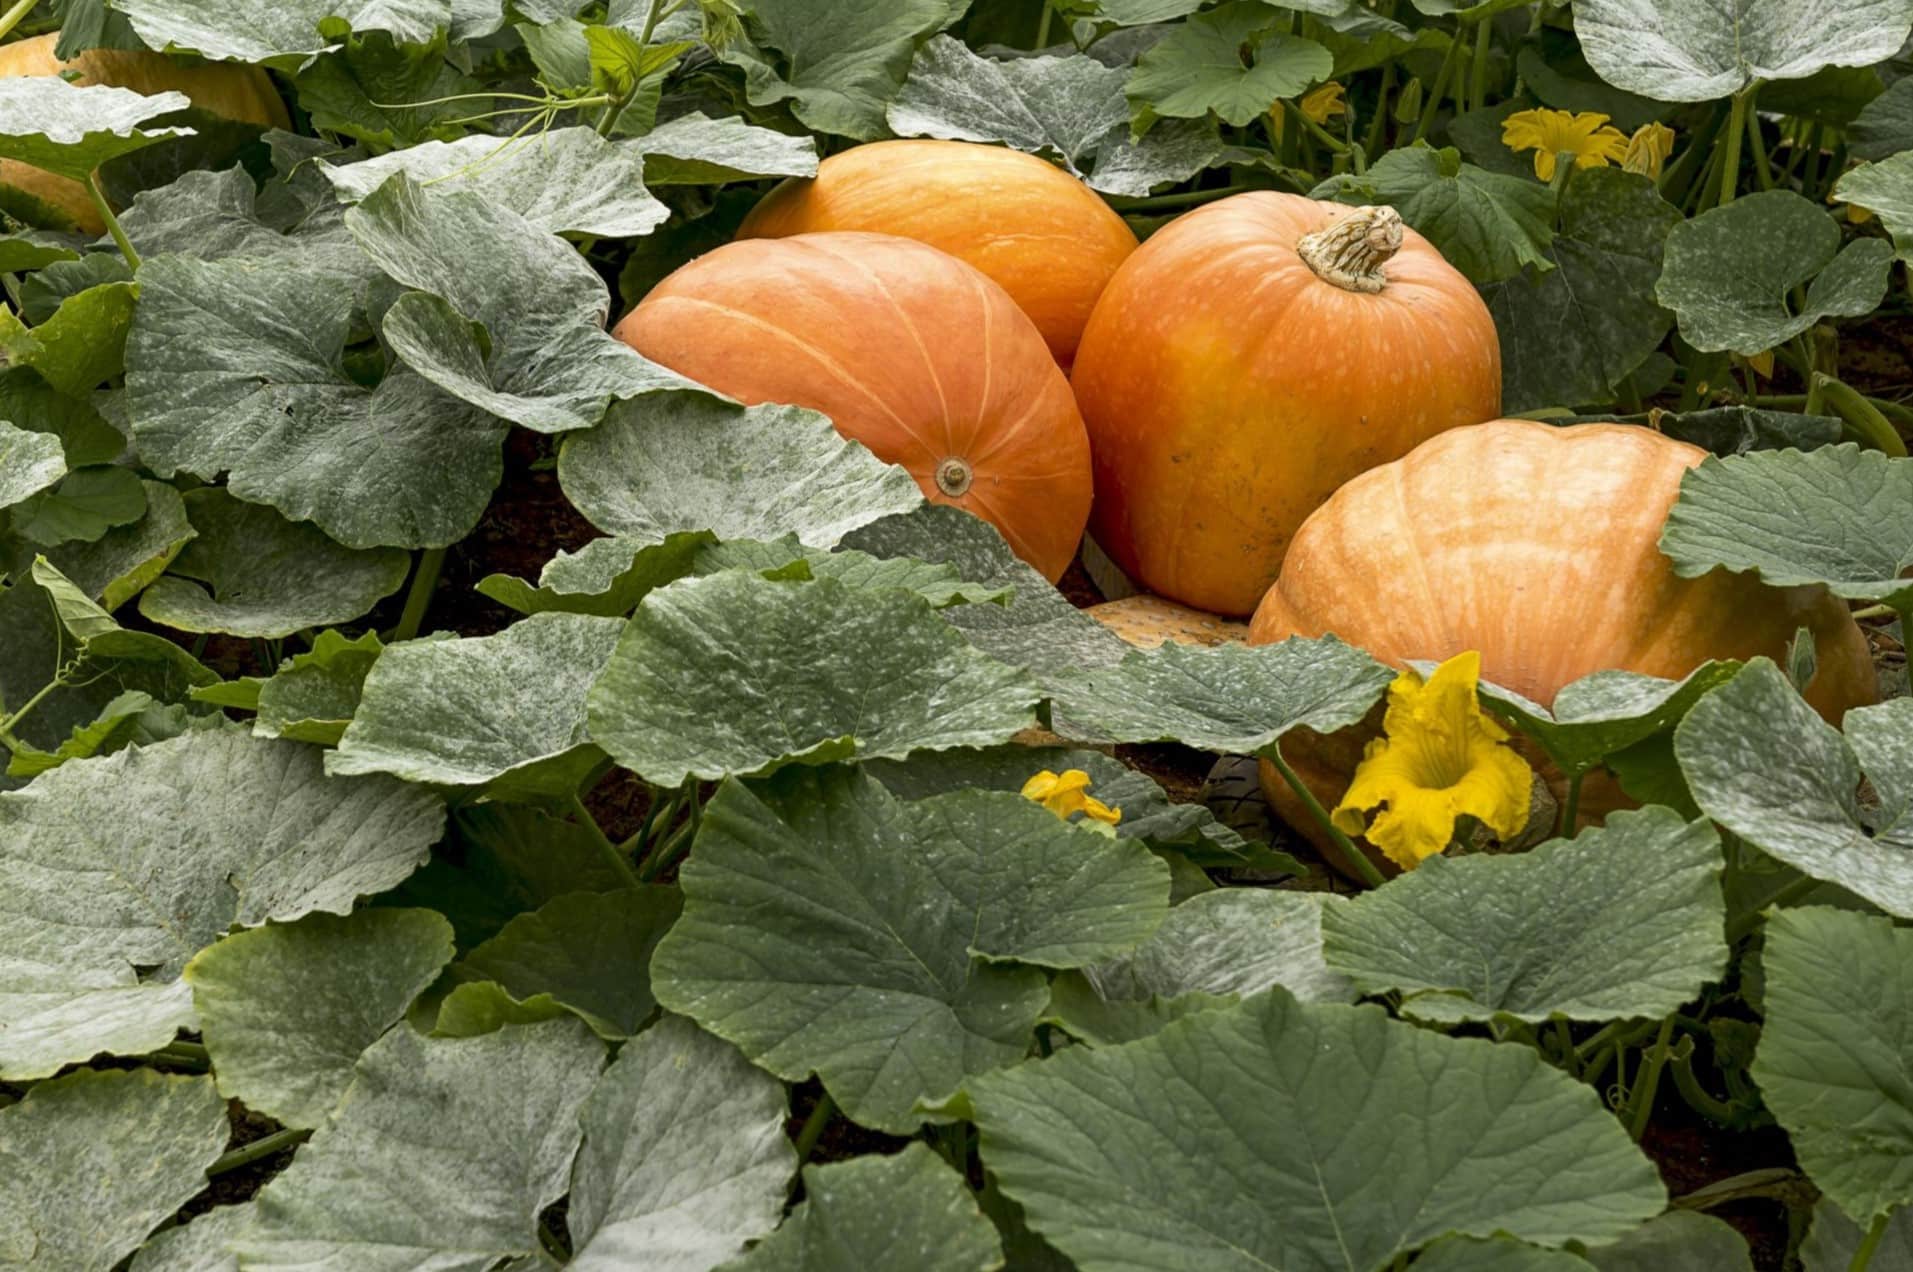
Choosing the Right Pumpkin
When it comes to making pumpkin seed oil, selecting the right variety of pumpkin is crucial. Not all pumpkins are suitable for oil extraction, as some varieties have seeds that are too small or lack the desired flavor. Here are a few factors to consider when choosing pumpkins for seed oil production:
- Seed size: Look for pumpkins that have larger seeds, as they will yield a higher quantity of oil. Varieties like Styrian pumpkins or oilseed pumpkins are well-known for their large seeds and high oil content.
- Flavor: Opt for pumpkins that have a more pronounced and nutty flavor. This will ensure that the resulting oil retains a unique taste that enhances the dishes you’ll use it in. Styrian pumpkins, in particular, are renowned for their deliciously nutty flavor.
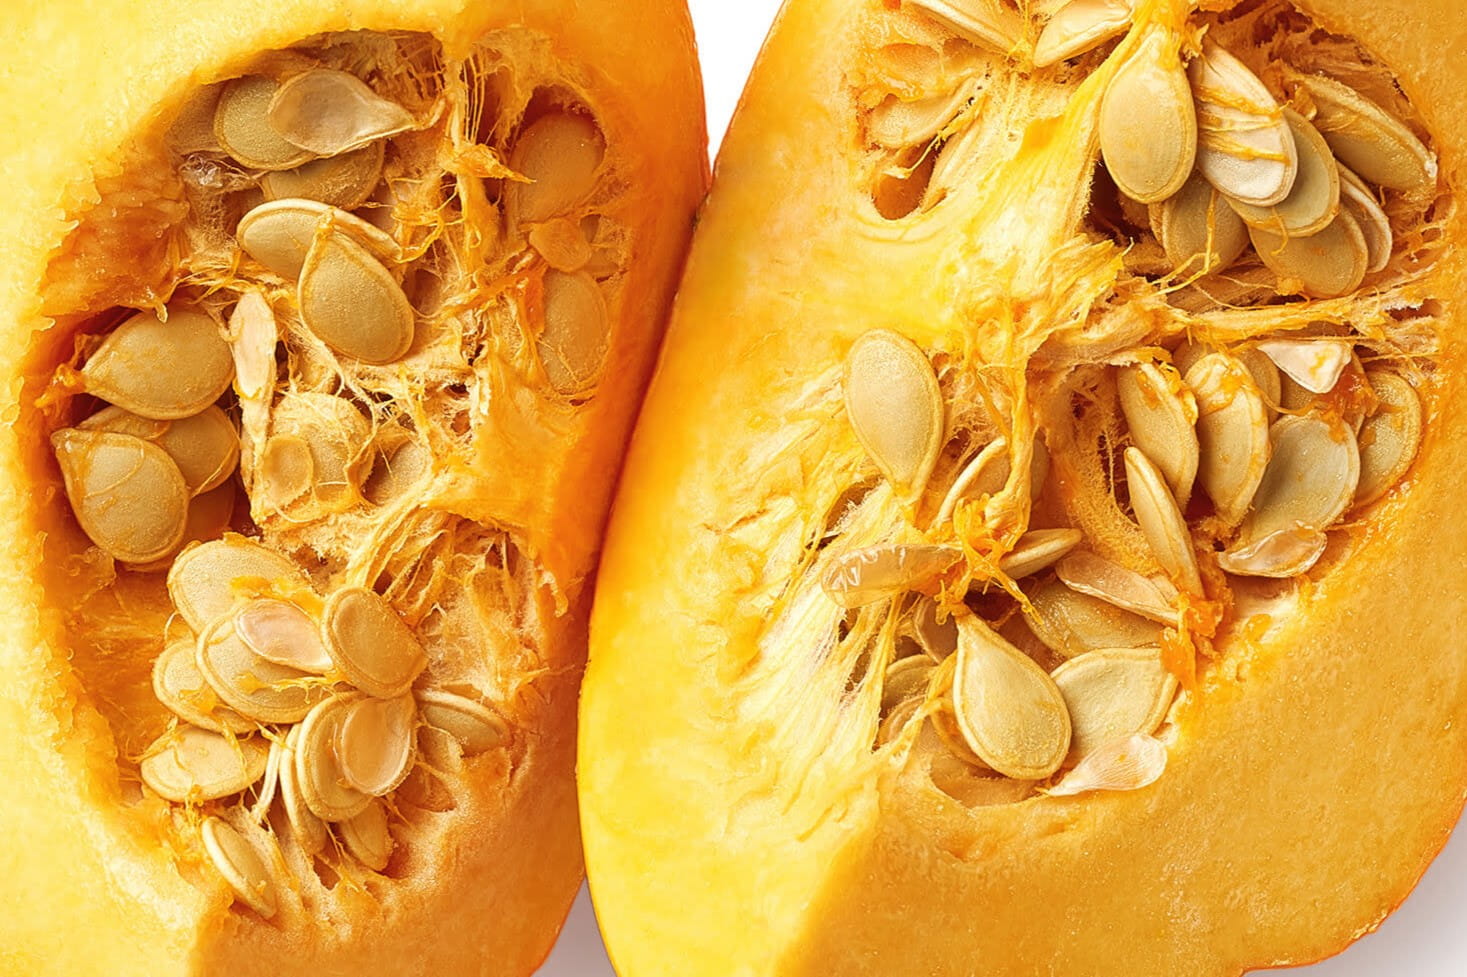
- Seed color: The color of the pumpkin seeds can vary, but for pumpkin seed oil production, it’s preferable to choose pumpkins with dark green seeds. This deeper color indicates a higher oil content.
- Ripeness: Harvest the pumpkins when they are fully ripe, as unripe pumpkins can affect the quality and flavor of the oil. Look for pumpkins with a hard rind and a deep, consistent color.
- Pest control: Ensure that the pumpkins you choose have not been exposed to harmful pesticides or chemicals. Opt for organically grown pumpkins to ensure a healthier and more natural oil extraction process.
Remember, the quality of the pumpkin seeds will greatly influence the final flavor and nutritional value of the oil. So, take your time when selecting the pumpkins and choose wisely to ensure the best results. Now that you’ve chosen the perfect pumpkins, let’s move on to the next step – harvesting and preparing the pumpkin seeds.
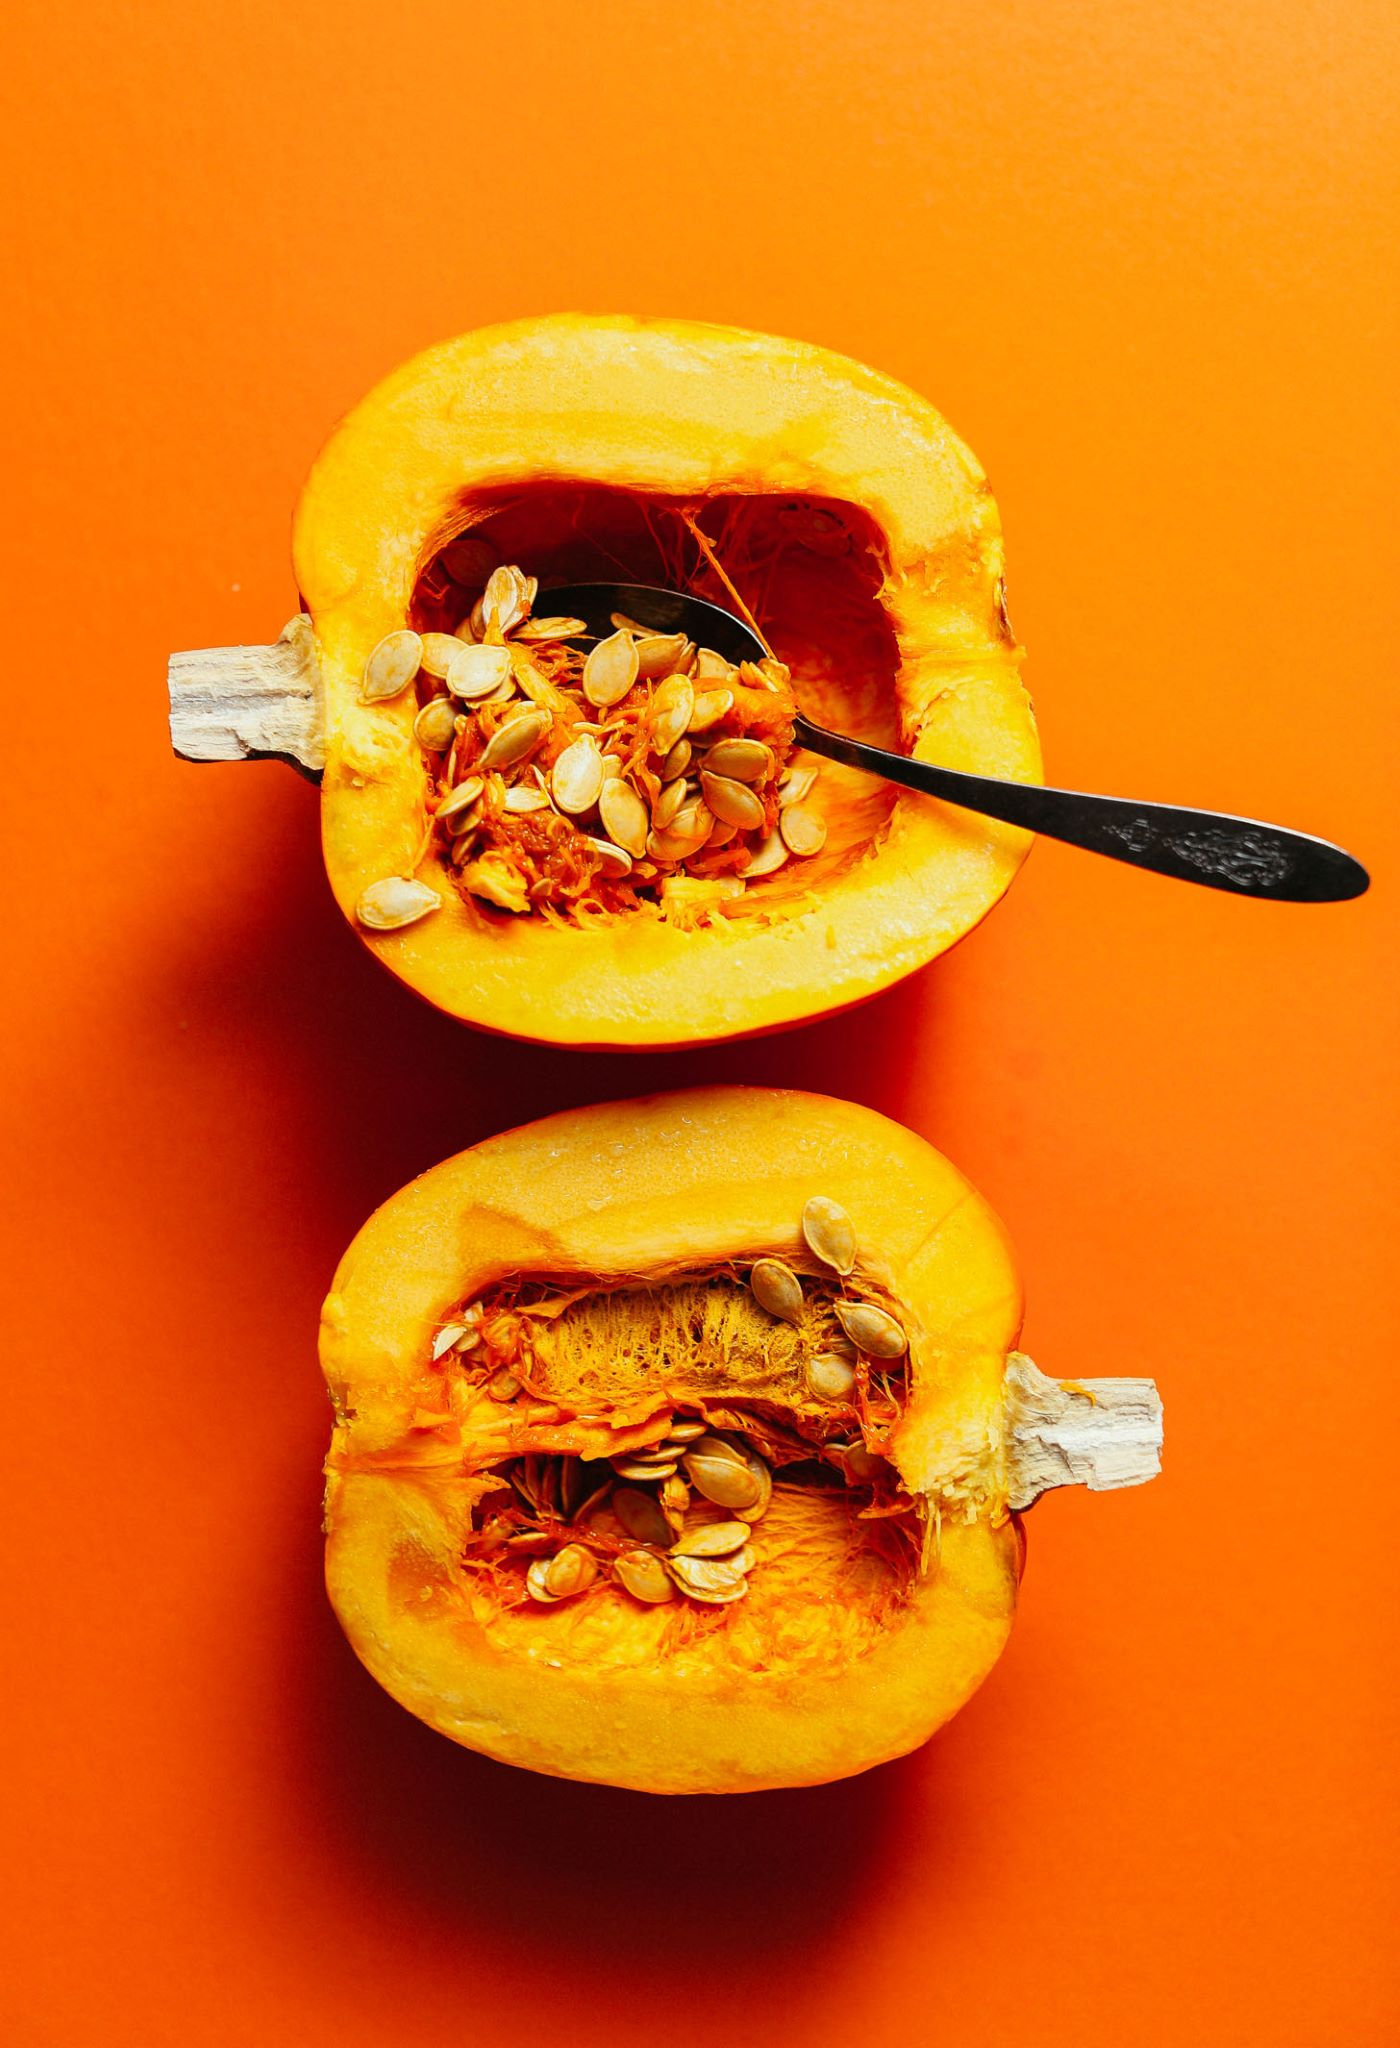
Harvesting and Preparing the Pumpkin Seeds
Once you have selected the ideal pumpkins for seed oil production, it’s time to harvest and prepare the pumpkin seeds. Here’s a step-by-step guide to help you through the process:
- Harvesting: Wait until the pumpkins are fully ripe before harvesting them. This ensures that the seeds have matured and are ready for extraction. Cut the pumpkins from the vine, leaving a few inches of stem attached.
- Cleaning: Use a sharp knife to cut open the pumpkins, and scoop out the seeds. Place the seeds in a large bowl or colander, and remove any stringy flesh or pumpkin residue. Rinse the seeds thoroughly under running water to clean them further.
- Drying: Spread the cleaned seeds on a clean, dry towel or baking sheet. Allow them to air dry for at least 24 hours, or until they are completely dry. This step is essential to prevent mold growth during the roasting process.
- Separating: Once the seeds are dry, you may notice that some of them are still encased in a thin white shell called the seed coat. To remove the seed coat, gently rub the seeds between your hands or use a kitchen towel to rub them together. The seed coat should easily separate from the kernel.
- Optional seasoning: If desired, you can add some flavor to the pumpkin seeds by tossing them with a mixture of spices and seasonings. Common options include salt, pepper, garlic powder, or your favorite herbs. This step can add extra depth to the flavor of the oil.
Once you have harvested and prepared the pumpkin seeds, it’s time to move on to the next step – roasting the seeds to enhance their flavor and texture. Join us in the following section to learn the art of roasting pumpkin seeds to perfection.
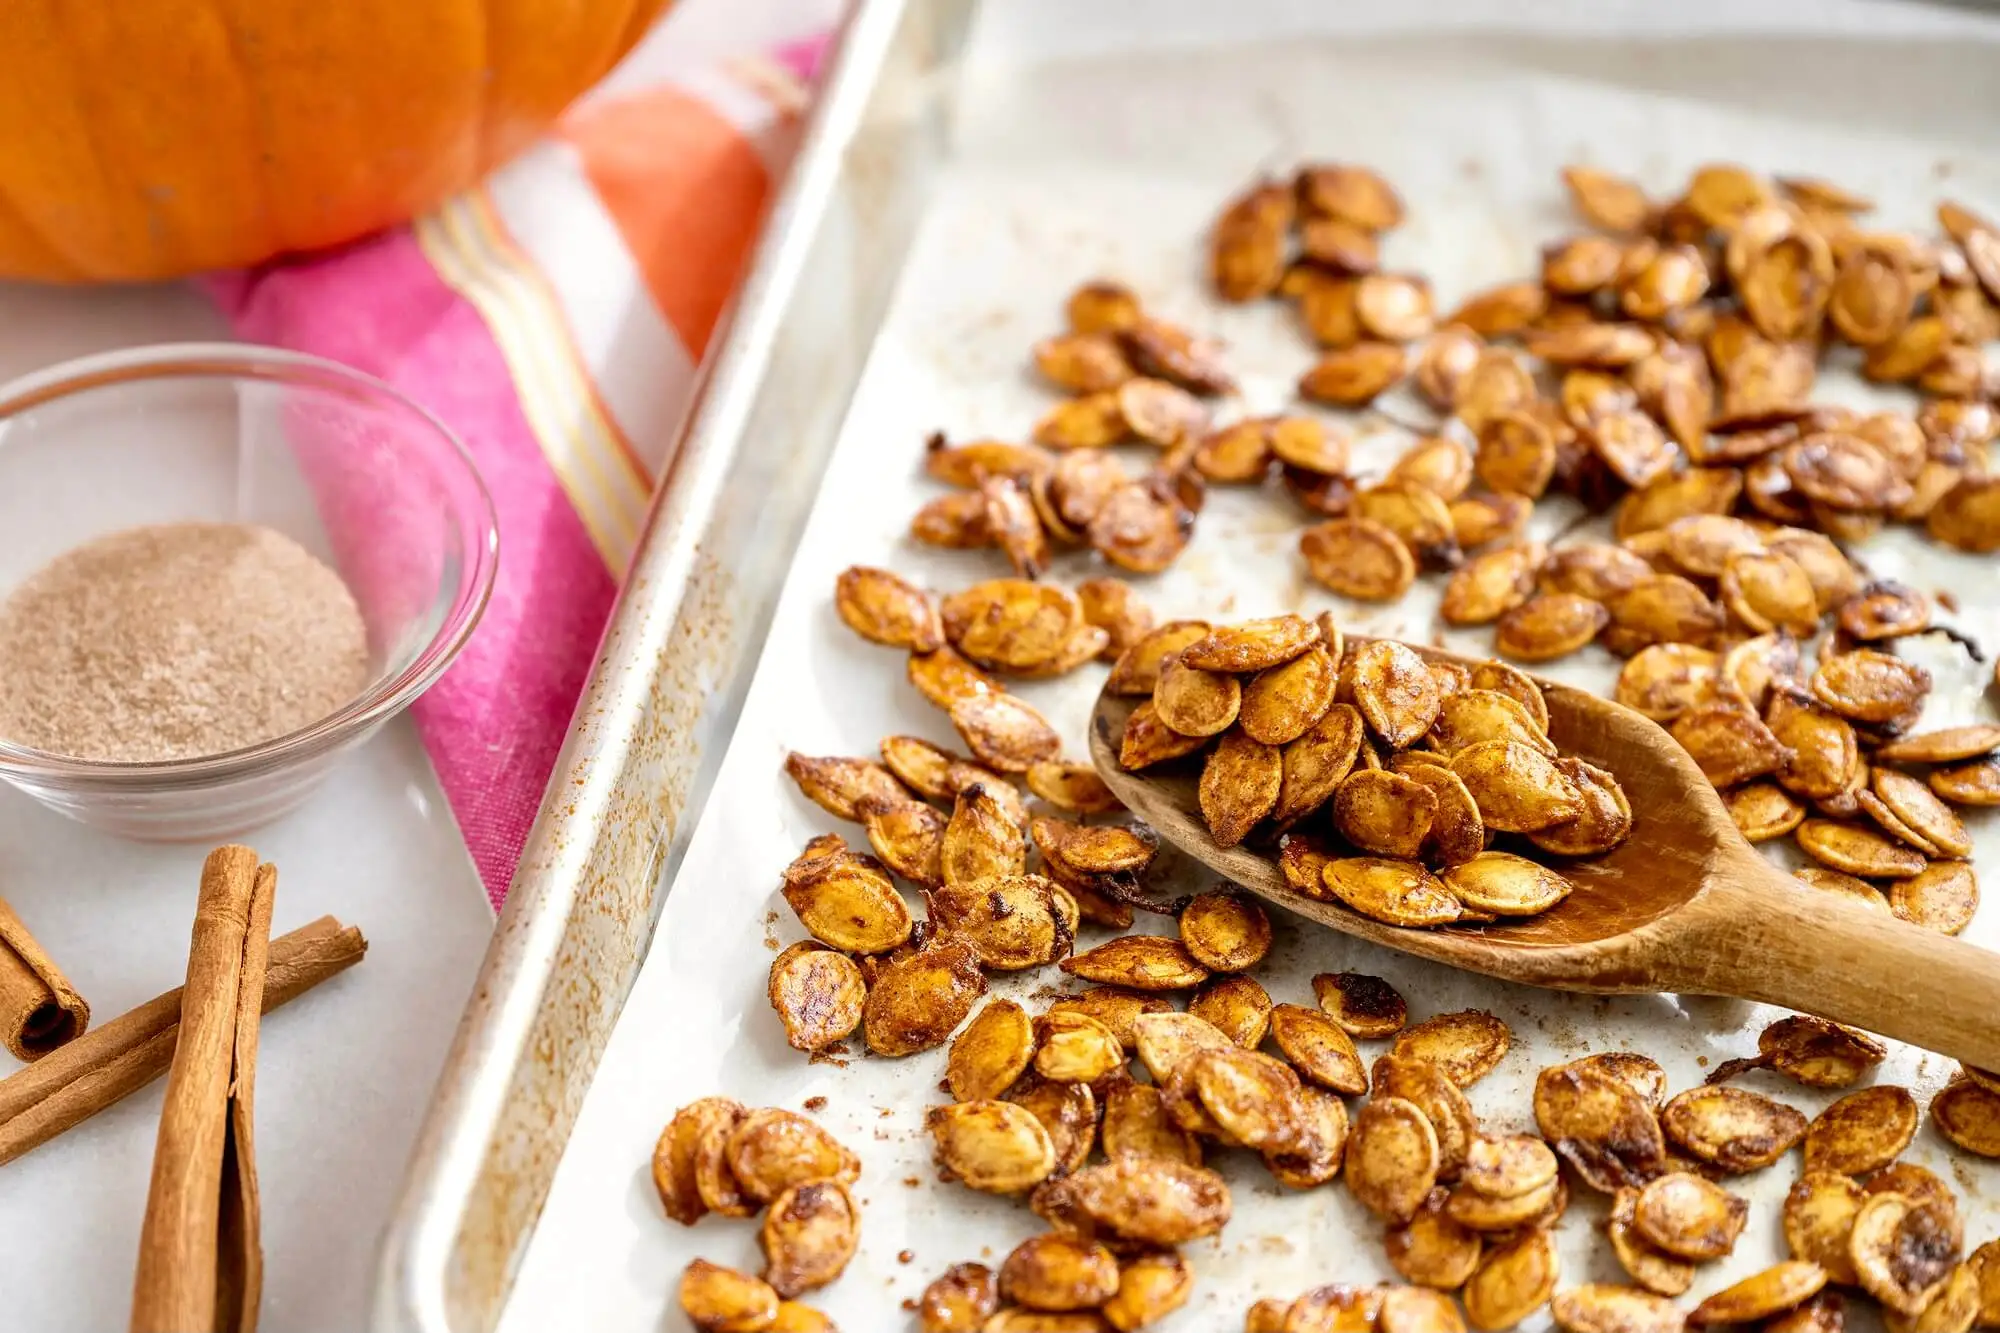
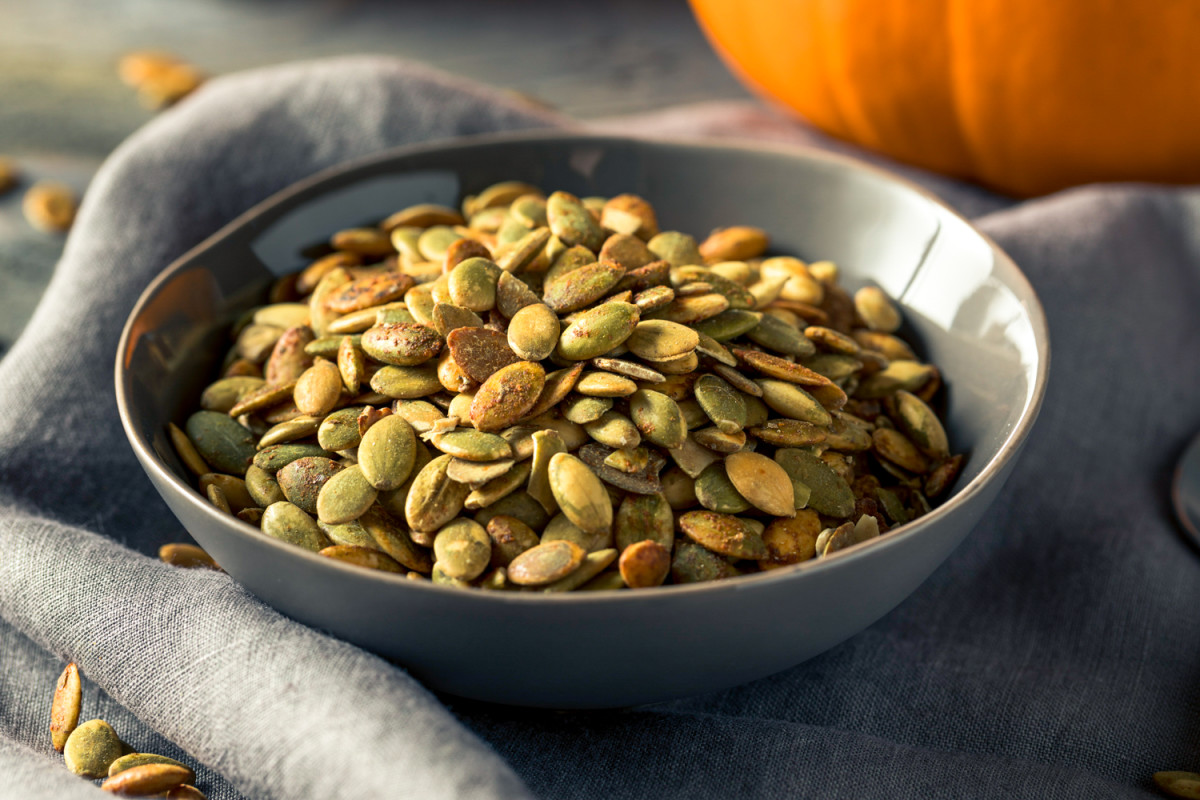
Roasting the Pumpkin Seeds
Roasting the pumpkin seeds is a crucial step in the process of making pumpkin seed oil. This not only enhances their flavor but also helps to loosen the natural oils, making it easier to extract during the pressing stage. Here’s a simple guide to roasting pumpkin seeds:
- Preheat the oven: Preheat your oven to 300°F (150°C) to ensure even cooking and golden-brown results.
- Seasoning the seeds: In a bowl, toss the pumpkin seeds with a drizzle of olive oil and your desired seasonings. Common options include salt, pepper, paprika, or even a sprinkle of cinnamon and sugar for a sweet twist.
- Spreading the seeds: Spread the seasoned pumpkin seeds in a single layer on a baking sheet lined with parchment paper. This allows for even heat distribution and prevents the seeds from sticking to the sheet.
- Roasting: Place the baking sheet in the preheated oven and roast the pumpkin seeds for 20-25 minutes, or until they turn golden brown. Keep a close eye on them, as they can quickly go from perfectly roasted to burnt.
- Cooling: Once roasted, remove the baking sheet from the oven and allow the pumpkin seeds to cool completely on the sheet. This will ensure a crunchy texture and prevent them from becoming chewy or soft.
Now that you have perfectly roasted pumpkin seeds, it’s time to take them to the next level by grinding them into a fine powder. Join us in the next section as we explore this crucial step in the process of making pumpkin seed oil.
To make pumpkin seed oil, roast the seeds at 350°F for 20 minutes, then press them to extract the oil. Store in a cool, dark place to maintain freshness.
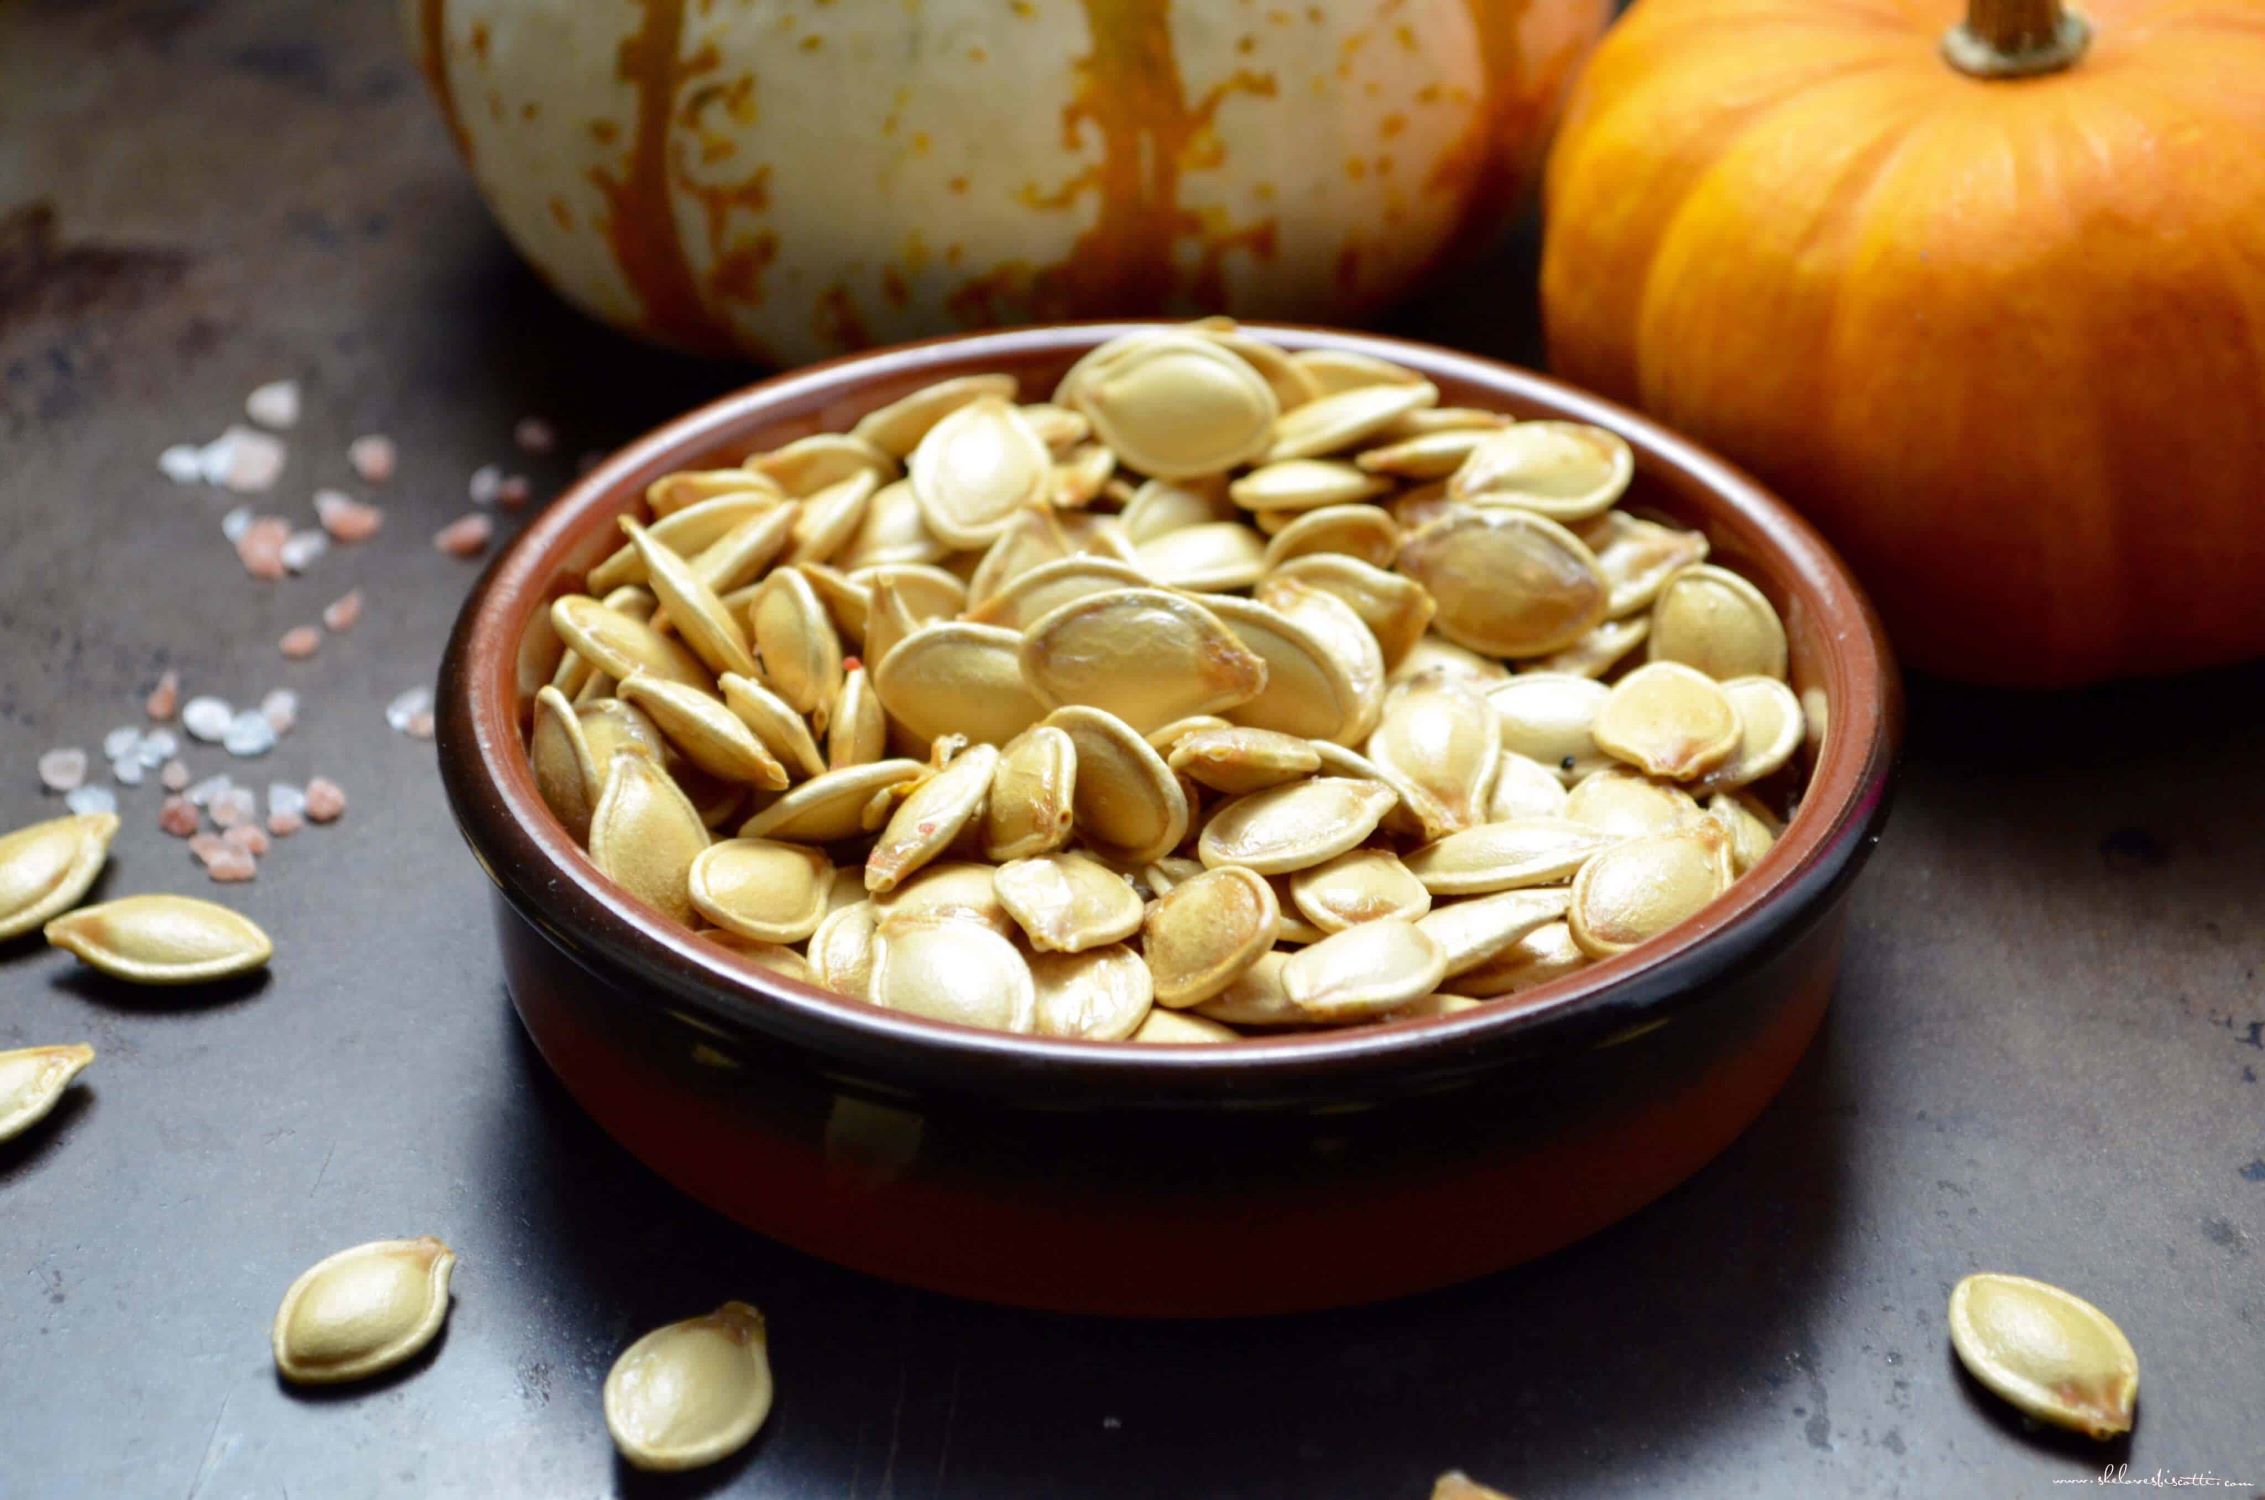
Grinding the Roasted Seeds
After roasting the pumpkin seeds to perfection, the next step in making pumpkin seed oil is to grind them into a fine powder. This grinding process helps release the oils trapped within the seeds, allowing for easier extraction during the pressing stage. Here’s how you can grind the roasted pumpkin seeds:
- Preparing the grinder: Use a food processor or a coffee grinder to grind the roasted pumpkin seeds. Make sure the grinder is clean and dry before starting.
- Small batches: It’s best to grind the pumpkin seeds in small batches to ensure even and consistent results. Overloading the grinder may lead to uneven grinding or even damage the equipment.
- Addition of liquid (optional): If desired, you can add a small amount of liquid, such as water or oil, to the grinder. This can help lubricate the seeds and aid in the grinding process. However, be cautious not to add too much liquid, as it may create a paste instead of a powder.
- Pulsing and grinding: Start by pulsing the grinder a few times to break the pumpkin seeds into smaller pieces. Then, continue grinding until you achieve a fine powder consistency. You may need to scrape down the sides of the grinder periodically to ensure all the seeds are evenly ground.
- Checking the texture: Stop grinding periodically to check the texture of the powder. It should be fine and powdery, similar to a smooth flour-like consistency. Avoid over-grinding, as this can release too much oil and make the powder clumpy.
Once you have ground the roasted pumpkin seeds into a fine powder, it’s time to move on to the pressing stage, where you will extract the precious pumpkin seed oil. Join us in the next section to learn about the art of pressing the seeds to obtain this flavorful oil.
Read more: How To Take Pumpkin Seed Oil For Prostate
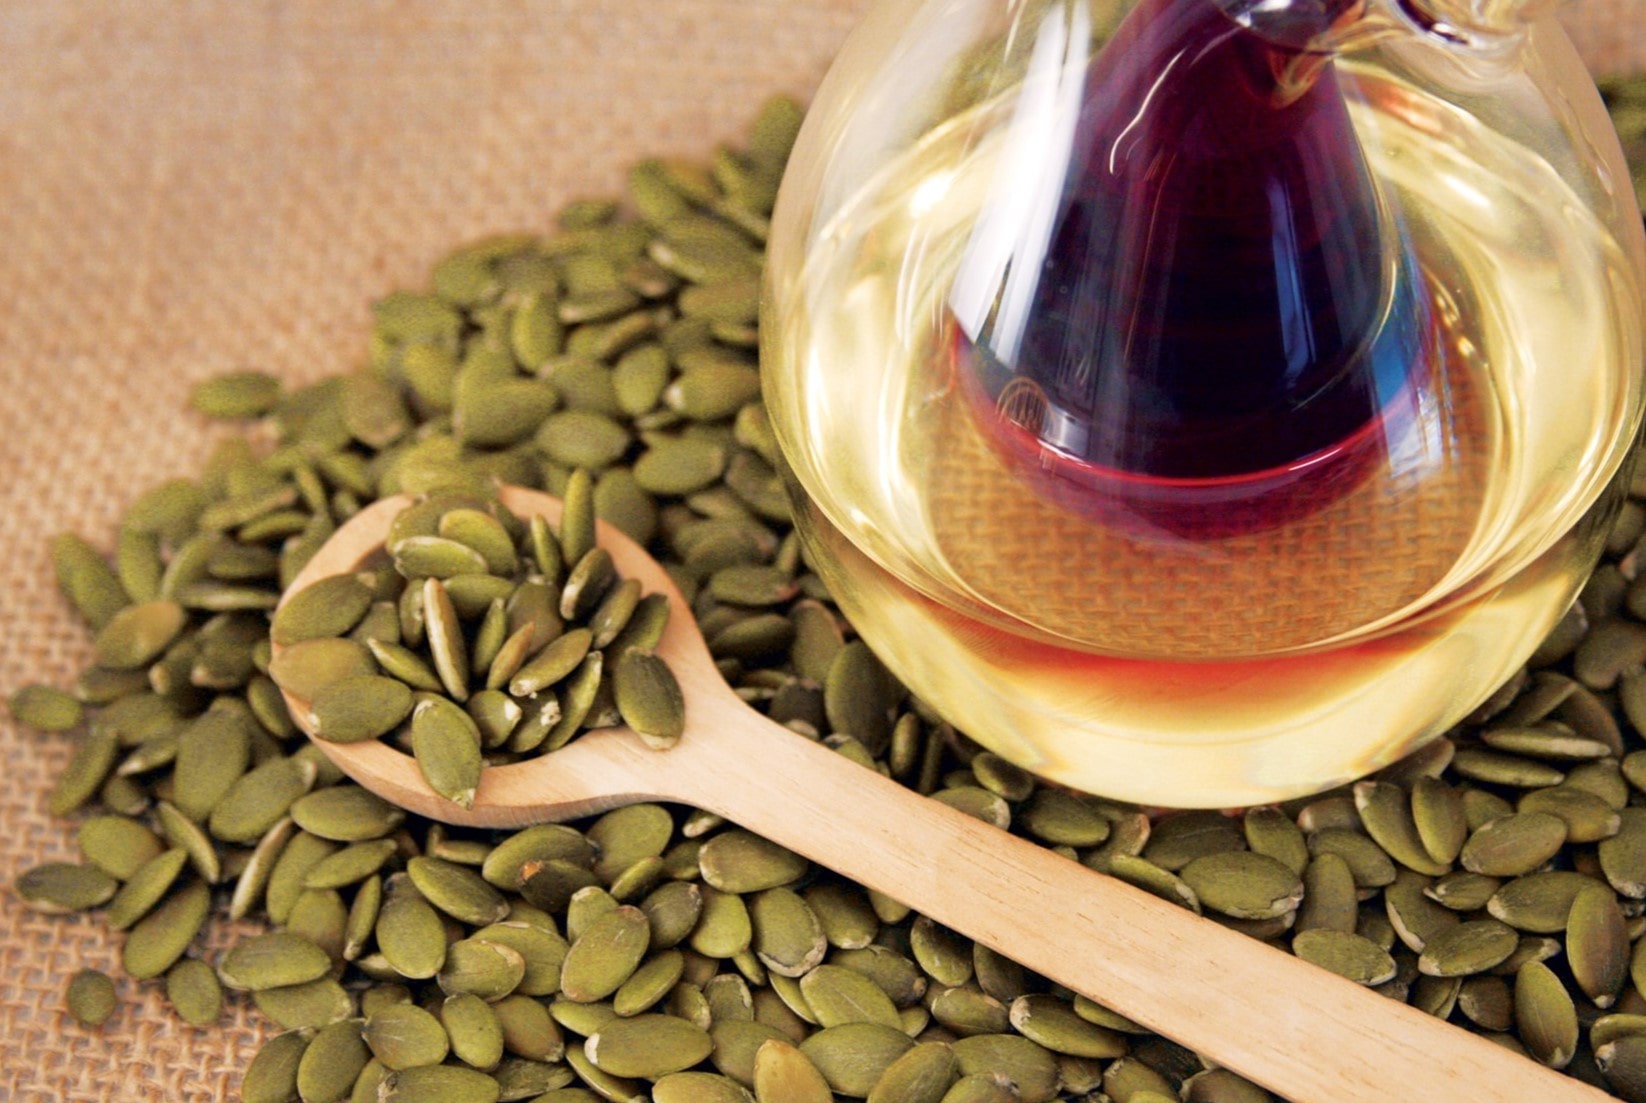
Pressing the Seeds to Extract Oil
The pressing stage is a crucial step in making pumpkin seed oil, as it involves extracting the valuable oil from the ground seeds. This process requires a press, which utilizes mechanical force to squeeze out the oil. Follow these steps to successfully press the pumpkin seeds:
- Set up the press: Start by setting up your oil press according to the manufacturer’s instructions. Make sure it is clean and in proper working condition.
- Preheating the press (optional): Some oil presses require preheating to optimize the extraction process. Check the instructions and preheat the press if necessary.
- Fill the press: Transfer the ground pumpkin seed powder into the press. Ensure that the press is filled evenly, but avoid overcrowding to allow for efficient oil extraction.
- Pressing the seeds: Operate the press according to the instructions provided. Apply gentle and steady pressure to the ground seeds, allowing the press to gradually extract the oil. This may take some time, so be patient and monitor the process closely.
- Collecting the oil: As the press extracts the oil, it will flow out of the press into a collection container. Use a clean, sterilized container to capture the precious pumpkin seed oil.
- Straining the oil: After pressing, strain the oil to remove any remaining sediment or impurities. A fine-mesh strainer or cheesecloth can be used for this purpose.
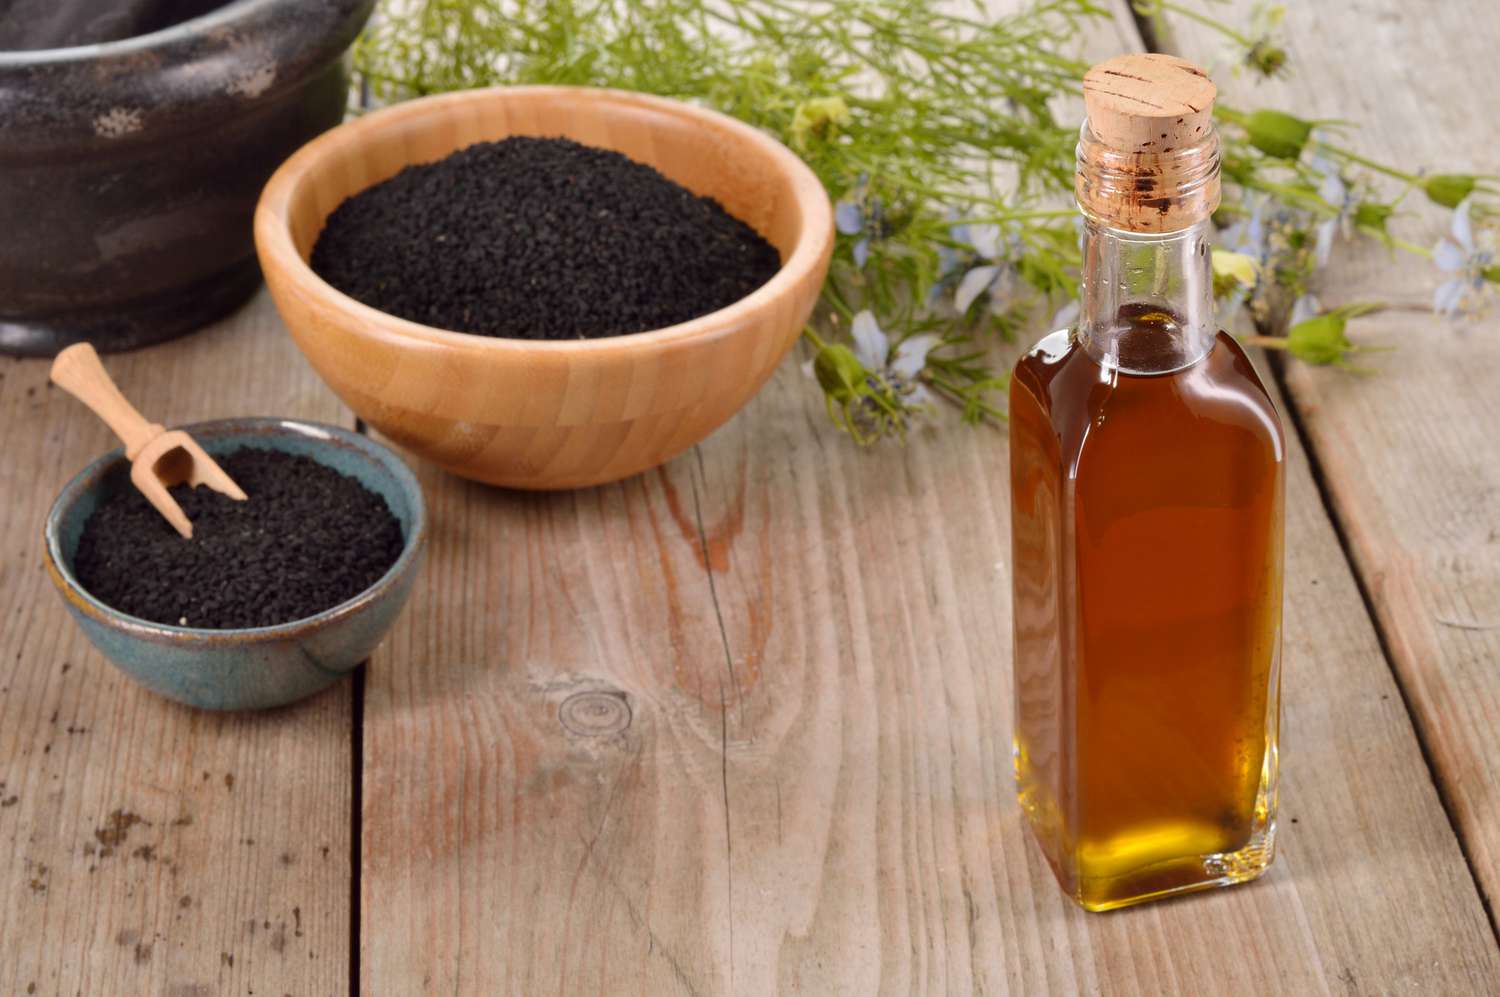
- Allow the oil to settle: Transfer the strained pumpkin seed oil into a clean glass jar or bottle. Let it sit for a few days to allow any sediments to settle at the bottom.
Congratulations! You have successfully pressed the pumpkin seeds and obtained your homemade pumpkin seed oil. However, before enjoying the oil, there is one final step to ensure its purity and clarity – filtering.
Join us in the next section to learn about the importance of filtering and how to properly store your pumpkin seed oil.
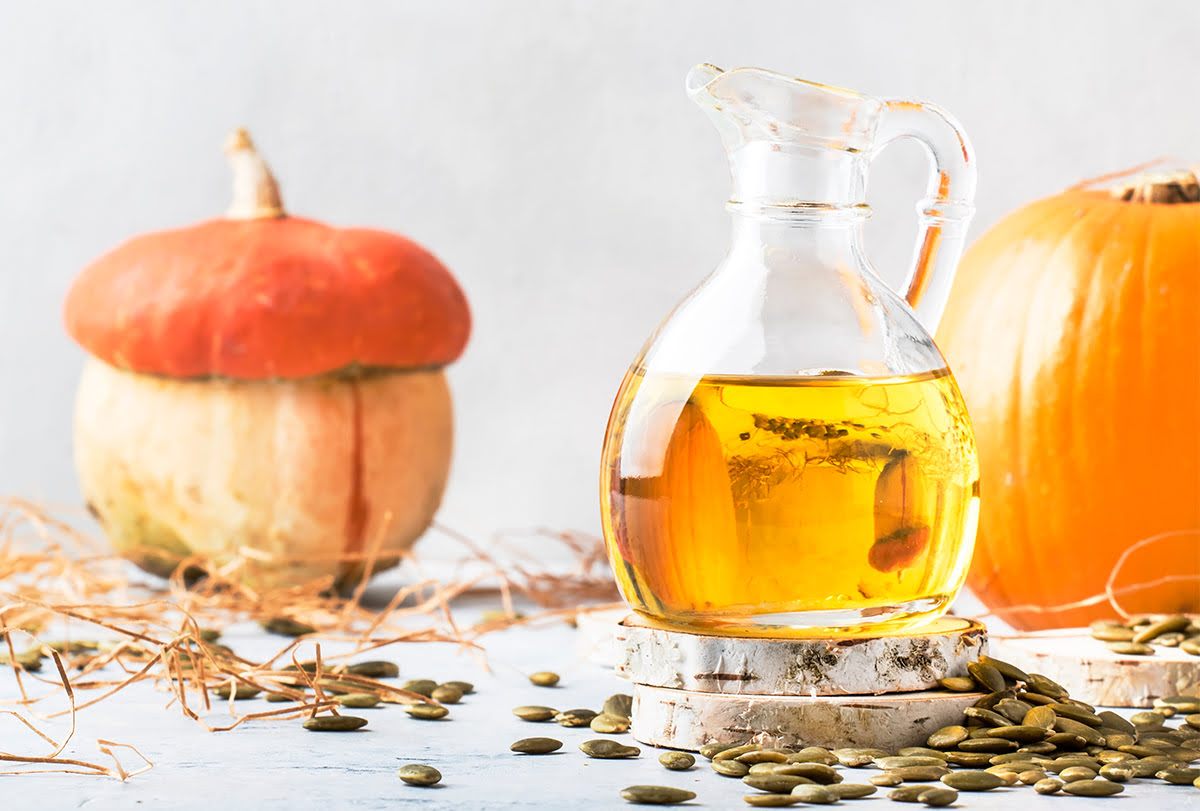
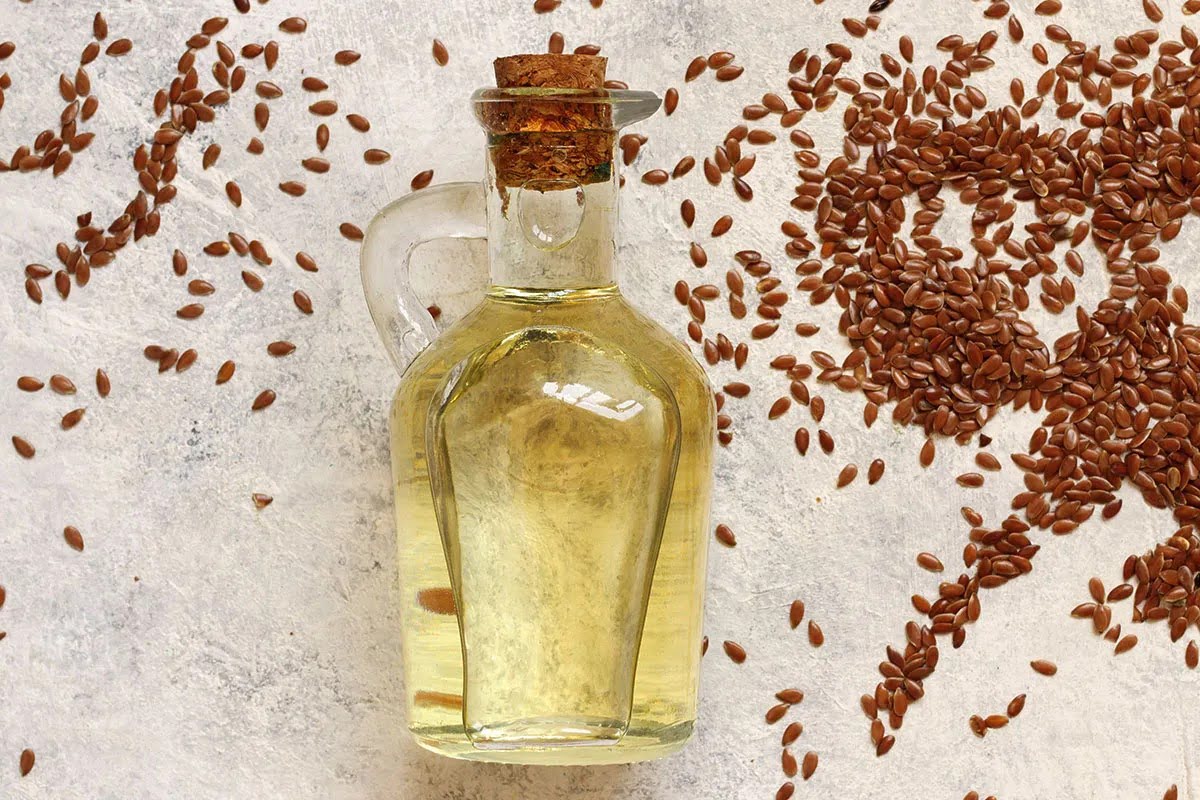
Filtering and Storing the Pumpkin Seed Oil
Filtering the pumpkin seed oil is a crucial step to remove any remaining impurities or sediment that may affect its taste and clarity. Additionally, proper storage is essential to maintain the oil’s freshness and quality. Follow these steps to filter and store your pumpkin seed oil:
- Filtering: Use a fine-mesh strainer or cheesecloth to filter the pumpkin seed oil. Place the strainer over a clean container and slowly pour the oil through it. This will help remove any remaining solids or impurities.
- Repeat if necessary: Depending on the level of sediment, you may need to repeat the filtering process to ensure a clearer and purer oil. This step is especially important if there are visible particles in the oil.
- Bottling the oil: Transfer the filtered pumpkin seed oil into clean, sterilized glass bottles or jars. Use a funnel to minimize spillage and ensure the containers are tightly sealed to prevent air exposure.
- Labeling and dating: It’s essential to label each bottle with the date of extraction to monitor its shelf life. Additionally, consider including any special notes or instructions, such as storage recommendations or suggested uses.
- Storage: Proper storage is essential to preserve the freshness and quality of the pumpkin seed oil. Store the bottles in a cool, dark place away from direct sunlight and heat sources. Ideally, the temperature should be around 50°F to 68°F (10°C to 20°C) to maintain the oil’s flavor and nutritional properties.
- Shelf life: Homemade pumpkin seed oil can generally last up to one year if stored properly. However, it’s recommended to use it within six months to enjoy the optimal flavor and nutritional benefits.
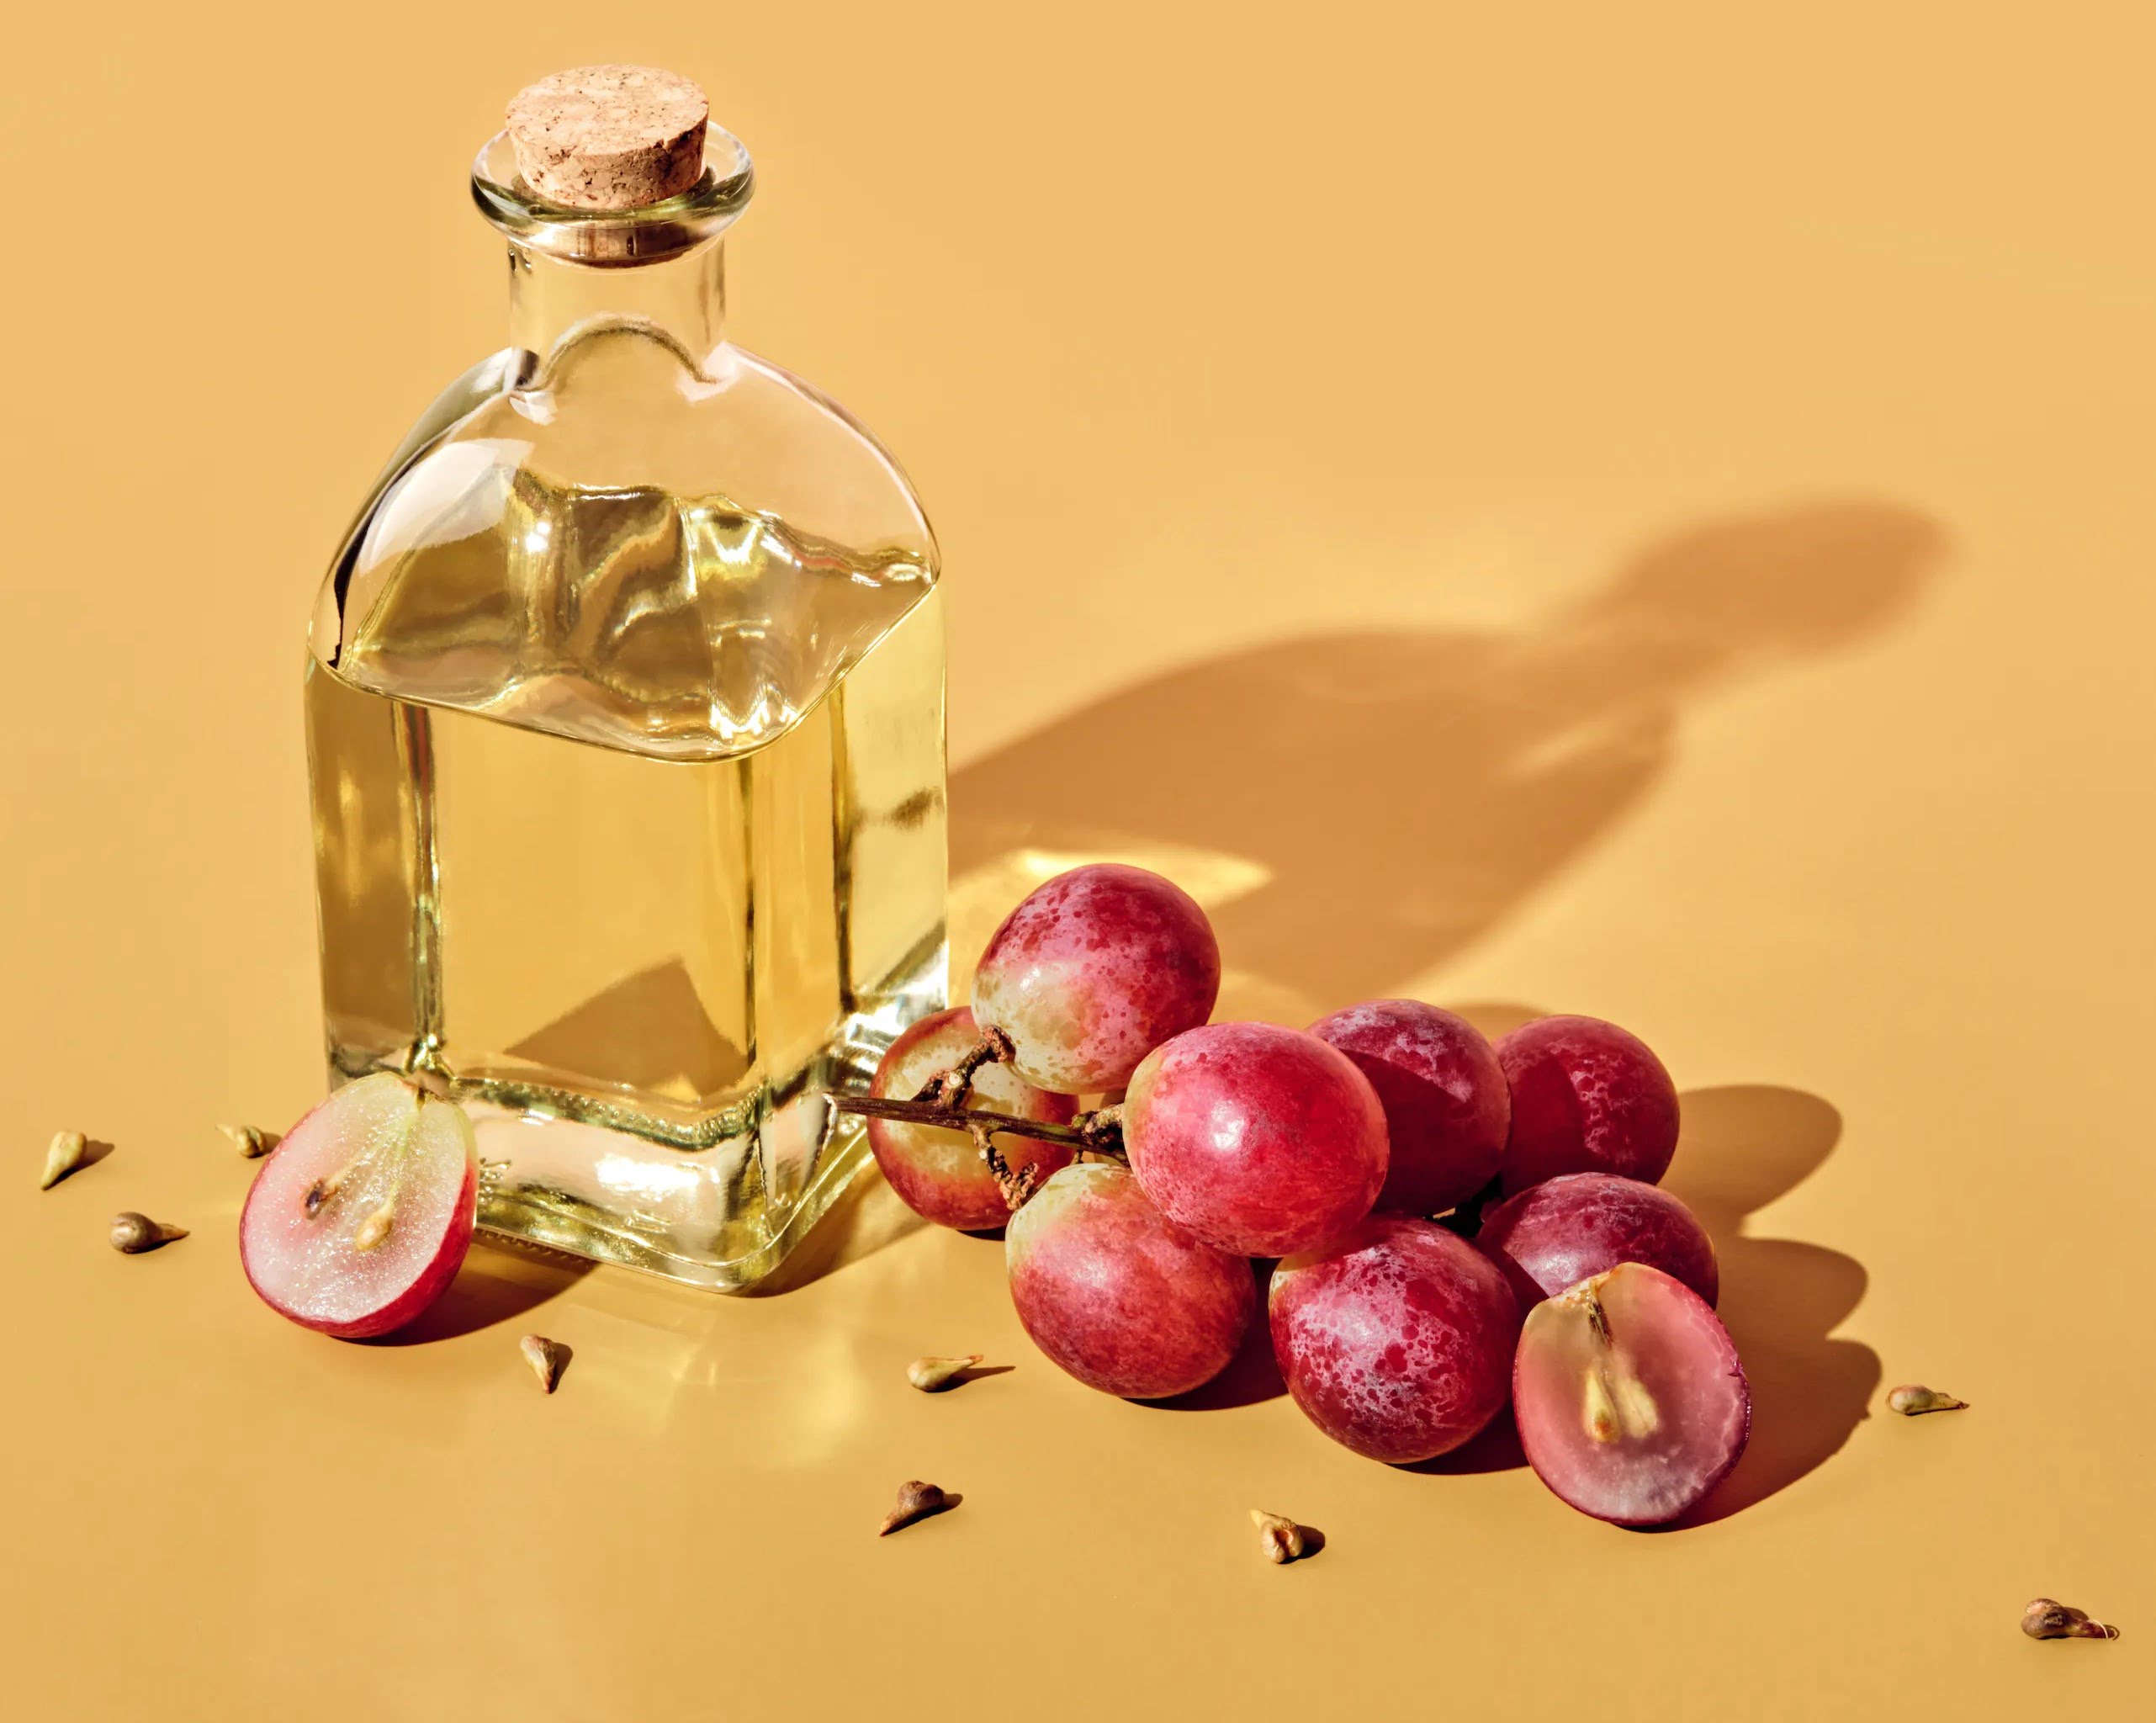
- Usage: Pumpkin seed oil is best enjoyed as a finishing oil drizzled over salads, soups, roasted vegetables, or even used as a dip for bread. It adds a rich, nutty flavor and is a delightful addition to various culinary creations.
Now that you have successfully filtered and stored your homemade pumpkin seed oil, it’s time to savor the delicious flavor and reap the health benefits it offers. Enjoy the fruits of your labor and share your culinary creations with family and friends!
Remember, making pumpkin seed oil is not only a rewarding experience, but it also allows you to enjoy the freshness and uniqueness of homemade culinary delights. So, have fun experimenting with different dishes and discover how this “green gold” can elevate your cooking to new heights.
Happy cooking and enjoy your fresh, homemade pumpkin seed oil!
Conclusion
Congratulations! You have reached the end of your journey into the world of homemade pumpkin seed oil. By following the steps outlined in this guide, you have learned how to choose the right pumpkin, harvest and prepare the seeds, roast and grind them, and extract the flavorful oil through pressing. Additionally, you have gained insights into the importance of proper filtering and storage to maintain the oil’s quality and freshness.
Making pumpkin seed oil from scratch offers a rewarding experience that allows you to savor the unique flavors and reap the health benefits of this culinary treasure. The rich, nutty taste and vibrant green color of the oil can elevate a wide range of dishes, from salads and soups to roasted vegetables and dips.
Not only is homemade pumpkin seed oil a delicious addition to your cooking repertoire, but it also provides numerous health benefits. It is packed with essential nutrients such as vitamins, minerals, and antioxidants, and is believed to support heart health, boost immune function, promote healthy skin, and aid in digestion.
Remember, the key to success in making pumpkin seed oil lies in choosing the right pumpkins, properly preparing and roasting the seeds, grinding them into a fine powder, and using a press to extract the precious oil. Take your time, enjoy the process, and experiment with different flavors and seasonings to create unique variations of this delightful oil.
Whether you plan to use pumpkin seed oil for cooking, salad dressings, or simply as a healthy and flavorful finishing oil, the satisfaction of enjoying homemade goodness cannot be matched.
So, go ahead and share your homemade pumpkin seed oil with family and friends, and impress them with your culinary skills and knowledge. Embrace the journey into the world of green gold and let the authentic taste and health benefits of this remarkable oil shine in your kitchen.
Happy cooking and may your adventures with homemade pumpkin seed oil be filled with delight and flavor!
Frequently Asked Questions about How To Make Pumpkin Seed Oil
Was this page helpful?
At Storables.com, we guarantee accurate and reliable information. Our content, validated by Expert Board Contributors, is crafted following stringent Editorial Policies. We're committed to providing you with well-researched, expert-backed insights for all your informational needs.

0 thoughts on “How To Make Pumpkin Seed Oil”