Home>Garden Essentials>How To Sprout Onion Seeds

Garden Essentials
How To Sprout Onion Seeds
Modified: August 17, 2024
Learn how to sprout onion seeds in your garden and enjoy the benefits of fresh, homegrown onions. Follow these simple steps for a successful onion sprouting process.
(Many of the links in this article redirect to a specific reviewed product. Your purchase of these products through affiliate links helps to generate commission for Storables.com, at no extra cost. Learn more)
Introduction
Welcome to our comprehensive guide on how to sprout onion seeds! If you’re a gardening enthusiast looking to add a unique touch to your homegrown produce, sprouting onion seeds is a fantastic way to do so. Not only does it offer a sense of satisfaction and accomplishment, but it also allows you to enjoy the delicious flavor and nutritional benefits of fresh sprouted onions.
Sprouting onion seeds might seem like a daunting task, but with the right materials, methods, and care, it can be a fun and rewarding experience. In this guide, we will take you through each step of the process, from gathering the necessary materials to harvesting your sprouted onion seeds. So, let’s dive in!
But before we get started, let’s briefly discuss why you should consider sprouting onion seeds. Sprouting onions offer a myriad of benefits, both in terms of taste and health. When onions sprout, they undergo a transformation where complex carbohydrates are converted into simpler sugars, making them sweeter in taste. Additionally, sprouting onions are packed with essential nutrients, vitamins, minerals, and antioxidants, making them a valuable addition to salads, sandwiches, and a variety of culinary creations.
Now that you understand the importance and benefits of sprouting onion seeds, let’s move on to the first step: gathering the necessary materials.
Key Takeaways:
- Sprouting onion seeds offers sweet, nutrient-packed onions for delicious culinary creations. Gather materials, choose a sprouting method, and provide care for a successful harvest.
- Enjoy the rewarding process of sprouting onion seeds to savor the unique flavor and nutritional benefits of homegrown sprouted onions. Follow steps for a successful harvest and culinary delight!
Read more: How Long For Seeds To Sprout
Step 1: Gathering the necessary materials
Before you embark on your onion seed sprouting journey, you’ll need to gather a few essential materials. Fortunately, these materials are easily accessible and affordable, making it convenient for anyone interested in trying their hand at sprouting onion seeds. Here’s what you’ll need:
- Onion seeds: The first item on your list is, of course, the onion seeds themselves. You can find onion seeds at your local garden center or order them online. It’s best to choose seeds that are fresh, high-quality, and specifically labeled for sprouting.
- Seed tray or container: Next, you’ll need a seed tray or container to sow the onion seeds. Opt for a tray or container that has drainage holes to prevent water from pooling.
- Potting soil or seedling mix: To provide the ideal growing environment for your onion seeds, you’ll need potting soil or a seedling mix. Look for a mix that is well-draining and rich in organic matter.
- Water spray bottle: A water spray bottle will come in handy for maintaining the moisture levels needed for successful sprouting. It allows you to water the seeds without disturbing them.
- Label or markers: Keeping track of the different onion varieties and sprouting dates is important. Use labels or markers to identify and date the trays or containers.
- Plastic wrap or humidity dome: To create a humid environment for the sprouting seeds, cover the tray or container with plastic wrap or use a humidity dome specifically designed for seedling germination.
- Light source: While not absolutely necessary, providing adequate light during the sprouting process can help the seedlings develop strong stems. Natural sunlight or a fluorescent grow light can be used.
Now that you have gathered all the necessary materials, you are ready to move on to the next step, which involves preparing the onion seeds for sprouting.
Step 2: Preparing the onion seeds for sprouting
Preparing your onion seeds properly before sprouting is crucial for successful germination. Follow these steps to ensure your seeds are primed and ready for the sprouting process:
- Sorting: Start by sorting through your onion seeds and remove any damaged or discolored seeds. This will help increase the chances of healthy sprouting.
- Soaking: Soaking the onion seeds before sprouting can help speed up the germination process. Fill a small bowl with room temperature water and add the seeds. Allow them to soak for about 12-24 hours to soften the seed coat and promote faster sprouting.
- Draining and drying: After the soaking period, drain the water from the bowl and transfer the seeds onto a paper towel or a clean cloth. Gently pat them dry to remove any excess moisture. Avoid rubbing or damaging the seeds during this process.
- Pre-sprouting (optional): If you want to give your onion seeds a head start, you can opt for pre-sprouting. Place the damp seeds between two damp paper towels in a sealed plastic bag and store it in a warm location. Check regularly for signs of sprouting, and once you see small sprouts emerging, you can proceed to the next step.
By properly preparing your onion seeds, you are paving the way for healthy and robust sprouts. Once your seeds are prepared, it’s time to move on to the next step: choosing the right sprouting method.
Step 3: Choosing the right sprouting method
When it comes to sprouting onion seeds, you have a couple of options to choose from. The method you select will depend on your preferences, available space, and resources. Here are two commonly used sprouting methods:
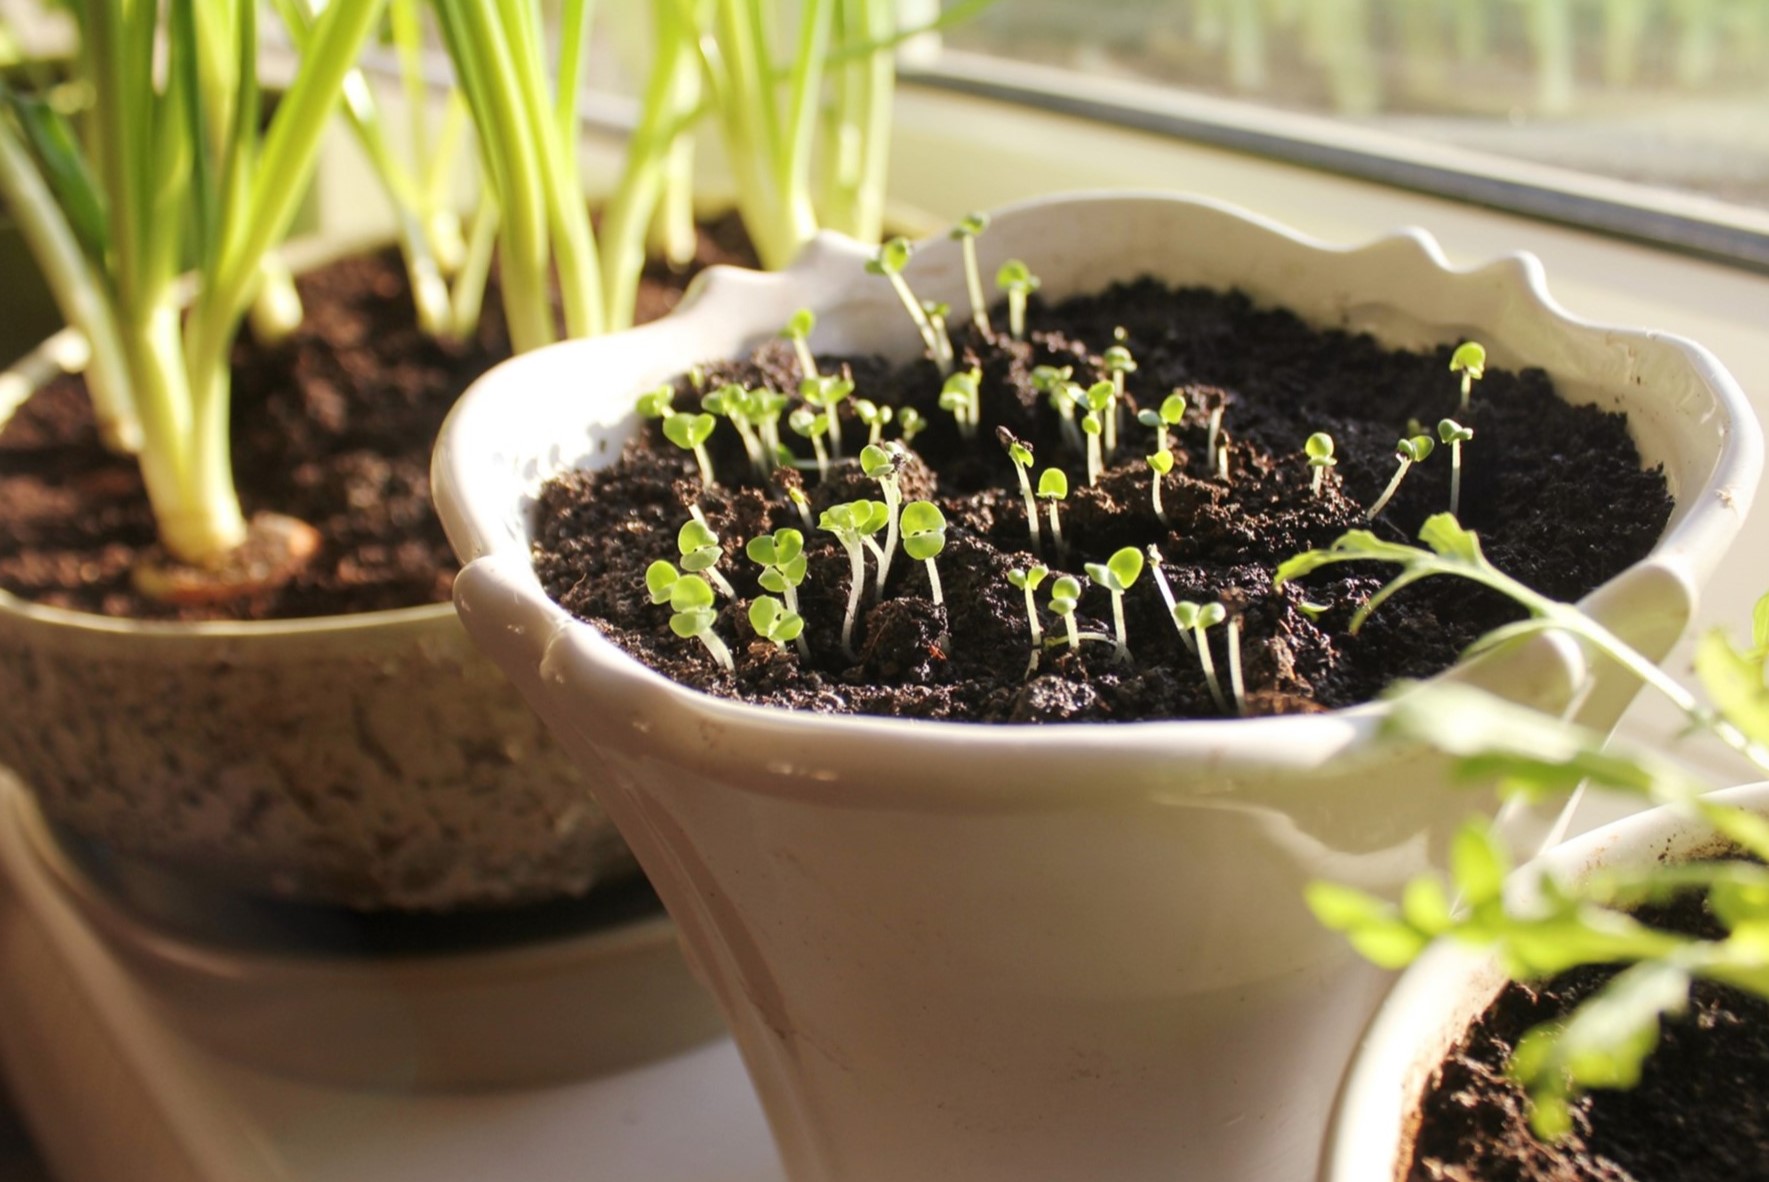
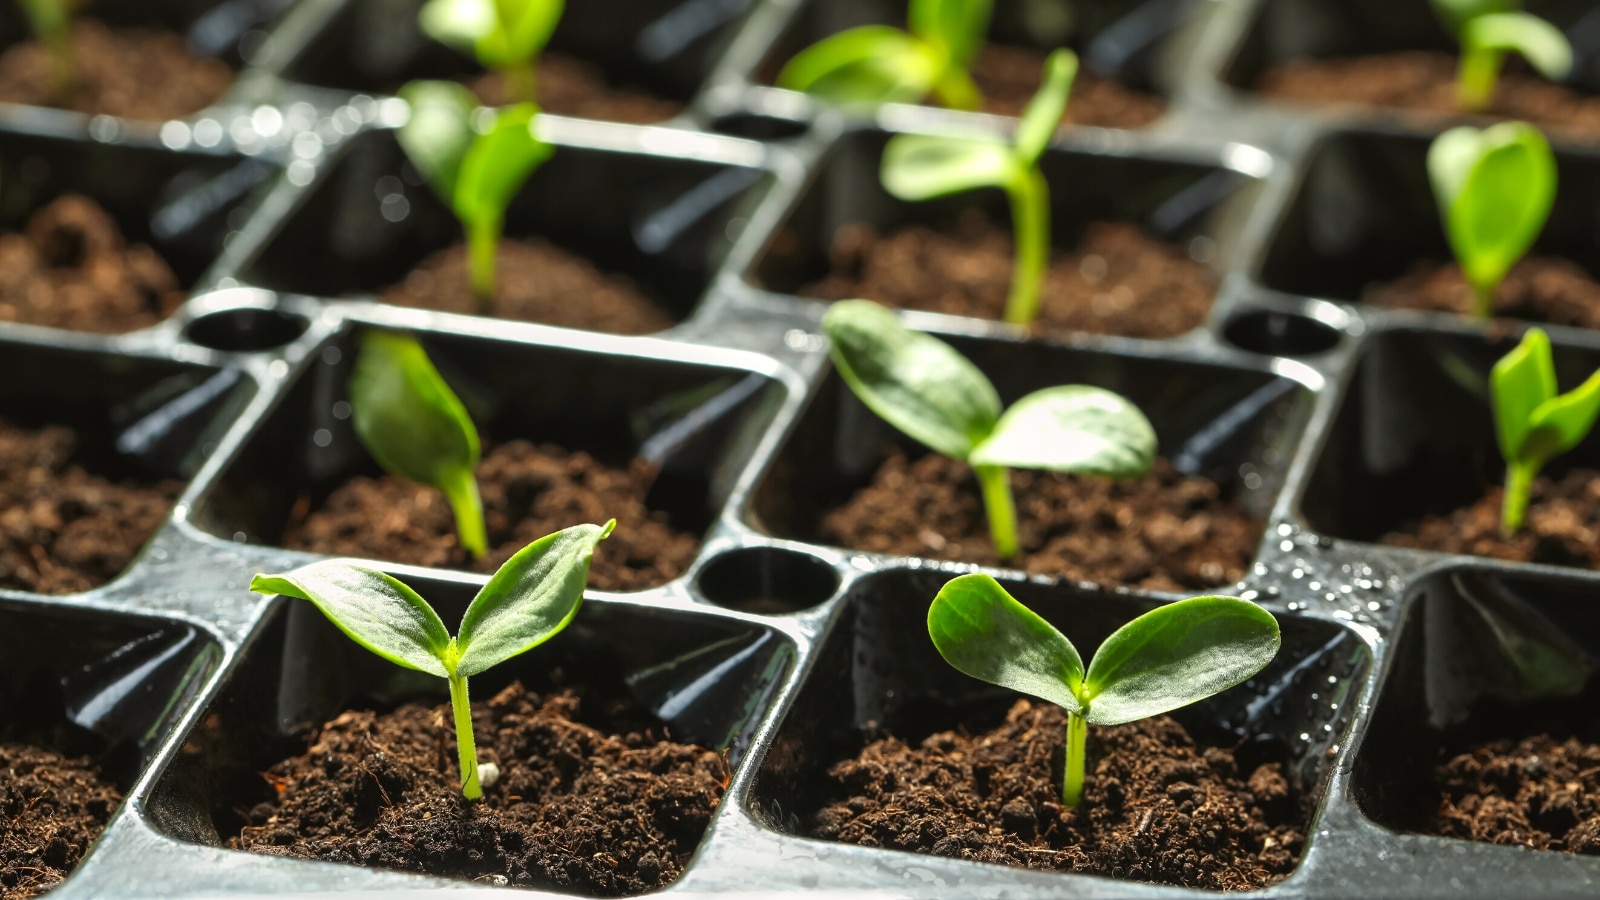
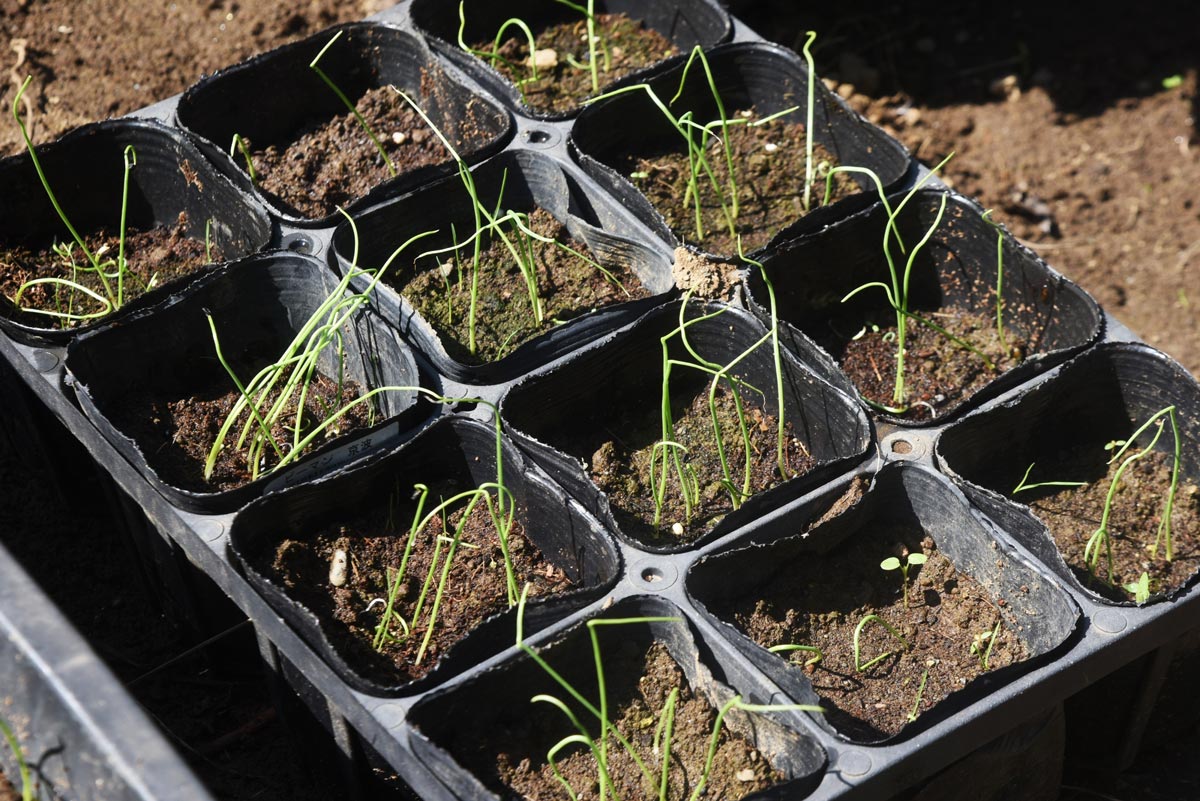
- Tray or container sprouting: This method involves sowing the onion seeds directly into a seed tray or container filled with potting soil or seedling mix. Make sure the tray or container has drainage holes to prevent waterlogging. Spread the seeds evenly across the surface and lightly press them into the soil. Cover the tray or container with plastic wrap or a humidity dome to create a humid environment and promote germination.
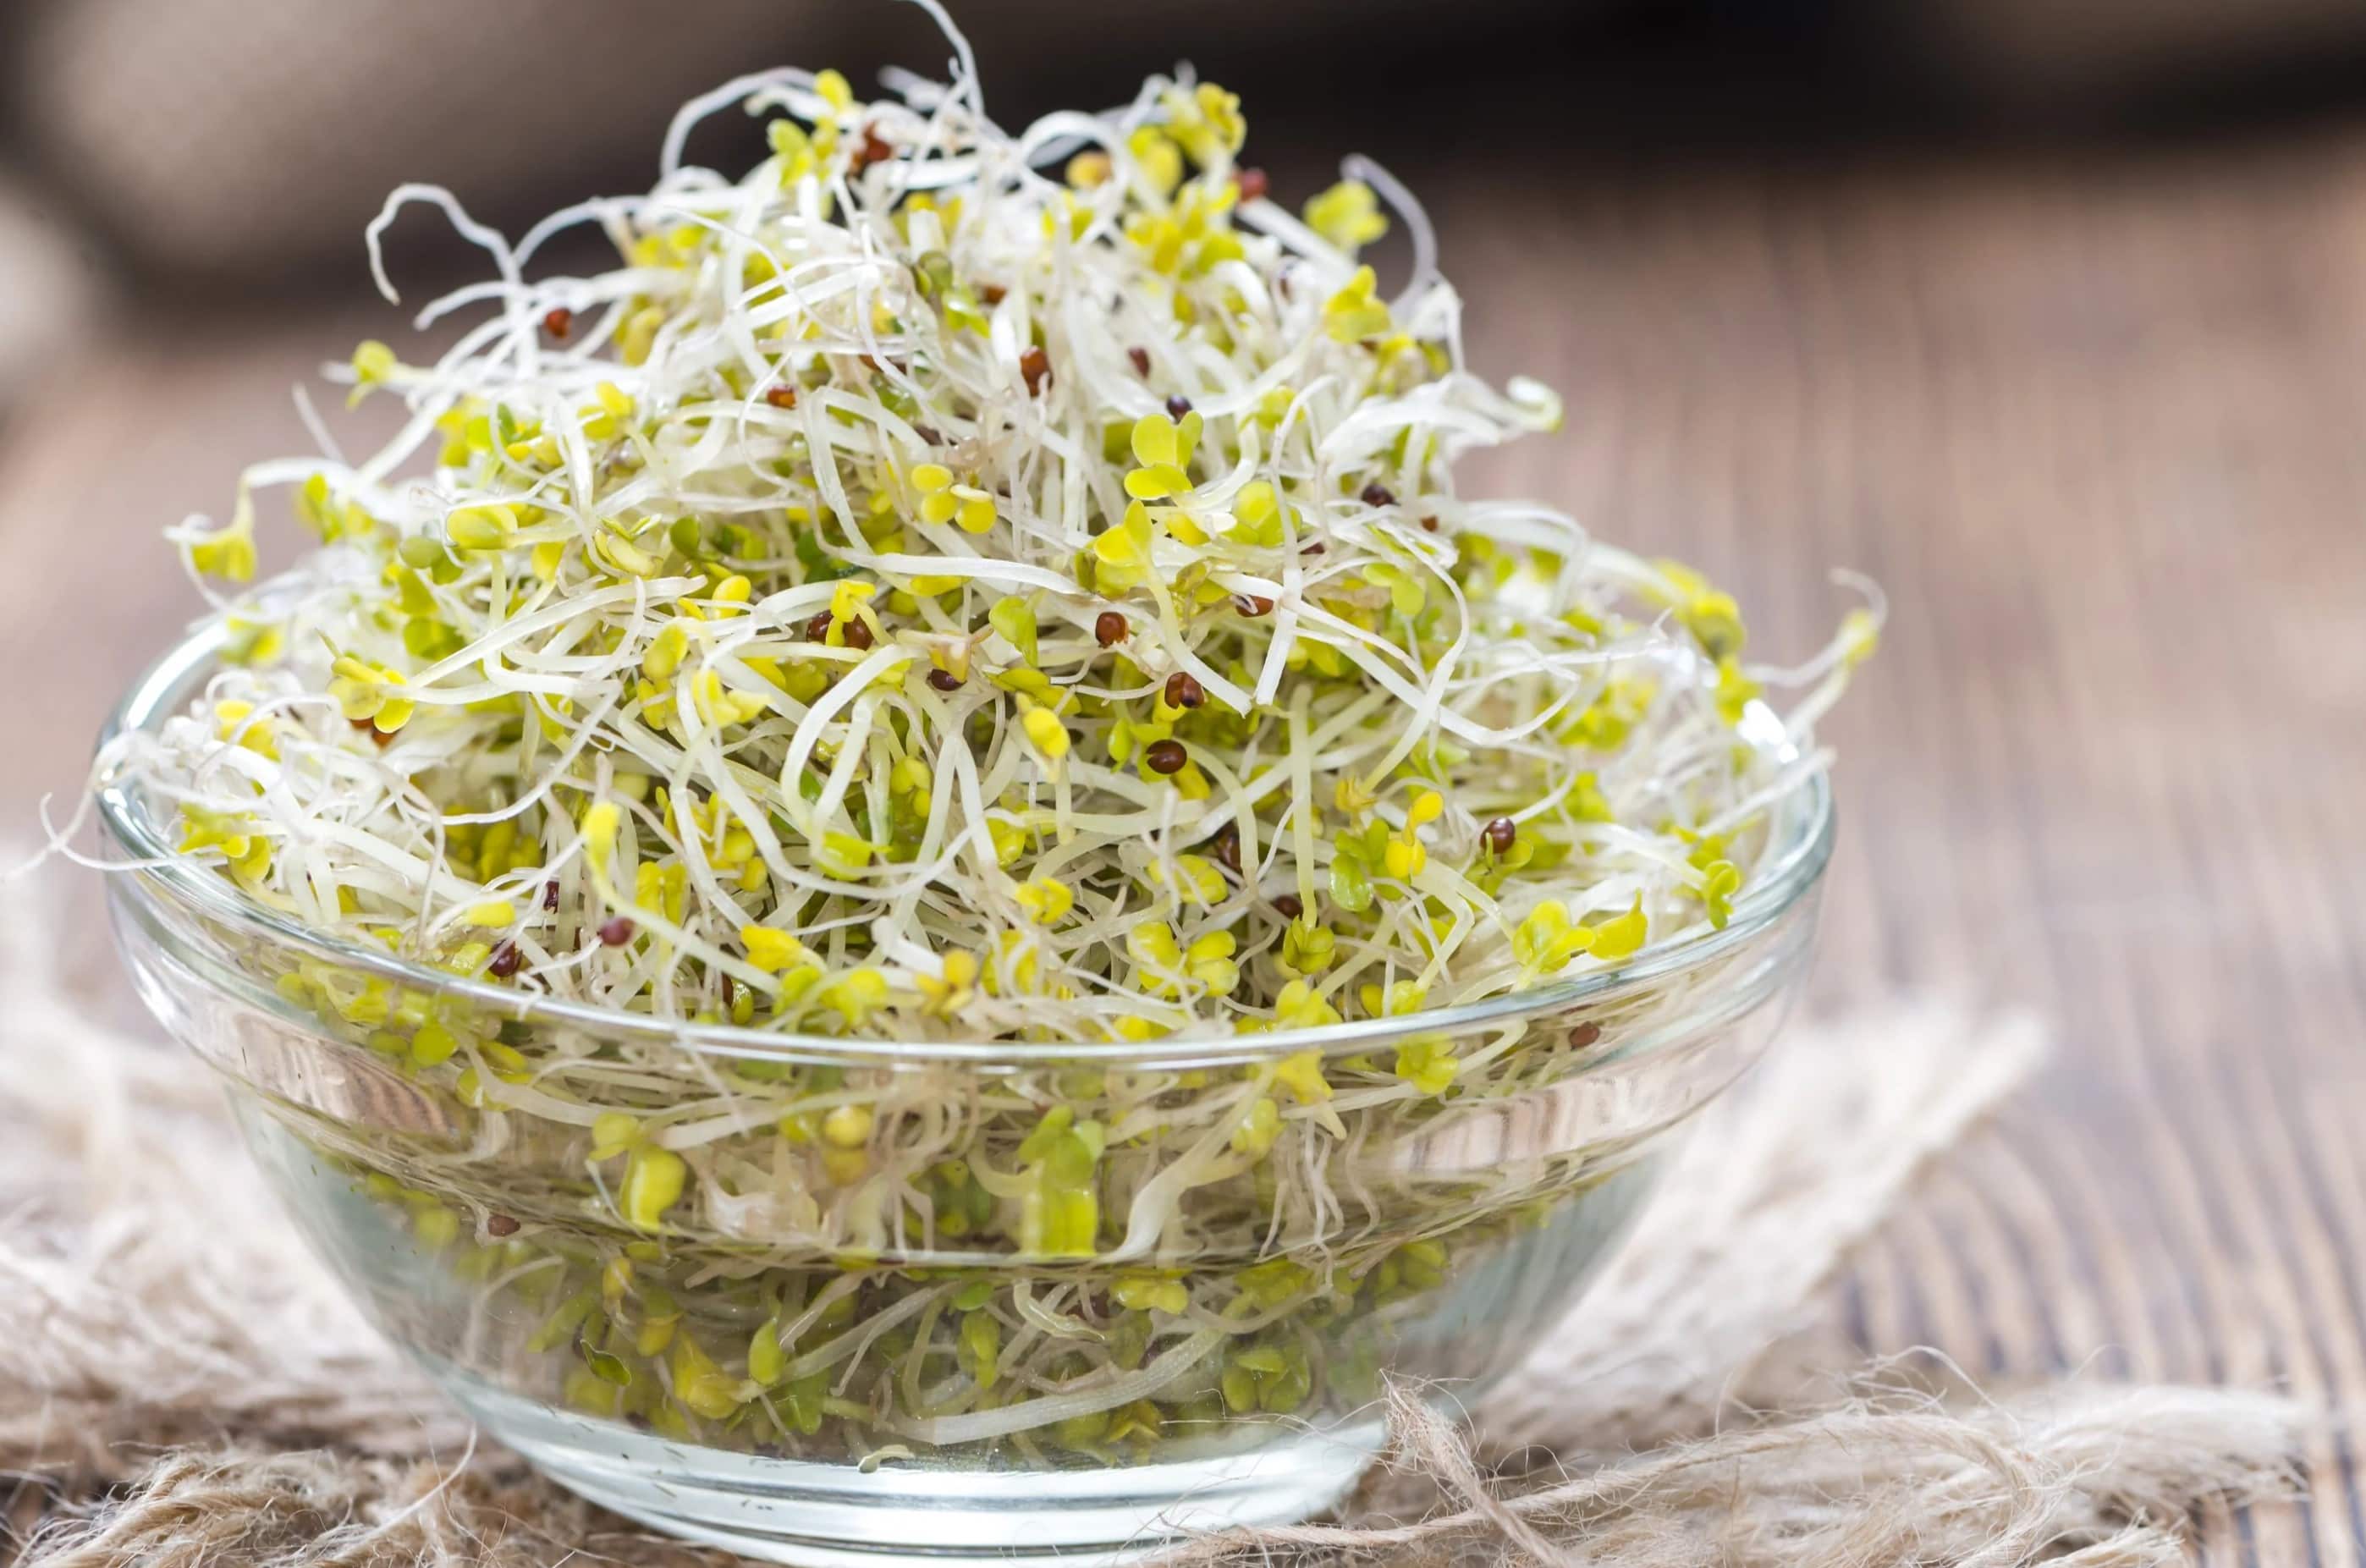
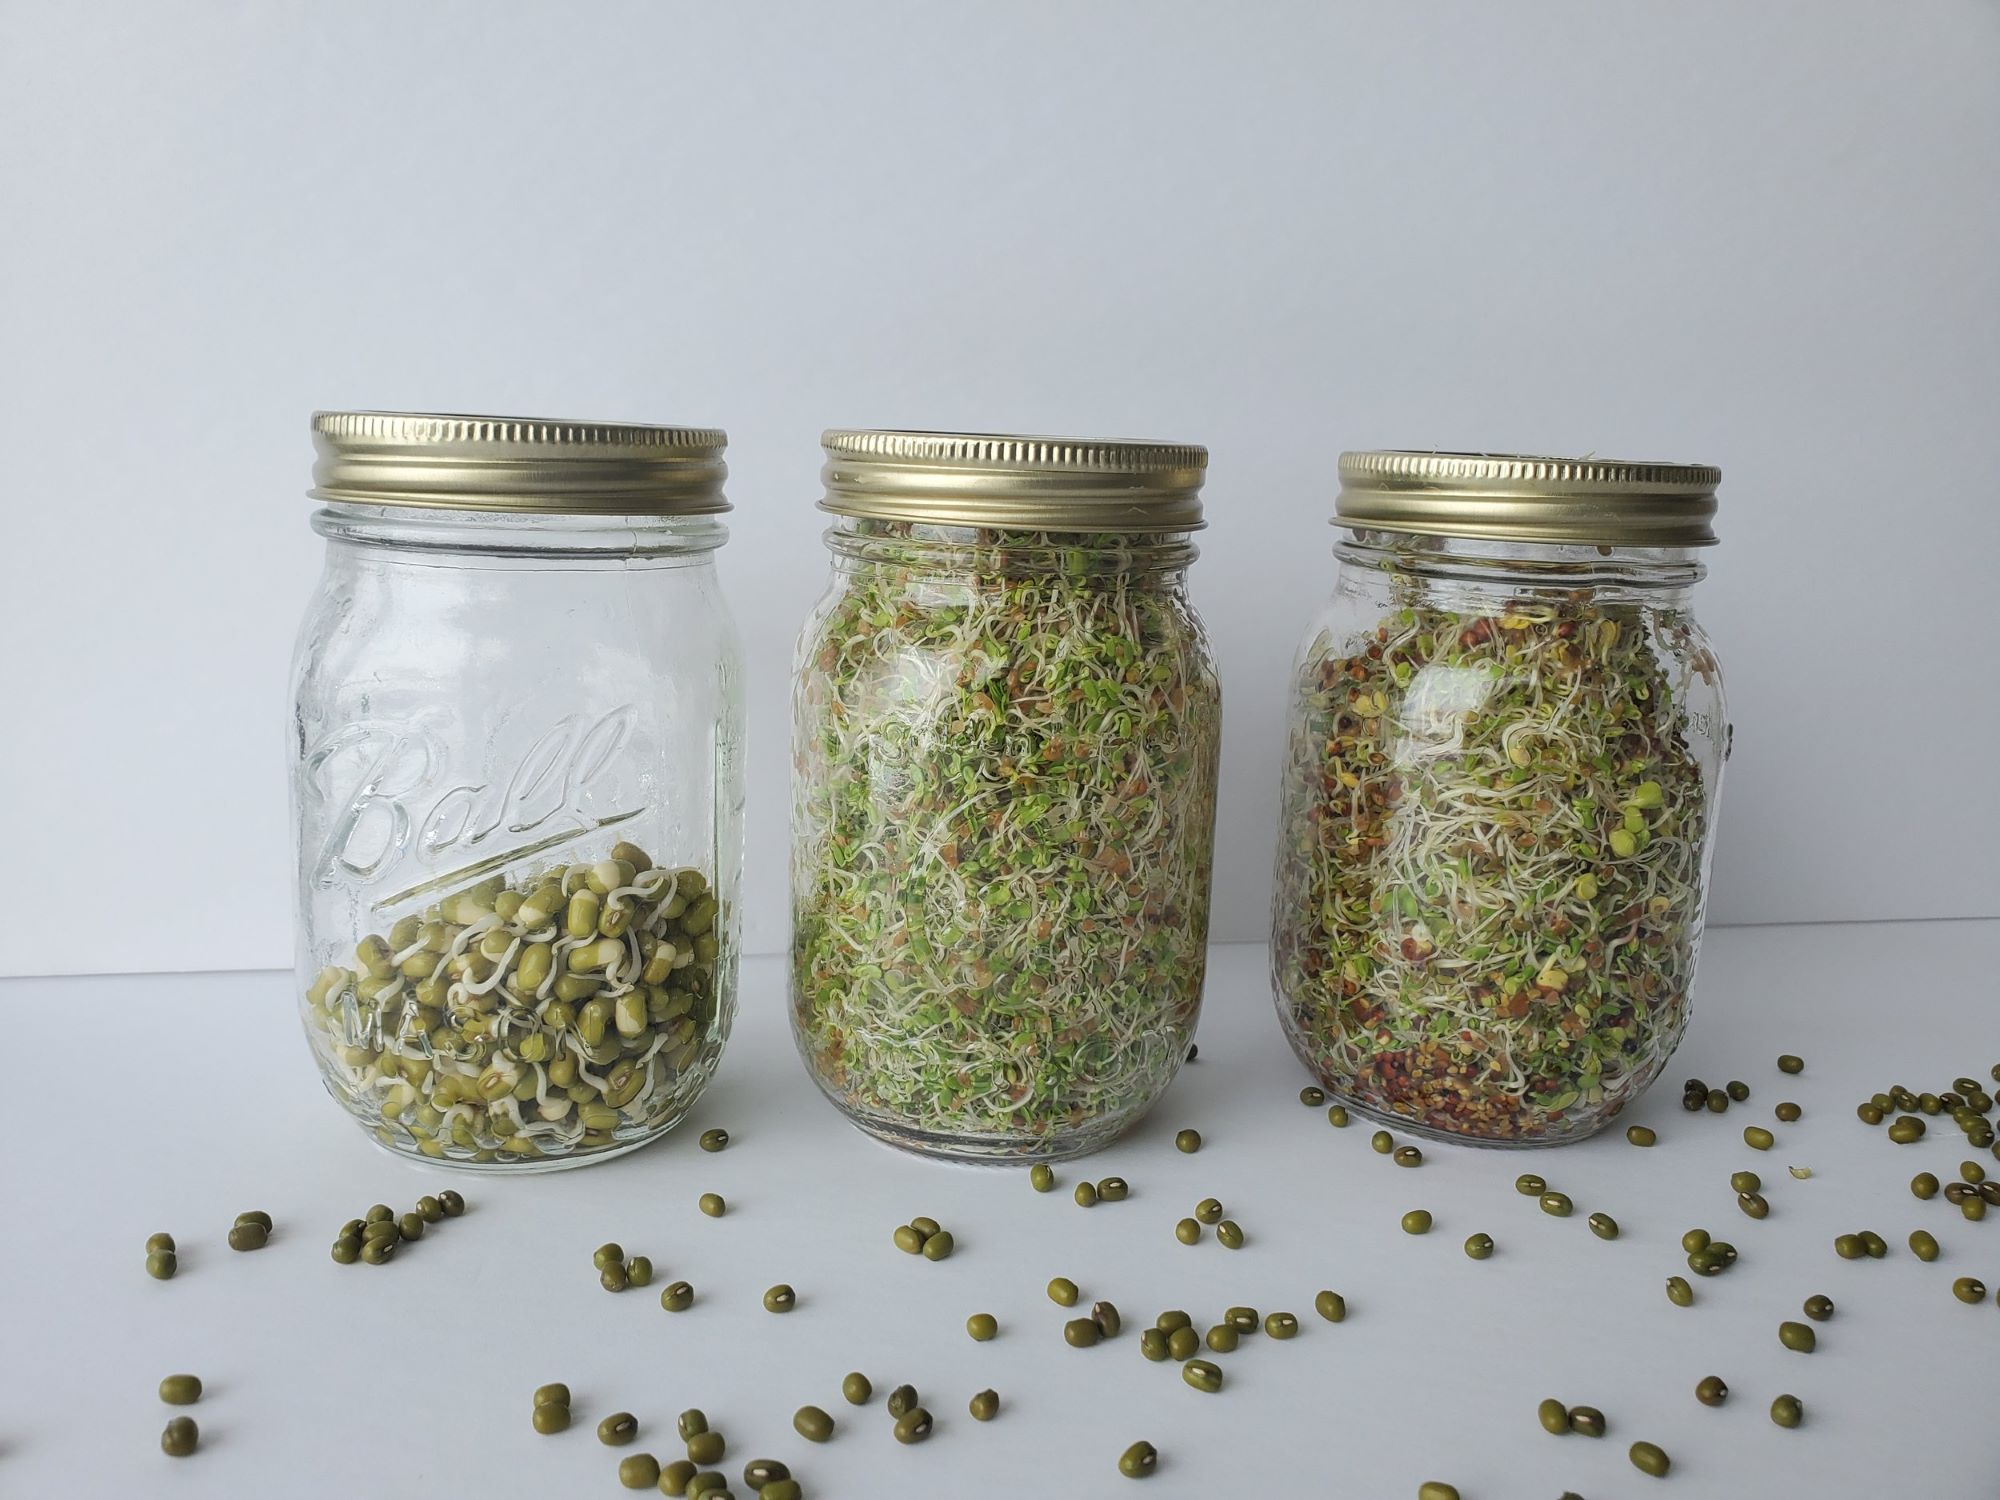
- Jar sprouting: If you prefer a more compact and easily manageable method, jar sprouting is a great option. Take a clean glass jar and add enough water to cover the bottom. Place a mesh or cloth over the jar opening and secure it with a rubber band. Pour the soaked and drained onion seeds onto the mesh or cloth, ensuring they are spread out evenly. Rinse the seeds once or twice a day, making sure to drain out the excess water each time. The mesh allows the seeds to breathe and avoids water accumulation.
Both methods have their advantages and can yield successful sprouting results. Choose the method that suits your needs and preferences best. Keep in mind that adequate moisture, warmth, and proper ventilation are essential for sprouting success.
Now that you’ve chosen your sprouting method, it’s time to move on to the next step: actually sprouting the onion seeds. Let’s dive in!
To sprout onion seeds, start them indoors in a seed tray filled with potting soil. Keep the soil moist and place the tray in a warm, sunny spot. Once the seeds sprout, transplant them into individual pots or into the garden.
Step 4: Sprouting the onion seeds
Now that you have selected your sprouting method, it’s time to begin the sprouting process. Follow these steps to sprout your onion seeds:
- Tray or container sprouting:
- Place the seeded tray or container in a warm location, preferably with temperatures between 70-85°F (21-29°C).
- Keep the soil evenly moist, but not soggy. Use a water spray bottle to mist the soil regularly, ensuring that it stays moist throughout the germination period.
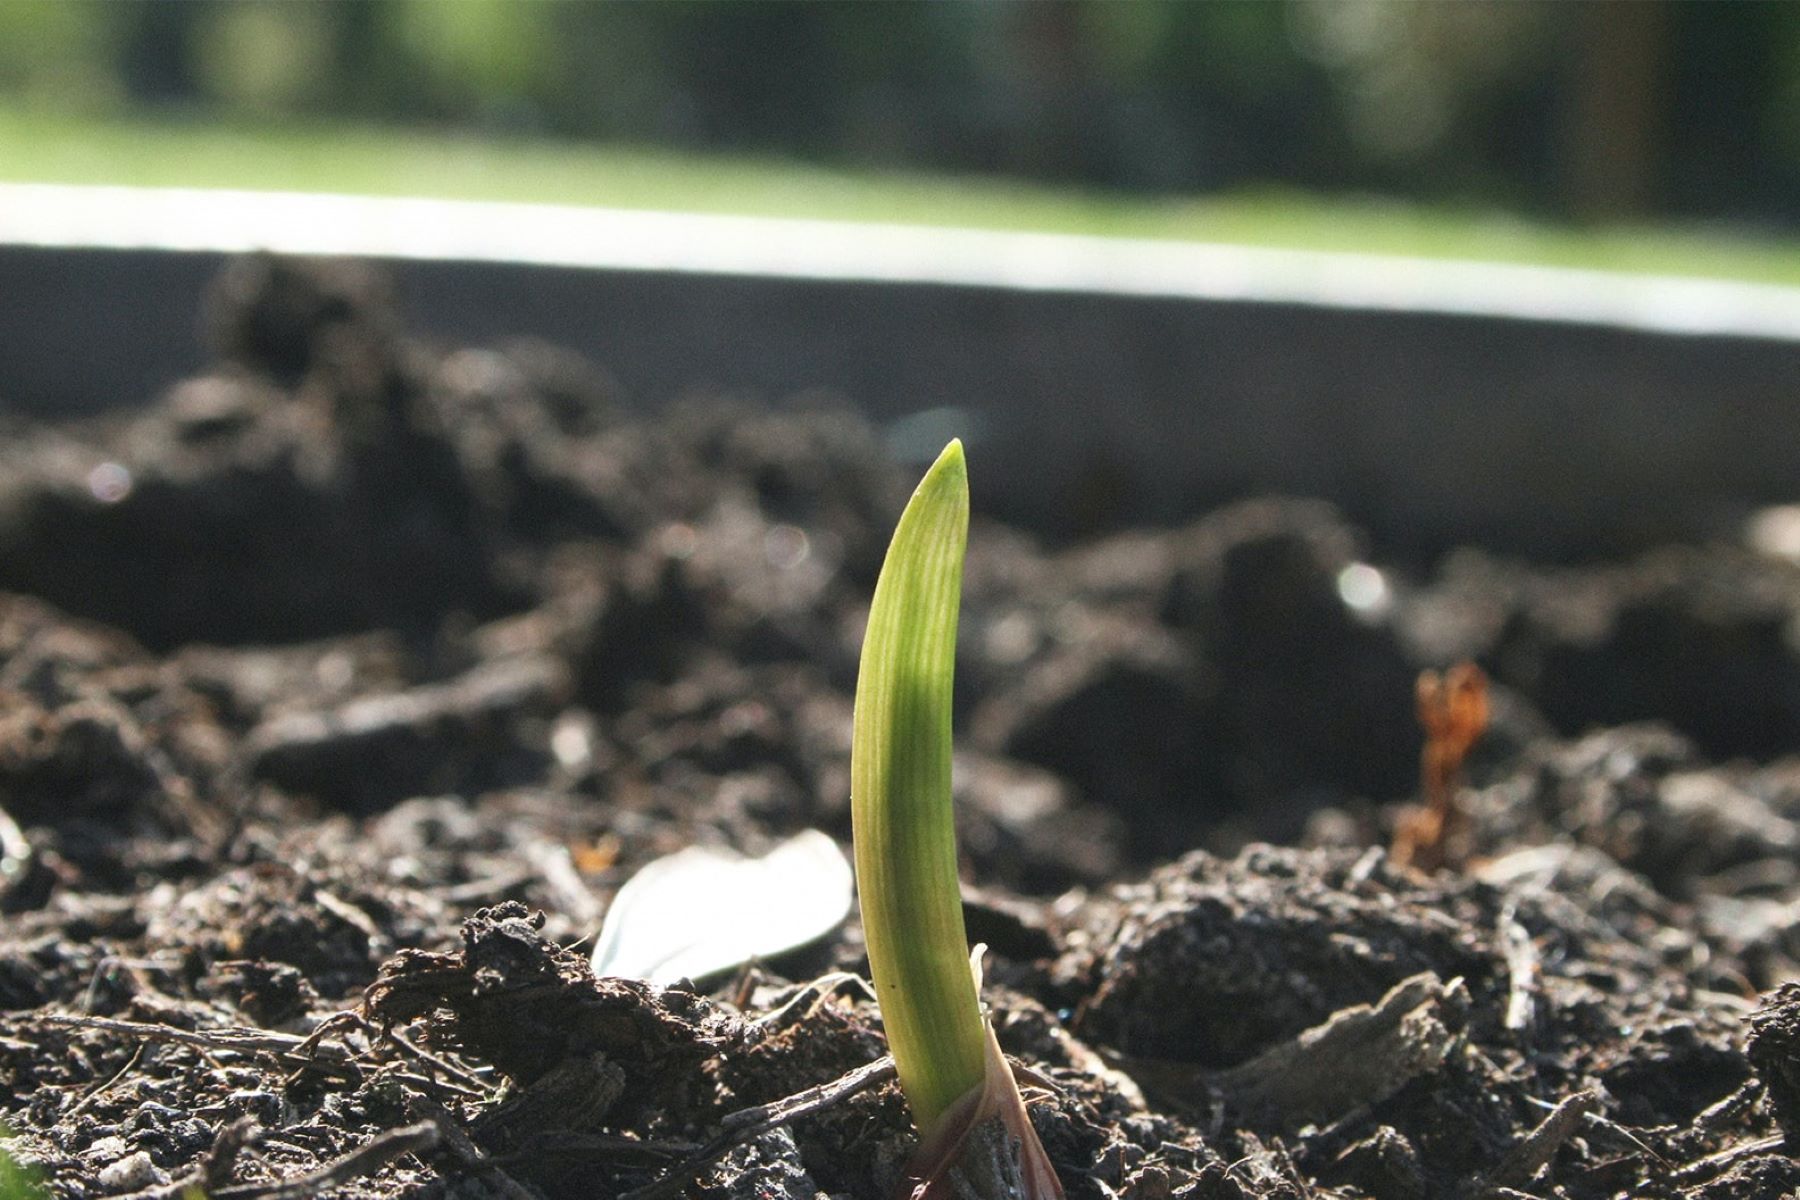
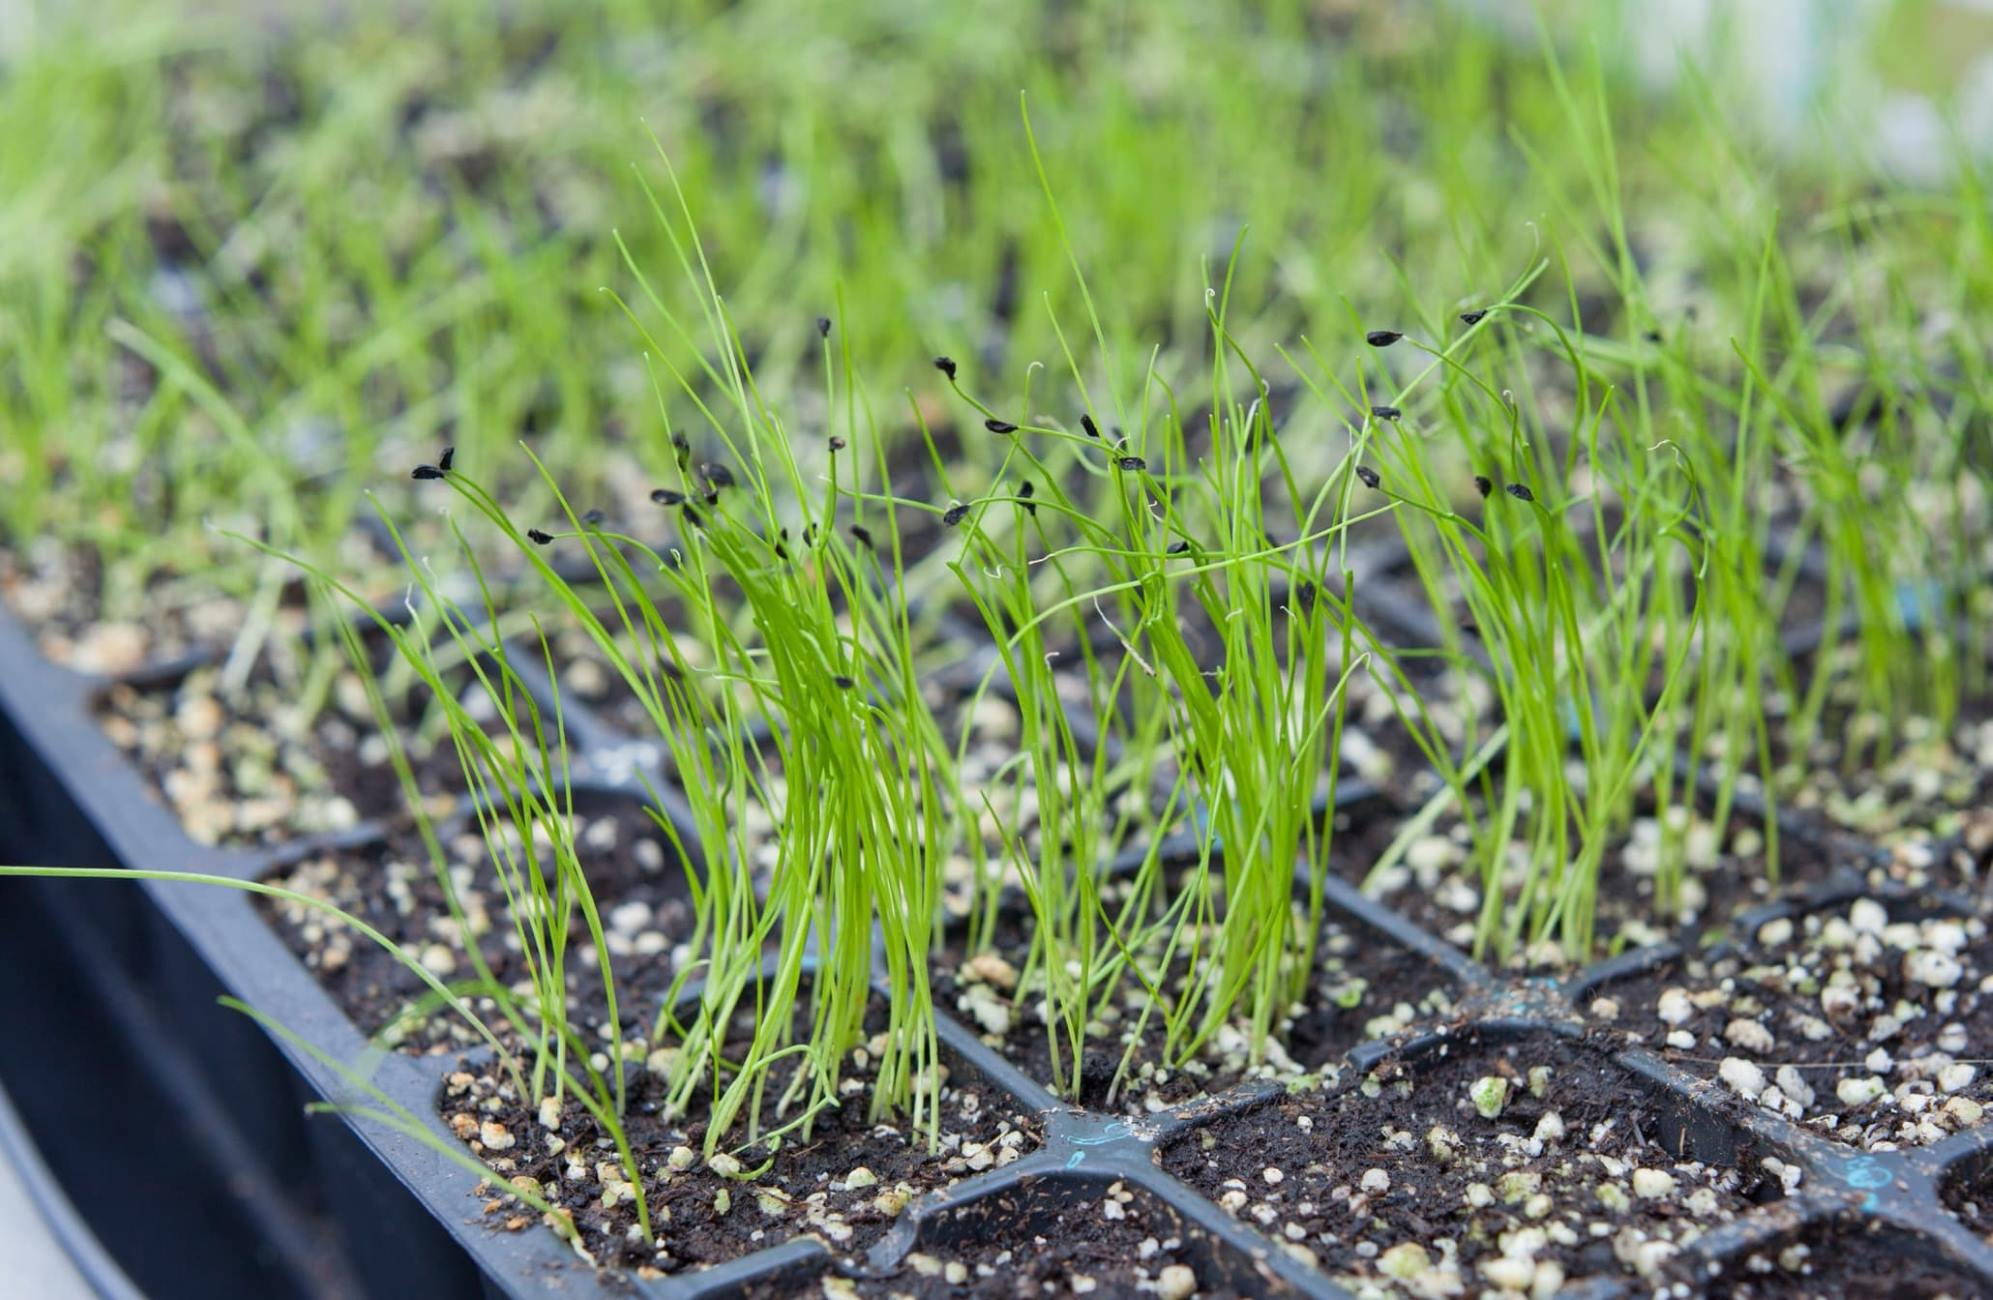
- Check the sprouts daily. Within a week or two, you should start to see small green shoots poking through the soil.
- Once the sprouts have grown to a desirable length of around 6 inches, it’s time to move on to the next step. Be careful not to let the sprouts get too long, as they might become tangled or tangled and difficult to harvest.
- Jar sprouting:
- Rinse the onion seeds in the jar with fresh water once or twice a day. Tilt the jar to drain out the excess water thoroughly.
- Continue this rinsing and draining process for about 7-10 days, or until the sprouts have reached the desired length.
- Make sure to keep the jar in a warm location with proper ventilation. Avoid direct sunlight, as it can lead to excessive heat and drying out of the seeds.
- Once the sprouts have grown to a height of about 6 inches, they are ready for the next step. Do not allow the sprouts to grow too long, as they may become tangled or tangled.
Remember to monitor the sprouts closely to ensure they are healthy, moist, and free from any signs of disease or pests. Adjust watering and ventilation as needed to create optimal growing conditions.
Now that your onion seeds have successfully sprouted, it’s time to move on to the next step: caring for the sprouted onion seeds.
Read more: How To Harvest Onion Seeds
Step 5: Caring for the sprouted onion seeds
Once your onion seeds have sprouted and are growing into healthy seedlings, it’s important to provide them with proper care to ensure their continued growth and development. Follow these tips to care for your sprouted onion seeds:
- Watering: Keep the soil or growing medium consistently moist, but avoid overwatering. Water the sprouts gently using a spray bottle or a watering can with a fine nozzle. Aim to keep the soil moist, but not saturated or waterlogged.
- Light: Place your sprouted onion seeds in a location where they can receive at least 12-14 hours of bright, indirect sunlight each day. If natural light is insufficient, supplement with a fluorescent grow light to ensure they receive the necessary light for photosynthesis and growth.
- Air circulation: Proper air circulation is important to prevent the onset of fungal diseases. Ensure that there is adequate ventilation around the sprouted onion seeds by placing them in a well-ventilated area or using a fan to create gentle air movement.
- Thinning: If the sprouted onion seeds are growing too closely together, it’s important to thin them out. This ensures that each seedling has enough space and resources to grow properly. Gently remove the weaker seedlings and leave only the strongest ones in the tray or container.
- Fertilizing: After the sprouted onion seeds have grown for a few weeks, you can begin feeding them with a diluted balanced liquid fertilizer. Follow the instructions on the fertilizer package for the correct dilution ratio and frequency of application.
- Pest and disease control: Monitor your sprouted onion seeds regularly for any signs of pests or disease. Remove any diseased or infected seedlings immediately to prevent the spread of the issues. Consider using organic pest control methods if necessary.
By providing proper care to your sprouted onion seeds, you will ensure their healthy growth and increase the chances of a successful harvest. Now, let’s move on to the final step: harvesting the sprouted onion seeds.
Step 6: Harvesting the sprouted onion seeds
Congratulations! You’ve reached the final step in sprouting onion seeds – the harvest. Harvesting your sprouted onion seeds at the right time is crucial for obtaining the best flavor and nutritional value. Follow these steps to harvest your sprouted onion seeds:
- Gently lift the sprouts: Carefully lift the sprouted onion seedlings from the soil or growing medium. Hold the seedling at the base near the soil level to prevent damaging the delicate roots.
- Trim the roots: Using a clean pair of scissors or gardening shears, trim the roots of the seedlings to around 1 inch in length. This will make handling and storage easier.
- Use the green shoots and leaves: The green shoots and leaves of the sprouted onion seedlings are what you will primarily consume. Harvest them when they have reached a desirable size, usually about 6 inches in length. You can harvest the entire shoot or cut off a portion, leaving the rest to continue growing if desired.
It’s important to note that sprouted onion seedlings are typically milder and sweeter in flavor compared to mature onions. They can be used in a variety of culinary creations, such as salads, sandwiches, stir-fries, and more.
Remember to store the harvested sprouted onion seeds properly to maintain their freshness. Place them in a plastic bag or container and store them in the refrigerator. Use them within a few days for the best taste and quality.
Now you’ve successfully completed all the steps in sprouting onion seeds, from gathering the materials to harvesting the sprouted onions. Enjoy the fruits of your labor and savor the unique flavor and nutritional benefits of fresh sprouted onions!
We hope you found this guide helpful and inspiring. Happy sprouting!
Conclusion
Congratulations! You have now learned the ins and outs of sprouting onion seeds. By following the steps outlined in this guide, you are well on your way to enjoying the delicious flavor and nutritional benefits of homegrown sprouted onions. Let’s recap what we’ve covered:
We started off by discussing the importance and benefits of sprouting onion seeds, highlighting their sweet flavor and abundance of essential nutrients. Then, we moved on to gathering the necessary materials, ensuring you have everything you need to begin the sprouting process.
Next, we delved into the crucial step of preparing the onion seeds for sprouting, sorting through them, soaking to promote germination, draining, and drying them thoroughly. We also touched on optional pre-sprouting to give your seeds a head start.
Choosing the right sprouting method was the next step, where we discussed tray or container sprouting and jar sprouting, both offering unique advantages and suitable for different preferences and spaces.
Afterwards, we explored the actual sprouting process, providing detailed instructions for each method, including maintaining proper moisture, warmth, and ventilation for successful sprouting. We emphasized the importance of close monitoring to ensure healthy growth and development.
Caring for the sprouted onion seeds became the next focus, with guidance on watering, providing adequate light, ensuring proper air circulation, thinning out overcrowded seedlings, fertilizing, and pest and disease control.
Finally, in Step 6, we covered the exciting moment of harvesting the sprouted onion seeds. We discussed gently lifting the seedlings, trimming the roots, and using the green shoots and leaves to enjoy their unique flavor.
As you embark on your sprouting journey, remember to enjoy the process and be patient. Growing and harvesting your own sprouted onions is a rewarding experience that allows you to create fresh and flavorful dishes right from your garden.
We hope that this comprehensive guide has equipped you with the knowledge and confidence to successfully sprout onion seeds. Now, it’s time to put your skills into practice and enjoy the fruits of your labor. Happy sprouting!
Frequently Asked Questions about How To Sprout Onion Seeds
Was this page helpful?
At Storables.com, we guarantee accurate and reliable information. Our content, validated by Expert Board Contributors, is crafted following stringent Editorial Policies. We're committed to providing you with well-researched, expert-backed insights for all your informational needs.

0 thoughts on “How To Sprout Onion Seeds”