Home>Garden Essentials>How To Sow Onion Seeds Indoors
Garden Essentials
How To Sow Onion Seeds Indoors
Modified: March 15, 2024
Learn how to sow onion seeds indoors successfully in your garden. Step-by-step guide for a bountiful onion harvest.
(Many of the links in this article redirect to a specific reviewed product. Your purchase of these products through affiliate links helps to generate commission for Storables.com, at no extra cost. Learn more)
Introduction
When it comes to growing onions, starting from seed can be a rewarding and cost-effective option. While onions can be directly sown into the garden, sowing seeds indoors offers several benefits. It allows you to get a head start on the growing season, especially in areas with shorter growing seasons. Additionally, starting onion seeds indoors gives you better control over the growing conditions, resulting in healthier and more vigorous plants.
In this article, we will guide you through the process of sowing onion seeds indoors. We will cover everything from choosing the right onion variety to caring for the seedlings until they are ready to be transplanted outdoors. So grab your gardening gloves and let’s get started!
Key Takeaways:
- Sowing onion seeds indoors gives you more control over growing conditions, extends the growing season, and offers a wider variety selection, resulting in healthier and cost-effective onion plants.
- By following the step-by-step process of sowing, transplanting, and caring for onion plants, you can enjoy the satisfaction of growing your own delicious and aromatic onions while maximizing your chances of a successful harvest.
Read more: How To Sow Snapdragon Seeds
Benefits of Sowing Onion Seeds Indoors
Sowing onion seeds indoors offers a variety of advantages over direct sowing in the garden. Let’s take a closer look at some of the key benefits:
- Extended growing season: By starting onion seeds indoors, you can begin the growing process earlier, giving your onions a longer growing season. This is particularly beneficial in regions with short growing seasons, as it allows the plants to establish strong root systems before being planted outdoors.
- Control over growing conditions: When sowing seeds indoors, you have greater control over the growing conditions, such as temperature, humidity, and light. Providing optimal conditions ensures the seeds germinate successfully and the seedlings grow strong and healthy.
- Greater variety selection: Starting onions from seed opens up a world of onion varieties to choose from. While nurseries and garden centers typically offer a limited selection of onion transplants, starting from seed grants you access to a much wider range of onion types, sizes, flavors, and colors.
- Cost-effective: Growing onions from seed is a cost-effective option. A packet of onion seeds contains numerous seeds, and each seed has the potential to grow into a mature bulb. This means you can grow a larger quantity of onions for a fraction of the cost of purchasing transplants.
- Healthier plants: Transplanting seedlings started indoors results in healthier and sturdier onion plants. These seedlings have had the opportunity to develop stronger root systems and establish themselves before being exposed to outdoor elements, increasing their chances of survival and overall plant health.
Sowing onion seeds indoors not only provides practical benefits but also offers a sense of satisfaction and fulfillment. Watching the tiny seeds sprout and transform into robust seedlings is a joy that every gardener can appreciate.
Materials Needed
Before you start sowing onion seeds indoors, gather the following materials:
- Onion seeds: Choose your desired onion variety and ensure you have enough seeds to sow. Consider factors such as flavor, size, and storage capabilities when selecting the variety.
- Seed trays or pots: Use trays or pots with drainage holes to ensure proper water drainage. You can use plastic or biodegradable containers, depending on your preference.
- Seed starting mix: Purchase or make a high-quality seed starting mix that is well-draining and lightweight. Avoid using regular garden soil as it can be too heavy and may not provide adequate aeration for the seeds.
- Labels: Use labels or small tags to identify the onion varieties you are sowing. This helps keep track of the different varieties as they grow.
- Watering can or spray bottle: Ensure you have a watering can or spray bottle to provide gentle moisture to the seeds without disrupting them.
- Grow lights or sunny windowsill: If you don’t have access to sufficient natural light, consider using fluorescent grow lights or LED lights to provide the necessary light spectrum for seedling growth.
- Heat mat (optional): If you live in a cooler climate or need to speed up germination, a heat mat can help create consistent and optimum seed starting temperatures.
- Heat source (optional): In some cases, additional warmth may be required for germination. You can use a heating pad or place the seed trays near a heat source such as a radiator or a warm spot in your home.
Once you have gathered these materials, you are ready to embark on your journey of sowing onion seeds indoors and nurturing them into healthy seedlings.
Step 1: Choosing the Right Onion Variety
When it comes to choosing the right onion variety for sowing seeds indoors, consider several factors such as your climate, desired flavor, storage capabilities, and maturation time. Here are a few popular onion varieties to consider:
- Short-day onions: These onions require 10-12 hours of daylight to bulb and are best suited for regions with a mild winter and short growing season. Short-day varieties tend to have a milder flavor and are typically used for fresh consumption.
- Long-day onions: Long-day onions need 14-16 hours of daylight to bulb and are ideal for regions with long, cool summers. These onions have a stronger flavor and are excellent for storage and cooking.
- Intermediate-day onions: As the name suggests, these onions fall between the short-day and long-day categories, requiring 12-14 hours of daylight to bulb. They are suitable for regions with moderate day lengths and make versatile additions to the kitchen.
- Red onions: Red onions add vibrant color and a slightly milder flavor to salads and other dishes. They are available in different varieties, some of which are better suited for growing in specific regions.
- Yellow onions: Yellow onions are the staple choice for many gardeners. They have a strong, pungent flavor and store well, making them suitable for long-term storage.
When selecting onion varieties, consider whether you prefer sweet or spicy flavors, how you plan to use the onions, and the amount of storage time required. It’s also a good idea to check the recommended growing zones for each onion variety to ensure they are suitable for your region.
Take some time to research and explore different onion varieties that are known to grow well in your area. Consult local gardeners or visit your nearest garden center for advice on which varieties thrive in your specific climate.
Once you have chosen the perfect onion varieties for your indoor sowing, you are ready to move onto the next step: preparing the containers.
Step 2: Preparing the Containers
Properly preparing the containers for sowing onion seeds is crucial for the success of your indoor gardening endeavor. Follow these steps to ensure you provide the best growing environment for your onion seedlings:
- Clean and sterilize: Before using your containers, make sure they are clean and sterile to prevent the spread of diseases and pests. Wash them with warm, soapy water, rinse thoroughly, and sanitize them by dipping in a solution of 1 part bleach to 9 parts water. Rinse again with clean water and allow them to air dry.
- Add drainage holes: To prevent waterlogged soil, drill or punch drainage holes in the bottom of your containers if they don’t already have them. Adequate drainage is essential to avoid root rot and other moisture-related problems.
- Choose the right size: Select containers that are deep enough to accommodate the onion roots and allow for growth. A depth of at least 4 inches is typically sufficient for onion seedlings. If using seed trays, ensure they are large enough to space the onion seeds according to the recommended spacing for the specific variety.
- Prepare trays or saucers: If using plastic seed trays with no drainage holes, place them on saucers or trays with drainage to catch excess water. This prevents the seedlings from sitting in water and developing root rot.
- Label your containers: Use labels or small tags to mark each container with the onion variety you are sowing. This will help you keep track of the different varieties as they grow and ensure you don’t mix them up.
By ensuring your containers are clean, properly drained, and appropriately sized, you provide a healthy environment for your onion seedlings to thrive. In the next step, we will learn how to prepare a suitable seed starting mix to promote successful germination and growth.
Read more: How To Sow Okra Seeds
Step 3: Preparing the Seed Starting Mix
The right seed starting mix is essential for providing a balanced and nutrient-rich environment for your onion seeds to germinate and develop into strong seedlings. Follow these steps to prepare the perfect seed starting mix:
- Purchase or make a seed starting mix: You can either buy a pre-made seed starting mix from a local garden center or make your own. If you choose to make your own mix, combine equal parts of peat moss, vermiculite, and perlite. This mixture ensures good drainage while retaining moisture.
- Sterilize the seed starting mix: To prevent diseases and pests, it’s important to sterilize the seed starting mix before use. You can do this by moistening the mix and placing it in a microwave-safe container. Microwave the mix for a few minutes until it reaches a temperature of 180°F (82°C). Let it cool before proceeding.
- Prepare the containers: Fill your clean and sterilized containers with the seed starting mix, leaving approximately half an inch of space at the top. Gently press down on the mix to remove any air pockets and create a firm surface.
- Moisten the mix: Water the seed starting mix thoroughly until it is evenly damp but not overly saturated. It should be moist enough to hold its shape when squeezed without dripping excessive water.
- Avoid compacting the mix: Do not compact the seed starting mix too heavily as this can hinder seed germination and root development. Lightly fluff the surface with your fingers or a small tool to create a loose and fluffy texture.
With a properly prepared seed starting mix, your onion seeds will have the ideal growing medium to establish strong roots and thrive. In the next step, we will learn how to sow the onion seeds for successful germination.
When sowing onion seeds indoors, use a well-draining seed starting mix and plant the seeds ¼ inch deep. Keep the soil consistently moist and provide plenty of light to help the seeds germinate.
Step 4: Sowing the Onion Seeds
Now that you have your containers prepared and the seed starting mix ready, it’s time to sow the onion seeds. Follow these steps for successful onion seed sowing:
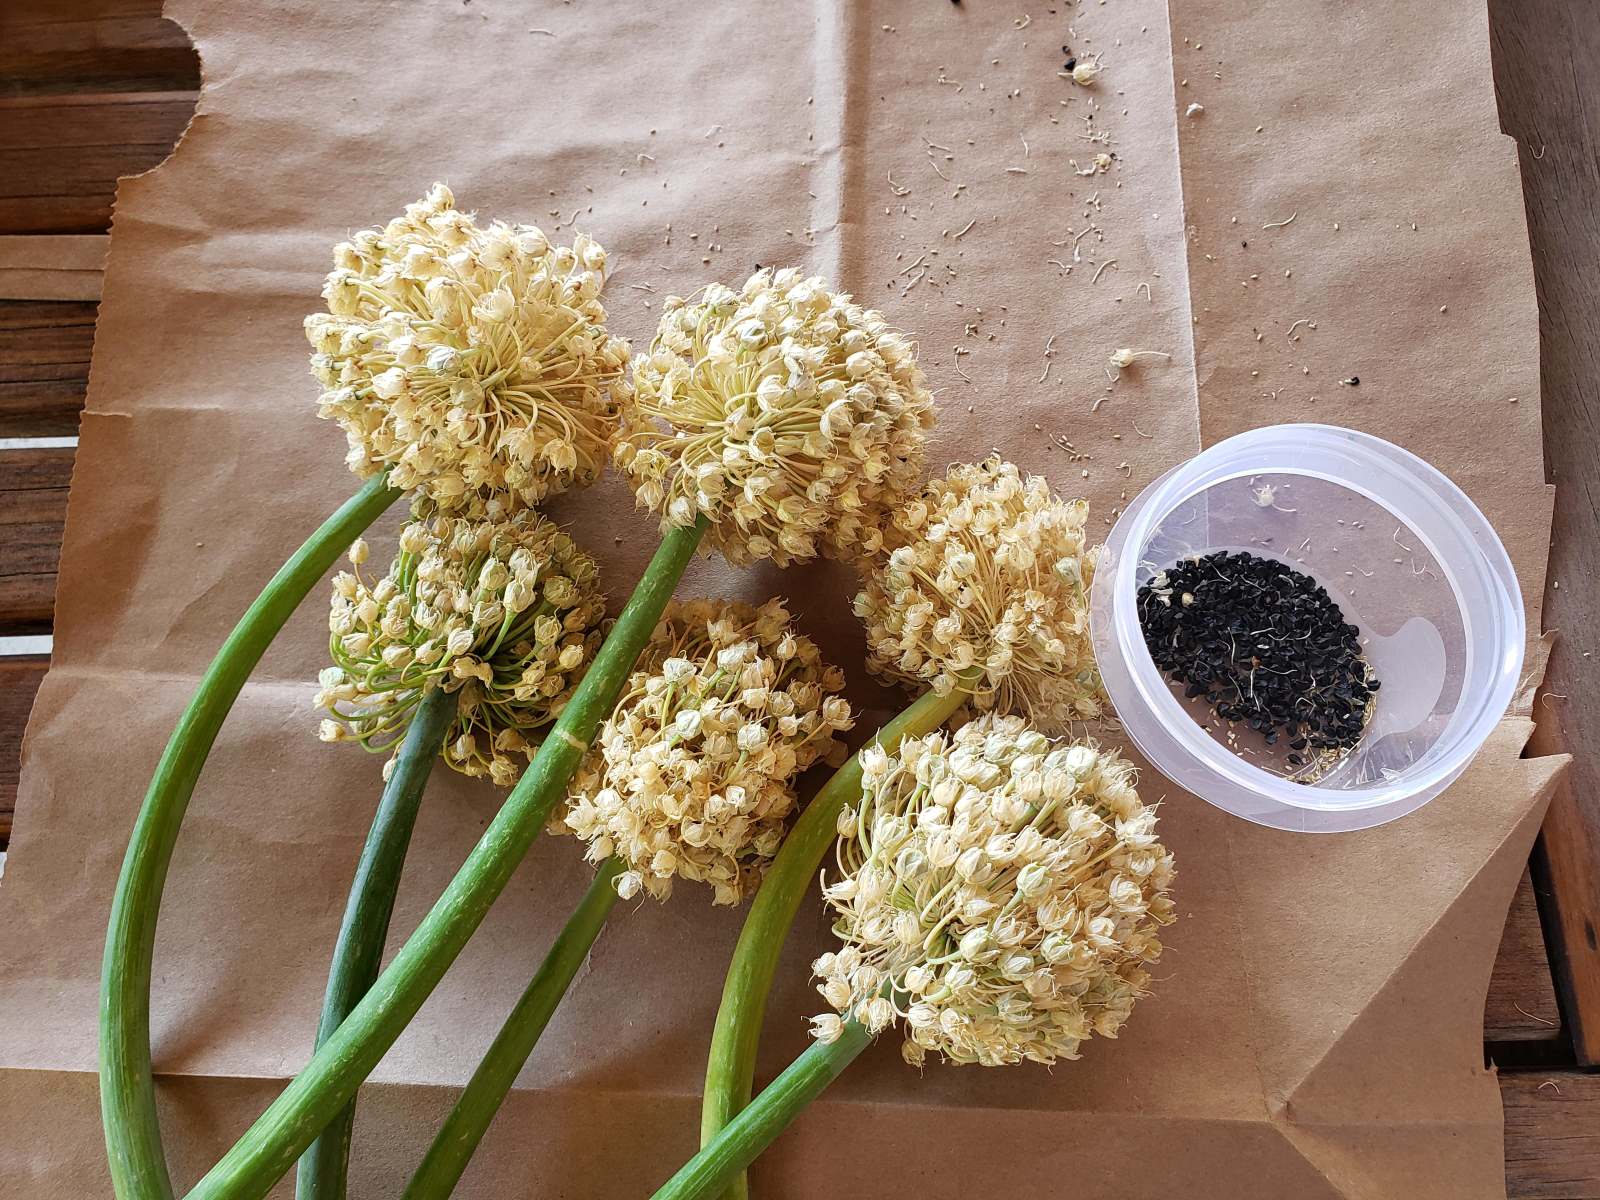
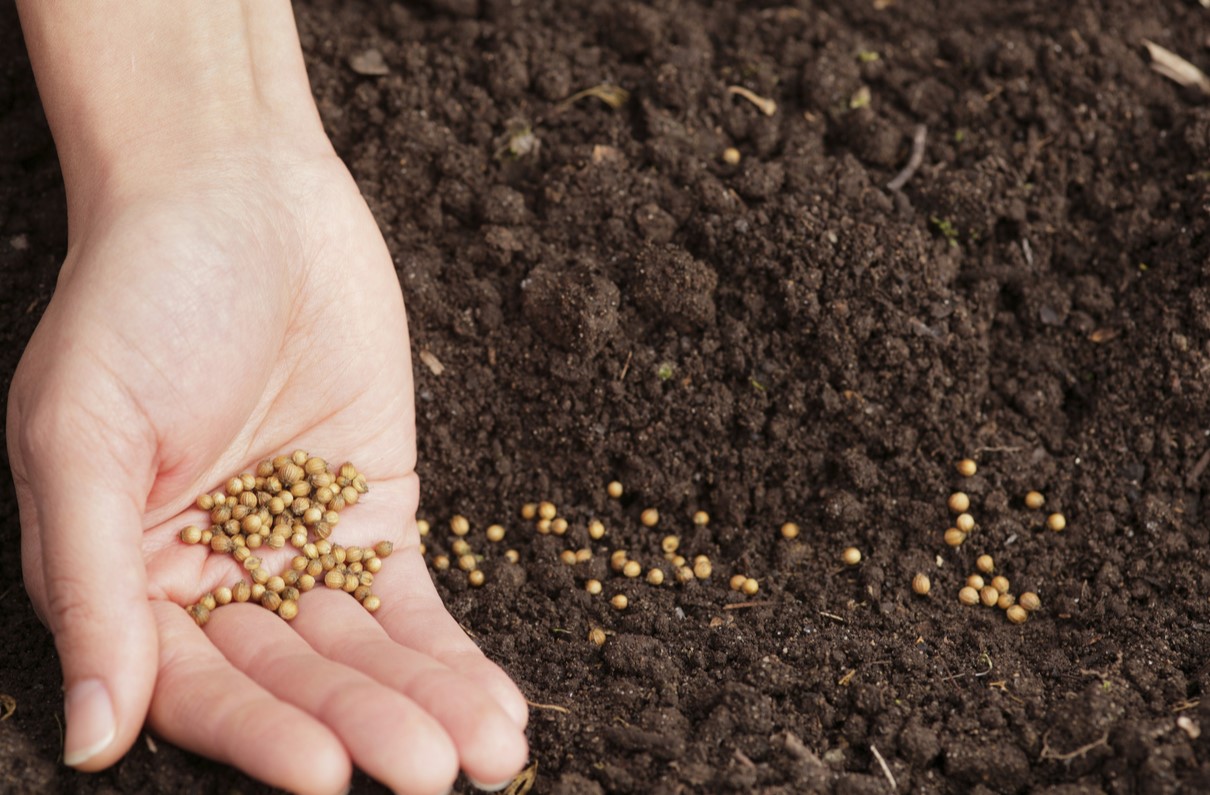
- Prepare the onion seeds: If your onion seeds are fresh and of good quality, you can sow them as is. However, if the seeds are older or you want to improve germination rates, you can soak them in water for a few hours prior to sowing. This helps to soften the seed coat and promote faster sprouting.
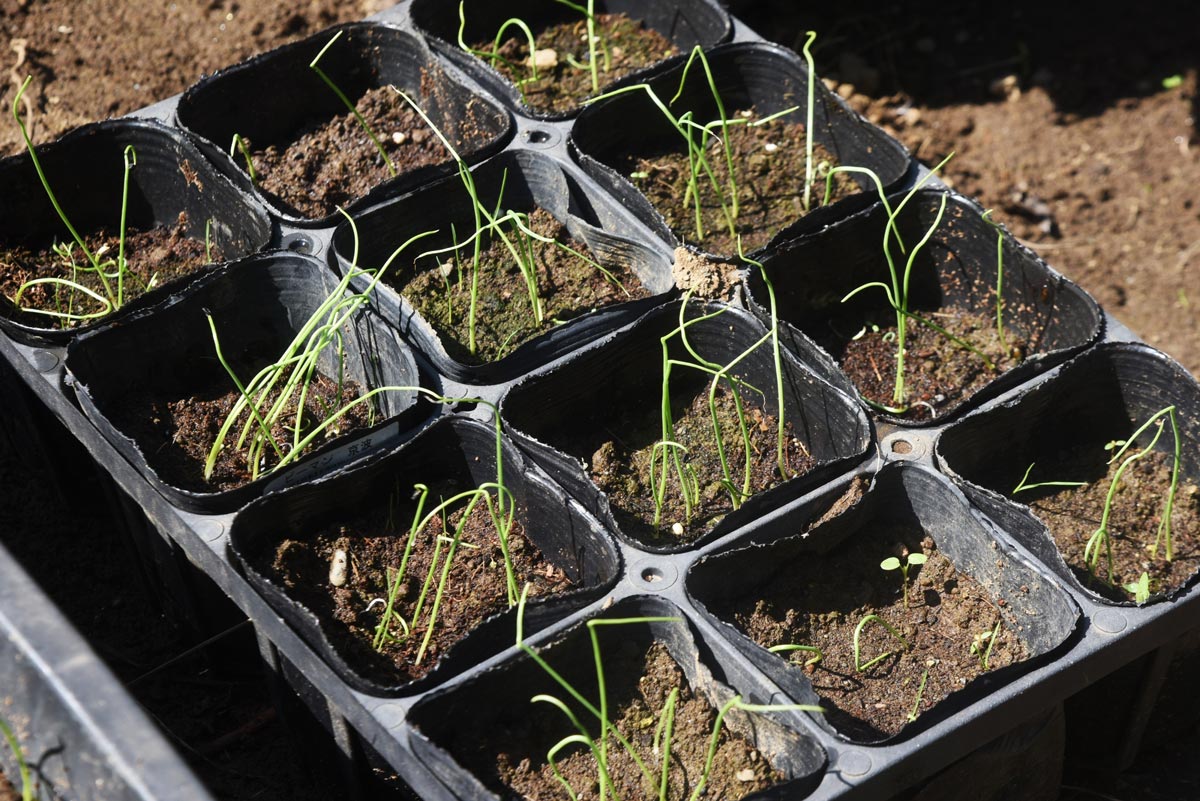
- Sow the seeds: Using your fingertips or a small tool, make shallow furrows or depressions in the seed starting mix, spaced according to the recommended planting distance for the specific onion variety. Place the seeds in the furrows, leaving a small gap between each seed, and then cover them lightly with the seed starting mix. As a general guideline, sow onion seeds about ¼ inch deep.
- Label the trays: To avoid confusion, label the trays or containers with the onion varieties you’ve sown. This will help you keep track of the different types as they grow.
- Mist or water gently: To avoid displacing the seeds, gently mist the surface of the trays with a spray bottle or water them carefully using a watering can with a fine spout. Make sure not to overwater, as excessive moisture can lead to damping-off disease.
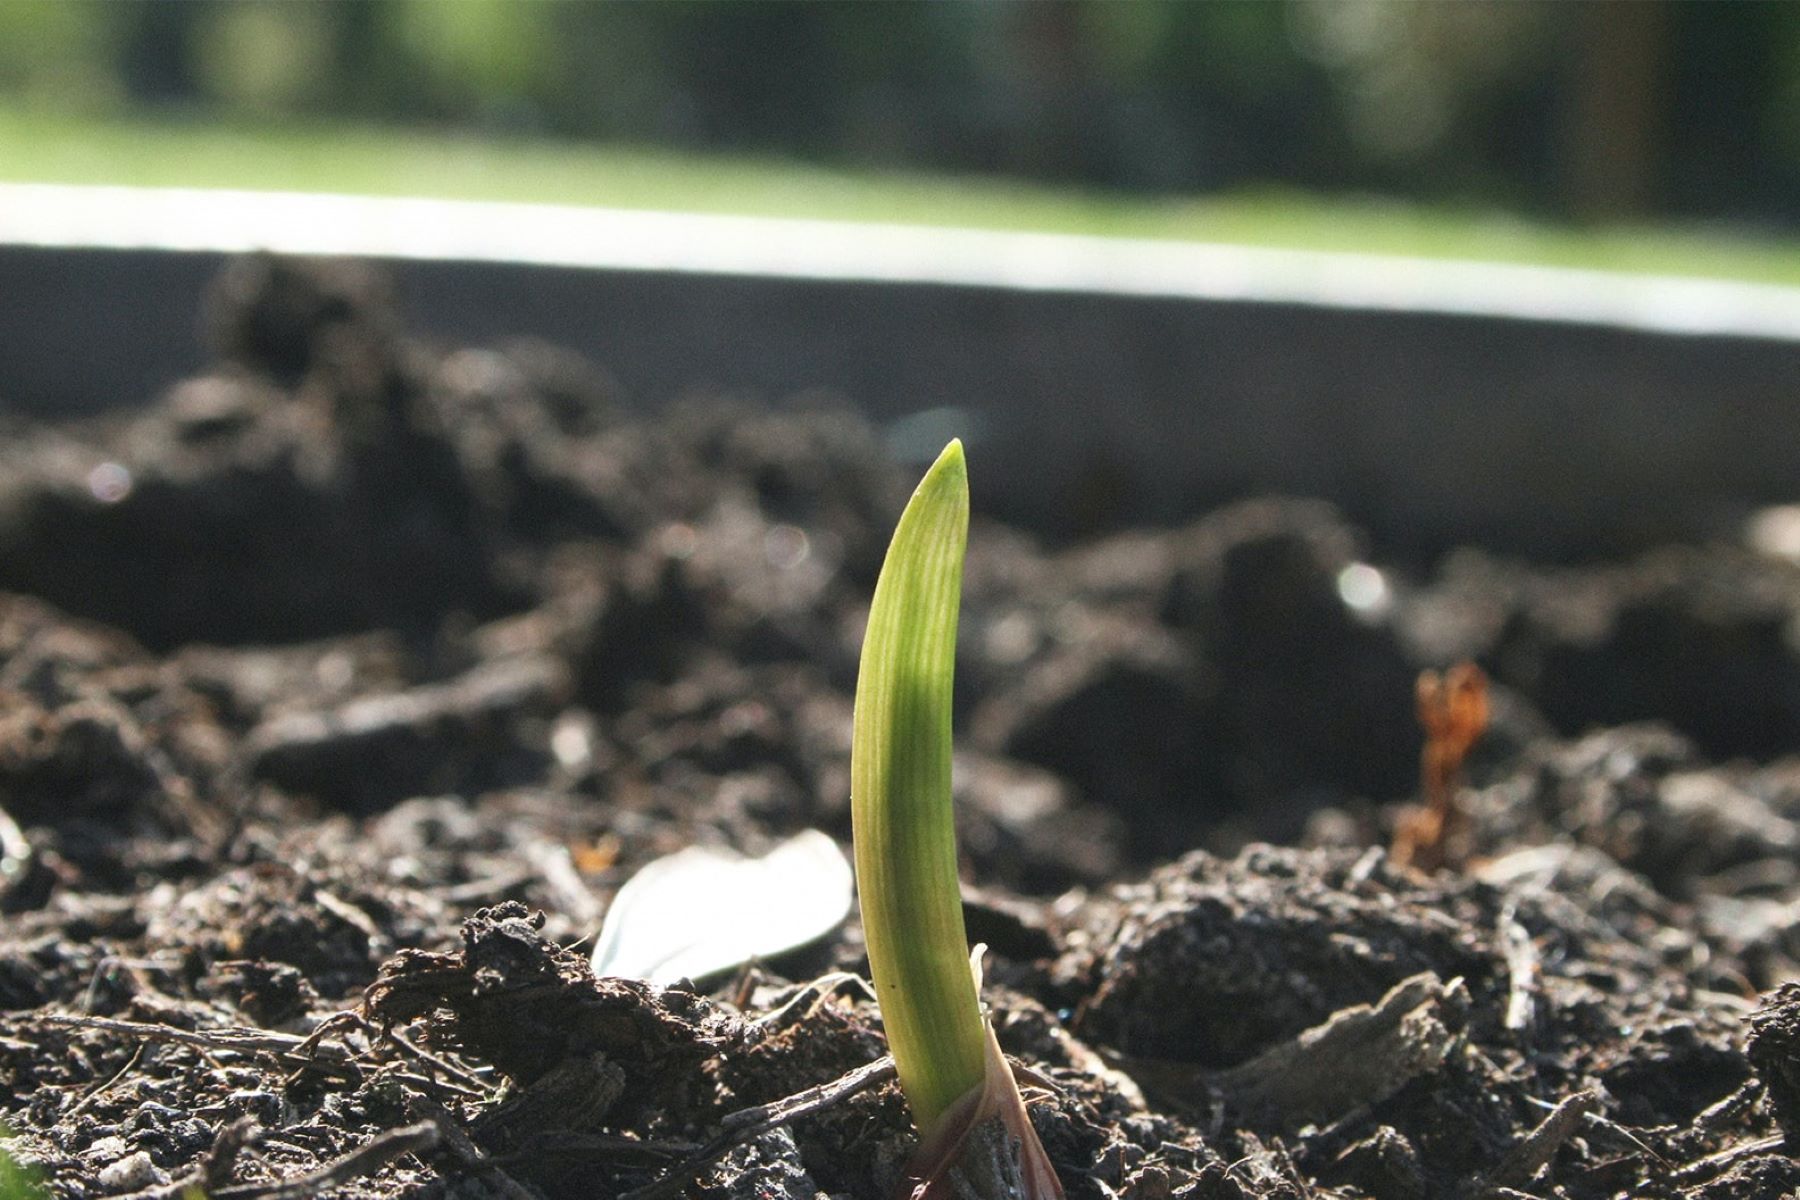
- Cover with plastic or dome: Place a clear plastic cover or a dome over the trays to create a mini greenhouse effect. This helps retain moisture, maintain humidity, and facilitate seed germination. Remove the cover once the seeds have sprouted, usually within 7 to 10 days.
Remember to keep the seed trays in a warm location with consistent temperatures between 60°F (15°C) and 75°F (24°C) for successful germination. Now that your onion seeds are sown, it’s time to move on to the next step: providing the optimal growing conditions for your seedlings.
Step 5: Providing the Optimal Growing Conditions
Creating the ideal growing conditions for your onion seedlings is crucial for their healthy development. Follow these steps to ensure your seedlings thrive:
- Temperature: Maintain a consistent temperature of around 65°F (18°C) during the day and slightly cooler at night. Avoid extreme temperature fluctuations, as they can stress the seedlings. If needed, you can use a heating pad or place the trays near a heat source to provide gentle warmth.
- Light: Onion seedlings require 12-14 hours of bright light each day to grow strong and sturdy. If you don’t have access to sufficient natural light, use fluorescent grow lights or LED lights positioned 2-4 inches above the seedlings. Keep the lights on for 12-14 hours a day, adjusting the height as the seedlings grow.
- Watering: Keep the seed starting mix evenly moist but not waterlogged. Water the seedlings gently from the bottom by placing the trays in a shallow saucer filled with water. The mix will absorb water through the drainage holes. Avoid overhead watering, as it can damage the delicate seedlings and promote disease.
- Air circulation: Proper air circulation is important to prevent the development of fungal diseases. Use a small fan on low or crack open a nearby window to promote gentle air movement around the seedlings.
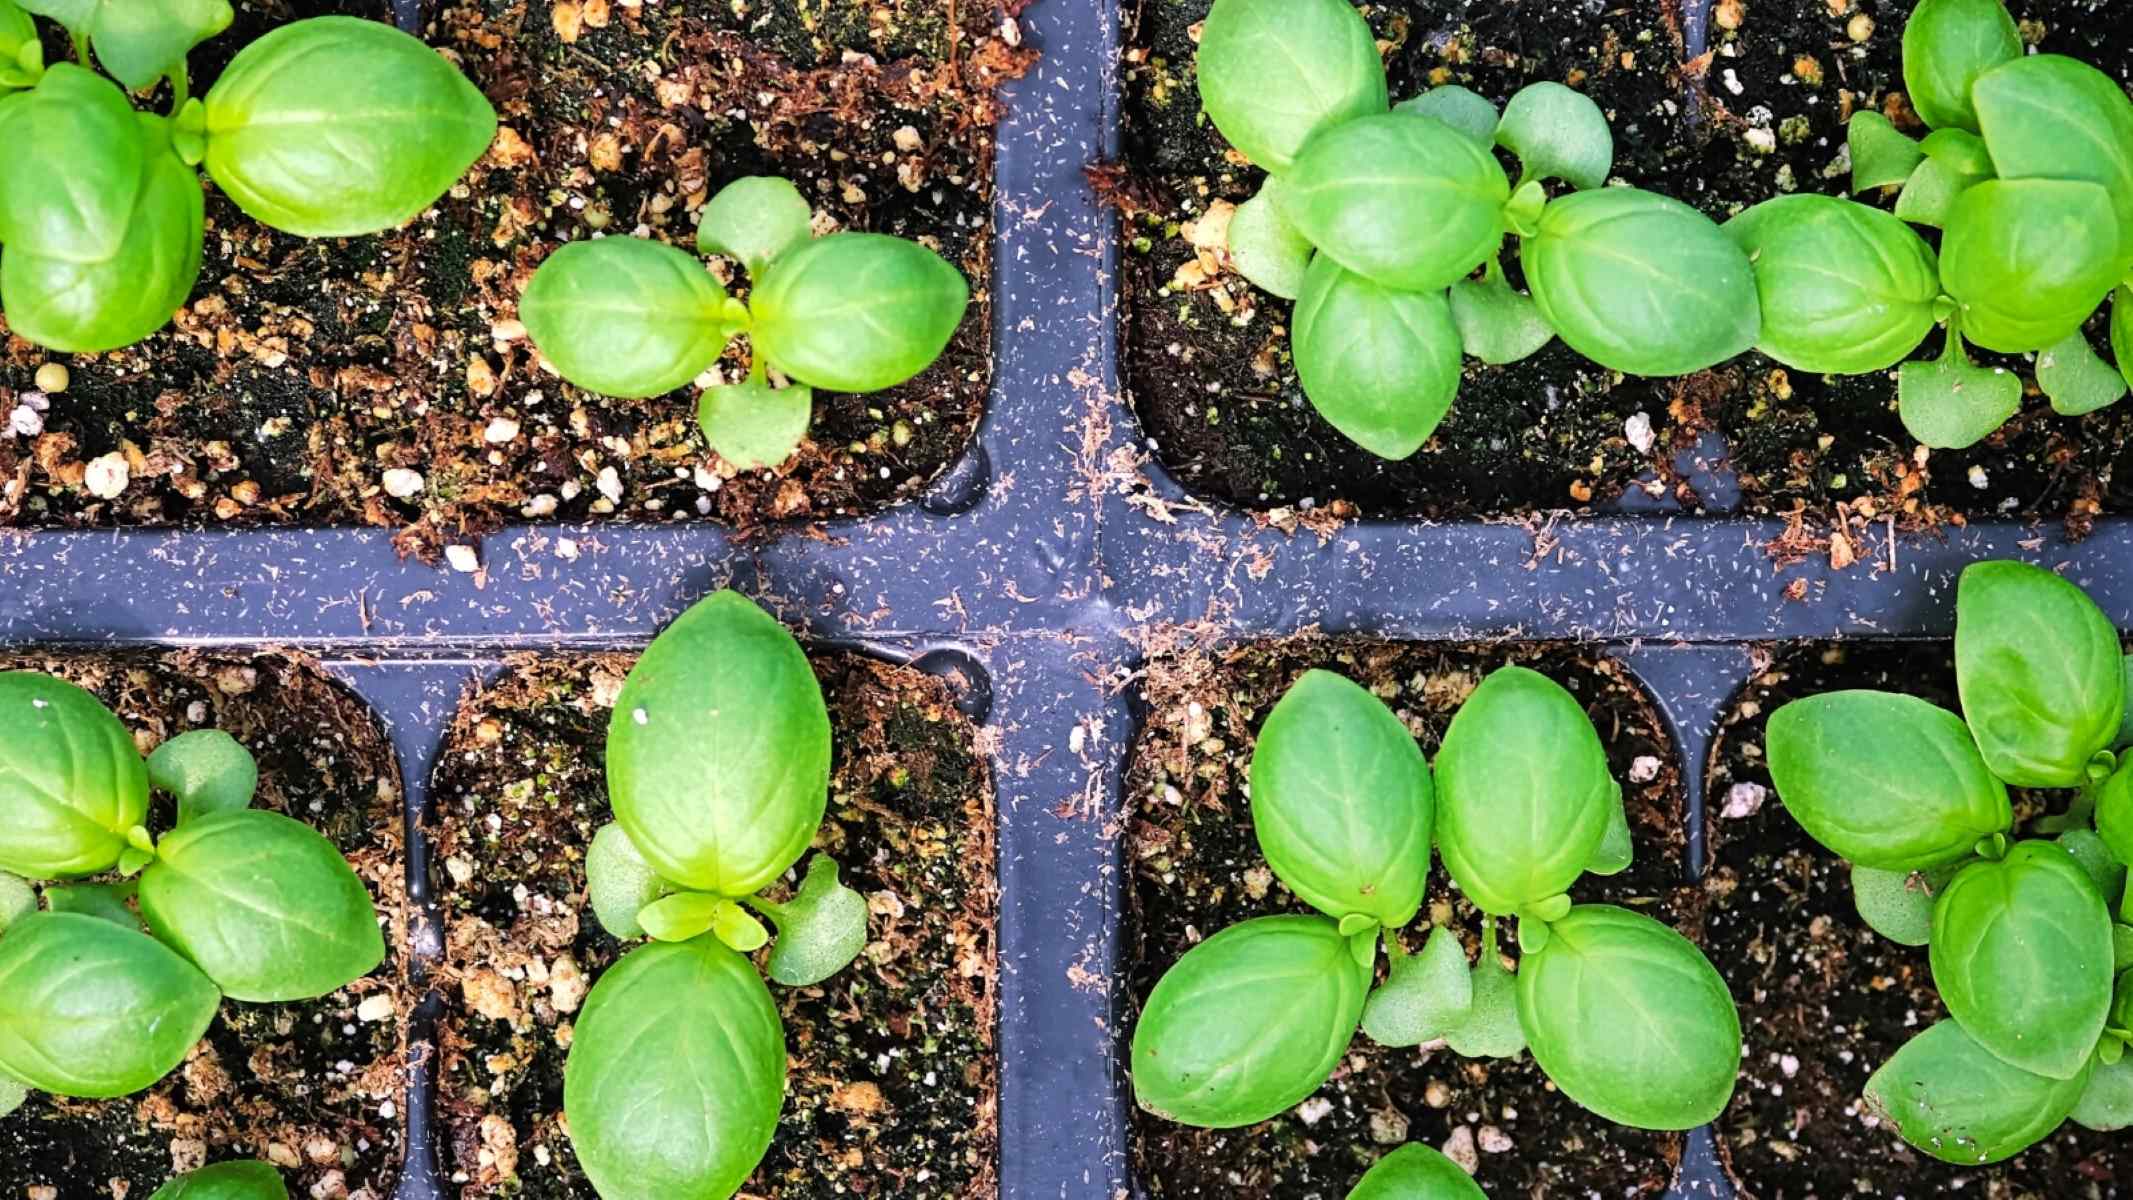
- Thinning: Once the seedlings have developed their first set of true leaves, thin them out if they are overcrowded. Pinch or snip off the smaller and weaker seedlings, leaving only one strong seedling per cell or container. This allows the remaining seedlings to have enough space, light, and nutrients for healthy growth.
- Fertilization: Onion seedlings do not require additional fertilizer at this stage. The nutrients provided by the seed starting mix should be sufficient for the initial growth. However, if you notice the seedlings showing signs of nutrient deficiency, you can apply a diluted, balanced fertilizer following the manufacturer’s instructions.
By providing optimal growing conditions, you are ensuring that your onion seedlings have the best chance of developing into healthy and vigorous plants. In the next step, we will guide you through the transplanting process to move your seedlings outdoors.
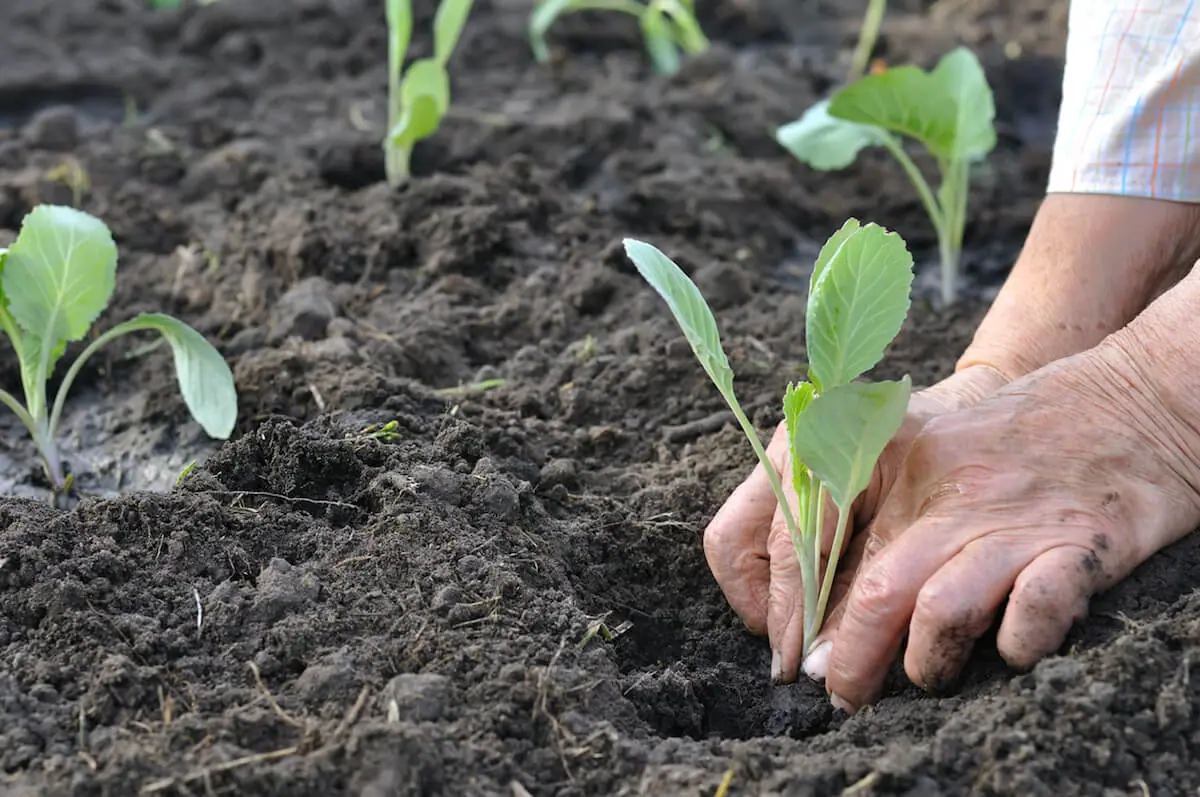
Step 6: Transplanting the Onion Seedlings Outdoors
Once your onion seedlings have reached a suitable size and the outdoor temperatures are favorable, it’s time to transplant them into the garden. Follow these steps for a successful transplanting process:
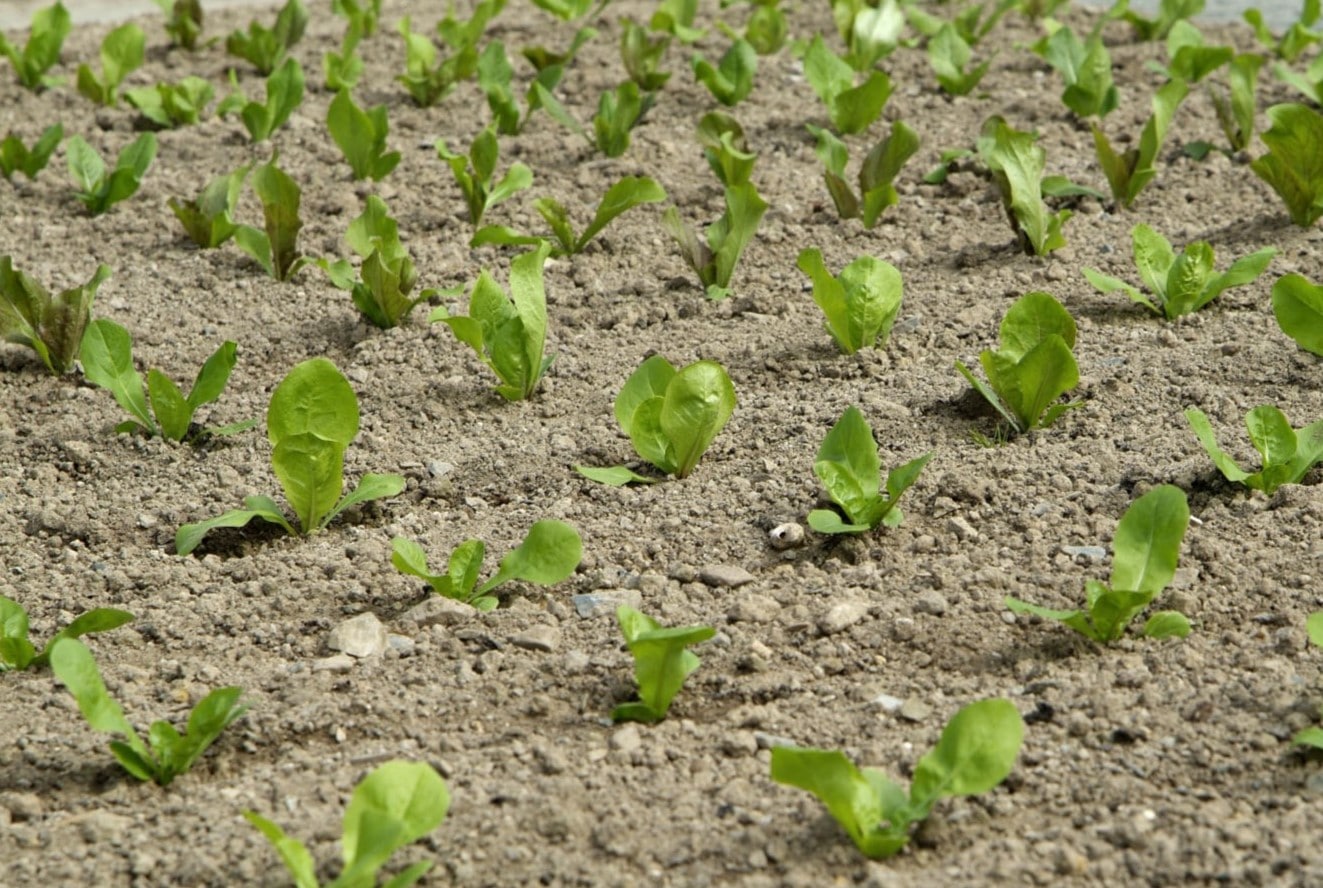
- Choose the right time: Onion seedlings are typically ready for transplanting when they have developed 4-6 leaves and are around 4-6 inches tall. Transplant when the soil has warmed up and there is no more risk of frost in your area.
- Prep the planting area: Select a well-drained area in your garden with full sun exposure. Loosen the soil and remove any weeds or debris. Onions prefer soil with a pH level between 6.0-7.0, so consider performing a soil test and amending the soil if necessary.
- Space the plants: Dig small holes or furrows in the prepared soil, spaced according to the recommended planting distance for the particular onion variety. Generally, onion plants should be spaced approximately 4-6 inches apart, but this may vary depending on the variety’s size.
- Prepare the seedlings for transplanting: Water the seedlings thoroughly in their containers before transplanting. This helps hold the soil together when removing them and minimizes transplant shock. Gently loosen the root ball of each seedling to encourage outward root growth once planted.
- Transplant the seedlings: Carefully remove the seedlings from their containers, handling them by the leaves to avoid damaging the delicate stems. Place each seedling in a planting hole, making sure the soil level is even with or slightly above the top of the root ball. Press the soil lightly around the roots to secure the plants in place.
- Water and mulch: After transplanting, water the seedlings thoroughly to help settle the soil around the roots. Apply a layer of organic mulch, such as straw or shredded leaves, around the plants to help conserve moisture, suppress weeds, and regulate soil temperature.
Keep the newly transplanted onion seedlings well-watered, providing about 1 inch of water per week. As the plants grow, provide supplemental irrigation during dry periods. Additionally, remove any competing weeds to prevent them from stifling the growth of your onion plants.
By following these transplanting steps and ensuring proper care, your onion seedlings will have a smooth transition into their new outdoor environment. In the next step, we will discuss how to care for the onion plants as they continue to grow.
Read more: How To Sow Cilantro Seeds
Step 7: Caring for the Onion Plants
Proper care is essential for the successful growth and development of your onion plants. Follow these steps to ensure your plants thrive:
- Watering: Onions need consistent moisture, especially during dry spells. Aim to provide about 1 inch of water per week, either through rainfall or supplemental irrigation. Avoid overwatering, as excessive moisture can lead to fungal diseases. Water deeply and allow the soil to dry slightly between waterings.
- Weed control: Keep the area around your onion plants free of weeds. Weeds compete with onion plants for nutrients, water, and sunlight. Regularly remove any weeds, taking care not to disturb the shallow onion roots. Mulching around the plants can also help suppress weed growth.
- Fertilization: Onions benefit from a well-balanced fertilizer application. Apply a nitrogen-rich fertilizer, such as a balanced 10-10-10 or 14-14-14 fertilizer, at a rate of 1 pound per 100 square feet approximately four weeks after transplanting. Lightly scratch the fertilizer into the soil surface and water thoroughly.
- Thinning: If your onion plants are growing too closely together and crowding each other, consider thinning them. This allows for better airflow and provides room for the bulbs to develop. Gently pull out the smaller and weaker plants, leaving a space of 4-6 inches between the remaining onions.
- Pest control: Keep an eye out for common onion pests such as onion thrips, onion maggots, and fungal diseases like downy mildew and onion rot. Use organic pest control methods or consult with your local extension office for advice on managing these pests. Proper spacing, good airflow, and regular inspection can help prevent pest and disease issues.
- Harvesting: Your onions will be ready for harvest when the tops start to turn yellow and fall over. Gently lift the bulbs from the soil using a garden fork or trowel. Let the bulbs dry and cure in a well-ventilated, shaded area for a few weeks before trimming the tops and storing them in a cool, dry place.
By providing proper care and attention to your onion plants, you will be rewarded with healthy and flavorful bulbs. Enjoy the satisfaction of growing your own onions and the delicious flavors they add to your culinary creations!
With this final step, you have successfully learned how to sow onion seeds indoors, transplant the seedlings outdoors, and care for your onion plants until harvest. Happy gardening!
Conclusion
Congratulations! You have reached the end of your journey in learning how to sow onion seeds indoors and grow healthy onion plants. By following the step-by-step process we have outlined, you have equipped yourself with the knowledge and skills to successfully start onion seeds indoors and nurture them into thriving seedlings.
Sowing onion seeds indoors offers numerous benefits, including a longer growing season, greater control over growing conditions, a wider variety selection, cost-effectiveness, and the opportunity to grow healthier plants. By choosing the right onion variety, preparing the containers and seed starting mix, sowing the seeds, providing optimal growing conditions, transplanting the seedlings outdoors, and caring for the onion plants, you have maximized your chances of a bumper onion harvest.
Remember to provide consistent moisture, control weeds, fertilize appropriately, manage pests and diseases, and harvest the onions at the right time for optimal flavor and storage. Gardening is a continuous learning process, so don’t be afraid to experiment and adapt your techniques based on your specific growing conditions and experiences.
Now it’s time to roll up your sleeves, put your newfound knowledge into action, and enjoy the satisfaction of growing your own delicious and aromatic onions. Whether they end up in savory dishes, salads, or as a flavorful addition to your favorite recipes, you can take pride in knowing that you played a vital role in their journey from tiny seeds to mature bulbs.
Happy gardening and may your onion harvest be bountiful!
Frequently Asked Questions about How To Sow Onion Seeds Indoors
Was this page helpful?
At Storables.com, we guarantee accurate and reliable information. Our content, validated by Expert Board Contributors, is crafted following stringent Editorial Policies. We're committed to providing you with well-researched, expert-backed insights for all your informational needs.
0 thoughts on “How To Sow Onion Seeds Indoors”