Home>Garden Essentials>How To Tell If Grass Seed Is Dead
Garden Essentials
How To Tell If Grass Seed Is Dead
Modified: August 17, 2024
Find out if your garden grass seed is dead with these simple tips and techniques. Ensure a successful garden with healthy and viable seeds.
(Many of the links in this article redirect to a specific reviewed product. Your purchase of these products through affiliate links helps to generate commission for Storables.com, at no extra cost. Learn more)
Introduction
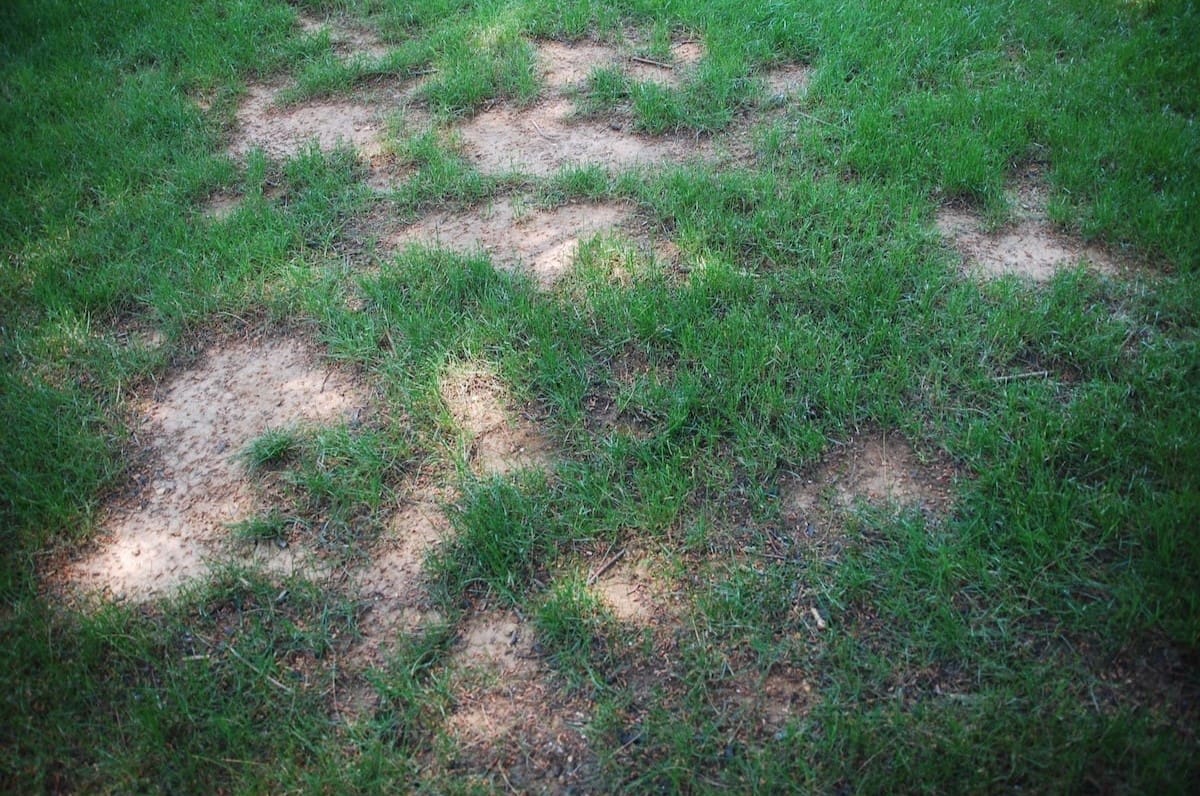
Growing a lush, green lawn starts with choosing high-quality grass seed. However, it’s not uncommon to find yourself with leftover grass seed from previous seasons or discover a forgotten bag in your garage. Before sowing the seed, it’s crucial to determine its viability to avoid wasting time and effort on seeds that won’t germinate.
Grass seed viability refers to the seed’s ability to germinate and grow into healthy grass plants. Various factors can affect seed viability, including age, storage conditions, and exposure to moisture or extreme temperatures. In this article, we will explore how to assess if grass seed is dead and provide practical tests to determine its viability.
By understanding the methods for assessing seed viability, gardeners can ensure that they are only planting viable seeds and maximize the chances of achieving a beautiful and well-established lawn.
Key Takeaways:
- Don’t waste time on dead grass seed! Check for discoloration, softness, and mold during visual inspection. Conduct a germination test for accurate viability assessment.
- Store grass seed in a cool, dry place and periodically test its viability. High germination rates indicate good viability, while low rates may require fresh seed.
Read more: How To Tell If Grass Is Dead Or Dormant
Factors Affecting Grass Seed Viability
Several factors can influence the viability of grass seed. It is essential to be aware of these factors to assess whether the seed is still viable. Here are the key factors to consider:
- Age of the Seed: As time passes, the viability of grass seed decreases. The older the seed, the lower the chances of successful germination. Most grass seed varieties have a lifespan of around two to three years, although some may remain viable for up to five years under optimal storage conditions.
- Storage Conditions: Proper storage plays a vital role in preserving seed viability. Exposure to moisture, extreme temperatures, and sunlight can damage the seed and reduce its germination rate. It’s best to store grass seed in a cool, dry place, such as an airtight container in a dark, temperature-controlled location.
- Moisture: Grass seed requires adequate moisture for germination. However, excessive moisture or prolonged exposure to water can cause the seed to rot or become damaged. Improper watering or heavy rainfall in storage can negatively affect the seed’s viability.
- Temperature: Extreme temperatures, both hot and cold, can have a detrimental impact on grass seed viability. Freezing temperatures can kill the seed, while prolonged exposure to high temperatures can lead to seed dormancy or even death.
- Seed Quality: The quality of the grass seed you purchase initially can play a significant role in its viability. It is advisable to buy seed from reputable sources to ensure it is fresh, pure, and of high genetic quality. Quality seed is more likely to have a higher germination rate.
By understanding the factors that can impact seed viability, you can make a more informed assessment of whether your grass seed is still viable for planting. In the following sections, we will explore different methods to determine the viability of grass seed visually and through tests.
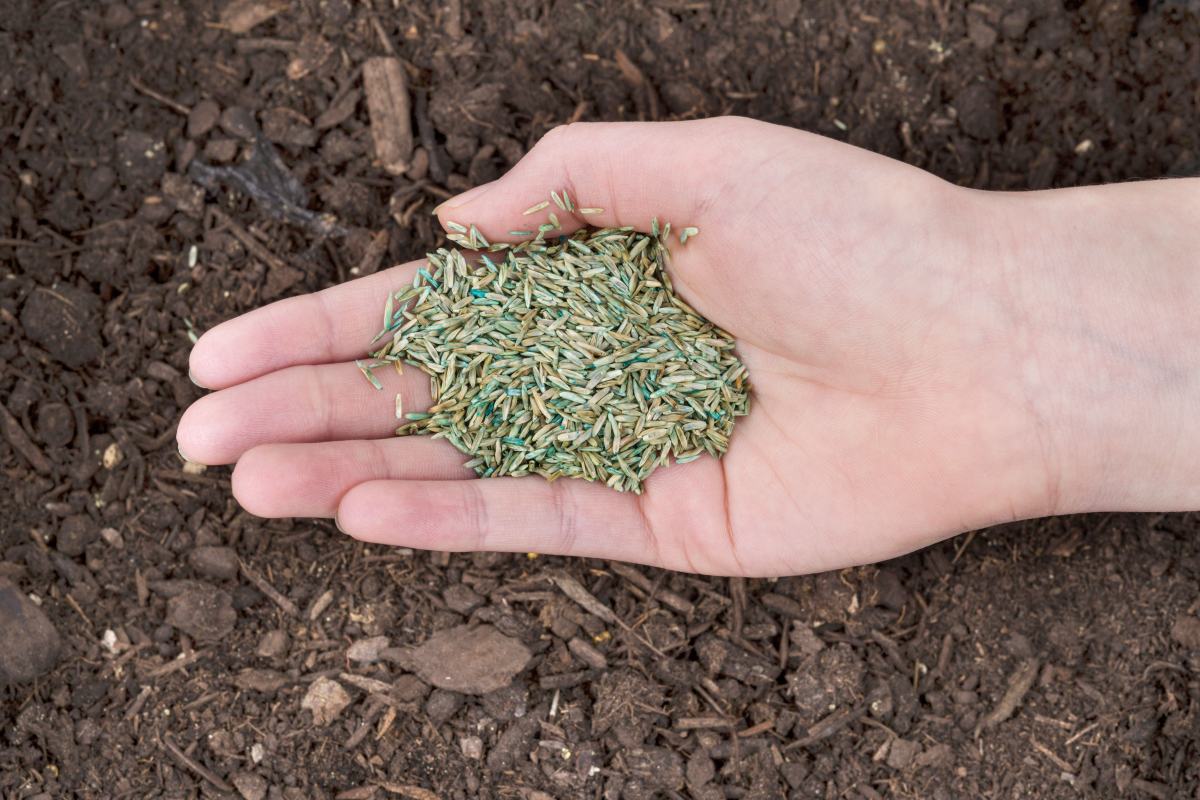
Visual Inspection of Grass Seed
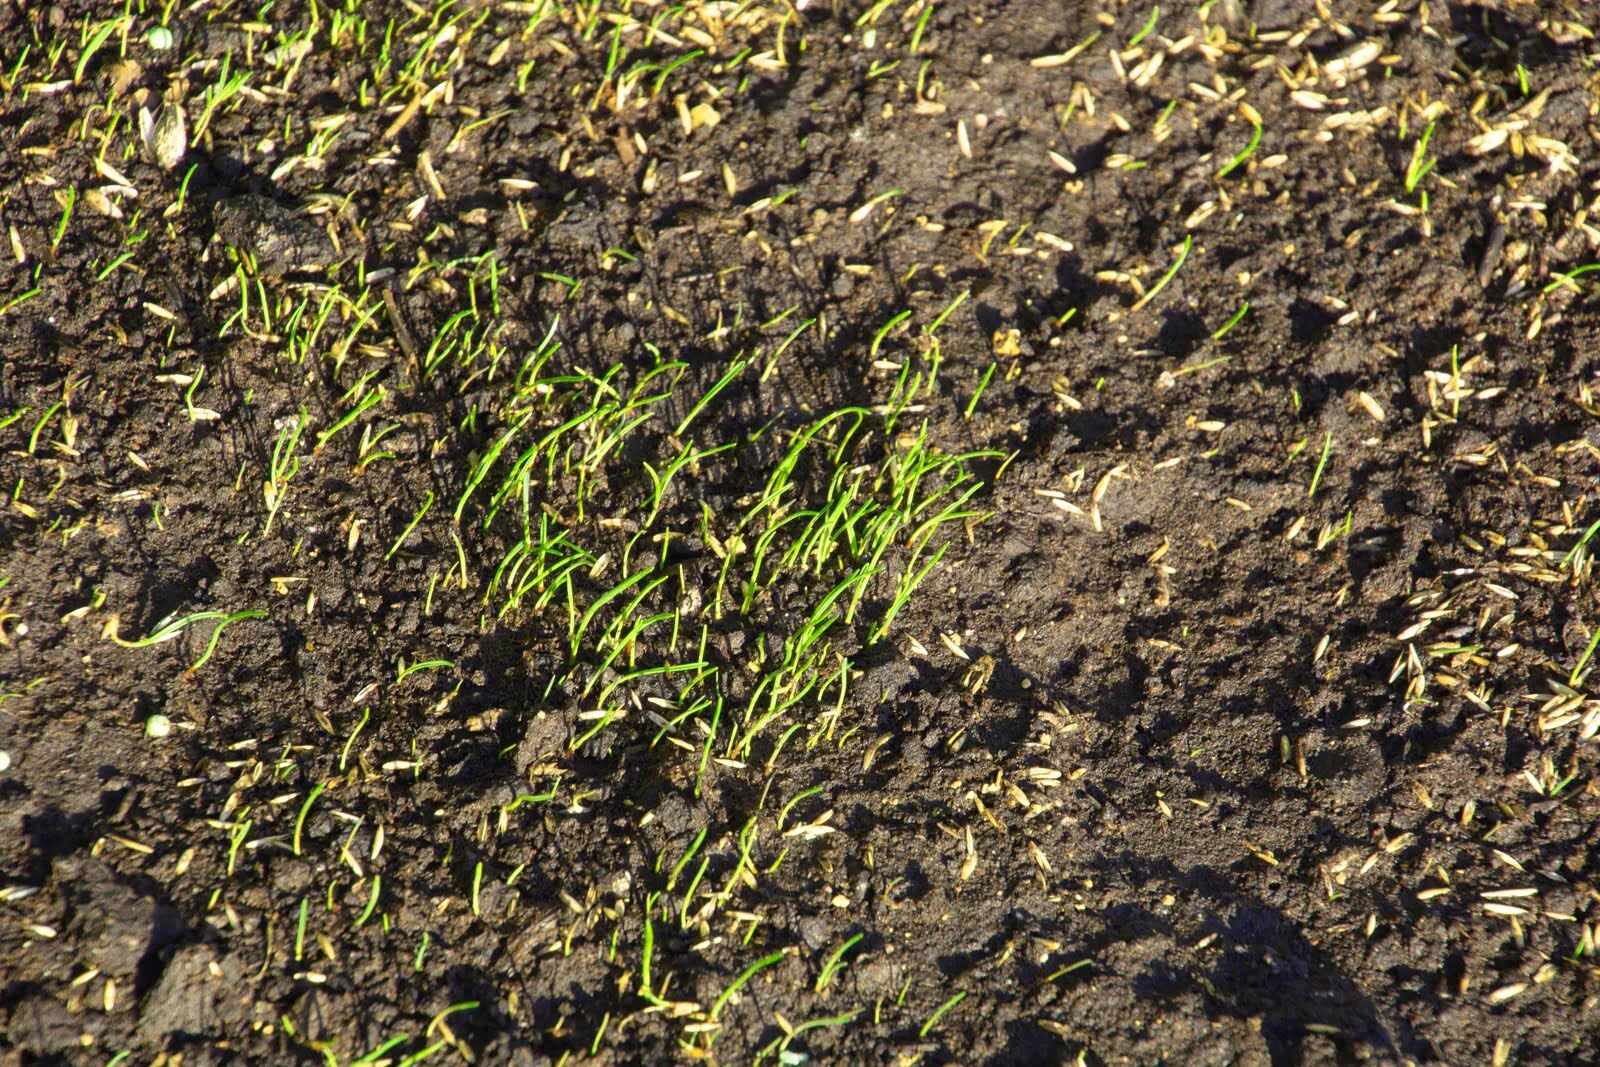
One of the first steps in determining the viability of grass seed is to visually inspect it. This method involves examining the physical characteristics of the seeds to identify any signs of damage or decay. Here’s how you can perform a visual inspection:
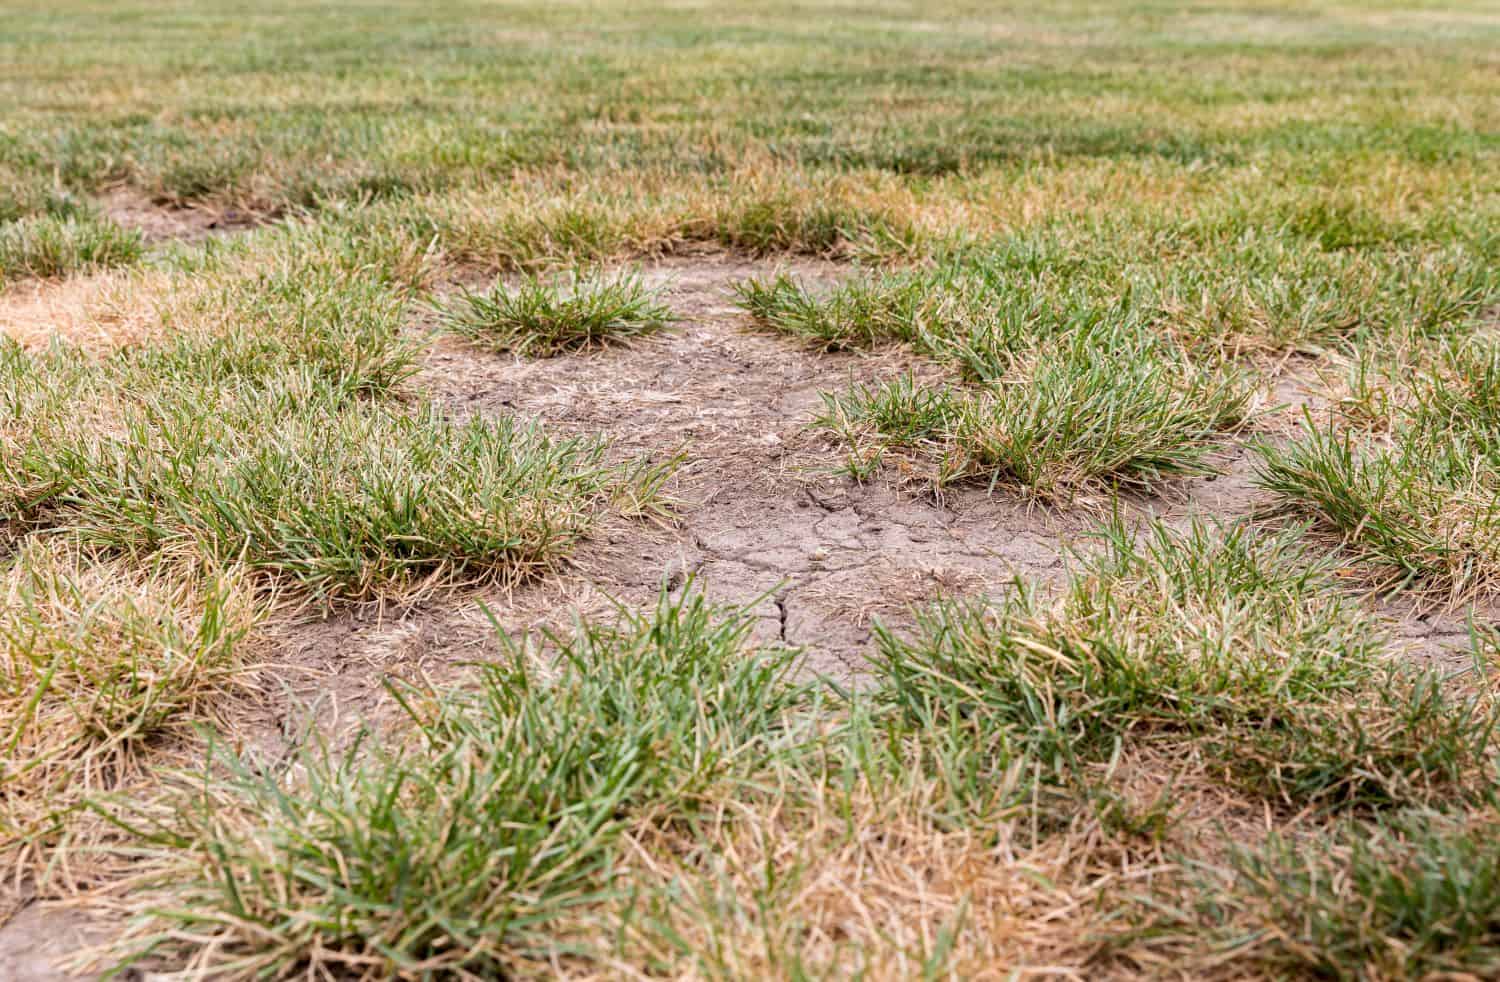
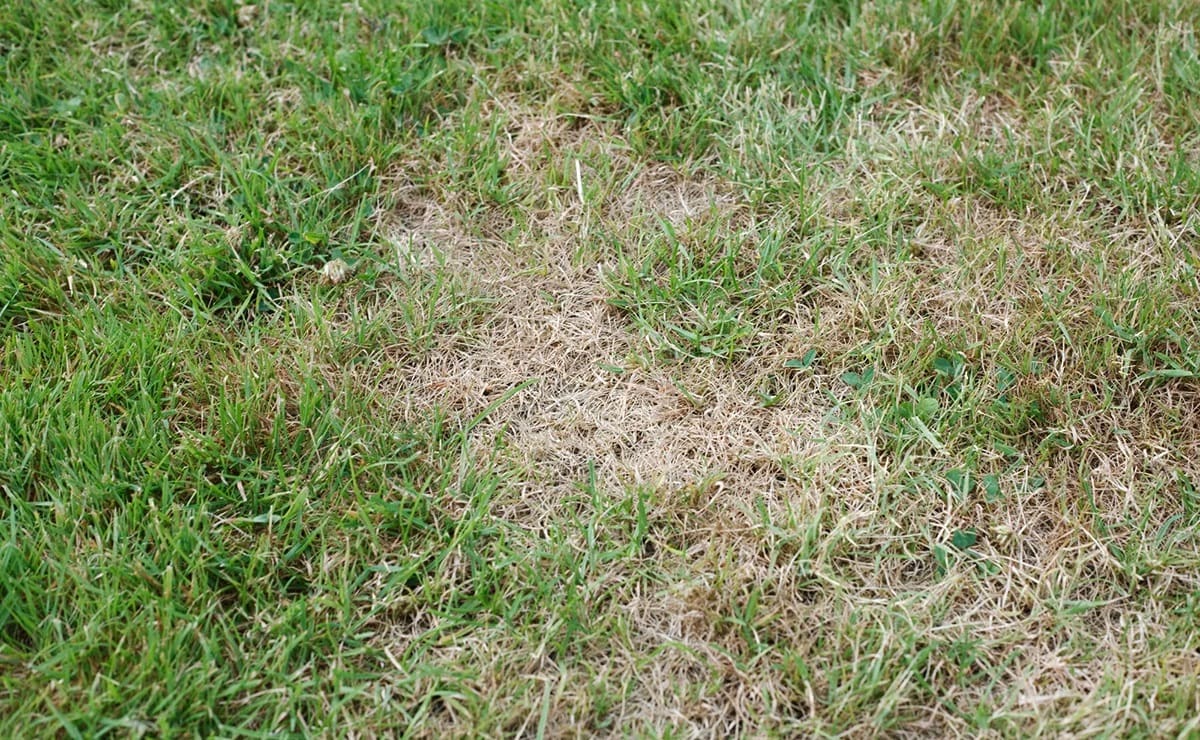
- Color and Texture: Take a close look at the seeds and observe their color and texture. Healthy grass seed usually has a uniform color and a smooth, firm texture. If you notice any discoloration, such as a dull or brownish appearance, or if the seeds feel soft or moldy, it is a sign that the seed may be dead or damaged.
- Size and Shape: Examine the size and shape of the seeds. Healthy grass seed is often uniform in size and shape. If you notice significant variations in size or irregularly shaped seeds, it could indicate low seed quality or potential damage.
- Presence of Chaff or Debris: Chaff refers to the husks or other debris that may be present with the seeds. A small amount of chaff is normal, but if you observe a high concentration of debris among the seeds, it may indicate poor seed quality or improper storage conditions.
- Odor: While not always reliable, sometimes a noticeable odor can indicate seed deterioration. If the grass seed has a musty or rotten smell, it is a strong indication that the seed is likely dead or compromised.
It’s important to note that a visual inspection alone may not provide a definitive assessment of seed viability. Some seeds may appear healthy on the outside but still lack the necessary internal structures for germination. To obtain a more accurate determination, conducting a germination test or performing a water float test can provide further insight into the viability of grass seed, as we will discuss in the following sections.
Conducting a Germination Test
A germination test is a reliable method to assess the viability of grass seed. This test involves creating a controlled environment that allows the seed to germinate under optimal conditions. Here’s how you can conduct a germination test:
- Select a Sample: Take a representative sample of the grass seed you wish to test. Aim for a sufficient quantity to obtain statistically significant results, usually around 100 seeds.
- Prepare a Growing Medium: Moisten a paper towel or a piece of filter paper and place it in a flat dish or container. Ensure that the medium is damp but not soaked.
- Distribute the Seeds: Spread the seeds evenly across the damp medium. Make sure they are not overcrowded to allow each seed enough space to grow.
- Provide Proper Conditions: Cover the dish or container with a lid or plastic wrap to create a humid environment. Place it in a warm location with consistent temperatures between 65-75°F (18-24°C).
- Monitor and Observe: Regularly check the seeds for signs of germination. Depending on the seed variety, this may take anywhere from a few days to a couple of weeks. Look for the emergence of tiny roots (radicles) and green shoots (cotyledons).
- Calculate Germination Rate: Once germination has occurred, count the number of seeds that have successfully sprouted. Divide this number by the total number of seeds tested and multiply by 100 to calculate the germination rate percentage.
Generally, a germination rate of 80% or higher indicates good seed viability. However, lower germination rates may still be acceptable, depending on your specific needs. If the germination rate is significantly below expectations, it may be a sign that the seed is dead or inactive.
A germination test can provide a more accurate assessment of seed viability compared to visual inspection alone. However, it does require some time and effort. If you prefer a quicker and simpler method, you can perform a water float test, which we will discuss in the next section.
To test if grass seed is dead, place a few seeds on a damp paper towel and keep it in a warm place for 7-10 days. If the seeds don’t sprout, they are likely dead and won’t grow when planted.
Performing the Water Float Test
The water float test is a quick and easy method to determine the viability of grass seed. This test relies on the principle that viable seeds are denser and will sink in water, while non-viable seeds or debris will float on the surface. Here’s how you can perform the water float test:
- Collect a Sample: Gather a representative sample of the grass seed you want to test. Aim for a sufficient quantity, about 10-20 seeds, to obtain accurate results.
- Prepare a Container of Water: Fill a transparent container, such as a glass or jar, with room temperature water. Leave enough space for the seeds to float or sink without overcrowding the surface.
- Place the Seeds in Water: Carefully drop the seeds into the water-filled container. Observe their behavior and note whether they sink or float. Vigorously shake the container to dislodge any debris that may interfere with the accuracy of the test.
- Interpret the Results: After a few minutes, observe the seeds. Viable seeds will sink to the bottom, indicating their potential for germination. Non-viable seeds or debris will likely float on the water’s surface or remain suspended in the middle.
- Discard Floating or Suspended Seeds: Remove any floating or suspended seeds as they are unlikely to germinate. You can also gently pour out the water along with the floating debris, keeping only the sunken seeds.
The water float test provides a quick indication of seed viability. However, it is important to note that this test may not be as accurate as a germination test. Some seeds may have a delayed sink rate due to factors like seed coat thickness or internal structures. Therefore, it is recommended to combine the water float test with other methods, such as visual inspection or a germination test, for a more comprehensive assessment of seed viability.
By using the water float test, you can quickly identify potentially non-viable seeds and make informed decisions about whether to sow them in your lawn or obtain fresh, viable seed.
Read more: How To Help Dead Grass
Interpreting Test Results
Once you have conducted either a germination test or a water float test, it’s time to interpret the results to determine the viability of your grass seed. Here’s how you can interpret the test results:
- High Germination Rate: If the germination test yielded a high percentage of sprouted seeds, typically 80% or above, or if the majority of the seeds sank in the water float test, it indicates that the seed is viable and has a good chance of successfully germinating when planted.
- Low Germination Rate: If the germination test resulted in a low percentage of sprouted seeds or if the majority of the seeds floated in the water float test, it suggests that the seed is less likely to germinate or may be non-viable. In such cases, it is advisable to consider purchasing fresh seed for optimal results.
- Variable Germination or Mixed Results: Sometimes, you may observe mixed results in the tests, with some seeds sprouting and others not. This could indicate variations in seed quality or potential contamination in the sample. In such cases, it is best to err on the side of caution and consider obtaining fresh seed.
- Non-viable Seeds: If none of the seeds sprout in the germination test or all of the seeds float in the water float test, it is a strong indication that the seed is likely dead or non-viable. In this case, it is recommended to discard the seed and obtain new, viable seed for planting.
Remember to consider the overall condition of the seed, including visual inspection results, in conjunction with the test results. Sometimes, aged seed may still have a decent germination rate, especially if it has been stored properly. However, it is recommended to prioritize fresh, high-quality seed to ensure the best chances of success.
By interpreting the results of the tests, you can make an informed decision about the viability of your grass seed and take appropriate actions for a successful lawn establishment.
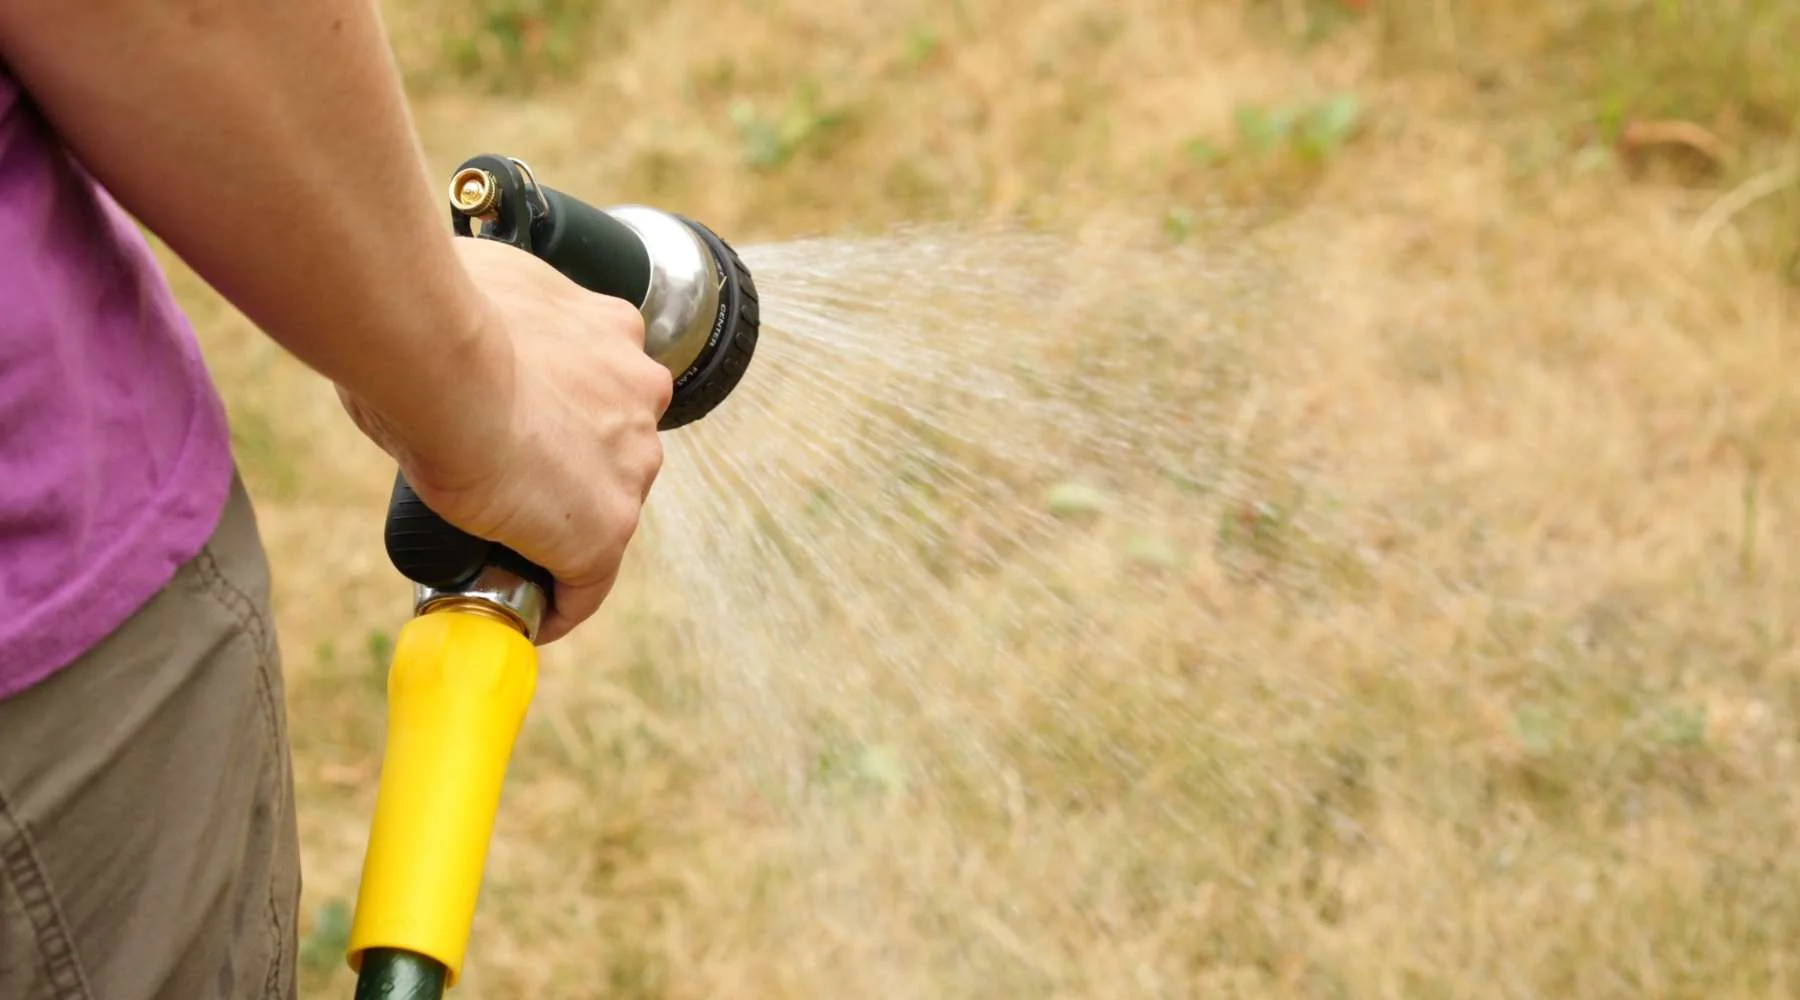
Storing and Preserving Grass Seed
Proper storage is crucial for maintaining the viability of grass seed. By following the right practices, you can preserve the quality of your seed and maximize its germination potential. Here are some tips for storing and preserving grass seed:
- Store in a Cool, Dry Place: Store your grass seed in a cool and dry area, away from direct sunlight and moisture. Airtight containers, such as resealable bags or jars, can help protect the seed from humidity and pests. Avoid storing seed in areas prone to temperature fluctuations, such as garages or sheds, as extreme heat or cold can damage the seed.
- Avoid Excessive Heat and Humidity: Exposure to high temperatures and humidity can reduce seed viability. Make sure the storage location maintains a stable temperature, ideally between 40-70°F (4-21°C). Avoid storing seed near appliances, radiators, or areas prone to condensation or high humidity levels.
- Keep Away from Pests: Pests can cause damage to the seed or contaminate it. Store grass seed in a location where it is less likely to attract rodents, insects, or other pests. Regularly check for any signs of pest infestation and take prompt action if necessary.
- Monitor Seed Moisture: Moisture is one of the biggest threats to seed viability. Ensure the grass seed is thoroughly dried before storing it. If the seed feels damp, spread it out in a thin layer in a well-ventilated area until it is completely dry. Moisture absorbers or desiccant packets can also help control moisture levels in the storage container.
- Label and Date the Seed: Proper labeling is important to keep track of the seed variety and the date of purchase or harvest. This information will help you assess the age of the seed and its potential viability in the future.
- Periodically Test Seed Viability: Even when stored correctly, seed viability can decline over time. Periodically conduct germination tests or water float tests to assess the viability of your stored grass seed. This will help you determine whether it is still suitable for planting or if you need to replenish your seed stock.
By implementing these storage and preservation practices, you can extend the lifespan of your grass seed and maintain the highest possible viability for successful germination and establishment of a healthy lawn.
Conclusion
Assessing the viability of grass seed is an essential step in ensuring the success of your lawn. By understanding the factors that affect seed viability and performing tests to determine its condition, you can make informed decisions about whether to use the seed or purchase fresh ones.
Visual inspection provides a preliminary assessment, looking for signs of damage or decay. Conducting a germination test or a water float test offers more accurate insights into the seed’s viability. The germination test creates optimal conditions for seed germination and provides a percentage of viable seeds, while the water float test quickly separates viable seeds from non-viable ones based on their sinking or floating behavior.
Interpreting the test results helps you determine the viability of your grass seed. High germination rates or sinking seeds indicate good viability, while low rates or floating seeds suggest lower chances of successful germination. Mixed results may require further consideration, and non-viable seeds should be discarded.
To enhance seed viability, proper storage and preservation practices are crucial. Storing your grass seed in a cool, dry place, protecting it from heat, excess moisture, and pests, helps maintain its quality over time. Regularly testing seed viability and properly labeling stored seed will keep you informed about its age and potential for successful germination.
Remember that while these tests and practices can provide valuable insights, they are not foolproof. Individual seed viability can vary, and external factors beyond control may also impact germination. However, by following these guidelines, you can greatly increase the chances of establishing a vibrant and healthy lawn.
In summary, by understanding the factors affecting grass seed viability, conducting tests to assess viability, and implementing proper storage practices, you can make informed decisions and achieve successful lawn establishment with high-quality grass seed.
Frequently Asked Questions about How To Tell If Grass Seed Is Dead
Was this page helpful?
At Storables.com, we guarantee accurate and reliable information. Our content, validated by Expert Board Contributors, is crafted following stringent Editorial Policies. We're committed to providing you with well-researched, expert-backed insights for all your informational needs.


0 thoughts on “How To Tell If Grass Seed Is Dead”