Home>Garden Essentials>Garden Plants>How To Overwinter Thyme

Garden Plants
How To Overwinter Thyme
Modified: August 17, 2024
Learn how to successfully overwinter thyme plants and ensure their survival during the colder months with our comprehensive guide.
(Many of the links in this article redirect to a specific reviewed product. Your purchase of these products through affiliate links helps to generate commission for Storables.com, at no extra cost. Learn more)
Introduction
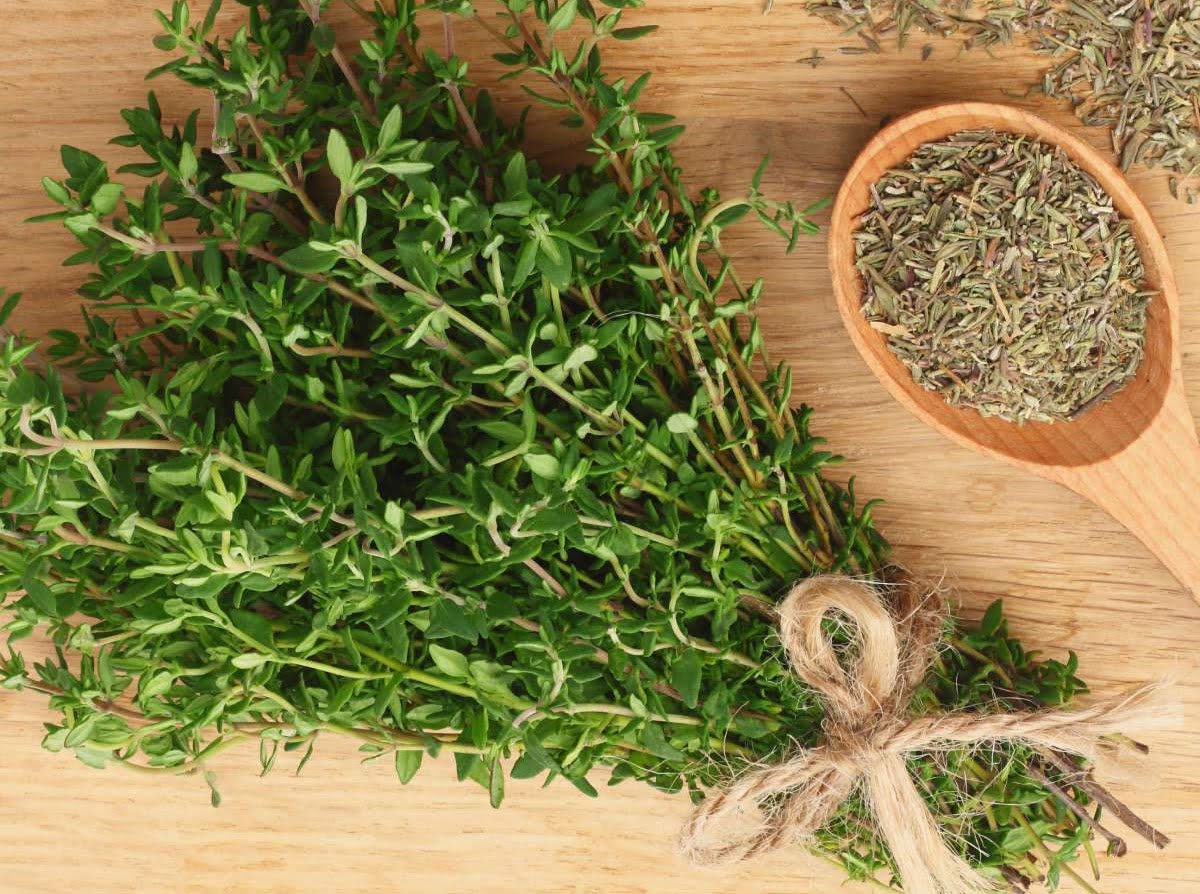
Welcome to our comprehensive guide on how to overwinter thyme! Thyme is a versatile and aromatic herb that is commonly used in cooking, herbal remedies, and even as a ground cover in landscaping. While thyme is a hardy perennial that can survive in various climates and conditions, it may still require some extra care during the winter months to ensure its survival and thrive in the next growing season.
Overwintering thyme refers to the process of providing the necessary protection and maintenance to help the plants survive winter temperatures, especially in colder regions. By following a few simple steps, you can increase the chances of your thyme plants successfully making it through the winter and regrowing vigorously when spring arrives.
In this article, we will walk you through the essential techniques and practices for overwintering thyme plants. From selecting the right varieties to preparing them for winter, we’ll cover everything you need to know to keep your thyme plants healthy and thriving during the dormant season.
Key Takeaways:
- Ensure the survival of your thyme plants through winter by selecting cold-tolerant varieties, providing proper care, and protecting them from frost and pests. Enjoy fresh thyme year-round with these essential techniques.
- Overwintering thyme involves careful preparation, selective harvesting, and ongoing maintenance to support the plants through the dormant season. Follow these comprehensive guidelines to ensure the health and vitality of your thyme garden.
Read more: How To Overwinter Lemongrass
Choosing Thyme Varieties for Overwintering
When it comes to overwintering thyme, selecting the right varieties is an important consideration. Not all thyme varieties are equally hardy, so choosing cold-tolerant varieties will increase the chances of survival in harsh winter conditions. Here are a few thyme varieties that are known for their winter hardiness:
- Winter Thyme (Thymus vulgaris ‘Winter’): As the name suggests, this thyme variety is specifically bred for winter survival. It can tolerate cold temperatures down to USDA hardiness zone 5 and is known for its strong flavor.
- Creeping Thyme (Thymus serpyllum): Creeping thyme is a low-growing variety that forms a dense mat of foliage. It is highly adaptable and can withstand a wide range of temperatures, making it a great choice for overwintering.
- Lemon Thyme (Thymus x citriodorus): Lemon thyme is prized for its citrusy fragrance and flavor. It is a hardy variety that can tolerate colder climates and is a popular choice among gardeners for both culinary and ornamental purposes.
- English Thyme (Thymus vulgaris): English thyme is one of the most commonly grown thyme varieties. It has a robust flavor and is highly adaptable to various growing conditions, including overwintering.
When choosing thyme varieties for overwintering, also consider the specific hardiness zone of your region. Thyme varieties that are suitable for one zone may not fare well in another. Check the USDA hardiness zones for the recommended range of each variety and choose accordingly.
Additionally, take note of any specific growing requirements or considerations for each thyme variety. Some may prefer full sun, while others can tolerate partial shade. Understanding the needs of your chosen thyme varieties will help you provide the appropriate care during the overwintering process.
Preparing Thyme Plants for Winter
Before the onset of winter, it’s essential to prepare your thyme plants to withstand the cold temperatures and potential stressors. By following these steps, you can ensure that your thyme plants are in the best possible condition before entering their dormant period:
- Trimming and Pruning: Start by trimming and pruning your thyme plants in late fall. Remove any dead or damaged branches and trim the plant to maintain its desired shape. This helps improve air circulation and prevents the accumulation of moisture, which can lead to fungal diseases.
- Fertilizing: Apply a balanced organic fertilizer to provide essential nutrients to the thyme plants before winter. This helps promote healthy growth and prepares the plants for the dormant period.
- Watering: Gradually reduce the frequency of watering as winter approaches. Thyme plants require less water during dormancy, so ensure that the soil is slightly dry before the first frost. Overwatering can lead to root rot or other water-related issues.
- Inspecting for Pests and Diseases: Conduct a thorough inspection of your thyme plants to identify and address any signs of pests or diseases. Treat infestations or infections promptly to prevent them from becoming more severe during winter.
- Cleaning and Tidying: Remove any debris, fallen leaves, or weeds around your thyme plants. This helps minimize potential hiding spots for pests and reduces the risk of diseases.
- Dividing (if necessary): If your thyme plants have become overcrowded or have started to decline in vigor, consider dividing and replanting them before winter. This allows for better airflow and ensures healthier growth in the next season.
By taking the time to prepare your thyme plants for winter, you can enhance their resilience and increase their chances of surviving the harsh conditions. These simple steps will set the stage for successful overwintering and a healthy thyme crop in the following season.
Selecting the Right Container or Bed
Choosing the right container or bed for overwintering your thyme plants is crucial for their protection and successful growth. Consider the following factors when selecting the container or bed:
- Size: Ensure that the container or bed is large enough to accommodate the root system of the thyme plant. Thyme plants have a spreading habit, so they require sufficient space to grow and develop.
- Drainage: Opt for containers or beds with good drainage to prevent waterlogged soil. Excessive moisture can be detrimental to thyme plants, as it may lead to root rot and other water-related issues. Ensure that the containers have drainage holes, or enhance the drainage in the bed by incorporating a layer of gravel or sand at the bottom.
- Material: Choose containers made of durable materials such as plastic, clay, or terracotta. These materials offer good insulation and help regulate temperature fluctuations. If using a bed, ensure that it is built with quality materials and has proper drainage channels.
- Location: Place containers or beds in a location that receives adequate sunlight. Thyme plants thrive in full sun, so choose a spot that gets at least 6-8 hours of direct sunlight each day during the winter months.
- Accessibility: Consider the accessibility of the container or bed for maintenance and protection purposes. Ensure that you can easily reach the plants for watering, monitoring, and applying any necessary measures during the winter months.
- Microclimate Considerations: Take into account the specific microclimate of your location. Certain areas of your yard or garden may provide more protection from the wind or have slightly higher temperatures, which can be beneficial for overwintering thyme.
Whether you choose to use containers or beds for overwintering your thyme plants, providing the right environment is essential for their survival and growth. Take the time to assess these factors and select the most suitable option for your specific needs, ensuring that your thyme plants have a safe and conducive space to thrive during the winter months.
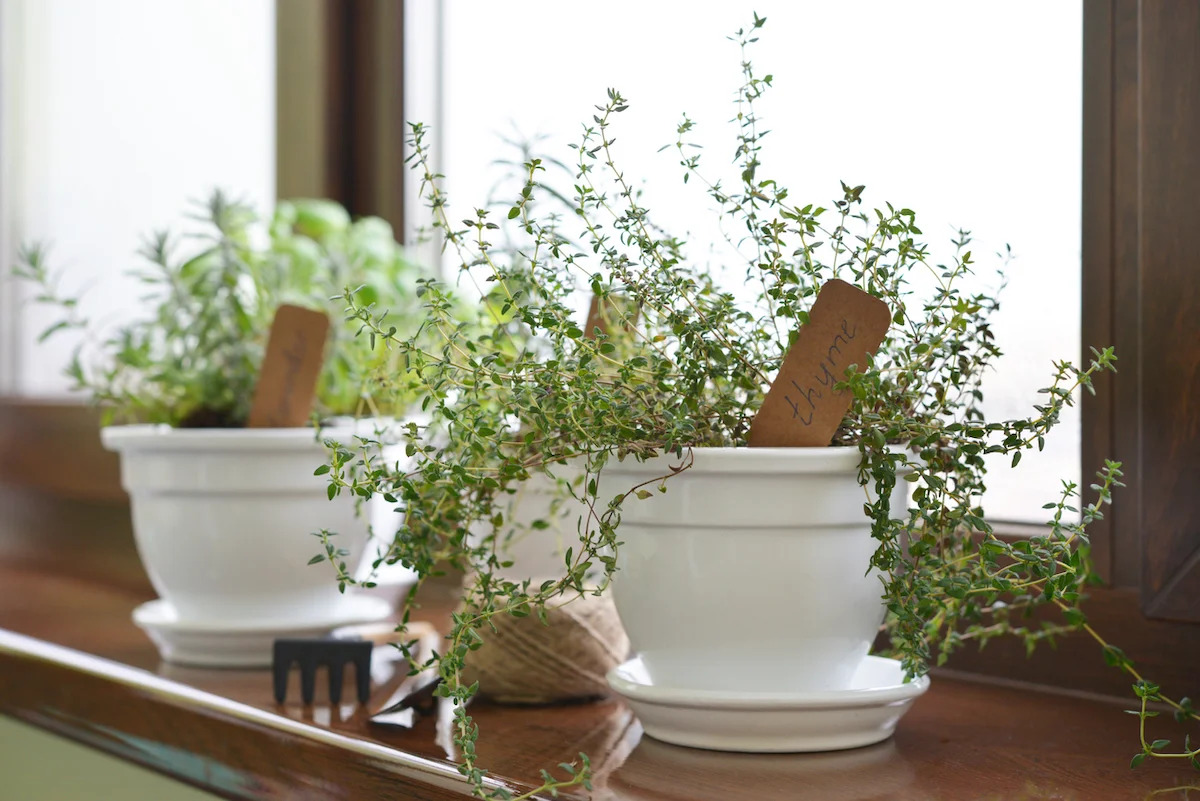
Transplanting Thyme into Containers
Transplanting thyme into containers is an effective way to provide the necessary protection and care during the winter months. Follow these steps to ensure a successful transplant:
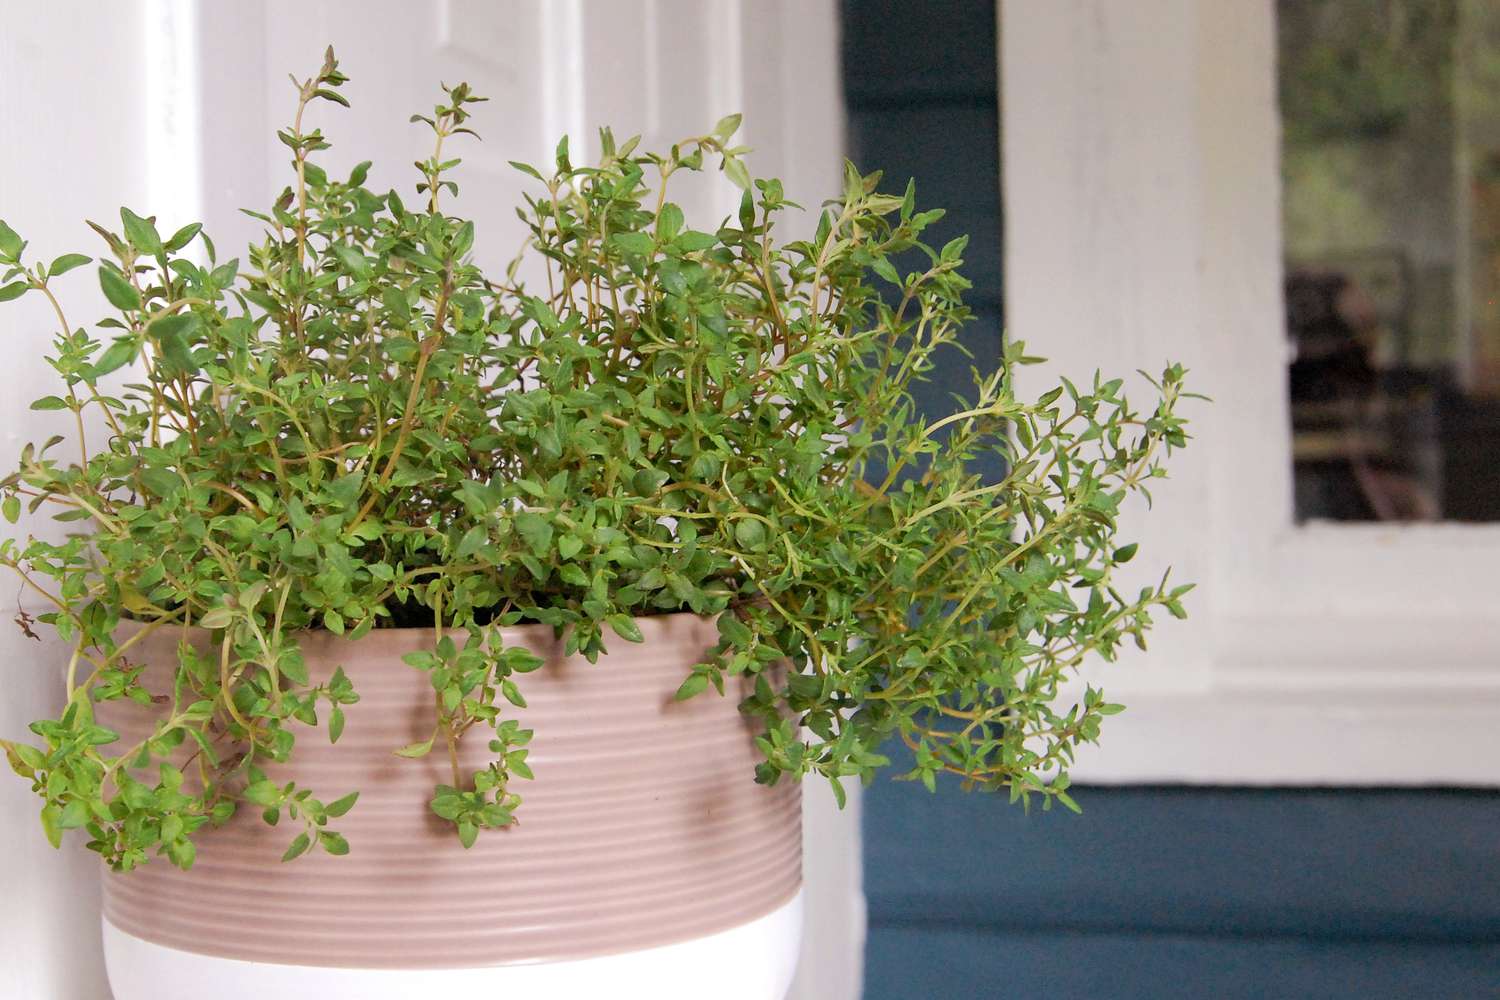
- Selecting the Right Container: Choose a container that is at least 12 to 14 inches in diameter and has good drainage. This allows ample space for the thyme plant’s root system to grow and ensures that excess water can drain effectively.
- Preparing the Container: Fill the container with a well-draining potting mix. You can improve the drainage by adding perlite or coarse sand to the mix. Leave about an inch of space at the top of the container for easy watering.
- Preparing the Thyme Plant: Gently remove the thyme plant from its original container or location, taking care not to damage the roots. If the root ball is tightly packed, loosen it slightly with your fingers to encourage healthy root growth.
- Planting the Thyme: Make a hole in the center of the container that is slightly larger than the root ball of the thyme plant. Place the plant in the hole, ensuring that it is planted at the same depth as it was originally. Avoid burying the stem or crown of the plant.
- Backfilling and Watering: Fill the space around the thyme plant with the potting mix, gently firming it to secure the plant in place. After transplanting, water the thyme thoroughly to settle the soil and eliminate any air pockets.
- Placement and Sunlight: Place the container in a location that receives full sun for at least 6-8 hours a day. Adequate sunlight is essential for the thyme plant’s growth and development.
- Watering and Maintenance: Monitor the moisture levels in the container and water the thyme as needed. Avoid overwatering, as it can lead to root rot. Check the soil regularly and water when the top inch feels dry. Be mindful of any rainfall, as this will affect the watering frequency.
Transplanting thyme into containers provides additional flexibility and control over the plant’s environment during the winter months. It allows you to move the container to protect the thyme from extreme temperatures, strong winds, or heavy rains. By following these steps, you can ensure a smooth transplant process and provide the best conditions for your thyme plant to thrive.
Read more: How To Chop Thyme
Mulching and Protecting Thyme Plants
Mulching is an important step in protecting thyme plants during the winter months. It helps conserve moisture, regulate soil temperature, and provide insulation from harsh weather conditions. Follow these guidelines to effectively mulch and protect your thyme plants:
- Timing: Apply mulch to your thyme plants after the first frost has occurred. This ensures that the plants have hardened off and are prepared for the winter ahead.
- Types of Mulch: Organic mulch, such as straw, shredded leaves, or compost, is ideal for thyme plants. Avoid using materials that may retain excessive moisture, such as wood chips or bark, as this can lead to root rot.
- Application: Apply a layer of mulch around the base of the thyme plants, ensuring that the mulch is not piled directly against the stems. A thickness of 2 to 3 inches is generally sufficient to provide insulation and protection.
- Insulation: Mulch acts as an insulator, protecting the thyme plants from extreme temperature fluctuations. It helps regulate soil temperature and prevents freeze-thaw cycles that can damage the roots. This is particularly beneficial in regions with harsh winters.
- Moisture Retention: Mulch helps retain moisture in the soil, reducing the need for frequent watering. It prevents the soil from drying out too quickly and helps maintain a more stable moisture level for the thyme plants.
- Weed Suppression: Mulching also helps suppress weed growth around the thyme plants. It acts as a barrier, preventing weeds from germinating and competing with the thyme for nutrients and resources.
- Winter Protection: In addition to mulching, consider using protective measures such as burlap or frost blankets to shield the thyme plants from harsh winds and heavy snowfall. These can be placed over the plants during severe weather conditions and removed when the weather improves.
By mulching and providing additional protection, you can create a favorable environment for your thyme plants during winter. This ensures their survival and sets the stage for strong growth when spring arrives. Remember to monitor the moisture levels in the soil and adjust the mulch as needed to maintain optimal conditions for your thyme plants.
Providing Adequate Watering
Proper watering is crucial for the health and survival of thyme plants during the winter months. While thyme plants require less water during dormancy, they still need adequate moisture to sustain them. Here are some guidelines to follow when it comes to watering your thyme plants:
- Monitor Soil Moisture: Regularly check the moisture level of the soil around your thyme plants. Stick your finger about an inch deep into the soil – if it feels dry, it’s time to water. Avoid overwatering, as thyme plants are susceptible to root rot.
- Watering Frequency: The frequency of watering will depend on the climate and conditions of your specific location. In general, aim to water your thyme plants about once every two weeks during winter, or whenever the soil feels dry. Adjust the watering schedule depending on rainfall and temperature fluctuations.
- Deep Watering: When you do water your thyme plants, ensure that you provide a deep watering. This encourages the roots to grow deeply and strengthens the plant’s overall resilience. Water the area around the plant, ensuring that the soil is thoroughly moistened.
- Watering Techniques: Consider using a soaker hose or drip irrigation system to water your thyme plants. This helps deliver water directly to the soil, minimizing evaporation and ensuring that the moisture reaches the roots effectively.
- Avoiding Overhead Watering: During winter, it’s best to avoid overhead watering, as it can lead to excessive moisture on the foliage and promote the development of fungal diseases. Watering at the base of the plant is more beneficial for thyme plants.
- Prevent Waterlogging: Ensure that the containers or beds have good drainage to prevent waterlogging. Excessive moisture can be damaging to thyme plants and may cause root rot. If needed, incorporate drainage material or elevate the containers to promote better drainage.
- Mulching for Moisture Retention: Apply a layer of organic mulch around your thyme plants to help retain moisture in the soil. Mulch acts as a barrier, reducing evaporation and helping to maintain a more stable moisture level for the plants.
By providing adequate and timely watering, you can ensure that your thyme plants receive the necessary moisture for their survival during winter. Remember to adjust your watering schedule based on the specific needs and conditions of your thyme plants, and be mindful of maintaining proper moisture levels without overwatering.
To overwinter thyme, mulch the plants with a thick layer of straw or leaves to protect them from freezing temperatures. This will help insulate the roots and prevent winter damage.
Managing Thyme’s Sunlight Exposure during Winter
Proper sunlight exposure is essential for the health and vitality of thyme plants, even during the winter months. While thyme is known for its ability to tolerate a wide range of sunlight conditions, it still benefits from adequate sunlight. Here are some tips for managing thyme’s sunlight exposure during winter:
- Full Sun is Ideal: Thyme plants thrive in full sun, which is defined as at least 6-8 hours of direct sunlight per day. During winter, it’s important to provide your thyme plants with as much sunlight as possible to support their growth and overall well-being.
- Optimal Placement: Choose a location for your thyme plants where they will receive maximum sunlight exposure. This may require observing the sunlight patterns in your yard or garden and selecting a spot that gets the most sun during the winter months.
- Consider Winter Shadows: Keep in mind that the angle and intensity of sunlight can change during winter. Take note of any shadows cast by nearby trees, structures, or other plants that may obstruct sunlight. Place your thyme plants in an area that avoids these shadows as much as possible.
- Monitor Sunlight Availability: Regularly check the sunlight availability for your thyme plants, especially if they are in containers. Watch for any changes in the surroundings that may impact their exposure, such as the growth of neighboring plants or the movement of objects that may cast shadows.
- Rotate Containers if Needed: If you are growing thyme in containers, it may be necessary to rotate the containers periodically to ensure that all sides of the plant receive adequate sunlight. This helps maintain even growth and prevents one side from becoming leggy or weak due to inadequate light.
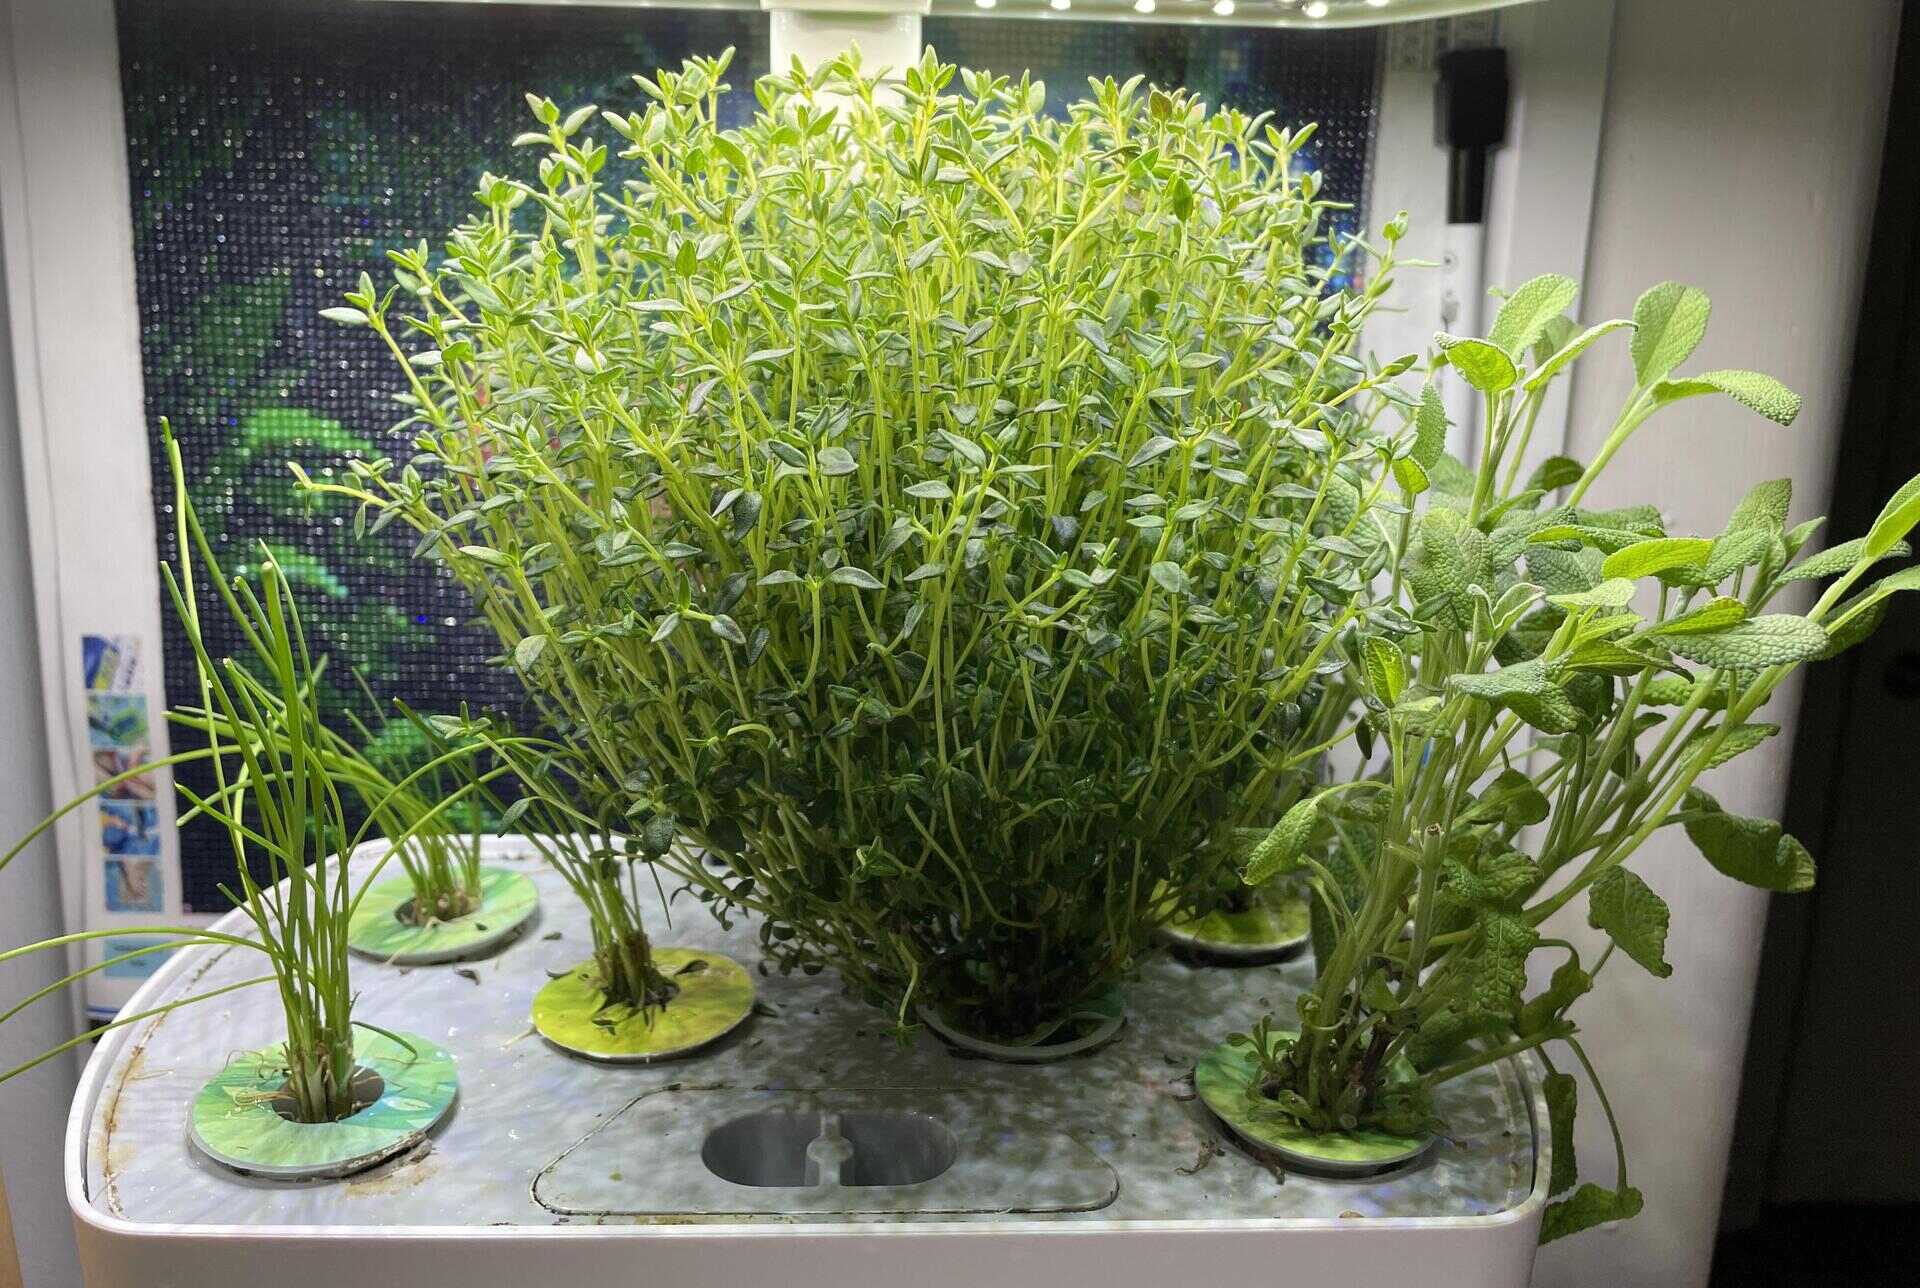
- Supplemental Lighting: In regions with limited winter sunlight, consider providing supplemental lighting for your thyme plants. LED grow lights or fluorescent lights can be used to supplement natural light and provide the necessary spectrum for photosynthesis.
- Protect from Strong Winds: While sunlight is important, it’s also vital to protect your thyme plants from strong winds during winter. Wind can cause drying and damage to the leaves and stems. Use wind barriers, such as hedges or fences, to shield thyme plants from excessive wind exposure.
By managing thyme’s sunlight exposure during winter, you can ensure that the plants receive the necessary light for growth and vitality. Pay attention to sunlight patterns, make adjustments as needed, and provide protection from harsh winds to create optimal conditions for your thyme plants to thrive.
Protecting Thyme Plants from Frost
Frost can be detrimental to thyme plants, as it can damage the foliage and even kill the plant if left unprotected. Taking measures to protect your thyme plants from frost will help ensure their survival and minimize cold-related damage. Here are some effective methods to safeguard your thyme plants:
- Monitor Weather Forecasts: Pay attention to weather forecasts and keep track of the predicted frost dates in your area. This will help you plan ahead and take protective measures before frost occurs.
- Covering with Mulch: Before an expected frost, apply an extra layer of mulch around the base of your thyme plants. The mulch acts as a protective barrier, insulating the roots and preventing them from freezing.
- Using Floating Row Covers: Floating row covers are lightweight fabrics specifically designed to protect plants from frost. Install a row cover over your thyme plants before the onset of frost. These covers allow sunlight and air to penetrate while providing insulation and frost protection.
- Using Cold Frames: Another option is to use cold frames, which are essentially small, transparent structures that enclose the thyme plants. Cold frames create a microclimate that insulates and protects the plants from frost. Open them during the day to allow air circulation, and close them at night to retain warmth.
- Applying Protective Sprays: Anti-transpirant sprays and frost protection sprays can be applied to the foliage of thyme plants. These sprays create a thin film that helps prevent moisture loss and offers some level of frost protection. Follow the instructions on the product label for proper application.
- Providing Heat Sources: In extreme cases, additional heat sources can be used to protect thyme plants from frost. This can include stringing outdoor-rated Christmas lights or using electric frost blankets. Ensure that any heat sources are safe to use outdoors and follow proper safety precautions.
- Planting in Protected Areas: If possible, plant your thyme in areas of your garden that are naturally protected from frost. For example, planting near a south-facing wall or in a sheltered spot can provide some degree of protection from frost.
Remember to remove any protective coverings or treatments as soon as the threat of frost has passed. Leaving coverings in place for too long can create a humid environment that increases the risk of fungal diseases.
By taking proactive steps to protect your thyme plants from frost, you can safeguard their health and increase their chances of surviving harsh winter conditions. Assess the severity of frost in your region and choose the methods that best suit your needs and the specific requirements of your thyme plants.
Using Row Covers or Cold Frames for Added Protection
Row covers and cold frames are effective tools for providing added protection to your thyme plants during the winter months. These structures create a microclimate that shields the plants from cold temperatures, wind, and frost. Here’s how you can utilize row covers and cold frames to enhance the survival of your thyme plants:
Row Covers:
- Selecting the Right Material: Choose row covers made of lightweight and breathable fabric, such as floating row cover or frost cloth. These materials allow air and sunlight to reach the plants while creating a protective barrier.
- Installation: Secure row covers over your thyme plants by placing wire hoops or stakes into the ground, then draping the cover over them. Ensure that the fabric is not in direct contact with the foliage, as this can cause damage due to condensation during temperature fluctuations.
- Monitoring: Regularly check the row covers for any damage, sagging, or excessive condensation. Maintain proper ventilation by slightly lifting or opening the row covers during warmer daytime temperatures to prevent heat buildup and excess moisture.
- Removal: Remove the row covers during periods of milder weather or when the threat of frost has passed. This allows for direct sunlight and proper air circulation, preventing overheating or the development of fungal diseases.
Cold Frames:
- Construction: Build or purchase a cold frame, which is essentially a small, transparent structure with a hinged or removable lid. The frame should be sturdy and placed on a level surface.
- Positioning: Place the cold frame in a location that receives ample sunlight throughout the day. Orient it towards the south to maximize exposure to the sun’s rays.
- Ventilation: Proper ventilation is crucial in a cold frame to prevent overheating and excess moisture. Open the lid partially or fully during warmer days and close it at night or during colder temperatures to retain warmth.
- Maintenance: Monitor the temperature inside the cold frame regularly, ensuring it stays within acceptable ranges for thyme plants. Avoid excessive humidity by providing ventilation and removing any condensation that forms on the cold frame surfaces.
- Gradual Acclimation: To prevent shock, gradually acclimate your thyme plants to the cold frame by leaving the lid partially open for a few hours each day before completely closing it.
Row covers and cold frames provide an additional layer of protection for your thyme plants, creating a controlled environment that safeguards them from frost, wind, and rapid temperature fluctuations. Carefully monitor the conditions inside these structures and adjust ventilation accordingly to maintain optimal growth conditions for your thyme plants.
Monitoring Thyme for Pests and Diseases
Regular monitoring for pests and diseases is essential to ensure the health and vitality of your thyme plants. During the winter months, when thyme is more susceptible to stress, it’s important to be vigilant and address any issues promptly. Here are some key steps for effectively monitoring thyme for pests and diseases:
- Visual Inspection: Regularly inspect your thyme plants for any signs of pests or diseases. Look for visible damage, discoloration, wilting, or abnormalities on the foliage, stems, and branches.
- Pest Identification: Learn to identify common pests that may affect thyme plants, such as aphids, spider mites, or thrips. Use a magnifying glass if necessary to spot small insects or their eggs.
- Early Intervention: Act quickly if you notice any pest infestations or signs of disease. Remove affected leaves or damaged plant parts to prevent further spread. Consider using organic and eco-friendly pest control methods, such as insecticidal soap or neem oil, to treat infestations.
- Monitoring Soil Moisture: Avoid overwatering your thyme plants during winter, as excessive moisture can create favorable conditions for fungal diseases. Keep the soil slightly dry to discourage disease development.
- Leaf Spot Diseases: Keep an eye out for leaf spot diseases, which can cause dark spots or patches on the thyme leaves. If detected, remove and dispose of infected leaves, and ensure good air circulation around the plants.
- Root Rot: Monitor the soil moisture levels and drainage to prevent root rot, which can occur due to overly wet soil. Avoid waterlogged conditions by ensuring proper drainage in containers or beds.
- Practice Good Sanitation: Regularly clean up the area around your thyme plants, removing fallen leaves, weeds, and debris. Good sanitation helps reduce hiding places for pests and minimizes the risk of disease development.
- Beneficial Insects: Encourage beneficial insects, such as ladybugs and lacewings, that feed on pests. Avoid using broad-spectrum pesticides that can harm these beneficial insects.
- Consulting Experts: If you are unsure about the identification or treatment of pests or diseases affecting your thyme plants, seek assistance from local gardening experts, extension offices, or reputable gardening forums for guidance and advice.
Regular and attentive monitoring of your thyme plants for pests and diseases is key to preventing severe damage and ensuring their overall well-being. By identifying and addressing issues early on, you can take the necessary steps to protect your plants and maintain a healthy thyme garden.
Pruning and Maintenance during Winter
Pruning and maintenance of thyme plants during winter play a crucial role in promoting their health, shape, and overall longevity. Although thyme is a hardy perennial, it’s important to continue caring for them even during the dormant season. Here are some tasks to consider for pruning and maintenance during winter:
- Cleaning Up: Remove any fallen leaves, dead foliage, or debris from around the thyme plants. This reduces the risk of harboring pests or diseases and improves air circulation, which is beneficial for the overall health of the plants.
- Trimming: Lightly trim the thyme plants during winter to maintain their desired shape and size. Focus on removing any dead or damaged branches. Avoid heavy pruning, as this can stimulate new growth that may be vulnerable to frost or other winter stresses.
- Dividing (if necessary): If the thyme plants have become overcrowded or have started to decline in vigor, winter is a good time to consider dividing and replanting them. This helps rejuvenate the plants, promote better airflow, and ensure healthier growth in the next season.
- Inspecting for Pests and Diseases: Continue to monitor your thyme plants for any signs of pests or diseases during winter. Look for visible damage, discoloration, or abnormalities on the foliage. If detected, promptly address the issue using appropriate organic pest control methods or disease treatments.
- Providing Adequate Drainage: Ensure that containers or bed systems have proper drainage to prevent waterlogging. Excessive moisture can be detrimental to thyme plants during winter, leading to root rot or other water-related issues.
- Protecting from Extreme Weather: If your thyme plants are exposed to severe winter weather, consider using row covers or cold frames to provide additional protection. These structures can safeguard the plants from frost, wind, and freezing temperatures.
- Monitoring Soil Moisture: Check the soil moisture regularly and make adjustments to watering as needed. Thyme plants require less water during the winter, but ensure that the soil is slightly moist and not overly dry.
- Observing Sunlight Exposure: Monitor the sunlight exposure of your thyme plants during winter. Ensure they are receiving enough direct sunlight. Consider supplemental lighting if natural light is limited in your region.
By engaging in proper pruning and maintenance practices during winter, you contribute to the overall health and vitality of your thyme plants. Regular inspections, light trimming, proactive pest and disease management, and providing the right environmental conditions all contribute to the successful cultivation of thyme.
Harvesting Thyme during Overwintering
While thyme is mostly harvested during the active growing season, you can still enjoy fresh thyme leaves during the winter months. Harvesting thyme during overwintering requires a slightly different approach to ensure the plant’s health and continued growth. Here are some important considerations for harvesting thyme during overwintering:
- Timing: Plan your harvests during periods of milder weather, when the temperatures are not too extreme and there is no risk of frost or freezing temperatures. Choose a sunny day when the foliage has dried out after morning dew or any recent rainfall.
- Leaf Production: Thyme plants tend to slow down their growth during the winter months, so it’s important to be mindful of the amount of leaves you harvest. Avoid taking too many leaves from a single plant, as this can weaken the plant and stunt its growth.
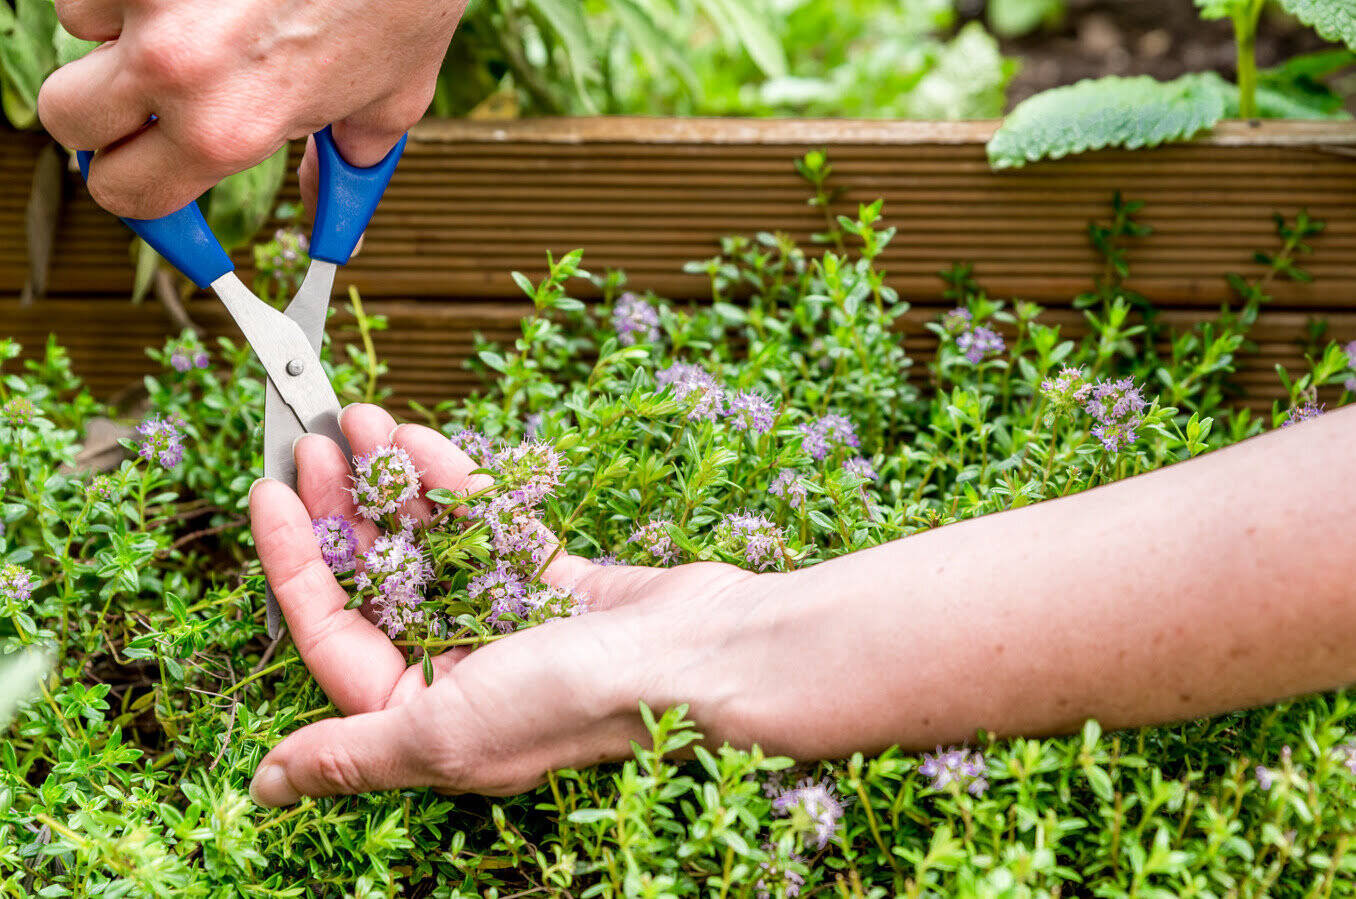
- Selective Harvesting: Rather than harvesting entire branches, opt for selective harvesting by snipping individual leaves or small sprigs. This allows the plant to retain some foliage and continue photosynthesis for sustained growth.
- Harvesting Techniques: To harvest thyme, simply use a pair of sharp scissors or pruning shears to clip off the desired leaves or sprigs. Make clean cuts just above a leaf node or branching point to encourage healthy regrowth.
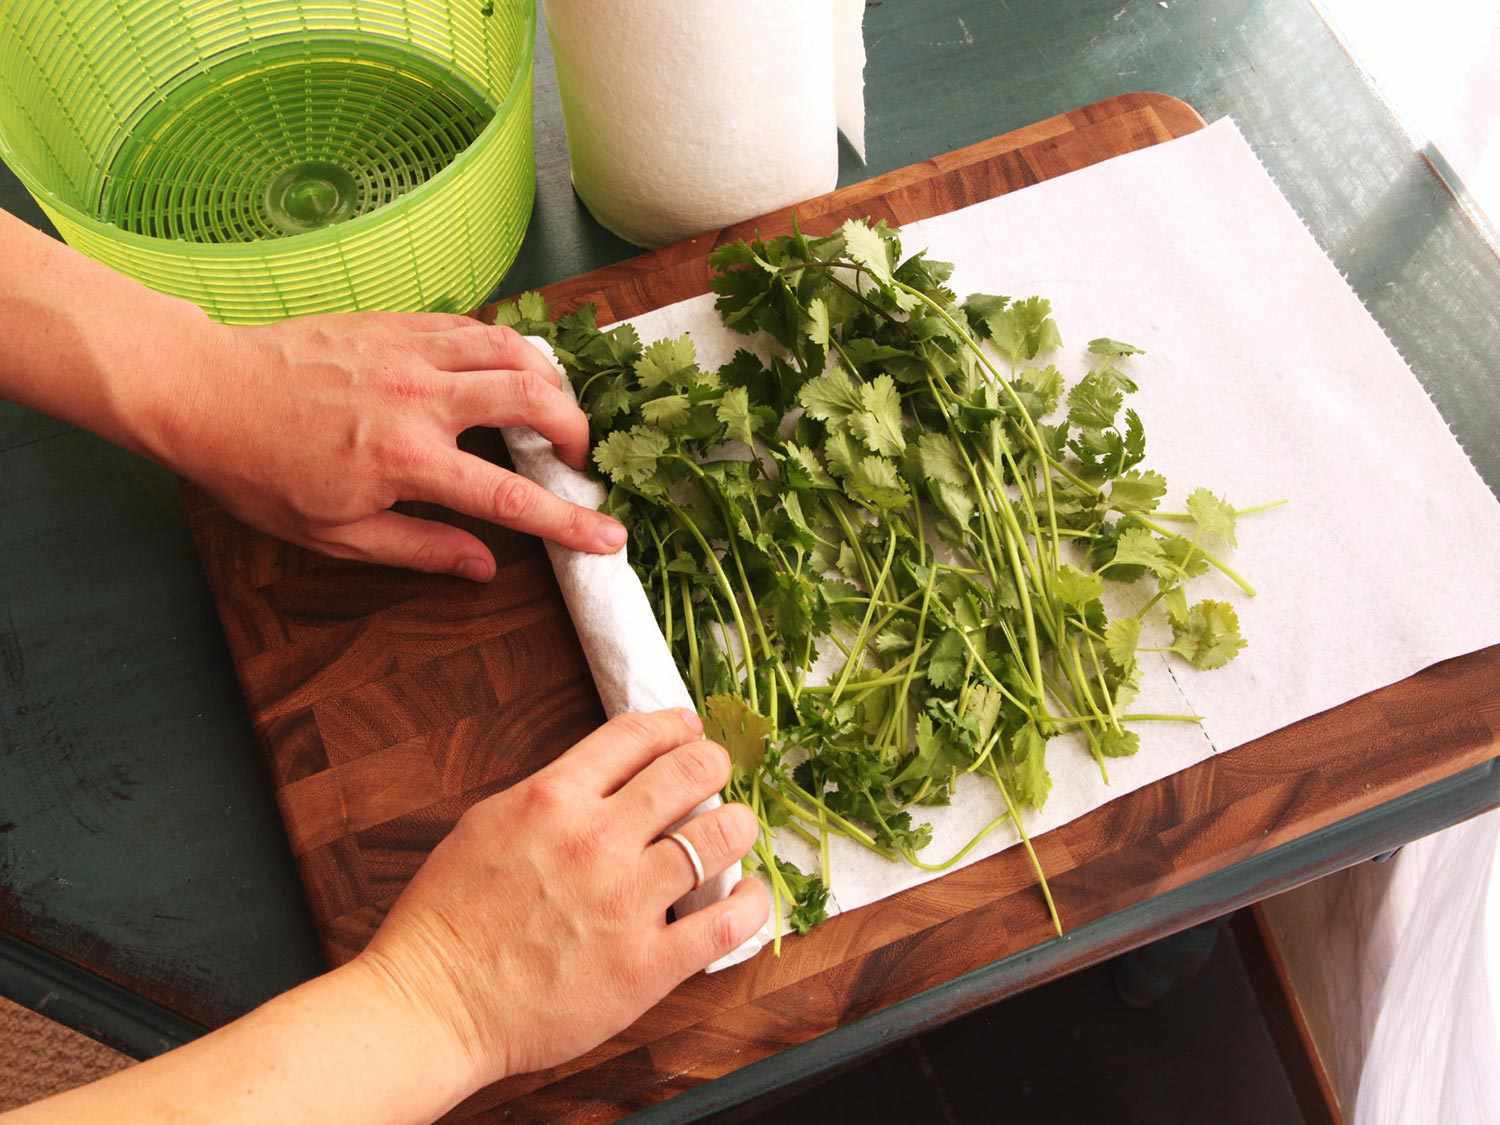
- Storing Harvested Thyme: Immediately after harvesting, gently rinse the thyme leaves and pat them dry with a clean towel. Bundle the sprigs together and hang them upside down in a well-ventilated area, away from direct sunlight. Once completely dry, store the dried thyme leaves in airtight containers in a cool, dark place.
- Continued Care: After harvesting, continue to provide proper care for your thyme plants during the winter. Monitor their moisture levels, protect them from frost, and maintain their overall health through regular inspections and appropriate maintenance.
While the herbaceous growth of thyme may slow down during winter, selective harvesting allows you to enjoy the fresh flavor of thyme leaves throughout the colder months. By following these harvesting guidelines, you can savor the culinary benefits of thyme while ensuring the long-term health and productivity of your plants.
Read more: How To Clean Fresh Thyme
Conclusion
Overwintering thyme plants requires proper care, attention, and the implementation of specific techniques to ensure their survival and vitality during the dormant season. By following the guidelines laid out in this comprehensive guide, you can effectively protect and support your thyme plants through the winter months.
Start by selecting cold-tolerant thyme varieties that are suitable for your specific hardiness zone. Prepare your thyme plants for winter by trimming, fertilizing, and inspecting them for any pests or diseases. Choose the right container or bed, ensuring proper drainage and positioning for optimal sunlight exposure.
Consider transplanting your thyme plants into containers, providing them with mulch for insulation and moisture retention, and ensuring adequate watering. Monitor their sunlight exposure and protect them from frost using row covers or cold frames. Be vigilant in monitoring for pests and diseases, employing organic pest control methods when necessary.
During winter, practice pruning and maintenance by removing debris, trimming lightly, and division if needed. Harvest thyme selectively, preserving the plant’s health and growth, and store the harvested leaves properly for culinary use. Continue caring for your thyme plants throughout the winter, monitoring their moisture levels and protecting them from extreme weather conditions.
By implementing these techniques and maintaining proper care, you can successfully overwinter thyme plants and enjoy their aromatic leaves year-round. Remember to always adapt these guidelines to the specific needs and conditions of your thyme plants and your local climate.
With the knowledge gained from this article, you are well-equipped to embark on the journey of overwintering thyme and ensuring the long-term success of your herb garden. Happy gardening and enjoy the bountiful flavors and aromas that thyme brings to your culinary creations, even during the coldest months of the year!
Frequently Asked Questions about How To Overwinter Thyme
Was this page helpful?
At Storables.com, we guarantee accurate and reliable information. Our content, validated by Expert Board Contributors, is crafted following stringent Editorial Policies. We're committed to providing you with well-researched, expert-backed insights for all your informational needs.


0 thoughts on “How To Overwinter Thyme”