Home>Garden Essentials>Garden Plants>How To Plant Thyme In A Pot
Garden Plants
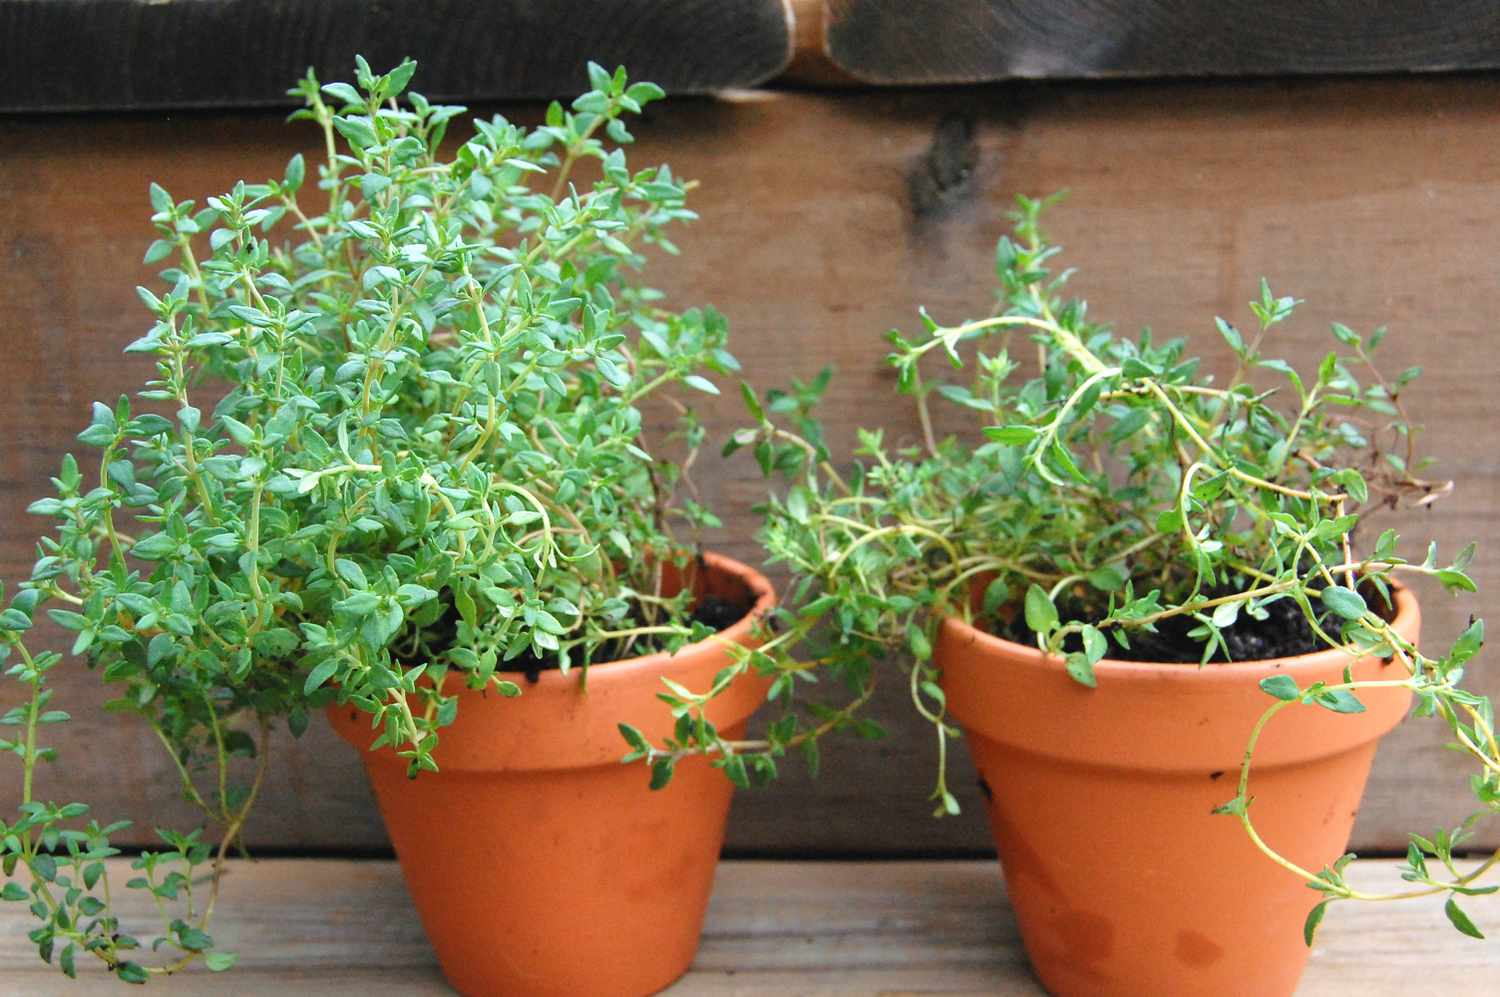
How To Plant Thyme In A Pot
Modified: August 27, 2024
Learn how to plant thyme in a pot and enjoy the benefits of growing your own plants. Start your gardening journey today!
(Many of the links in this article redirect to a specific reviewed product. Your purchase of these products through affiliate links helps to generate commission for Storables.com, at no extra cost. Learn more)
Introduction
Welcome to the wonderful world of thyme! Whether you’re a seasoned gardener or just starting out, planting thyme in a pot is a rewarding and practical way to enjoy this versatile herb. Thyme is not only a popular culinary herb, adding delightful flavors to a variety of dishes, but it also offers aromatic and medicinal properties. Plus, with its compact size, thyme is a perfect herb to grow in pots, making it accessible to gardeners with limited space.
In this article, we will guide you through the process of planting thyme in a pot, from choosing the right container to caring for your plant along the way. So, let’s roll up our sleeves and embark on this journey to create a thriving thyme garden!
Key Takeaways:
- Planting thyme in a pot requires choosing the right container, well-draining soil, and ample sunlight. Proper care, including watering, fertilizing, and pruning, ensures a thriving and aromatic herb garden.
- Troubleshooting common issues such as poor growth, pests, diseases, and leggy growth is essential for maintaining the health and vitality of thyme plants. Monitoring and addressing problems promptly leads to a successful thyme gardening experience.
Read more: How To Plant Outdoor Plants In Pots
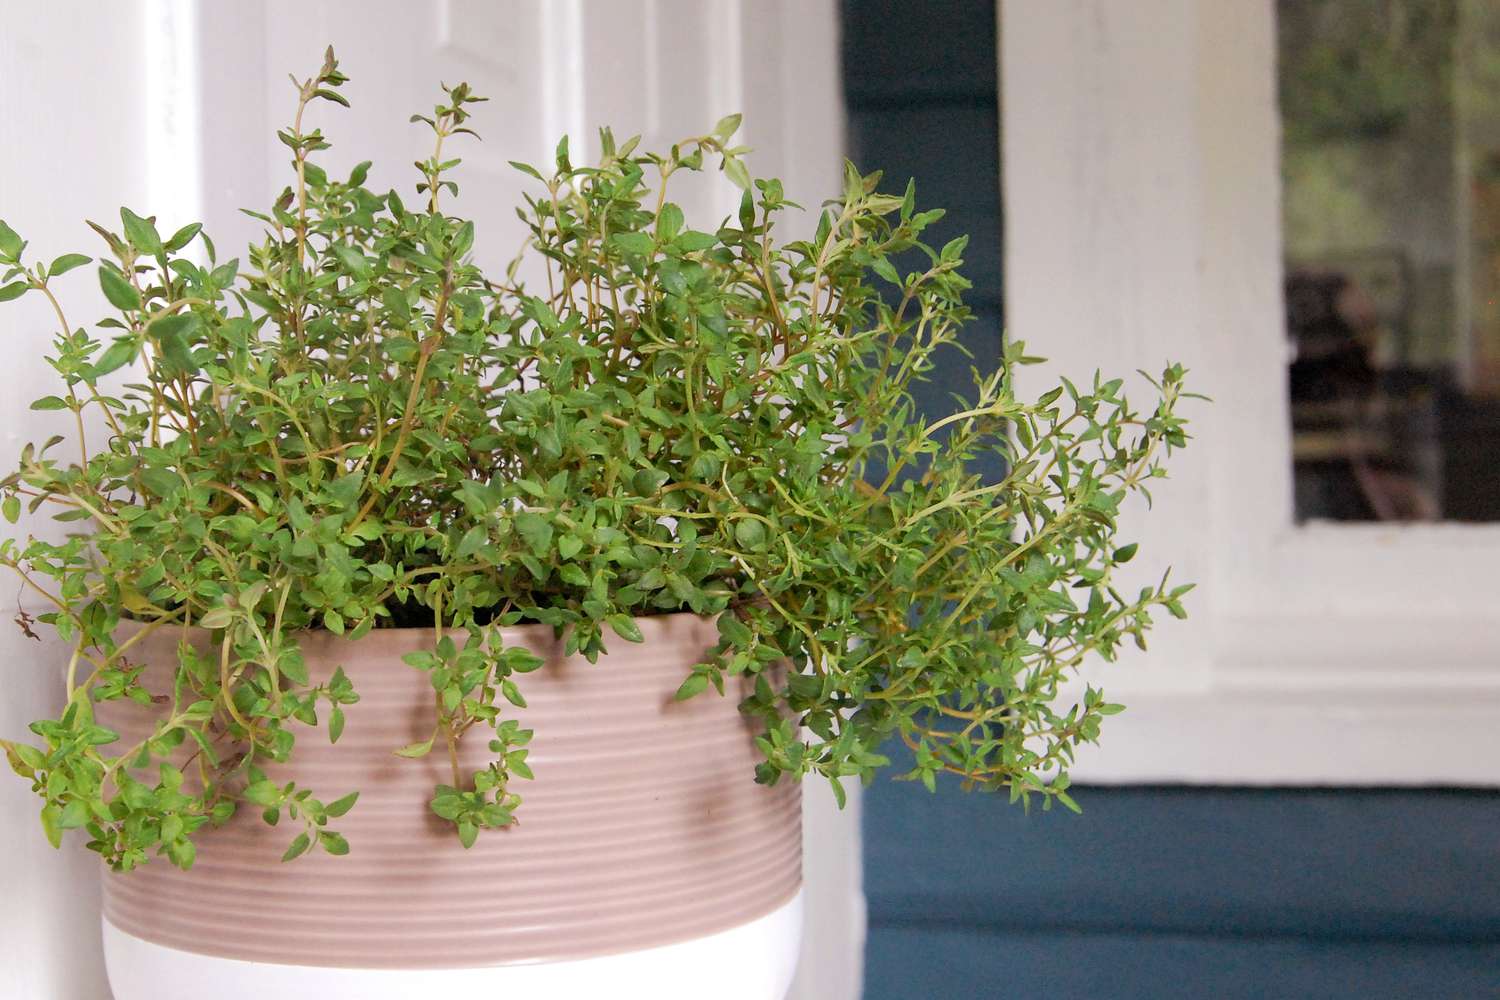
Choosing the Right Pot for Thyme
When selecting a pot for growing thyme, it’s essential to consider a few key factors. Firstly, opt for a pot that has drainage holes at the bottom. Proper drainage is crucial for preventing waterlogged soil, which can lead to root rot. Additionally, choose a pot that is at least 8-10 inches deep to allow ample space for the thyme roots to grow.
Clay pots are a popular choice for growing thyme, as they are breathable and help with moisture regulation. However, plastic or ceramic pots can also work well, as long as they have drainage holes. The choice ultimately depends on your personal preference and aesthetic appeal.
Another consideration is the size of the pot. If you’re planting multiple thyme plants, ensure the pot is wide enough to comfortably accommodate them. On the other hand, if you’re planting only one thyme plant, a smaller pot will suffice. Remember that thyme is a slow-growing herb, so it doesn’t require excessive space.
Lastly, consider the location where you’ll be placing the pot. Thyme thrives in full sunlight, so choose a pot that is lightweight enough to be easily moved to a sunny spot. This mobility allows you to provide the ideal growing conditions for thyme throughout the day.
By choosing the right pot, you’ll set a solid foundation for your thyme plant’s growth and ensure its overall well-being.
Selecting the Right Soil
The type of soil you use plays a crucial role in the success of growing thyme in a pot. Thyme prefers well-draining soil that is rich in organic matter. Avoid heavy clay soil, as it tends to retain too much moisture, which can lead to root rot. Instead, opt for a sandy or loamy soil mix that provides good drainage.
One option is to use a pre-made potting mix designed specifically for herbs. These mixes are usually light, well-draining, and formulated with the right balance of nutrients. Alternatively, you can create your own soil mix by combining equal parts of garden soil, compost, and coarse sand. This DIY mix ensures adequate drainage while still providing the necessary nutrients for thyme’s growth.
It’s important to note that thyme prefers slightly alkaline soil with a pH range between 6.0 and 8.0. If you have acidic soil, you can raise the pH by adding garden lime or crushed eggshells to the soil mix. However, be cautious not to overdo it, as excessive alkalinity can harm the plant.
Before planting thyme, make sure to moisten the soil. This will help settle the soil and prepare it for planting. However, avoid saturating the soil, as excessive moisture can lead to problems like damping off or fungal diseases.
Remember, choosing the right soil is essential for providing the ideal growing conditions for thyme. Proper drainage and nutrient availability will promote healthy growth and ensure the longevity of your thyme plant.
Preparing the Pot
Before planting thyme in the pot, it’s important to prepare the container to create an optimal environment for the herb’s growth. Here are some steps to follow when preparing the pot:
- Clean the Pot: If you are reusing a pot, make sure to clean it thoroughly before planting. Wash the pot with warm soapy water to remove any dirt or residue. This helps prevent the spread of diseases or pests that may be lingering in the pot.
- Add a Layer of Drainage Material: To ensure proper drainage, place a layer of small stones, broken pottery, or gravel at the bottom of the pot. This layer will prevent the drainage holes from getting clogged with soil and allow excess water to flow freely away from the roots.
- Fill the Pot with Soil Mix: Next, fill the pot with the selected soil mix, leaving about an inch of space from the top. Gently press down on the soil to ensure it is evenly distributed and compacted.
- Moisten the Soil: Before planting thyme seeds or seedlings, moisten the soil lightly. This will help the seeds to germinate or the roots of the seedlings to establish themselves in the pot. Avoid over-watering, as overly saturated soil can lead to issues such as rot.
By following these steps, you’re ensuring that the pot is clean, well-drained, and filled with the appropriate soil mix to support thyme’s growth. Preparing the pot properly sets the stage for a successful gardening journey!
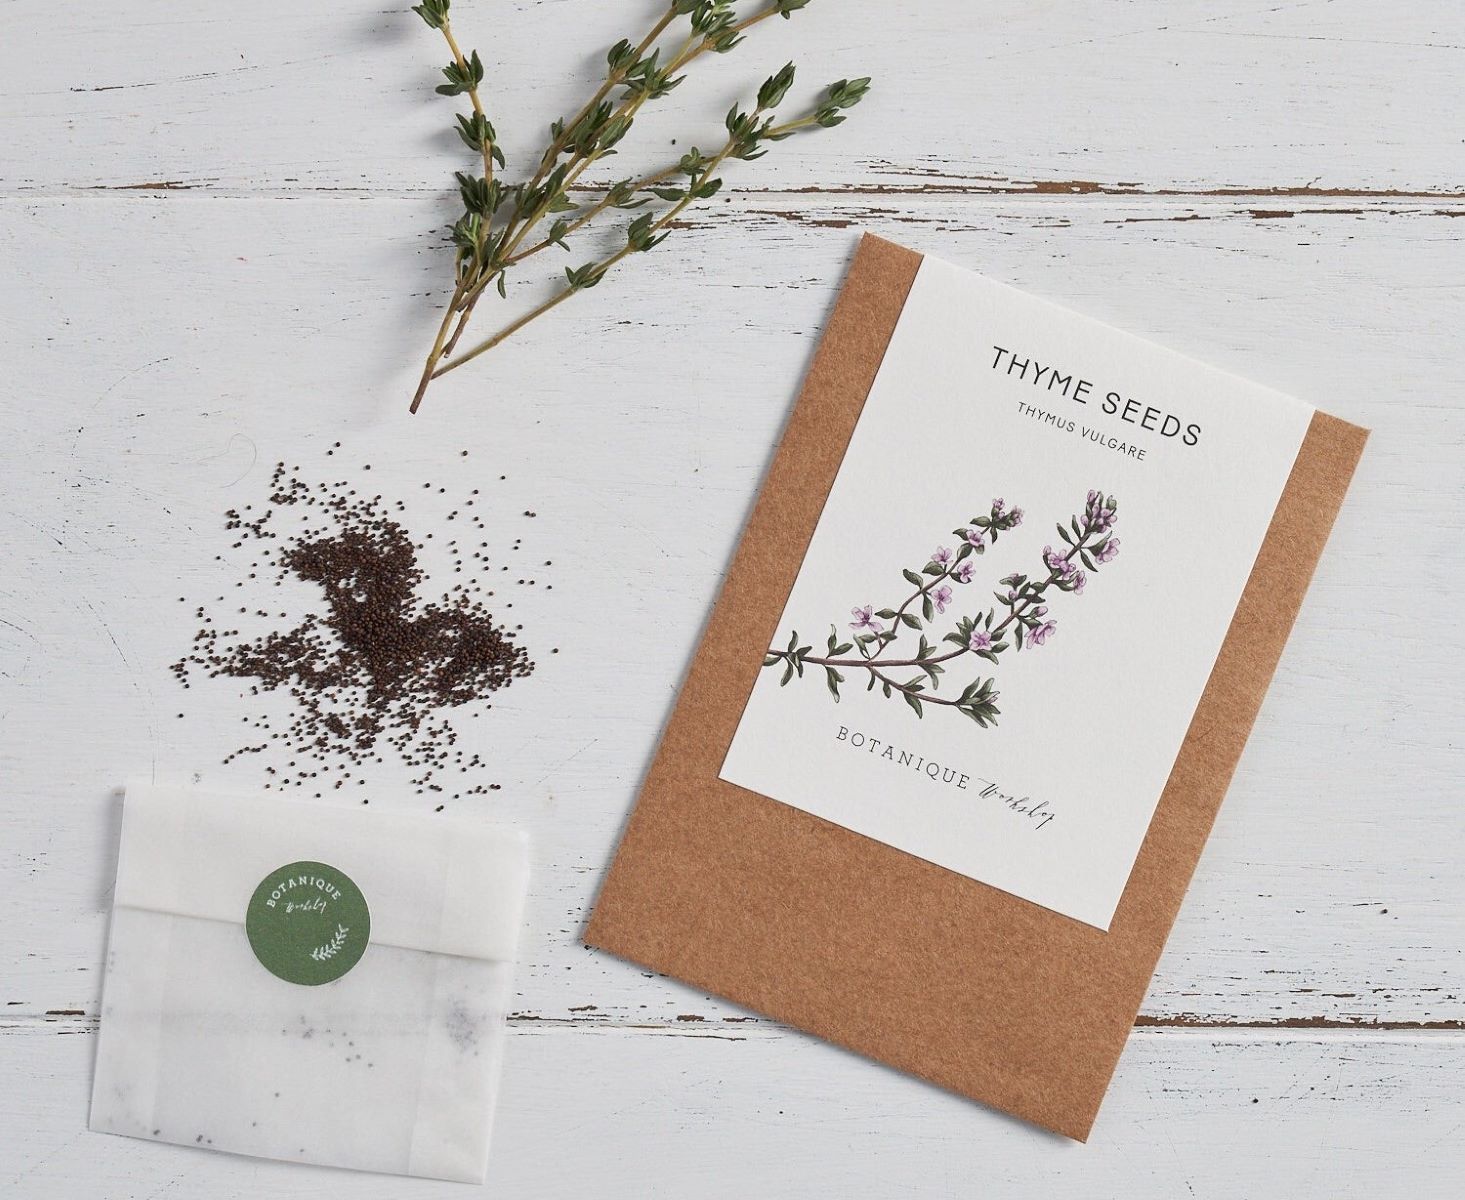
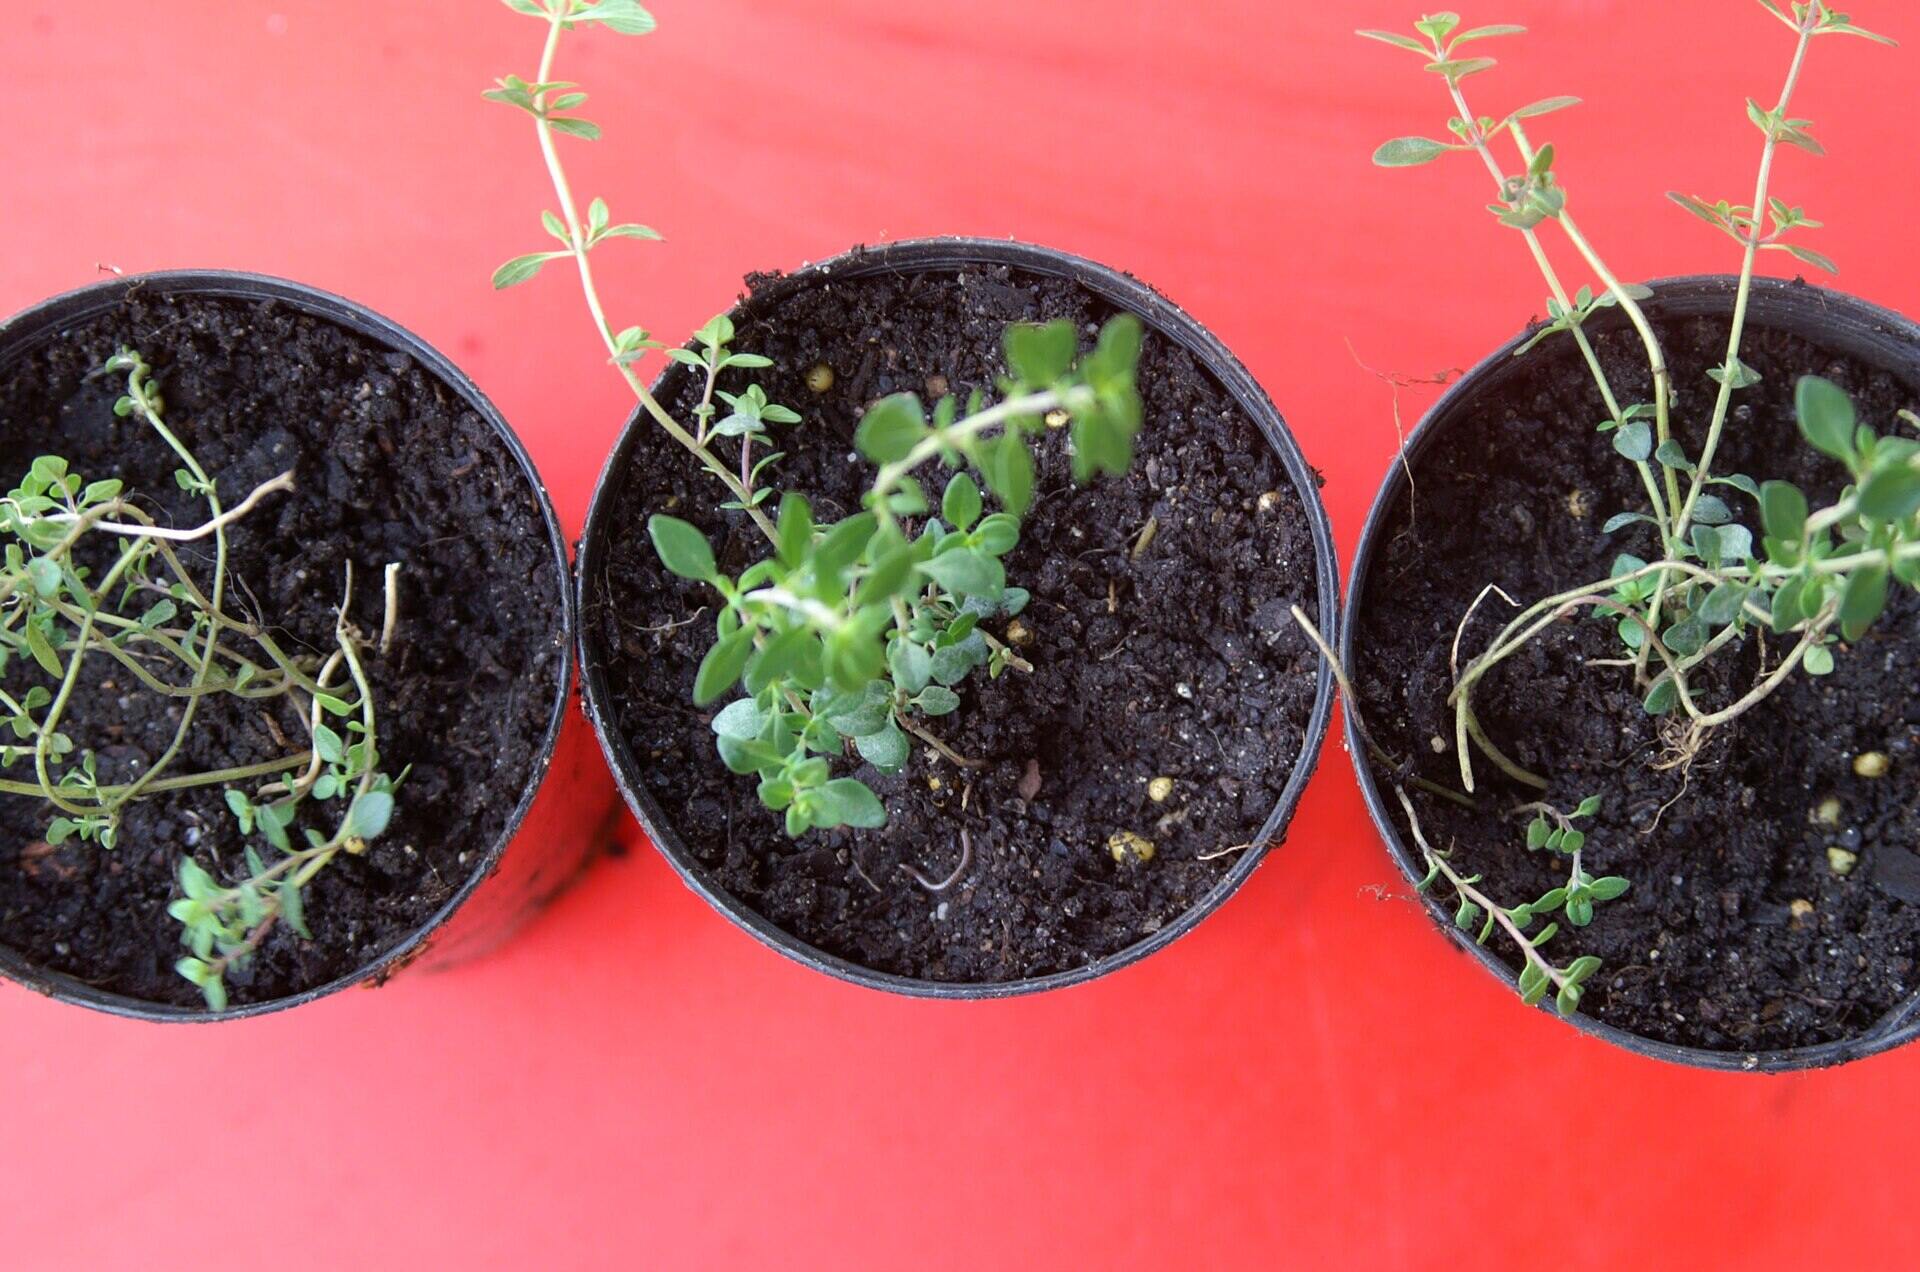
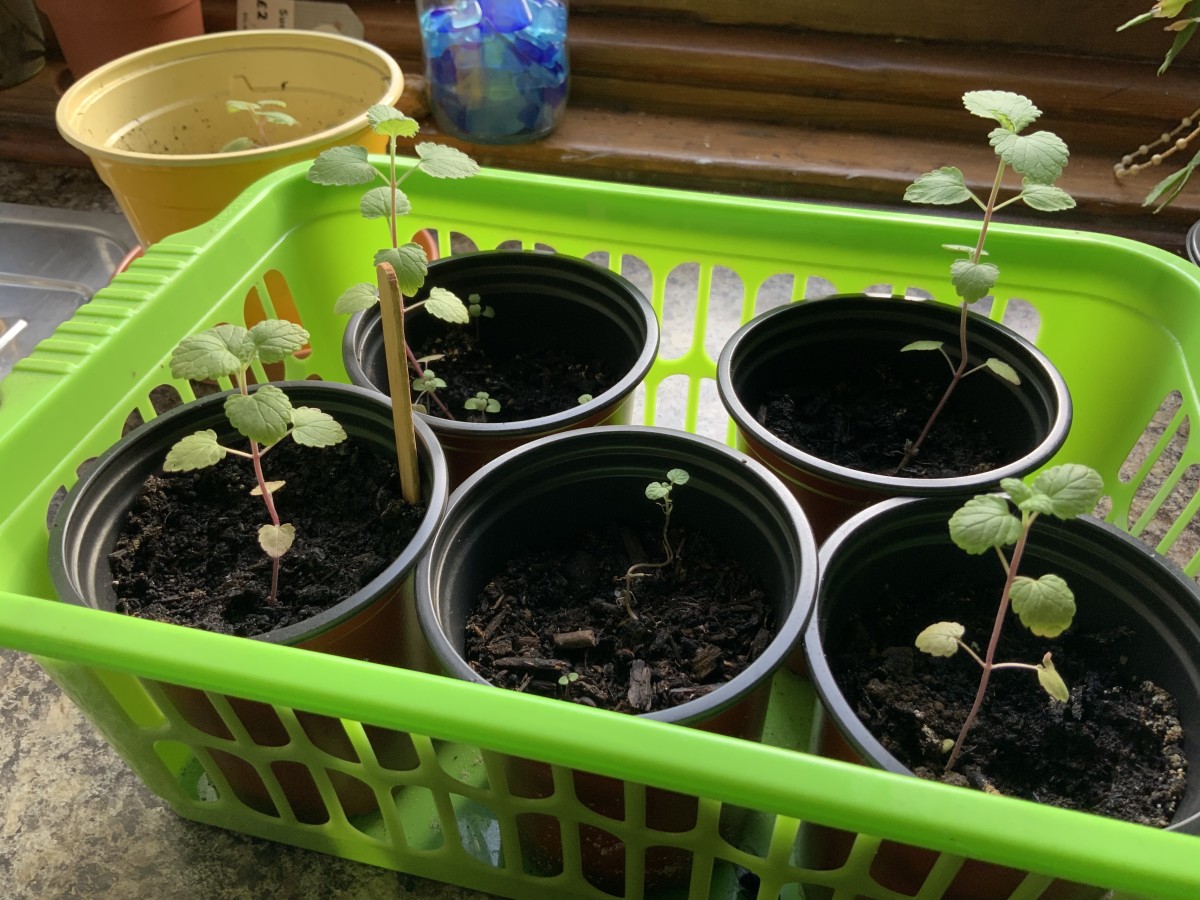
Planting Thyme Seeds or Seedlings
Now that your pot is prepared, it’s time to plant thyme seeds or seedlings. Let’s explore the steps involved in each method:
Read more: How Many Thyme Seeds Per Pot
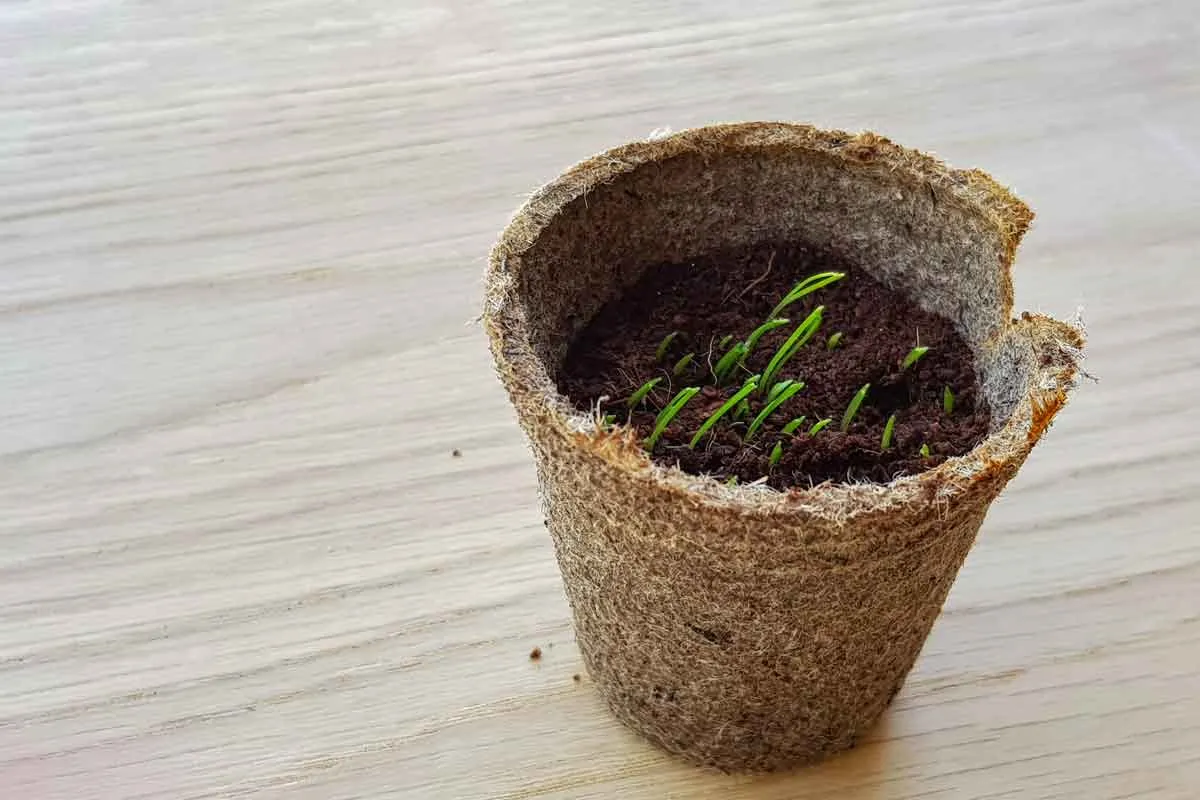
Planting Thyme Seeds:
- Prepare the Soil: Using your finger or a small trowel, create shallow furrows in the soil, about 1/4 inch deep.
- Sow the Seeds: Sprinkle the thyme seeds along the furrows, ensuring even spacing between them. It’s best to sow sparingly, as thyme plants need room to grow.
- Cover and Water: Gently cover the seeds with a thin layer of soil or vermiculite. Lightly water the soil to keep it moist, but not soggy.
- Provide Warmth and Light: Place the pot in a warm and well-lit area, such as a sunny windowsill. Thyme seeds typically germinate within 1-2 weeks.
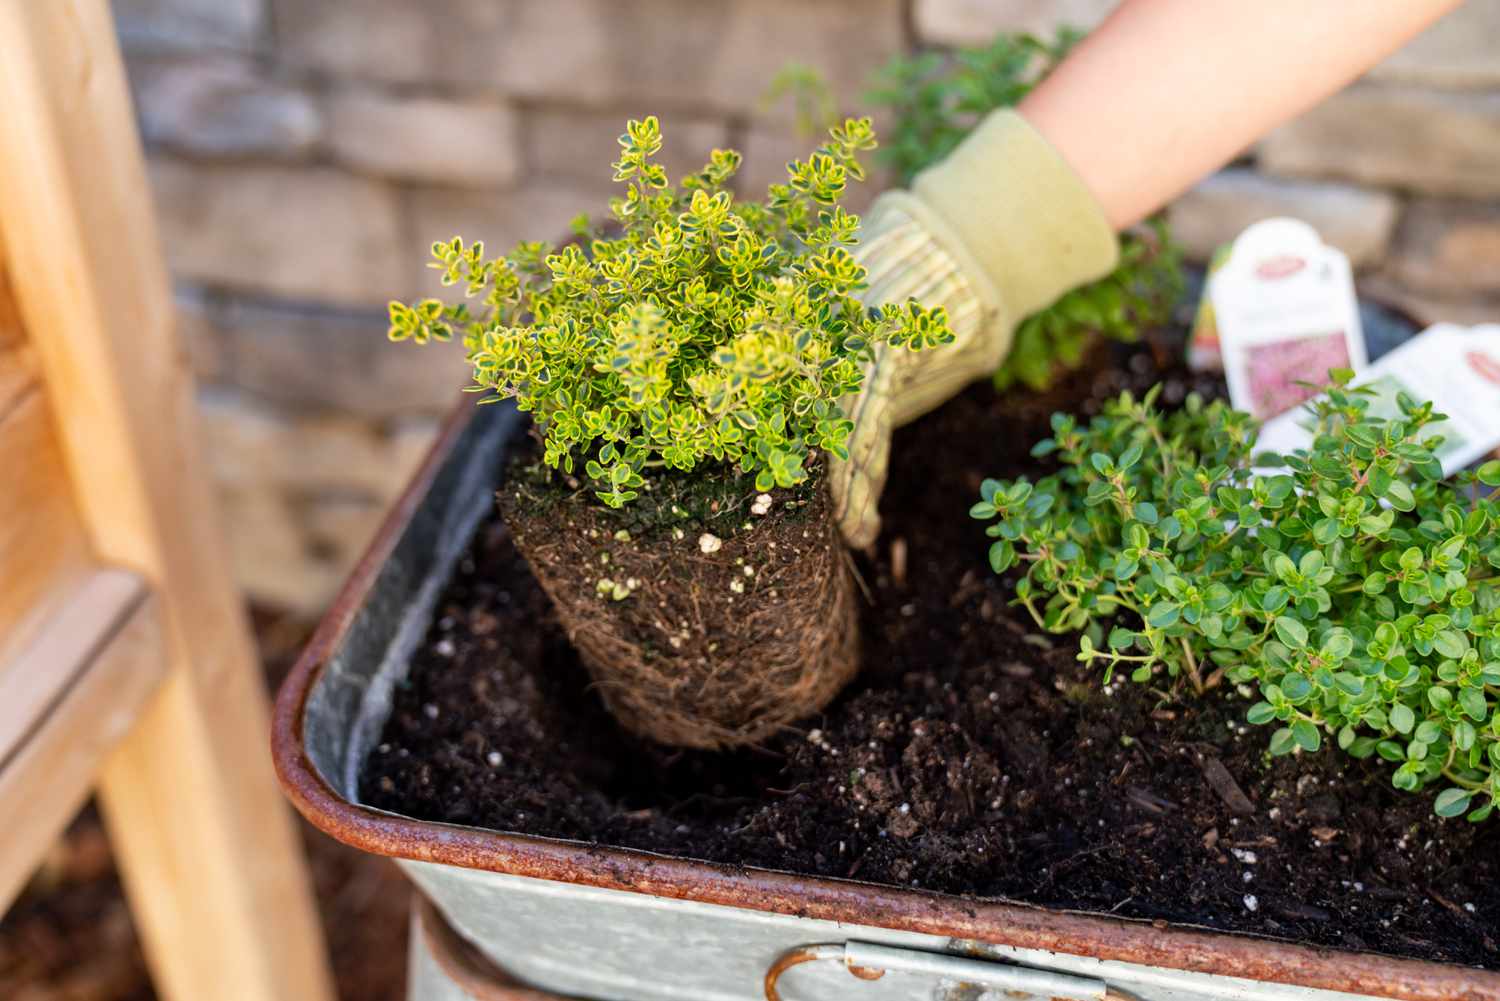
Planting Thyme Seedlings:
- Select Healthy Seedlings: Purchase or grow thyme seedlings that are healthy, with well-developed roots and green foliage.
- Dig Planting Holes: Dig small holes in the prepared soil, spaced at least 6-8 inches apart to allow room for growth.
- Plant the Seedlings: Carefully remove the seedlings from their original containers and place them in the holes. Gently press the soil around the base of the seedling to secure it in place.
- Water and Care: Water the newly planted seedlings to help them establish in the pot. Keep the soil consistently moist but avoid over-watering.
Whether you’re planting thyme seeds or seedlings, it’s important to provide proper care and monitoring throughout the growth process. This includes maintaining adequate moisture, providing sufficient sunlight, and ensuring the plants have enough space to thrive.
Watering Thyme Plants
Watering is a critical aspect of caring for thyme plants in a pot. Proper watering is essential for healthy growth and prevents issues such as drought stress or waterlogged roots. Here are some guidelines to follow when watering your thyme plants:
1. Monitor Soil Moisture: Thyme prefers moderately moist soil, so it’s important to monitor the moisture levels regularly. Stick your finger about an inch into the soil. If it feels dry, it’s time to water. If it’s still moist, hold off on watering for a little longer.
2. Deep and Infrequent Watering: When it’s time to water, do it deeply rather than with a light sprinkle. This encourages the roots to grow deeper into the soil. Water until you see it draining from the bottom of the pot, indicating that the soil is thoroughly saturated. Allow the excess water to drain away.
3. Avoid Overwatering: Thyme is susceptible to root rot if it sits in waterlogged soil for extended periods. To prevent this, make sure the pot has proper drainage to allow excess water to escape. Avoid letting the pot sit in a saucer filled with water.
4. Adjust Watering Based on Environmental Factors: Consider the weather conditions and adjust your watering schedule accordingly. During hot and dry periods, you may need to water your thyme plants more frequently. In cooler and rainy seasons, reduce watering to prevent waterlogging.
5. Morning Watering: Watering your thyme plants in the morning allows the foliage and soil to dry out during the day. This helps prevent the development of fungal diseases, as damp conditions can encourage their growth.
Remember that each plant and environment can vary, so it’s important to observe your thyme plants closely. Adjust your watering routine based on their specific needs to ensure they receive adequate moisture without being overwatered.
Providing Adequate Sunlight
Sunlight is a crucial element for the healthy growth of thyme plants. Thyme thrives in full sun, which means it requires at least 6-8 hours of direct sunlight per day. Here are some essential points to consider when providing adequate sunlight for your thyme plants:
1. Choose the Right Location: Place your pot of thyme in a spot that receives ample sunlight throughout the day. A sunny windowsill or a sunny spot in your garden are great options. If you’re growing thyme indoors, ensure the pot is near a south-facing window or use artificial grow lights to supplement the sunlight if needed.
2. Monitor Sun Exposure: Observe how the sunlight falls on your thyme plants throughout the day. Make sure they receive the maximum amount of sunlight during the peak hours, typically between 10 am and 4 pm when the sun is the strongest.
3. Rotate the Pot: If you notice that certain parts of the thyme plant are not receiving adequate light, rotate the pot every few days. This ensures that all sides of the plant receive an equal amount of sunlight for balanced growth.
4. Be Mindful of Extreme Heat: While thyme enjoys full sun, it’s important to protect your plants during excessively hot conditions. If temperatures soar above 90°F (32°C), it’s advisable to provide some shade or move your pot to a location with partial shade during the hottest part of the day. This prevents the plants from getting sunburned or overheated.
5. Supplemental Lighting: If you’re growing thyme indoors or in a location with limited sunlight, you can use artificial grow lights to supplement the sunlight. LED or fluorescent lights designed for plant growth can provide the necessary light spectrum for thyme’s photosynthesis.
By ensuring that your thyme plants receive adequate sunlight, you’ll promote healthy growth, vibrant foliage, and enhance the flavor and aroma of the herb.
When planting thyme in a pot, make sure to use well-draining soil to prevent waterlogging. Place the pot in a sunny location and water when the top inch of soil feels dry. Thyme prefers slightly drier conditions, so be careful not to overwater.
Read more: How Big Of A Pot Does Thyme Need
Fertilizing Thyme Plants
While thyme is a relatively low-maintenance herb, providing it with the right nutrients is essential for optimal growth and flavor. Fertilizing your thyme plants can help replenish soil nutrients, enhance foliage development, and promote strong root systems. Here are some key points to consider when fertilizing thyme:
1. Timing is Key: Thyme plants generally benefit from fertilization during their active growing seasons, which is spring and summer. It’s best to start fertilizing once the plants have established themselves, typically around four to six weeks after planting.
2. Choose the Right Fertilizer: Select a balanced, water-soluble fertilizer with an NPK (nitrogen, phosphorus, and potassium) ratio of 10-10-10 or 20-20-20. These ratios provide a good balance of nutrients for thyme plants’ overall health and productivity.
3. Apply Fertilizer Sparingly: Since thyme is a small and slow-growing herb, it’s important not to over-fertilize. Follow the package instructions to determine the appropriate amount of fertilizer to use, and then dilute it to half strength. Apply the fertilizer every four to six weeks throughout the growing season.
4. Avoid Fertilizing Near Harvest Time: To prevent an excessive accumulation of fertilizer residues in thyme leaves, stop fertilizing approximately four to six weeks before you intend to harvest the herb.
5. Organic Alternatives: If you prefer organic options, consider using compost or well-rotted manure as a natural fertilizer for your thyme plants. Organic fertilizers provide a more gradual release of nutrients and help improve soil fertility over time.
6. Water After Fertilizing: After applying fertilizer, make sure to water the plants thoroughly. This helps to distribute the nutrients evenly and prevents the roots from getting burned by concentrated fertilizer.
Remember, it is important to follow the instructions on the fertilizer package and adjust the dosage based on the specific needs of your thyme plants. With proper fertilization, you can ensure that your thyme plants are nourished and thriving throughout the growing season.
Pruning and Harvesting Thyme
Pruning and harvesting thyme is not only essential for maintaining the plant’s health and shape but also for enjoying its fresh flavors and aromatic properties. Here are some guidelines to follow when pruning and harvesting your thyme:
1. Pruning for Bushier Growth: To encourage bushier growth and prevent thyme from becoming leggy, it’s recommended to prune the plant regularly. Start pruning your thyme when it reaches about 6 inches in height. Trim about one-third of the plant’s height, cutting just above a set of leaves or node. This will promote new growth and a fuller appearance.
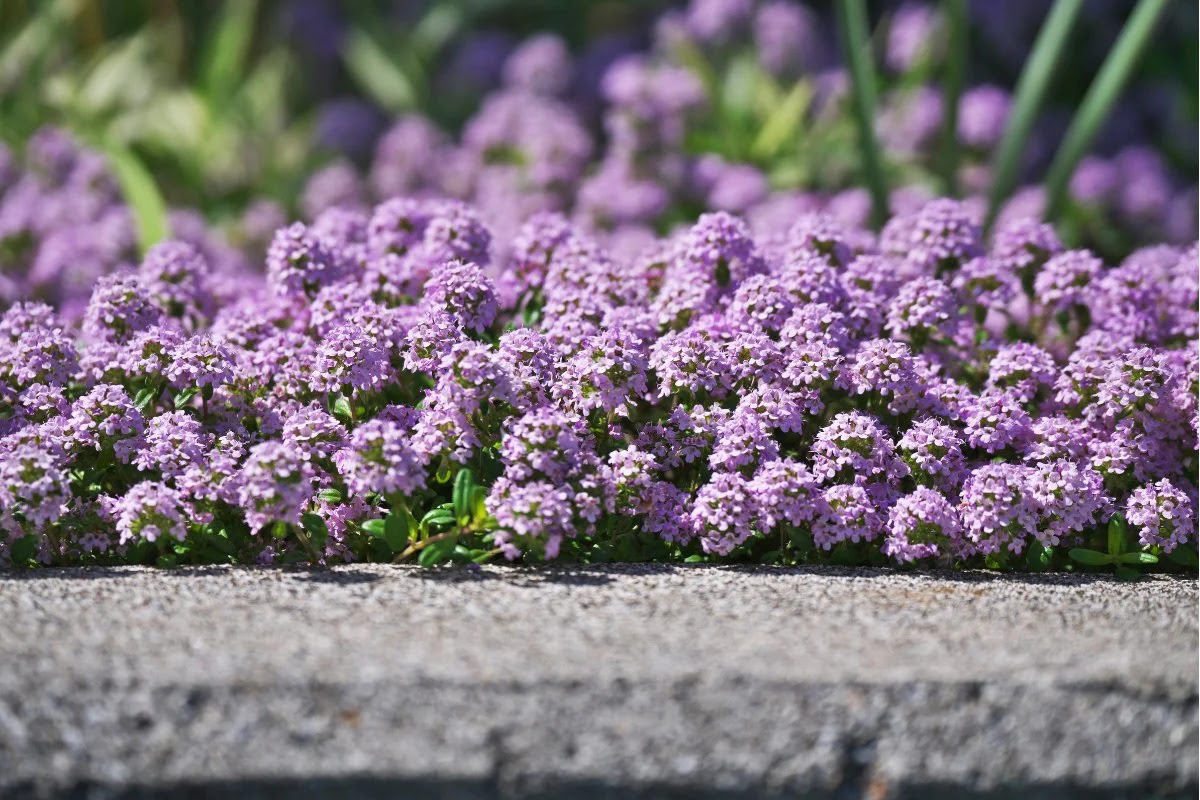
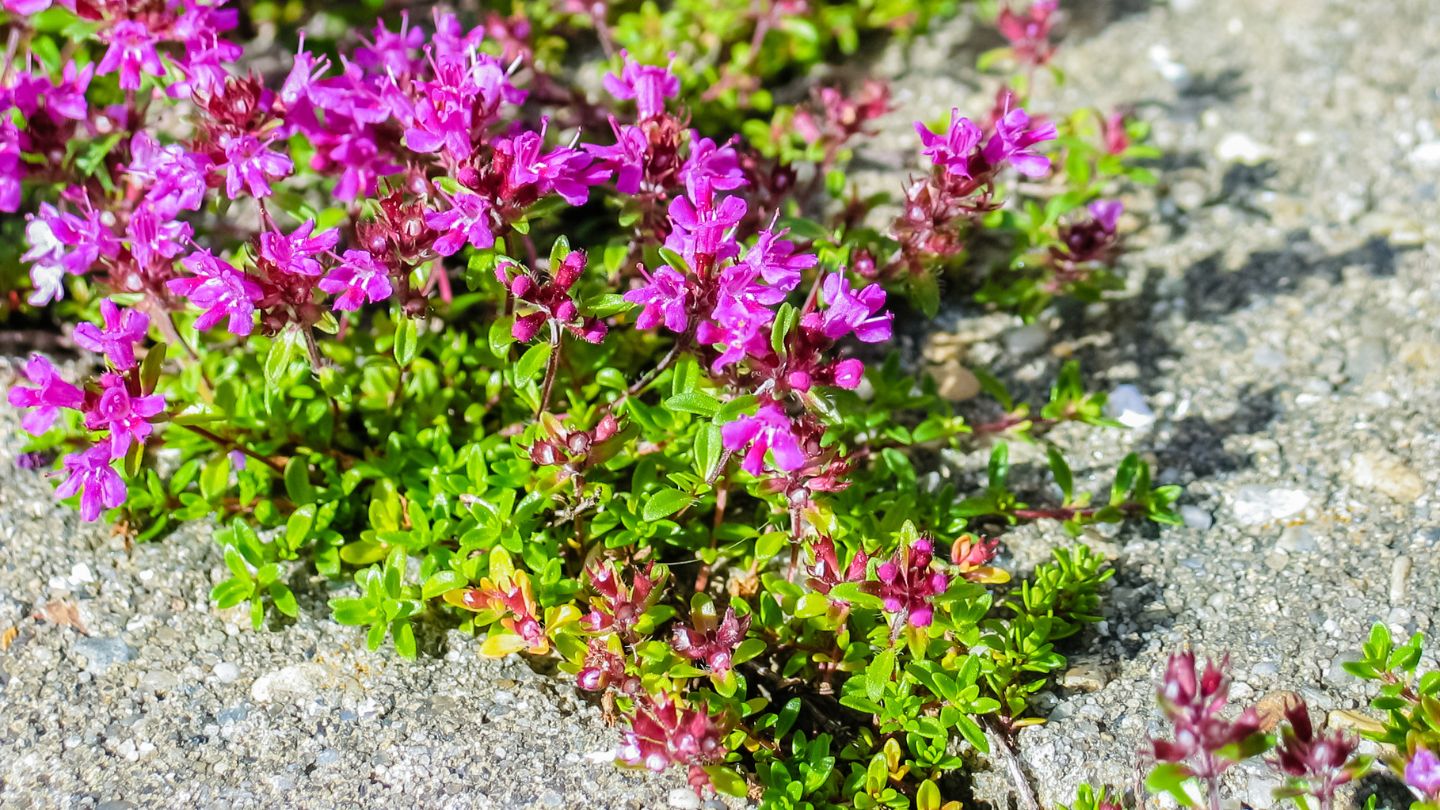
2. Pinching Off Flower Buds: Thyme plants produce small flowers in the summer, which can divert energy from foliage growth. If you’re growing thyme primarily for culinary purposes, you may want to pinch off the flower buds as they appear. This redirects the plant’s energy towards leaf production, resulting in a fuller and more flavorful herb.
3. Harvesting Thyme Leaves: Thyme leaves can be harvested once the plant is established, typically around 3-4 months after planting. To harvest, simply snip off individual leaves or sprigs as needed. Use sharp scissors or pruning shears to make clean cuts just above a set of leaves or node. Avoid cutting down into the woody stems, as this can hinder regrowth.
4. Consistent Harvesting: Regularly harvesting thyme leaves promotes new growth and helps maintain the plant’s shape. Take care not to remove more than one-third of the plant at once to ensure its continued vitality.
5. Drying or Freezing Harvested Thyme: If you have harvested more thyme than you can use immediately, you can dry or freeze the excess for future use. To dry thyme leaves, bundle them together and hang them in a warm, well-ventilated area until they become crispy. Alternatively, you can freeze thyme sprigs, either whole or chopped, in airtight containers or freezer bags.
Remember, regular pruning and harvesting promote a healthier and more productive thyme plant. By incorporating fresh thyme into your culinary adventures, you can add a delightful burst of flavor and aroma to your dishes.
Troubleshooting Common Issues
While thyme is generally a resilient and easy-to-grow herb, it can encounter a few common issues. Here are some troubleshooting tips to help you address these problems:
1. Poor Growth or Yellowing Leaves:
- Overwatering: Thyme prefers slightly dry conditions. Ensure proper drainage and avoid overwatering, as it can lead to root rot or yellowing leaves. Allow the top inch of soil to dry out between waterings.
- Insufficient Sunlight: Thyme requires full sun to thrive. If the plant is not receiving enough sunlight, move it to a sunnier location or provide supplemental lighting.
- Nutrient Deficiency: Consider fertilizing the plant with a balanced, water-soluble fertilizer to provide the necessary nutrients for growth.
2. Pests:
- Aphids: Wash off aphids with a strong stream of water or use insecticidal soap if the infestation persists.
- Thrips: Use neem oil or insecticidal soap to control thrips. Remove heavily infested leaves if necessary.
3. Diseases:
- Fungal Diseases: Prevent fungal diseases by ensuring proper air circulation, avoiding over-watering, and providing sufficient sunlight. Remove infected leaves and treat with a fungicide if necessary.
- Root Rot: Allow the soil to dry out between waterings to prevent root rot. Ensure proper drainage and avoid overwatering.
4. Leggy Growth:
- Insufficient Sunlight: Ensure your thyme plants receive at least 6-8 hours of direct sunlight every day. Insufficient light can cause leggy growth.
- Improper Pruning: Prune your thyme regularly to maintain a compact and bushy shape. This helps prevent leggy growth.
It’s important to address these issues promptly to ensure the health and vitality of your thyme plants. By monitoring their growth, providing proper care, and promptly addressing any problems, you can enjoy a thriving and aromatic thyme garden.
Conclusion
Congratulations! You have now gained valuable knowledge on how to successfully plant and care for thyme in a pot. With the right pot, soil, sunlight, watering, fertilizing, pruning, and troubleshooting, you can create a thriving thyme garden right at your fingertips.
By choosing the right pot with proper drainage, you provide a healthy environment for thyme plants to grow. Selecting the right soil mix ensures that they receive the necessary nutrients and maintain proper moisture levels. Preparing the pot before planting sets a solid foundation for your thyme plants’ growth.
Whether you decide to plant thyme seeds or seedlings, regular watering, providing adequate sunlight, and appropriate fertilization are vital for their well-being. Pruning and harvesting your thyme plants not only promote healthy growth but also allow you to enjoy the fresh flavors and aromatic properties in your culinary endeavors.
Of course, like any plant, thyme may encounter some common issues. By monitoring their growth, keeping an eye out for pests and diseases, and taking appropriate troubleshooting steps, you can address problems promptly and maintain the health of your thyme plants.
Remember, gardening is an ongoing learning experience. As you continue to care for your thyme plants, observe their growth, adjust your practices accordingly, and enjoy the rewarding journey of nurturing these versatile and delightful herbs.
Now, it’s time to get your hands dirty and start planting thyme in a pot. Happy gardening!
Frequently Asked Questions about How To Plant Thyme In A Pot
Was this page helpful?
At Storables.com, we guarantee accurate and reliable information. Our content, validated by Expert Board Contributors, is crafted following stringent Editorial Policies. We're committed to providing you with well-researched, expert-backed insights for all your informational needs.


0 thoughts on “How To Plant Thyme In A Pot”