Home>Garden Essentials>Garden Storage>How To Build A Fitted Wardrobe In An Alcove

Garden Storage
How To Build A Fitted Wardrobe In An Alcove
Modified: October 20, 2024
Learn how to maximize your storage space with a fitted wardrobe built specifically for your alcove. Transform your room with this step-by-step guide.
(Many of the links in this article redirect to a specific reviewed product. Your purchase of these products through affiliate links helps to generate commission for Storables.com, at no extra cost. Learn more)
Introduction
Welcome to the ultimate guide on how to build a fitted wardrobe in an alcove. If you’ve been struggling to find the perfect storage solution for a challenging space in your home, building a fitted wardrobe in an alcove might be the answer. Not only does it make use of unused space, but it also adds a touch of elegance and functionality to any room.
Building a fitted wardrobe may seem like a daunting task, but with some careful planning and a little DIY effort, you can create a custom storage solution that fits seamlessly into your alcove. In this guide, we will take you through the step-by-step process of measuring, planning, and building a fitted wardrobe from scratch.
Before we dive into the details, it’s important to note that building a fitted wardrobe requires some basic carpentry skills and tools. If you’re not comfortable with using power tools or don’t have any experience in woodworking, it’s always a good idea to seek help from a professional or enlist the assistance of a skilled friend or family member.
Now that we have that covered, let’s get started on transforming your alcove into a functional and stylish storage space!
Key Takeaways:
- Transform your alcove into a functional and stylish storage space by following this step-by-step guide to building a fitted wardrobe. Maximize storage potential and add elegance to any room with careful planning and DIY effort.
- Create a custom storage solution that seamlessly fits your alcove with accurate measurements, sturdy preparation, and personalized finishing touches. Say goodbye to clutter and hello to a beautifully crafted, practical storage solution.
Read more: How To Build A Wardrobe
Step 1: Measuring and Planning
The first step in building a fitted wardrobe in an alcove is to accurately measure the space and plan out the design. This ensures that your wardrobe will fit perfectly into the alcove and meet your storage needs.
Start by measuring the width, height, and depth of the alcove. Take multiple measurements and record the largest measurement to ensure that your wardrobe will fit without any issues. Don’t forget to account for any skirting boards or architectural features that may affect the dimensions.
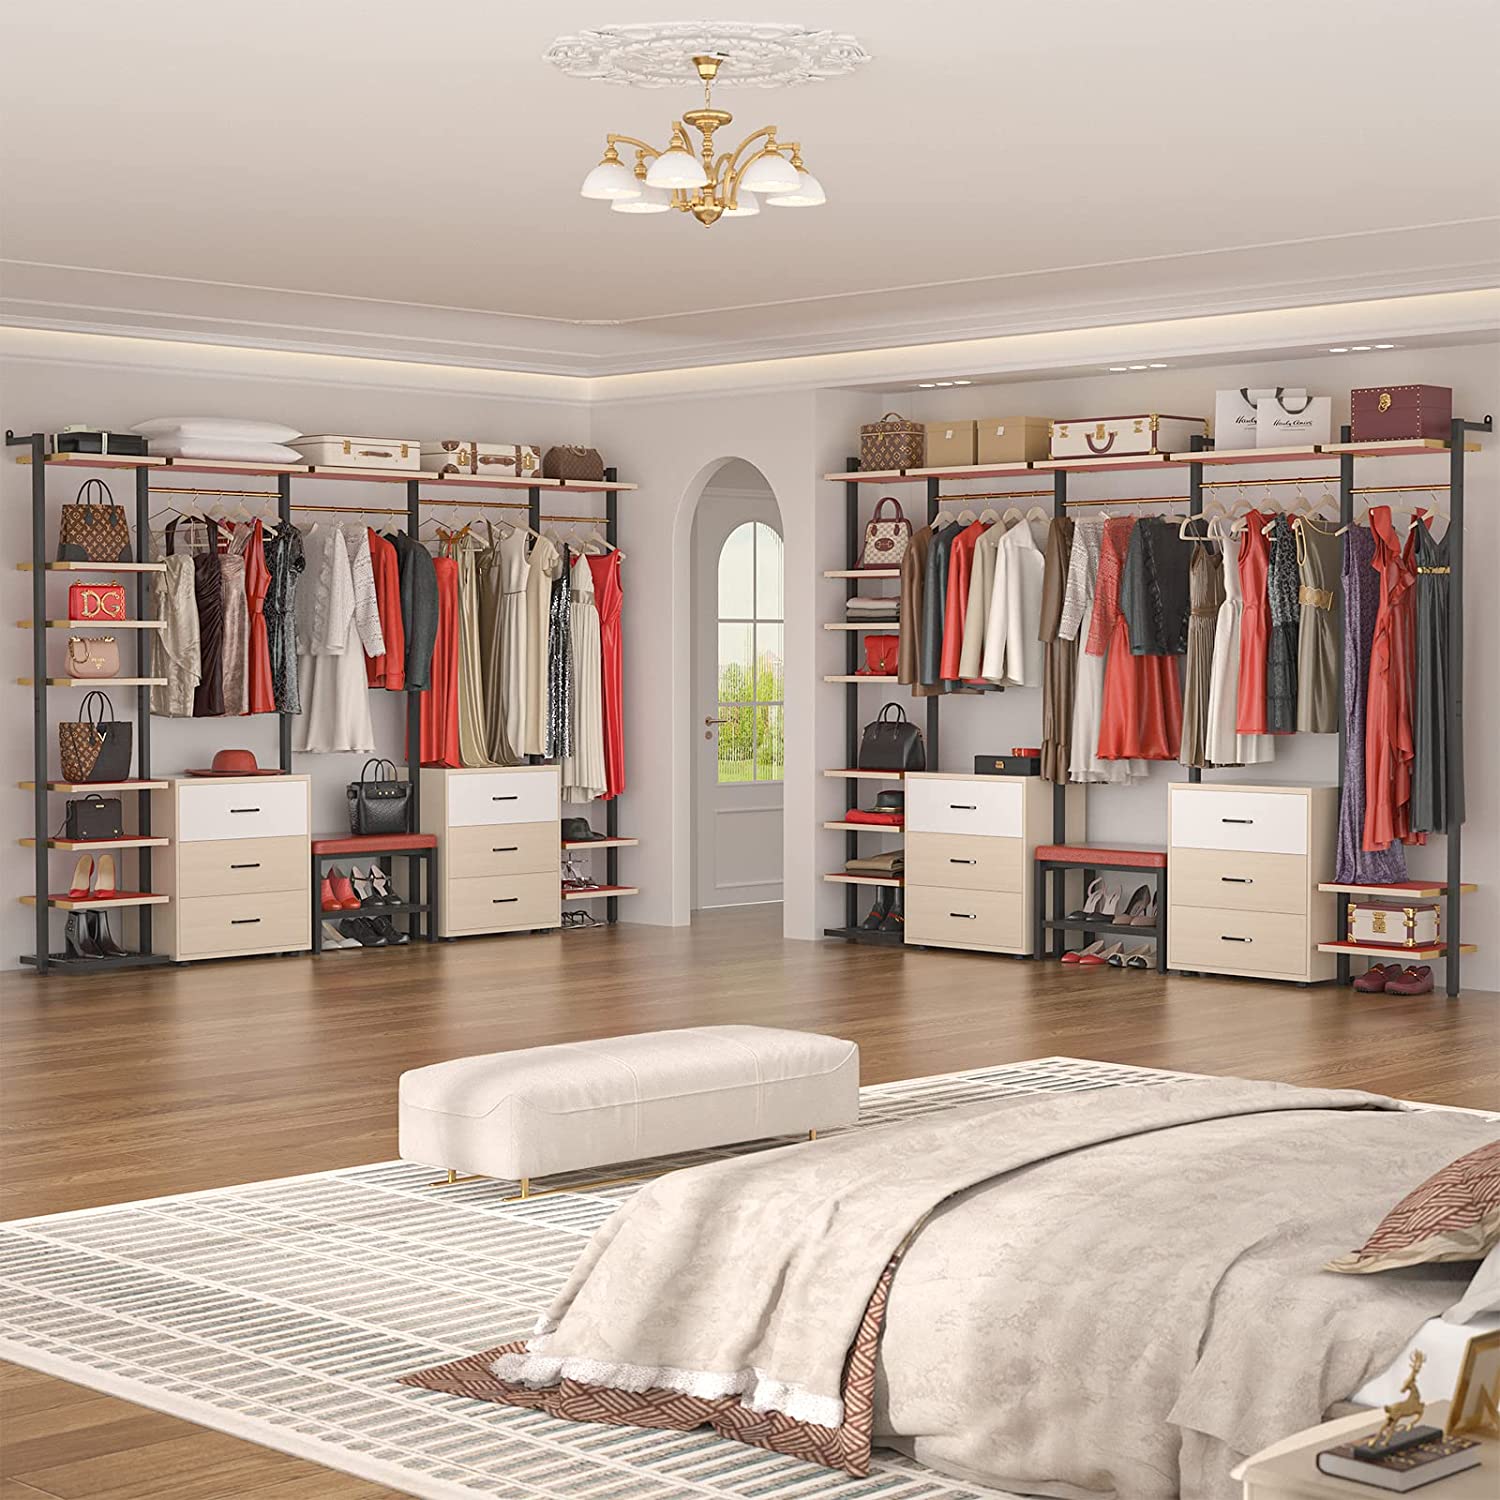
Next, consider the layout and design of the wardrobe. Determine whether you want a single wardrobe with hanging space and shelves or if you prefer a combination of wardrobes with different storage configurations. Think about how much hanging space, shelving, and drawer space you need to accommodate your belongings.
Now it’s time to create a plan or a rough sketch of your fitted wardrobe design. Take into account any specific requirements or features you want to incorporate. Consider factors such as the number of doors, the placement of shelves and drawers, and any additional features like built-in lighting or mirrors.
Once you have your measurements and design plan, you can start thinking about the materials you will need for the project. Consider the type of wood or board you want to use for the frame, shelves, and doors. Take into account your budget and the overall aesthetic you want to achieve.
Remember, accuracy is key in this step, as any miscalculations or mistakes in your measurements can lead to a wardrobe that doesn’t fit properly. Take your time and double-check all your measurements and plans before moving on to the next step.
By measuring and planning carefully, you will ensure that your fitted wardrobe fits seamlessly into the alcove and meets your storage needs. So grab your measuring tape and sketchbook, and let’s move on to the next step of building your dream wardrobe!
Step 2: Preparing the Alcove
With your measurements and design plan in hand, it’s time to prepare the alcove for the installation of your fitted wardrobe. Proper preparation ensures a sturdy and level base for your wardrobe and allows for a smooth installation process.
Start by clearing out the alcove and removing any existing shelving, wallpaper, or paint. This will give you a clean slate to work with and allow for easier installation. Use a scraper or sander to remove any stubborn residue or rough surfaces.
Inspect the walls of the alcove for any damages or unevenness. Fill any holes or cracks with a suitable filler and use sandpaper to smooth out the surface. This step is crucial to ensure that your fitted wardrobe sits flush against the wall.
Next, check the floor of the alcove. If the floor is uneven or slopes, you may need to use leveling compound to create a flat surface. This will prevent any issues when fitting the wardrobe and ensure its stability.
If the walls or floor are in poor condition or require significant repairs, it’s advisable to consult a professional before proceeding. They can assess the situation and recommend any necessary steps to prepare the alcove properly.
Once the walls and floor are prepared, it’s time to prime and paint the alcove. Choose a paint color that complements your overall room design and apply a couple of coats for a professional-looking finish. Allow sufficient drying time between coats to ensure durability.
While not mandatory, installing a skirting board around the alcove can add a polished look to your fitted wardrobe. Measure and cut the skirting board to fit around the alcove, then fix it in place using appropriate adhesive or screws.
The preparation stage is crucial in ensuring a solid foundation for your fitted wardrobe. Taking the time to clear, repair, and paint the alcove will not only enhance the overall look of your wardrobe but also contribute to its longevity and stability.
Now that your alcove is prepped and ready, it’s time to move on to the exciting part – building the frame of your fitted wardrobe!
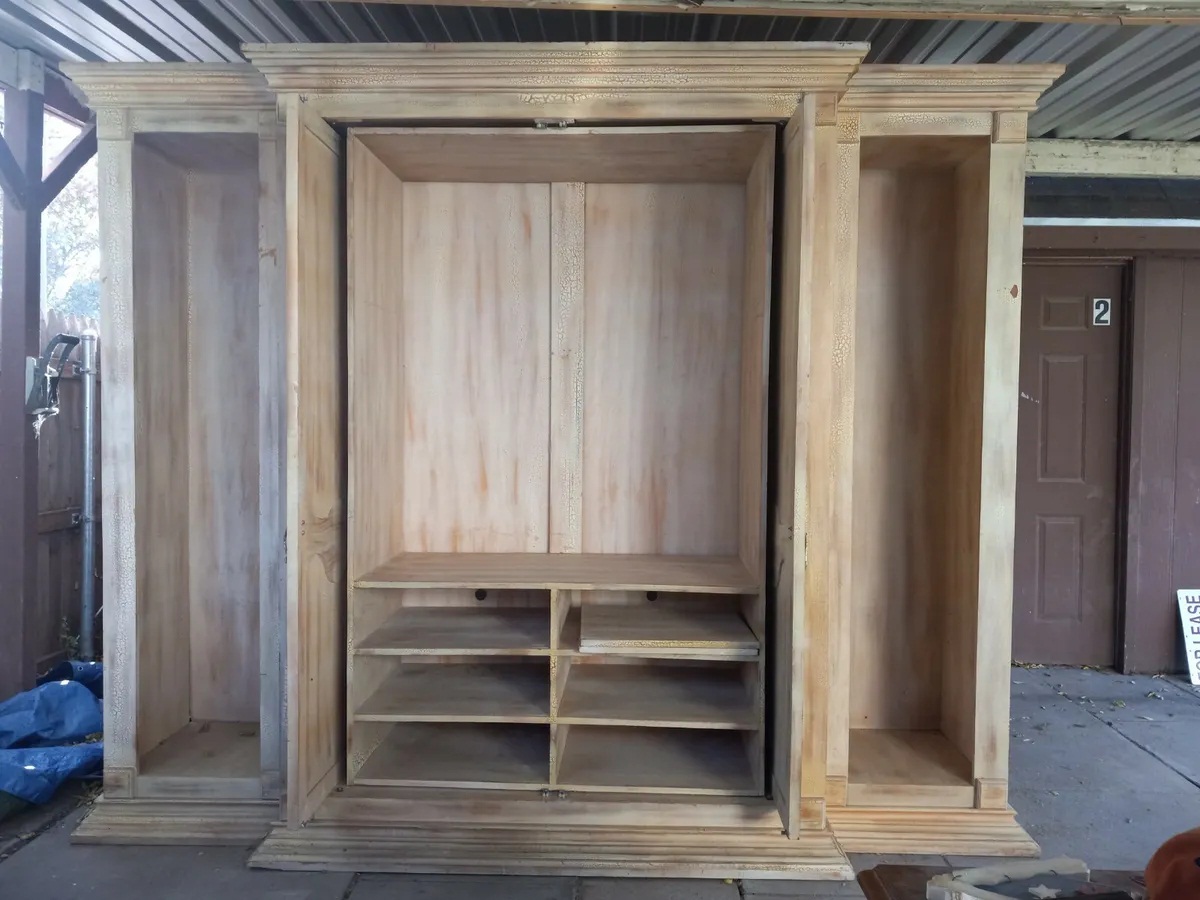
Step 3: Building the Frame
With the alcove prepared and ready, it’s time to start building the frame of your fitted wardrobe. The frame provides the structure and support for the shelves, doors, and other components of the wardrobe.
Start by measuring and marking the height of the wardrobe on the alcove walls. Use a spirit level to ensure the marks are level. These marks will serve as guides for installing the vertical supports of the frame.
Cut the vertical supports from the chosen wood or board material, making sure they align with the height marks on the walls. Attach them securely to the walls using screws or strong adhesive, ensuring they are plumb and level.
Next, measure and cut the horizontal supports that will connect the vertical supports. These supports will create the framework for the shelves and additional storage compartments. Attach them to the vertical supports using appropriate fixings, such as screws or dowels.
Now it’s time to add the shelves. Measure and cut the shelf boards to fit between the vertical and horizontal supports. Place them on top of the supports and secure them in place using screws or adhesive, ensuring they are level.
If you want to incorporate drawers in your fitted wardrobe, now is the time to install them. Measure and cut drawer panels and runners according to your design. Attach the drawer panels to the horizontal supports and install the runners, ensuring they slide smoothly.
Finally, reinforce the stability of the frame by adding diagonal braces in the corners of the alcove. Cut the braces from the same wood or board material as the frame and install them securely. This will add extra support and prevent any wobbling or shifting of the wardrobe.
Once the frame is completed and secure, take a moment to double-check all measurements and ensure everything is level and straight. Adjust as necessary before moving on to the next step.
Congratulations! You have successfully built the frame of your fitted wardrobe. The frame provides a solid foundation for the shelves, drawers, and doors, and brings your wardrobe one step closer to completion.
Now that the frame is in place, it’s time to move on to the next step – installing the shelving to maximize the storage space in your fitted wardrobe.
When building a fitted wardrobe in an alcove, make sure to measure the space accurately to ensure a perfect fit. Take into account any skirting boards or uneven walls to create a seamless and professional finish.
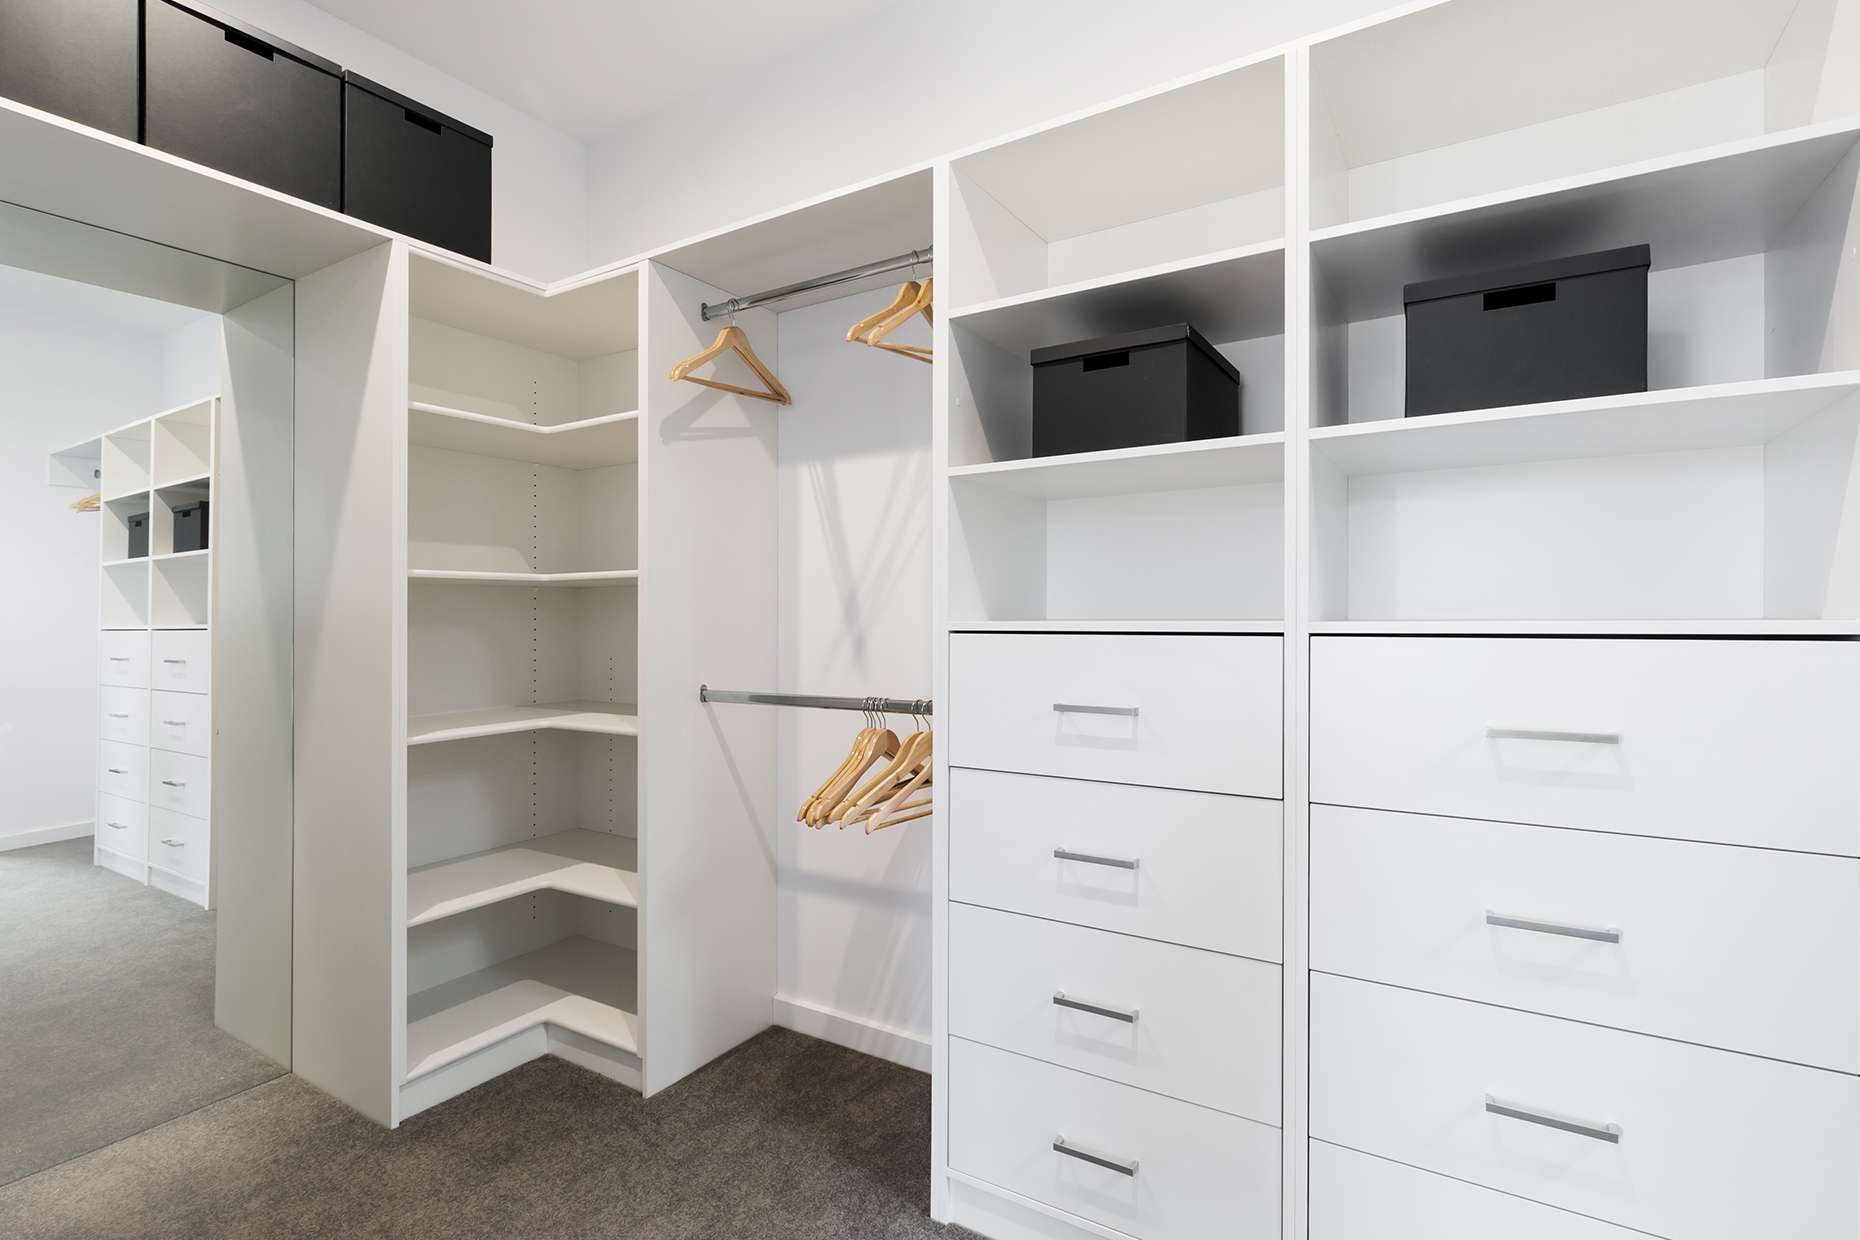
Step 4: Installing the Shelving
With the frame of your fitted wardrobe complete, it’s time to move on to installing the shelving. The shelves provide the storage space needed to organize and store your belongings efficiently.
Start by measuring and marking the desired height of each shelf on the vertical supports of the frame. Use a level to ensure the marks are straight and level across the entire wardrobe.
Once the shelf heights are marked, cut the shelf boards to the appropriate length. Ensure they fit snugly between the vertical supports and line up with the marked height measurements.
Place the shelf boards on top of the horizontal supports and check for levelness. Make any adjustments if necessary before securing the shelves in place. Use screws or adhesive to fix the shelves onto the horizontal supports, ensuring they are stable and can bear the weight of your items.
If you prefer adjustable shelves that can be customized to your needs, consider installing shelf support pins or brackets that allow for easy repositioning of the shelves as your storage requirements change.
Once all the shelves are installed, take a step back and assess the overall look and functionality of the wardrobe. Make sure the shelves are evenly spaced and provide ample storage space for your belongings.
This is also a good time to add any additional features or accessories to enhance the functionality of your fitted wardrobe. Consider installing hanging rails for clothes, hooks or racks for accessories, or even built-in lighting to add a touch of luxury.
With the shelving in place, your fitted wardrobe is starting to take shape. The shelves enable you to organize your belongings and keep them easily accessible, making the most of the storage potential in your alcove.
Now that your shelves are installed, it’s time to move on to the next step – adding the doors to complete the look of your fitted wardrobe.
Read more: How To Build A Wardrobe Closet
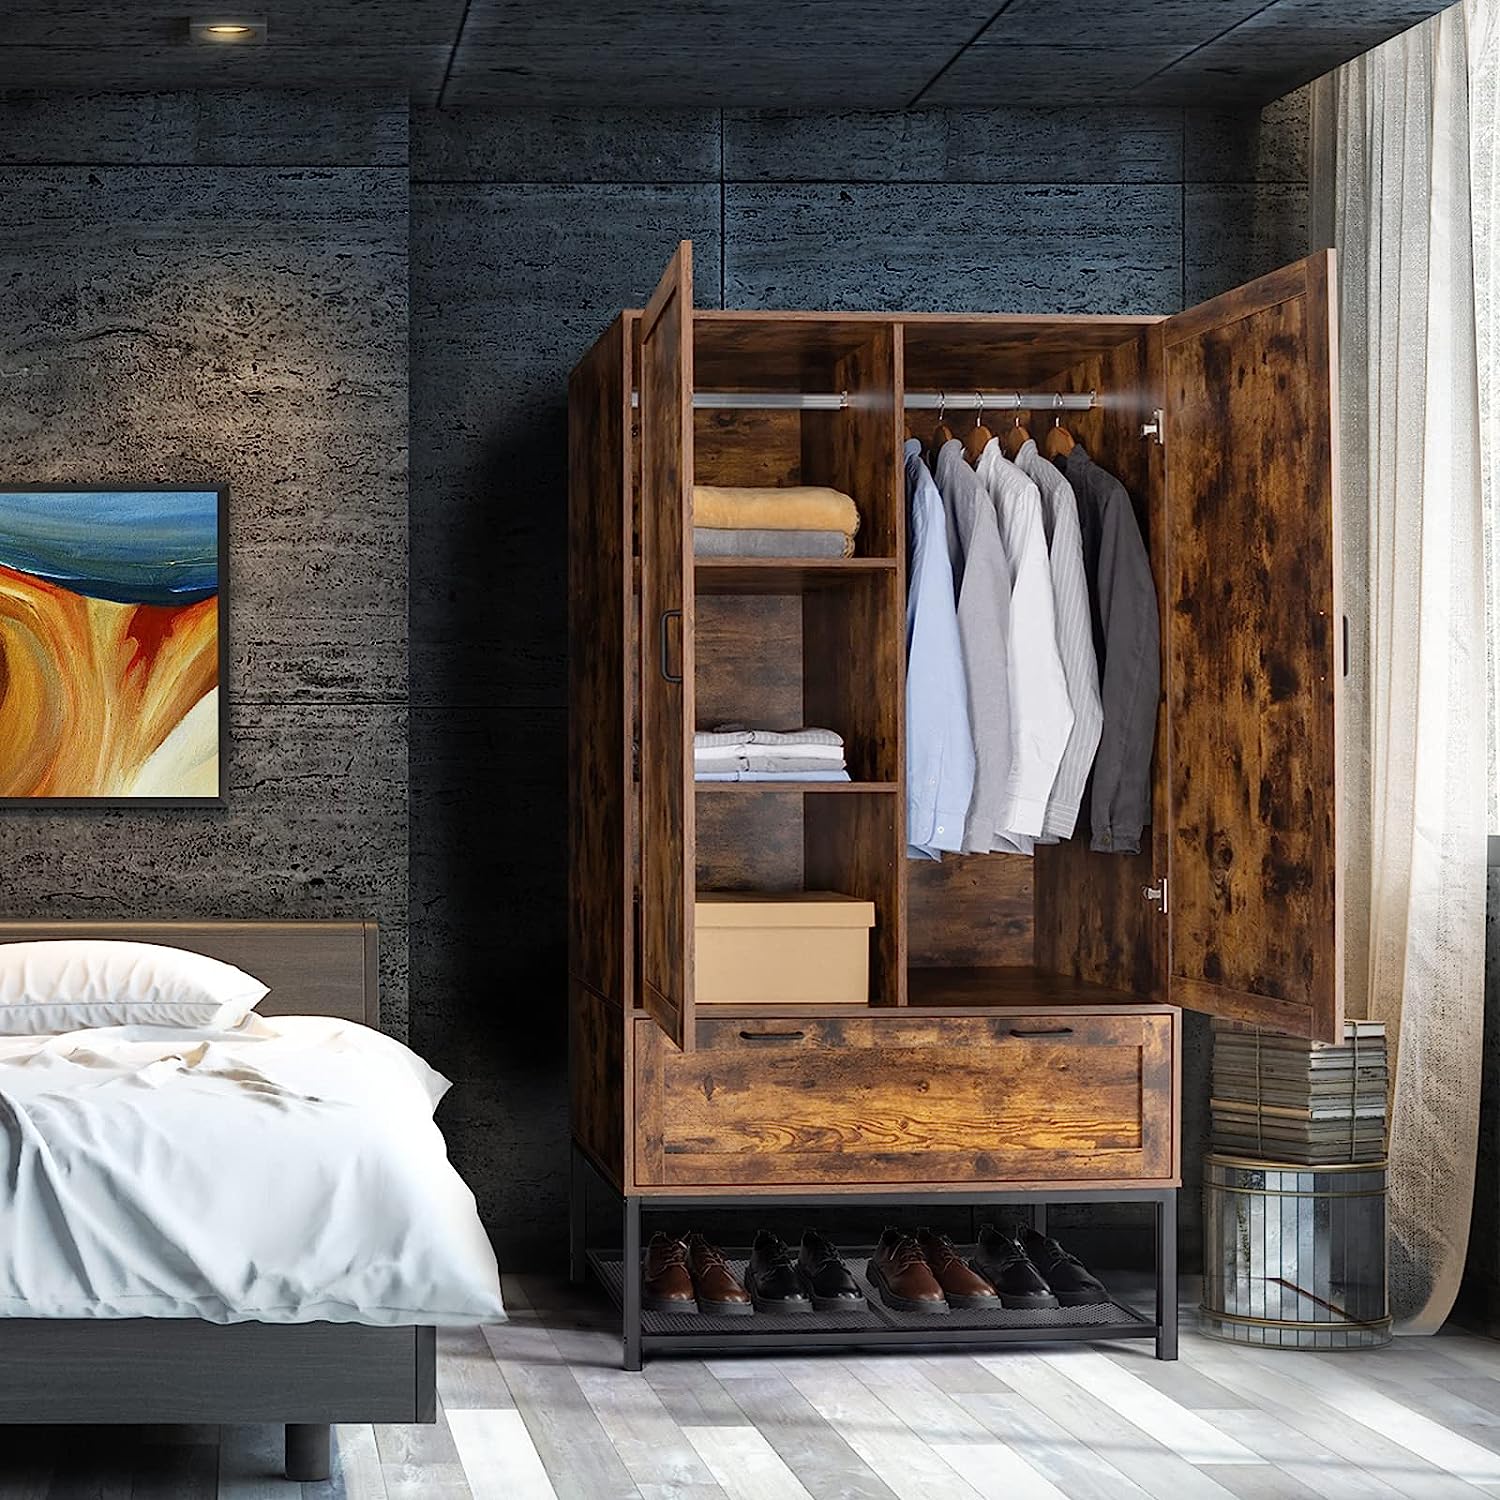
Step 5: Adding the Doors
Adding the doors to your fitted wardrobe is a significant step that brings both functionality and style to the final product. The doors provide a sleek and finished look, while also hiding the contents of the wardrobe.
Before selecting the doors, determine the style and material that best suits your overall room design and personal taste. Popular choices include hinged doors, sliding doors, or even mirrored doors for added functionality and a sense of spaciousness.
Measure the width and height of the openings where the doors will be installed. If you have multiple doors, make sure to take the measurements individually for each door. It’s essential to have accurate measurements to ensure the doors fit properly.
Once you have the measurements, select or purchase the doors based on your preferences. Remember to take into account the thickness and weight of the doors, as well as any hardware or handles that come with them.
Follow the manufacturer’s instructions for installing the doors. This may involve attaching hinges, sliders, or track systems, depending on the type of doors you choose. Make sure to align the doors properly and ensure they open and close smoothly.
If you opt for hinged doors, ensure that there is enough space for the doors to swing open fully without any obstructions. Adjust the positioning of the vertical supports or shelves if necessary to accommodate the doors’ movement.
If you choose sliding doors, ensure that the track system is installed correctly and that the doors glide smoothly along the track. Check that the doors align properly when closed and don’t leave any gaps.
Once the doors are installed, test them to ensure they open and close smoothly and securely. Adjust any hinges, sliders, or tracks as needed to achieve the desired functionality and appearance.
Finally, consider adding any finishing touches to the doors, such as handles or knobs. These small details can significantly enhance the overall look and functionality of your fitted wardrobe.
Congratulations! With the doors installed, your fitted wardrobe is complete and ready to be used. Open and close the doors with pride, knowing that you have created a stylish and practical storage solution in your alcove.
Now that your fitted wardrobe is fully assembled, it’s time to move on to the final step – adding the finishing touches to make it a seamless and visually appealing addition to your room.
Step 6: Finishing Touches
Congratulations on reaching the final step of building your fitted wardrobe! Step 6 is all about adding those finishing touches that will make your wardrobe not only functional but also aesthetically pleasing.
Start by giving the entire wardrobe a thorough cleaning, ensuring that all dust and debris are removed. Use a damp cloth or vacuum cleaner to clean both the interior and exterior surfaces, as well as the shelves and doors.
Inspect the wardrobe carefully to identify any rough edges or imperfections that need to be addressed. Use sandpaper or a wood file to smooth out any rough areas, ensuring a clean and polished finish.
If you opted for a wooden wardrobe, consider applying a protective finish, such as wood stain or varnish, to enhance the natural beauty of the wood while providing added durability. Follow the manufacturer’s instructions for applying the finish and allow sufficient drying time.
One of the final touches you can add is lighting. Consider installing LED strip lights or spotlights inside the wardrobe to illuminate the shelves and make it easier to find and access your belongings. This can be especially useful in darker areas or if your wardrobe doesn’t have built-in lighting.
To further personalize your fitted wardrobe, you can add decorative elements such as wallpaper or adhesive decals to the doors or interior walls. Choose a design or pattern that complements your room’s decor and reflects your personal style.
Now is also a good time to organize and arrange the items inside your new wardrobe. Consider using storage boxes, baskets, or dividers to maximize space and keep things tidy. Additionally, label shelves or drawers to easily identify what goes where.
Finally, step back and admire your completed fitted wardrobe. Take a moment to appreciate the hard work and creativity invested in creating a custom storage solution that perfectly fits your alcove.
Remember, the finishing touches are what truly make your fitted wardrobe stand out and become a seamless part of your room’s design. So, take your time to add those final details that elevate its functionality and appearance.
With Step 6 complete, your fitted wardrobe is now ready to be enjoyed and utilized to its full potential. Say goodbye to clutter and disorganized spaces, and say hello to a beautifully crafted storage solution that brings both practicality and style to your home.
That concludes our guide on how to build a fitted wardrobe in an alcove. We hope you found this step-by-step process helpful and inspiring. Now, go ahead and enjoy your newly built fitted wardrobe!
Conclusion
Building a fitted wardrobe in an alcove can be a rewarding and transformative project for your home. It allows you to maximize storage space, create a custom solution that fits seamlessly into your room, and add a touch of elegance to your decor. With the right planning, measurements, and a little bit of DIY effort, you can create a practical and visually appealing storage solution that will serve you for years to come.
Throughout this guide, we’ve walked you through the step-by-step process of building a fitted wardrobe in an alcove. From measuring and planning to preparing the alcove, building the frame, installing shelving, adding the doors, and adding the finishing touches, we’ve covered all the essential aspects of the construction process.
Remember, safety is always a priority when working with power tools and materials. If you’re not confident or experienced in carpentry work, it’s best to seek help from a professional or someone with the necessary skills. Taking the time to plan and measure accurately, as well as properly preparing the alcove, ensures a solid foundation for your fitted wardrobe.
As you progress through each step, it’s important to infuse your own style and personal preferences. Consider the design, materials, and finishes that align with your room’s decor and your desired aesthetic. Adding features like lighting and decorative elements can elevate the functionality and visual appeal of your fitted wardrobe.
Ultimately, building a fitted wardrobe in an alcove is a creative and fulfilling project. It allows you to customize your storage space and transform a once-underutilized area into a functional and stylish part of your home. So, roll up your sleeves, gather your tools, and embark on the journey of creating a fitted wardrobe that is uniquely yours.
We hope this guide has provided you with the knowledge and inspiration to tackle this DIY project. Now, go forth and build your dream fitted wardrobe!
Frequently Asked Questions about How To Build A Fitted Wardrobe In An Alcove
Was this page helpful?
At Storables.com, we guarantee accurate and reliable information. Our content, validated by Expert Board Contributors, is crafted following stringent Editorial Policies. We're committed to providing you with well-researched, expert-backed insights for all your informational needs.


0 thoughts on “How To Build A Fitted Wardrobe In An Alcove”