Home>Garden Essentials>Garden Storage>How To Build IKEA Pax Wardrobe
Garden Storage
How To Build IKEA Pax Wardrobe
Modified: October 20, 2024
Learn step-by-step how to build your own IKEA Pax wardrobe for convenient storage. Find tips, tricks, and expert guidance in this comprehensive guide.
(Many of the links in this article redirect to a specific reviewed product. Your purchase of these products through affiliate links helps to generate commission for Storables.com, at no extra cost. Learn more)
Introduction
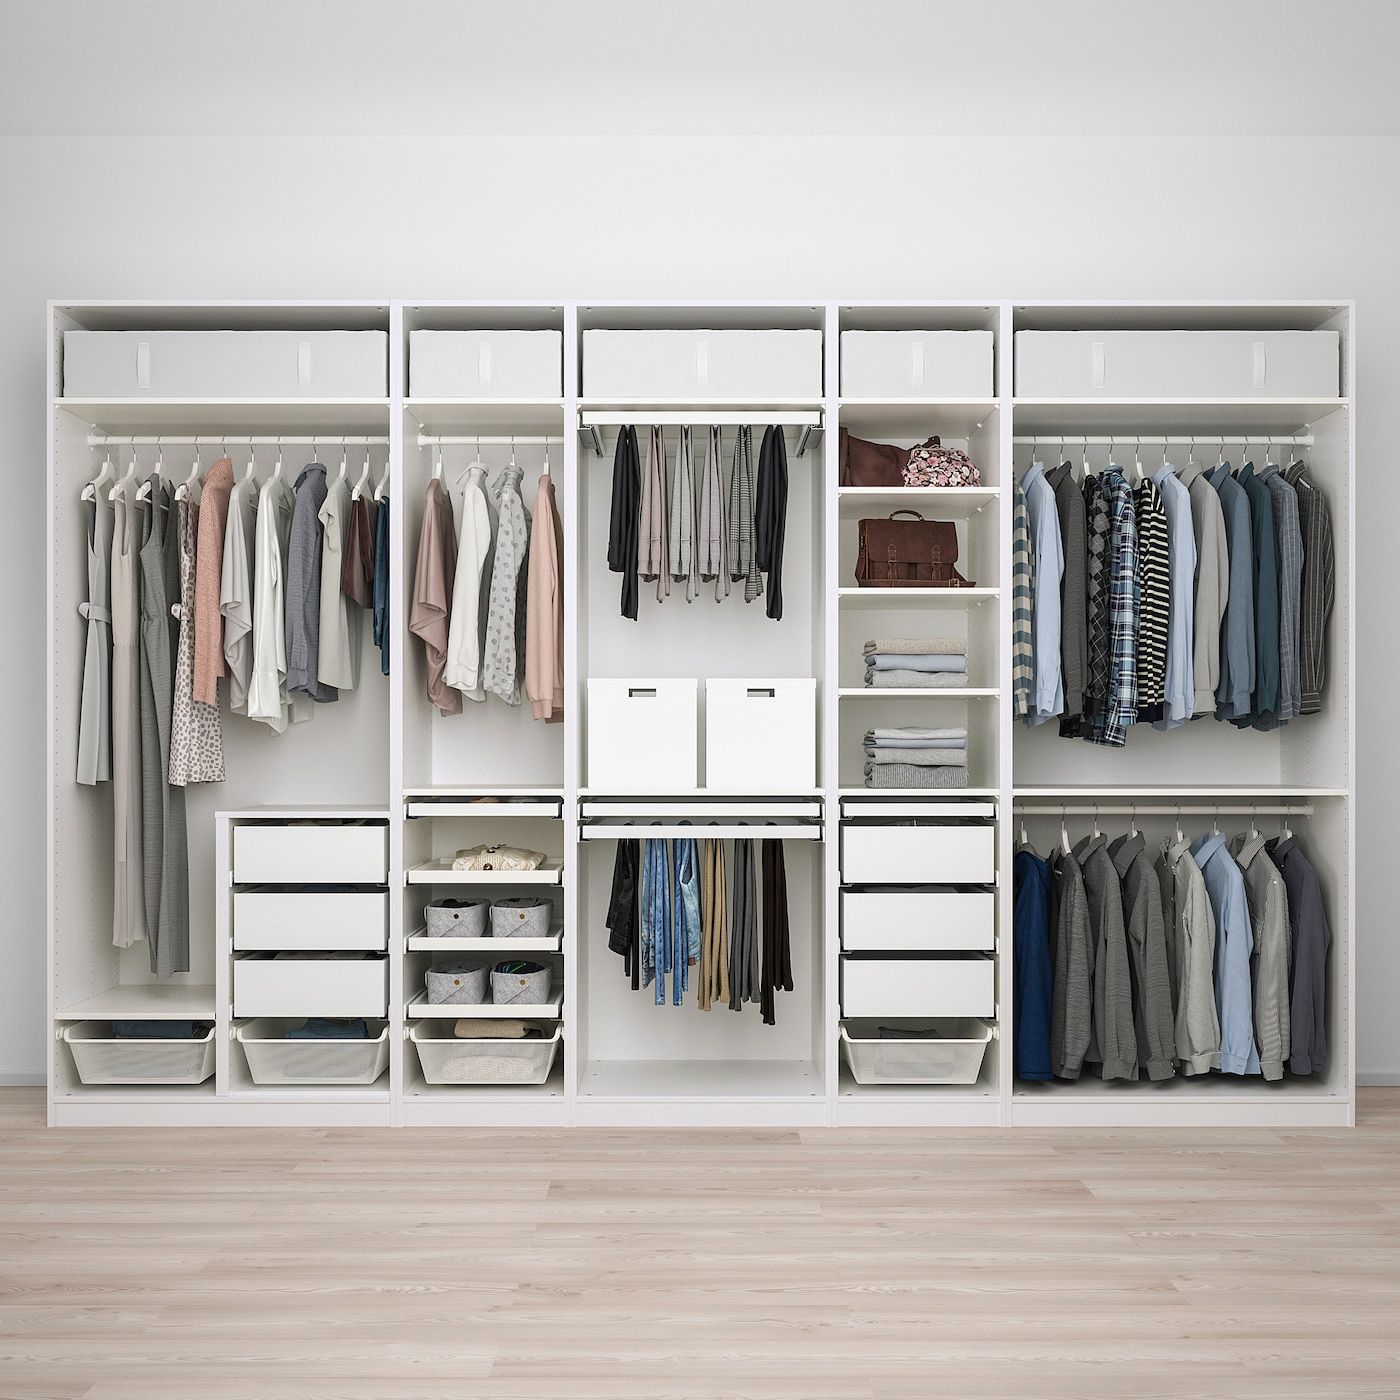
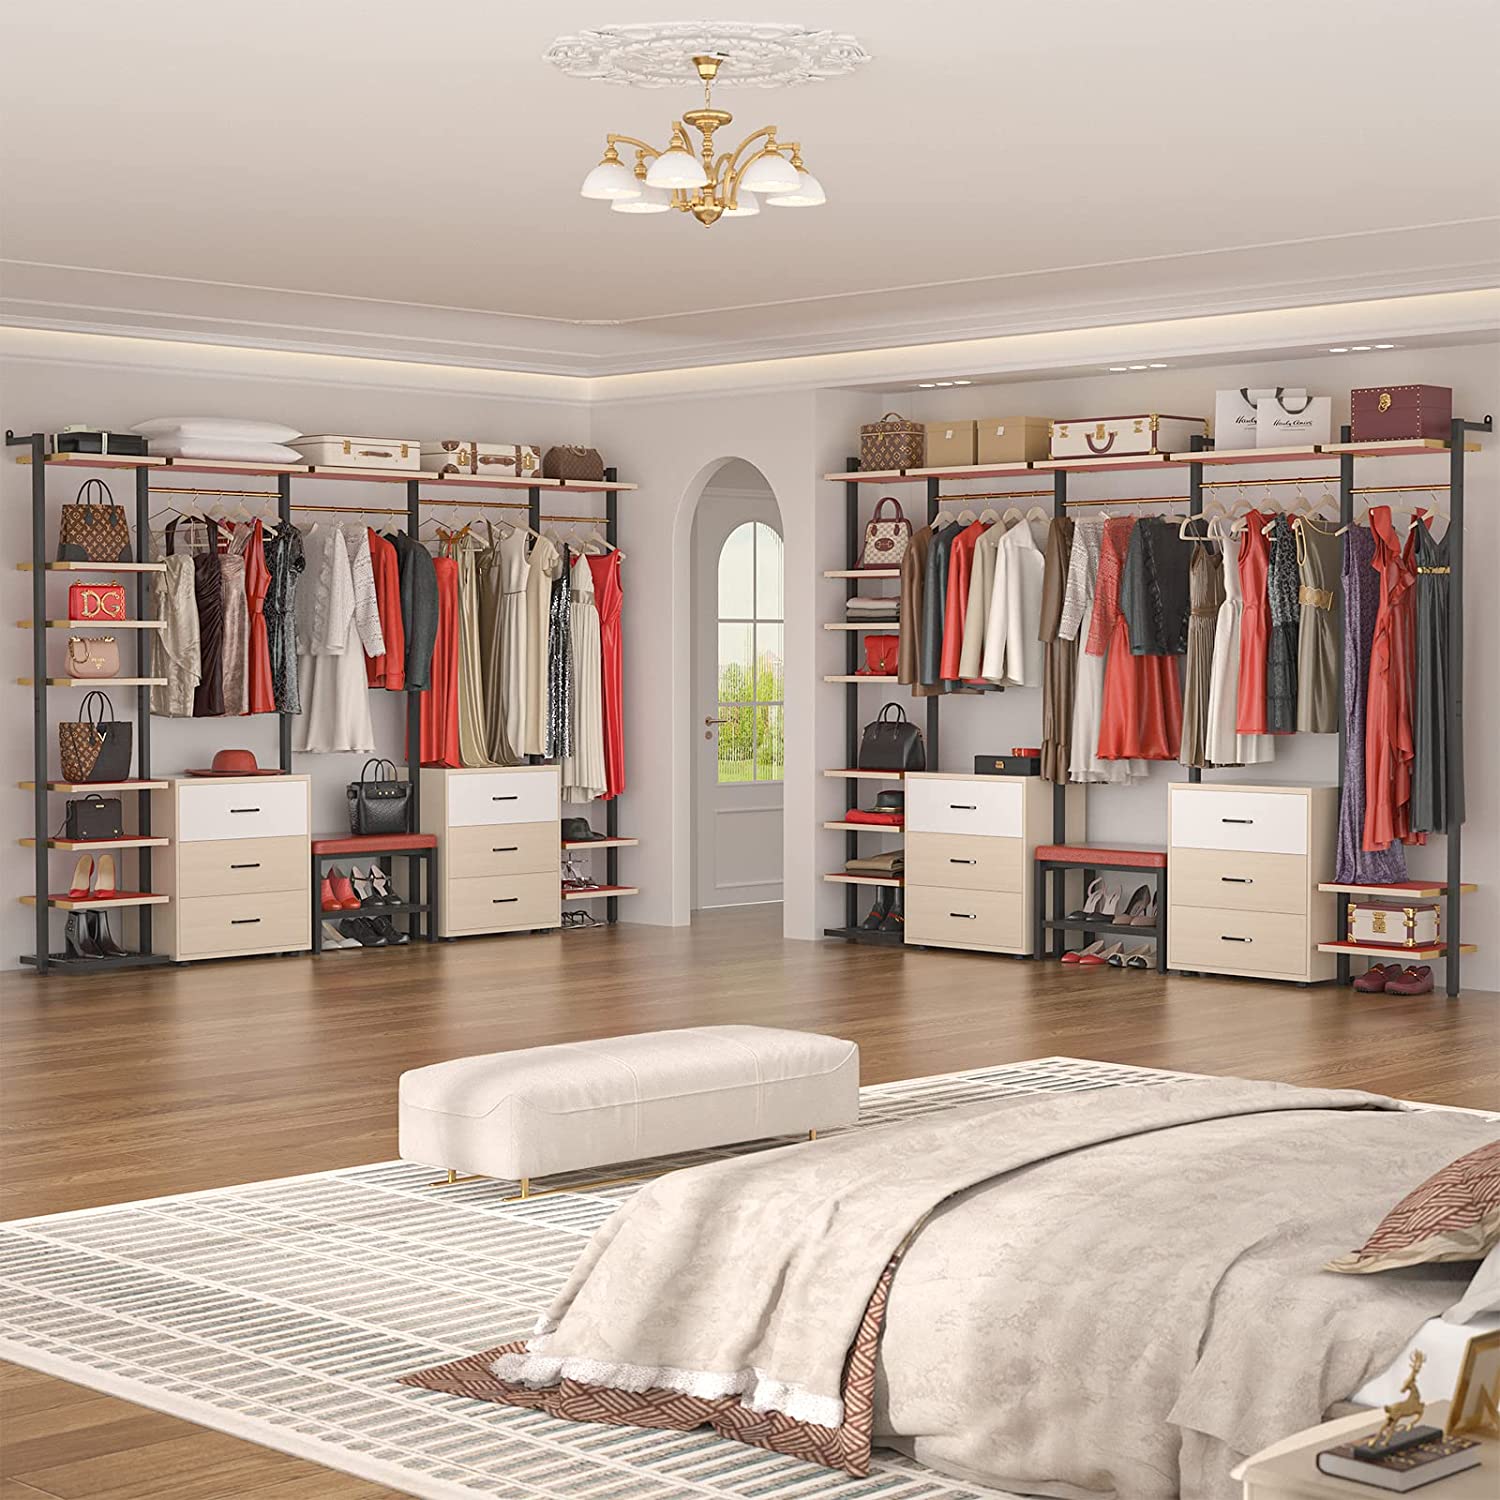
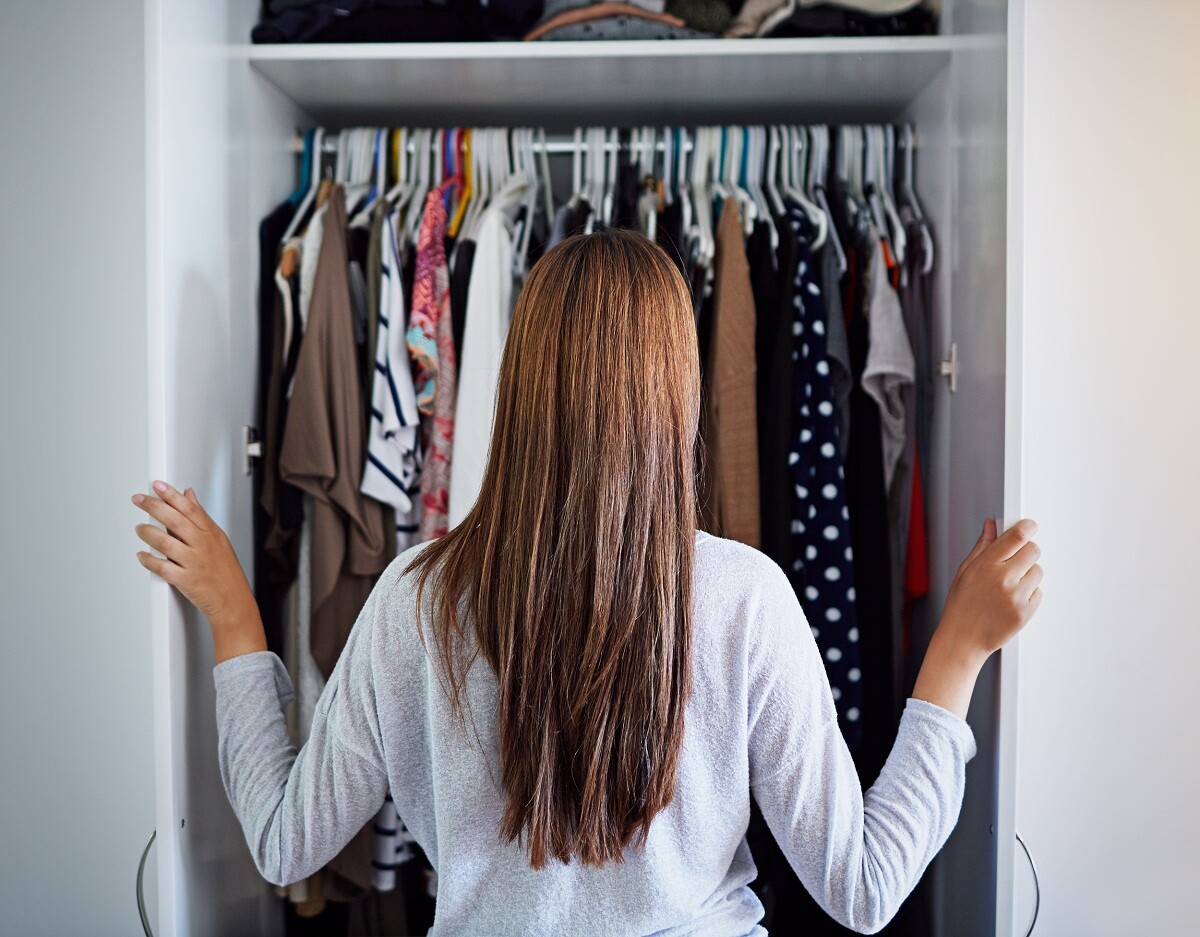
Welcome to this comprehensive guide on how to build your very own IKEA Pax wardrobe. If you’re someone who loves organization and needs additional storage space, the Pax wardrobe is an excellent choice. With its customizable features and sleek design, it’s no wonder that the Pax wardrobe has become a popular option for many homeowners.
Building furniture can seem like a daunting task, but fear not! With the right tools, patience, and a step-by-step approach, you’ll be well on your way to creating a functional and stylish wardrobe. In this article, we’ll walk you through the process of unboxing the Pax wardrobe, preparing your workspace, sorting the parts, assembling the frame, installing the shelves and drawers, mounting the doors, adjusting and leveling the wardrobe, and adding accessories and finishing touches.
Before we dive into the details, it’s important to note that building the Pax wardrobe is a rewarding and fulfilling project. It allows you to customize the wardrobe according to your storage needs and personal style. So, let’s grab our tools and get ready to build an amazing wardrobe!
Key Takeaways:
- Building an IKEA Pax wardrobe is a rewarding and customizable project that requires careful unboxing, precise assembly, and thoughtful organization of parts. The final result is a functional and stylish storage solution tailored to individual needs.
- Adding accessories and finishing touches to the IKEA Pax wardrobe allows for personalization and optimization of storage space. From clothing rails to decorative elements, these additions enhance both functionality and style.
Read more: How To Secure Pax Wardrobe To Wall
Step 1: Unboxing the Pax Wardrobe
The first step in building your IKEA Pax wardrobe is to carefully unbox all the components. Make sure you have enough space in your room to spread out the pieces and work comfortably. It’s a good idea to have a friend or family member help you during this process as some parts may be heavy or bulky.
Start by locating the main box, which contains the frame and larger components of the wardrobe. Carefully open the box and remove the items one by one, placing them nearby in an organized manner. Take note of any instructions or labels that may be included as they will be helpful in the later steps.
Next, look for smaller boxes or packages that contain the shelves, drawers, doors, and any additional accessories you may have purchased. These boxes are usually labeled to indicate their contents. Open each box and arrange the components neatly, making sure to keep track of all the necessary parts.
As you unbox the Pax wardrobe, take a moment to inspect each item for any signs of damage or defects. IKEA has a reputation for quality control, but it’s always a good idea to check everything before proceeding with the assembly. If you notice any issues, contact IKEA’s customer support for assistance.
Once you have unboxed everything and inspected the pieces, it’s time to gather the necessary tools. The Pax wardrobe typically comes with an assembly manual that lists the required tools. Common tools needed for this project include a screwdriver, a hammer, and a level. Additionally, having a measuring tape, a pencil, and some extra screws or nails can be useful for any adjustments or modifications you may need to make.
Now that you have unboxed the Pax wardrobe and gathered your tools, you’re ready to move on to the next step: preparing your workspace. This involves clearing the area, ensuring a stable surface, and organizing your tools for easy access. So let’s get started!
Step 2: Preparing the Workspace
Before you start assembling your IKEA Pax wardrobe, it’s crucial to prepare your workspace to ensure a smooth and efficient building process. Taking the time to set up your workspace properly will make the assembly process much easier and less stressful.
The first step in preparing your workspace is to clear the area where you plan to build the wardrobe. Remove any furniture, clutter, or obstacles that may impede your movement or access to the components. Having a clean and spacious area will allow you to lay out the parts and move around freely during the assembly.
Next, ensure that you have a stable and level surface to work on. It’s best to assemble the wardrobe on a hard floor, such as wood or tile, rather than carpet. This will provide a sturdy foundation and prevent any wobbling or instability once the wardrobe is built. If your floor is uneven, consider using shims or furniture levelers to adjust the height and ensure a level surface.
Another important aspect of preparing your workspace is organizing your tools and materials. Keep all the necessary tools, such as screwdrivers, hammers, and levels, within easy reach. Arrange them in a designated area or tool tray to avoid misplacing them during the assembly process. Additionally, gather all the components of the Pax wardrobe and group them by type, making it easier to locate and access the required parts.
Having good lighting in your workspace is also essential. Ensure that the area is well-lit so you can clearly see the assembly instructions and the components of the wardrobe. If needed, use additional lighting sources, such as lamps or overhead lights, to provide ample illumination.
Lastly, make sure to have a comfortable setup for yourself. Consider using a kneeling pad or a cushion to provide support for your knees while working on the lower parts of the wardrobe. It’s also advisable to wear comfortable clothing that allows for easy movement and doesn’t restrict your range of motion.
By taking the time to prepare your workspace, you’ll be setting yourself up for a successful and efficient wardrobe assembly. With a clear and organized area, a stable and level surface, and all the necessary tools within reach, you’re ready to move on to the next step: sorting and organizing the parts.
Step 3: Sorting and Organizing the Parts
Once you have prepared your workspace, it’s time to start sorting and organizing the parts of your IKEA Pax wardrobe. This step is crucial in ensuring a smooth assembly process and avoiding any confusion or delays later on.
Begin by gathering all the components of the wardrobe and laying them out in a systematic manner. Take a close look at the assembly instructions provided by IKEA to familiarize yourself with the different parts and their names. You can refer to the labeled diagrams in the instructions to identify each piece.
As you sort the parts, group them according to their type or function. For example, you can separate the frame parts, shelves, drawers, and doors into distinct piles. This will make it easier to find the required components when you need them during the assembly process.
After sorting the parts, take a moment to double-check that you have all the necessary components. Refer to the assembly manual or the list of contents included with the wardrobe to ensure that nothing is missing. If you do find any missing parts, contact IKEA’s customer support for assistance.
While sorting the parts, it’s also helpful to arrange them in the order of assembly. This means placing the components that will be used first at the top of each pile. For example, if the assembly instructions indicate that the frame should be built first, keep the frame parts on the top of the stack so they’re easily accessible.
As you organize the parts, it’s a good idea to keep track of the hardware and fasteners needed for each section. Group the screws, nails, dowels, and other small pieces together and label them accordingly. This will save you time and effort when you’re ready to install each component.
By sorting and organizing the parts before you begin the actual assembly, you’ll have a clearer understanding of the scope of the project and be well-prepared for each step. Now that you have everything sorted and laid out, you’re ready to move on to the next step: assembling the frame of the wardrobe.
Step 4: Assembling the Frame
Now that you have sorted and organized all the parts, it’s time to start assembling the frame of your IKEA Pax wardrobe. The frame serves as the foundation for the entire wardrobe and provides stability and support for the shelves, drawers, and doors.
Begin by referring to the assembly instructions provided by IKEA. These instructions will provide you with detailed step-by-step guidance on how to assemble the frame. Take the time to read through the instructions thoroughly before you begin to ensure that you understand each step and have a clear picture of the process.
Start by identifying the main frame pieces, which are usually labeled with letters or numbers. Lay them out in the order indicated in the instructions. It’s important to work methodically and follow the assembly sequence provided, as skipping or rearranging steps can lead to difficulties down the line.
Next, assemble the frame according to the instructions. This typically involves using screws, dowels, and other fasteners to securely connect the frame pieces together. Use a screwdriver or power drill, if necessary, to tighten the screws and ensure a sturdy construction.
As you work on assembling the frame, periodically check for alignment and adjust as needed. Use a level to ensure that the frame is straight and not leaning to one side. Make any necessary adjustments by loosening or tightening the screws until the frame is level and plumb.
Pay attention to any additional features or accessories that need to be attached to the frame, such as support brackets or wire organizers. These components are often included to enhance the functionality of the wardrobe, so be sure to install them properly according to the instructions.
Once the frame is fully assembled, take a moment to inspect the connections and make sure that everything is secure and tightly fitted. Shake the frame gently to test its stability and make any necessary adjustments if you notice any wobbling or loose parts.
Completing the assembly of the frame is a significant milestone in building your Pax wardrobe. It forms the solid backbone of the wardrobe structure and sets the stage for attaching the shelves, drawers, and doors. With the frame successfully built, you’re ready to move on to the next step: installing the shelves and drawers.
When building an IKEA Pax wardrobe, make sure to carefully follow the assembly instructions step by step to ensure a sturdy and well-constructed final product.
Read also: 14 Unbelievable Pax Wardrobe for 2025
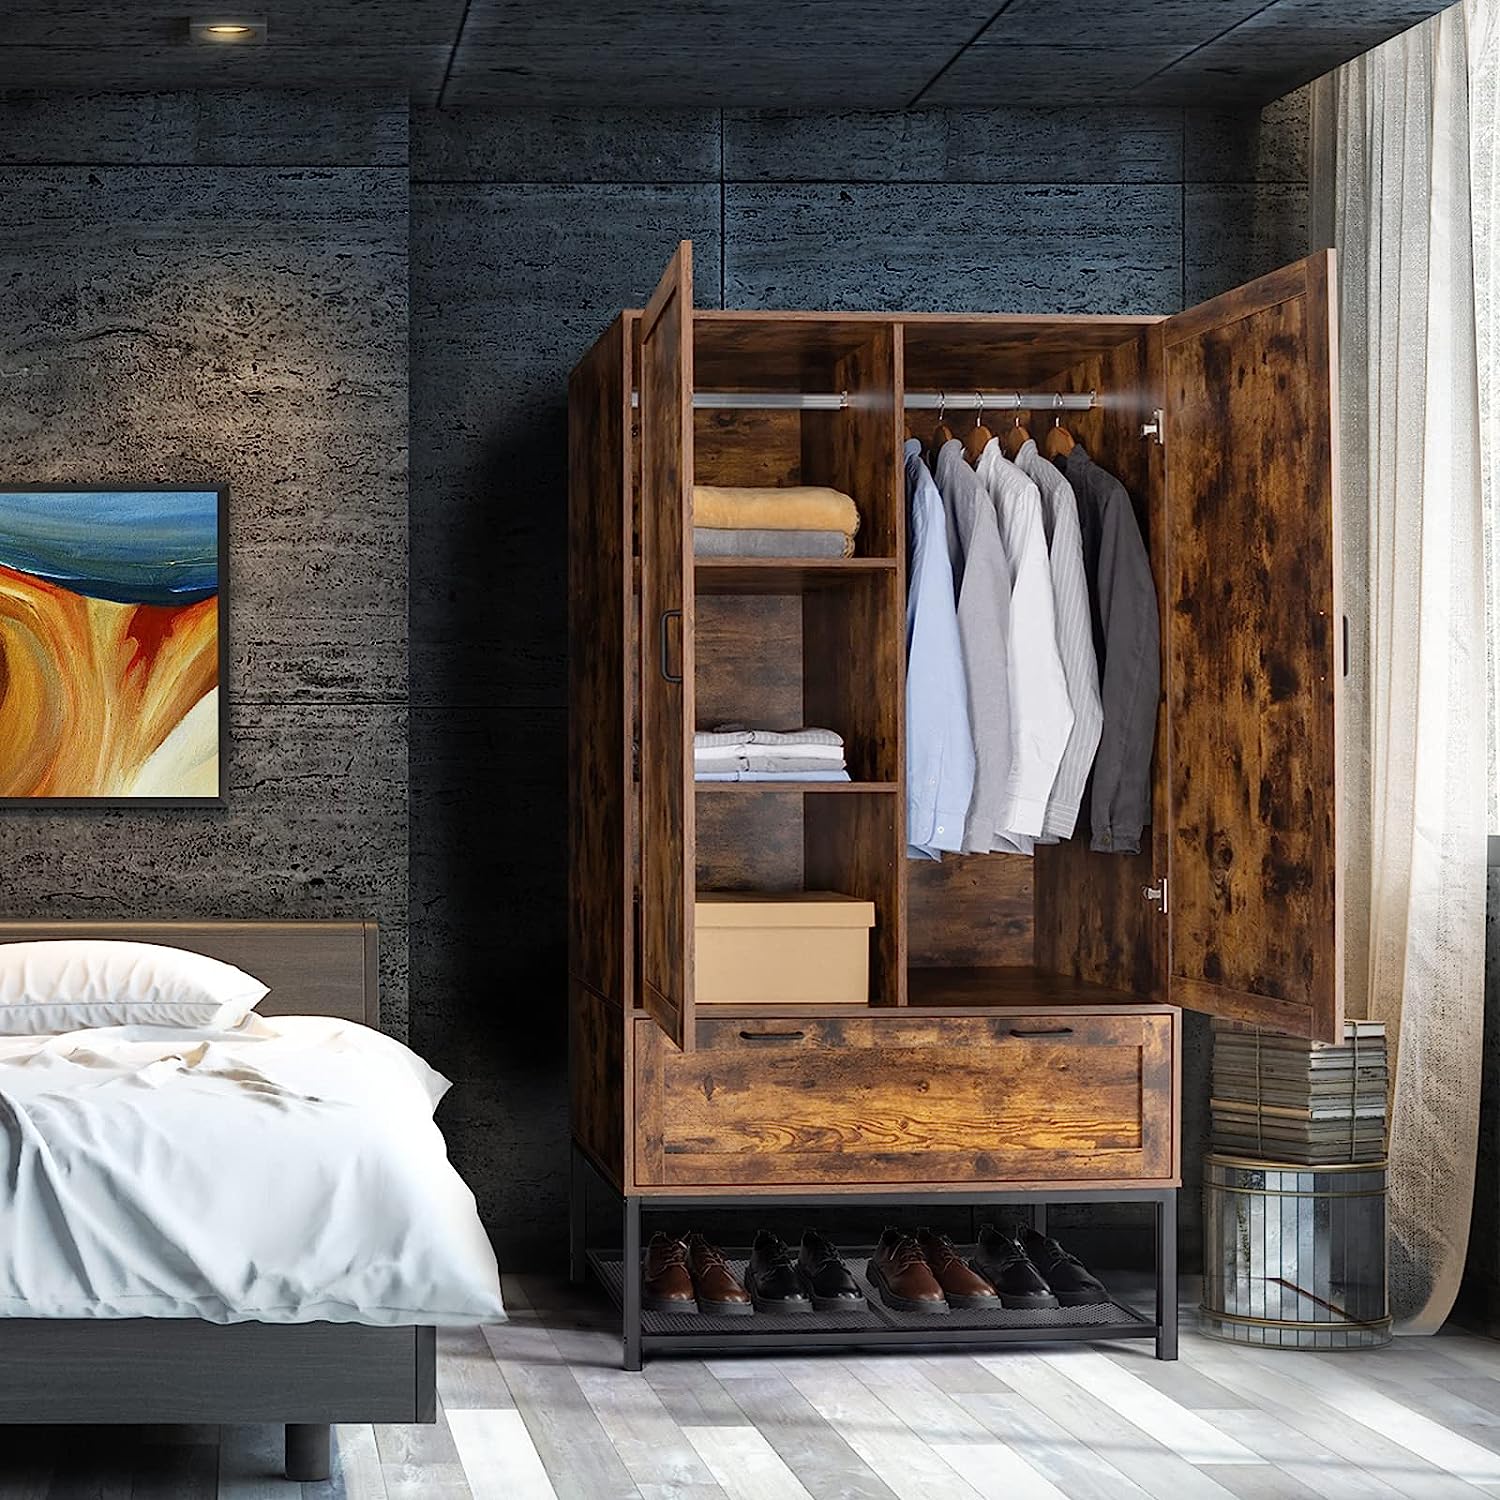
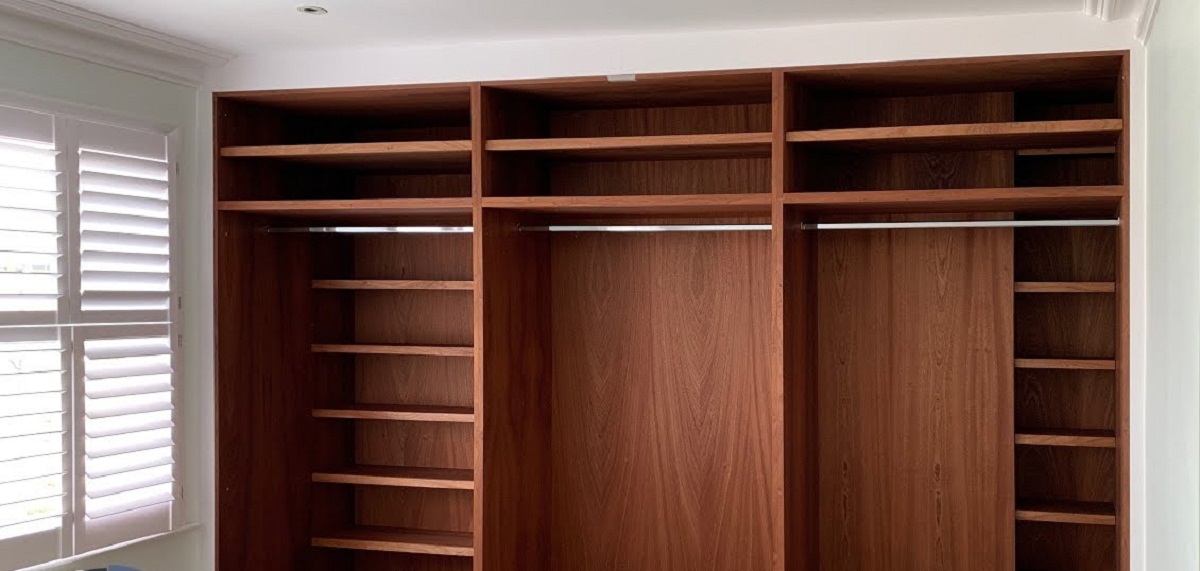
Step 5: Installing the Shelves and Drawers
With the frame of your IKEA Pax wardrobe assembled, it’s time to move on to the next step: installing the shelves and drawers. These components are essential for maximizing the storage capabilities of your wardrobe and creating organized spaces for your belongings.
Begin by identifying the shelf and drawer panels as indicated in the assembly instructions. Lay them out in the order of installation, ensuring that you have all the necessary components. Take a moment to familiarize yourself with the specific instructions for each shelf and drawer, as they may vary slightly in their installation process.
Start by selecting the location for your first shelf. Use a measuring tape and a pencil to mark the desired height on the inside of the wardrobe frame. Depending on your storage needs, you may choose to adjust the height of the shelves accordingly. Once you have marked the position, carefully insert the shelf pins into the pre-drilled holes on both sides of the frame.
Next, place the shelf panel on top of the shelf pins, ensuring that it sits securely and level. Apply gentle pressure to ensure a snug fit. Repeat this process for each additional shelf, adjusting the heights as desired.
When installing the drawers, start by attaching the drawer runners to the inside of the wardrobe frame. These runners will provide the smooth sliding mechanism for the drawers. Follow the instructions carefully to ensure proper alignment and attachment.
Once the drawer runners are in place, you can begin assembling the drawers themselves. This typically involves attaching the drawer fronts to the drawer panels using screws or other fasteners provided. Ensure that the drawers are square and properly aligned before tightening the screws.
Once the drawers are assembled, carefully insert them into the drawer runners and push them in until they are fully in place. Test the drawers by opening and closing them to ensure smooth operation. If any adjustments are needed, check the instructions for guidance on how to fine-tune the drawer alignment.
As you install the shelves and drawers, periodically check for stability and adjust as needed. Ensure that the shelves are level and not sagging, and that the drawers slide smoothly without any obstructions. Making these adjustments during installation will save you time and effort in the long run.
Completing the installation of shelves and drawers is a significant step in transforming your IKEA Pax wardrobe into a functional storage solution. With these components in place, you’re one step closer to creating your perfect, organized space. Now that the shelves and drawers are installed, let’s move on to the next step: mounting the doors.
Step 6: Mounting the Doors
Once you have installed the shelves and drawers, it’s time to move on to the next step: mounting the doors of your IKEA Pax wardrobe. The doors not only add a finishing touch to the wardrobe’s aesthetics but also provide easy access to your belongings while keeping them concealed.
Before you begin mounting the doors, ensure that you have all the necessary components as indicated in the assembly instructions. This may include hinges, screws, and any additional hardware specific to the door style you have chosen.
Start by attaching the hinges to the door panels. Most Pax wardrobe doors come with pre-drilled holes for hinge placement, making it easier to align the hinges properly. Use the included screws or fasteners to secure the hinges to the doors. Take care to ensure that the hinges are firmly attached and allow the door to open and close smoothly.
With the hinges attached to the doors, position the doors onto the wardrobe frame. The hinges should align with the pre-drilled holes on the frame. Carefully insert the hinge pins into the hinge holes, ensuring a secure connection. Test the doors by opening and closing them to ensure they move freely and align properly.
If your Pax wardrobe has multiple doors, repeat the same process for each door, ensuring proper alignment and spacing between them. Take the time to check that the doors are level and properly centered within the frame. Make any necessary adjustments to the hinge positions or door alignment as needed.
Once all the doors are mounted, check for smooth and even operation. Open and close each door to ensure that they move effortlessly and do not rub against the frame or other doors. Adjust the hinge placement or door alignment if necessary to achieve optimal performance.
Additionally, if your Pax wardrobe has adjustable hinges, take advantage of this feature to fine-tune the alignment of the doors. You can use a screwdriver to adjust the hinges vertically, horizontally, or inwards/outwards to achieve a perfect fit.
Mounting the doors is the final step in completing the main structure of your IKEA Pax wardrobe. With the doors in place, you can now admire the sleek and organized look of your wardrobe. However, there are a few additional steps to ensure the wardrobe is fully functional and customized to your needs. Let’s move on to the next step: adjusting and leveling the wardrobe.
Step 7: Adjusting and Leveling the Wardrobe
After mounting the doors of your IKEA Pax wardrobe, it’s important to ensure that the wardrobe is properly adjusted and leveled. This step will not only enhance the overall appearance of the wardrobe but also ensure functionality and stability.
Begin by checking the alignment of the doors. Close the doors and observe if they are flush and evenly aligned with the wardrobe frame. If any adjustments are needed, refer to the assembly instructions for guidance on how to fine-tune the door alignment. This may involve loosening the hinge screws slightly and repositioning the doors until they are properly aligned.
Next, check the overall stability of the wardrobe. Gently push or shake the wardrobe to test for any wobbling or instability. If you notice any movement, it’s essential to adjust and level the wardrobe to ensure its proper functionality.
Start by using a leveling tool to determine if the wardrobe is sitting evenly on the floor. If it’s not level, make necessary adjustments by using small shims or furniture levelers under the legs or base of the wardrobe. Gradually add or remove shims until the wardrobe is level and stable.
Additionally, check the vertical alignment of the wardrobe, especially if it consists of multiple sections. Use a level to ensure that the sections are aligned evenly, both horizontally and vertically. You can make small adjustments by adjusting the feet or base of each section to ensure a seamless connection.
While adjusting and leveling the wardrobe, it’s important to take your time and make incremental adjustments. Continuously check the stability and alignment as you make these adjustments to ensure the best results.
Once the wardrobe is properly adjusted and leveled, test the doors by opening and closing them again to ensure they align smoothly and maintain the adjusted position. Take note of any areas that may still require additional adjustments and make the necessary changes.
By taking the time to properly adjust and level your IKEA Pax wardrobe, you’ll ensure that it not only looks visually appealing but also functions effectively. A stable and properly aligned wardrobe will provide years of reliable storage for your belongings.
Now that your wardrobe is adjusted and leveled, it’s time for the final step: adding accessories and finishing touches to complete your customized storage solution.
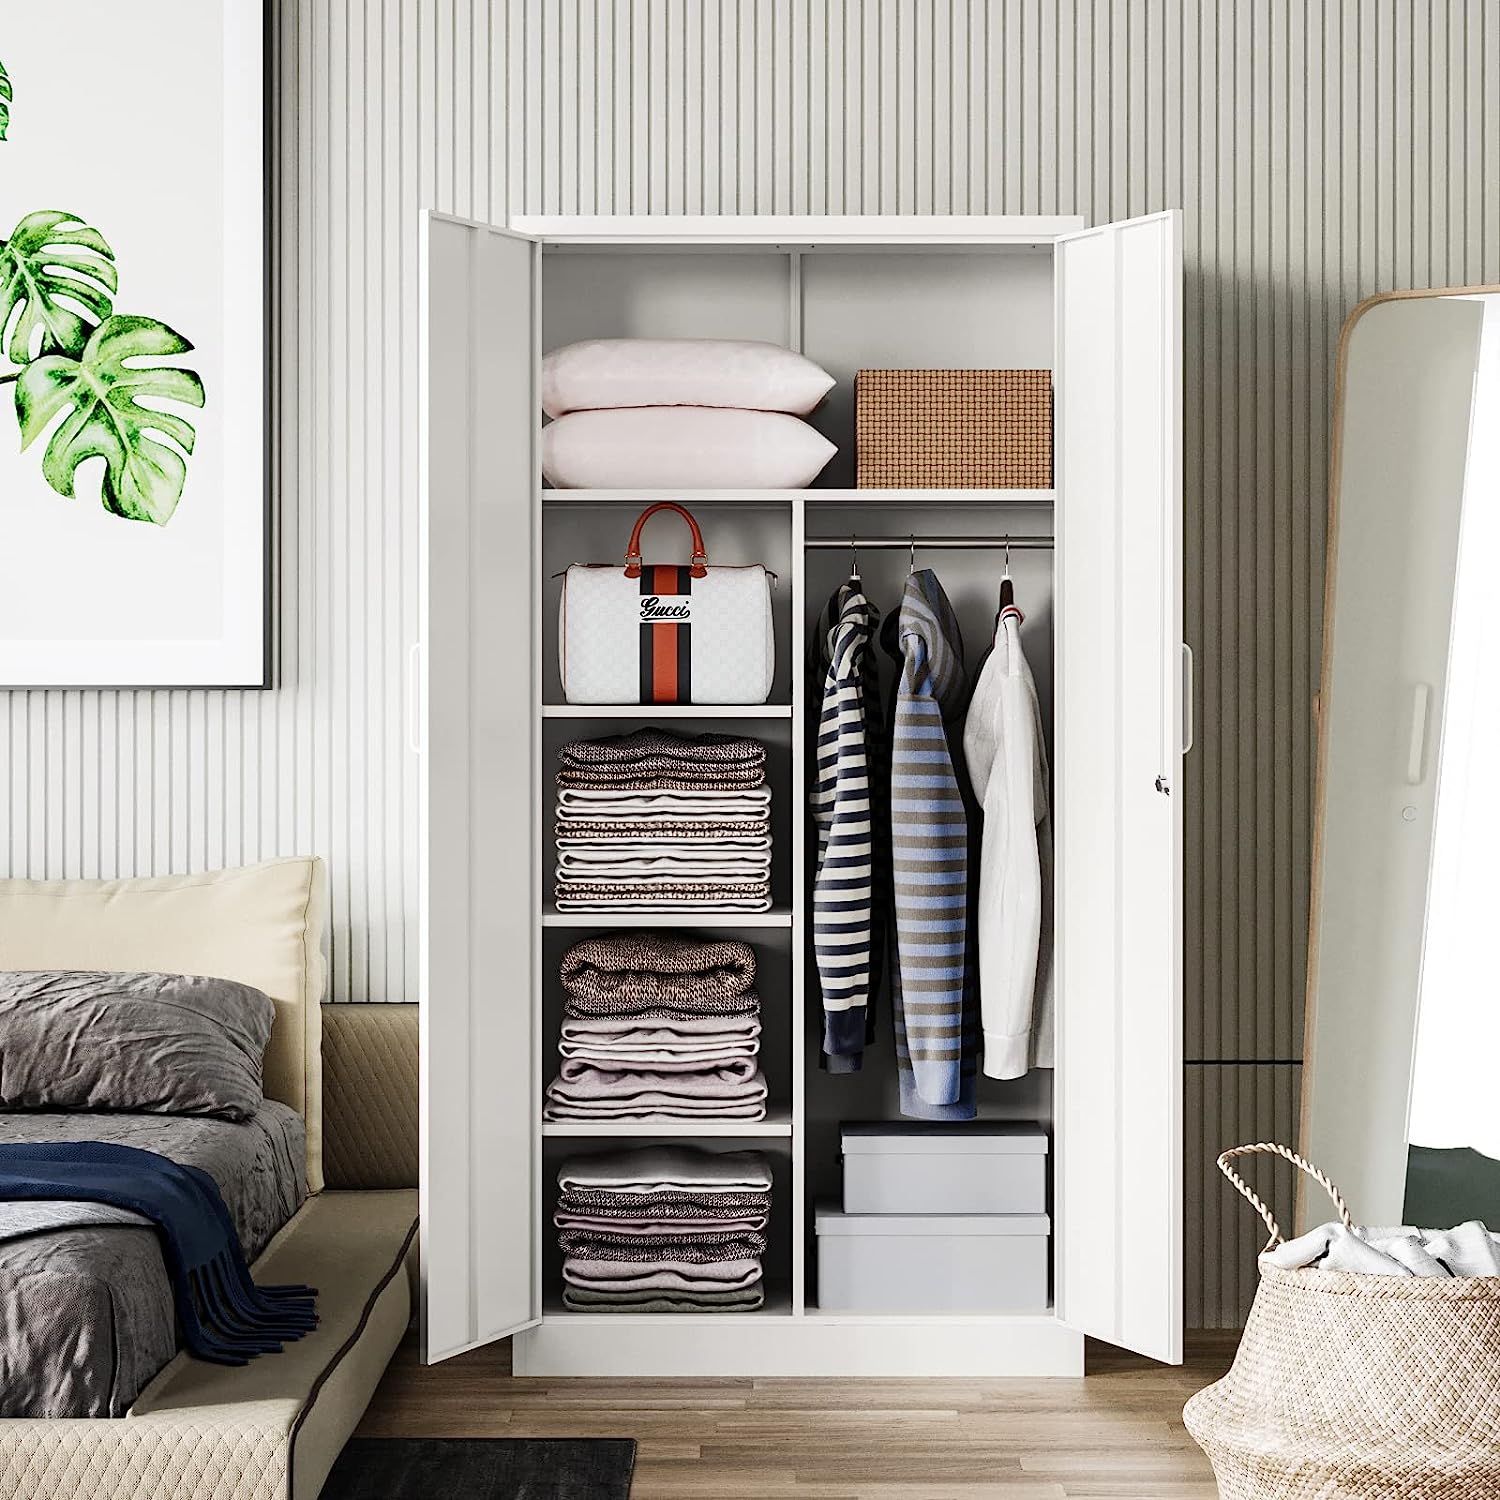
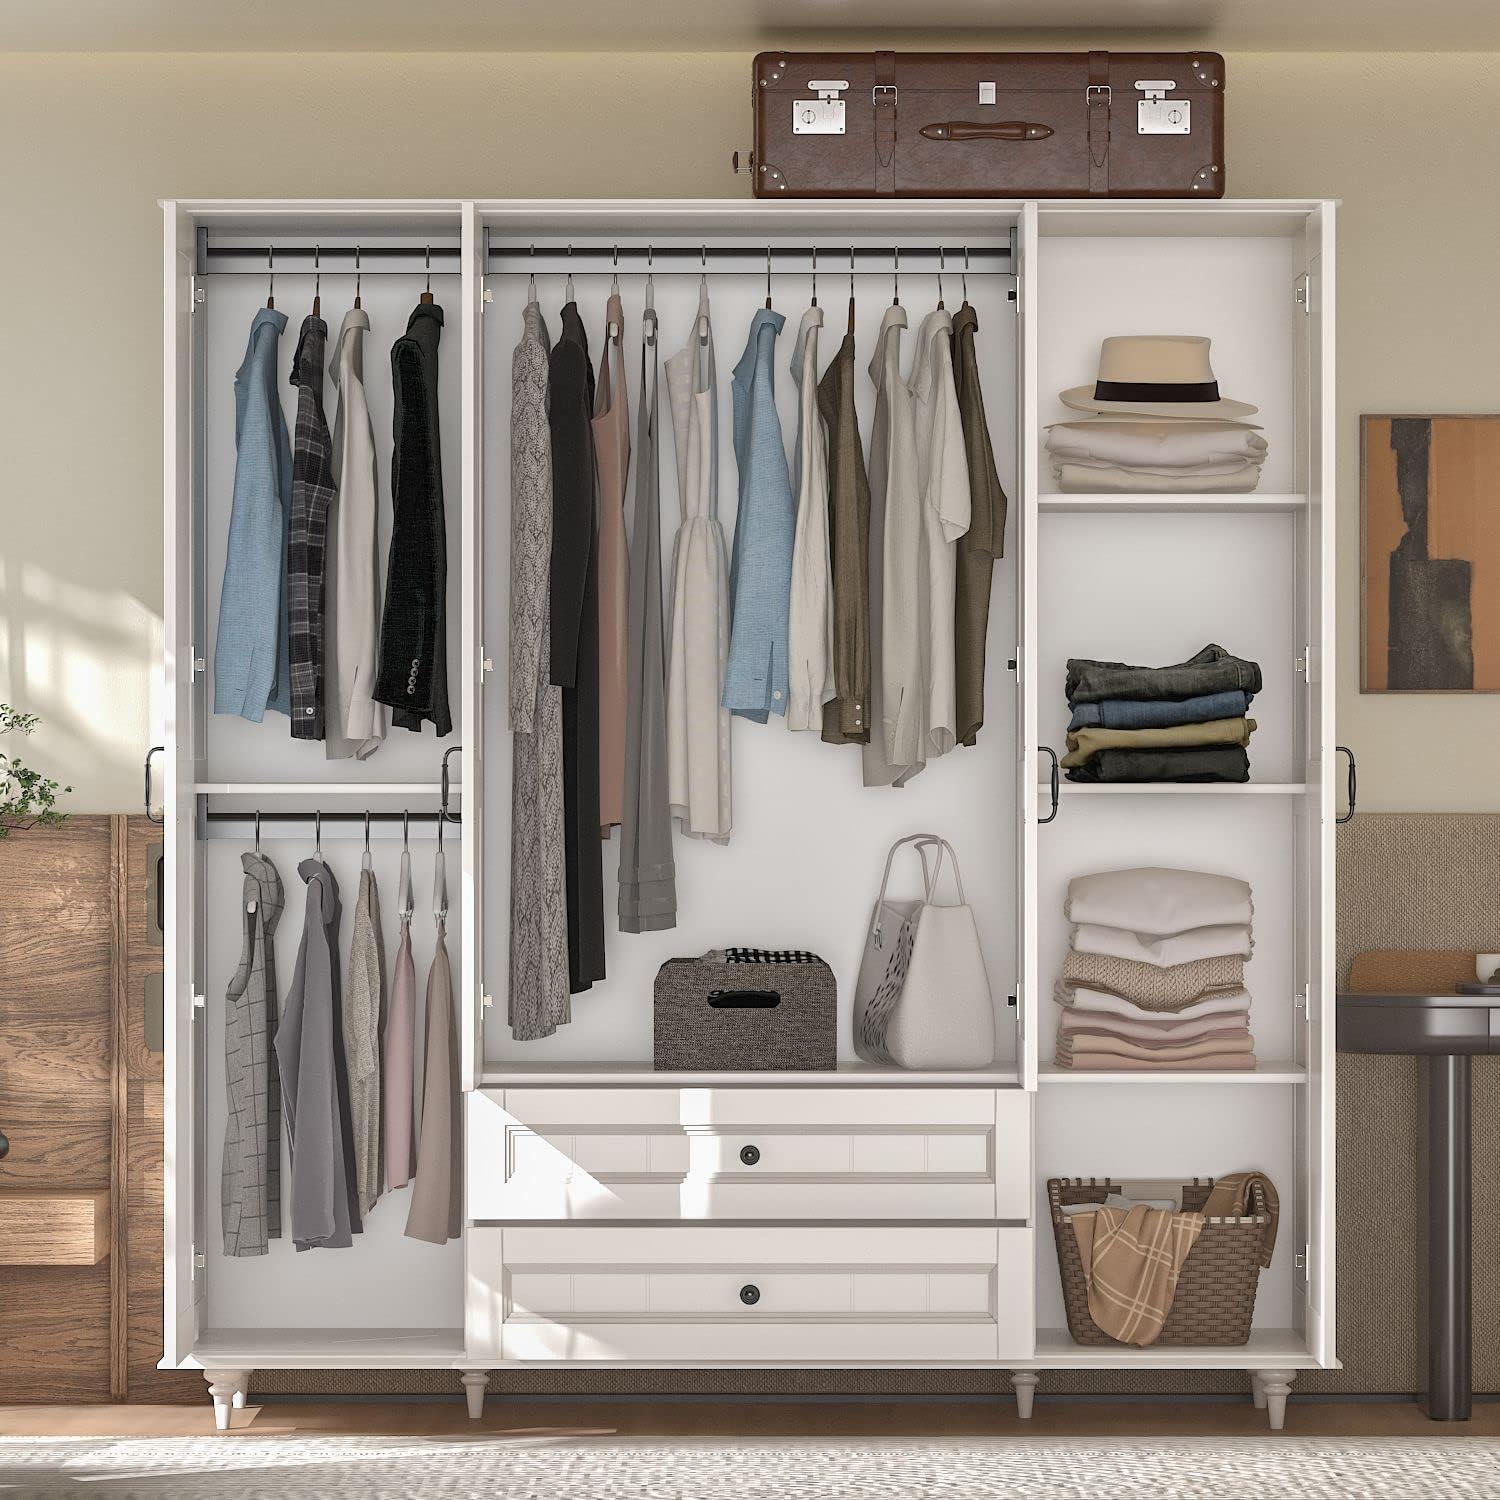
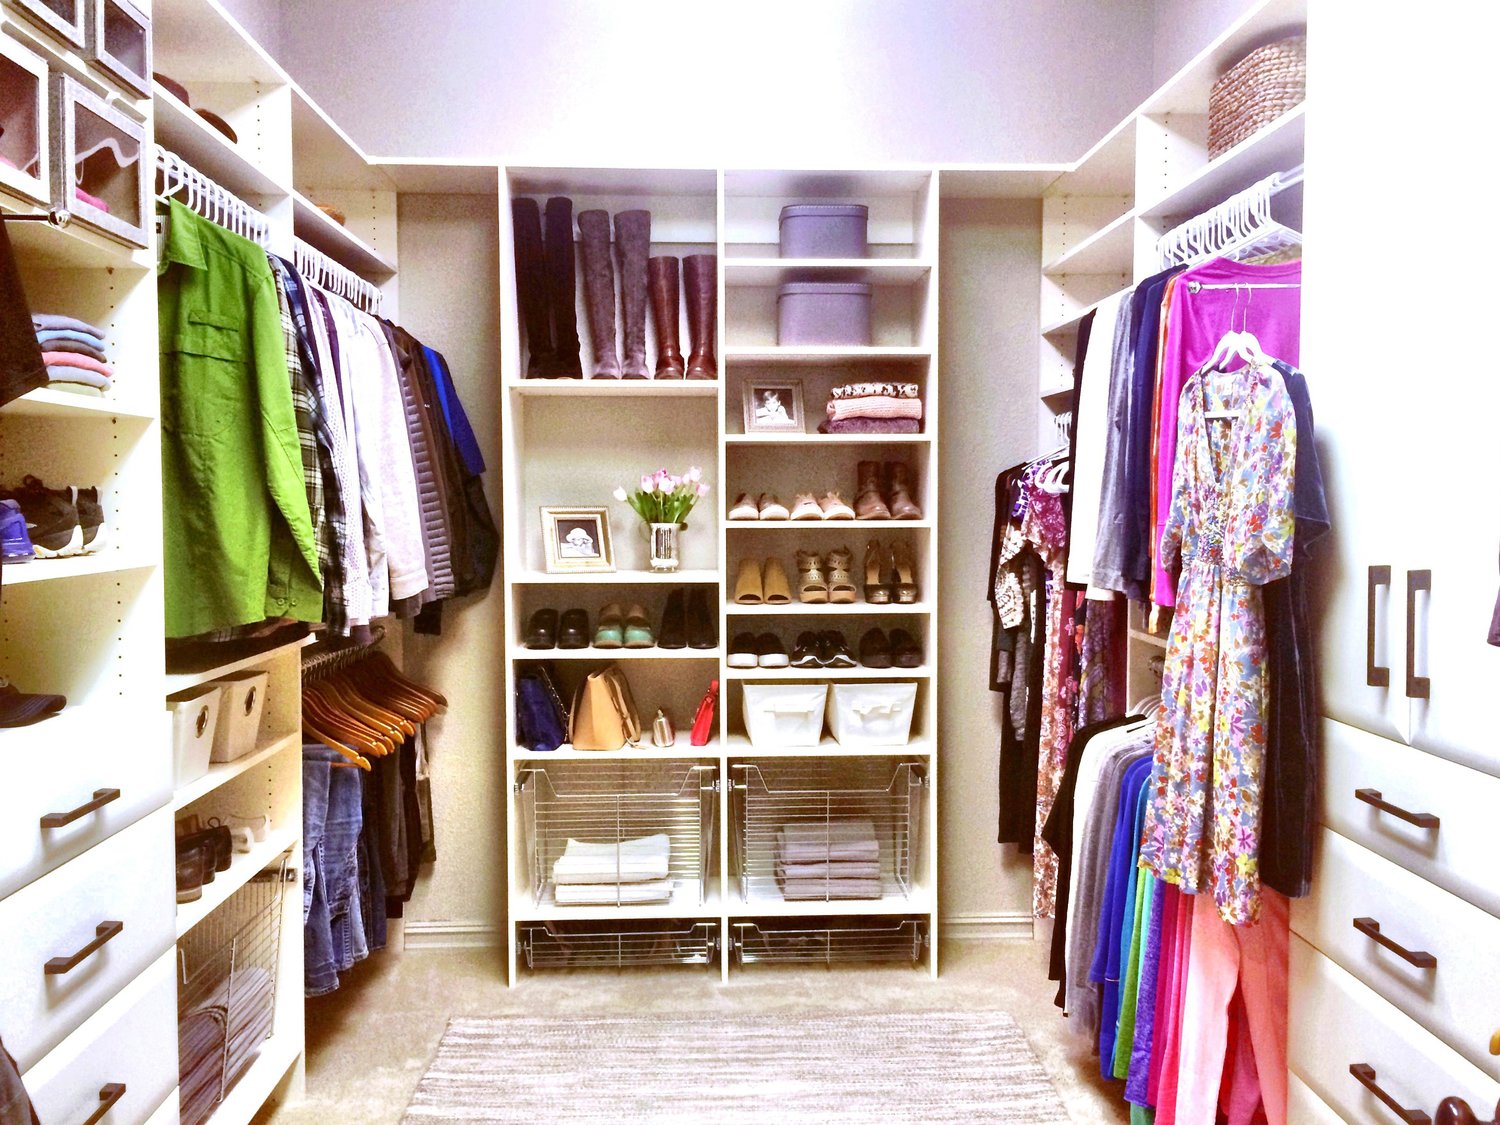
Step 8: Adding Accessories and Finishing Touches
You’ve come a long way in building your IKEA Pax wardrobe, and now it’s time to add the finishing touches and accessories to make it truly personalized and functional. This step allows you to customize your wardrobe’s interior to maximize storage and organize your belongings efficiently.
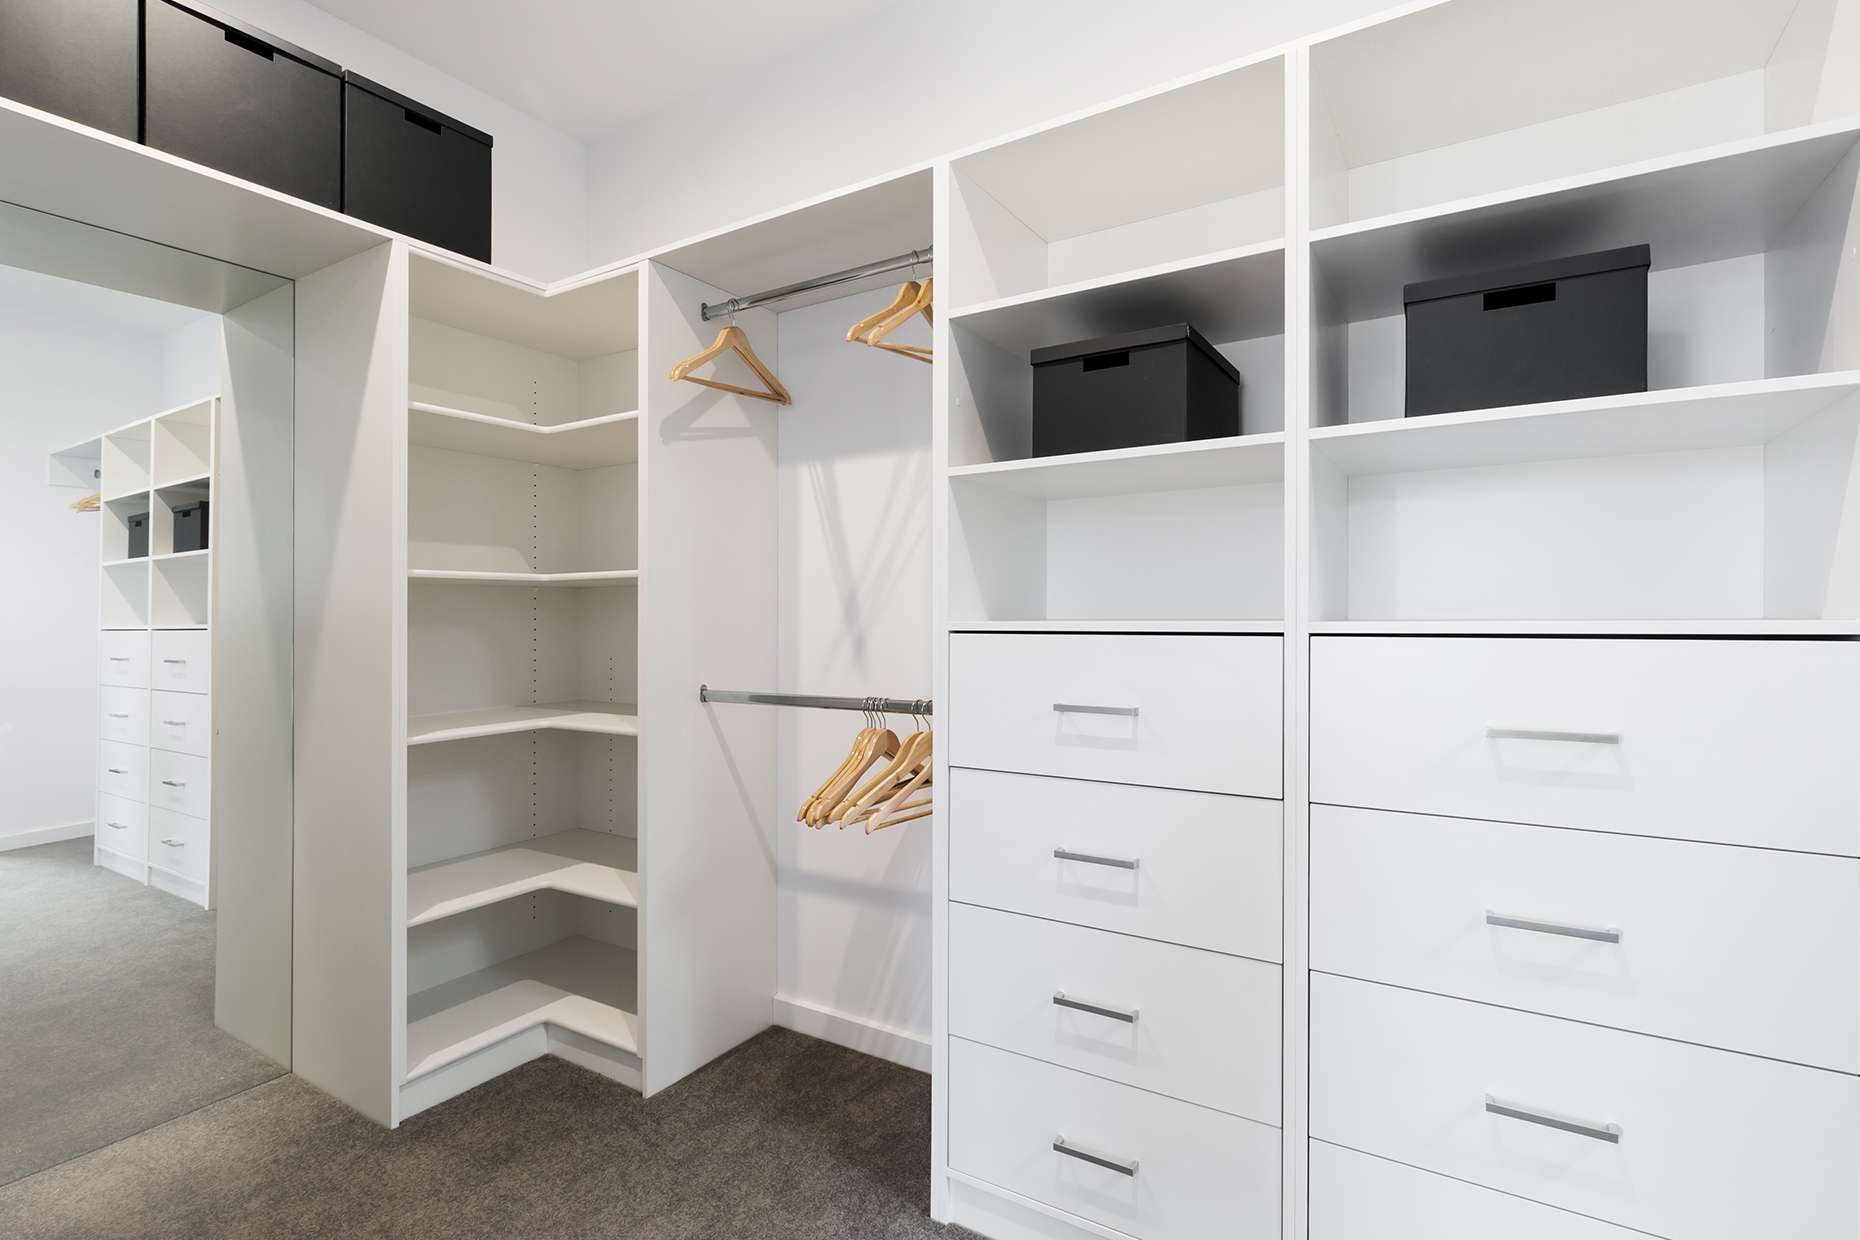
Start by assessing your storage needs and determining what accessories will best suit your requirements. IKEA offers a wide range of accessories specifically designed for the Pax wardrobe, including clothing rails, shoe racks, drawer dividers, and storage boxes.
Consider installing clothing rails to hang your clothes, utilizing the vertical space of the wardrobe. Measure the width of your wardrobe and cut the rail to fit. Attach the rail securely using the provided brackets and screws. This will allow you to hang your clothing items neatly inside the wardrobe.
If you have a collection of shoes, consider adding a shoe rack or shoe organizer inside the wardrobe. There are various options available, including pull-out shoe shelves or hanging compartments. Choose a style that best suits your needs and install it securely within the wardrobe.
Drawer dividers are another fantastic accessory for organizing smaller items, such as socks, undergarments, and accessories. These dividers can be easily inserted and adjusted within the drawers, creating separate compartments for different types of items.
Don’t forget about maximizing the space on top of your wardrobe. Consider adding storage boxes or baskets to store less frequently used items or seasonal clothing. This will help keep your wardrobe clutter-free and allow for easy access to items when needed.
As you add accessories, ensure that they are installed securely and can withstand the weight of your belongings. Follow the provided instructions carefully, and double-check that everything is properly aligned and stable.
Finally, to add a touch of personal style to your wardrobe, consider adding decorative elements such as adhesive wallpapers, lighting, or decorative knobs for the doors. These small details can make a big impact and transform your wardrobe into a stylish and functional piece of furniture.
Remember to take your time and arrange the accessories in a way that best suits your needs and preferences. Experiment with different configurations until you find the perfect setup that optimizes storage and reflects your personal style.
Congratulations! You have successfully built and customized your IKEA Pax wardrobe. By following each step carefully and paying attention to detail, you’ve created a personalized storage solution that meets your specific needs for organization and style.
Now, step back and enjoy the fruits of your labor. Admire your beautifully built wardrobe and revel in the organization and functionality it provides. Your IKEA Pax wardrobe is now ready to make a statement in your home while keeping your belongings organized and easily accessible.
Read also: 12 Best Ikea Wardrobe for 2025
Conclusion
Building your own IKEA Pax wardrobe can be an exciting and fulfilling project. From unboxing the components to adding the finishing touches, each step contributes to creating a functional and stylish storage solution for your home. By following the steps outlined in this guide and utilizing the provided tips, you can confidently assemble your Pax wardrobe and enjoy the satisfaction of a job well done.
Throughout the process, it’s important to stay organized, take your time, and refer to the assembly instructions to ensure proper installation. Remember to sort and organize the parts, prepare your workspace, and assemble the frame with care. Pay attention to detail when installing shelves, mounting doors, and adjusting the wardrobe for stability and alignment.
Personalizing your Pax wardrobe with accessories and finishing touches is the final step to create a customized storage solution that suits your specific needs. From clothing rails and shoe racks to drawer dividers and decorative elements, these additions will enhance the functionality and aesthetic appeal of your wardrobe.
As you complete the construction and customization of your Pax wardrobe, take a moment to appreciate your hard work and the transformation it brings to your space. Your newly built wardrobe will not only provide ample storage but also enhance the overall organization and visual appeal of your home.
Lastly, don’t be afraid to get creative and make adjustments to suit your individual preferences. IKEA Pax wardrobes are designed to be versatile, allowing for customization and adaptation as your needs change over time.
Now that you have the knowledge and confidence to build your own IKEA Pax wardrobe, go ahead and embark on this exciting project. Enjoy the process, relish in the satisfaction of building something with your own hands, and revel in the functionality and style that your Pax wardrobe brings to your home.
Happy building!
Frequently Asked Questions about How To Build IKEA Pax Wardrobe
Was this page helpful?
At Storables.com, we guarantee accurate and reliable information. Our content, validated by Expert Board Contributors, is crafted following stringent Editorial Policies. We're committed to providing you with well-researched, expert-backed insights for all your informational needs.


0 thoughts on “How To Build IKEA Pax Wardrobe”