Home>Garden Essentials>Garden Storage>How To Build Built In Wardrobe
Garden Storage
How To Build Built In Wardrobe
Modified: October 20, 2024
Learn how to maximize your storage space with our step-by-step guide on building a practical and stylish built-in wardrobe. Transform your room with clever storage solutions.
(Many of the links in this article redirect to a specific reviewed product. Your purchase of these products through affiliate links helps to generate commission for Storables.com, at no extra cost. Learn more)
Introduction
When it comes to maximizing storage space and creating a sleek, organized look in your home, built-in wardrobes are a game-changer. These custom-made closets offer a seamless and efficient solution for storing your clothes, shoes, and accessories. Whether you have limited space or simply want to upgrade your existing wardrobe, building a built-in wardrobe can be a rewarding project that adds both functionality and style to your living space.
In this article, we will guide you through the step-by-step process of building a built-in wardrobe. From planning and design to installation and finishing touches, we will cover everything you need to know to create your dream wardrobe. So, grab your measuring tape and let’s get started!
Before we dive into the nitty-gritty details, it’s important to note that building a built-in wardrobe requires some DIY skills and basic knowledge of carpentry. If you’re not confident in your abilities, it may be worth consulting a professional carpenter or handyman to assist you with the project. With that being said, let’s explore the exciting journey of creating your very own built-in wardrobe.
Throughout this guide, we’ll provide you with tips and tricks to optimize your storage space and create a wardrobe that perfectly suits your needs and style. So whether you’re looking to organize your clothes collection, create a display for your shoe obsession, or simply declutter your living space, follow along and let’s build your dream wardrobe together!
Key Takeaways:
- Building a built-in wardrobe involves careful planning, precise measurements, and attention to detail. It’s a rewarding DIY project that enhances storage space and adds personalized style to your home.
- From selecting materials to adding finishing touches, creating a built-in wardrobe requires a balance of functionality and aesthetics. Customization and organization are key to maximizing the wardrobe’s potential.
Read more: How To Build A Wardrobe
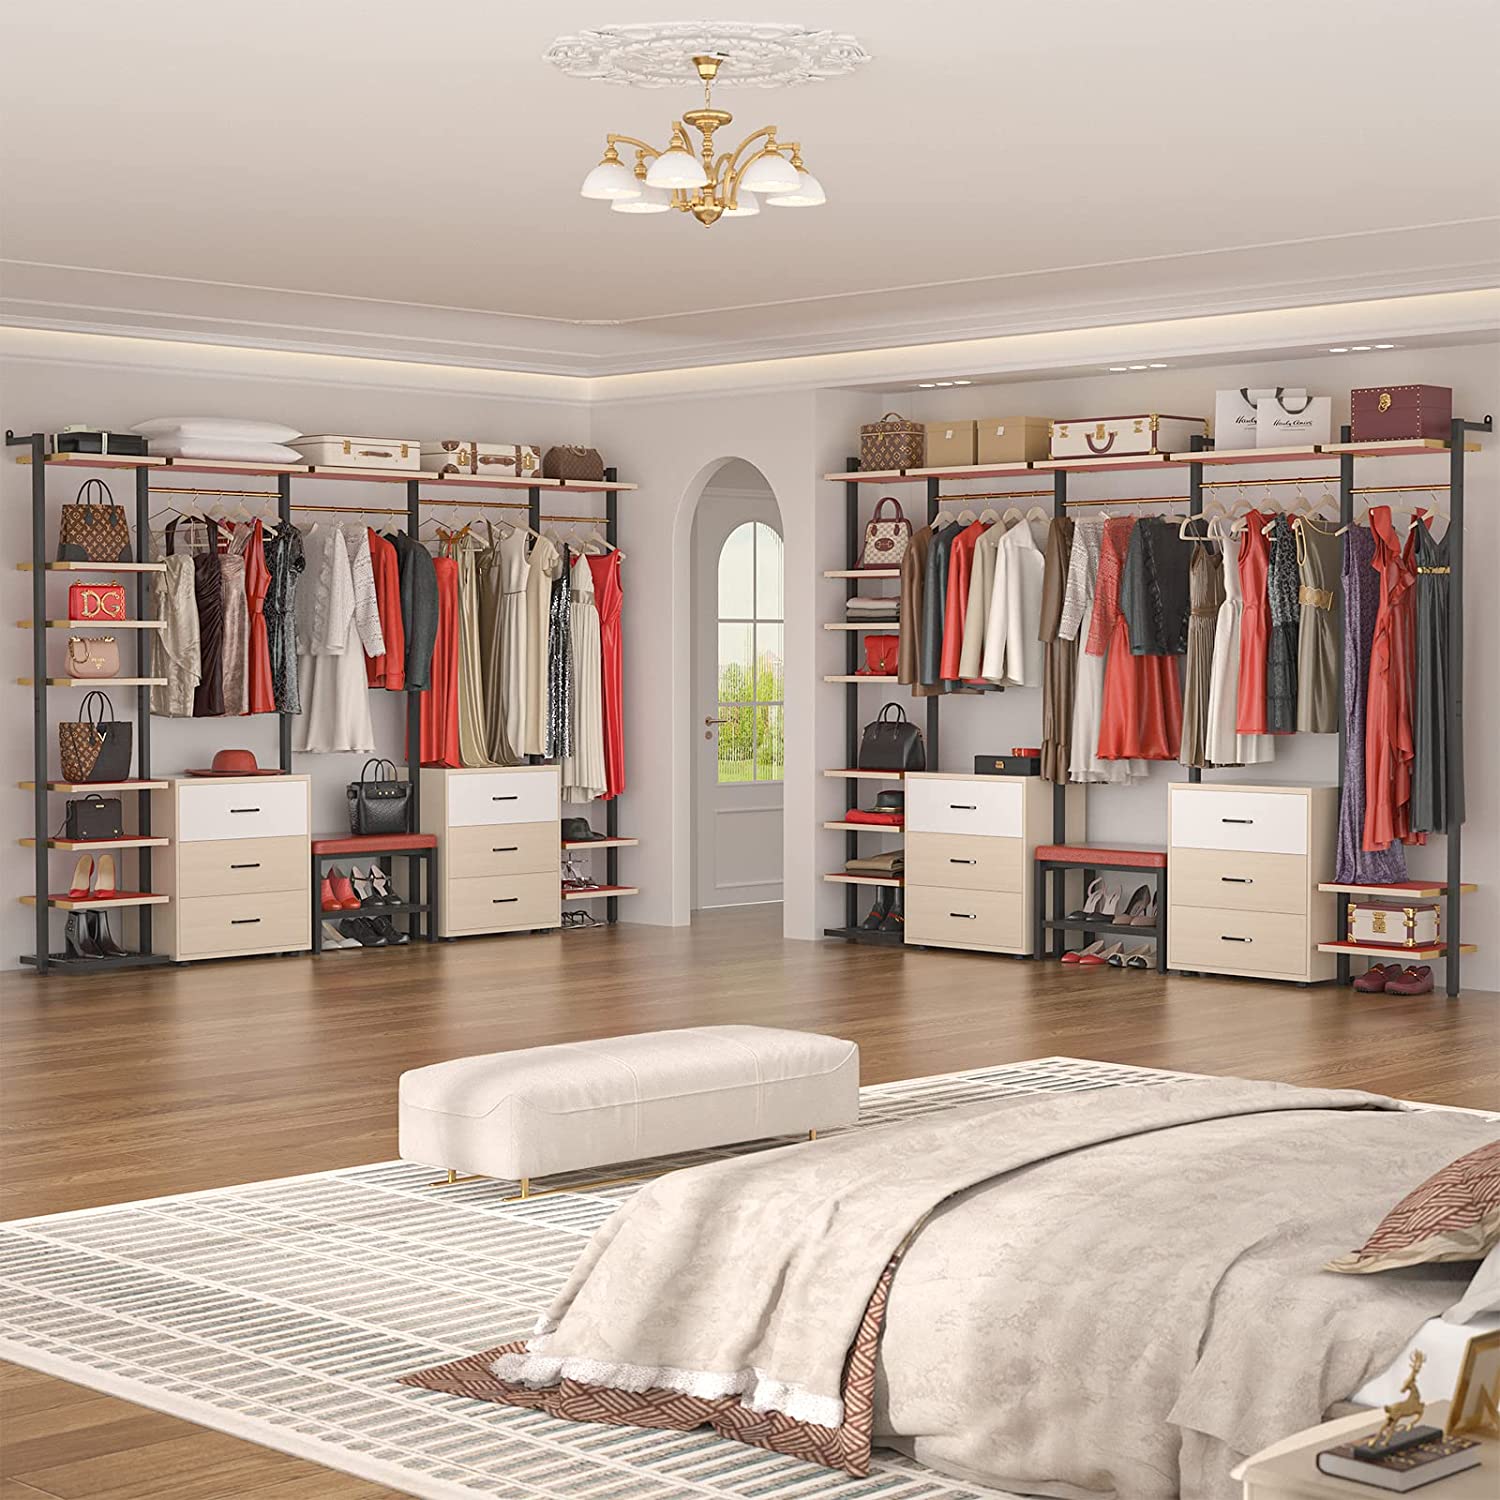
Step 1: Planning and Design
Before you start building your built-in wardrobe, it’s important to spend some time on the planning and design phase. This will ensure that you end up with a wardrobe that not only fits your storage needs but also complements the overall aesthetic of your room. Here are some key considerations:
- Assess your storage needs: Take stock of your clothing items, shoes, accessories, and other belongings that you plan to store in the wardrobe. This will give you an idea of how much hanging space, shelving, and drawer space you’ll need.
- Measure the available space: Carefully measure the area where you intend to install the built-in wardrobe. Take into account the height, width, and depth of the space, as well as any obstructions like windows, doors, or electrical outlets.
- Consider the style and aesthetic: Think about the overall style and theme of your room. Do you prefer a modern, minimalist design or a more traditional and ornate look? This will help you choose the materials, colors, and finishes for your wardrobe.
- Sketch your design: Once you have a clear understanding of your storage needs and the available space, sketch out a design for your built-in wardrobe. Include details like the placement of shelves, drawers, hanging rods, and any other features you desire.
- Research and gather inspiration: Browse through home decor magazines, websites, and social media platforms to gather inspiration for your wardrobe design. Take note of color schemes, organizational ideas, and innovative storage solutions that catch your eye.
By investing time and effort into the planning and design phase, you’ll ensure that your built-in wardrobe is not only functional but also visually appealing. Take the necessary measurements and create a detailed plan before moving on to the next step. This will save you time, money, and potential headaches down the line.
Step 2: Measuring and Marking
With your design plan in hand, it’s time to move on to the next step: measuring and marking the area where your built-in wardrobe will be installed. Accurate measurements are crucial to ensure a proper fit and a seamless installation. Here’s how to proceed:
- Measure the height, width, and depth: Using a tape measure, measure the height, width, and depth of the space where your built-in wardrobe will be placed. Make sure to take precise measurements, accounting for any baseboards or trim that may affect the dimensions.
- Check for level and plumb: Use a level to ensure that the floor and walls are level and plumb. If you discover any uneven areas, you may need to make adjustments or use leveling shims to create a stable base for your wardrobe.
- Make reference marks: Use a pencil or masking tape to mark the perimeter of the wardrobe on the walls and floor. This will serve as a visual reference during the installation process.
- Create a cutting plan: If you’re incorporating built-in lighting, outlets, or ventilation, take note of their locations and ensure that your design accommodates them. Plan for any necessary cutouts or modifications in your wardrobe panels.
While measuring and marking may seem like a straightforward task, it’s important to be meticulous and double-check your measurements. Remember the old saying: “measure twice, cut once.” Accuracy is key to avoid any costly mistakes or misalignments in your built-in wardrobe.
Once you have completed the measuring and marking phase, you can move on to the next step: selecting the materials for your wardrobe. This will involve choosing the type of wood or other materials, as well as any hardware or accessories you plan to incorporate. Stay tuned for Step 3!
Step 3: Choosing Materials
Now that you have the measurements and marking in place, it’s time to select the materials for your built-in wardrobe. The materials you choose will not only impact the durability and functionality of your wardrobe but also contribute to its overall aesthetic appeal. Here are some factors to consider when choosing materials:
- Wood: Wood is a popular choice for built-in wardrobes due to its natural beauty and durability. You can opt for solid wood, such as oak, maple, or walnut, for a classic and timeless look. Alternatively, you can choose engineered wood, such as plywood or medium-density fiberboard (MDF), which offers affordability and versatility.
- Finish: Consider the finish or surface treatment you want for your wardrobe. You can choose from stained finishes to showcase the natural wood grain or painted finishes for a more modern and vibrant look. Keep in mind that the finish should complement the overall style of your room.
- Hardware: Select the hardware for your wardrobe, including handles, knobs, hinges, and drawer slides. Pay attention to the quality of the hardware to ensure smooth functionality and longevity. Consider the style and finish of the hardware to match your desired aesthetic.
- Other materials: Depending on your design, you may need additional materials such as glass panels for doors or acrylic sheets for shelves. Consider the functionality and visual impact of these materials when making your choices.
When choosing materials, it’s important to strike a balance between quality, aesthetics, and budget. Consider your personal preferences and the overall style of your room, while also keeping in mind factors like durability and maintenance. Don’t hesitate to consult with experts at your local hardware store or seek advice from professional carpenters to ensure that you make the right choices for your built-in wardrobe.
With the materials selected, you’re ready to move on to the next step: building the frame of your built-in wardrobe. Stay tuned for Step 4, where we’ll guide you through this exciting process!
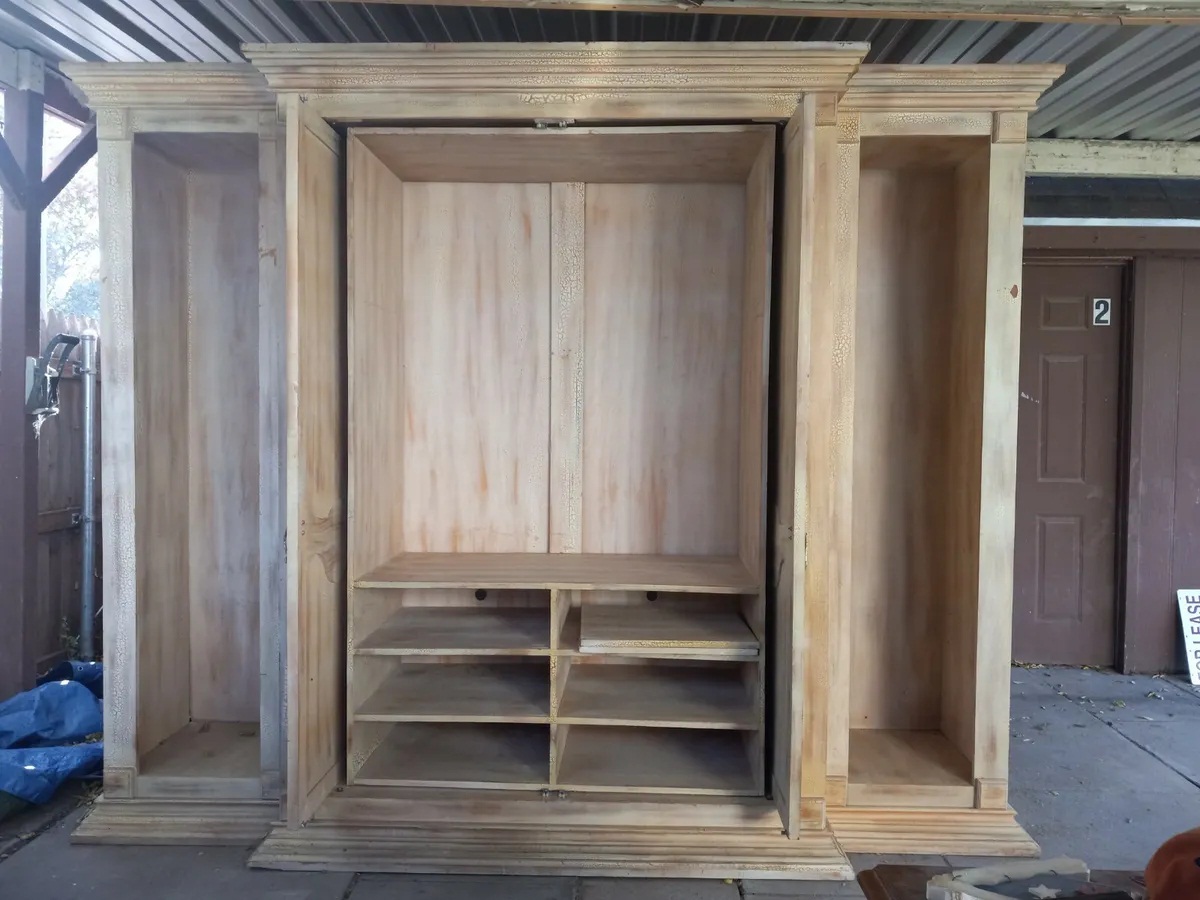
Step 4: Building the Frame
Now that you have your materials ready, it’s time to start building the frame of your built-in wardrobe. The frame provides the structural support for your wardrobe and acts as the backbone of the entire installation. Here’s a step-by-step guide to help you through this process:
- Cut the panels: Using the measurements you’ve taken, cut the wood panels for the sides, top, and bottom of your wardrobe. Make sure to double-check the dimensions before making any cuts to ensure precision.
- Attach the panels: Begin by attaching the side panels to the top and bottom panels. Use sturdy screws or nails to secure the pieces together. A carpenter’s square can help you ensure that the frame remains square and level throughout the assembly.
- Add support beams: Depending on the width and height of your wardrobe, you may need to add additional support beams in the middle of the frame to prevent sagging. Measure and cut the support beams, and attach them securely to the sides and back of the frame.
- Secure the frame: Use brackets or corner braces to reinforce the corners of the frame and ensure its stability. This will provide added strength and prevent the frame from shifting or warping over time.
- Check for level and plumb: After assembling the frame, use a level to ensure that it is perfectly vertical and plumb. Make any necessary adjustments to ensure a proper fit against the walls.
As you build the frame, it’s crucial to exercise caution and precision to create a stable and sturdy structure. Take your time to align the panels properly, measure accurately, and securely fasten the pieces together. If you’re uncertain about any step, consult a professional or seek guidance from experienced carpenters to ensure that your built-in wardrobe frame is solid and reliable.
With the frame completed, you are now ready to move on to the next step: installing shelves and dividers to optimize your storage space. Stay tuned for Step 5 as we delve into this exciting phase of the build!
When building a built-in wardrobe, be sure to measure the space accurately and plan the layout carefully to maximize storage and functionality. Consider adding adjustable shelves and drawers for versatility.
Read more: How To Build A Wardrobe Closet
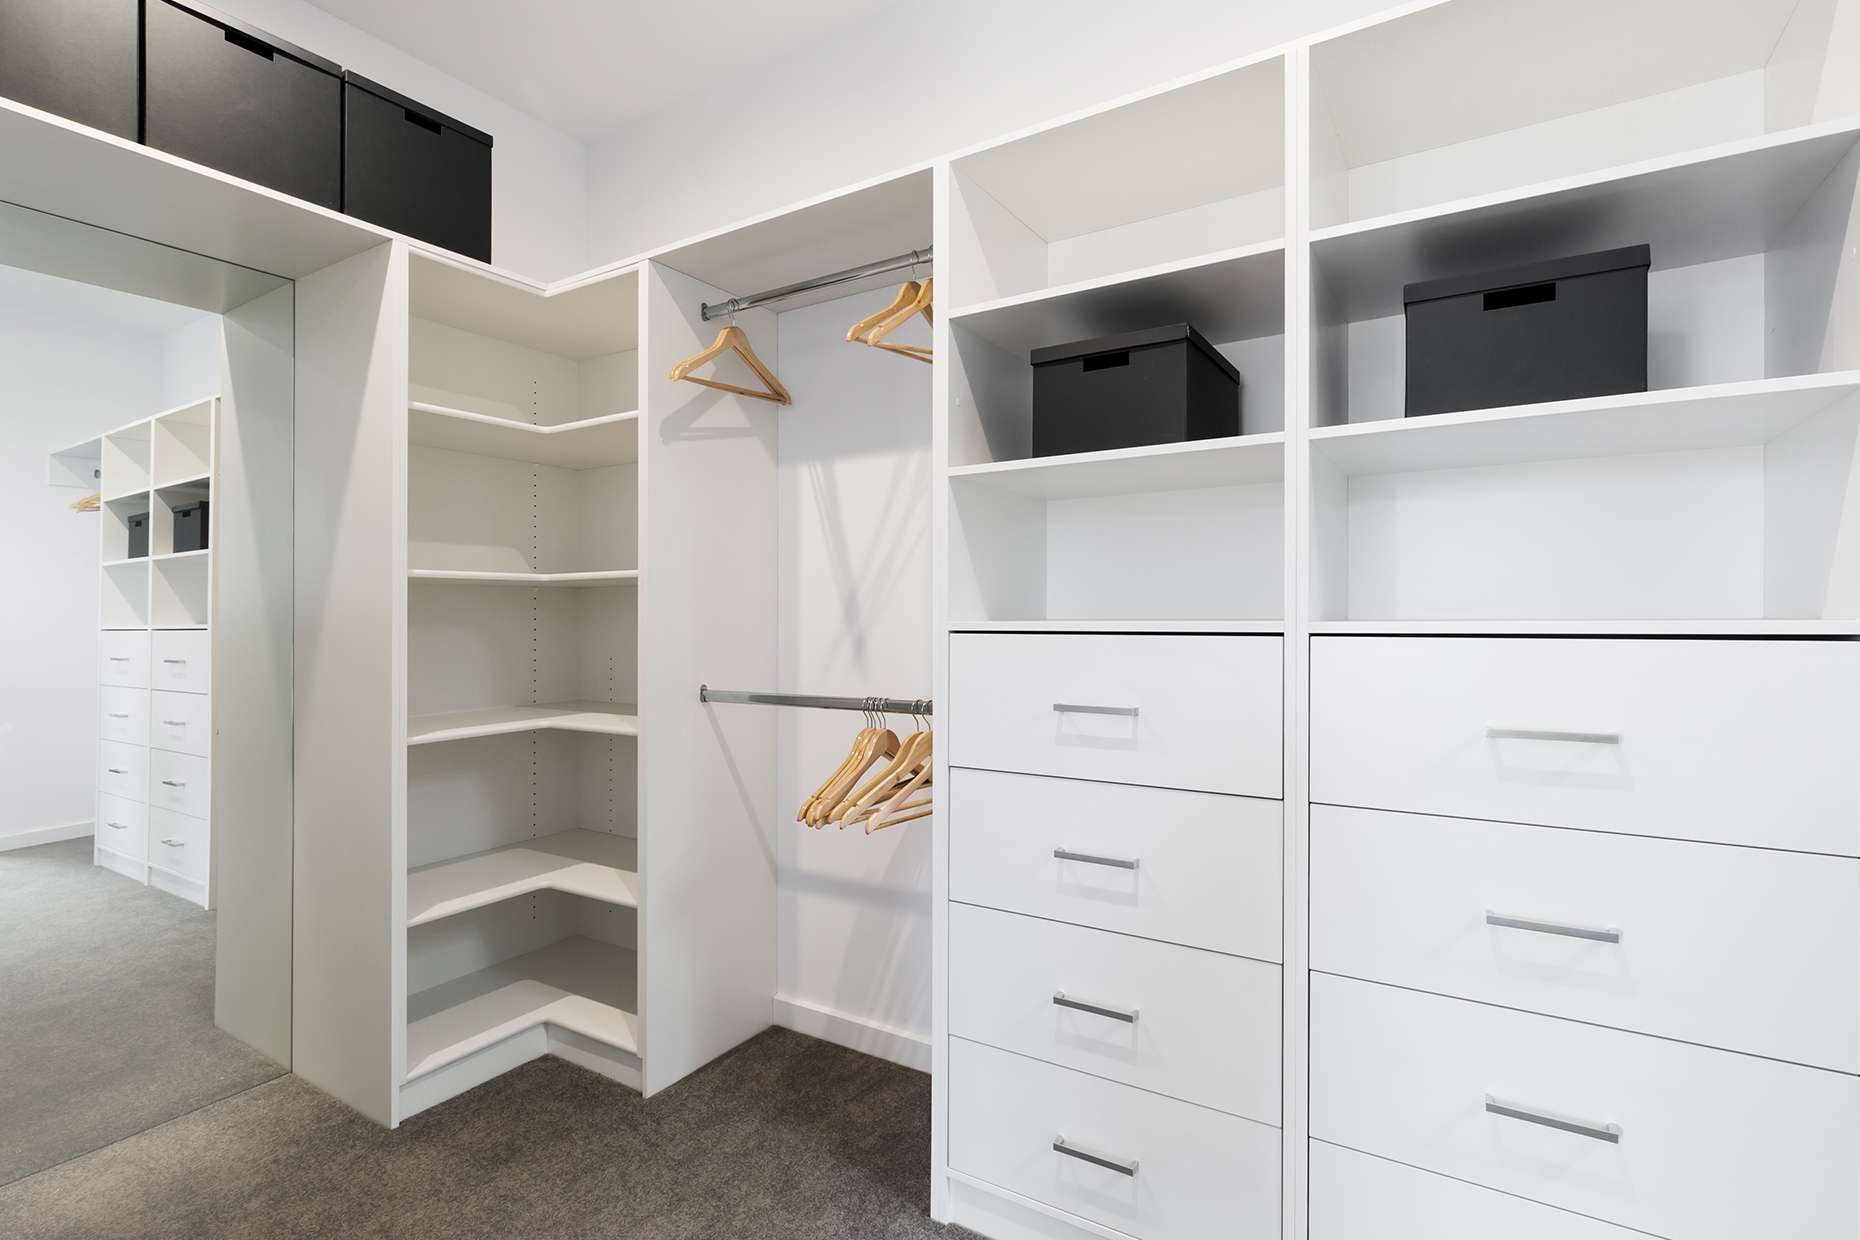
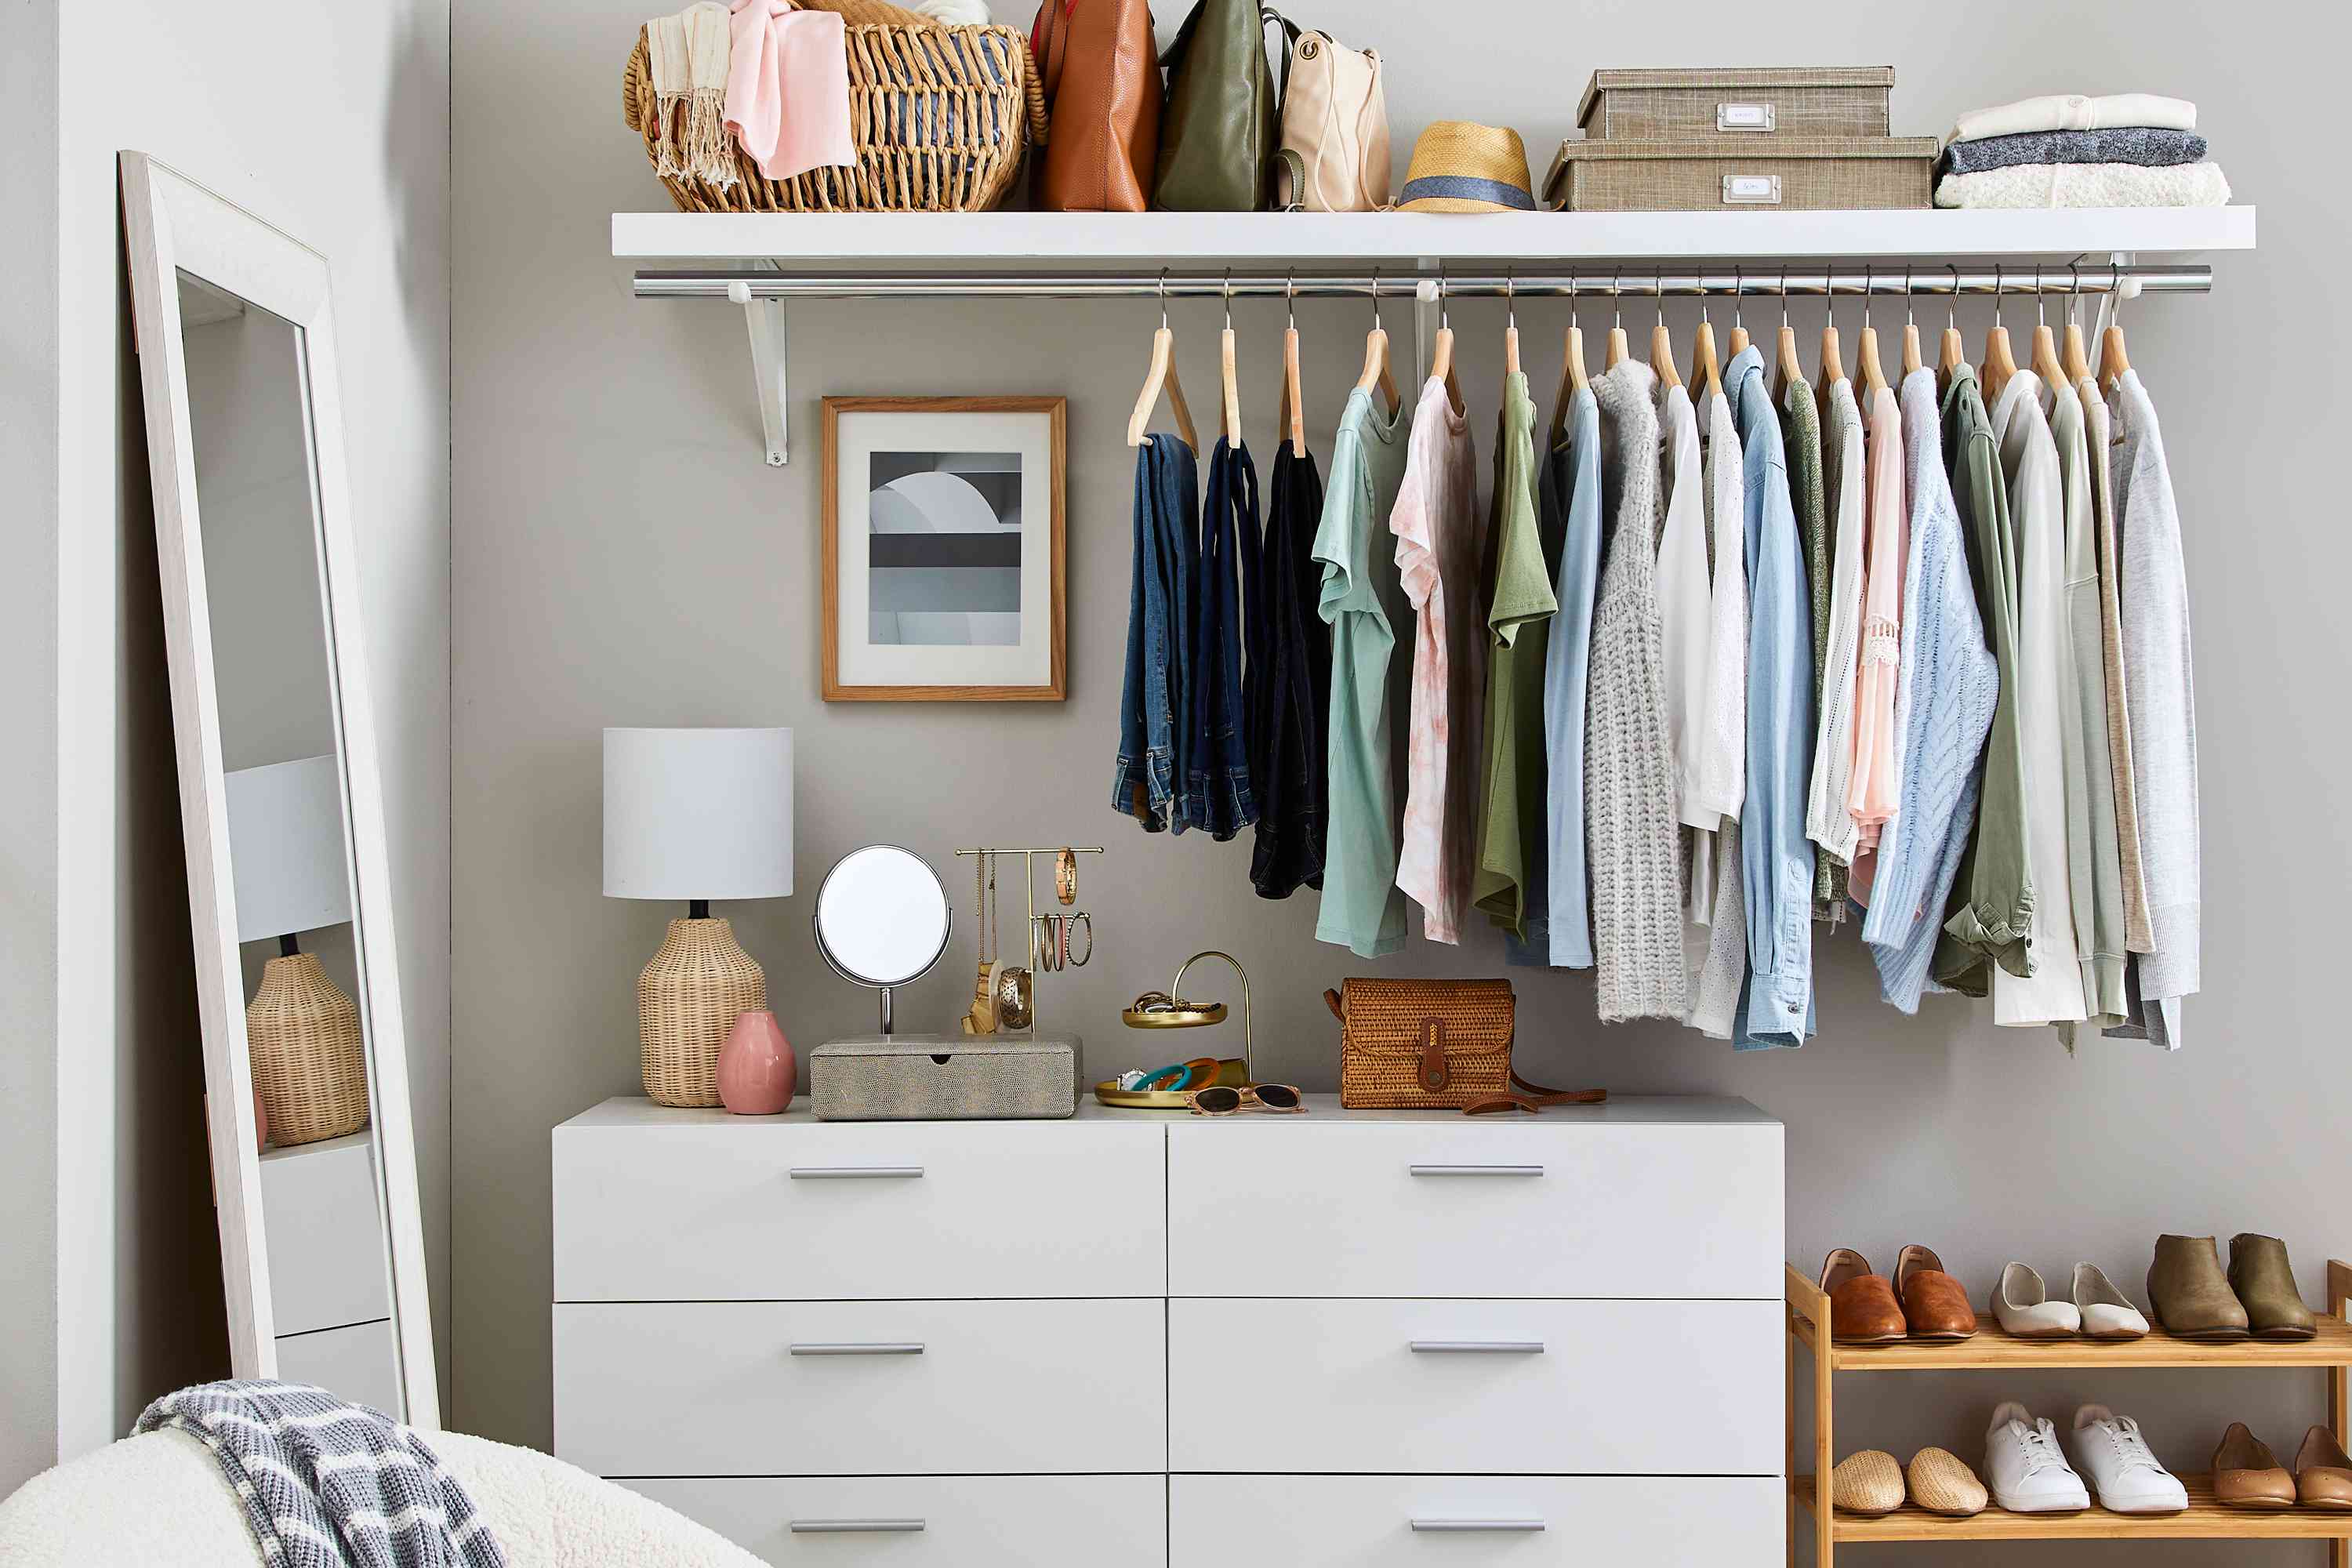
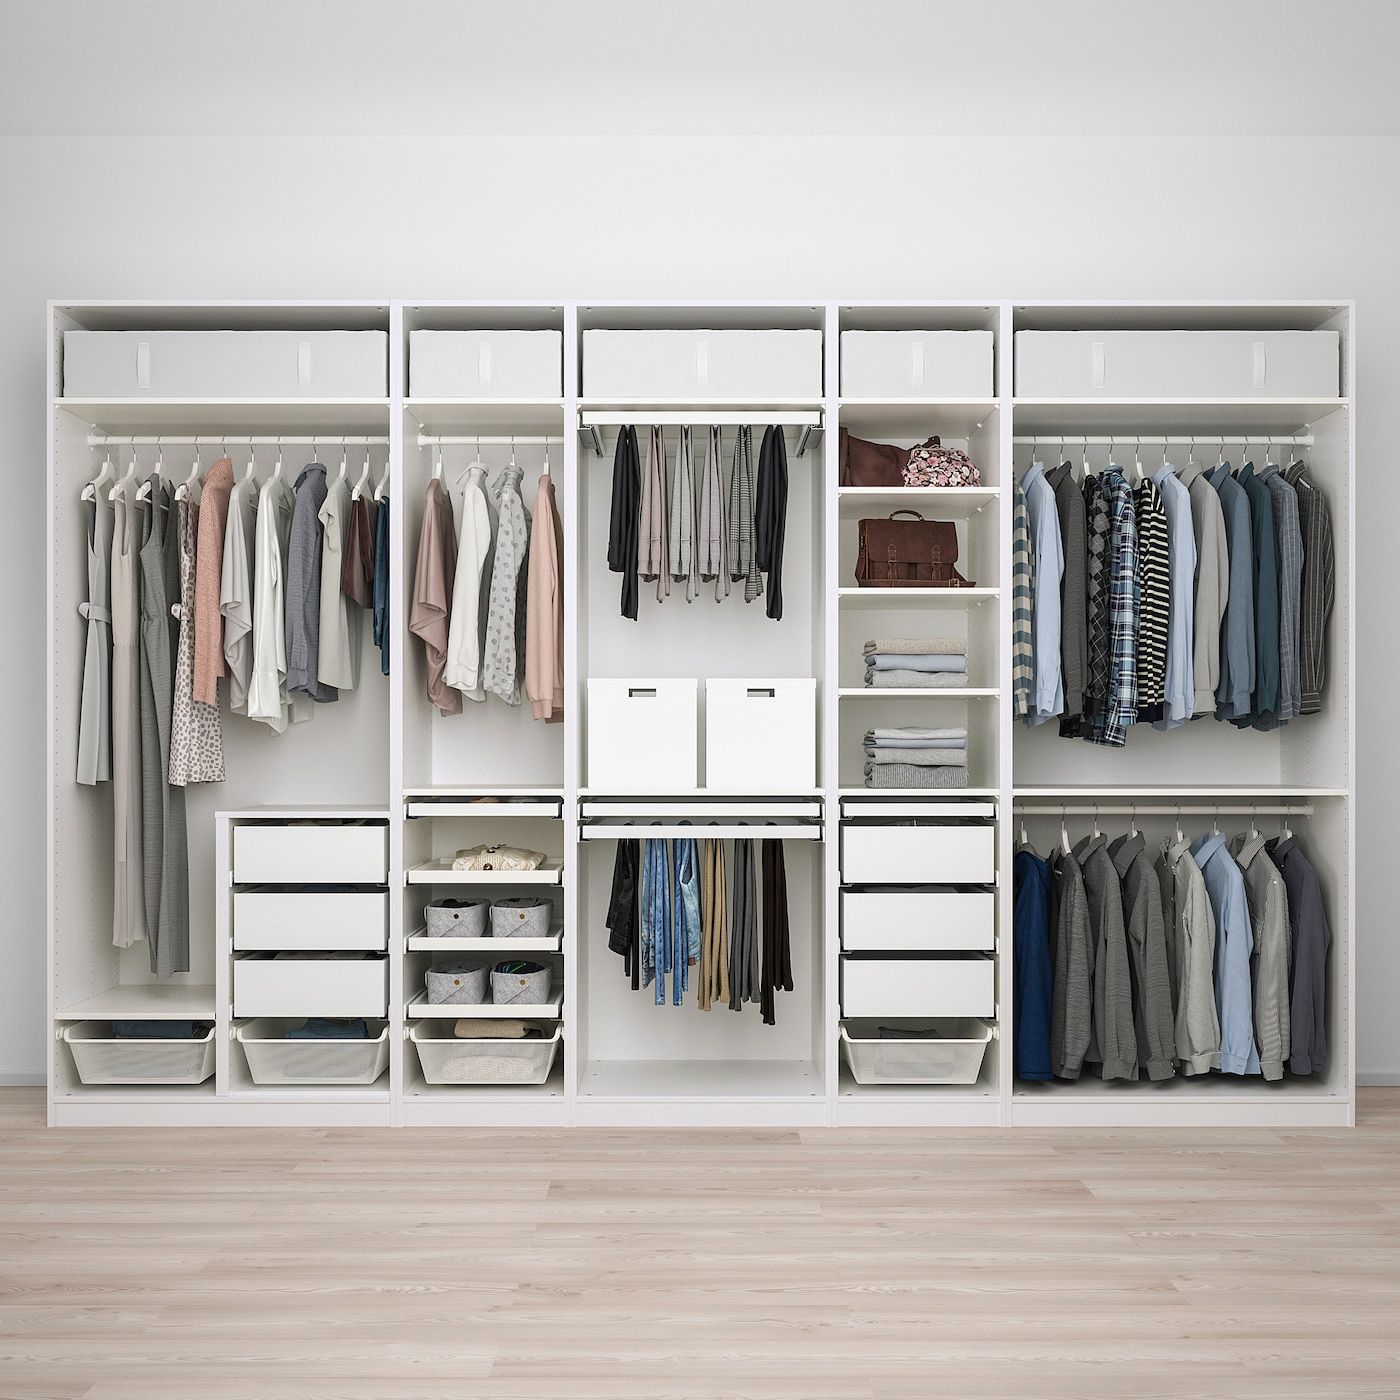
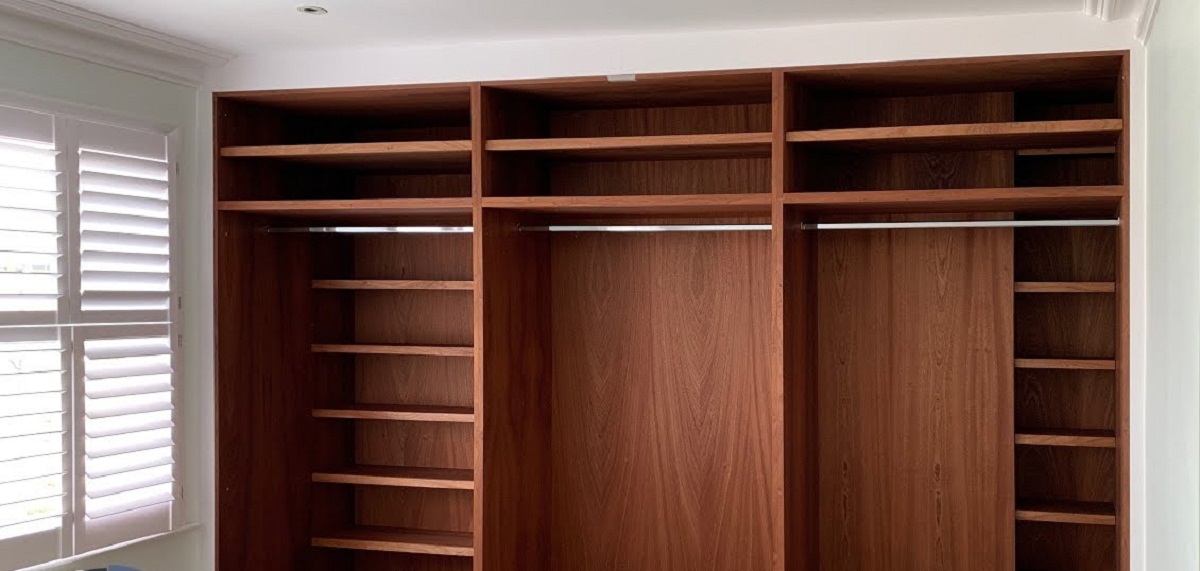
Step 5: Installing Shelves and Dividers
With the frame of your built-in wardrobe in place, it’s time to focus on maximizing your storage space by installing shelves and dividers. This step will help you organize your belongings and create designated areas for different types of items. Follow these steps to install shelves and dividers:
- Measure and mark: Determine the desired height and spacing for your shelves. Use a level and measuring tape to mark the positions where you’ll install the shelf supports or brackets.
- Install shelf supports: Depending on the material you’re using, install the shelf supports or brackets according to the marked positions. Make sure they are securely fastened to the sides of the frame for stability.
- Cut and install shelves: Measure and cut the shelves to fit the width of the wardrobe. Slide the shelves onto the supports or secure them with appropriate screws or adhesive. Ensure they are level and stable.
- Add dividers: If you want to create sections or compartments within your wardrobe, install dividers vertically between the shelves. These dividers can be attached using screws, dowels, or other hardware suitable for your chosen materials.
- Adjust and fine-tune: After installing the shelves and dividers, check for any alignment issues or wobbling. Make necessary adjustments and ensure they are secure and level.
During the installation process, it’s important to consider the spacing and heights of the shelves to accommodate your specific storage needs. Take into account the items you plan to store, such as folded clothes, shoes, accessories, or bags, to determine the appropriate dimensions and positions for each shelf and divider.
Remember, customization is key when it comes to creating a functional built-in wardrobe. Adjust the number and positioning of the shelves and dividers based on your personal preferences and the specific items you’ll be storing.
With your shelves and dividers in place, your built-in wardrobe is starting to take shape. In the next step, we’ll guide you through adding doors and hardware to complete the look and functionality of your wardrobe. Ready for Step 6? Let’s carry on!
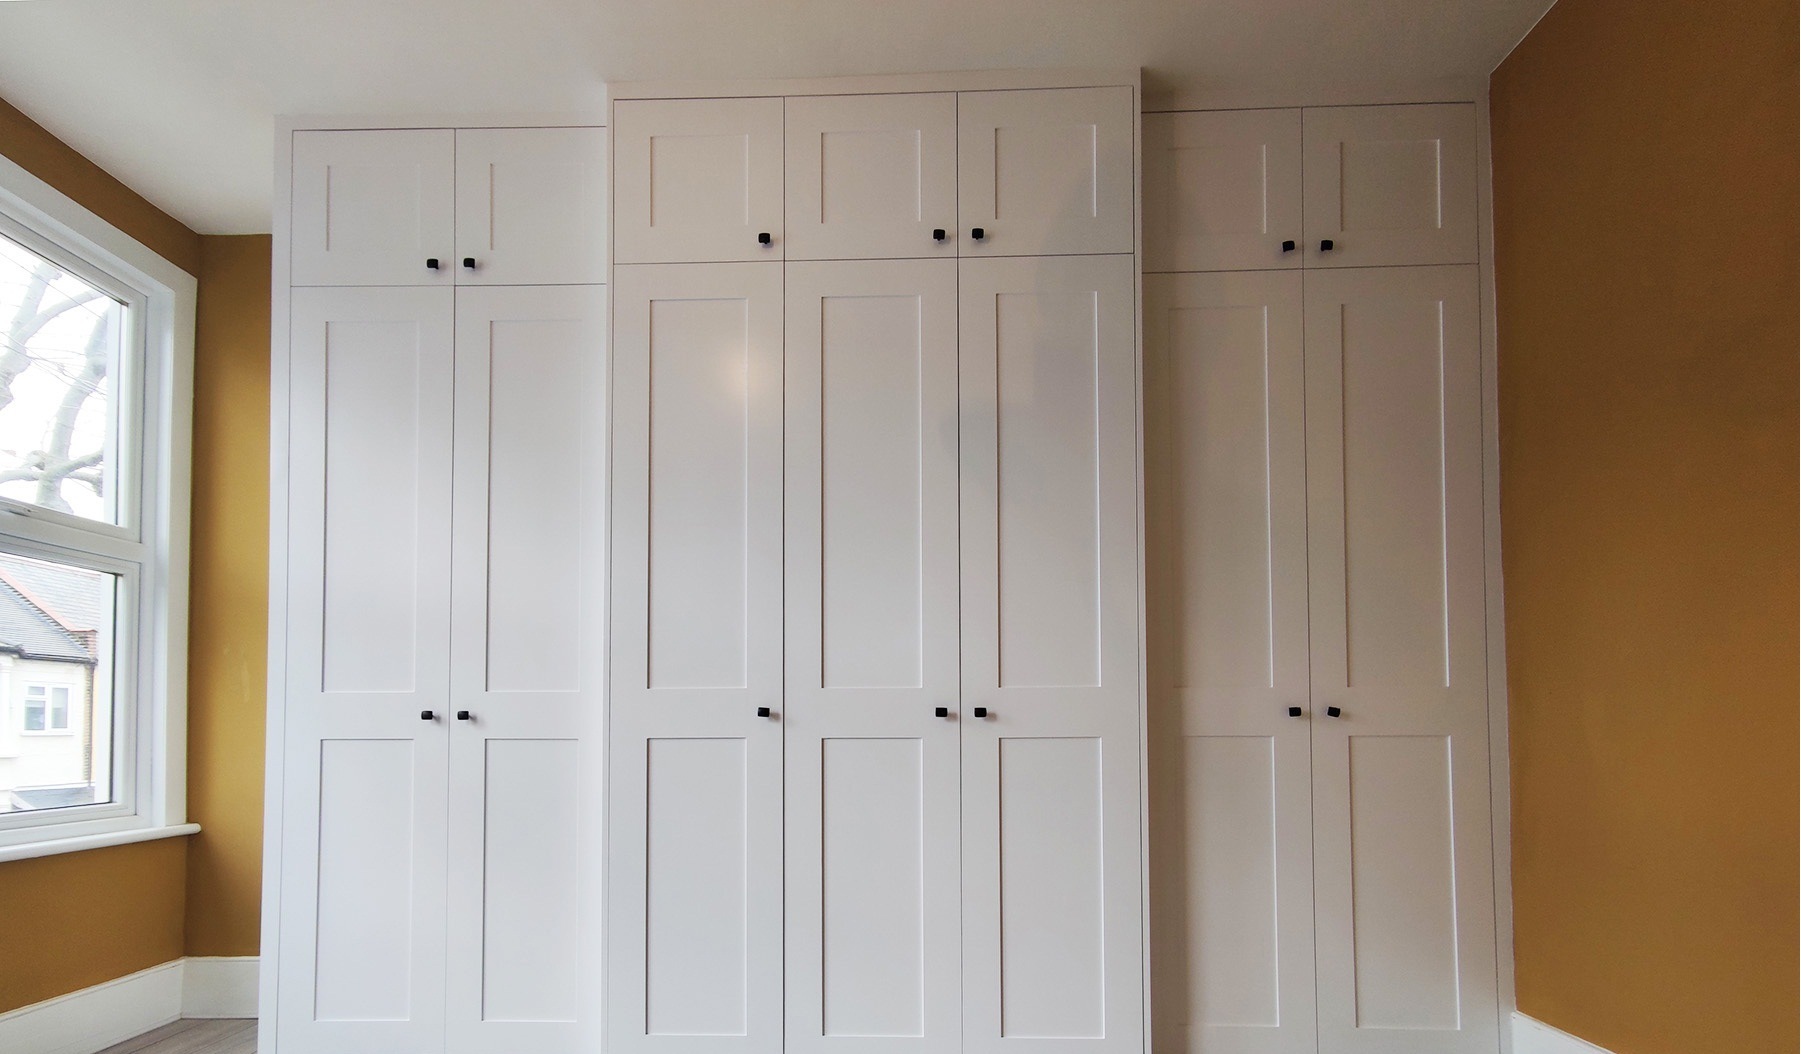
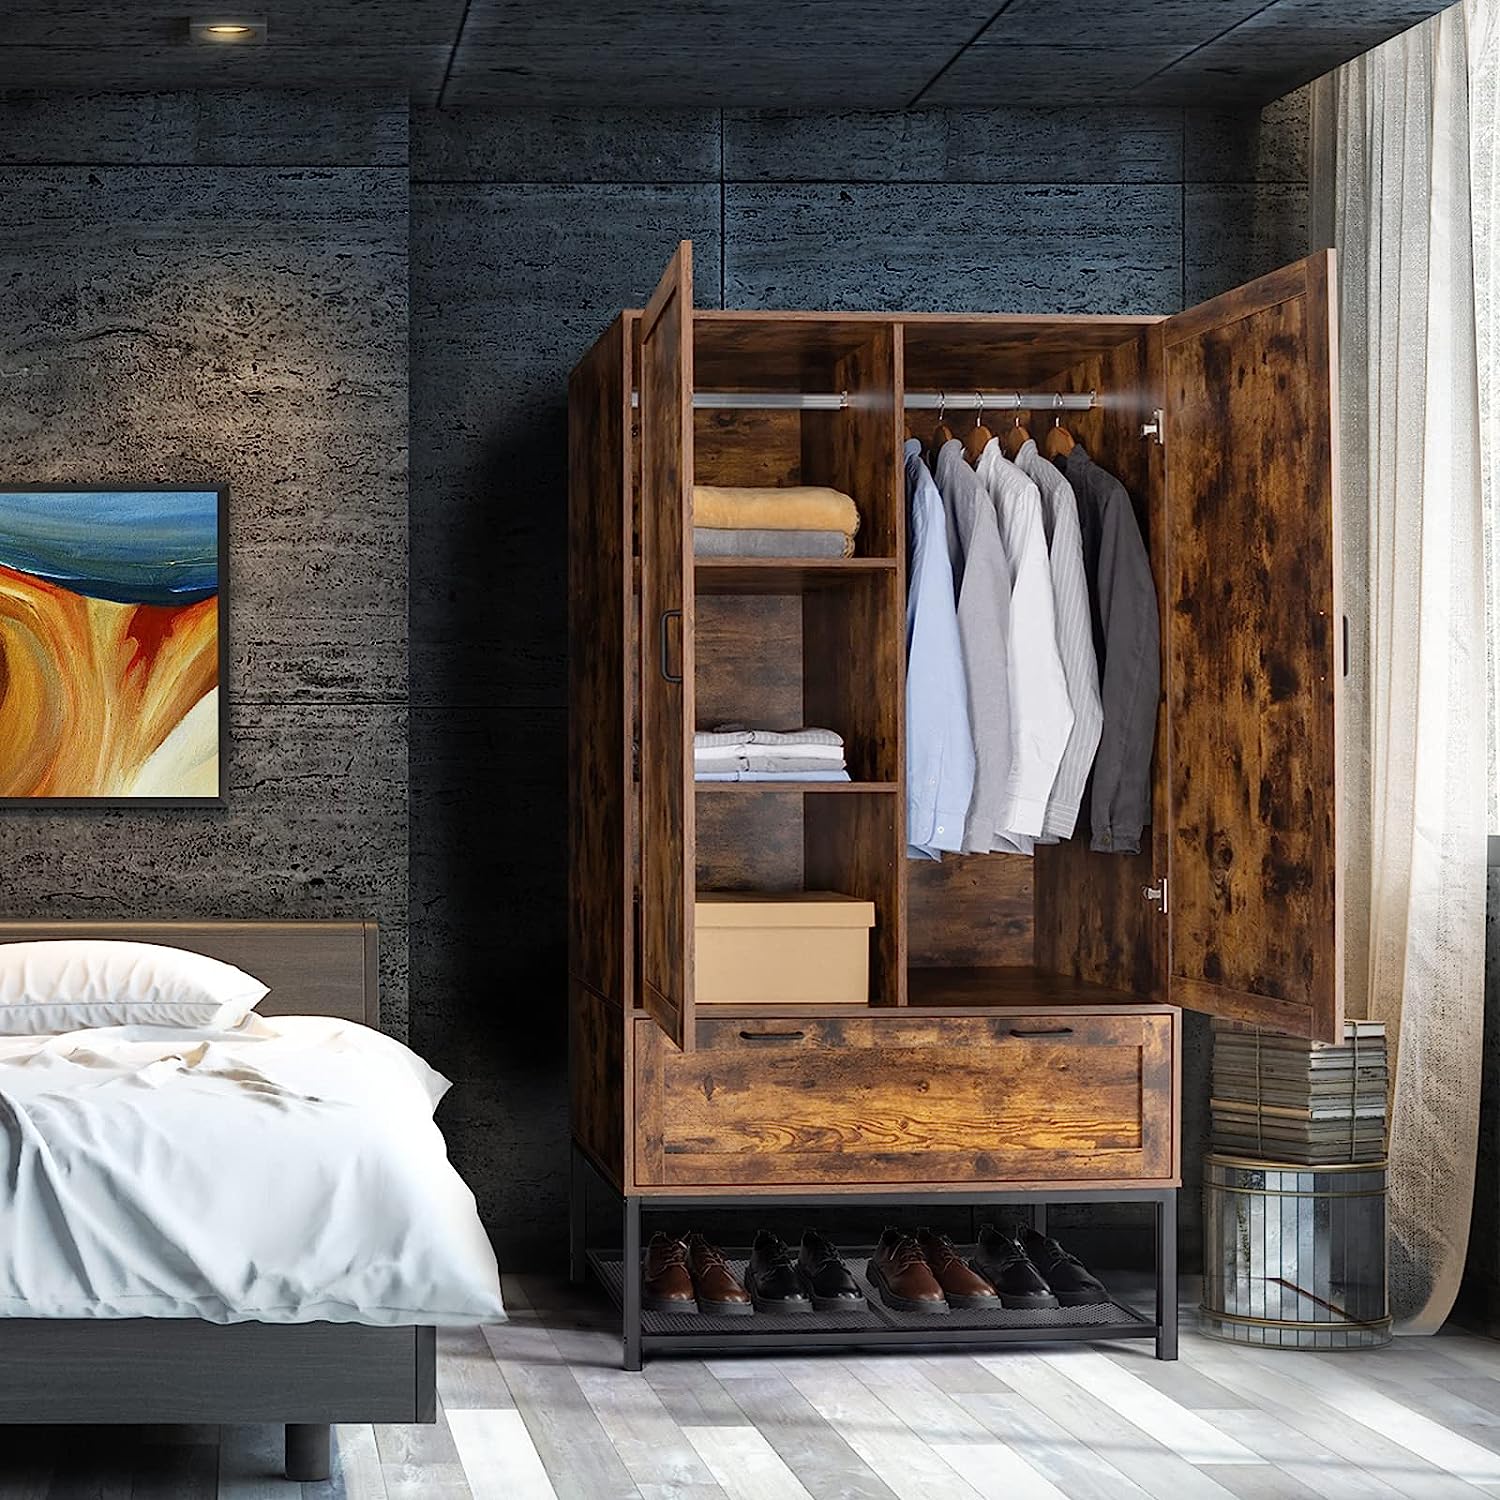
Step 6: Adding Doors and Hardware
As you near the final stages of building your built-in wardrobe, it’s time to add the doors and hardware that will not only enhance the functionality but also complete the overall aesthetic of your wardrobe. The doors and hardware you choose will play a significant role in the accessibility and visual appeal of your finished wardrobe. Here’s how to proceed:
- Select door style: Consider the style of your room and personal taste when choosing the type of doors for your wardrobe. You can opt for hinged doors for a traditional look or sliding doors to save space. Additionally, consider whether you want solid doors, mirrored doors to create a sense of depth, or glass doors for a more contemporary feel.
- Measure and cut doors: Measure the dimensions of the door openings in your wardrobe frame. Cut the doors to the appropriate size, ensuring a proper fit and clearance when opening and closing.
- Install door hinges: Attach the door hinges to the doors and then secure them inside the wardrobe frame. Use a level to ensure that the doors are properly aligned and do not swing or sag.
- Add door handles or knobs: Choose door handles or knobs that match your desired style and aesthetics. Measure and mark the positions for the hardware, then attach them securely to the doors.
- Test the doors: Open and close the doors multiple times to ensure they move smoothly and align properly. Make any necessary adjustments to the hinges or hardware to ensure proper functionality.
Adding doors and hardware not only gives your built-in wardrobe a finished look but also provides privacy and protection for your belongings. It allows for easy access to your clothes and personal items while keeping them neatly organized and hidden from view.
Remember to consider the functionality of the doors and hardware. For hinged doors, ensure they have enough clearance to swing open fully without obstruction. If you opt for sliding doors, ensure they glide smoothly along the tracks.
With the doors and hardware installed, your built-in wardrobe is almost complete! In the final step, we’ll explore the finishing touches and decoration to add that extra touch of style and personalization. Ready to put the final puzzle pieces together? Let’s move on to Step 7!
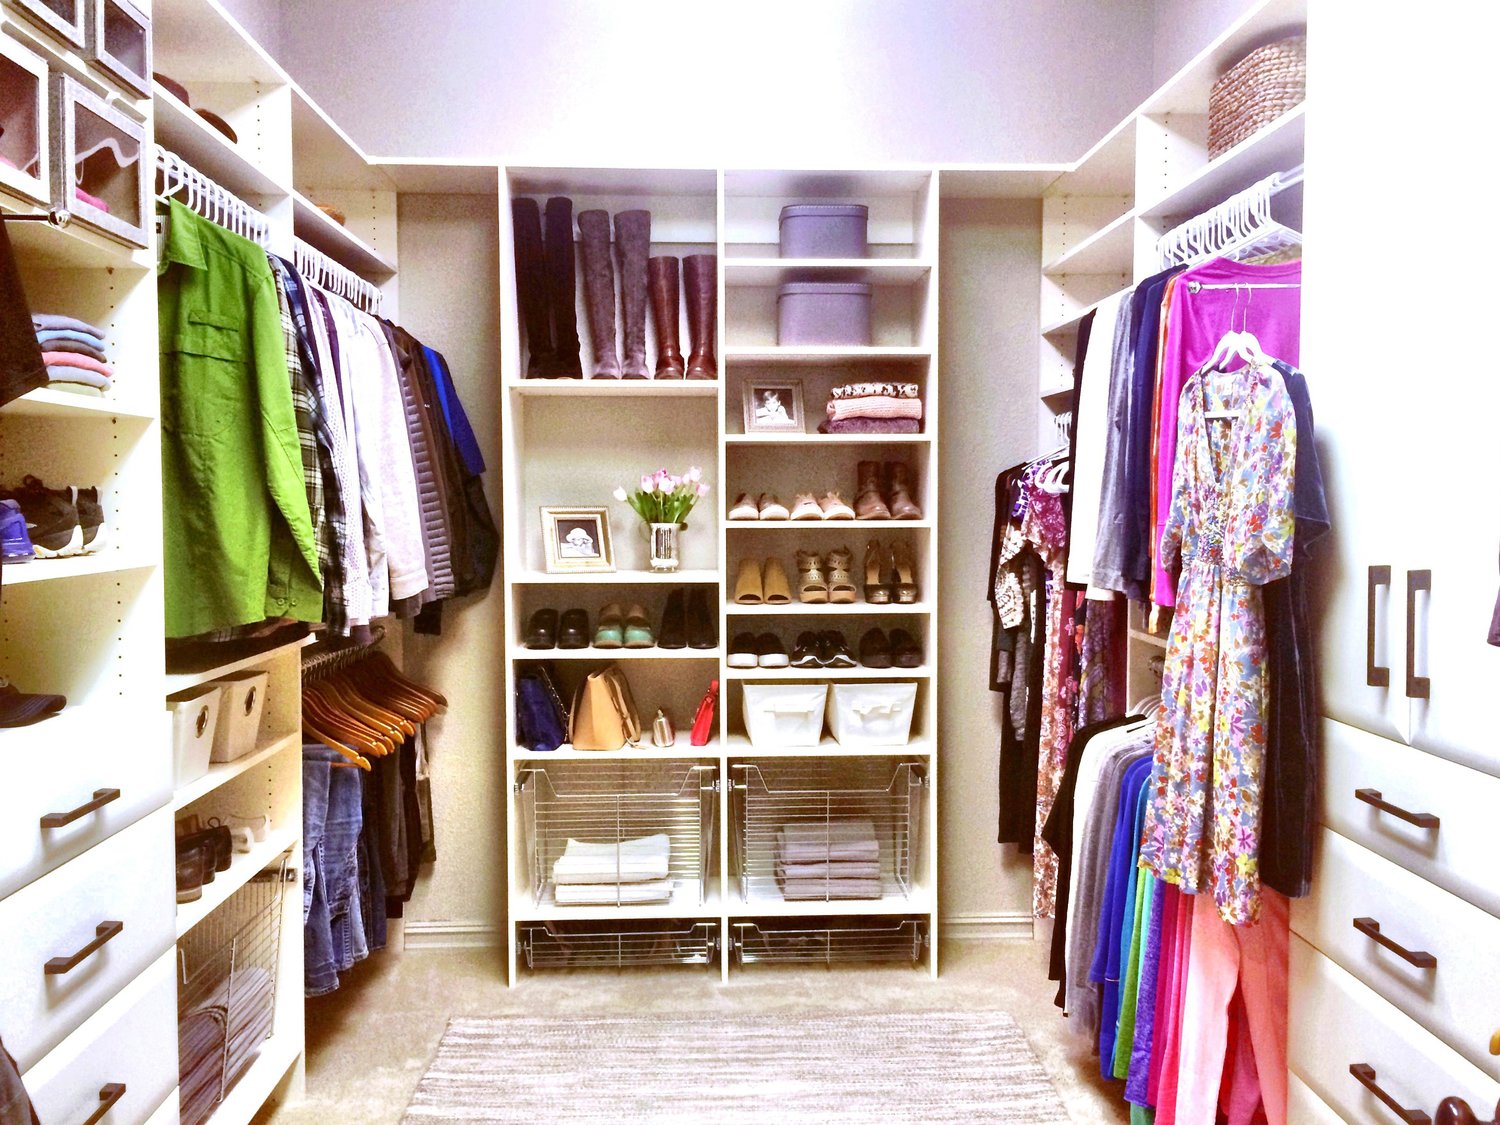
Step 7: Finishing Touches and Decoration
Congratulations! You’re nearing the end of your built-in wardrobe project. In this final step, we’ll cover the finishing touches and decoration that will truly transform your wardrobe into a stylish and functional storage solution. Here’s what you need to consider:
- Paint or stain: If you haven’t already done so, apply a coat of paint or stain to the visible surfaces of your wardrobe. Choose a color or finish that complements the overall style of your room. This step will add a polished and cohesive look to your built-in wardrobe.
- Trim and mouldings: Consider adding decorative trim or mouldings to the edges and corners of your wardrobe. This can elevate its visual appeal and give it a custom-built look. Choose mouldings that match your room’s architectural style, whether it’s classic, modern, or somewhere in between.
- Lighting: Add lighting fixtures inside your wardrobe to enhance visibility and make it easier to find your clothing and accessories. Options include LED strip lights, puck lights, or recessed lighting. Place the lights strategically to avoid creating shadows and ensure uniform illumination.
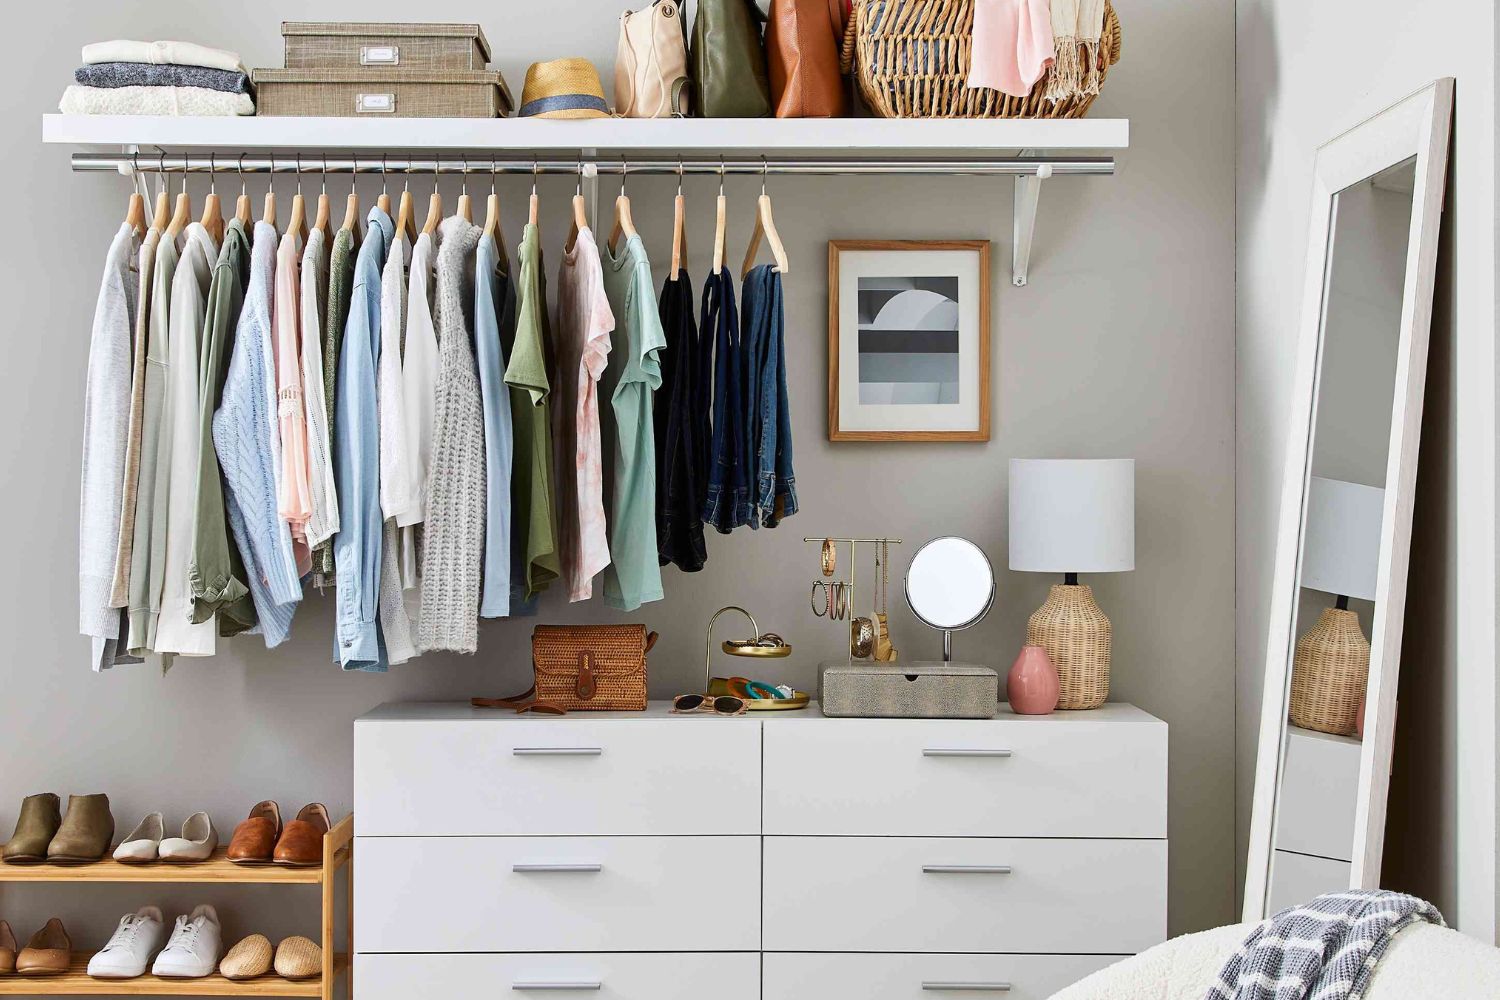
- Organization accessories: Incorporate organizational accessories such as drawer dividers, hanging organizers, or shoe racks to maximize the functionality of your built-in wardrobe. These accessories will help you keep your belongings neatly organized and easily accessible.
- Personalize and decorate: Add your personal touch to the interior of your wardrobe. Consider hanging artwork, photos, or a full-length mirror on the back of the doors. You can also include decorative elements like baskets, storage boxes, or decorative hooks to enhance the overall look.
By paying attention to these finishing touches and decorations, you’ll create a built-in wardrobe that not only serves its purpose but also adds personality and style to your space. Remember, the goal is to make your wardrobe functional, visually pleasing, and a reflection of your unique taste and needs.
Before considering the project complete, take a step back and assess the final result. Ensure everything is secure, functioning smoothly, and visually appealing. Clean up any construction debris or dust to reveal the full beauty of your built-in wardrobe.
Congratulations on building your very own built-in wardrobe! You’ve transformed a simple storage solution into a customized and efficient space that enhances the organization and aesthetics of your room. Enjoy the fruits of your labor and revel in the joy of having a beautifully crafted wardrobe tailored to your needs.
Thank you for following along with this step-by-step guide. We hope it has been informative and inspiring. Happy organizing!
Conclusion
Building a built-in wardrobe is a rewarding project that allows you to create a customized storage solution and enhance the functionality and aesthetics of your living space. By following the step-by-step guide outlined in this article, you’ve learned how to plan and design your wardrobe, measure and mark the area, choose suitable materials, build the frame, install shelves and dividers, add doors and hardware, and apply finishing touches and decoration.
Throughout this journey, you’ve embraced your inner DIYer and honed your carpentry skills. You’ve made thoughtful decisions about the design, materials, and hardware to ensure that your built-in wardrobe aligns with your personal style and meets your storage needs. You’ve paid attention to detail, ensuring that each step is completed with precision and care.
As a result, you’ve created a functional and visually appealing space that optimizes storage and adds value to your home. Your built-in wardrobe is now an organized haven for your clothes, shoes, and accessories, ensuring that everything has its designated place.
Remember, building a built-in wardrobe requires careful planning, measurements, and construction skills. If you’re unsure about any aspect of the project, it’s always best to consult with professionals in the field or seek guidance from experienced carpenters. Safety should always be a priority when working with tools and materials.
Now that your built-in wardrobe is complete, take a moment to appreciate your hard work and enjoy the newfound organization and functionality it brings to your daily life. Revel in the satisfaction of a job well done!
Thank you for following along with this comprehensive guide. We hope it has inspired you to embark on your own built-in wardrobe project and provided valuable insights into the process. Happy building!
Excited about your new built-in wardrobe? Why stop there? Dive into our next guide on creating a space-saving "custom closet" that not only stores but showcases your unique style. Tailored storage solutions await to transform any cluttered room into a haven of organization and design.
Frequently Asked Questions about How To Build Built In Wardrobe
Was this page helpful?
At Storables.com, we guarantee accurate and reliable information. Our content, validated by Expert Board Contributors, is crafted following stringent Editorial Policies. We're committed to providing you with well-researched, expert-backed insights for all your informational needs.


0 thoughts on “How To Build Built In Wardrobe”