Articles
How To Build A Wardrobe Closet
Modified: September 1, 2024
Looking to upgrade your bedroom furniture? Learn how to build a stylish and functional wardrobe closet that perfectly complements your space.
(Many of the links in this article redirect to a specific reviewed product. Your purchase of these products through affiliate links helps to generate commission for Storables.com, at no extra cost. Learn more)
Introduction
Welcome to the world of DIY wardrobe closets! If you find yourself in need of additional storage space for your clothes, shoes, and accessories, building a wardrobe closet can be a fantastic solution. Not only will it provide you with ample storage, but it also allows you to customize the design to suit your specific needs and style.
In this step-by-step guide, we will walk you through the process of building your own wardrobe closet from scratch. Whether you’re a novice DIY enthusiast or an experienced craftsman, with a little time, effort, and the right tools, you can create a functional and stylish wardrobe closet.
Before we dive into the nitty-gritty of the construction process, it’s important to take a moment to plan and measure your space. Assess the area where you intend to install the wardrobe closet and consider the dimensions you’ll need for your storage requirements.
Once you have a clear idea of the space available, you can move on to choosing the right materials and tools for the project. Selecting high-quality materials and having the necessary tools on hand will ensure that the finished wardrobe closet is sturdy and durable.
With the planning and material selection out of the way, it’s time to roll up your sleeves and start building the frame of the wardrobe closet. This involves measuring, cutting, and assembling the pieces to create the skeleton structure of the closet.
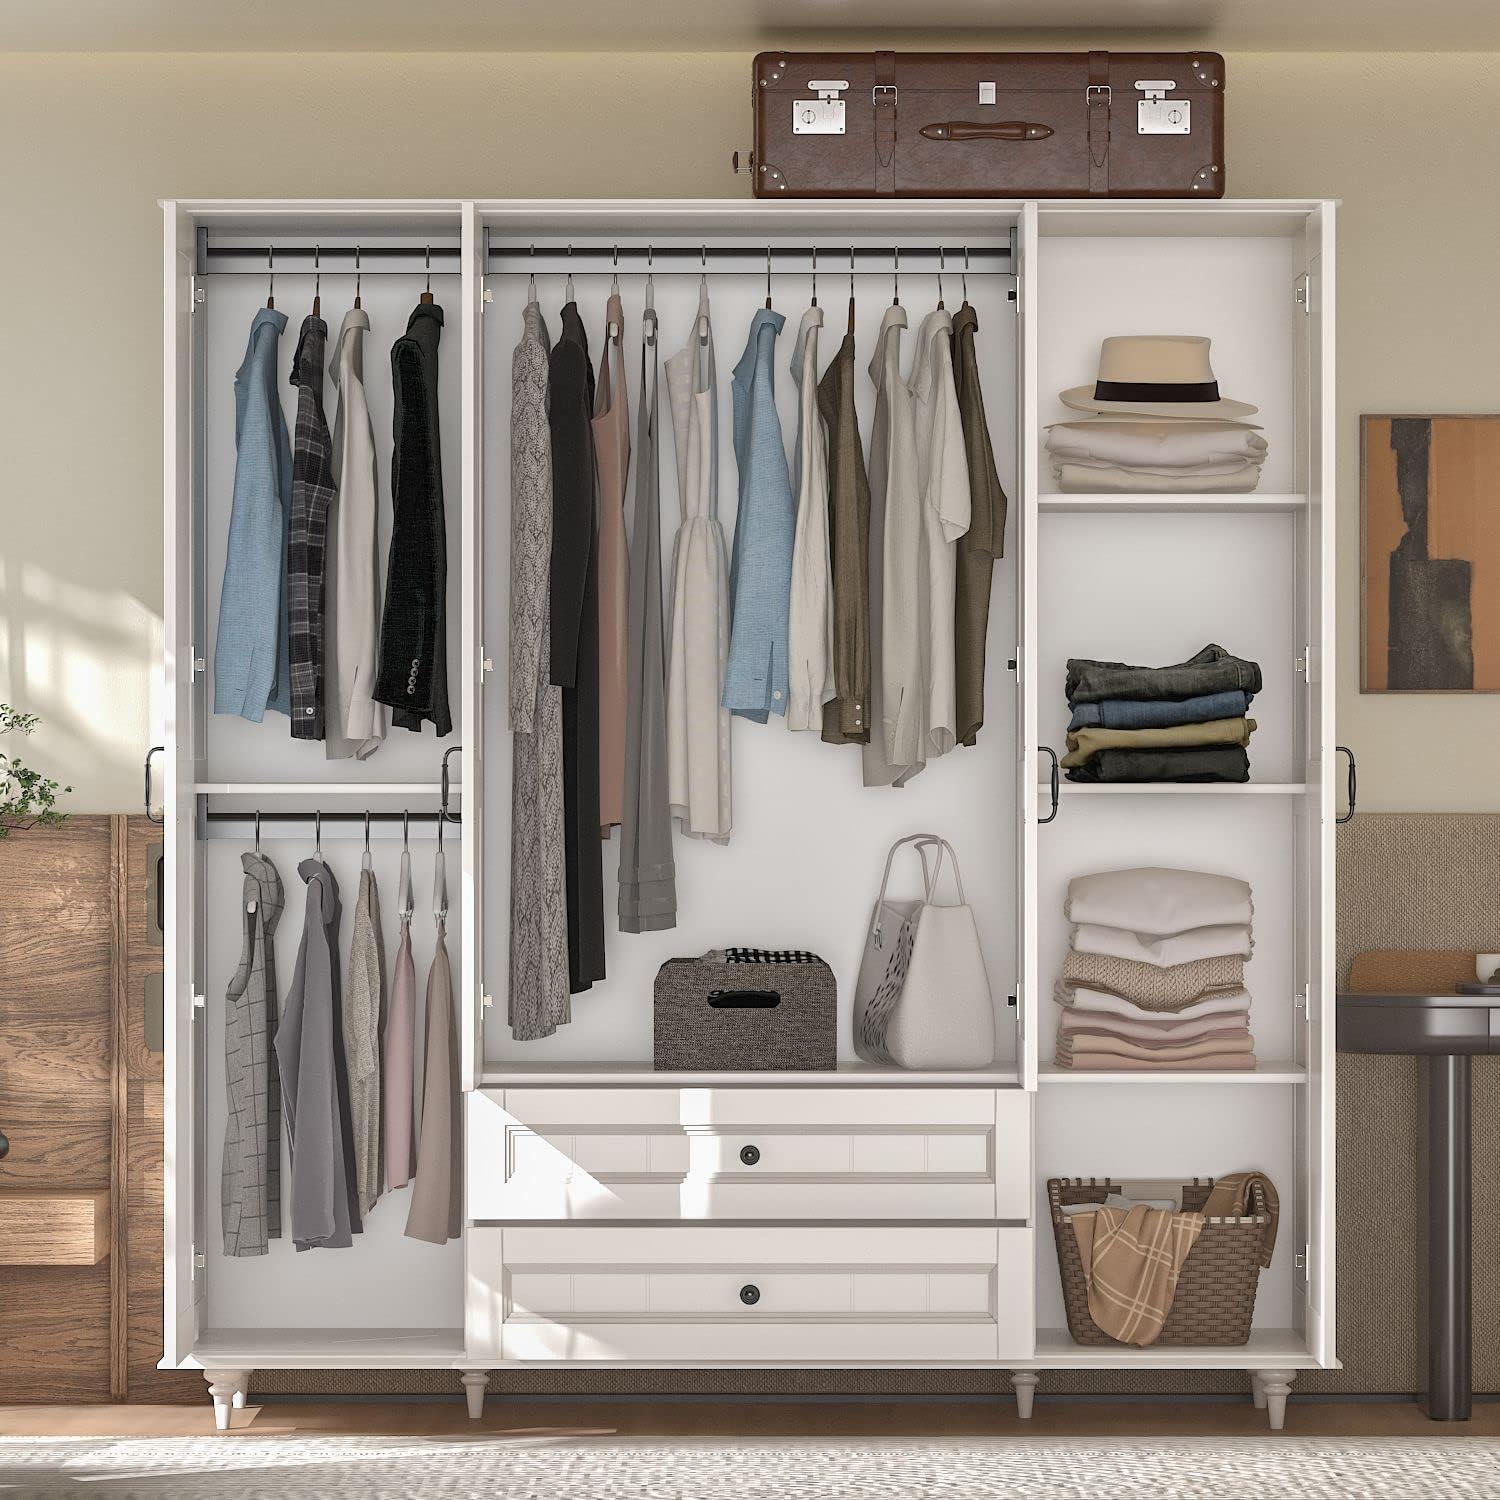
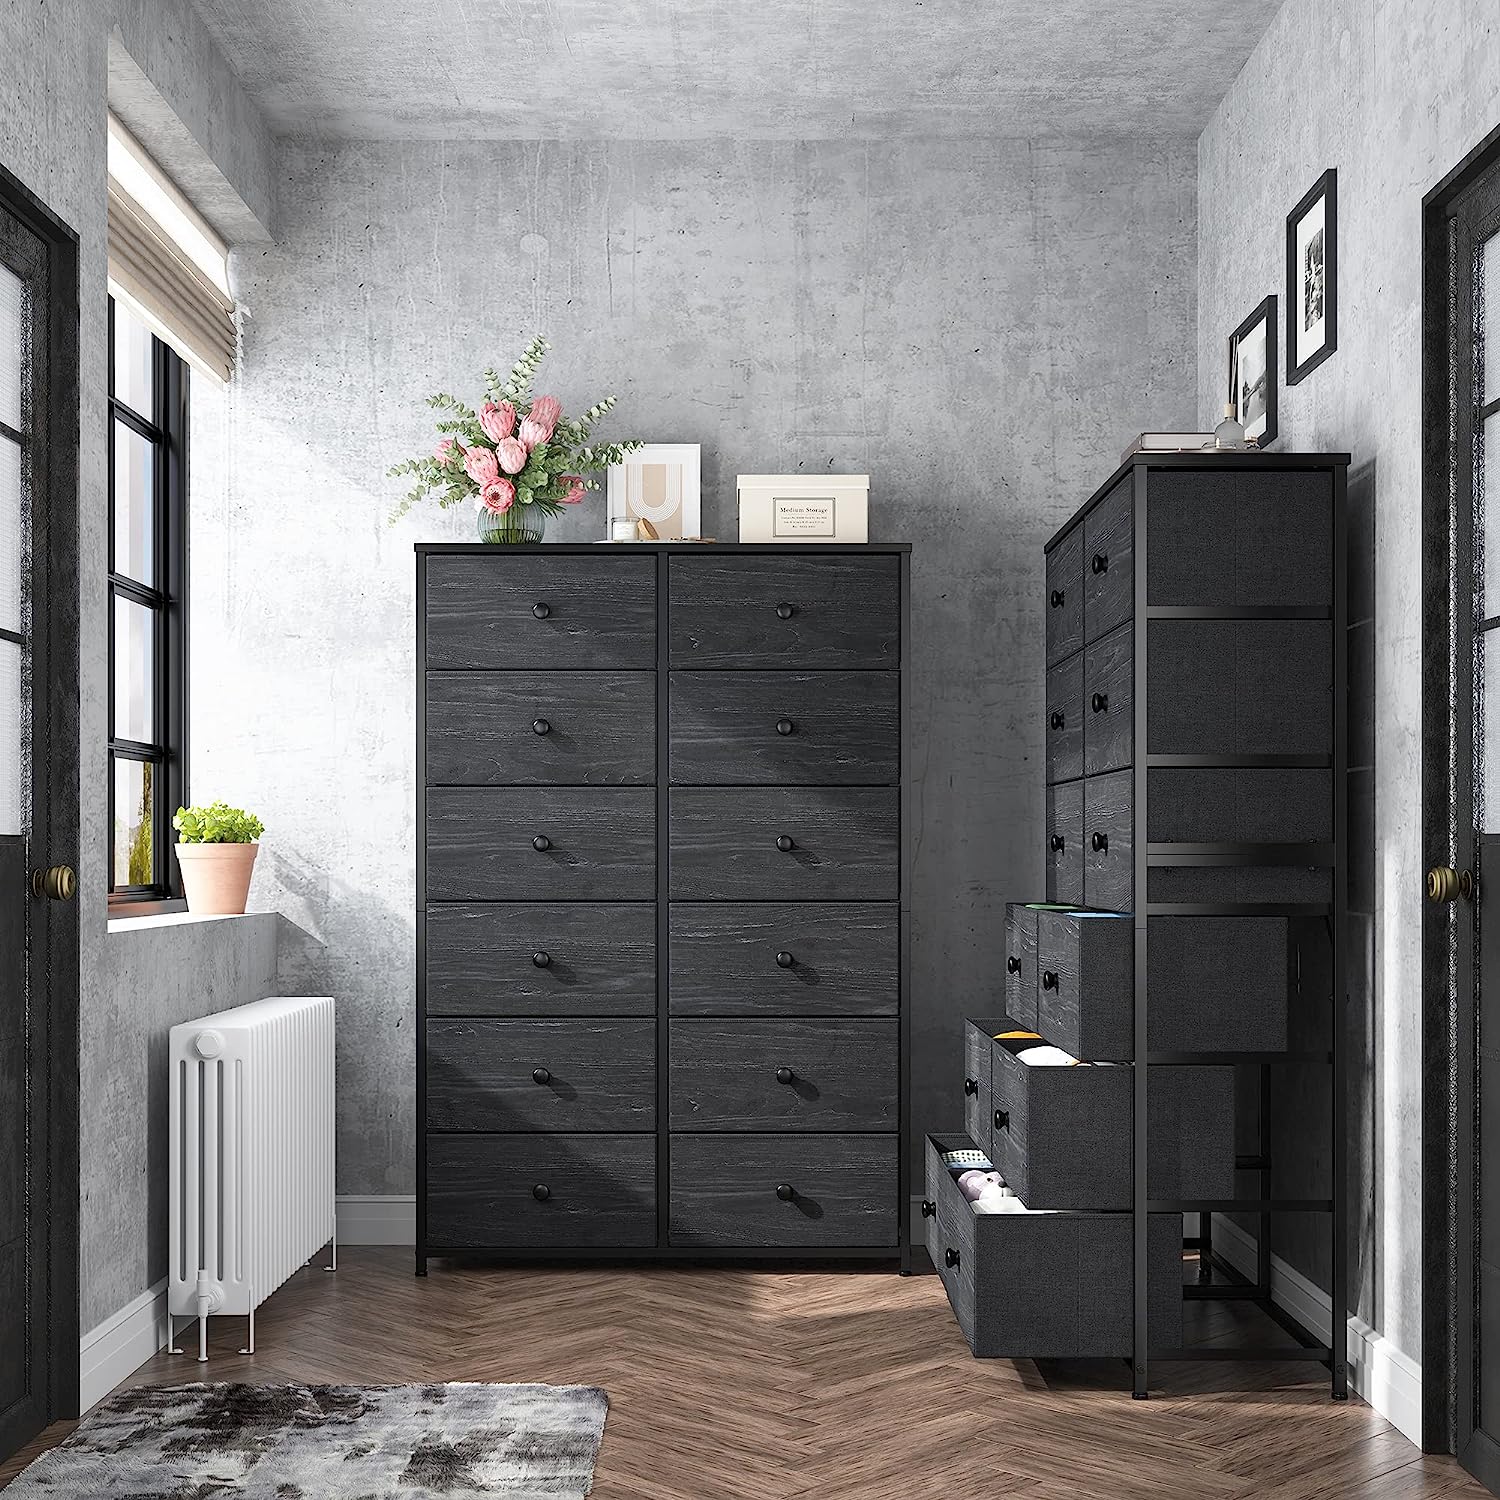
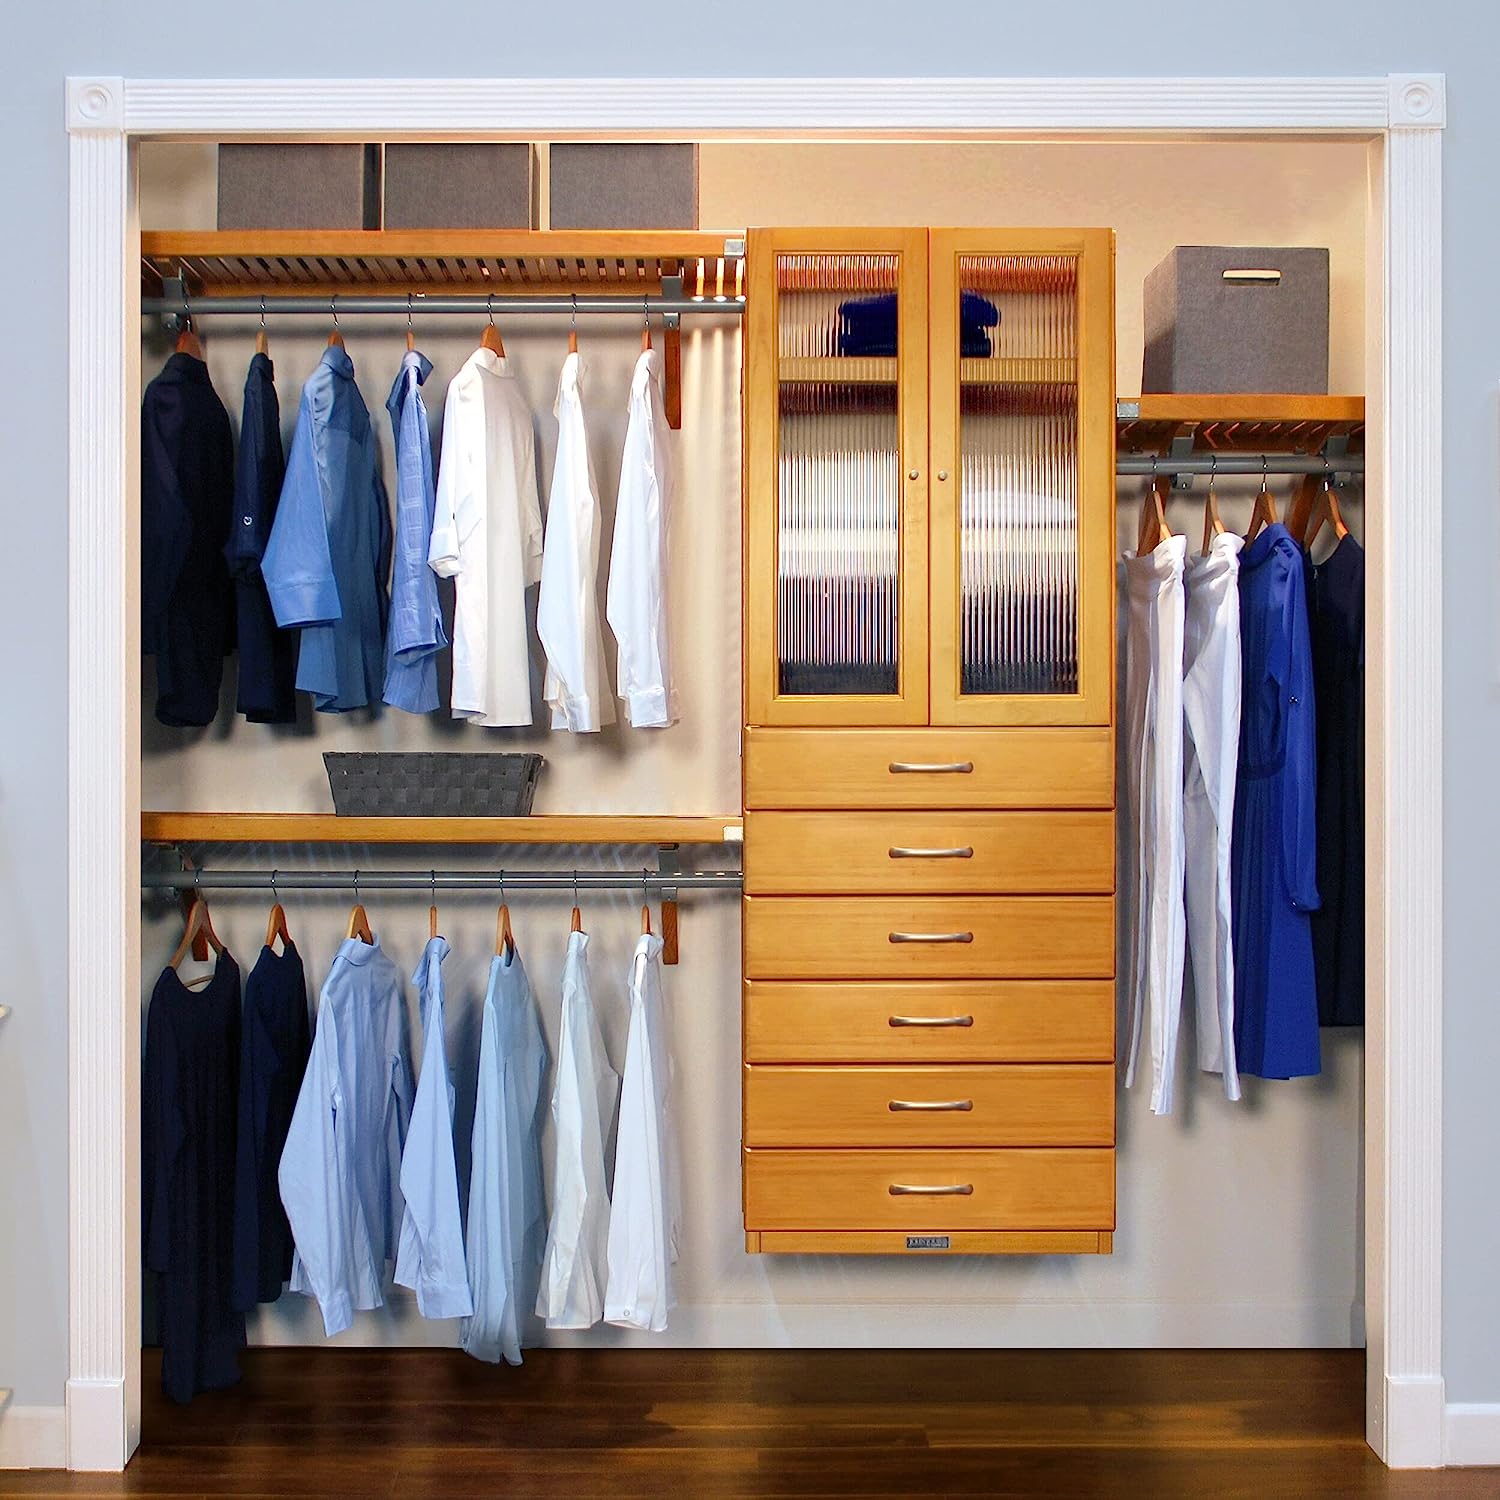
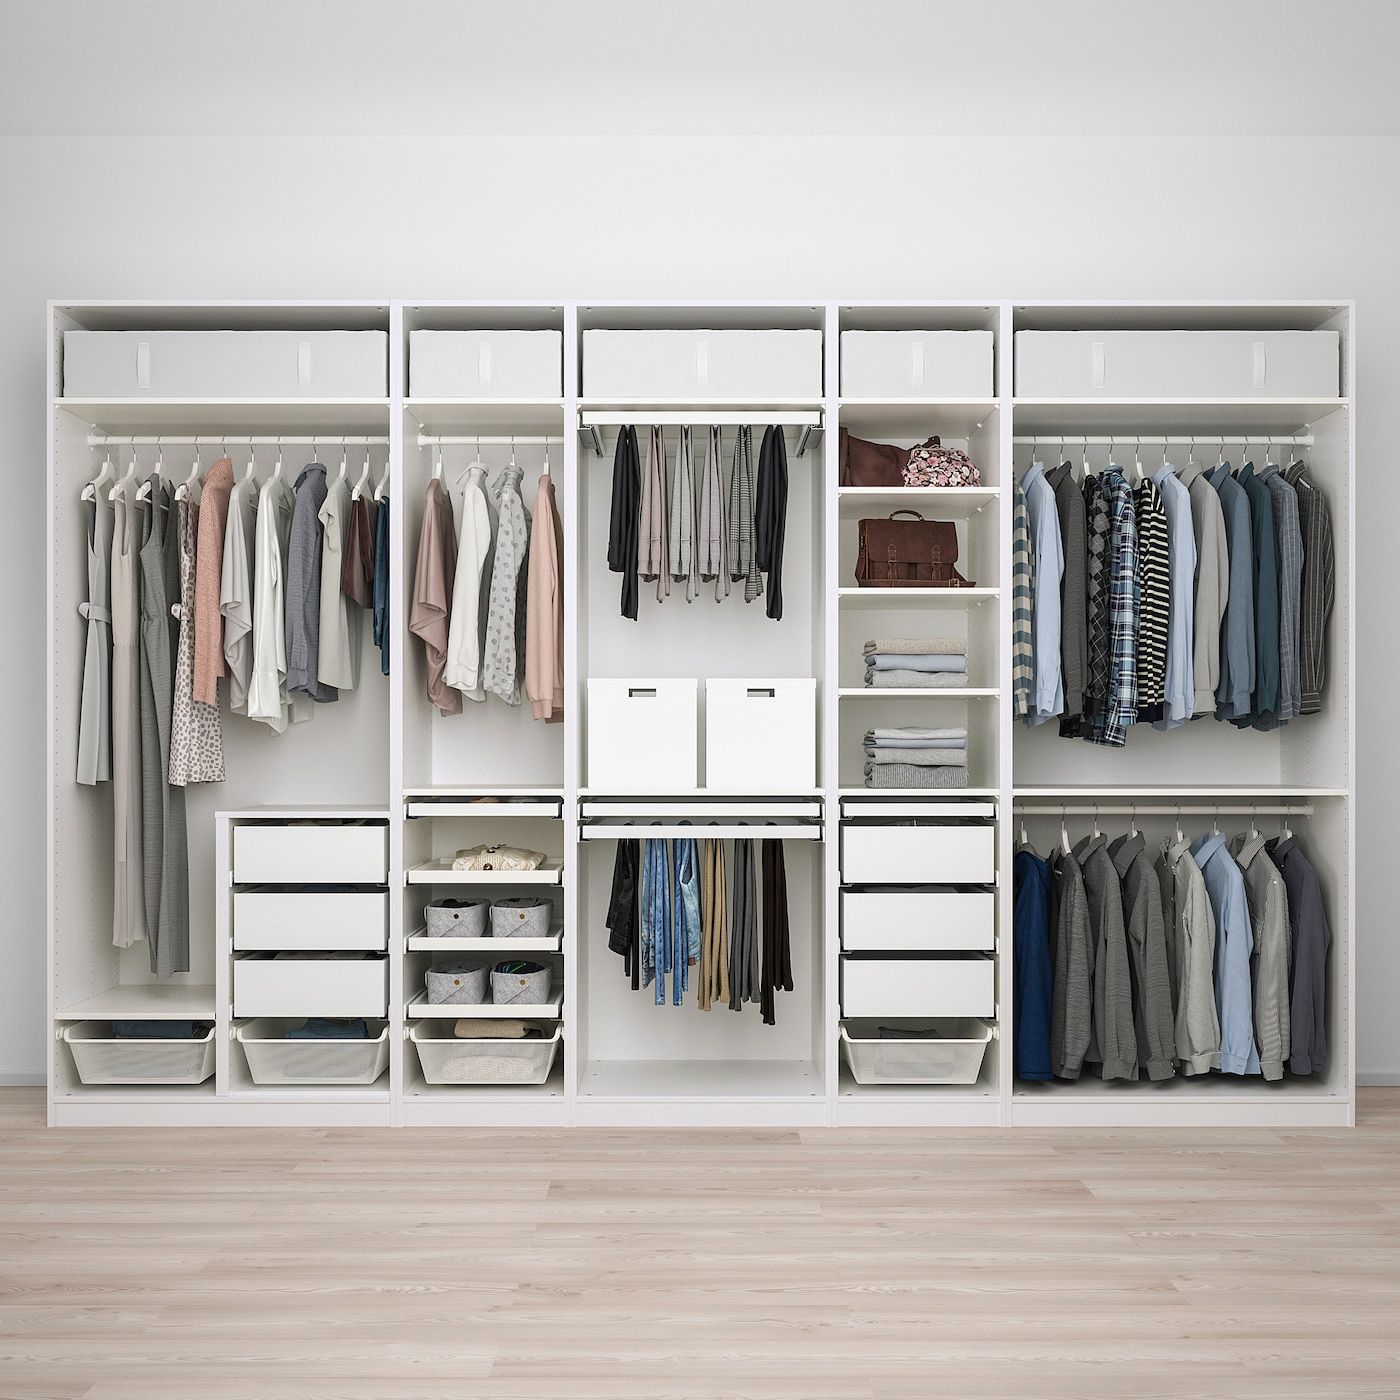
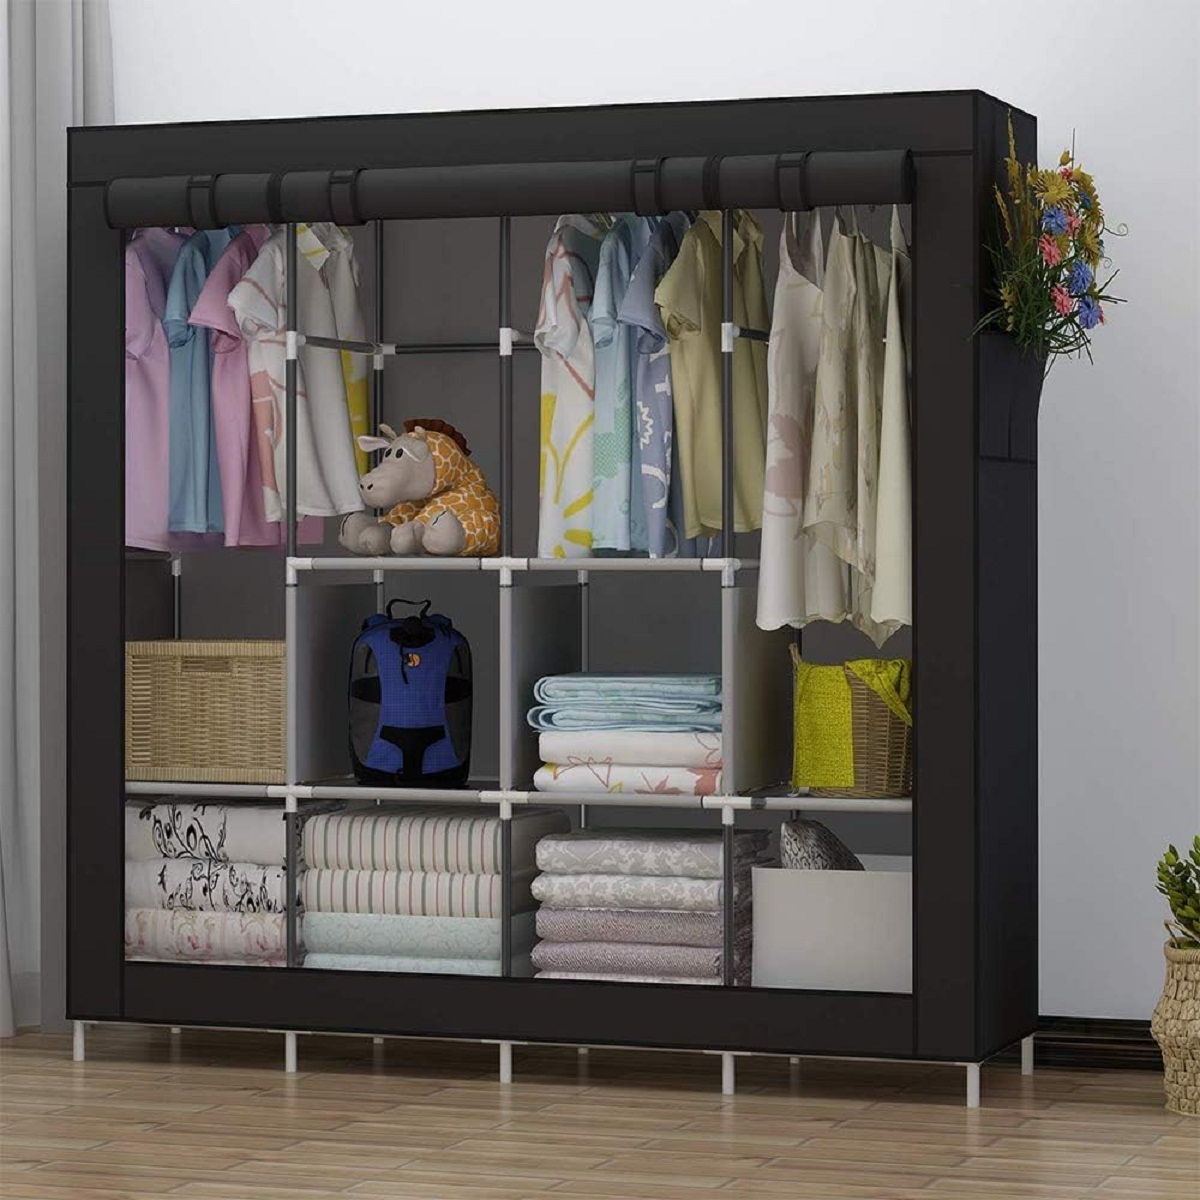
Next, we’ll guide you through the process of installing shelves and drawers to maximize the storage potential of your wardrobe closet. With different options for shelving configurations and drawer sizes, you can customize the internals of your wardrobe closet to organize your clothing and accessories efficiently.
After the storage components are in place, we’ll move on to adding doors and hardware to give your wardrobe closet a polished and professional look. From hinged doors to sliding doors, you can choose the style that best suits your taste and space requirements.
Finally, we’ll discuss the finishing touches and decoration options for your wardrobe closet. From paint or stain to decorative molding and handles, these small details can enhance the aesthetics and personalize your wardrobe closet to reflect your unique style.
Building a wardrobe closet may seem like a daunting task, but with careful planning and step-by-step guidance, it becomes an achievable project that can significantly enhance your storage capabilities. So, let’s get started on this exciting DIY journey to create a wardrobe closet that perfectly caters to your needs!
Key Takeaways:
- Building a wardrobe closet involves careful planning, precise measurements, and the selection of high-quality materials and tools. From constructing the frame to adding finishing touches, the process allows for customization and personalization.
- The DIY journey of building a wardrobe closet culminates in a functional and visually appealing storage solution. From installing shelves and drawers to adding doors and hardware, the project combines creativity, craftsmanship, and practicality to enhance home organization.
Read more: How To Build A Wardrobe
Step 1: Planning and Measuring
The first step in building a wardrobe closet is thorough planning and accurate measurements. This crucial step will ensure that the final product fits perfectly into your space and meets your storage needs.
Start by evaluating the area where you plan to install the wardrobe closet. Take into consideration the height, width, and depth of the space. Measure the dimensions of the wall or corner where the closet will be placed to determine how much space you have to work with.
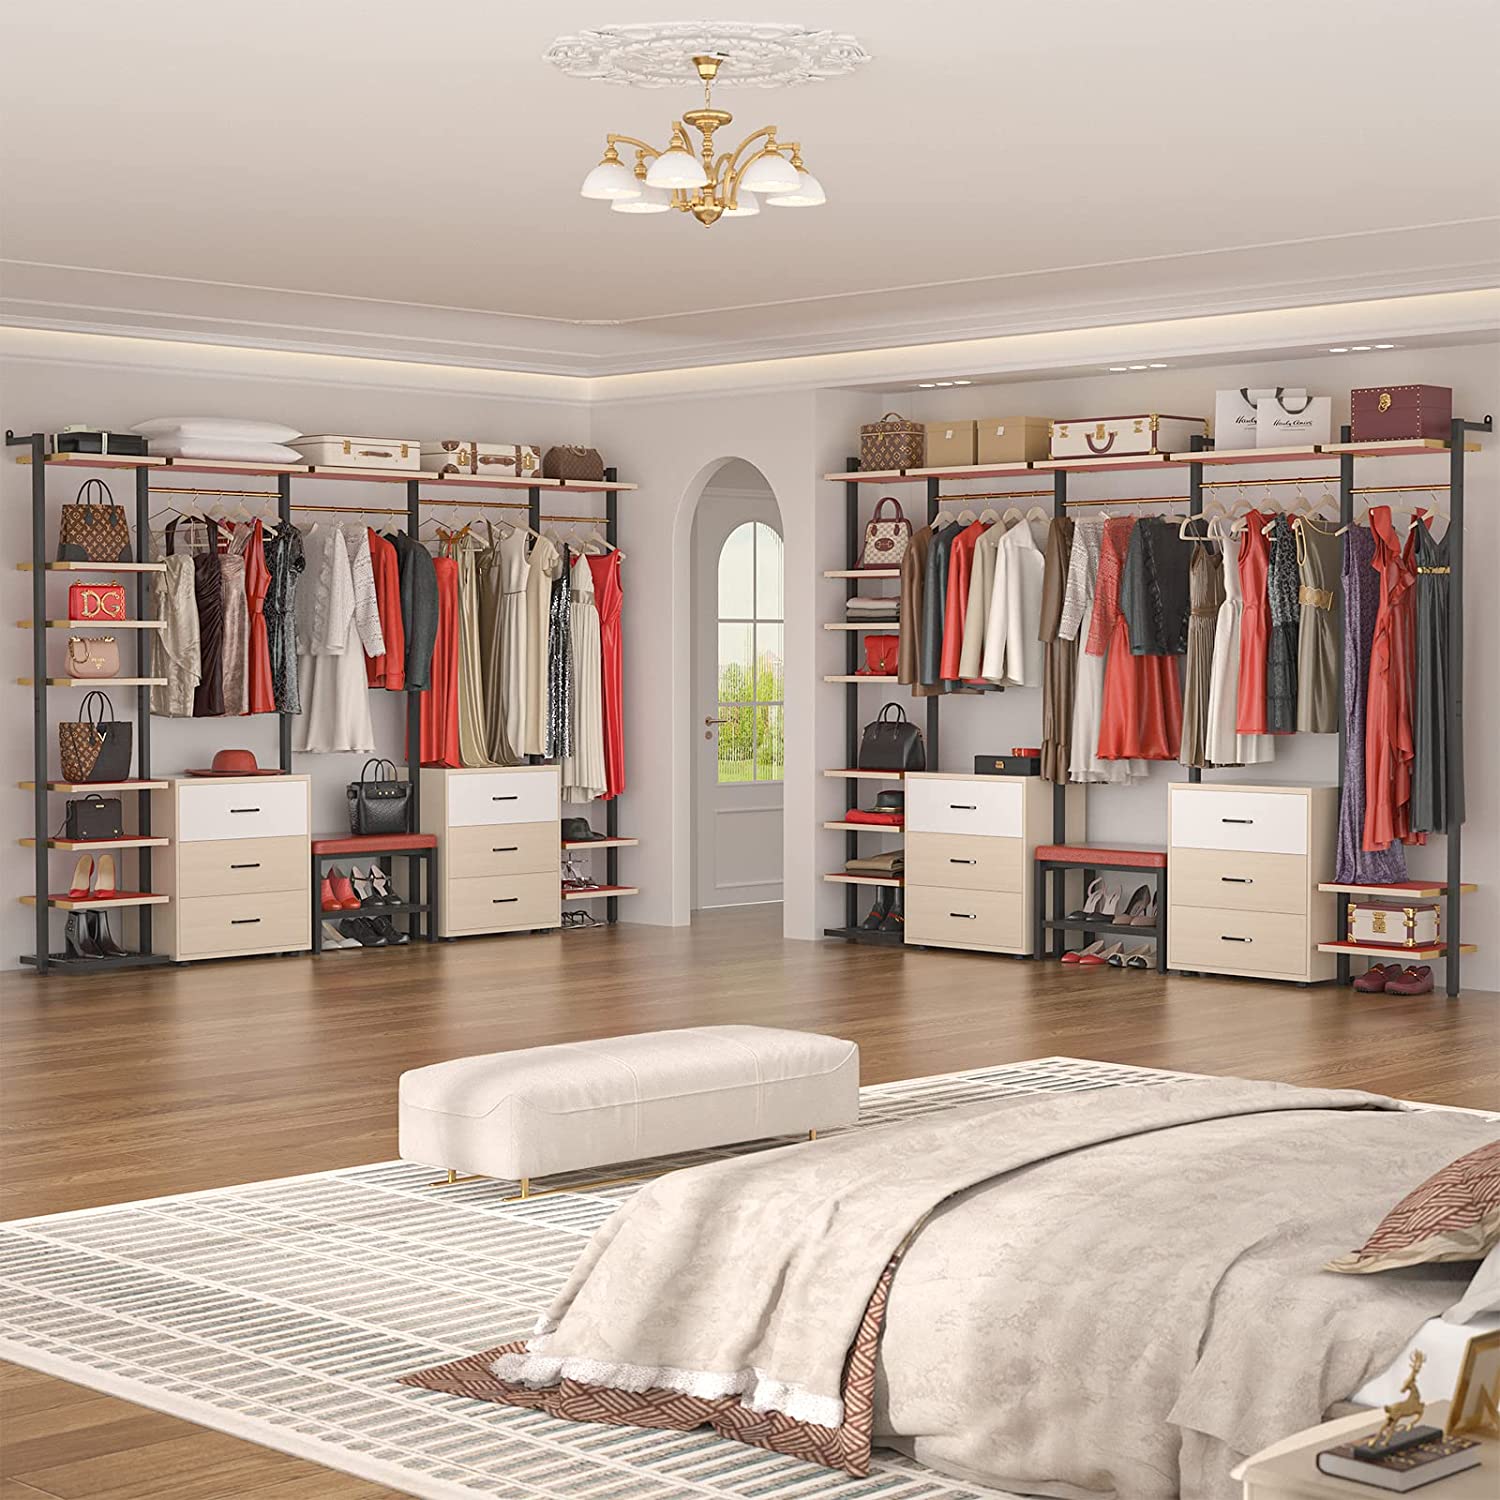
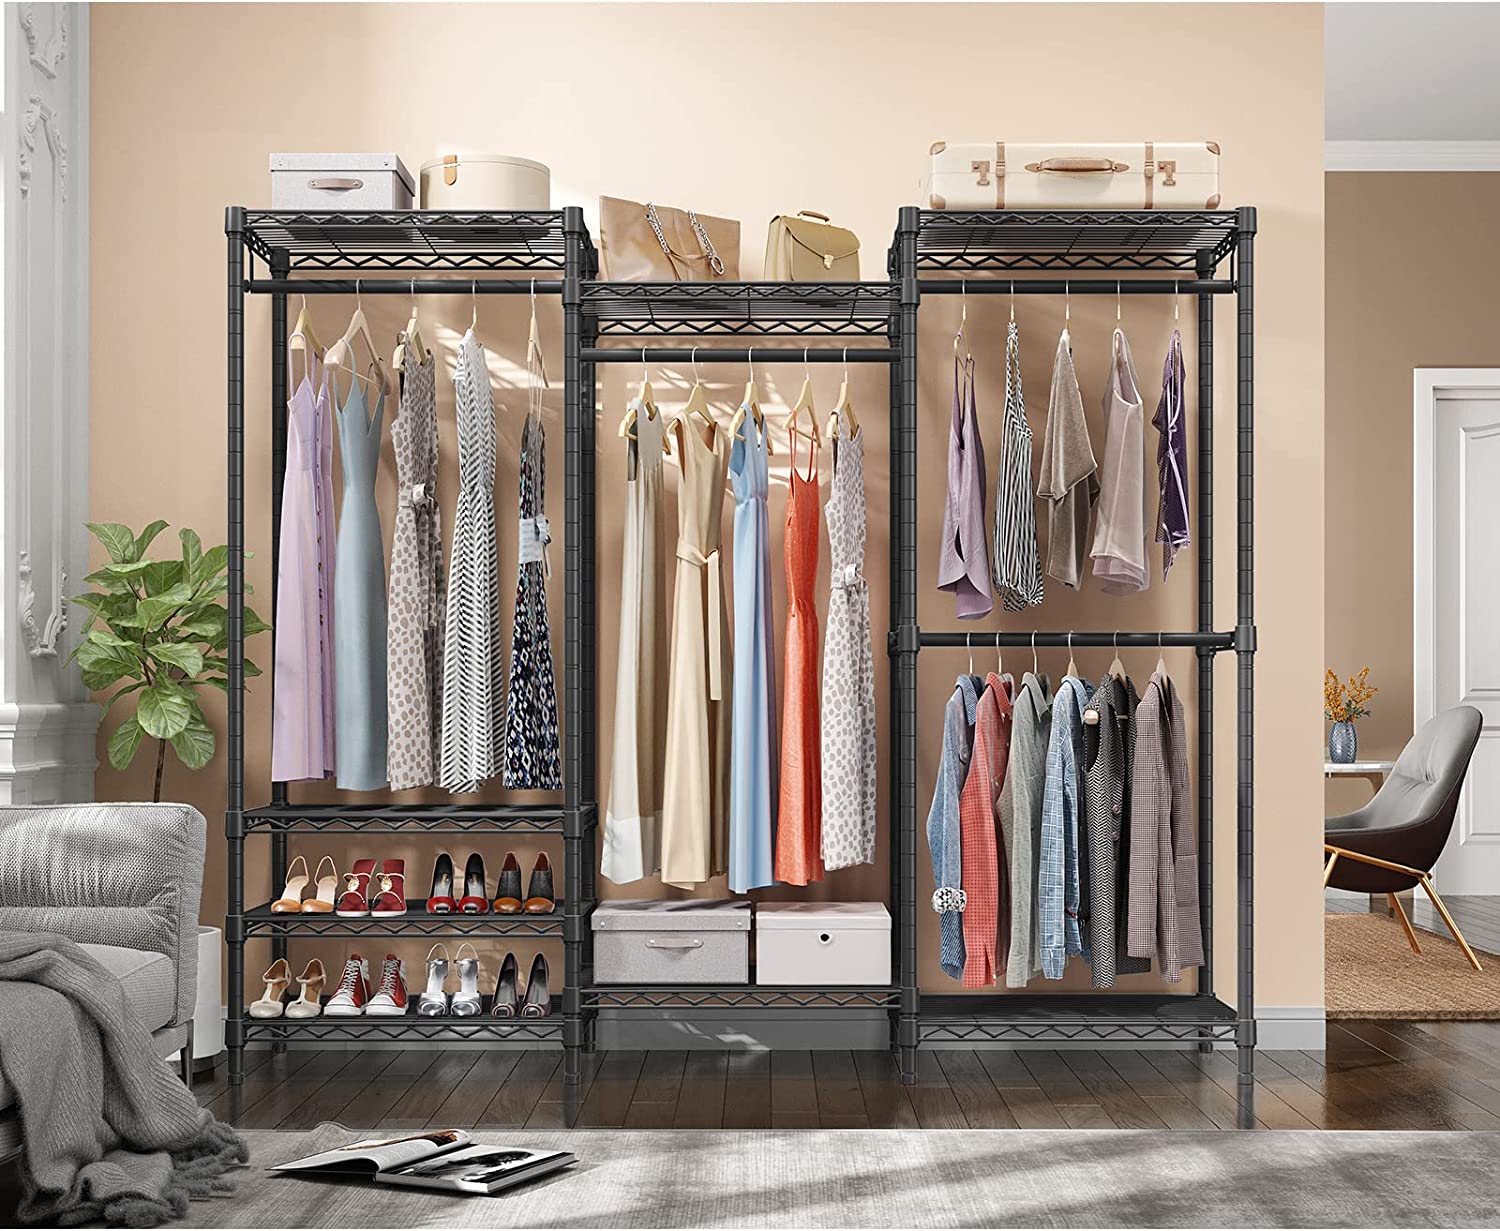
Next, assess your storage requirements. Make a list of the different types of items you will store in the wardrobe closet, such as clothing, shoes, accessories, and other belongings. This will help you determine the amount of hanging space, shelving, and drawers you’ll need.
Consider the functionality and accessibility of the wardrobe closet. Think about how you want to organize your items and how much space you’ll need for each category. If you have a lot of long dresses or coats, you may require more hanging space. If you have many pairs of shoes, you might want to allocate extra shelves for shoe storage.
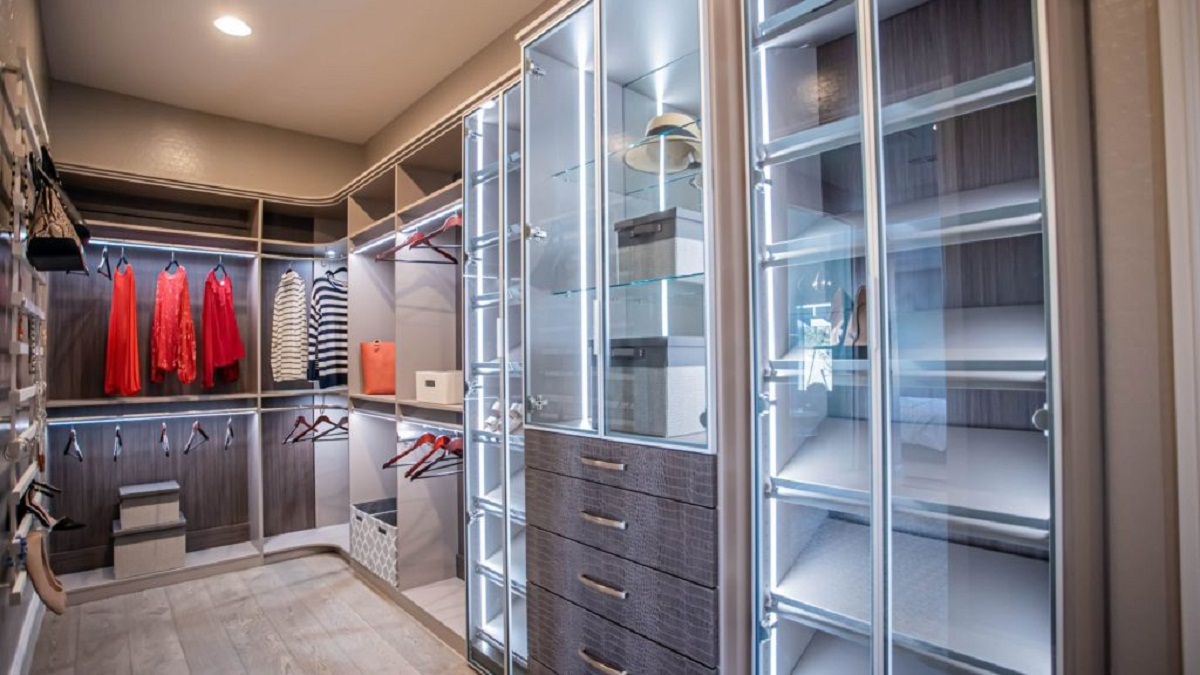
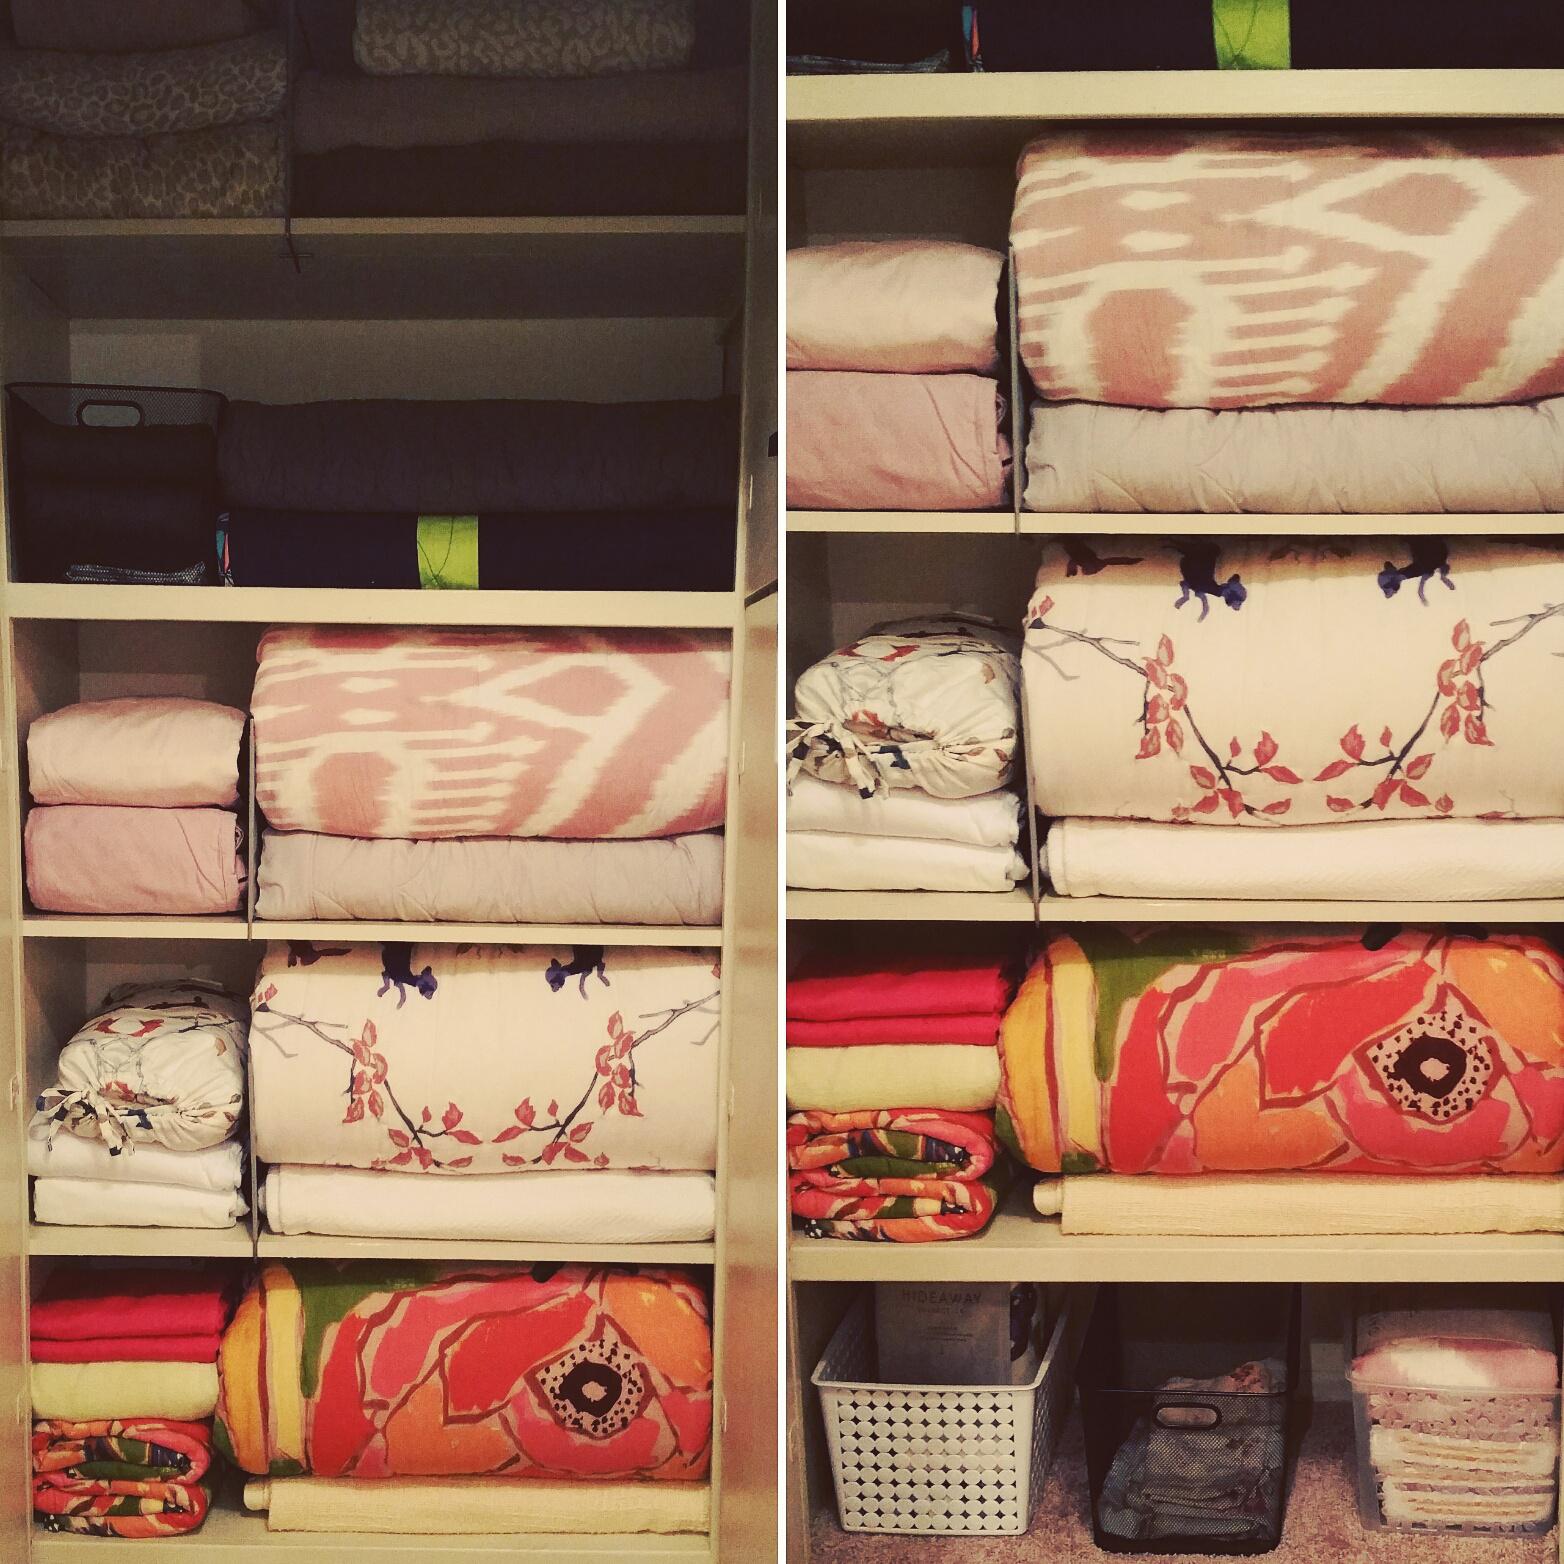
Think about the interior layout of the wardrobe closet as well. Determine if you want a section for folded clothes, shelves for accessories, or drawers for smaller items. This will help you envision the design and make the most efficient use of the available space.
When planning the design, take into account any existing architectural features in the room. Consider the location of windows, doors, electrical outlets, and vents. You want to ensure that the wardrobe closet does not obstruct any of these elements and allows for proper circulation and functionality.
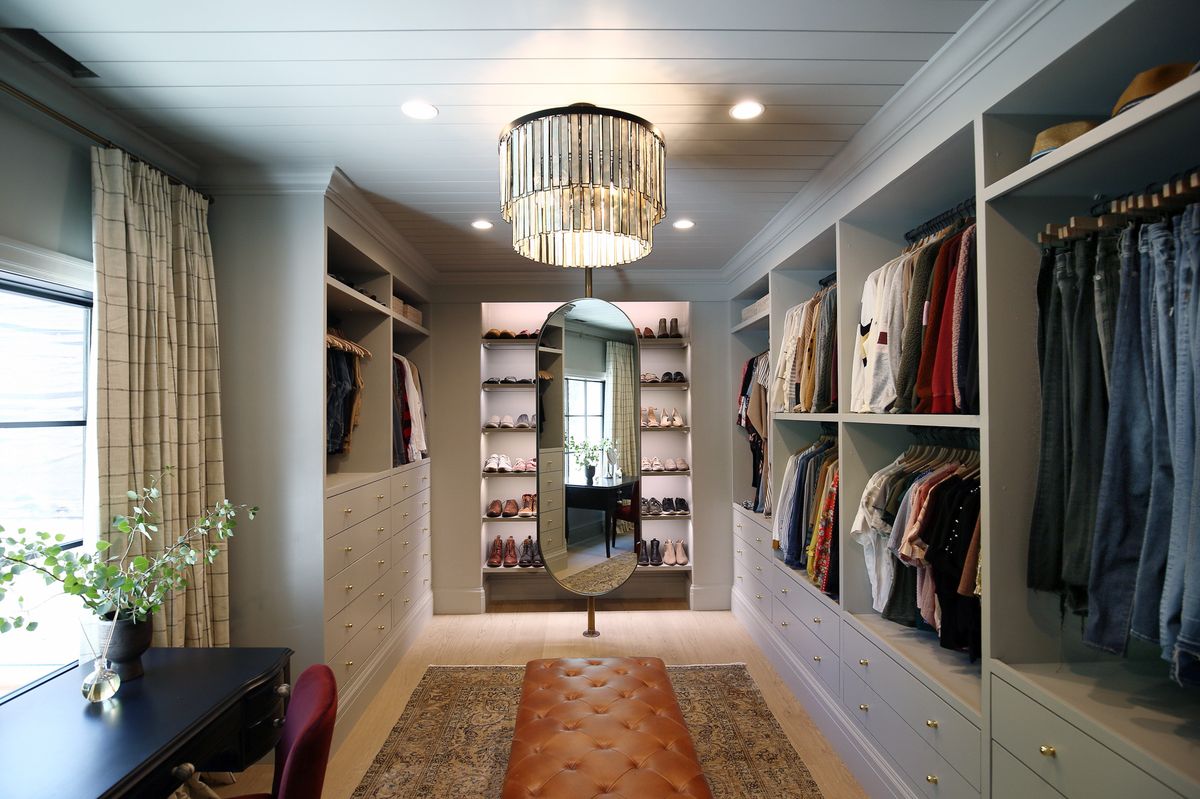
It’s also important to consider the style and aesthetics of the wardrobe closet. Decide on the material, color, and finish that will complement the overall decor of the room. Whether you prefer a modern, minimalist look or a classic, elegant design, make sure the wardrobe closet aligns with your personal style and enhances the visual appeal of the space.
Once you have a clear vision of the dimensions, storage requirements, and design elements, it’s time to create a detailed plan or sketch. Use graph paper or a digital design tool to draw out the layout, including measurements for each component of the wardrobe closet.
By carefully planning and measuring before starting the construction, you’ll have a solid foundation for the rest of the project. Taking the time to visualize and plan the wardrobe closet will save you from potential mistakes and ensure a smooth building process.
Step 2: Choosing the Right Materials and Tools
Once you have completed the planning and measuring stage, the next step in building your wardrobe closet is selecting the right materials and tools for the job. The quality and suitability of these will directly impact the durability and functionality of your finished project.
Start by considering the main material for the construction of the wardrobe closet. Common options include plywood, MDF (medium-density fiberboard), solid wood, or a combination of these. Each material has its pros and cons in terms of cost, durability, and aesthetics. Choose one that fits your budget and desired look.
Keep in mind that the thickness of the material will affect the overall strength and stability of the wardrobe closet. For the frame and structural components, opt for thicker and sturdier materials to ensure long-term durability.
In addition to the main material, you’ll need other essential supplies such as screws, nails, glue, and finishing materials like paint or stain. Be sure to choose high-quality hardware that is appropriate for the weight and size of your wardrobe closet.
When it comes to tools, you will need a collection of basic hand tools such as a measuring tape, level, hammer, screwdrivers, and a power drill. These will be used throughout the construction process. Depending on the complexity of your design, you may also need a saw, router, or other woodworking tools.
Investing in good-quality tools will make the construction process easier and more efficient. It’s worth considering borrowing or renting any specialized tools you may need instead of buying them if you don’t already own them.
Before purchasing your materials, calculate the quantities needed based on the dimensions of your wardrobe closet. It’s always a good idea to buy slightly more material than you think you’ll need to account for any errors or unexpected changes in the design.
Take into account the weight-bearing capacity of the materials and hardware you choose, especially if you plan to have a substantial amount of clothing or accessories stored in your wardrobe closet. Reinforce load-bearing areas with additional support if necessary.
Lastly, consider any eco-friendly options when choosing materials. Look for sustainably sourced wood or eco-friendly alternatives to reduce your environmental impact.
Choosing the right materials and tools is essential for a successful wardrobe closet construction. By selecting durable and appropriate supplies, you can ensure that your finished project is both functional and aesthetically pleasing. So, take your time to research and source the best materials and tools available for your budget and needs.
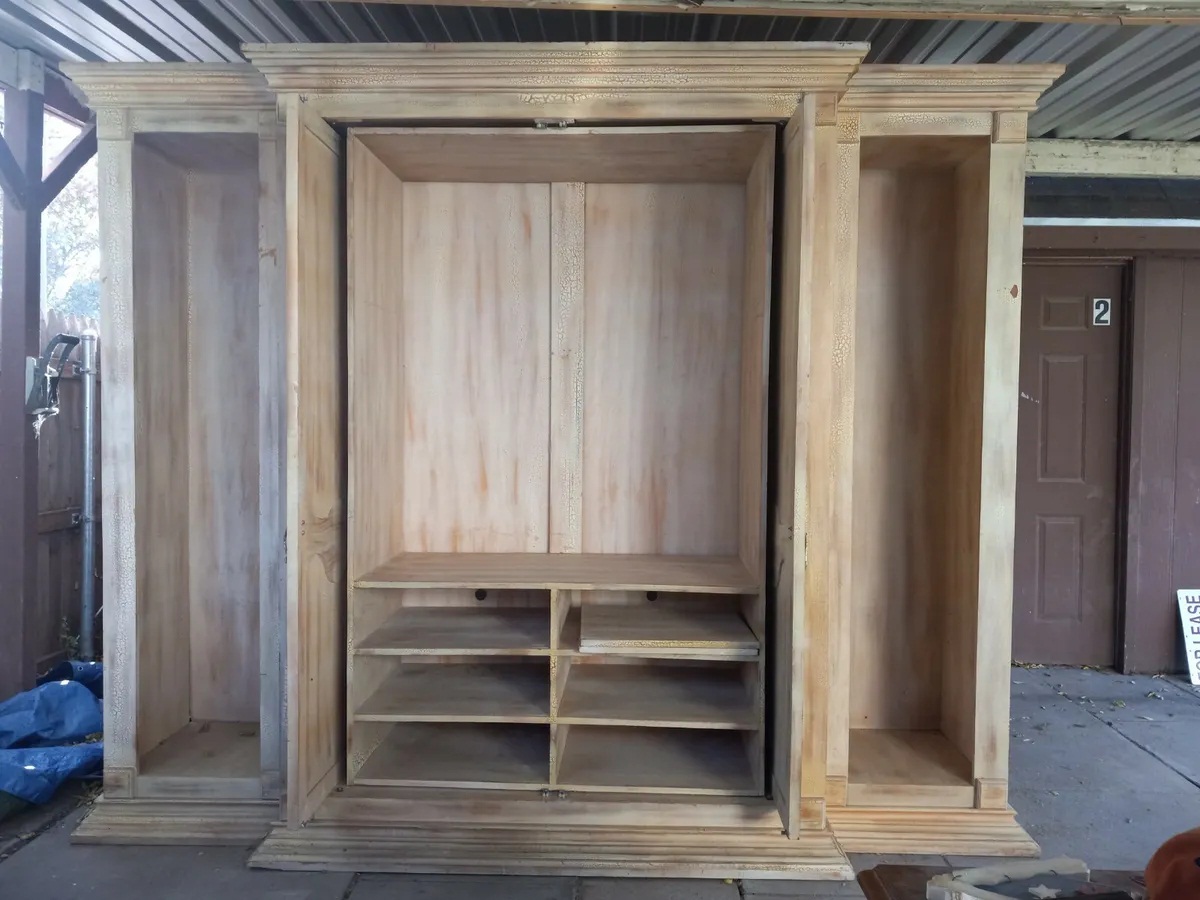
Step 3: Building the Frame of the Wardrobe Closet
Now that you have planned, measured, and gathered the necessary materials and tools, it’s time to start building the frame of your wardrobe closet. The frame serves as the skeleton of the closet and provides structural support for the shelves, drawers, and doors.
Begin by cutting the pieces for the frame according to your measurements. Use a saw to cut the main vertical and horizontal pieces that will form the sides, top, and bottom of the wardrobe closet. Make sure each piece is cut accurately to ensure a precise fit.
Once you have all the pieces cut, it’s time to assemble the frame. Begin by attaching the sides to the top and bottom pieces. Apply a layer of wood glue to the edges before securing them with screws or nails. Use clamps to hold the pieces together while the glue dries for added strength.
Ensure that the corners are square by using a carpenter’s square or measuring the diagonals to check for equal measurements. Adjust as necessary to achieve a perfectly square frame.
After securing the sides to the top and bottom, reinforce the joints by adding additional support. This can be done by installing wooden corner braces or metal brackets inside the corners of the frame. These reinforcements will add stability and prevent the frame from shifting or wobbling.
Next, add the vertical dividers inside the frame to create sections for shelves and drawers. Measure and mark the desired positions for the dividers and secure them in place using screws or nails. Ensure they are level and securely attached to the sides and bottom of the frame.
If your wardrobe closet is intended to be freestanding, you may also need to add a back panel for stability. Cut a piece of plywood or MDF to fit the dimensions of the back of the frame and attach it securely using screws or nails.
As you build the frame, periodically check the levelness and squareness of the closet to ensure it is aligned properly. This step is crucial for the stability and functionality of the wardrobe closet.
Once the frame is fully assembled, inspect it for any rough edges or imperfections. Sand down any rough areas and fill any noticeable gaps or holes with wood filler. This will ensure a smooth and appealing finish when it’s time to paint or stain the wardrobe closet.
Building the frame is a significant milestone in the construction process. With a solid and sturdy frame in place, you can now proceed to the next steps of installing shelves, drawers, and doors. Stay tuned for the following steps as we transform the frame into a fully functional and personalized wardrobe closet.
When building a wardrobe closet, make sure to measure the space accurately and plan for enough storage for your clothing and accessories. Consider adding shelves, drawers, and hanging rods to maximize the functionality of the closet.
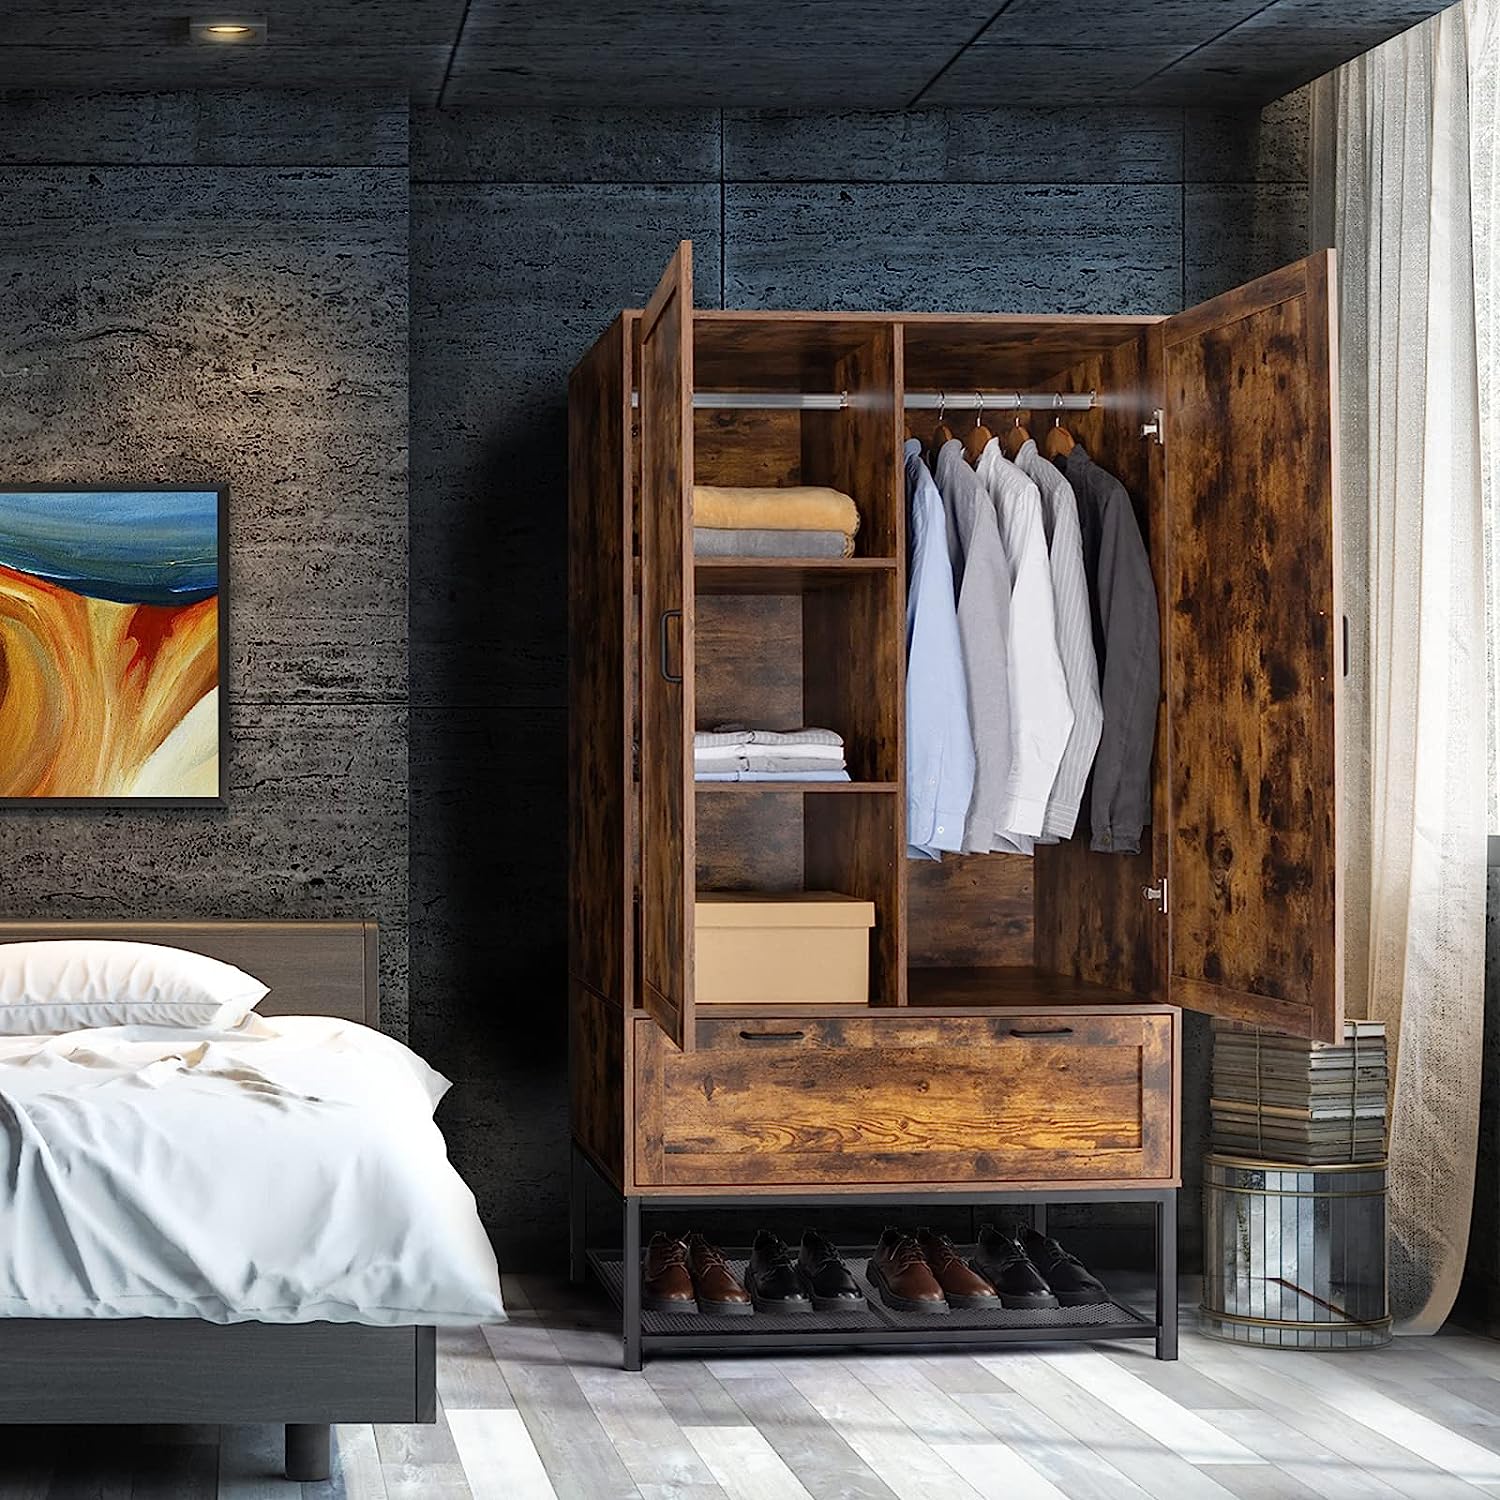
Step 4: Installing Shelves and Drawers
With the frame of your wardrobe closet complete, it’s time to move on to the next step: installing shelves and drawers. These components are essential for organizing and maximizing the storage space in your closet.
Start by measuring and marking the desired positions for the shelves and drawers inside the wardrobe closet. Consider the height and spacing based on the types of items you’ll be storing. For example, leave enough space for hanging clothes or taller items, and allocate smaller sections for folded clothes or accessories.
Once you have determined the positions, cut the shelves and drawer components according to your measurements. Use a saw to cut the pieces from plywood, ensuring they fit snugly inside the frame. Sand down any rough edges to create a smooth surface.
When installing the shelves, use shelf brackets or cleats to support them. Position the brackets or cleats inside the wardrobe closet and screw them into place. Arrange the shelves on top of the brackets or cleats, ensuring they are level and secure. Consider using adjustable shelving to accommodate different storage needs and heights.
For the drawers, assemble the drawer boxes using wood glue and screws or nails. Make sure they are sturdy and square. Install drawer slides inside the frame and attach the corresponding slides to the drawer boxes. This will allow the drawers to slide in and out smoothly.
Place the drawers on the slides, ensuring they fit properly and glide effortlessly. Adjust the slides as needed to achieve a precise fit. Attach drawer fronts to the boxes using screws or drawer pulls for added functionality and aesthetics.
Consider adding dividers or organizers within the drawers to further maximize storage efficiency. These can be small compartments for jewelry, socks, or other accessories. Customize the organization within the drawers to suit your specific needs.
As you install the shelves and drawers, periodically check for levelness and stability. Adjust as necessary to ensure that they are securely in place and provide proper support for your belongings.
Once all the shelves and drawers are installed, take a moment to test their functionality. Open and close the drawers to ensure smooth operation and check the stability of the shelves by placing some items on them. Make any necessary adjustments for optimal functionality.
With the shelves and drawers in place, your wardrobe closet is taking shape and becoming a functional storage solution. In the next step, we will focus on adding doors and hardware to complete the construction and enhance the appearance of the wardrobe closet.
Read more: How To Build Built In Wardrobe
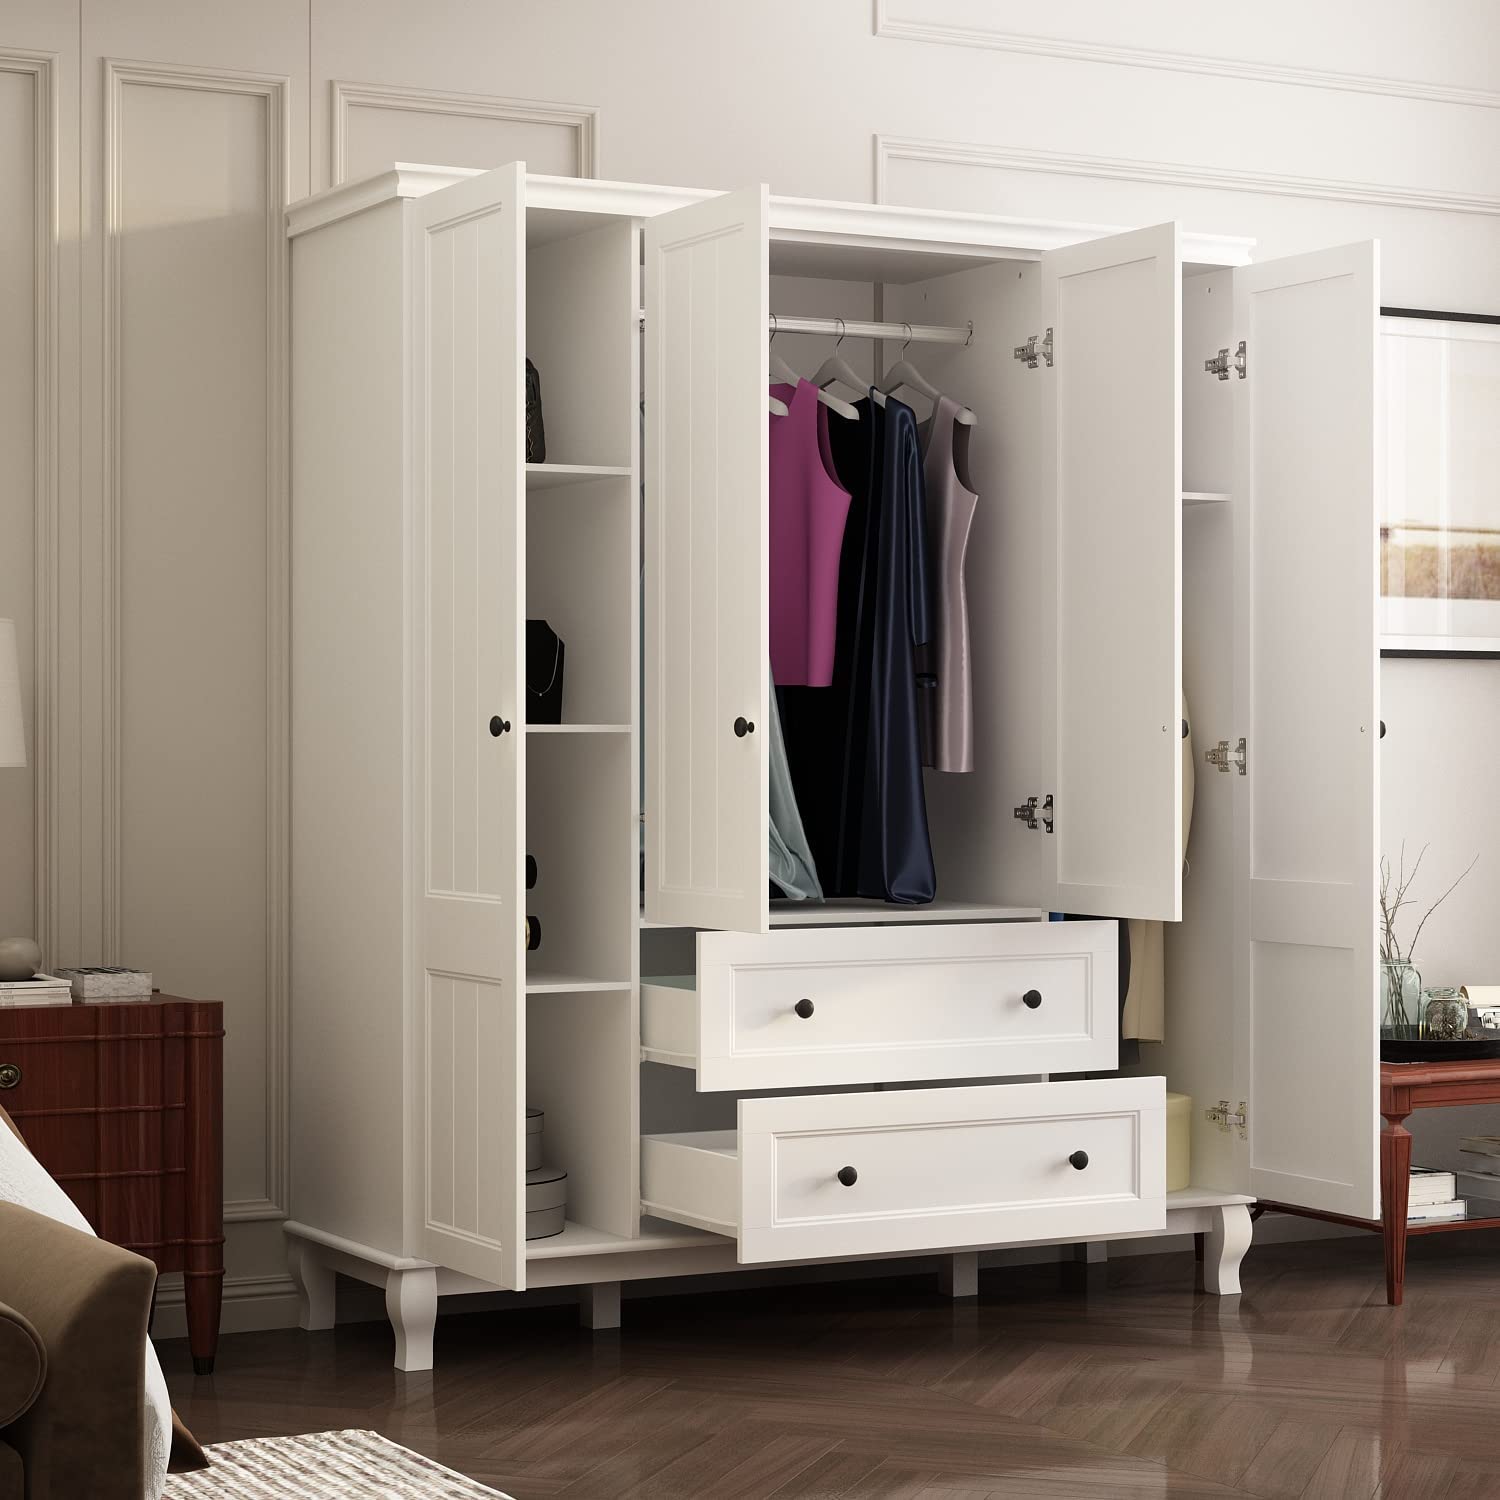
Step 5: Adding Doors and Hardware
As you near the completion of your wardrobe closet, it’s time to focus on adding doors and hardware, which will not only provide a finishing touch to your project but also enhance its functionality and aesthetics.
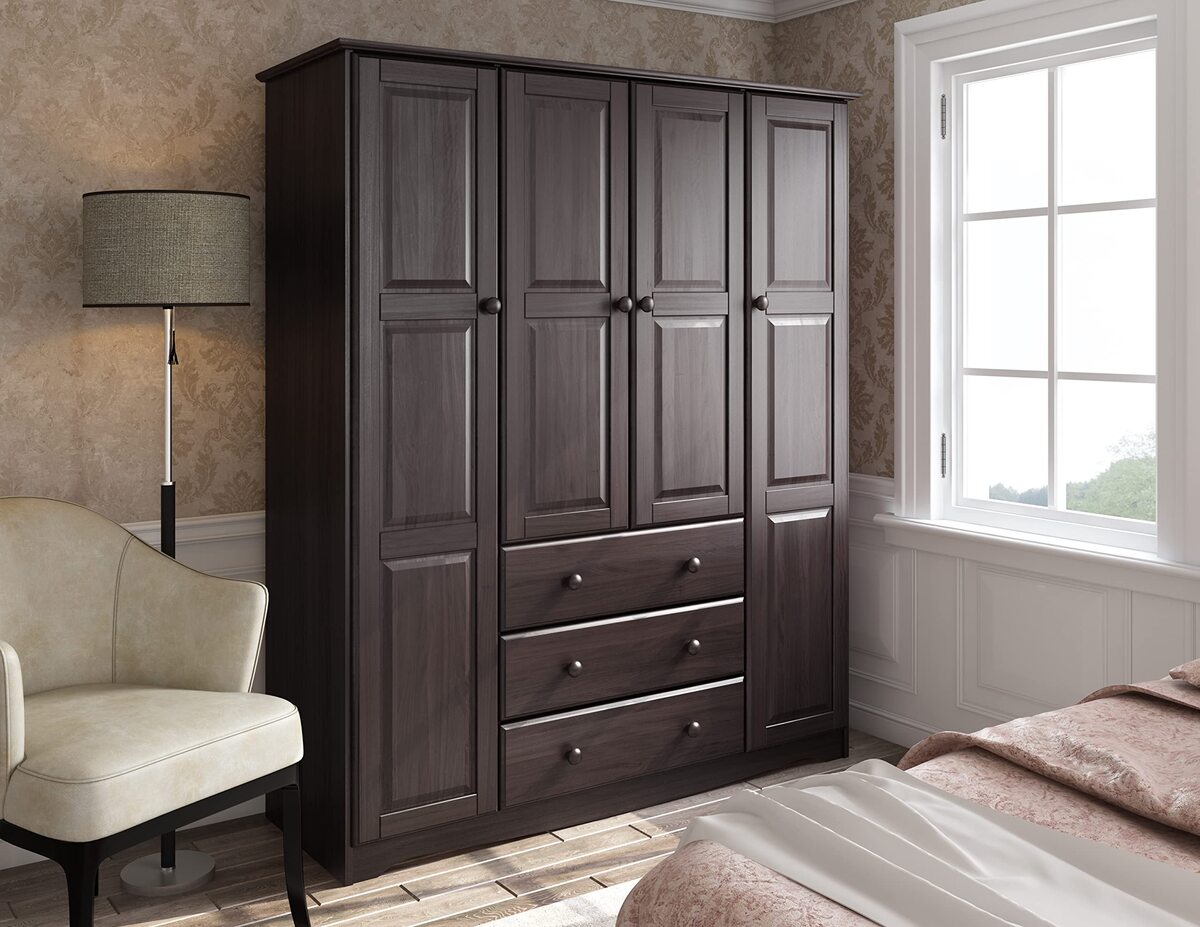
Start by considering the type of doors that will best suit your wardrobe closet. Common options include hinged doors, sliding doors, or a combination of both. Each has its advantages, so choose the style that fits your space and personal preference.
If you opt for hinged doors, measure and mark the positions for the hinges on the frame and the doors. Use a chisel or router to create mortises for the hinges, ensuring they are recessed into the wood. Attach the hinges to the frame and doors, then test the doors to make sure they swing smoothly and close properly.
For sliding doors, measure the width and height of the wardrobe closet opening. Purchase sliding door hardware that is compatible with your closet dimensions. Follow the manufacturer’s instructions to install the tracks and rollers. Mount the sliding doors on the tracks and test their movement to ensure they slide effortlessly.
Consider incorporating additional features such as mirrors on the doors to create the illusion of more space or decorative panels to enhance the overall aesthetics of the wardrobe closet.
Next, focus on adding the hardware to enhance the functionality of the doors. Install door handles or knobs on the doors for easy access. Choose hardware that complements the style of your wardrobe closet and the overall room decor. Consider the size and shape of the hardware to ensure a comfortable grip and pleasing visual appeal.
If your wardrobe closet is equipped with drawers, install drawer pulls or knobs as well. This will not only make it easier to open and close the drawers but also add a decorative touch.
Take the time to properly align the doors to ensure they are level and have an even gap around the edges. Adjust the hinges or sliders as necessary to achieve the desired fit.
In addition to the doors and hardware, consider adding any other finishing touches that will enhance the overall appearance of your wardrobe closet. This can include decorative molding, trim, or even paint or stain to match the rest of the room’s decor.
Before considering the project complete, take a step back and admire your newly added doors, hardware, and final touches. Test the functionality of the doors and drawers, ensure that they open and close smoothly, and appreciate the fully functional and visually appealing wardrobe closet you have created.
In the final step, we will discuss the finishing touches and decoration options for your wardrobe closet as we bring the project to a close.
Step 6: Finishing Touches and Decoration
Congratulations! You’re in the final step of building your own wardrobe closet. In this step, we will focus on the finishing touches and decoration options that will add those extra special details to make your wardrobe closet truly personalized and visually appealing.
One of the simplest ways to enhance the look of your wardrobe closet is by applying a finish to the wood. Whether you choose to paint, stain, or leave the natural wood grain exposed, the finish will protect the surfaces and add a decorative element. Consider the overall style of the room and your personal aesthetic when selecting the finish.
If you decide to paint, choose a color that complements the room’s color scheme and coordinates with your existing furniture and decor. Consider using multiple colors to create visual interest or add decorative stencils or patterns for a unique touch.
If you prefer a more natural look, opt for staining the wood. Stains come in various shades, allowing you to highlight the natural grain and texture of the wood while adding a protective coating. Experiment with different stain colors on scrap wood to find the perfect hue.
Adding decorative molding or trim to the wardrobe closet can elevate its appearance. Consider crown molding at the top or baseboard molding at the bottom to give it a more finished and polished look. You can also add decorative trim along the edges of the doors or drawers to create visual interest.
Accessorize your wardrobe closet with complementary hardware. Choose drawer knobs or pulls that match the style of the room or reflect your personal taste. Whether it’s sleek and modern or ornate and vintage, the choice of hardware can make a significant impact on the overall design.
Don’t forget about lighting! Add interior lighting inside your wardrobe closet to help you easily locate items and create a visually appealing display. Consider LED strip lights or puck lights for a practical and stylish lighting solution.
Personalize your wardrobe closet by adding small decorative elements such as wallpaper or fabric inlays. Use adhesive-backed wallpaper or fabric to line the back of the wardrobe closet or create panels on the doors. This will give your closet a unique and personalized touch.
Once you’ve incorporated the finishing touches, take a moment to step back and assess the overall look of your wardrobe closet. Make any final adjustments or touch-ups as needed.
Remember, style and functionality go hand in hand. Ensure that all the components of your wardrobe closet, from the shelves and drawers to the doors and decorations, serve a purpose and make your daily organizing tasks easier.
With the construction and customization now complete, it’s time to celebrate your hard work and enjoy the functional and beautiful wardrobe closet you have created. May it serve you well in organizing and storing your belongings!
Conclusion
Building your own wardrobe closet is a rewarding and fulfilling project that allows you to tailor the storage solution to your specific needs and style. By following the step-by-step process outlined in this guide, you’ve learned how to plan, measure, choose materials, build the frame, install shelves and drawers, add doors and hardware, and add the finishing touches.
Throughout the construction process, you’ve exercised your creativity, honed your DIY skills, and transformed raw materials into a functional and aesthetically pleasing wardrobe closet. Not only does this custom-made closet provide ample storage space for your clothes, shoes, and accessories, but it also adds a touch of personalization to your living space.
Remember, careful planning and measuring are essential for a successful outcome. Taking the time to choose the right materials and tools, building a sturdy frame, and installing shelves and drawers with precision and care ensure the durability and functionality of your wardrobe closet.
Adding doors and hardware not only completes the construction but also enhances the visual appeal and usability of the closet. Whether you choose hinged doors, sliding doors, or a combination, make sure they are properly aligned and the hardware complements your personal style.
Finishing touches and decorations add the final flourish to your wardrobe closet. From applying the perfect finish to the wood to adding decorative molding, trim, or lighting, these details elevate the overall look and make the closet uniquely yours.
With your wardrobe closet complete, take a moment to appreciate your accomplishment. Organize your clothing and accessories, and enjoy the convenience and functionality that your custom-made storage solution provides.
Whether you’re a seasoned DIY enthusiast or a beginner, building a wardrobe closet allows you to unleash your creativity and craftsmanship. It’s a practical and enjoyable project that not only meets your storage needs but also adds value to your home. Now, go forth and create the wardrobe closet of your dreams!
Frequently Asked Questions about How To Build A Wardrobe Closet
Was this page helpful?
At Storables.com, we guarantee accurate and reliable information. Our content, validated by Expert Board Contributors, is crafted following stringent Editorial Policies. We're committed to providing you with well-researched, expert-backed insights for all your informational needs.

0 thoughts on “How To Build A Wardrobe Closet”