Home>Garden Essentials>How To Plant Watermelon Seeds In The Ground
Garden Essentials
How To Plant Watermelon Seeds In The Ground
Modified: March 24, 2024
Learn how to plant watermelon seeds in your garden and grow delicious, juicy watermelons at home with our step-by-step guide.
(Many of the links in this article redirect to a specific reviewed product. Your purchase of these products through affiliate links helps to generate commission for Storables.com, at no extra cost. Learn more)
Introduction
Welcome to the wonderful world of watermelons! If you’re a gardening enthusiast or simply someone who enjoys the refreshing taste of this summer fruit, you’ll be delighted to learn how to plant watermelon seeds in the ground. Growing your own watermelons not only guarantees you a bounty of juicy, flavorful fruits, but it also gives you the satisfaction of nurturing and harvesting your own produce.
Watermelons are a delightful addition to any garden, with their vibrant green vines and sweet, juicy flesh. They thrive in warm, sunny conditions and can turn your backyard into a tropical oasis. However, growing watermelons from seeds requires proper planning, preparation, and care to ensure a successful harvest.
In this article, we will guide you through the process of choosing the right watermelon seeds, selecting an ideal planting location, preparing the soil, sowing the seeds, providing proper watering and care, recognizing common issues and troubleshooting, and finally, harvesting and enjoying your watermelons!
So, roll up your sleeves, gather your gardening tools, and let’s dive into the exciting journey of planting watermelon seeds in the ground.
Key Takeaways:
- Choose watermelon seeds based on taste, size, and climate to ensure a successful harvest. Consider seed type, disease resistance, and days to harvest for optimal growth in your garden.
- Provide ample sunlight, well-draining soil, and proper care to grow healthy watermelon plants. Recognize and address common issues to maximize your harvest and enjoy the sweet, juicy fruits.
Read more: When Do You Plant Watermelon Seeds
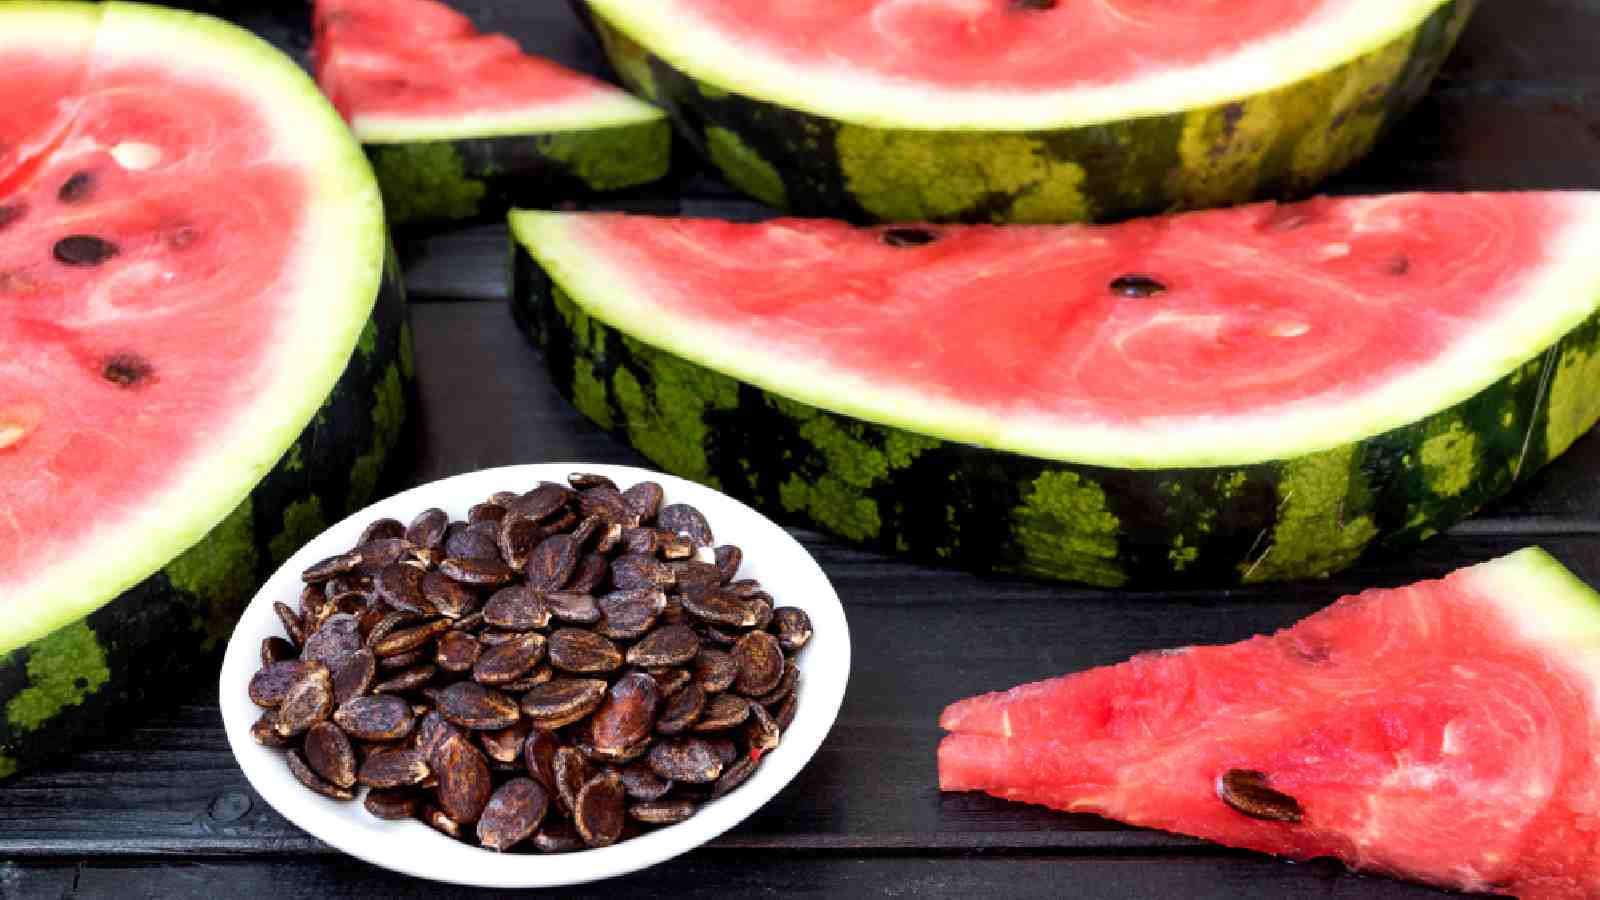
Choosing the right watermelon seeds
Choosing the right watermelon seeds is the first step towards a successful harvest. With the wide variety of watermelon cultivars available, it’s essential to consider factors such as taste, size, seed type, and disease resistance before making your selection.
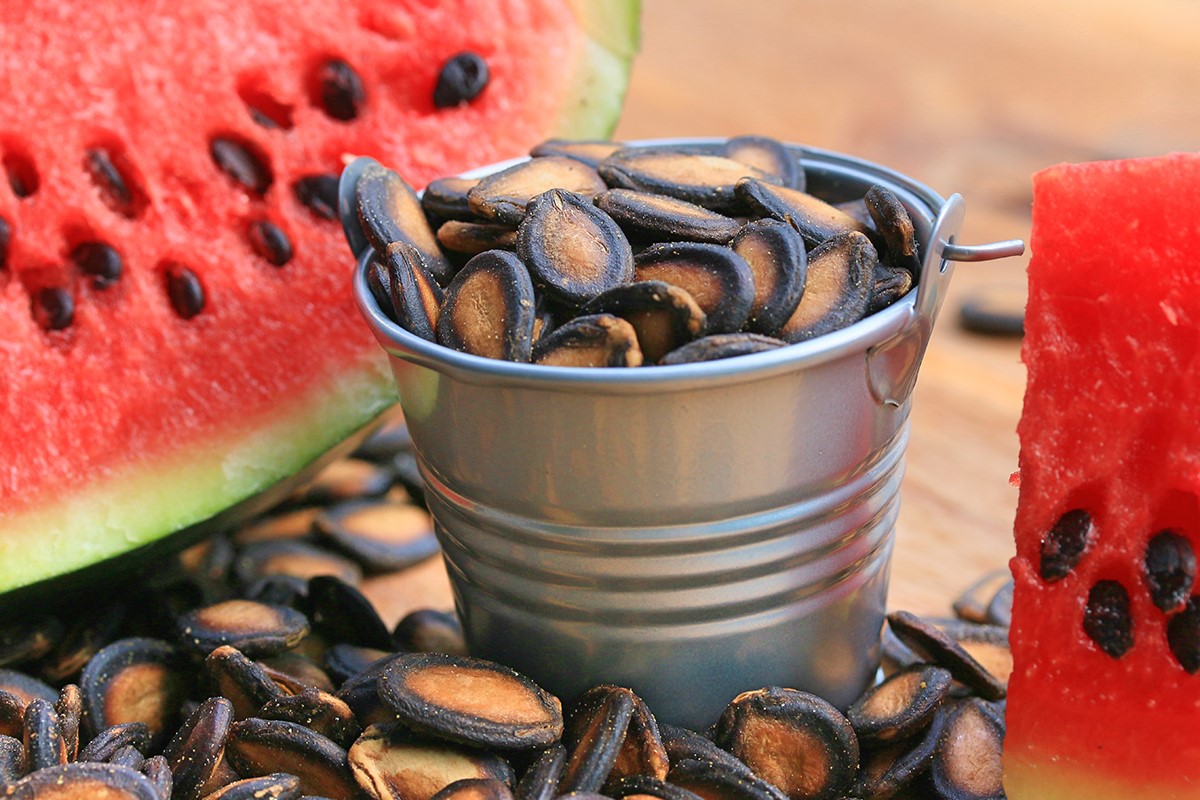
When it comes to taste, watermelons can range from incredibly sweet to mildly sweet or even seedless. Determine your preference for sweetness and decide whether you prefer watermelons with seeds or without. Seedless varieties are popular for their convenience, but if you enjoy the ritual of spitting out seeds on a hot summer day, opt for a variety with seeds.
Size is another crucial factor to consider. Watermelons come in various sizes, from small Personal-sized melons to large, oblong ones. Consider how much space you have in your garden and the available support for the vines. Smaller-sized watermelons are perfect for small gardens or containers, while larger varieties require more space to spread and grow.
It’s also important to consider the growing conditions in your region. Look for watermelon varieties that are known to thrive in your climate. Some cultivars have excellent disease resistance, which can help protect your plants from common pests and diseases. Reading seed catalogs or consulting with local nurseries can provide valuable information regarding which seed varieties are best suited for your area.
Lastly, don’t forget to consider the maturity or days to harvest of the watermelon seeds you choose. Determining the average length of your growing season and selecting a variety that can reach maturity within that timeframe is essential. Keep in mind that larger-sized watermelons often require more days to ripen fully.
By carefully considering the taste, size, seed type, disease resistance, and days to harvest of different watermelon seeds, you can select the perfect varieties for your garden. Remember, growing watermelons is an exciting and rewarding experience, so choose seeds that align with your preferences and gardening goals.
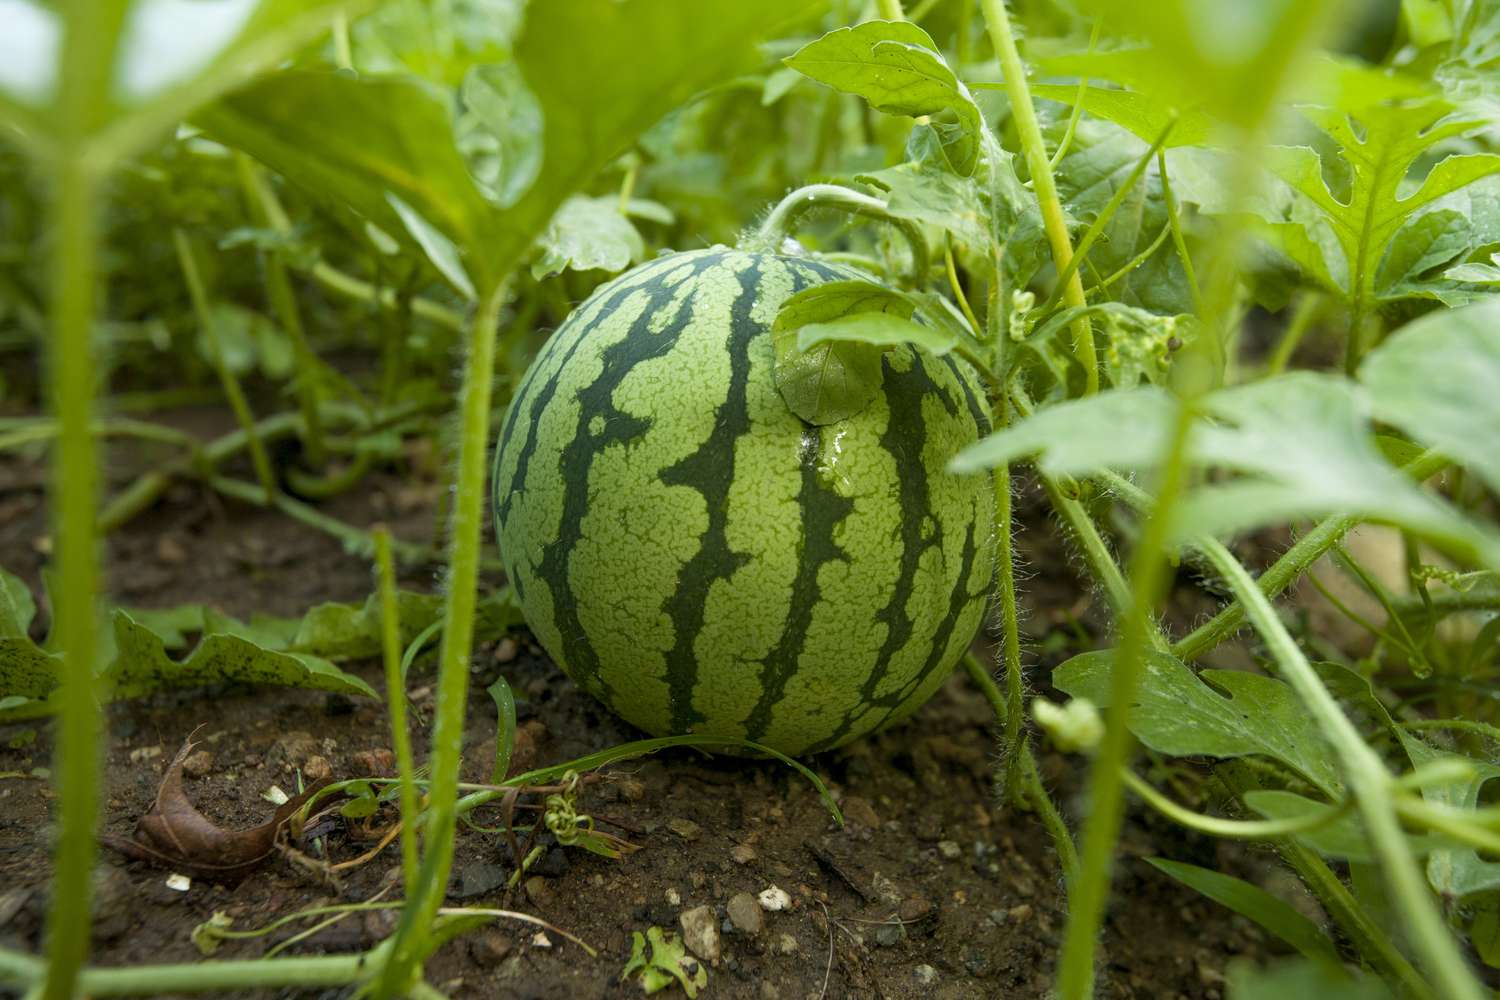
Selecting the ideal planting location
Choosing the right location for planting your watermelon seeds is essential for their growth and productivity. Watermelons thrive in warm, sunny conditions, so selecting a spot with ample sunlight is crucial for a successful harvest.
Find an area in your garden that receives full sun for at least six to eight hours a day. Watermelons require plenty of sunlight to develop their sweet flavors and to encourage robust vine growth. A southern or western exposure is often the best choice, as it provides the most direct sunlight throughout the day.
In addition to sunlight, watermelons also need well-draining soil. Ensure that the location you choose has soil with good drainage to prevent waterlogging, which can lead to root rot and other issues. Poorly drained soil can stunt the growth of your watermelon plants and result in less productive harvests.
Consider the space available for your watermelon vines to spread. Watermelon plants require ample room to grow and sprawl, as their vines can reach lengths of up to 20 feet. Make sure there is enough space between plants to accommodate their growth. If you have limited space, you can also consider growing watermelons vertically on trellises or using containers.
Furthermore, consider the proximity of other plantings in your garden. Avoid planting watermelons too close to other crops, as they can potentially overshadow or compete for resources. Give them enough space to flourish and ensure proper air circulation to minimize the risk of pest and disease issues.
Lastly, pay attention to any microclimates within your garden. These may include areas that are hotter or cooler than the surrounding environment due to factors such as nearby buildings, trees, or large rocks. Understanding the microclimates in your garden can help you select the most favorable spot for your watermelon plants.
By selecting a location with abundant sunlight, well-draining soil, ample space for growth, and considering the proximity to other plants, you can provide your watermelon seeds with the ideal planting environment. Remember, the right location sets the stage for healthy and productive watermelon plants.
Preparing the soil
Before you sow your watermelon seeds, it’s crucial to prepare the soil properly. Soil preparation lays the foundation for healthy plant growth and abundant harvests. Follow these steps to ensure your watermelon plants have the best possible start:
1. Clear the area: Begin by clearing the planting area of any weeds, rocks, or debris. Remove any existing vegetation and ensure the soil is bare before moving on to the next step.
2. Loosen the soil: Use a garden fork or a tiller to loosen the soil to a depth of at least 12-18 inches. This loosening process improves soil aeration and drainage, allowing the watermelon roots to penetrate easily and access essential nutrients.
3. Amend the soil: Watermelons prefer soil that is rich in organic matter. Incorporate compost or well-rotted manure into the soil to improve its fertility and moisture-holding capacity. Spread a layer of compost or manure over the planting area and work it into the soil using the garden fork or tiller.
4. Test the soil: Conduct a soil test to determine its pH level. Watermelons thrive in slightly acidic to neutral soil, with a pH range of 6.0-7.0. If the pH is too high or too low, you may need to adjust it by adding amendments recommended by the soil test results.
5. Add nutrients: Watermelons are heavy feeders and require a steady supply of nutrients throughout the growing season. Prior to planting, incorporate a balanced granular fertilizer into the soil. Follow the manufacturer’s instructions for the appropriate application rate based on your soil conditions.
6. Smooth the surface: Rake the soil surface to create a smooth, even layer. Remove any large clumps or rocks that may obstruct seedling emergence.
By properly preparing the soil, you provide the watermelon seeds with a nutrient-rich and well-drained environment conducive to their growth. Taking the time to amend the soil and ensure optimal growing conditions will maximize your chances of a bountiful watermelon harvest.
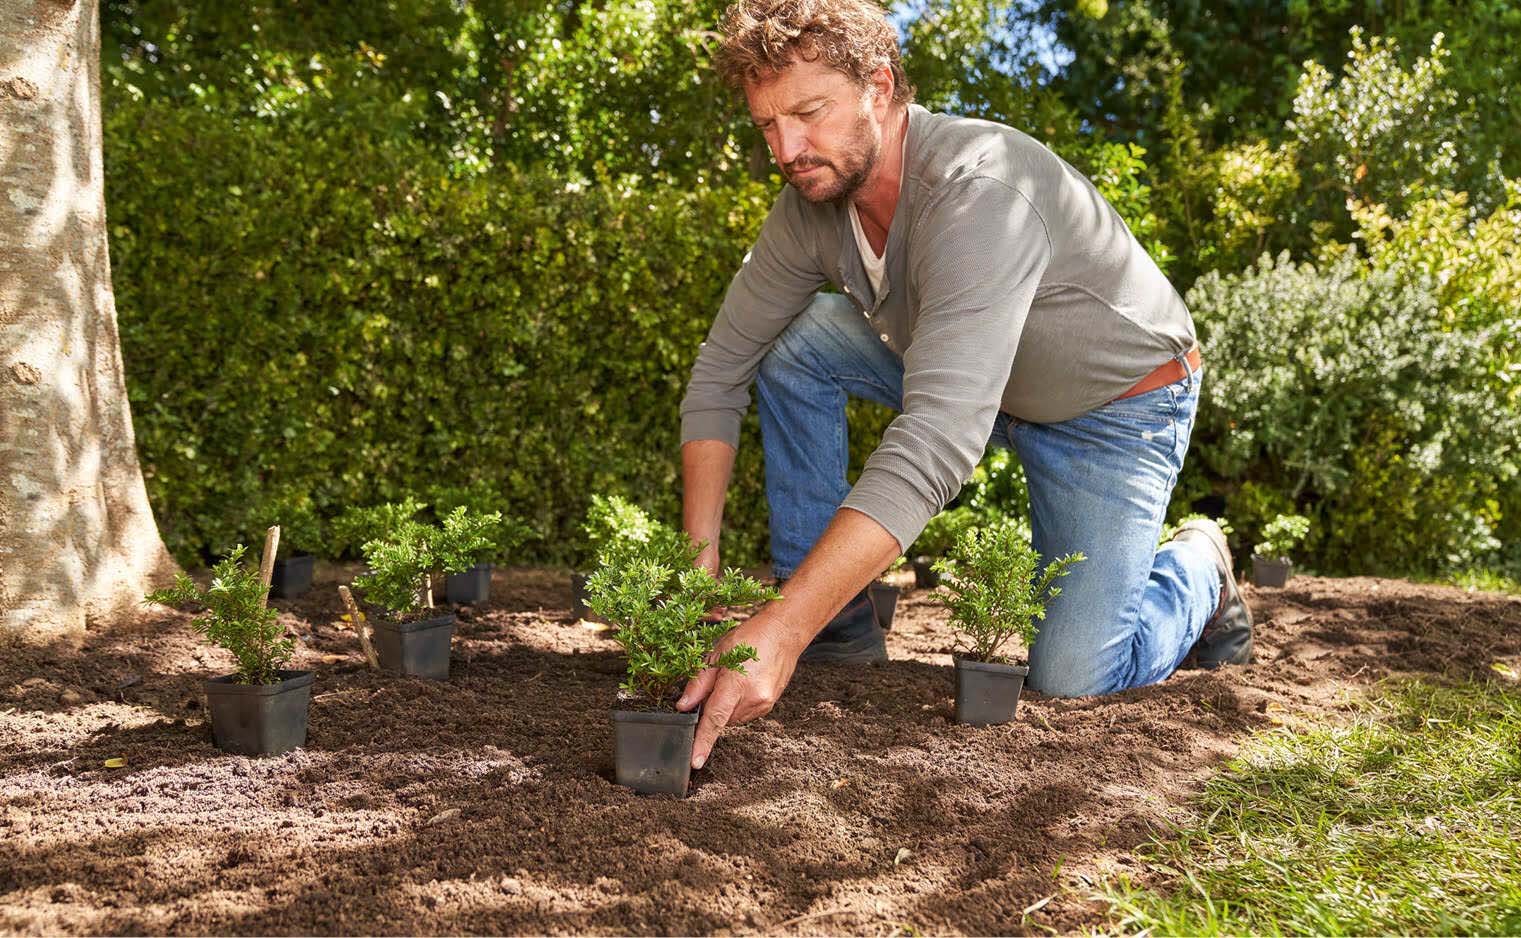
When planting watermelon seeds in the ground, make sure to choose a sunny spot with well-drained soil. Plant the seeds 1 inch deep and 3 feet apart to allow for proper growth and space. Keep the soil consistently moist but not waterlogged to help the seeds germinate and grow into healthy watermelon plants.
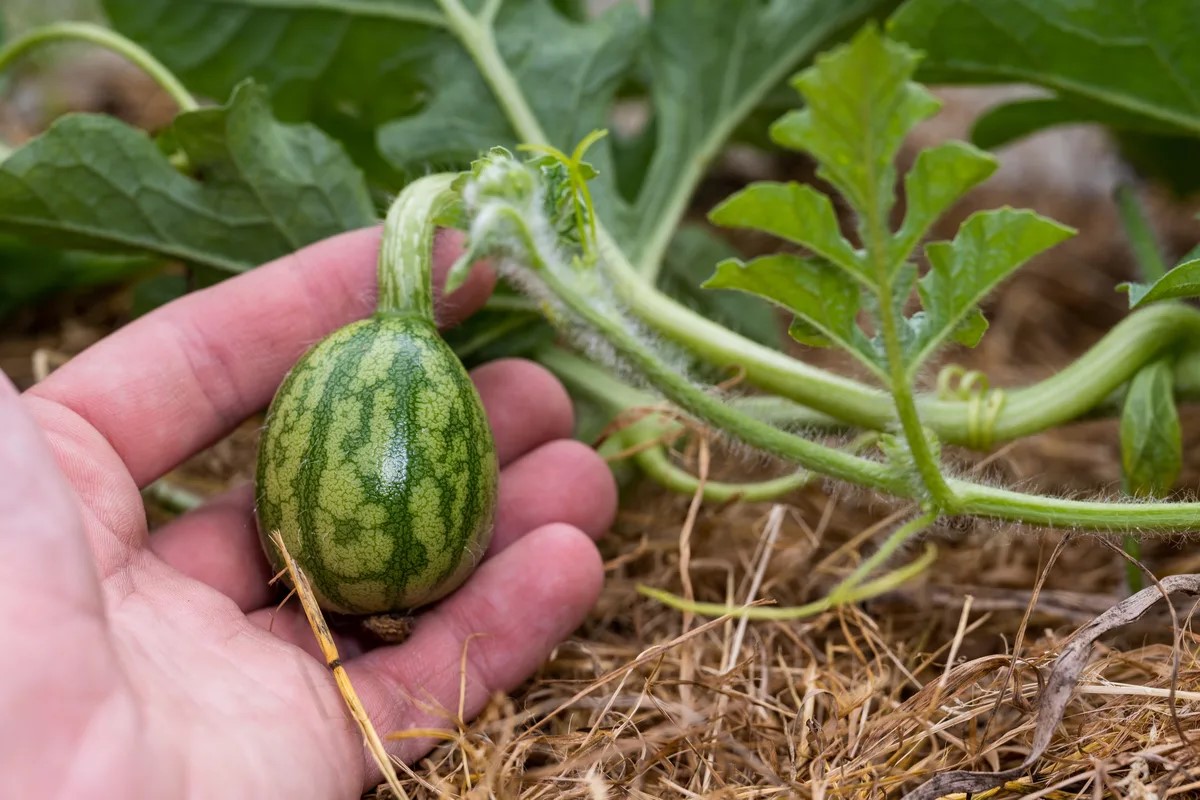
Sowing the watermelon seeds
Now that you have chosen the right watermelon seeds and prepared the soil, it’s time to sow the seeds and begin the exciting process of growing your own watermelons. Follow these steps to ensure successful germination and seedling establishment:
1. Timing: Sow watermelon seeds after the danger of frost has passed and the soil temperature has warmed to at least 70°F (21°C). Generally, this is in late spring or early summer, depending on your location.
2. Spacing: Space the watermelon seeds approximately 2-3 feet apart in rows. Allow 6-8 feet between the rows to give the vines ample room to spread and grow. If you are planting in containers, choose varieties suitable for smaller spaces and provide enough space for the plants to thrive.
3. Planting depth: Plant the watermelon seeds about 1 inch deep in the soil. Cover them with soil and gently pat it down to ensure good seed-to-soil contact. If you are planting in containers, make sure the depth is sufficient for the seeds to establish a strong root system.
4. Watering: After sowing the seeds, water the area thoroughly to ensure the soil is evenly moist. This promotes germination and helps the seeds establish root systems. Be careful not to over-water, as waterlogged soil can lead to rotting of the seeds or seedlings.
5. Mulching: Apply a layer of organic mulch, such as straw or compost, around the seedlings. Mulching helps retain soil moisture, suppresses weed growth, and regulates soil temperature. Ensure that the mulch is spread evenly and is not in direct contact with the seedlings to prevent rotting.
6. Provide support: If you are growing larger-sized watermelons, consider providing trellises or support structures for the vines to climb. This can help save space and prevent the fruits from resting on the ground, reducing the risk of rot and pests.
7. Regular care: Monitor the watermelon seedlings regularly and ensure they receive adequate water, especially during dry periods. Water deeply and allow the soil to dry slightly between waterings. Additionally, remove any weeds that compete with the young plants for nutrients and space.
By sowing the watermelon seeds at the right time, spacing them appropriately, providing sufficient water, and taking care during the germination and seedling stage, you set the stage for healthy watermelon plants that will reward you with delicious fruits in the near future.
Read more: How Do You Plant Watermelon Seeds
Providing proper watering and care
Watermelons require consistent and adequate watering to thrive and produce juicy, flavorful fruits. Along with proper watering, taking care of your watermelon plants throughout their growth period is essential. Follow these tips to provide optimal care:
1. Watering frequency: Watermelons need regular watering to maintain even soil moisture. Deeply water the plants once or twice a week, depending on weather conditions. Ensure that the soil is moist to a depth of at least 6 inches. Avoid over-watering, as it can lead to root rot and other issues. Additionally, water early in the day to allow foliage to dry before nighttime and reduce the risk of diseases.
2. Mulching: Applying a layer of organic mulch around your watermelon plants helps retain soil moisture, reduce weed growth, and moderate soil temperature. Mulching also protects the fruits from direct contact with the ground, preventing rot and pests. Use straw, hay, or compost as mulch, and spread it evenly around the plants.
3. Fertilization: Watermelons are heavy feeders and benefit from regular fertilization throughout the growing season. Begin by incorporating a balanced granular fertilizer into the soil before planting. After the plants have established, side-dress them with nitrogen-rich fertilizer every few weeks to promote healthy vine growth and fruit development. Follow the manufacturer’s instructions for the appropriate application rate.
4. Pollination: Watermelons require proper pollination for fruit set. Bees and other pollinators play a crucial role in pollinating the flowers. To attract pollinators, avoid using chemical pesticides that may harm them. Alternatively, consider hand-pollinating the flowers by transferring pollen from the male flowers to the female flowers using a small brush or cotton swab.
5. Pruning and training: Watermelon vines have a tendency to sprawl, which can take up a significant amount of garden space. If space is limited, consider training the vines to grow vertically on trellises or support structures. Prune away any excess foliage or suckers to promote air circulation and reduce the risk of diseases.
6. Pest and disease control: Regularly inspect your watermelon plants for signs of pest or disease infestation. Common pests that can affect watermelons include aphids, cucumber beetles, and squash bugs. Implement integrated pest management techniques such as handpicking, using organic insecticidal soap or neem oil, or introducing beneficial insects to manage pest populations. Proper sanitation and crop rotation can also help prevent the spread of diseases.
7. Proper support: As the watermelon fruits grow in size, providing proper support is essential to avoid stress on the vines. Use slings or nets to support the developing fruits and prevent them from resting directly on the ground.
By providing consistent watering, proper fertilization, pollination support, and diligent care to control pests and diseases, you will give your watermelon plants the best chance to thrive and produce a bountiful harvest of delicious fruits.
Recognizing common issues and troubleshooting
While growing watermelons can be a rewarding experience, it’s important to be aware of common issues that may arise and to address them promptly. By recognizing these problems early on, you can take appropriate measures to troubleshoot and ensure the health and vitality of your watermelon plants. Here are some common issues and their potential solutions:
1. Powdery Mildew: Powdery mildew is a fungal disease that appears as a powdery white coating on the leaves and stems. It can hinder photosynthesis and weaken the plants. To control powdery mildew, ensure proper air circulation around the plants by spacing them adequately. Additionally, avoid overhead watering and apply a fungicide specifically labeled for powdery mildew control, following the instructions carefully.
2. Blossom End Rot: Blossom end rot appears as dark, sunken spots or patches on the bottom of watermelon fruits. It is caused by calcium deficiency and irregular watering. To prevent blossom end rot, maintain consistent soil moisture by watering regularly and evenly. Consider adding calcium-rich amendments, such as bone meal or crushed eggshells, to the soil before planting.
3. Pest Infestation: Watermelon plants can be susceptible to a variety of pests, including aphids, cucumber beetles, and squash bugs. Monitor your plants regularly for signs of pest activity, such as yellowing leaves, distorted growth, or stippling. Use organic insecticidal soap or natural predators like ladybugs to control aphids. For cucumber beetles and squash bugs, handpick them or use insecticidal soap or pesticidal treatments labeled specifically for these pests.
4. Fruit Cracking: Cracks can occur on the watermelon fruits, especially after heavy rains or inconsistent watering. This cracking is caused by rapid fluctuations in moisture levels. To prevent fruit cracking, maintain consistent soil moisture by watering evenly and deeply. Mulching can also help regulate soil moisture and reduce the risk of cracking.
5. Poor Fruit Set: If your watermelon plants are not producing fruits or the fruits are not setting properly, it could be due to inadequate pollination. Lack of pollinators or unfavorable weather conditions during flowering can affect fruit set. Consider hand-pollinating the flowers by transferring pollen from the male flowers to the female flowers using a small brush or cotton swab to ensure proper pollination.
6. Nutrient Deficiencies: Yellowing leaves, stunted growth, or poor fruit development may indicate nutrient deficiencies. Conduct a soil test to determine if any particular nutrients are lacking and amend the soil accordingly. Regularly fertilize your watermelon plants with a balanced fertilizer to provide them with essential nutrients throughout the growing season.
7. Fruit Splitting: Fruit splitting occurs when the watermelon fruits grow rapidly, causing the skin to crack. To prevent fruit splitting, maintain consistent soil moisture by watering evenly and avoid excessive nitrogen fertilization, which can promote rapid growth. Harvest the ripe fruits promptly to prevent overripening and excessive expansion.
By being vigilant and proactive in recognizing and addressing common issues that arise with watermelon plants, you can maximize their health and productivity. Implementing preventive measures, practicing proper watering techniques, and promptly addressing any challenges that arise will help ensure a successful watermelon harvest.
Harvesting and enjoying your watermelons
The time has finally come to enjoy the fruits of your labor – harvesting ripe, juicy watermelons from your garden. But how do you know when your watermelons are ready to be picked? Here are some tips to help you determine the perfect time for harvesting:
1. Check the days to maturity: Refer to the seed packet or plant label to determine the estimated days to maturity for the watermelon variety you planted. This will give you a general idea of when to expect ripe fruits.
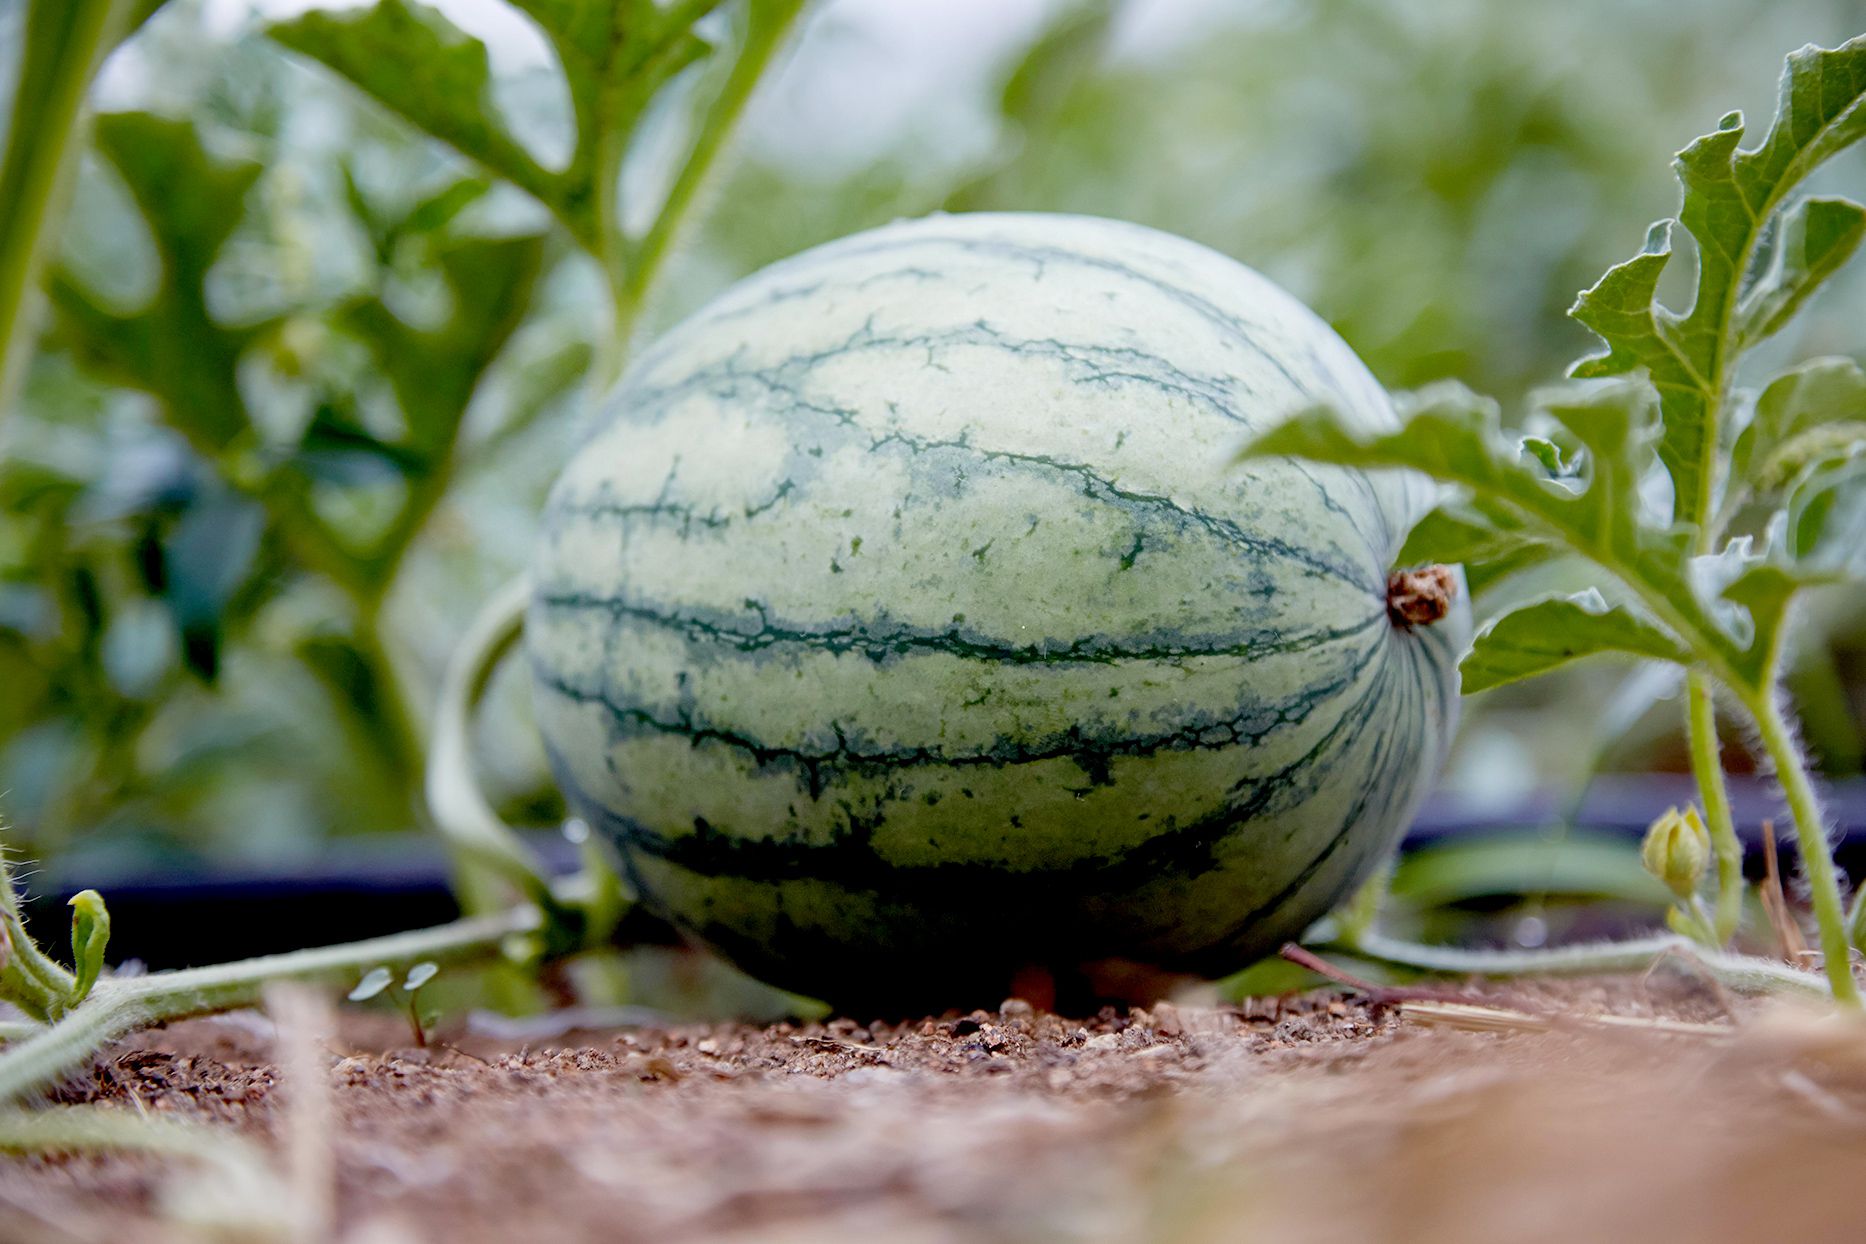
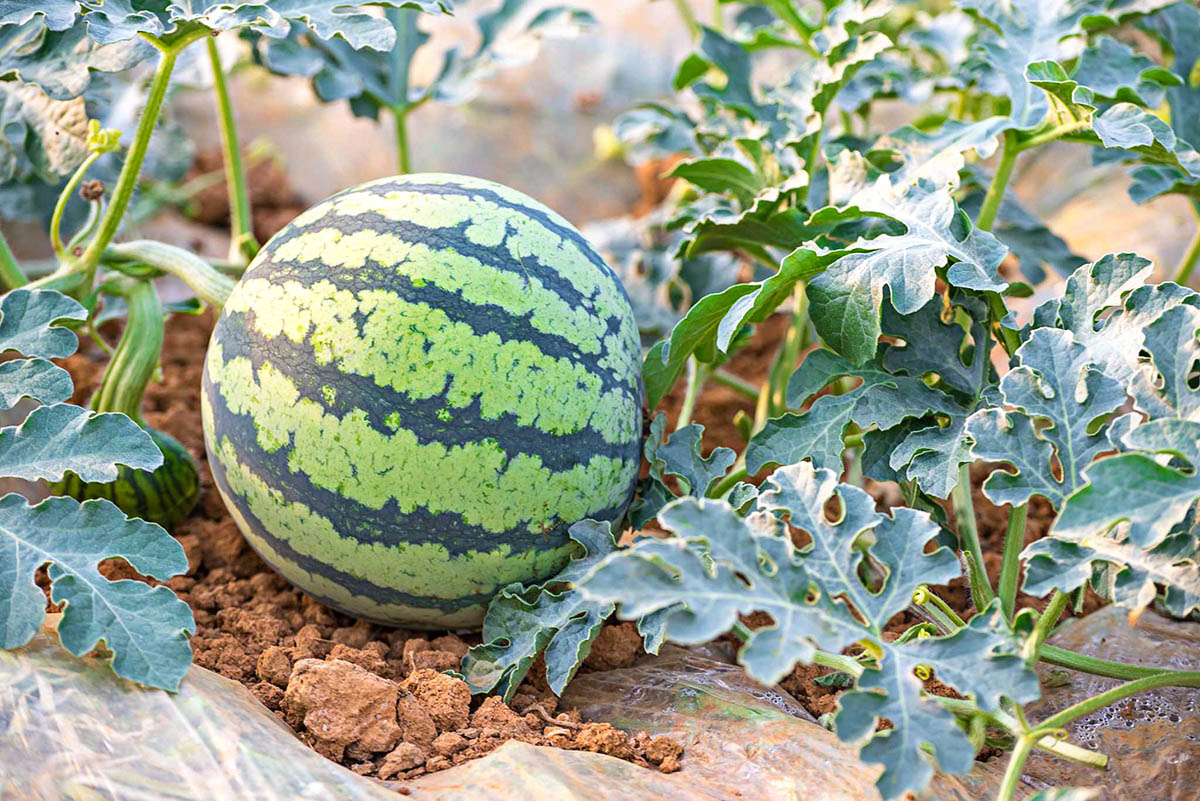
2. Look for color and markings: A ripe watermelon will have a deep, vibrant color. Depending on the variety, it may be dark green, light green, or even have yellow or white markings. Look for a uniform color across the entire fruit, indicating that it has reached maturity.
3. Check the tendril: Look for the tendril closest to the stem where the watermelon is attached. When this tendril turns dry and brown, it is a good indication that the fruit is ripe. However, be cautious not to confuse it with a withered or damaged tendril.
4. Thump test: Gently tap the watermelon with your knuckles. If it produces a deep, resonating sound, it is a sign of a ripe fruit. If the sound is dull or flat, it may still need more time to mature.
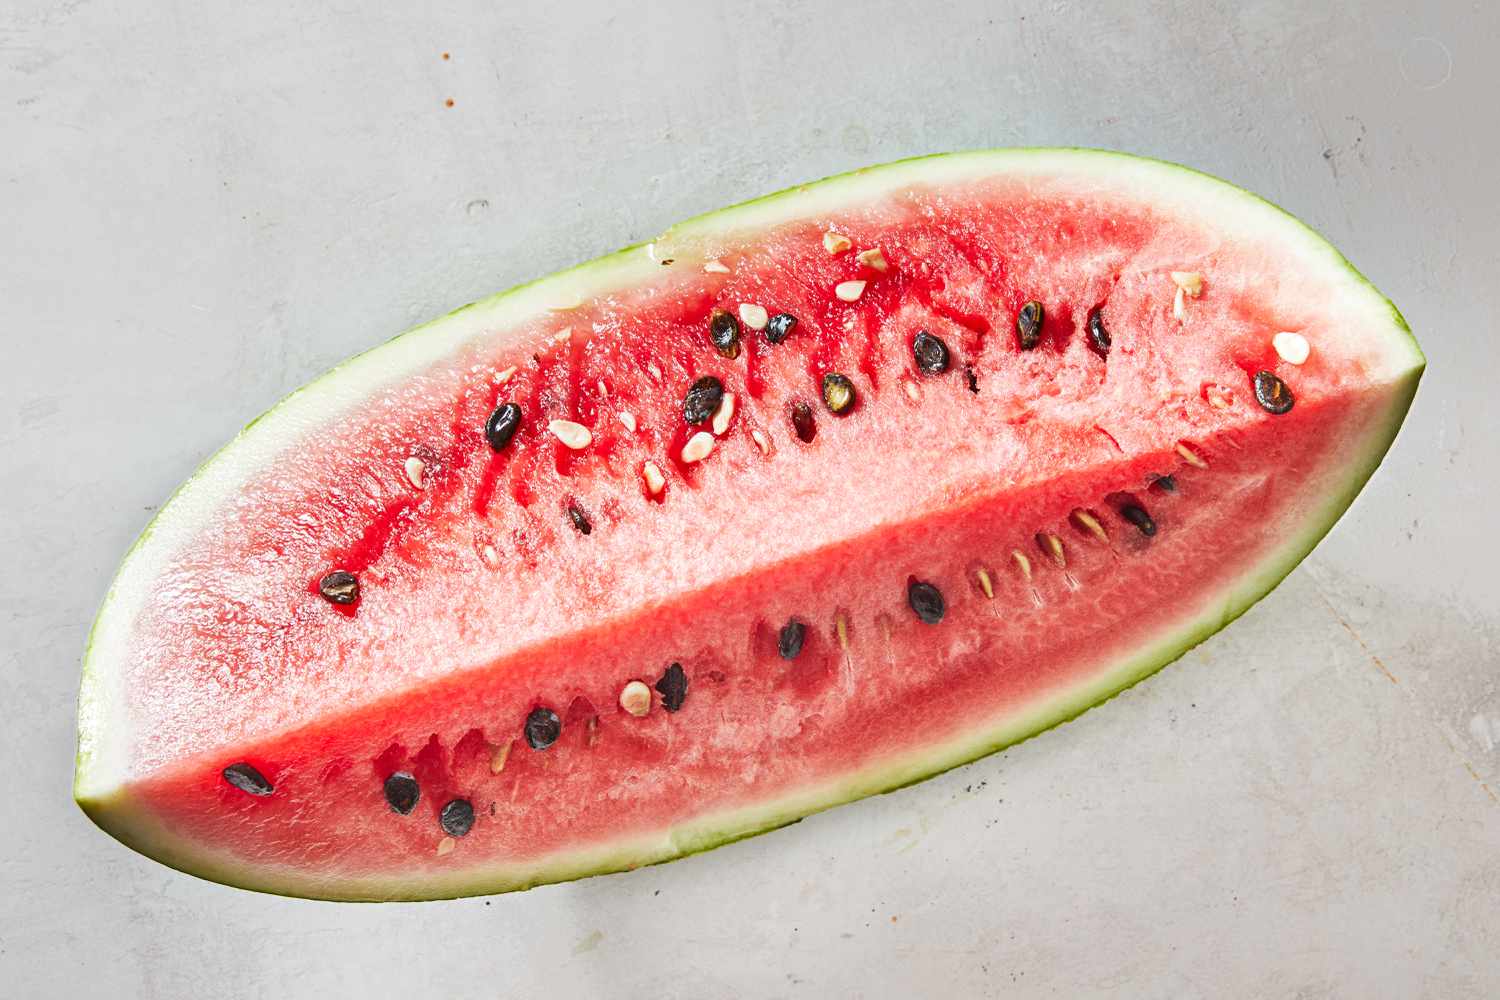
5. Assess the rind texture: The rind of a ripe watermelon should feel firm and slightly rough. Avoid fruits with soft or mushy spots, as this may indicate overripeness or rot.
Once you have determined that a watermelon is ready for harvest, it’s time to pick it. Use a sharp knife or garden shears to cut the fruit from the vine, leaving a short stem attached. Be careful not to damage the vines or other fruits while harvesting.
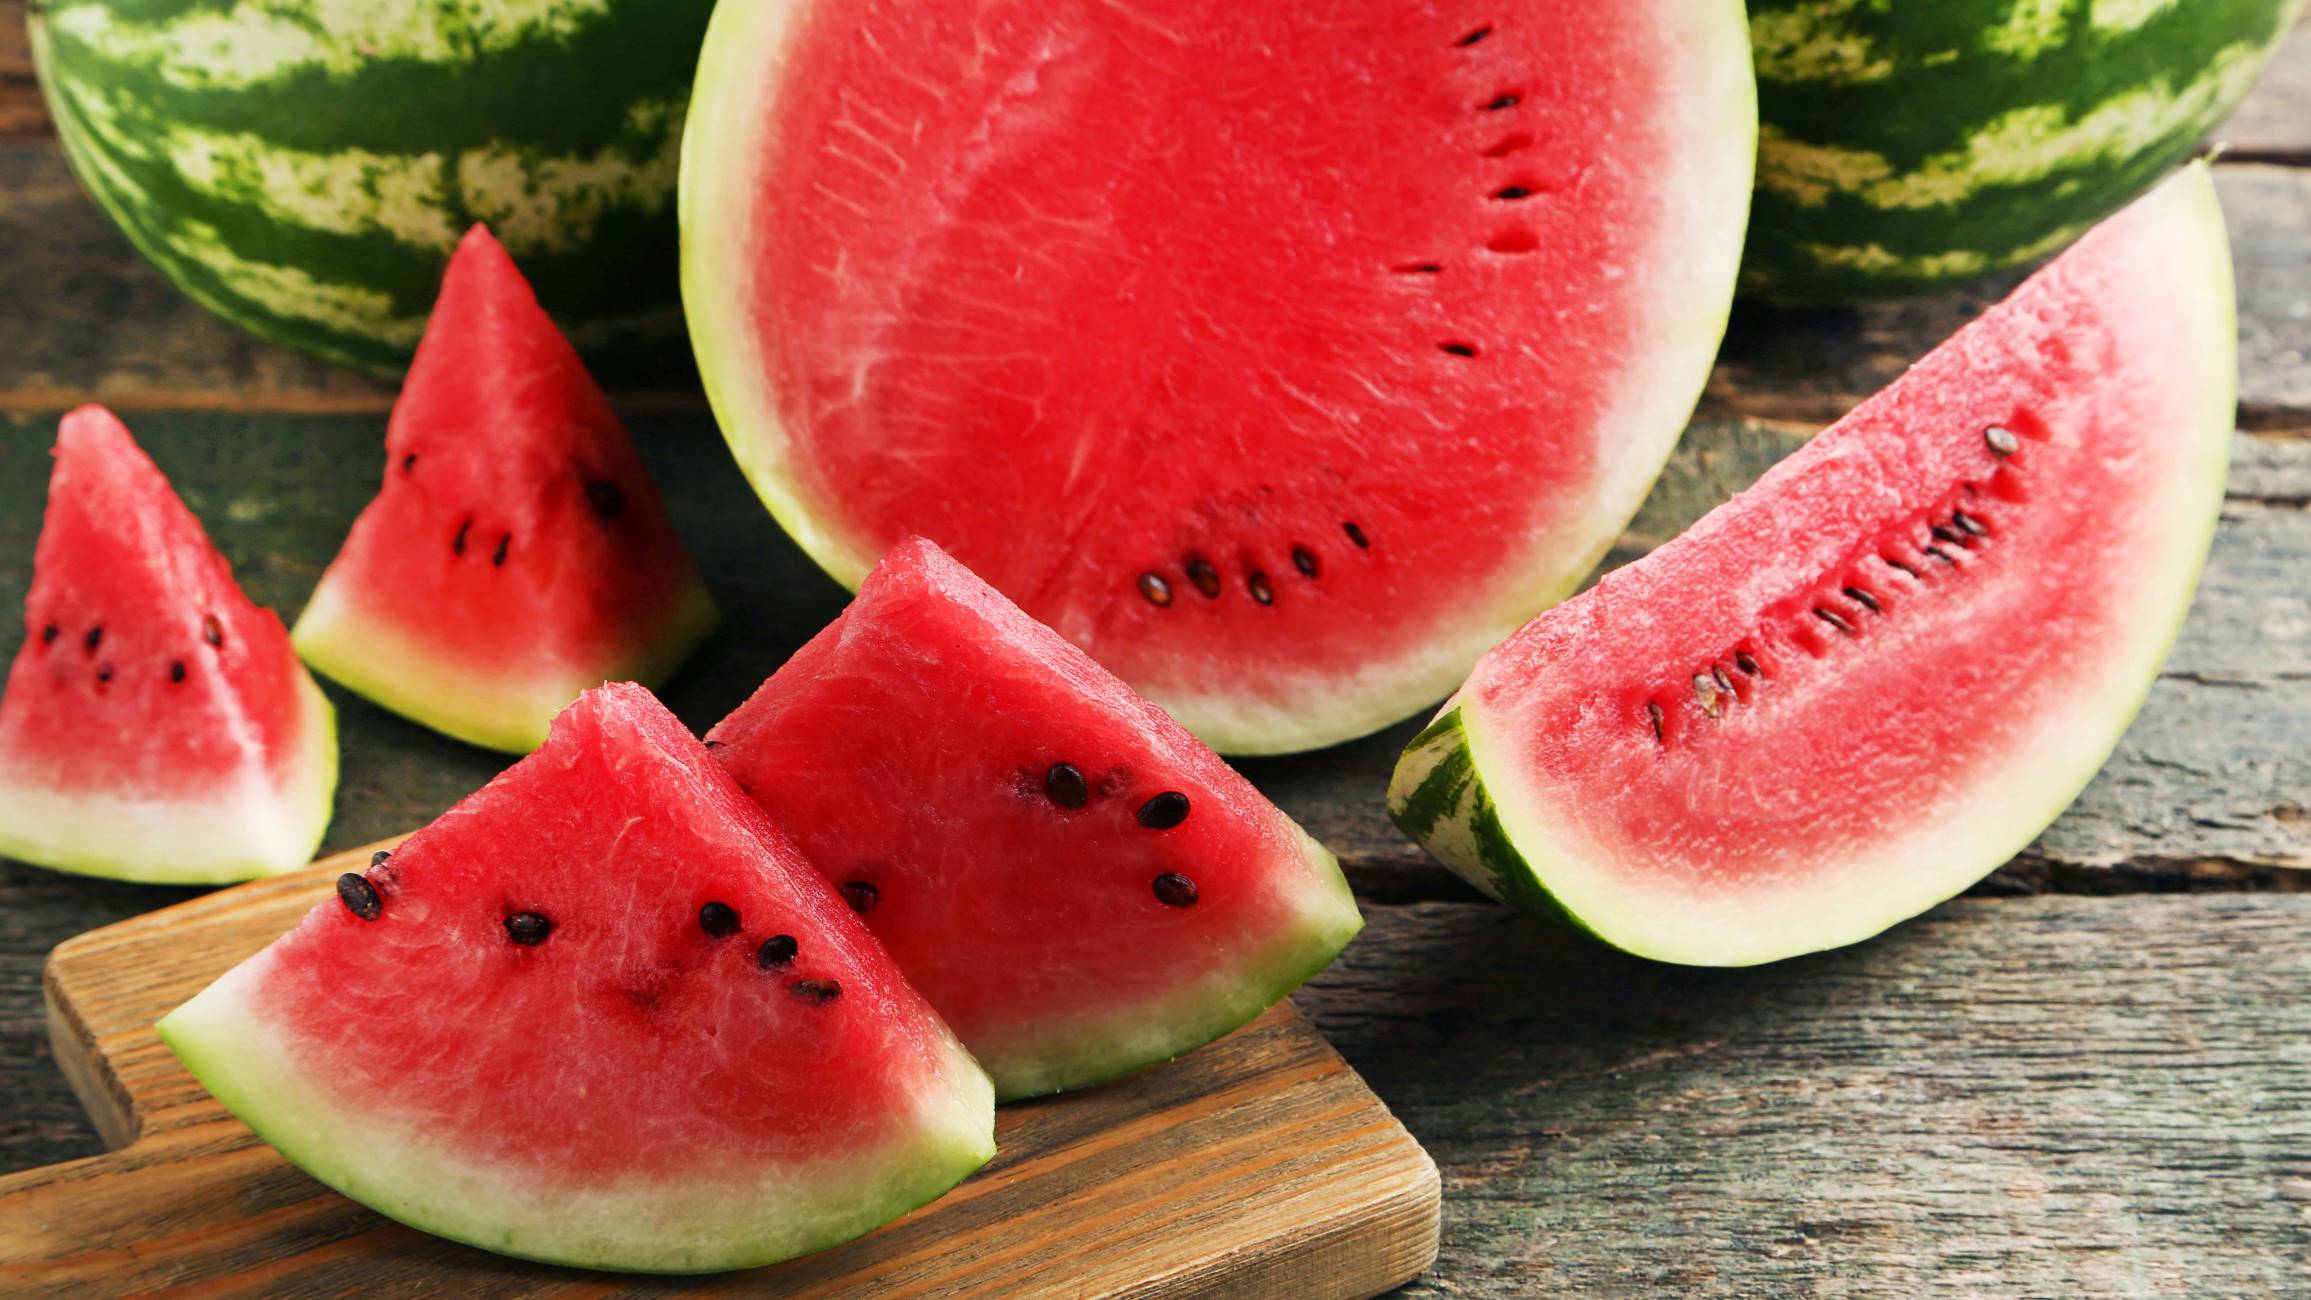
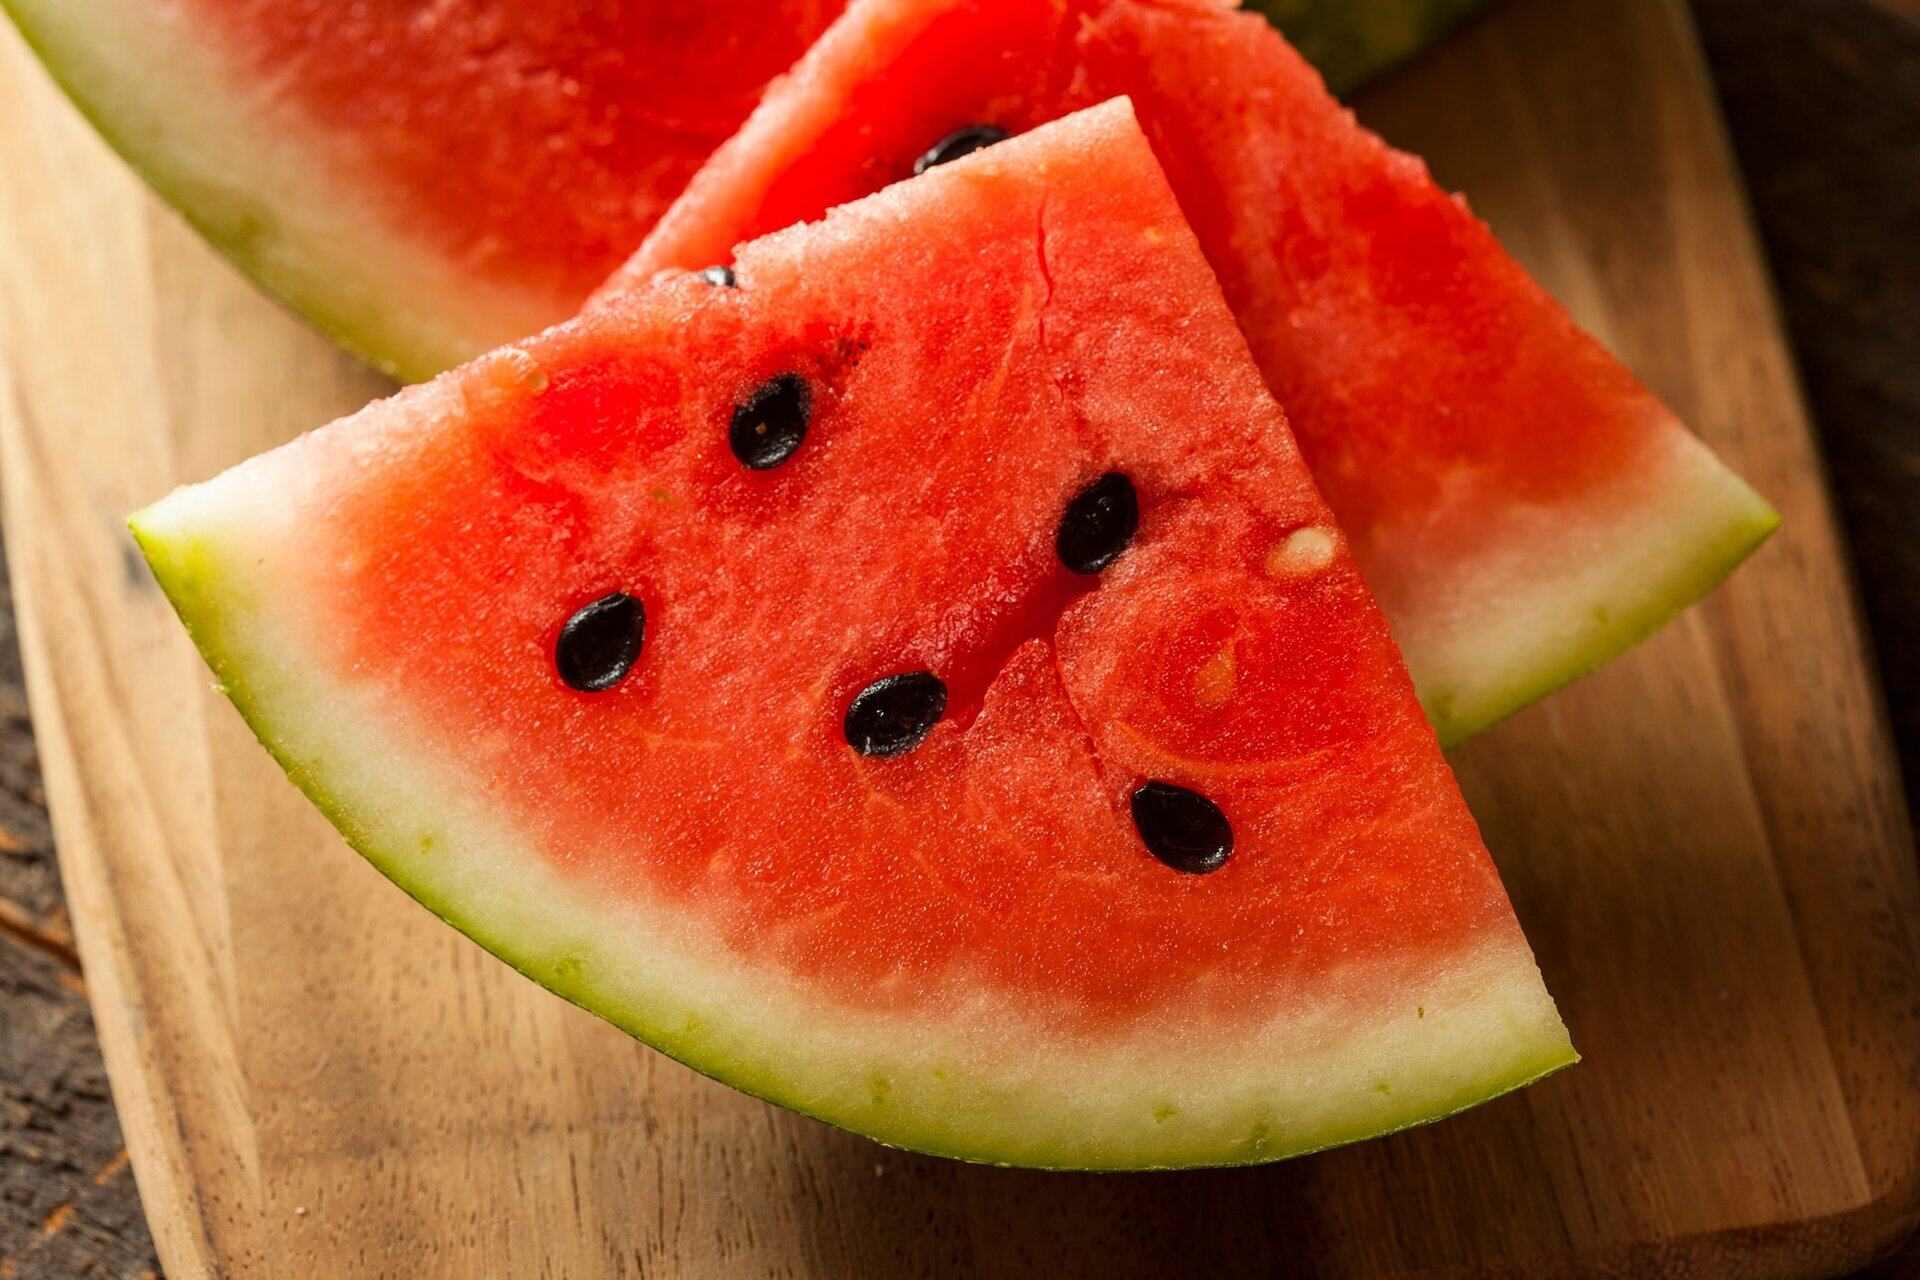
After harvesting your watermelons, it’s time to indulge in their sweet, juicy goodness. Here are a few suggestions for enjoying your homegrown watermelons:
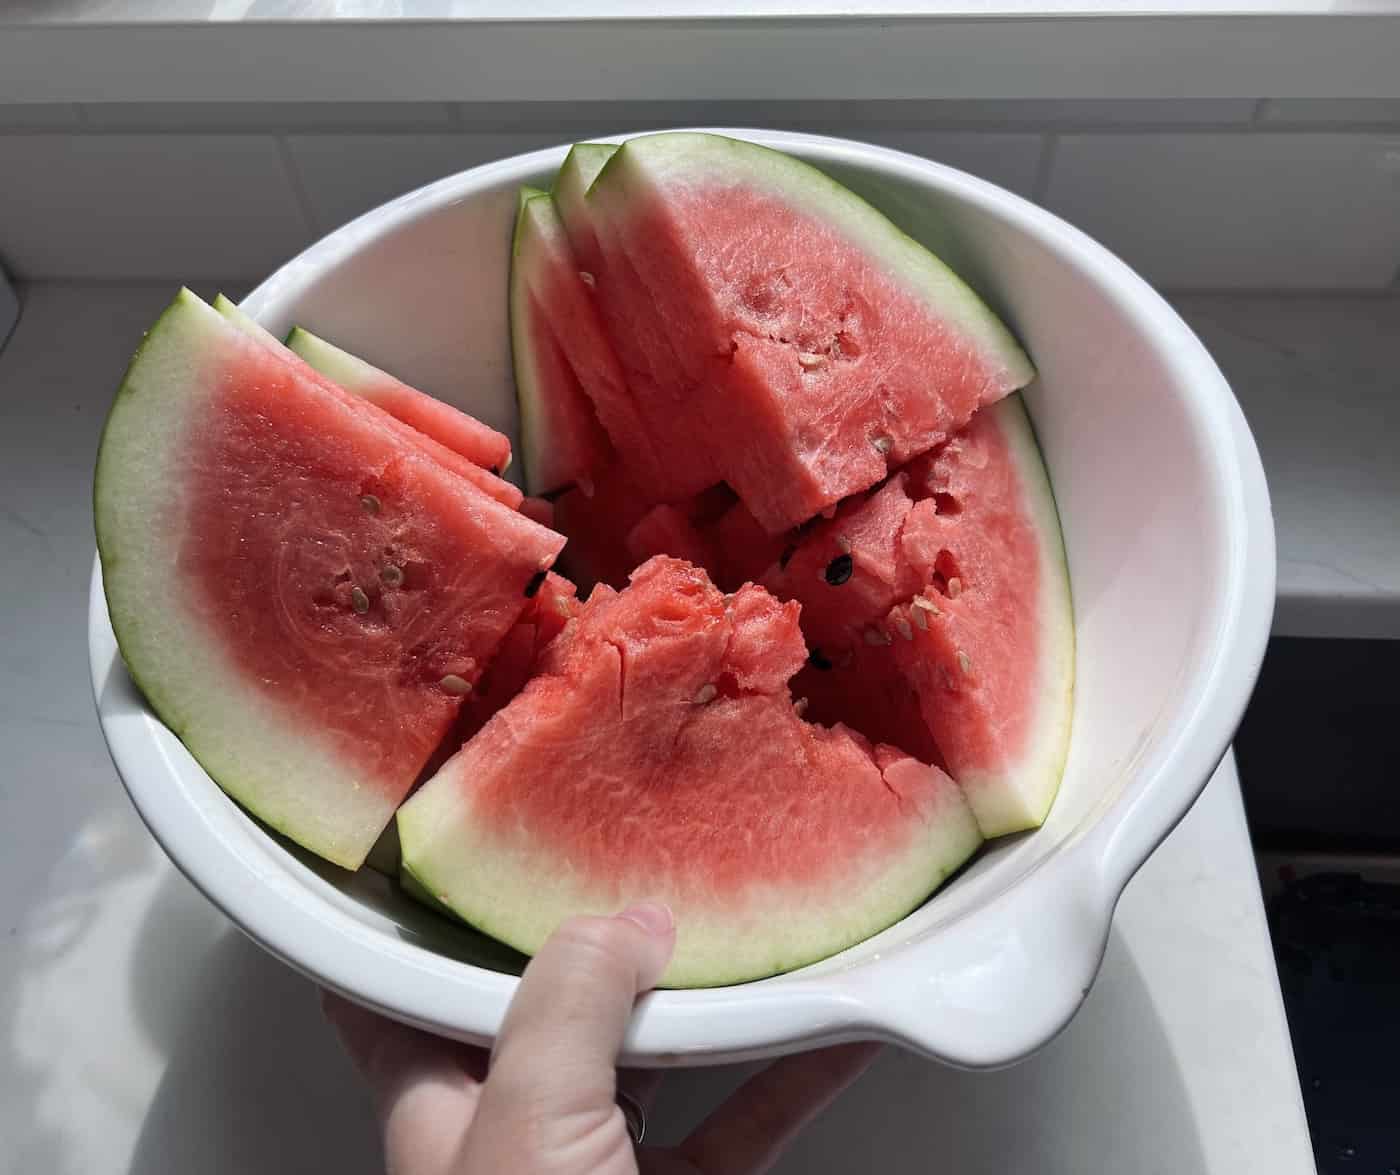
1. Chill and slice: Watermelons are best enjoyed when they are cold. Slice the watermelon into wedges or cubes and refrigerate them for a refreshing snack on a hot summer day. The crisp, cool flesh of the watermelon will be a delightful treat.
2. Make refreshing drinks: Blend watermelon chunks with ice to create a refreshing watermelon slushy or make a delicious watermelon smoothie by blending the fruit with yogurt and a touch of honey. These beverages are perfect for quenching your thirst and cooling down during the summer months.
3. Create summer salads: Watermelon can add a delightful sweetness and crunch to salads. Combine cubed watermelon with feta cheese, mint leaves, and a drizzle of balsamic glaze for a refreshing summer salad. Alternatively, mix watermelon with cucumber, red onion, and a sprinkle of lime juice for a light and refreshing side dish.
4. Freeze for later: If you have an abundance of ripe watermelons, consider freezing some for later use. Cut the watermelon into chunks or use a melon baller to create small, bite-sized pieces. Place them on a baking sheet lined with parchment paper and freeze until solid. Transfer the frozen watermelon to airtight containers or freezer bags for long-term storage. Enjoy the frozen watermelon as a healthy and cooling treat anytime.
By harvesting your watermelons at the right time and exploring different ways to enjoy them, you’ll fully appreciate the rewards of your gardening efforts. So grab a slice, take a bite, and savor the sweet flavors of your homegrown watermelons!
Frequently Asked Questions about How To Plant Watermelon Seeds In The Ground
Was this page helpful?
At Storables.com, we guarantee accurate and reliable information. Our content, validated by Expert Board Contributors, is crafted following stringent Editorial Policies. We're committed to providing you with well-researched, expert-backed insights for all your informational needs.

0 thoughts on “How To Plant Watermelon Seeds In The Ground”