Home>Garden Essentials>When Should You Plant Vegetable Seeds
Garden Essentials
When Should You Plant Vegetable Seeds
Modified: October 18, 2024
Learn the ideal time to plant vegetable seeds in your garden. Discover expert tips and advice for successful gardening.
(Many of the links in this article redirect to a specific reviewed product. Your purchase of these products through affiliate links helps to generate commission for Storables.com, at no extra cost. Learn more)
Introduction
Welcome to the wonderful world of gardening! If you’re a beginner or even an experienced gardener, one of the most important factors to consider is when to plant your vegetable seeds. Proper timing plays a crucial role in the success of your garden, as it determines the optimal conditions for seed germination and plant growth.
Knowing when to plant your vegetable seeds is essential because different plants have specific preferences regarding the temperature, sunlight, and moisture levels during their early growth stages. By understanding these requirements and planning accordingly, you can maximize your chances of a bountiful harvest.
In this guide, we’ll explore various factors to consider when deciding the best time to plant your vegetable seeds. From climate and weather conditions to the specific planting times for different crops, we’ll address all the vital aspects to ensure your garden thrives.
It’s important to note that planting times may vary depending on your specific location and climate zone. So while this guide provides general guidelines, it’s recommended to consult local gardening resources or experienced gardeners in your area for more accurate timing information.
Now, let’s dive into the factors that will help you determine the ideal time to sow your vegetable seeds and set your garden up for success!
Key Takeaways:
- Proper timing is crucial for planting vegetable seeds, considering factors like climate, seedling or direct sowing, and crop-specific planting times. Understanding these factors sets the stage for a thriving garden.
- Providing adequate water, mulching, and implementing effective weed and pest control measures are essential for the health and productivity of your vegetable garden. Embrace the journey of gardening with patience and perseverance.
Read more: When Should You Plant Seeds
Factors to Consider
When it comes to planting vegetable seeds, there are several factors you need to take into consideration. These factors will help you determine the optimal timing and conditions for successful germination and growth. Let’s explore them:
- Climate and Weather Conditions: Your local climate and weather patterns are crucial factors in determining when to plant your vegetable seeds. Each plant has different temperature preferences for germination and growth. Some plants thrive in warm weather, while others prefer cooler conditions. Understanding your region’s average temperature and frost dates will guide you in selecting the appropriate planting time.
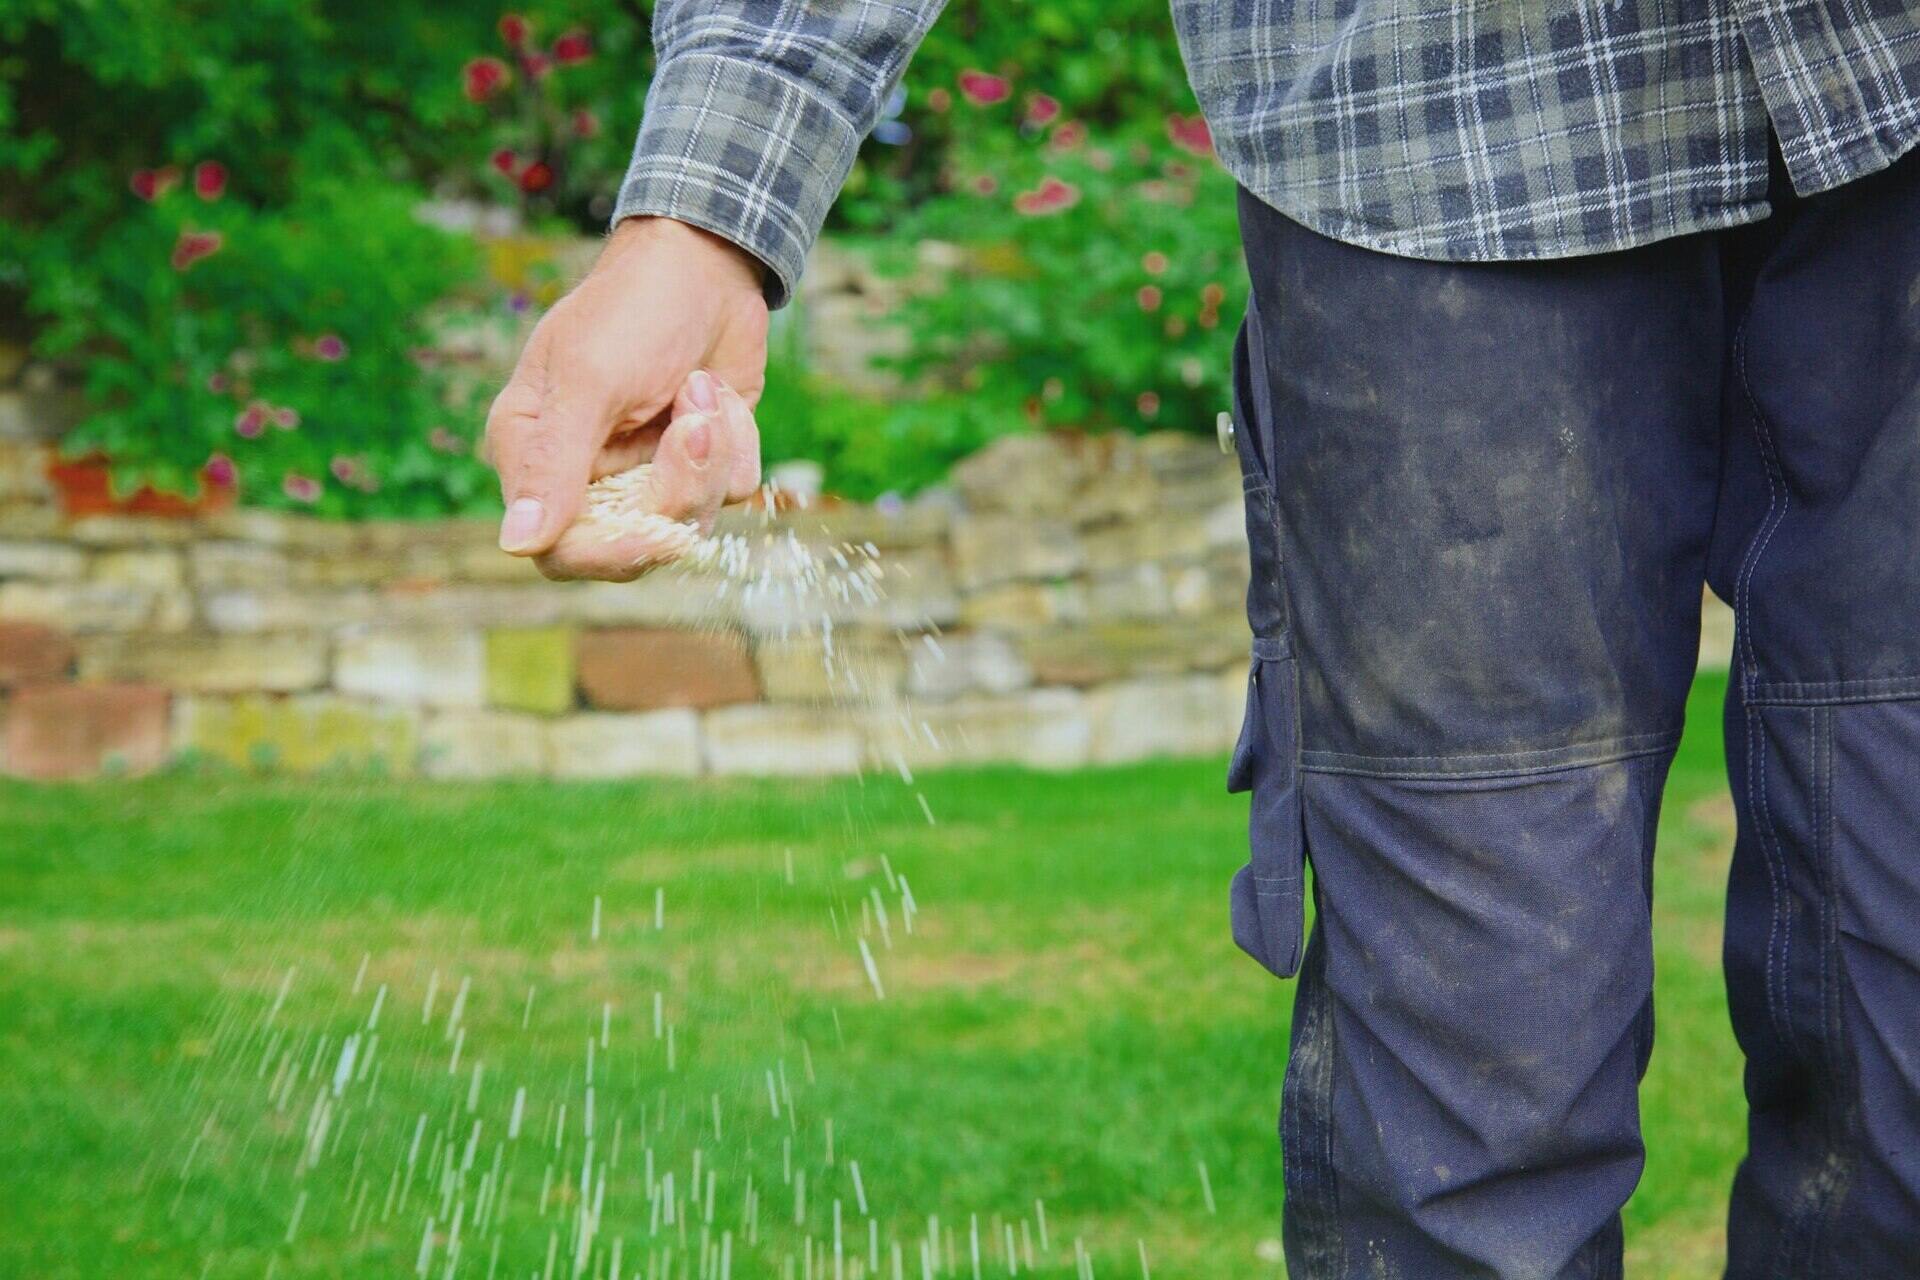
- Seedling or Direct Sowing: Consider whether you want to start your seeds indoors and transplant the seedlings, or sow the seeds directly into the garden. Certain vegetables, like tomatoes and peppers, benefit from an early start indoors to extend their growing season. Others, such as carrots and radishes, can be directly sown into the ground.
- Crop Specific Planting Times: Each vegetable has its own ideal planting period. Some plants, like lettuce and spinach, prefer cooler temperatures and can be planted in early spring or late summer for a fall harvest. Warm-season crops like tomatoes and cucumbers, on the other hand, thrive in the heat of late spring and early summer.
- Recommended Planting Dates: Consult gardening references or local experts to determine the recommended planting dates for your specific region. These dates are based on historical weather patterns and provide a general guideline for when to plant different vegetable varieties.
By considering these factors, you can ensure that you’re planting your vegetable seeds at the right time to optimize their growth and yield.
Climate and Weather Conditions
The climate and weather conditions in your area are crucial factors to consider when determining the best time to plant your vegetable seeds. Different plants have specific temperature and weather preferences for germination and growth. Understanding your local climate will help you choose the appropriate planting time.
Here are a few key points to consider regarding climate and weather conditions:
- Average Temperature: Different vegetables have different temperature requirements for germination and growth. Some plants, like tomatoes and peppers, thrive in warmer temperatures above 70°F (21°C), while others, like lettuce and spinach, prefer cooler temperatures around 50-60°F (10-15°C).
- Frost Dates: Frost dates indicate the average date of the last spring frost and the first fall frost in your area. It is essential to know these dates to protect your tender seedlings from frost damage. Frost can kill or stunt young plants, so it’s best to avoid planting sensitive vegetables until after the last expected frost.
- Microclimates: Different areas within your garden may experience microclimates, which are slight variations in temperature and weather conditions. For example, a south-facing slope may be warmer than a shaded area. Take advantage of these microclimates to extend your growing season by planting heat-loving crops in warmer spots and cooler crops in shadier areas.
By understanding your local climate and weather conditions, you can select the appropriate planting time for your vegetable seeds. This will ensure that the seeds have the optimum conditions for germination and growth, leading to a healthier and more productive garden.
Seedling or Direct Sowing
When it comes to planting vegetable seeds, you have two main options: starting seeds indoors as seedlings or sowing seeds directly into the garden. Each method has its benefits and considerations, and the choice depends on the specific plants and your gardening preferences.
Seedling Transplanting: Starting seeds indoors allows you to have more control over the growing conditions and gives your plants a head start before being transplanted outside. This method is commonly used for vegetables with long growing seasons or those that require a longer time to mature, like tomatoes, peppers, and eggplants.
To start seeds indoors, you’ll need seed trays or small pots, a good seed starting medium, and adequate light. The seeds should be sown according to the package instructions and kept in a warm, well-lit area. Once the seedlings have grown a few inches tall and the danger of frost has passed, they can be gradually acclimated to outdoor conditions and transplanted into the garden.
Direct Sowing: Direct sowing involves planting seeds directly into the garden soil. This method is suitable for vegetables that have shorter growing seasons, quick germination, or a preference for direct root establishment, such as beans, peas, carrots, and radishes.
Before direct sowing, prepare the soil by removing any debris or weeds and loosening it to create a fine, crumbly texture. Follow the seed packet instructions for the appropriate spacing and planting depth of each vegetable. Water the area gently after sowing the seeds and keep the soil consistently moist until germination.
When deciding whether to start seeds indoors or sow them directly into the garden, consider factors such as your climate, the specific requirements of the vegetables you’re growing, and your available time and resources. Both methods can be successful, so choose the one that best suits your garden goals and preferences.
Crop Specific Planting Times
Each vegetable has its own ideal planting time based on its preferred temperature range, frost tolerance, and growth characteristics. Understanding the specific planting times for different crops will help you maximize their growth and yield. Here are some common vegetables and their recommended planting times:
- Tomatoes: Tomatoes are warm-season crops that should be planted after the danger of frost has passed. Start seeds indoors about 6-8 weeks before the last expected frost date or purchase seedlings from a nursery. Transplant the seedlings into the garden once the soil has warmed up, usually around late spring or early summer.
- Peppers: Peppers also thrive in warm temperatures. Start seeds indoors 8-10 weeks before the last expected frost date or purchase young plants. Transplant them outdoors when the soil is consistently warm, usually in late spring.
- Lettuce: Lettuce prefers cooler temperatures and can tolerate light frosts. Sow lettuce seeds directly into the garden in early spring when the soil temperature is above 40°F (4°C). For a continuous harvest, succession plant every few weeks until early summer, and then again in late summer for a fall crop.
- Cucumbers: Cucumbers are warm-season crops that thrive in temperatures above 60°F (15°C). Sow seeds directly into the garden after the last expected frost date when the soil has warmed up. You can also start seeds indoors 3-4 weeks before transplanting them outside.
- Carrots: Carrots are cool-season crops that prefer cooler temperatures for optimal growth. Sow carrot seeds directly into the garden 2-4 weeks before the last expected frost date. They can tolerate light frosts and will continue to grow throughout the spring and fall.
These are just a few examples, and planting times may vary depending on your location and specific climate. Refer to seed package instructions or consult local gardening resources for more accurate planting time information for the vegetables you wish to grow.
By planting each crop at the appropriate time, you’ll provide the ideal growing conditions and increase your chances of a successful and abundant harvest.
Read more: When Should You Plant Marigold Seeds
Recommended Planting Dates
When it comes to planting your vegetable seeds, knowing the recommended planting dates for your specific region can greatly enhance your gardening success. These dates are based on historical weather patterns and provide a general guideline for when to plant different vegetable varieties.
Here are some tips to determine the recommended planting dates:
- Local Gardening Resources: Consult local gardening resources such as agricultural extension offices, gardening associations, or experienced gardeners in your area. They will have valuable information about specific planting dates that are suitable for your region.
- Plant Hardiness Zones: Familiarize yourself with the plant hardiness zone for your area. The United States is divided into different zones based on average minimum winter temperatures. This information can be found on the USDA Plant Hardiness Zone Map or similar resources for other countries.
- Last Spring Frost Date: Determine the average date of the last spring frost in your area. The last expected frost date is an important factor in deciding when to plant frost-sensitive vegetables. Starting your seeds indoors or directly sowing them in the ground after the frost risk has passed will protect your plants from damage.
- First Fall Frost Date: Similarly, be aware of the average date of the first fall frost. Knowing when frost is likely to occur in the fall will help you plan for the maturity and harvest time of your crops. For example, you may need to start cold-sensitive plants early enough so they can mature and produce before the first fall frost arrives.
Remember that these dates are general recommendations, and local variations in climate and weather patterns may affect the precise planting times in your area. Keep track of your own garden’s conditions, make observations each season, and adjust your planting dates accordingly.
By aligning your planting efforts with the recommended dates, you’ll increase the chances of successful germination, growth, and harvest of your vegetable crops.
Soil Preparation
Preparing your soil properly before planting your vegetable seeds is a crucial step in setting the stage for healthy plant growth and a productive garden. Good soil preparation ensures that your plants have access to essential nutrients, water drainage is adequate, and the soil structure is conducive to root development. Here’s how to prepare your soil:
- Clear the Area: Start by clearing the area of any debris, rocks, or weeds. Remove any existing vegetation that may compete with your vegetable plants for nutrients and water.
- Loosen the Soil: Use a garden fork or a tiller to loosen the soil. This helps create a loose and crumbly texture, allowing roots to penetrate easily and promoting proper aeration.
- Amend the Soil: Test your soil to determine its pH level and nutrient content. Most vegetables prefer a slightly acidic to neutral pH range (around 6.0-7.0). Based on the test results, add organic matter such as compost, well-rotted manure, or peat moss to improve the soil’s fertility and structure.
- Remove Large Clumps and Stones: Break up large clumps of soil and remove any rocks or stones that could hinder root growth or interfere with planting.
- Level the Soil: Smooth out the soil surface using a rake or hoe to create a level bed for planting. This helps with water distribution and prevents pooling in low-lying areas.
- Consider Raised Beds: If you have poor-quality soil or drainage issues, consider creating raised beds. Raised beds provide better control over soil composition, drainage, and temperature, ensuring optimal growing conditions.
- Add Organic Fertilizer: Prior to planting, incorporate a balanced organic fertilizer into the soil according to package instructions. This will provide essential nutrients to support healthy plant growth throughout the growing season.
Remember to periodically assess your soil’s condition and make adjustments as needed. Adding organic matter, such as compost, annually can help replenish nutrients and maintain soil health over time.
By properly preparing your soil, you’ll create a nutrient-rich, well-drained environment that promotes robust plant growth and increases the likelihood of a successful vegetable harvest.
Plant vegetable seeds in the spring after the last frost date for your area. Check the seed packet for specific planting times for each type of vegetable.
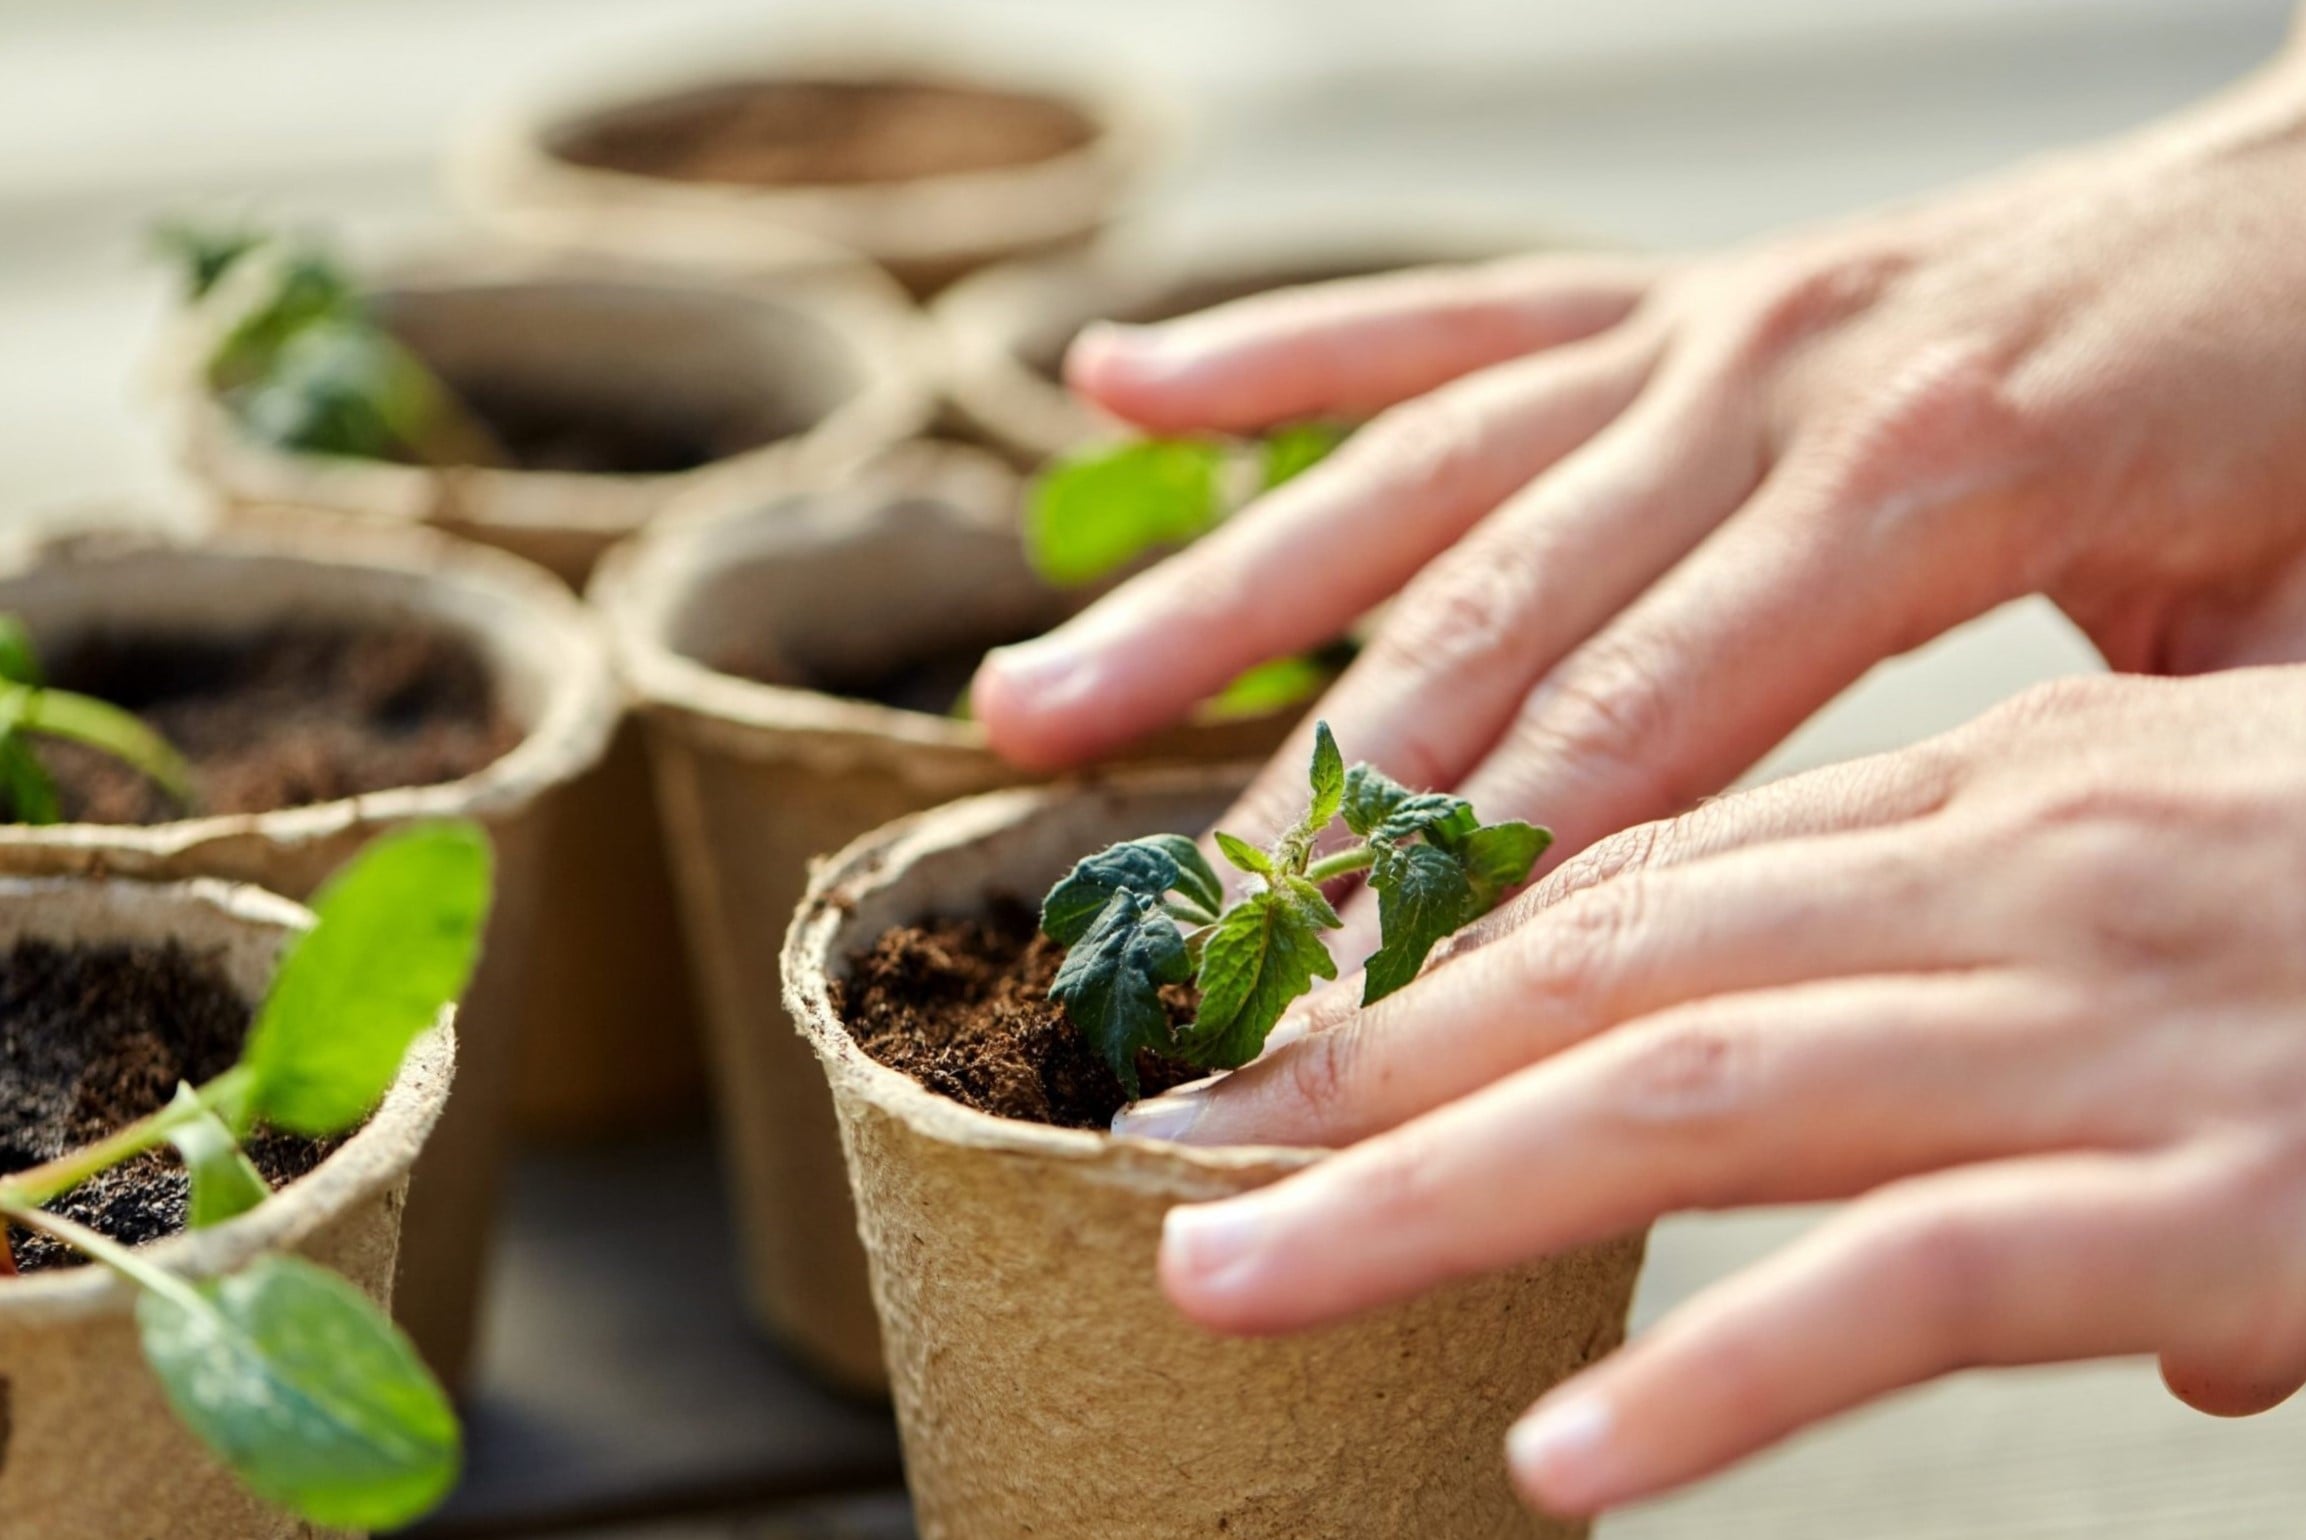
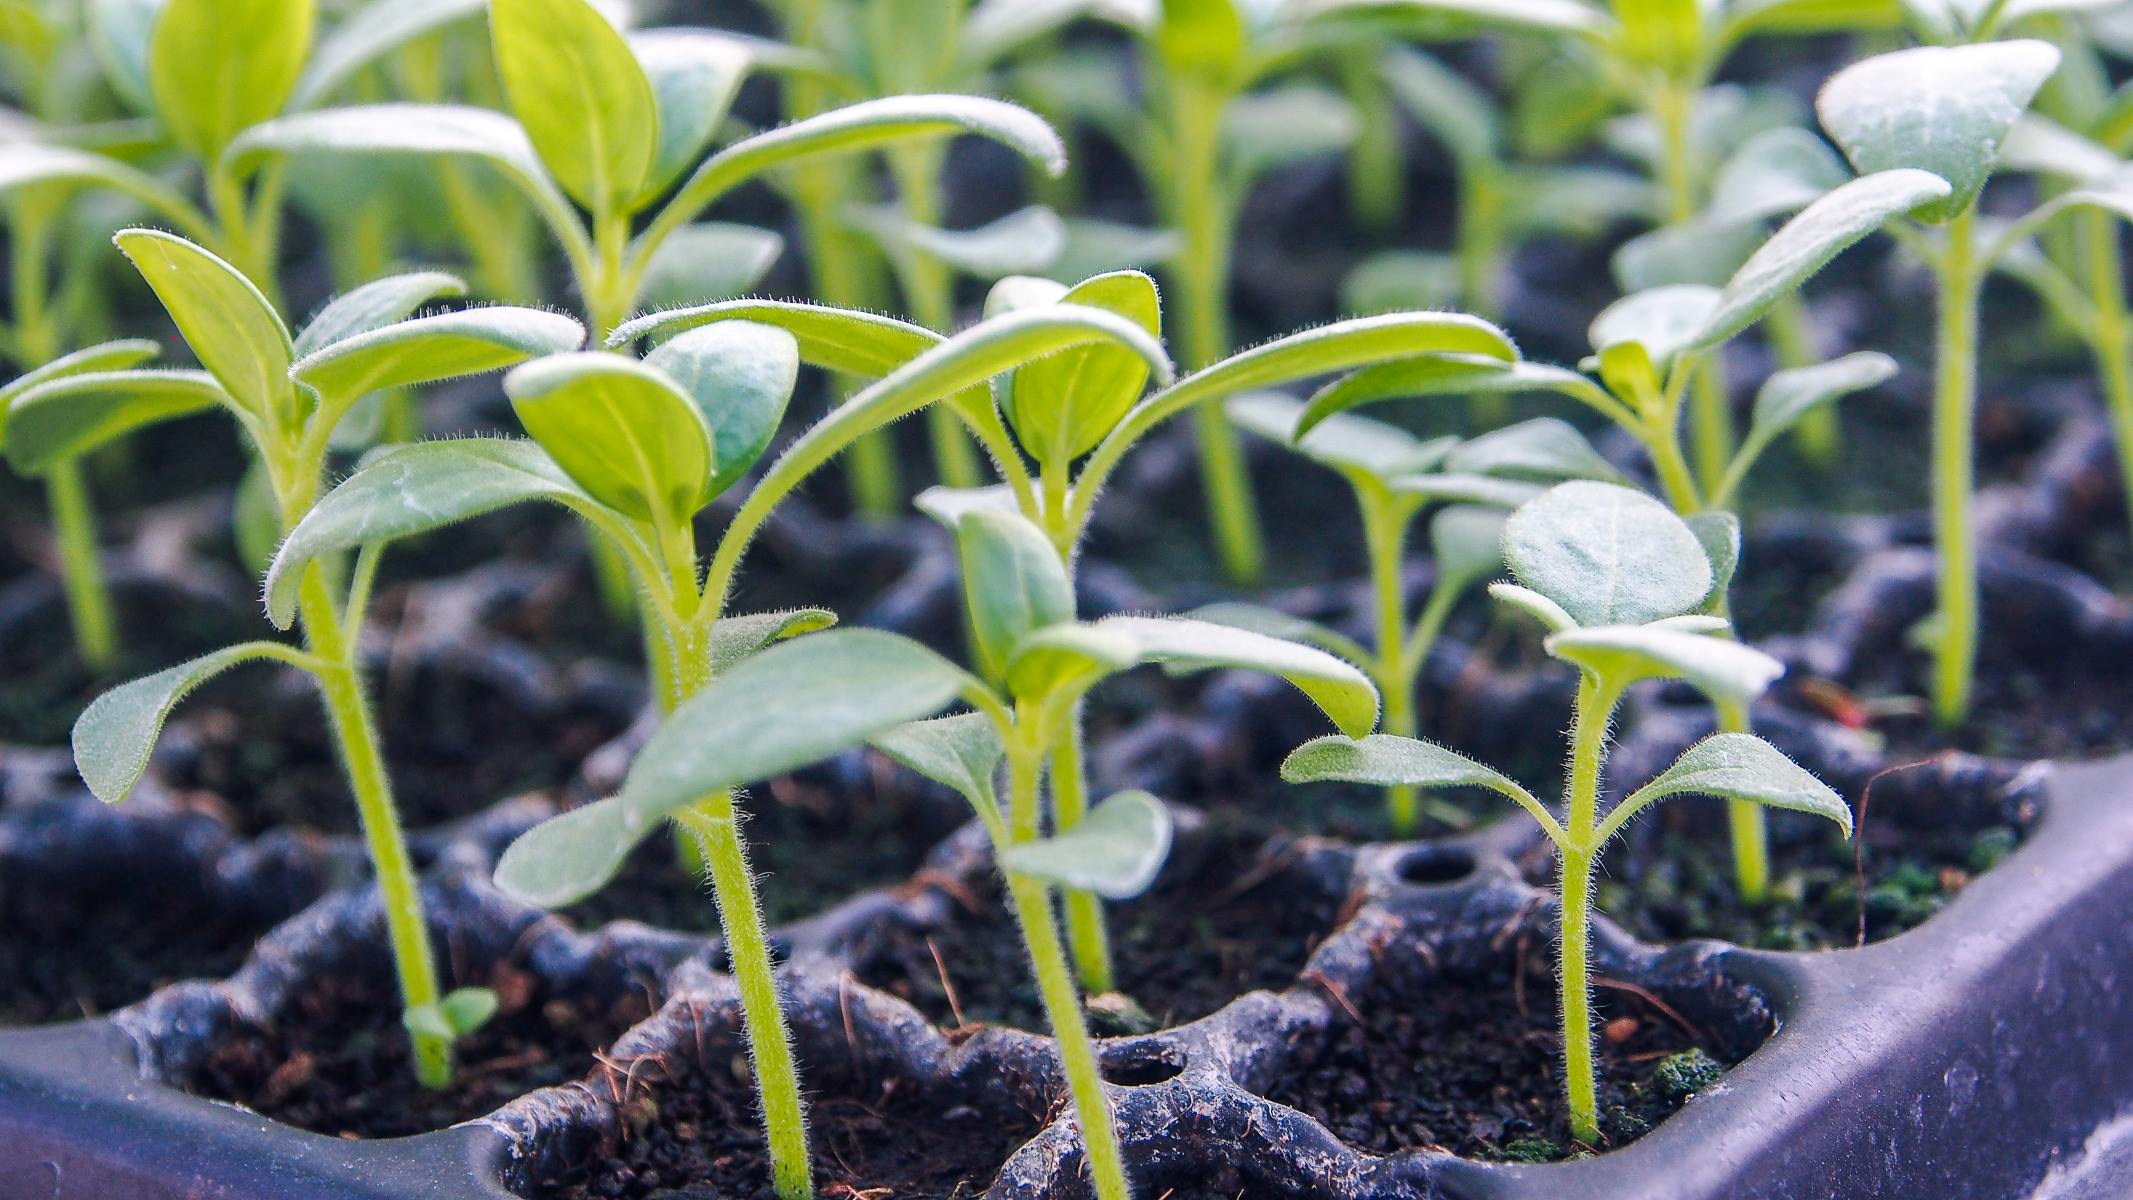
Seed Starting Indoors
Seed starting indoors is a popular method among gardeners to get a head start on the growing season and ensure strong, healthy seedlings. By starting seeds indoors, you have more control over the growing conditions and can extend the growing season for certain vegetable varieties. Here’s how to start your seeds indoors:
- Choose the Right Containers: Select seed trays, seedling pots, or cell packs that provide enough space for root development. Ensure the containers have drainage holes at the bottom to prevent waterlogging.
- Select a Growing Medium: Use a high-quality seed starting mix or potting soil specifically designed for seedlings. Avoid using garden soil, as it may contain weed seeds or pathogens that can harm your young plants.
- Sow the Seeds: Fill the containers with the seed starting mix and moisten it slightly. Follow the seed packet instructions for the recommended sowing depth and spacing of each vegetable. Plant the seeds and cover them lightly with a thin layer of soil.
- Provide Optimal Conditions: Place the containers in a warm location with consistent temperatures between 65-75°F (18-24°C). Provide adequate light by placing them near a south-facing window or using artificial grow lights. Maintain humidity by covering the containers with plastic wrap or using a humidity dome.
- Water Carefully: Keep the seed starting mix evenly moist but not waterlogged. Use a spray bottle or a gentle stream of water to avoid displacing the seeds or damaging the delicate seedlings. Monitor the moisture levels regularly and adjust watering as needed.
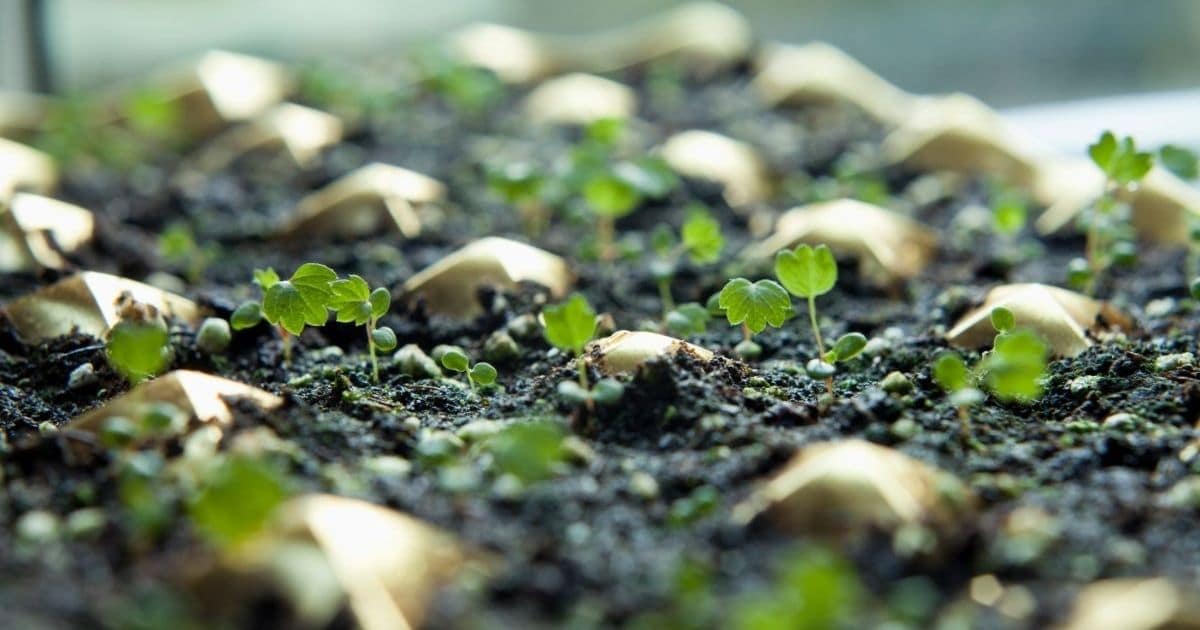
- Provide Adequate Light: As the seedlings emerge, ensure they receive sufficient light to prevent them from becoming leggy and weak. If using artificial grow lights, keep them a few inches above the seedlings and adjust the height as the plants grow.
- Transplanting Seedlings: Once the seedlings have developed two to four true leaves and the danger of frost has passed, they are ready to be transplanted into larger pots or into the garden. Harden off the seedlings by gradually exposing them to outdoor conditions over a week or two before planting them outside.
Starting seeds indoors allows for a longer growing season and gives your plants a head start. It’s an excellent way to grow a wider variety of vegetables and ensure a successful harvest. By providing the optimal conditions and care during the seed starting process, you’ll have strong and healthy seedlings ready for transplanting into your garden.
Transplanting Seedlings
Transplanting seedlings is a critical step in the journey from indoor seed starting to establishing healthy plants in your garden. When the seedlings have grown strong and the weather conditions are favorable, it’s time to transplant them into larger pots or directly into the garden. Here’s how to ensure successful transplanting:
- Choose the Right Timing: Wait until the seedlings have developed several true leaves and are sturdy enough to handle transplanting. The recommended time for transplanting varies depending on the specific vegetable and your local climate. Refer to seed packet instructions or consult gardening references for guidance.
- Prepare the Planting Area: If transplanting into the garden, prepare the soil in advance. Remove weeds and loosen the soil to provide a welcoming environment for the seedlings’ root systems. Dig a hole large enough to accommodate the seedling’s root ball.
- Water the Seedlings: Before transplanting, water the seedlings thoroughly. This will help minimize transplant shock and make it easier to remove the seedlings from their containers.
- Handle Seedlings with Care: Gently remove the seedlings from their containers, holding them by the leaves or the root ball. Avoid pulling or tugging on the delicate stems, as they can easily break.
- Plant at the Proper Depth: Place each seedling into the prepared hole, making sure to plant it at the same depth it was growing in its original container. Firmly press the soil around the base of the seedling to secure it in place.
- Water and Mulch: After transplanting, water the seedlings well, providing enough moisture to settle the soil and support root establishment. Apply a layer of organic mulch around the plants to help retain moisture, suppress weeds, and regulate soil temperature.
- Provide Support: Some seedlings, such as tomatoes or tall peppers, may need support to prevent them from bending or breaking. Install stakes, cages, or trellises nearby to provide support as the plants grow.
- Monitor and Nurture: Keep a close eye on the transplanted seedlings during the initial days. Ensure they are adequately watered and protected from extreme weather conditions. Gradually expose them to longer periods of sunlight to acclimate them to outdoor conditions.
By following these steps, you can successfully transplant your seedlings, giving them the opportunity to thrive and continue growing in their new environment.
Read more: When Should I Plant Wildflower Seeds
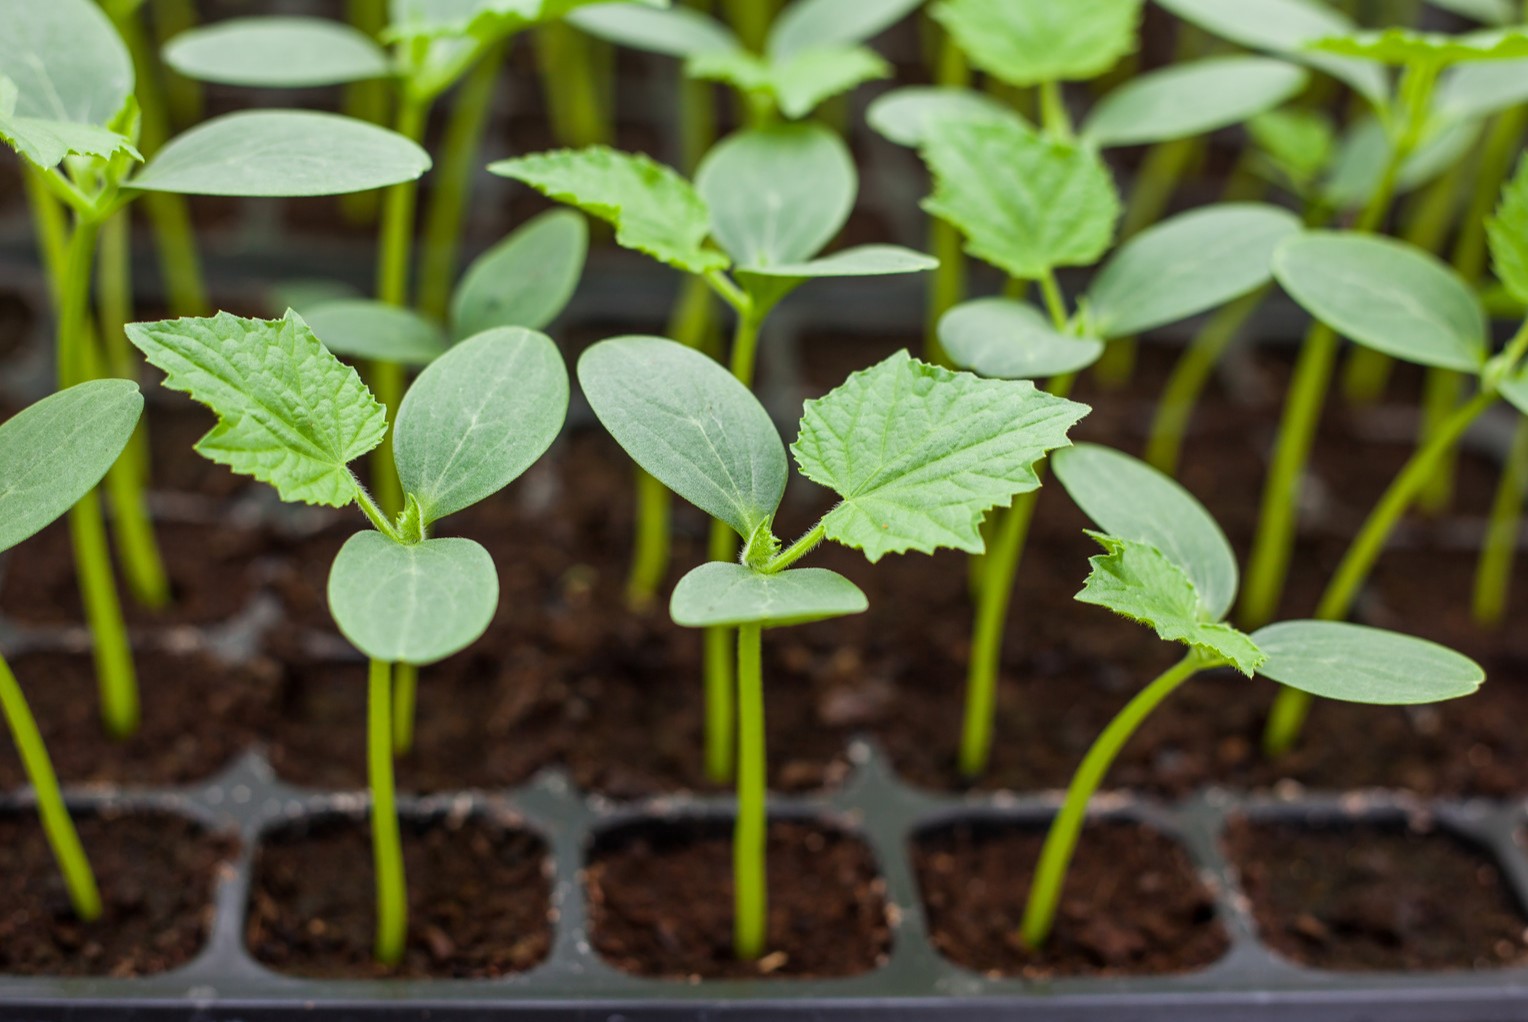
Planting Depth and Spacing
Proper planting depth and spacing are essential factors to consider for successful plant growth. Each vegetable has specific requirements for how deep it should be planted and how much space it needs to grow and receive adequate nutrients and sunlight. Here’s what you need to know about planting depth and spacing:
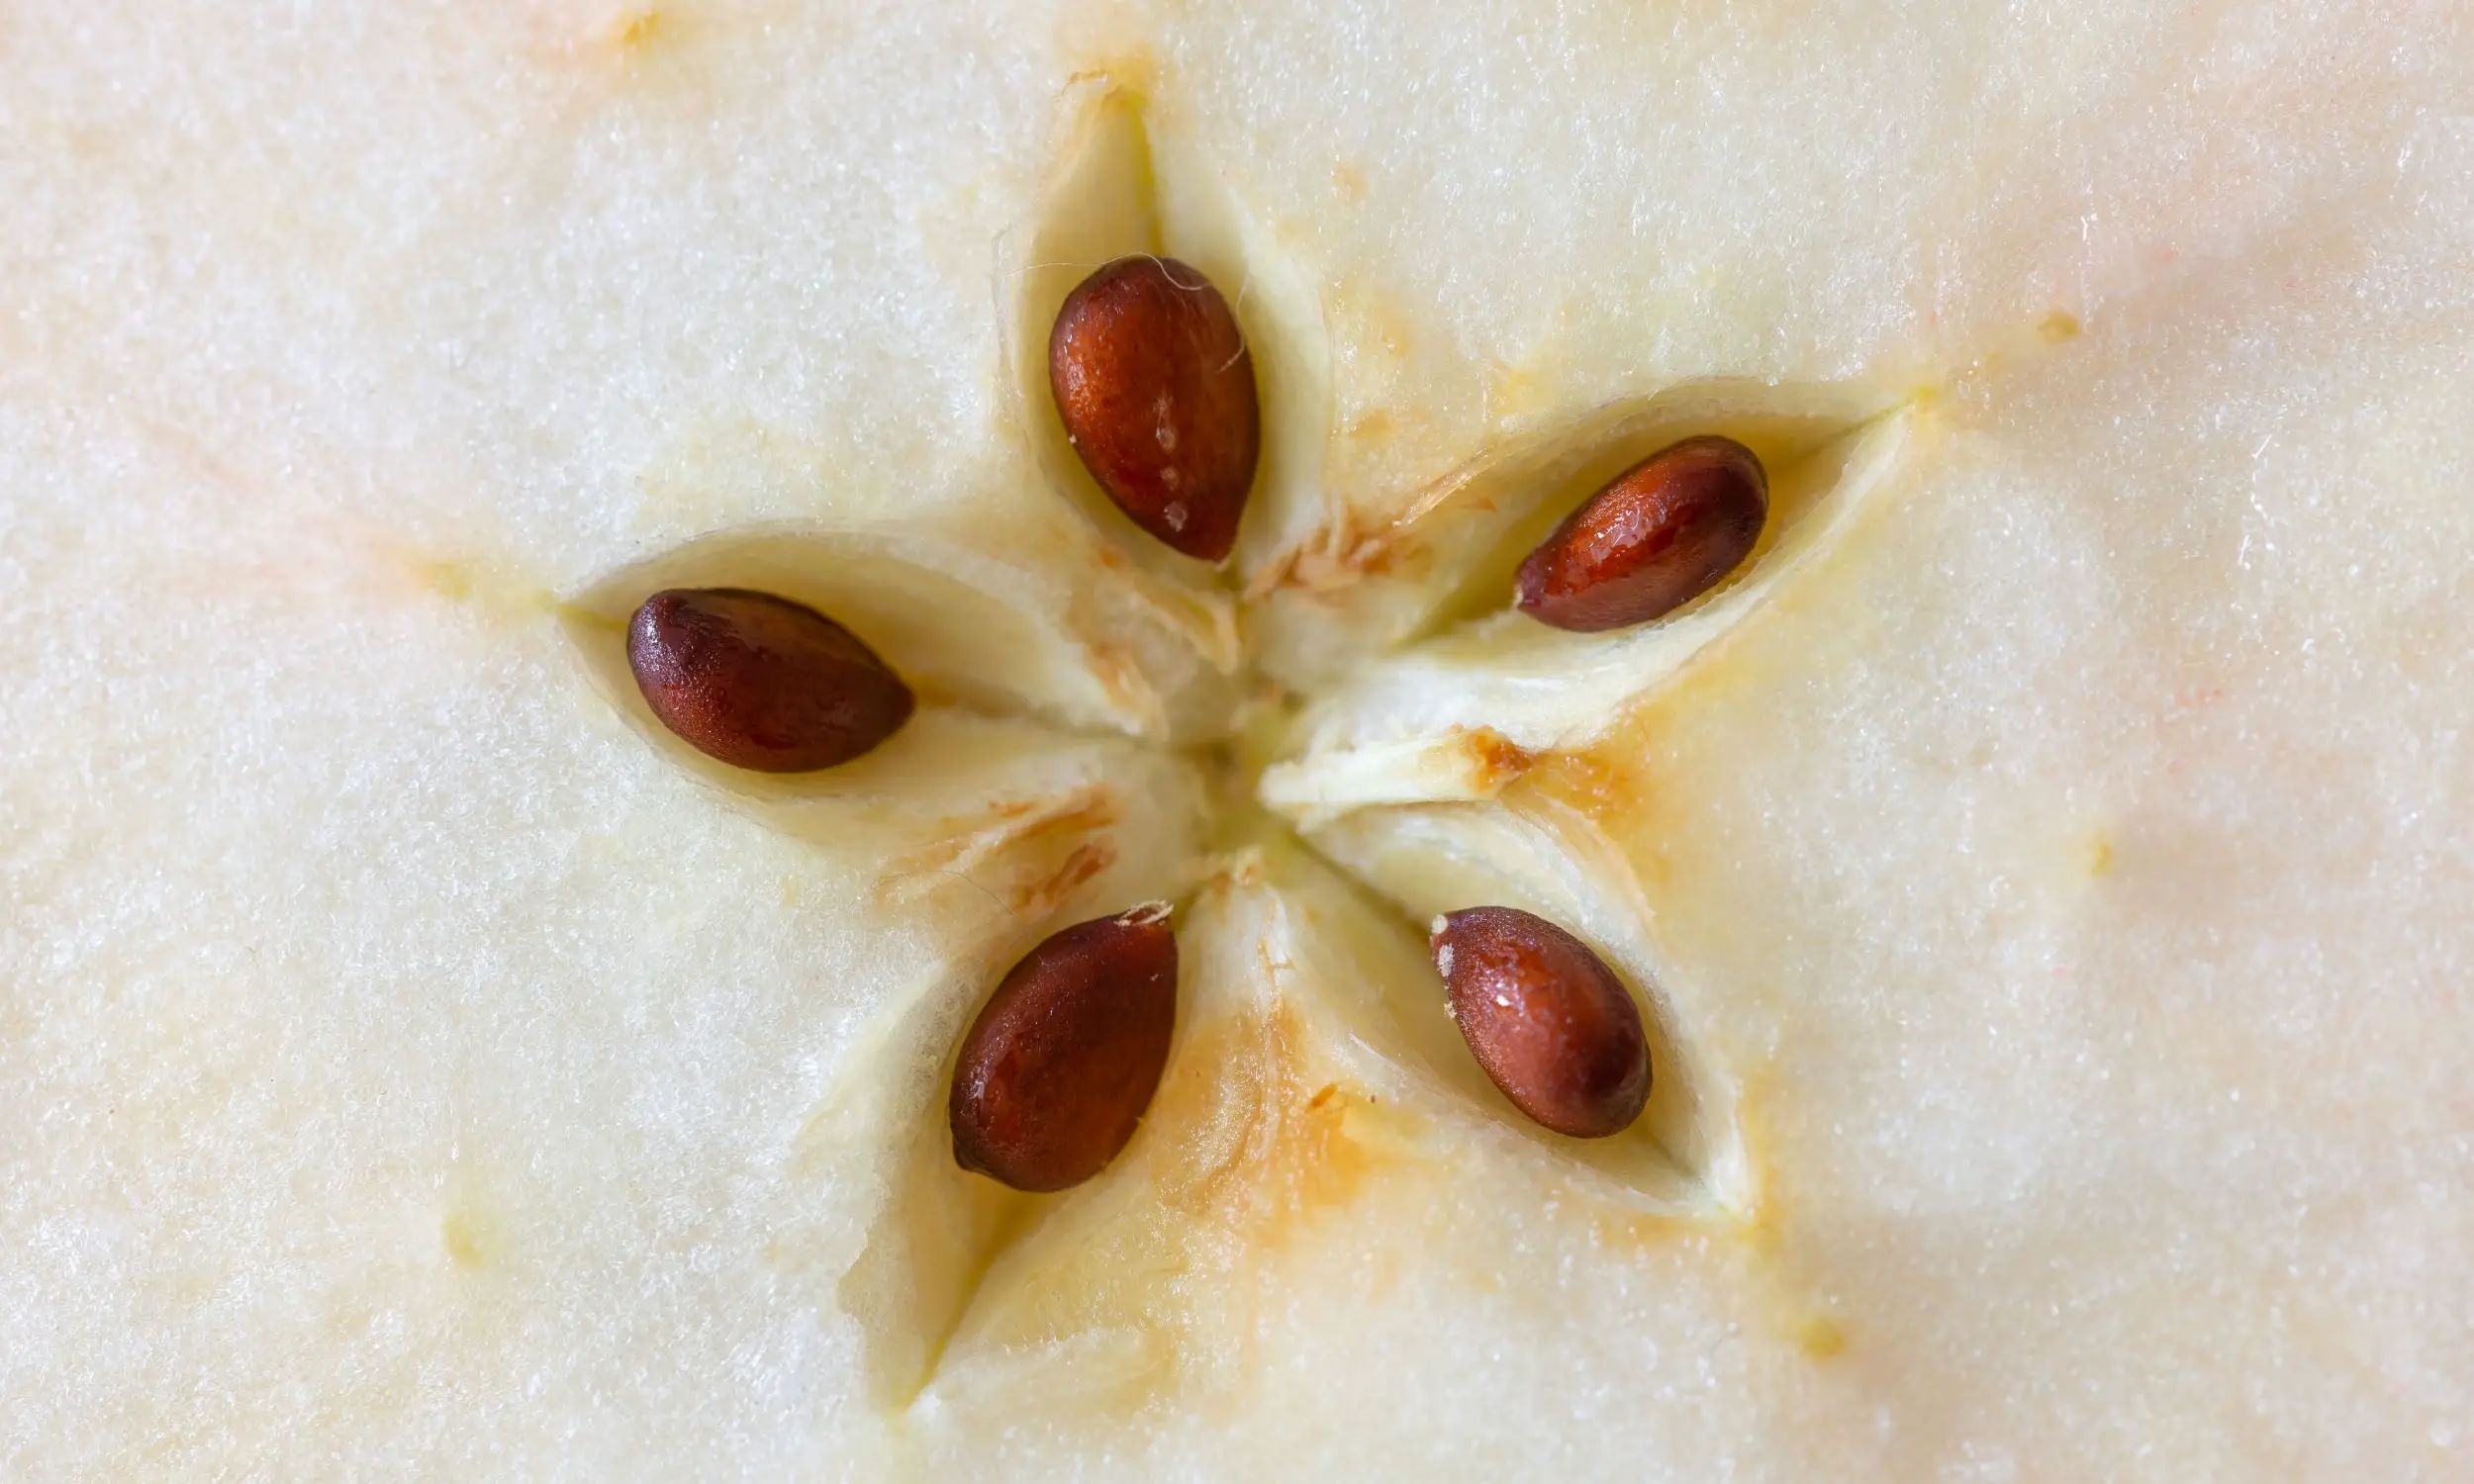
- Planting Depth: The correct planting depth ensures that seeds germinate properly and seedlings establish a strong root system. It’s important to follow the seed package instructions or reference reliable gardening resources for specific planting depths of different vegetables. As a general guideline, most seeds should be planted at a depth 2-3 times their diameter. Small seeds may only require a light dusting of soil or just pressing them gently into the surface.
- Seedling Planting: When transplanting seedlings, ensure you plant them at the same depth they were growing in their containers. Be careful not to bury the stem too deep or expose too much of it above the soil surface as this can hinder growth and lead to disease or pest issues.
- Spacing: Providing enough space between plants is crucial for their optimal growth and to prevent competition for nutrients and sunlight. The recommended spacing varies depending on the specific vegetable and its growth habit. Refer to seed packets or gardening references for precise spacing recommendations.
- Row Spacing: When planting in rows, allow sufficient distance between rows to provide easy access for maintenance and harvesting. This spacing also helps ensure adequate airflow and reduces the risk of diseases spreading between plants.
- Thinning: If you sowed seeds densely or transplanted seedlings closely together, thinning is necessary to achieve the recommended spacing. Remove weaker seedlings, leaving only the strongest and healthiest ones, based on the recommended spacing requirements.
Proper planting depth and spacing promote healthy plant development, prevent overcrowding, and allow each plant to receive the necessary resources for optimal growth. Taking the time to plant seeds and seedlings at the appropriate depth and distance will help maximize the productivity and vitality of your vegetable garden.
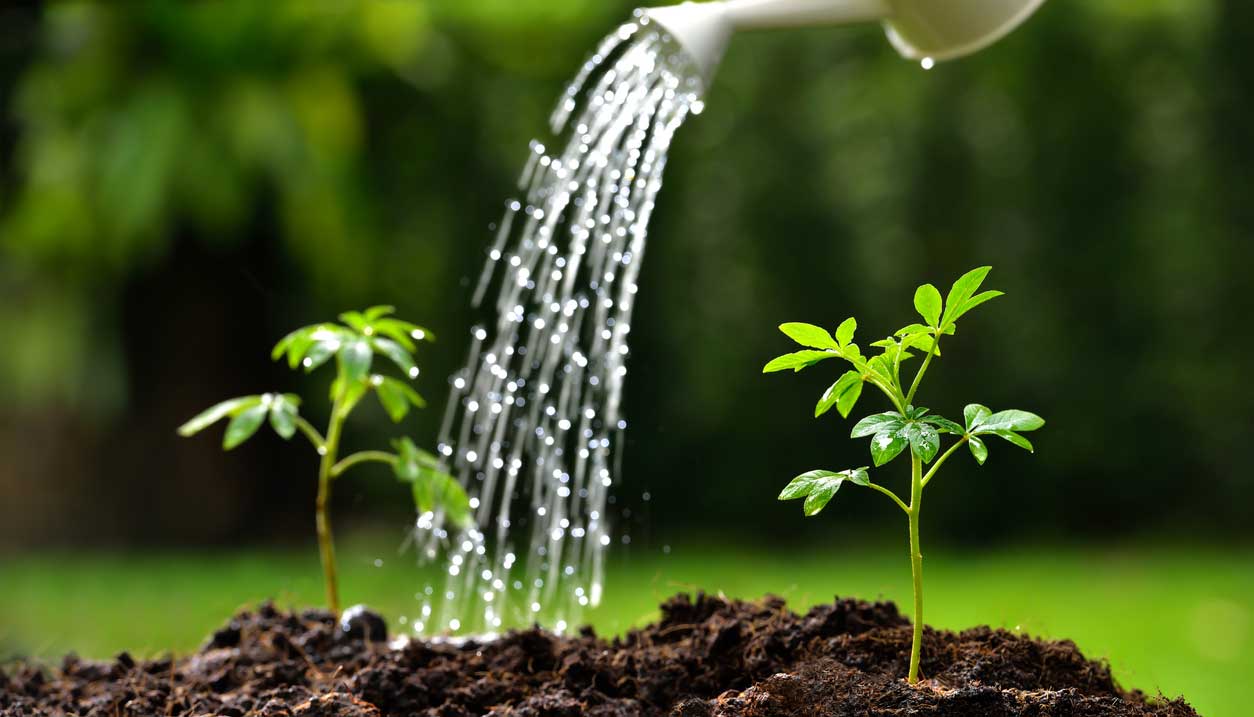
Watering and Irrigation
Watering your vegetable garden properly is essential for the health and vitality of your plants. Proper hydration ensures that your vegetables receive the necessary moisture for growth and development. Here are some tips for effective watering and irrigation:
- Consistency is Key: Consistent watering is crucial, especially during dry spells or when plants are establishing their root systems. Aim to provide a steady supply of moisture to prevent stress and promote healthy growth.
- Water Deeply: When watering, aim to penetrate the soil deeply to encourage the roots to grow deeper. Shallow watering can lead to weak and shallow root systems. Apply enough water to saturate the root zone, typically 6-8 inches deep.
- Timing: Water your garden early in the morning or late in the afternoon to minimize evaporation. Avoid watering during the hottest part of the day, as the water may quickly evaporate before reaching the roots.
- Monitor Soil Moisture: Regularly check the moisture level of the soil before watering. Stick your finger into the soil up to your knuckle to test for dryness. If it feels dry at that depth, it’s time to water. On the other hand, if it feels moist, hold off on watering.
- Avoid Overwatering: While it’s important to keep your plants adequately hydrated, overwatering can lead to root rot, nutrient leaching, and other issues. Ensure the soil has good drainage to prevent waterlogging and allow excess water to drain away.
- Irrigation Methods: Consider utilizing irrigation methods such as soaker hoses, drip irrigation, or watering cans with a fine nozzle. These methods deliver water directly to the root zone, minimizing waste due to evaporation or runoff.
- Watering Schedule: Adjust your watering schedule based on weather conditions. Increase watering during dry periods and reduce it during periods of heavy rainfall. Remember that different plants have varying water requirements, so customize your watering schedule accordingly.
- Mulching: Apply an organic mulch, such as straw or wood chips, around your vegetable plants. Mulching helps conserve soil moisture by reducing evaporation and suppressing weed growth. It also helps maintain a more consistent soil temperature.
Remember, it’s important to strike a balance with watering. Provide enough moisture to keep your plants healthy without overwatering. By following these watering and irrigation practices, you’ll help your vegetable garden thrive and yield a bountiful harvest.
Mulching and Weed Control
Mulching is an essential practice in maintaining a healthy and thriving vegetable garden. By applying a layer of organic mulch, you can provide numerous benefits for your plants, including weed suppression, moisture conservation, and temperature regulation. Here’s what you need to know about mulching and weed control:
- Choose the Right Mulch: Use organic mulch materials such as straw, wood chips, dried leaves, or grass clippings. These materials gradually break down, enriching the soil with organic matter as they decompose.
- Apply an Adequate Layer: Apply a layer of mulch around your vegetable plants, ensuring a thickness of 2-4 inches. Avoid piling mulch up against the stems of the plants to prevent excess moisture retention and potential rotting.
- Weed Suppression: Mulching acts as a barrier, suppressing the growth of weeds by blocking sunlight and preventing weed seeds from germinating. This reduces competition for nutrients, water, and sunlight, allowing your vegetables to thrive.
- Maintain Soil Moisture: Mulch helps conserve soil moisture by reducing evaporation. It acts as a protective layer that slows down the rate at which water evaporates from the soil surface. This allows your plants to access water for a more extended period between watering.
- Temperature Regulation: Mulch helps regulate soil temperature by insulating the soil from extreme heat or cold. It keeps the soil cooler in hot summer months and warmer in colder seasons, providing a more stable environment for plant roots.
- Prevent Erosion: Mulch helps prevent soil erosion that can occur due to heavy rainfall or wind. It acts as a protective cover, reducing the impact of water or wind on the soil surface and preventing valuable topsoil from being washed away.
- Mulch Maintenance: Periodically check your mulch layer and replenish it if it becomes thin or degrades over time. Replace mulch that has decomposed or moved away from the plant base to ensure continuous weed suppression and moisture retention.
- Weed Control: While mulching greatly reduces weed growth, it’s essential to inspect your garden regularly for any emerging weeds. Remove any weeds promptly by hand or with the help of cultivating tools to prevent them from competing with your vegetable plants for resources.
Mulching is a valuable practice that improves the overall health and productivity of your vegetable garden. By suppressing weeds, conserving moisture, and regulating temperature, mulch creates a conducive environment for your plants to thrive and produce a bountiful harvest.
Protecting Seedlings from Pests and Diseases
Ensuring the health and safety of your seedlings is essential for a successful vegetable garden. Protecting them from pests and diseases is crucial, as these can cause significant damage and impact the overall productivity of your plants. Here are some tips to safeguard your seedlings:
- Monitor Regularly: Keep a close eye on your seedlings for any signs of pests or diseases. Early detection allows for timely intervention and prevents the issues from spreading.
- Practice Good Sanitation: Start with clean containers, soil, and tools to minimize the risk of introducing pests or diseases to your seedlings. Clean up plant debris and remove any fallen leaves or fruits to eliminate potential breeding grounds for pests.
- Provide Proper Air Circulation: Good air circulation helps prevent the development of fungal diseases. Avoid crowding seedlings together, and provide enough space between plants to allow for airflow.
- Protect from Pests: Use physical barriers such as row covers, netting, or mesh to prevent pests like insects, birds, or small animals from accessing your seedlings. Floating row covers are effective in keeping insects at bay while allowing light and air penetration.
- Natural Pest Control Methods: Utilize natural pest control methods such as handpicking pests, introducing beneficial insects, or using organic pest sprays. Ladybugs, praying mantises, and green lacewings are beneficial insects that help control common garden pests.
- Integrate Companion Planting: Some plants have natural pest-repellent properties. By interplanting pest-resistant plants such as marigolds, dill, or basil, you can help deter pests and protect your vulnerable seedlings.
- Water Appropriately: Overwatering can contribute to the development of fungal diseases. Water at the base of the plants, avoiding wetting the foliage. Ensure the soil has good drainage and allow the top layer to dry slightly between watering sessions.
- Practice Crop Rotation: Rotate the location of your vegetable crops each year to prevent the buildup of pests and diseases in the soil. This helps break the pest cycle and reduces the risk of recurring issues.
- Use Disease-resistant Varieties: When selecting seeds or seedlings, choose disease-resistant varieties whenever possible. These varieties have built-in resistance to common diseases and are less likely to succumb to infections.
By implementing these protective measures, you can minimize the impact of pests and diseases on your seedlings, promoting their healthy growth and ensuring a successful harvest.
Read more: When Do You Plant Carrot Seeds
Conclusion
Planting vegetable seeds is an exciting and rewarding endeavor that allows you to enjoy the flavors and benefits of homegrown produce. By considering various factors such as climate, seedling or direct sowing, crop-specific planting times, and soil preparation, you can set the stage for a productive and thriving garden.
Understanding the recommended planting dates for your region and following proper planting depth and spacing guidelines are crucial for the optimal development of your vegetable plants. Providing adequate water, mulching, and implementing effective weed and pest control measures will further enhance your garden’s health and productivity.
Remember, gardening is both an art and a science. It requires observation, adaptability, and a willingness to learn from experience. Experimentation, patience, and perseverance are key as you navigate the joys and challenges of growing your own vegetables.
So, whether you’re a beginner or an experienced gardener, enjoy the journey of planting vegetable seeds. Embrace the beauty of nature, nurture your plants with care, and savor the taste of the fresh produce that graces your table. Happy gardening!
Frequently Asked Questions about When Should You Plant Vegetable Seeds
Was this page helpful?
At Storables.com, we guarantee accurate and reliable information. Our content, validated by Expert Board Contributors, is crafted following stringent Editorial Policies. We're committed to providing you with well-researched, expert-backed insights for all your informational needs.

0 thoughts on “When Should You Plant Vegetable Seeds”