Home>Garden Essentials>When Can You Plant Zinnia Seeds
Garden Essentials
When Can You Plant Zinnia Seeds
Modified: March 15, 2024
Discover the optimal time to plant zinnia seeds in your garden and ensure a vibrant and beautiful display of colorful flowers.
(Many of the links in this article redirect to a specific reviewed product. Your purchase of these products through affiliate links helps to generate commission for Storables.com, at no extra cost. Learn more)
Introduction
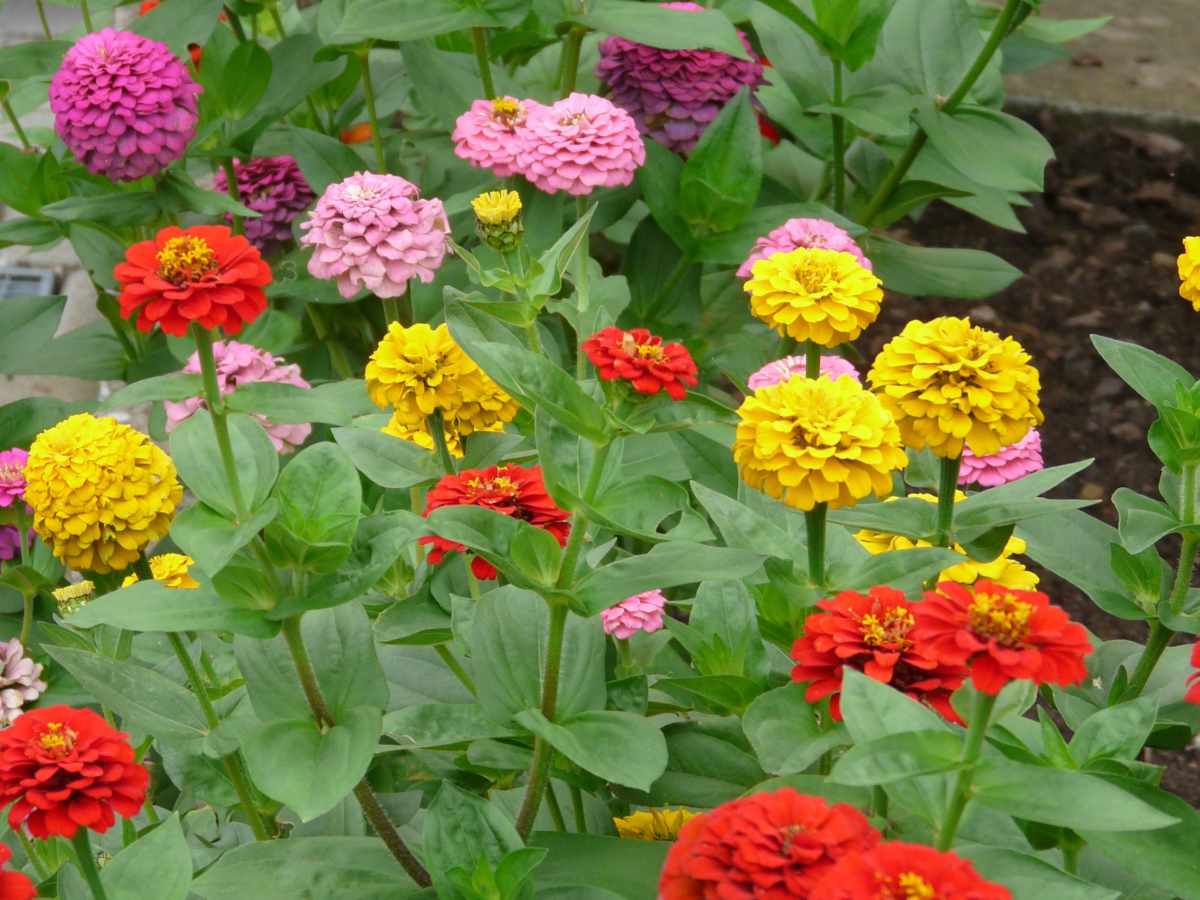
Welcome to the colorful world of zinnias! These vibrant and versatile flowers can bring life and beauty to any garden or outdoor space. Whether you’re a seasoned gardener or just starting out, zinnias are a fantastic choice for adding pops of color and attracting pollinators to your yard.
In this article, we’ll explore the fascinating journey of zinnias, starting from their seeds all the way to their blooming flowers. We’ll discuss the ideal planting time, soil preparation, proper care, common issues, and even how to harvest zinnia flowers.
So, if you’re ready to embark on a zinnia adventure, let’s dive in!
Key Takeaways:
- Zinnias thrive in warm weather and should be planted after the last frost date. They prefer full sun and well-draining soil, making them a colorful and low-maintenance addition to any garden.
- Proper care, including regular watering, fertilizing, and pest management, ensures healthy zinnia plants. Harvesting zinnia flowers at their peak bloom and changing the water regularly prolongs their vase life, bringing joy indoors.
Read more: When Do You Plant Zinnia Seeds
Understanding Zinnia Seeds
Zinnia seeds are the starting point of your zinnia journey. Whether you choose to purchase them from a local nursery or harvest them from existing zinnia plants, understanding the characteristics of these seeds is crucial for successful cultivation.
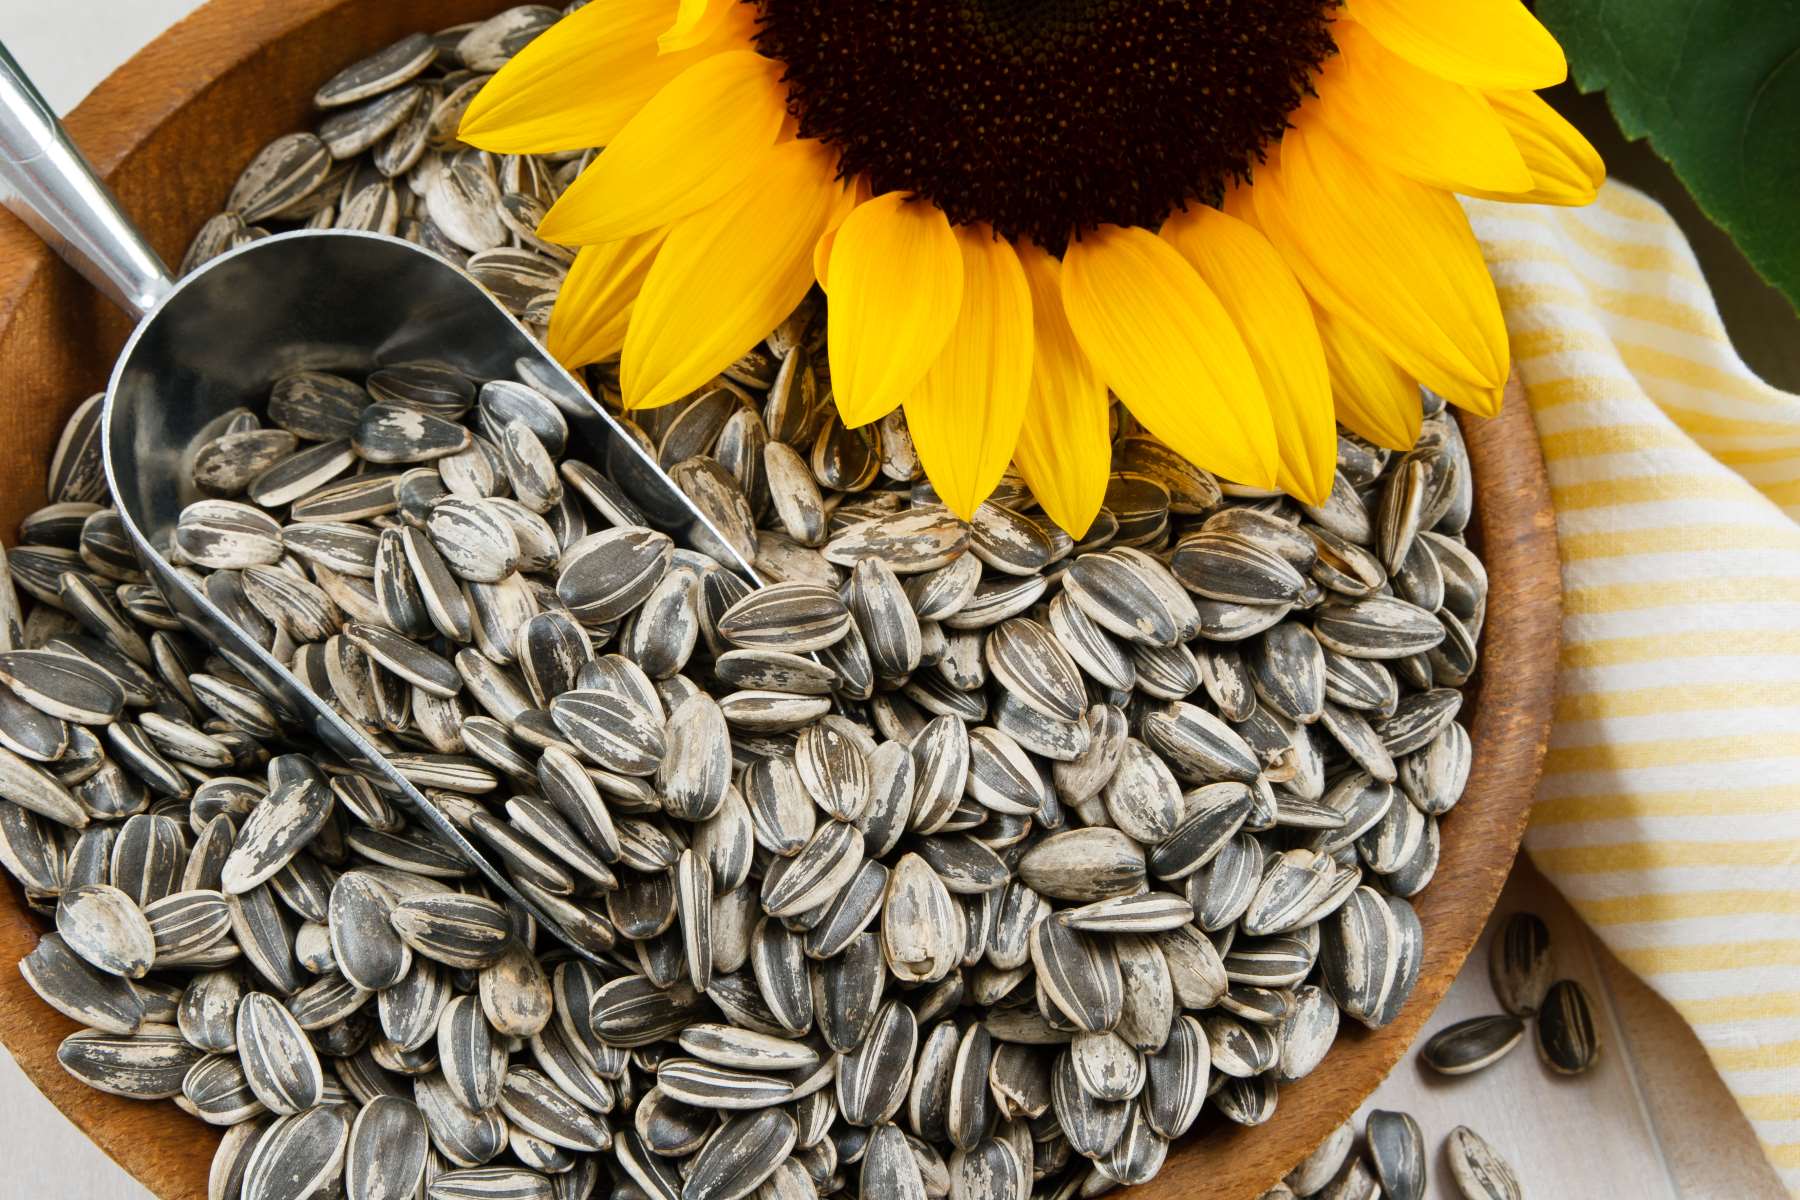
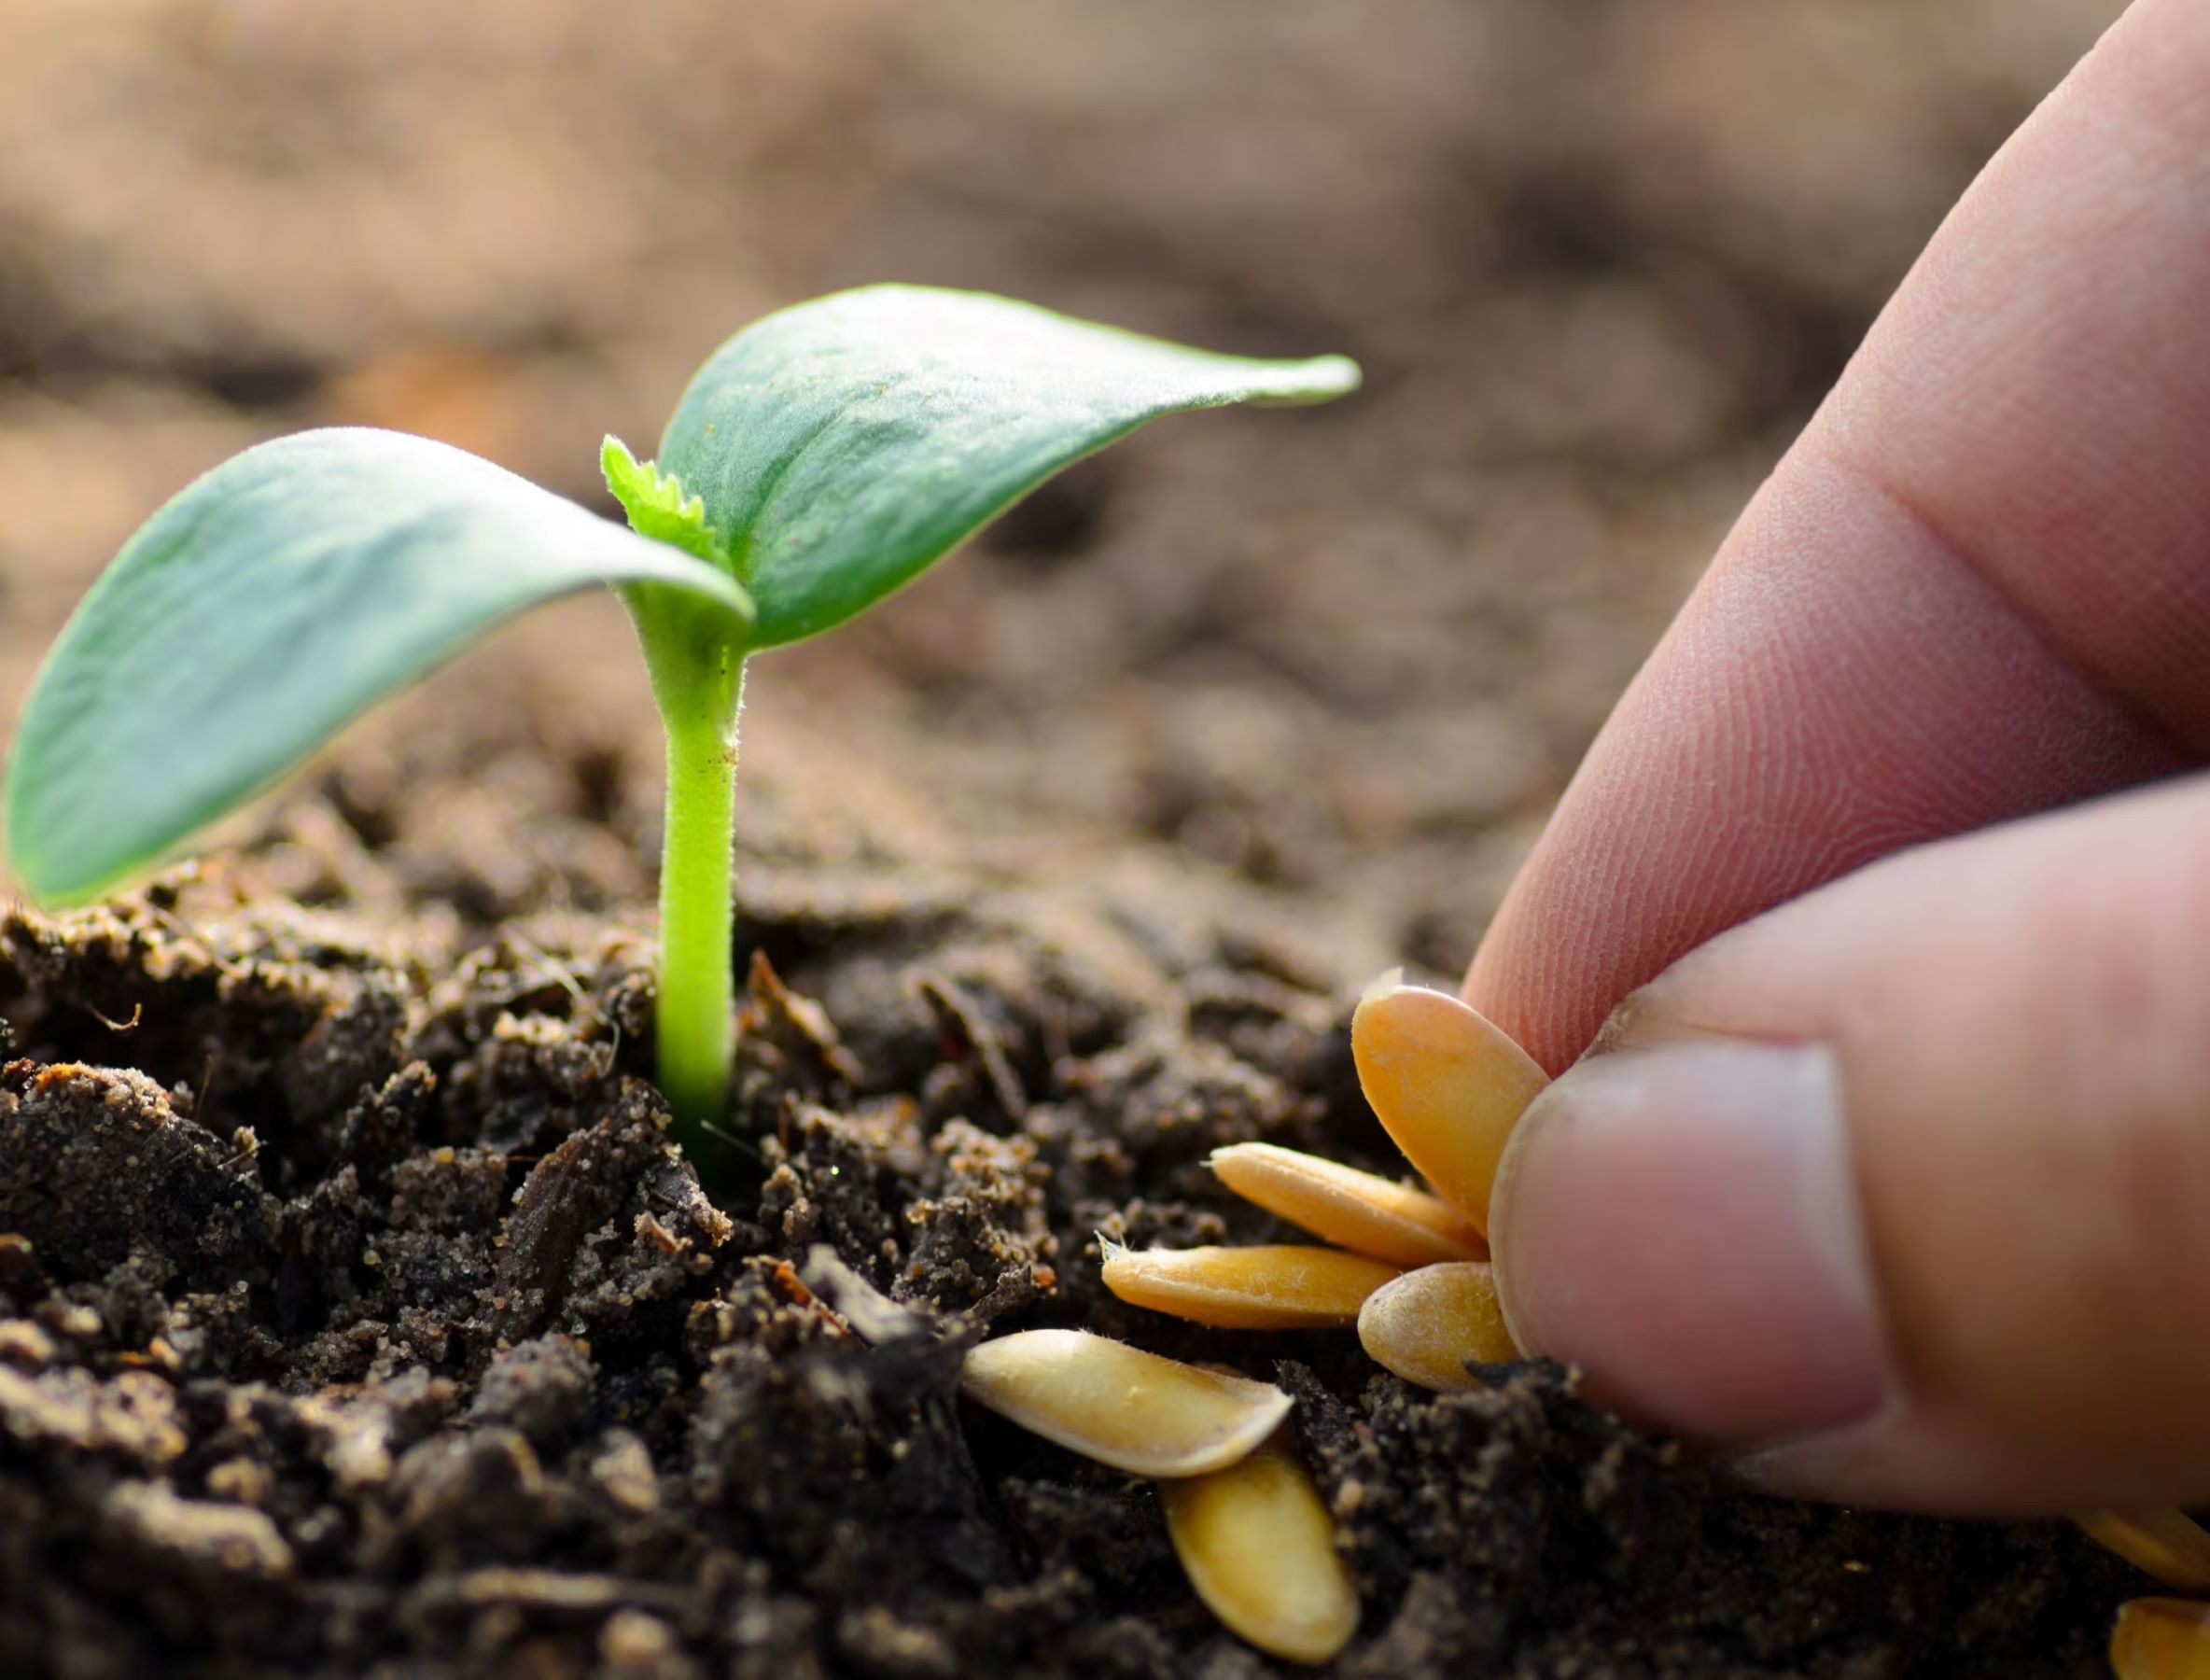
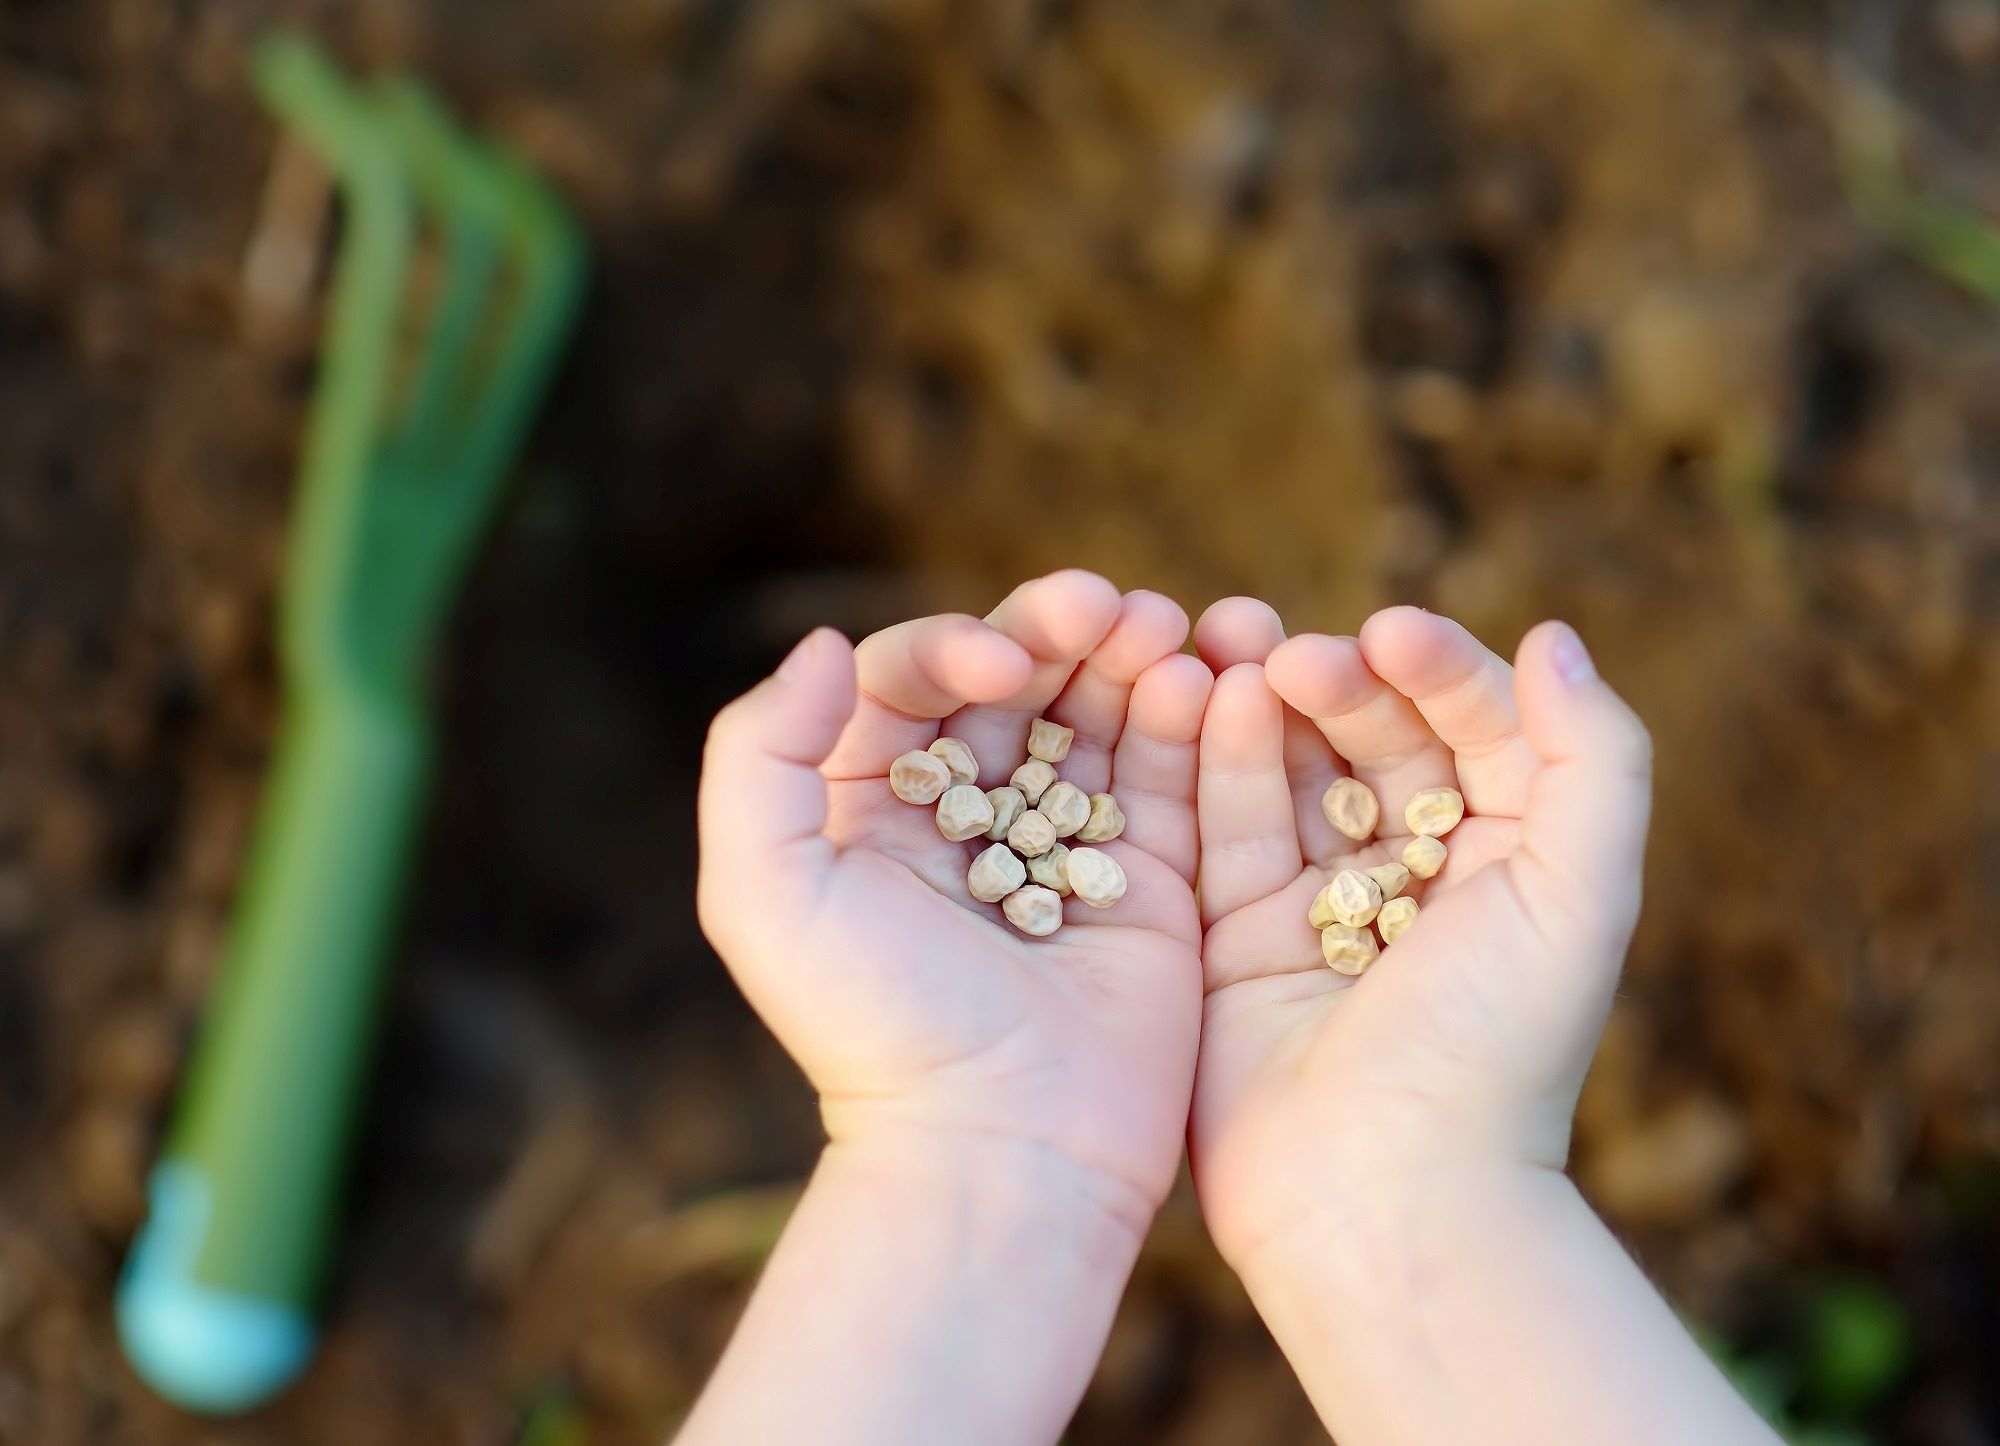
Zinnia seeds are small and oval-shaped, typically measuring around 1/8 inch in length. They can vary in color, ranging from light beige to dark brown or even black. Different zinnia varieties may have slightly different seed sizes and colors.
One important aspect to note about zinnia seeds is that they are relatively easy to handle and plant. Unlike some delicate seeds that require extreme care, zinnia seeds are robust and forgiving. This makes them an excellent choice for beginner gardeners.
Furthermore, zinnia seeds have a relatively long shelf life, lasting for several years if stored properly. This means you can save leftover seeds for future planting seasons or share them with fellow garden enthusiasts.
Lastly, zinnia seeds come in various types, including heirloom, hybrid, and open-pollinated. Heirloom seeds are from non-hybridized plants and are valued for their historical significance. Hybrid seeds are the result of controlled cross-pollination and are bred for specific traits. Open-pollinated seeds are pollinated naturally and can produce true-to-type plants.
Understanding these distinctions can help you choose the right type of seeds that align with your gardening goals and preferences.
Ideal Planting Time for Zinnia Seeds
Timing is everything when it comes to planting zinnia seeds. To ensure optimal growth and blooming, it’s essential to plant them at the right time of the year.
The ideal planting time for zinnia seeds depends on your location and the climate in your region. In general, zinnias thrive in warm weather, so it’s best to sow the seeds after the last frost date in your area. This is usually in the spring, once the soil has warmed up and nighttime temperatures stay above 50°F (10°C).
For those living in temperate climates, you can start planting zinnia seeds directly into the ground in the spring. However, if you live in an area with a shorter growing season or cooler temperatures, you may need to start the seeds indoors 4-6 weeks before the last frost date. This will give them a head start and allow them to grow stronger before being transplanted outside.
When planting zinnia seeds, it’s crucial to provide them with enough sunlight. Zinnias require full sun, meaning they need at least 6-8 hours of direct sunlight per day. Make sure to choose a location in your garden that receives ample sunlight to promote healthy growth and vibrant blooms.
Additionally, zinnias prefer well-draining soil that is rich in organic matter. Before planting, prepare the soil by removing any weeds or debris and incorporating compost or aged manure to improve its fertility and drainage. Zinnias are not particularly fussy about soil pH and can tolerate a wide range, but a slightly acidic to neutral pH (around 6.0-7.0) is generally ideal.
By planting zinnia seeds at the right time and providing them with the optimal growing conditions, you’ll give your zinnias the best chance to thrive and fill your garden with their magnificent blooms.
Preparing the Soil
Preparing the soil is a critical step in creating the perfect growing environment for your zinnias. By taking the time to properly prepare the soil, you can ensure that your zinnias have the nutrients and drainage they need to flourish.
Here are some steps to follow when preparing the soil for your zinnia seeds:
- Clear the area: Start by clearing the planting area of any weeds, rocks, or debris. This will help minimize competition and create a clean space for your zinnias to grow.
- Loosen the soil: Zinnias prefer well-draining soil, so it’s important to loosen the soil to improve its structure. Use a garden fork or a tiller to gently break up any compacted soil. This will allow the roots to penetrate easily and prevent waterlogging.
- Amend the soil: Incorporating organic matter is key to enriching the soil and providing necessary nutrients for your zinnias. Compost, aged manure, or leaf mold can be added to improve the soil’s fertility and moisture retention. Work the organic matter into the soil, ensuring it’s evenly distributed.
- Test the soil: While zinnias are not overly picky about soil pH, it’s still a good idea to test your soil’s pH levels. A pH test kit can be obtained at a local garden center or through online retailers. Aim for a slightly acidic to neutral pH, around 6.0-7.0, which is generally suitable for most plants.
- Level and smooth the soil: After incorporating organic matter and adjusting the pH, rake the soil to create a level and smooth surface. This will make planting and watering easier, ensuring uniform growing conditions for your zinnias.
By following these steps, you can provide your zinnias with a healthy foundation for growth. The well-prepared soil will support root development, nutrient uptake, and overall plant health, leading to robust and beautiful zinnia plants.
Planting Zinnia Seeds
Now that you have prepared the soil, it’s time to plant your zinnia seeds. Proper planting techniques and spacing will ensure healthy growth and vibrant blooms. Let’s walk through the steps of planting zinnia seeds:
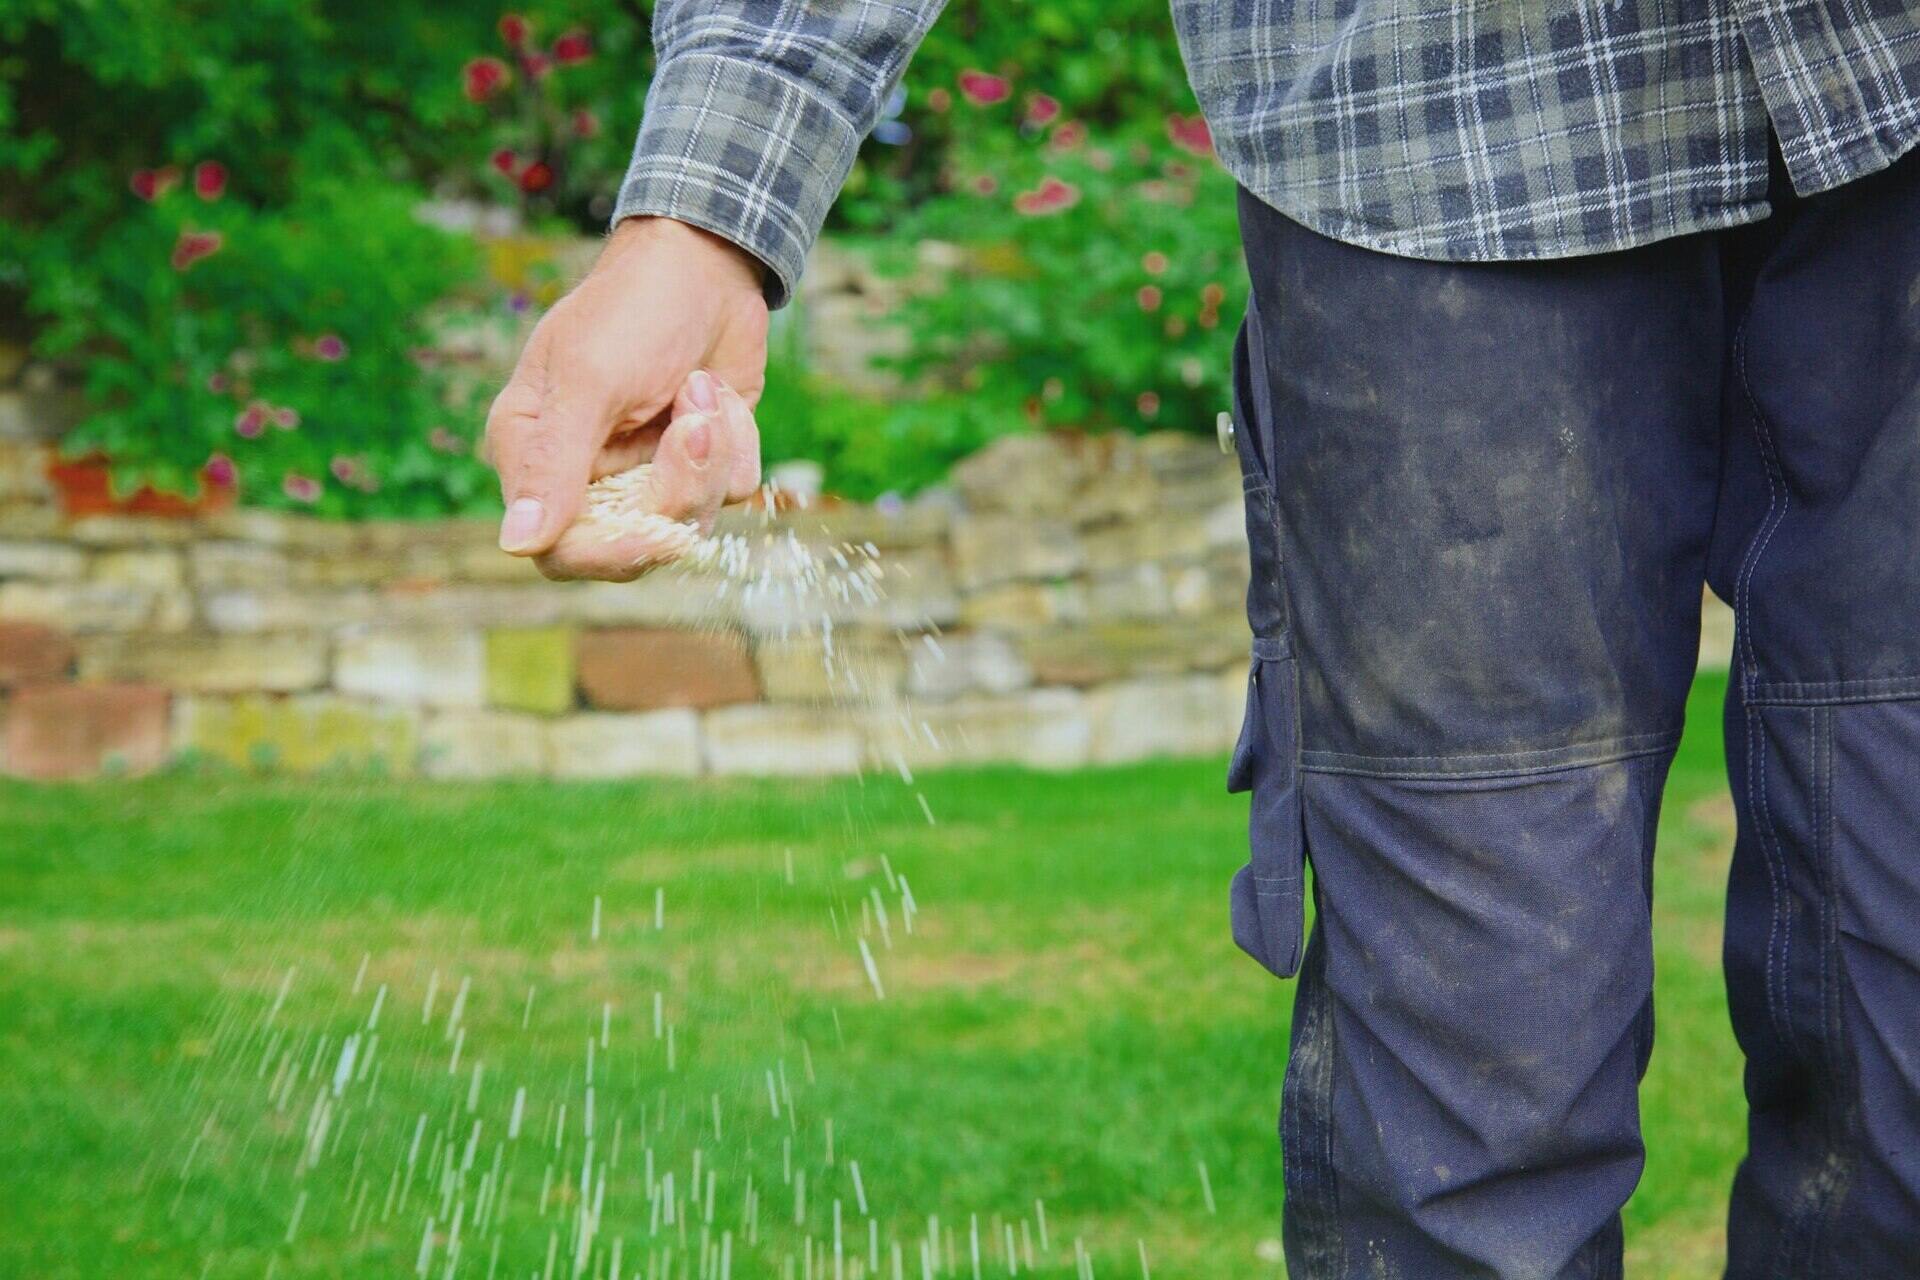
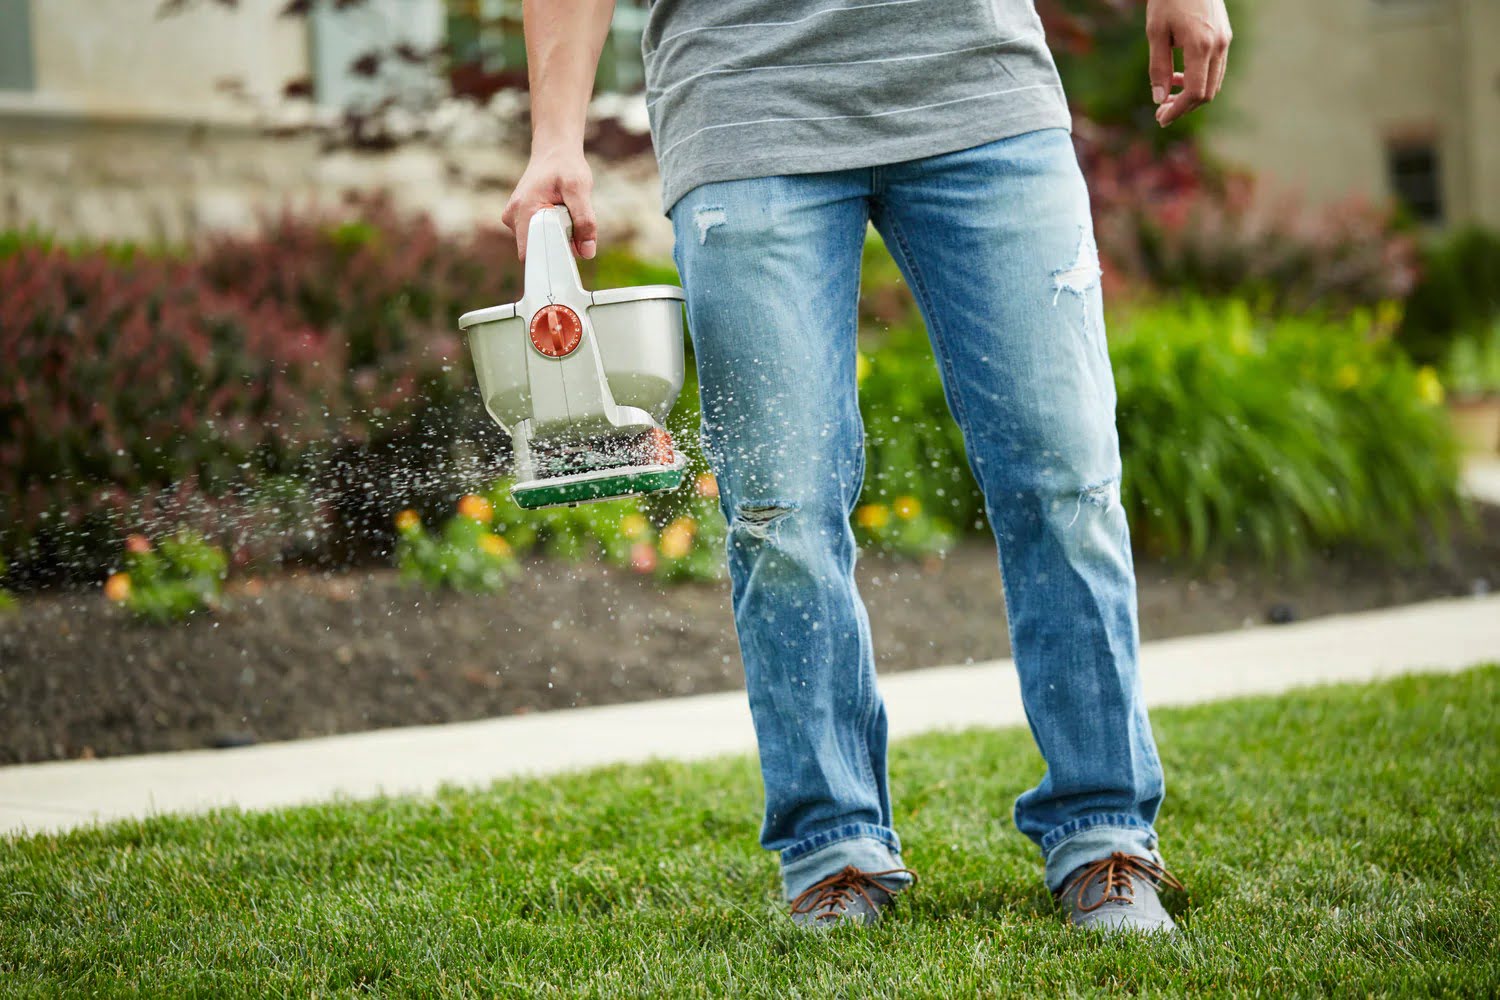
- Select the planting method: There are two primary methods for planting zinnia seeds: direct sowing and starting seeds indoors. Direct sowing involves planting the seeds directly into the ground, while starting seeds indoors allows for earlier planting and stronger seedling development. Choose the method that works best for your climate and timeline.
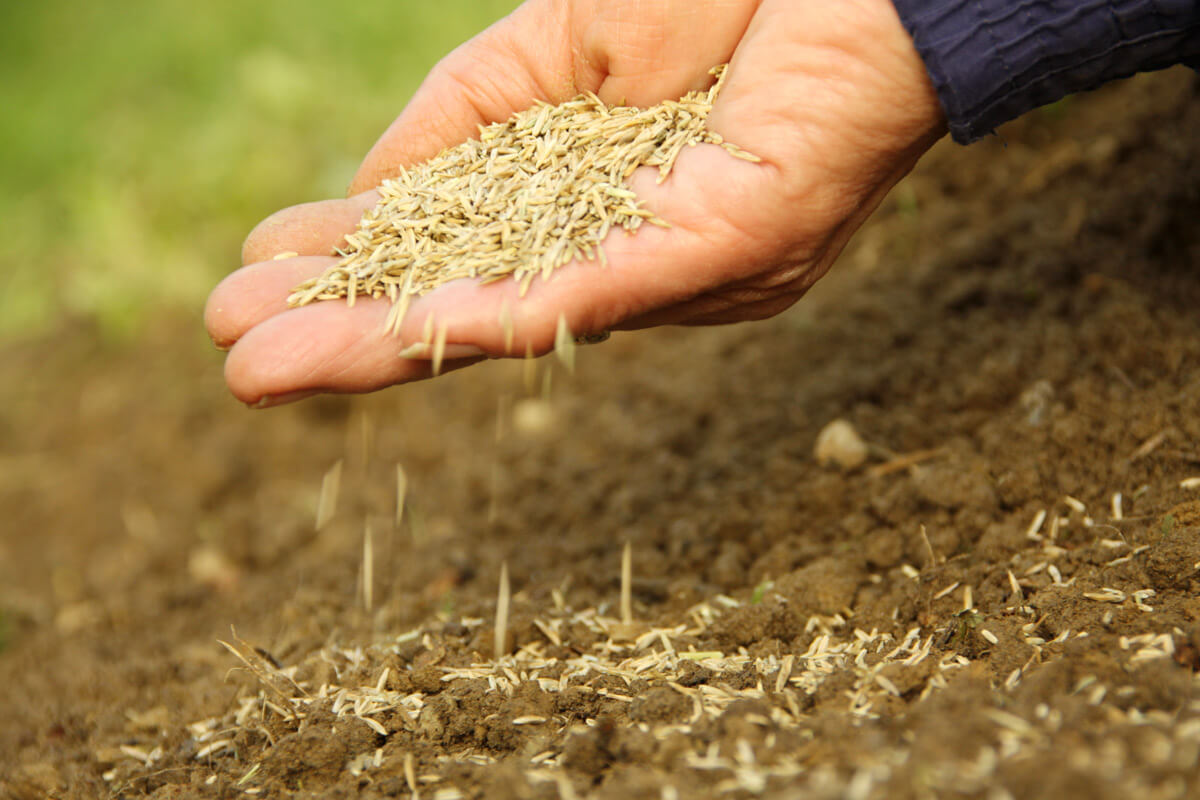
- Direct sowing: If you have opted for direct sowing, sow the zinnia seeds directly into the prepared soil. Create small holes or furrows about 1/4 to 1/2 inch deep, spacing them roughly 6 to 12 inches apart, depending on the variety. Drop a few seeds into each hole and cover them with soil. Gently pat the soil to ensure good seed-to-soil contact.
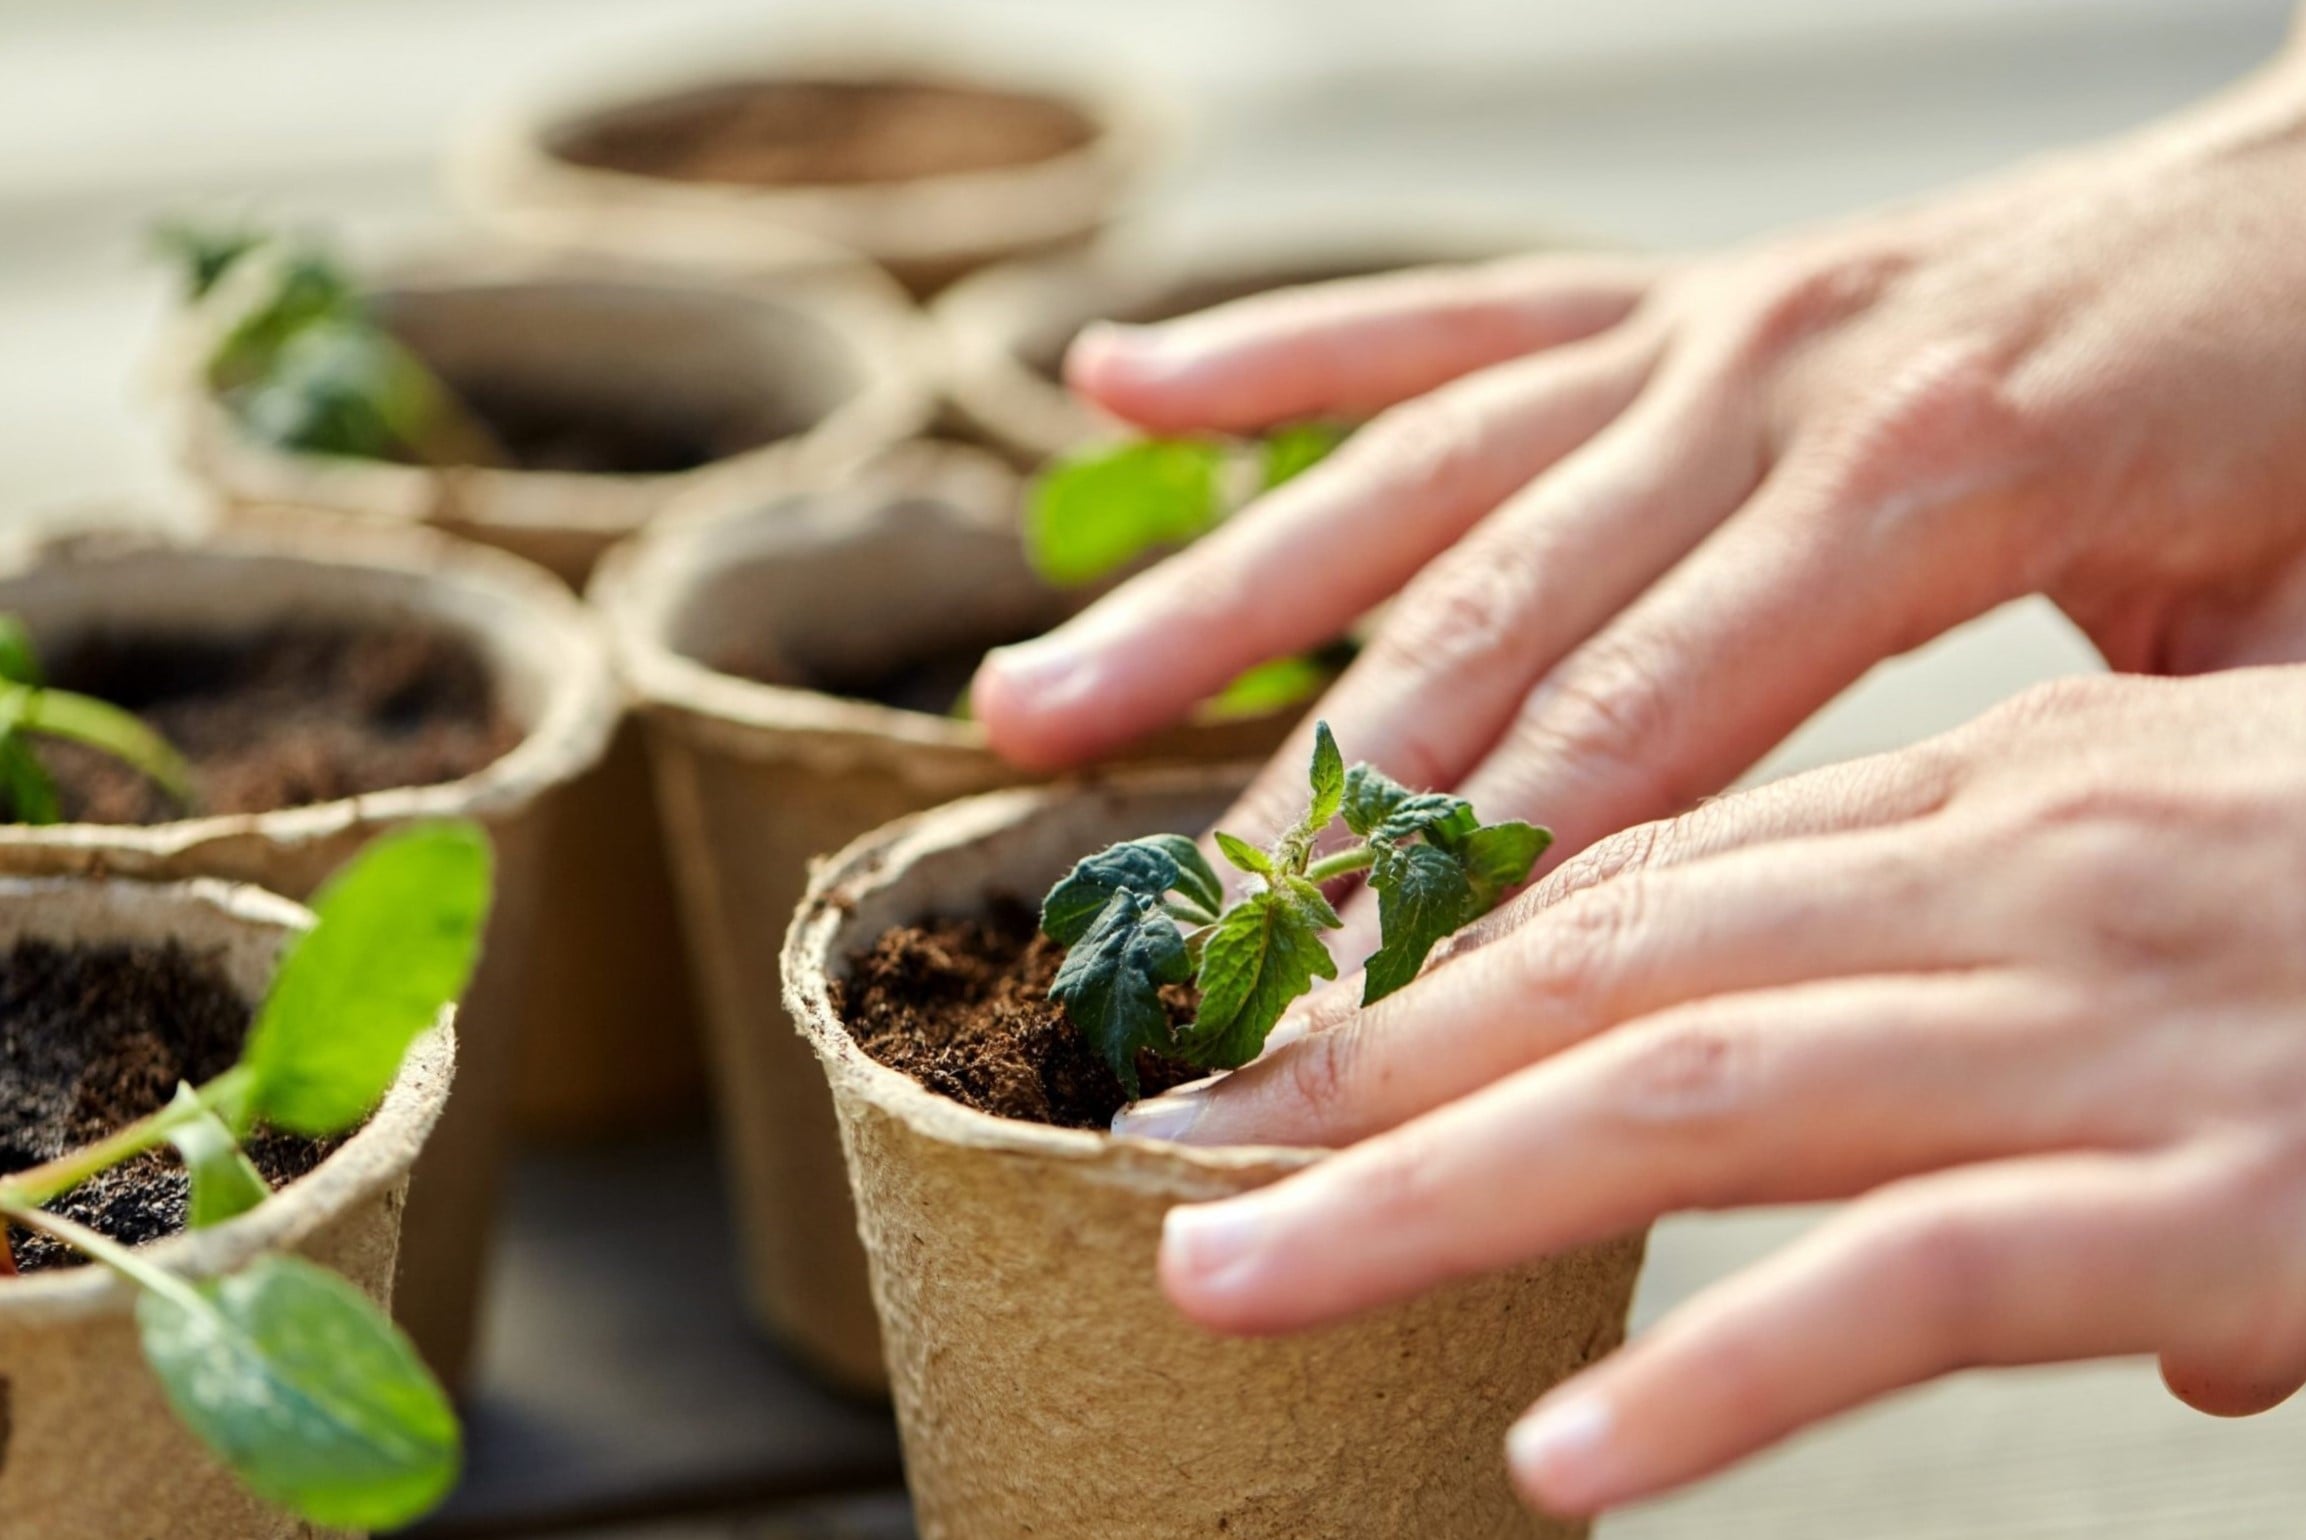
- Starting seeds indoors: If you prefer starting seeds indoors, fill seed trays or small pots with a quality seed-starting mix. Moisten the mix before sowing the seeds. Place one or two seeds in each container, covering them with a thin layer of soil. Keep the soil consistently moist and provide warmth and bright light for germination.
- Watering: After planting, water the soil gently to keep it moist but not waterlogged. Avoid overwatering, as it can lead to rotting and poor germination. Once the seedlings emerge, continue to water regularly, ensuring that the soil stays evenly moist.
- Thinning seedlings: If you have planted multiple seeds in one hole or if your seedling trays have multiple sprouts, thin them out once they have a few sets of true leaves. This will prevent overcrowding and allow each plant to receive adequate nutrients and space for optimal growth.
- Transplanting: If you started the seeds indoors, it’s important to properly harden off the seedlings before transplanting them into the garden. This involves gradually exposing them to outdoor conditions by placing them outside for a few hours each day, gradually increasing the duration over a week or two. Once hardened off, transplant the seedlings into the garden, ensuring proper spacing.
Remember to provide your zinnias with full sun exposure, well-draining soil, and regular watering to promote healthy growth. With proper planting techniques, your zinnia seeds will germinate and grow into stunning and colorful flowers that will bring joy to your garden.
You can plant zinnia seeds outdoors after the last frost date in your area. Zinnias thrive in warm soil, so wait until the soil temperature is at least 70°F (21°C) for best results.
Read more: When To.Plant Zinnia Seeds
Providing Proper Care for Zinnia Plants
Once your zinnia seeds have sprouted and started to grow, it’s important to provide them with the proper care to ensure their continued health and vibrant blooms. Let’s explore some essential care tips for zinnia plants:
- Watering: Zinnias require regular watering to keep the soil evenly moist. Water deeply at the base of the plants, avoiding overhead watering if possible, as wet foliage can lead to disease. Water early in the day to allow the leaves to dry before evening, reducing the risk of fungal infections.
- Fertilizing: To encourage healthy growth and abundant blooms, feed your zinnia plants with a balanced fertilizer. Use a slow-release granular fertilizer or a water-soluble fertilizer mixed according to package instructions. Apply the fertilizer every 4-6 weeks throughout the growing season. Avoid excessive fertilization, as it can lead to lush foliage but fewer flowers.
- Deadheading: Regular deadheading, which is the removal of spent blooms, is crucial for prolonging the blooming period of zinnias. As the flowers fade, snip them off just above a set of healthy leaves or lateral bud. This will redirect the plant’s energy towards producing new blooms rather than seed production.
- Supporting tall varieties: Some zinnia varieties can grow quite tall and may benefit from support. Install stakes or a trellis near the plants before they become too tall to avoid damaging the roots later. Gently tie the main stems to the support structure using plant ties or soft twine to provide stability and prevent them from toppling over.
- Pest and disease management: Keep an eye out for common pests such as aphids, caterpillars, and spider mites. Regularly inspect the plants, particularly the undersides of leaves, and take action immediately if you notice any signs of infestation. Use organic pest control methods or insecticidal soaps to manage pest populations effectively. Additionally, proper spacing, good air circulation, and avoiding overhead watering can reduce the risk of fungal diseases.
- Mulching: Apply a layer of organic mulch, such as straw or wood chips, around the base of your zinnia plants. Mulching helps retain moisture, suppresses weed growth, and regulates soil temperature. It also adds organic matter to the soil as it breaks down.
- Regular inspections: Take the time to inspect your zinnia plants regularly for any signs of stress, disease, or nutrient deficiencies. Early detection allows for prompt action, increasing the chances of effectively resolving any issues and minimizing damage to your plants.
By providing proper care and attention, you’ll ensure that your zinnia plants remain healthy and vibrant throughout the growing season, rewarding you with an abundance of stunning blooms to enjoy.
Common Issues and Troubleshooting
While zinnias are generally hardy and easy to grow, they may face certain issues or encounter challenges along the way. Let’s explore some common problems that zinnia growers may encounter and how to troubleshoot them:
- Powdery Mildew: Powdery mildew is a fungal disease that can affect zinnias, causing a white powdery coating on leaves and stems. To prevent powdery mildew, ensure adequate spacing between plants for good air circulation. Water at the base of the plants and avoid overhead watering. If powdery mildew occurs, treat it with organic fungicides or a homemade solution of neem oil and water.
- Aphids and Spider Mites: These tiny pests can infest zinnias, causing damage to foliage and reducing plant vigor. Use insecticidal soaps or a strong stream of water to remove them from the plants. Ladybugs and lacewings are natural predators of aphids and can help keep them under control.
- Caterpillar Infestation: Zinnias may be attacked by various caterpillars, including the notorious tomato hornworm. Handpick and remove caterpillars from the plants or use organic insecticides that specifically target caterpillars. Encouraging natural predators like birds or installing bird feeders nearby can help manage caterpillar populations.
- Yellowing or Stunted Growth: If your zinnia plants exhibit yellowing leaves or stunted growth, it may indicate nutrient deficiencies or poor soil conditions. Ensure that the soil is well-draining and enriched with organic matter. Consider providing a balanced fertilizer to address any nutrient deficiencies. Adjusting the pH of the soil may also be necessary if it is too acidic or alkaline.
- Overwatering or Underwatering: Overwatering can cause root rot and yellowing of leaves, while underwatering leads to wilting and stunted growth. Maintain a balance by watering the zinnias when the top inch of soil feels dry. Monitor the moisture level and adjust watering accordingly.
- Deer and Rabbit Damage: Zinnias are generally not the preferred food of deer and rabbits, but they may occasionally nibble on the plants. If you have deer or rabbit problems in your area, protect your zinnias with fencing or use repellents to deter these animals.
By being attentive to these common issues and taking prompt action, you can overcome challenges and ensure that your zinnia plants stay healthy and thrive throughout the growing season.
Harvesting Zinnia Flowers
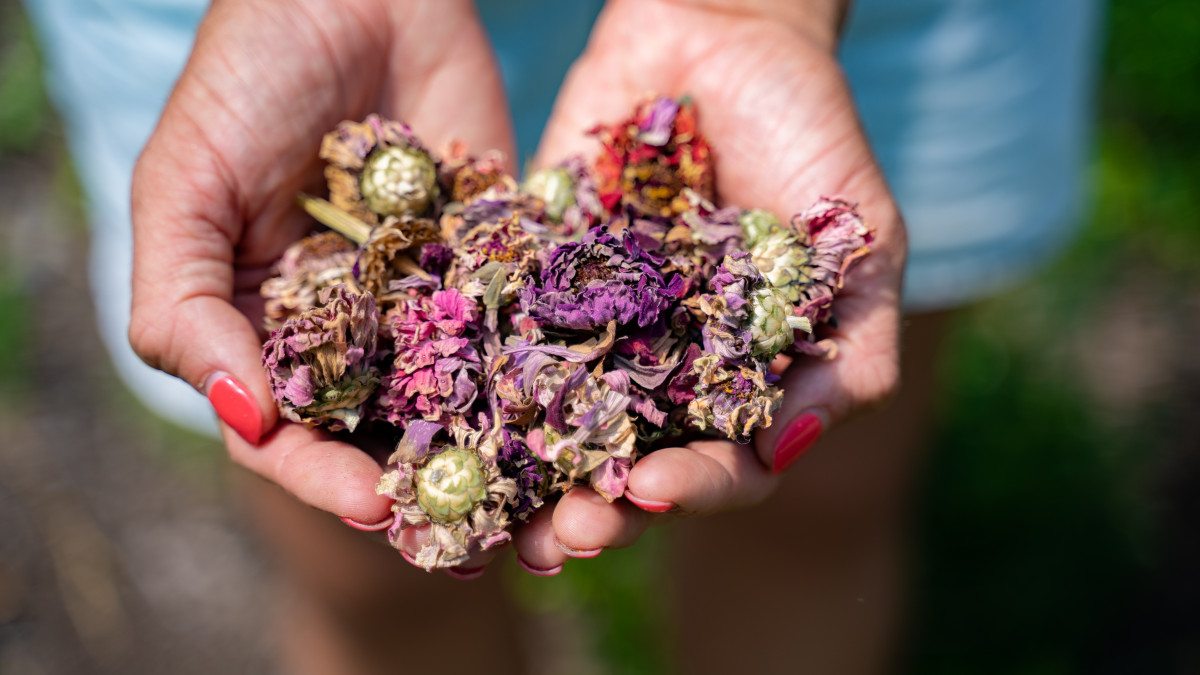
Harvesting zinnia flowers is a rewarding experience, allowing you to enjoy the fruits of your gardening efforts and bring their beauty indoors. Whether you want to create stunning floral arrangements or simply adorn your living space with fresh zinnias, here are some tips for harvesting zinnia flowers:
- Choose the right time: Zinnia flowers can be harvested when they are fully open and at their peak bloom. Wait until the petals are firm and vibrant in color before cutting.
- Prepare the tools: Before harvesting, gather a pair of clean and sharp gardening shears or scissors. Using properly sterilized tools minimizes the risk of introducing diseases to the plants.
- Select the stems: Look for long stems with healthy foliage. Choose stems that have multiple flower buds or blooms, as this will allow you to enjoy the beauty of the zinnias for a longer period.
- Cut the stems: Cut the selected stems at a 45-degree angle, just above a leaf node or lateral bud. This will encourage lateral branching and the development of new flower buds.
- Remove excess foliage: Strip off any leaves that will be below the waterline when the zinnias are placed in a vase. Removing the leaves prevents them from decomposing in the water and potentially causing bacterial growth.
- Place in water immediately: Immediately after cutting, place the harvested zinnias in a clean bucket or container filled with fresh water. This will help them retain their freshness and keep them hydrated.
- Change the water: To prolong the vase life of zinnias, change the water every few days and trim the stems at an angle. This helps prevent the buildup of bacteria that can shorten their lifespan.
- Enjoy your zinnias: Arrange your harvested zinnias in a vase or create beautiful floral arrangements to brighten up your home. The vibrant colors and unique patterns of zinnia flowers will add a touch of natural beauty to any space.
Remember, zinnias are continuous bloomers, so you can harvest flowers throughout the growing season. Regularly cutting blooms will also encourage the plant to produce more flowers, prolonging the overall blooming period.
With these tips in mind, you can confidently harvest your zinnias, bringing their radiant beauty indoors and appreciating the wonders of nature.
Conclusion
Zinnias are truly remarkable flowers that can transform any garden into a vibrant and colorful oasis. With their wide range of sizes, shapes, and hues, zinnias offer endless possibilities for creating stunning displays and attracting beneficial insects and pollinators.
In this article, we’ve explored the journey of zinnias, from understanding their seeds to harvesting their beautiful blooms. By planting zinnia seeds at the ideal time, preparing the soil, providing proper care, and troubleshooting common issues, you can cultivate healthy and thriving zinnia plants.
Remember to pay attention to the specific needs of your zinnias, including regular watering, fertilization, and pest management. Deadheading spent blooms, providing support for tall varieties, and maintaining a watchful eye for any issues will ensure prolonged blooming and healthy growth.
Furthermore, don’t forget to enjoy the fruits of your labor by harvesting zinnia flowers. With proper cutting techniques and care, you can bring the vibrant beauty of zinnias indoors and create stunning floral arrangements to brighten up your living space.
Whether you’re a seasoned gardener or just starting out, zinnias are a fantastic choice for adding color, charm, and a touch of nature’s beauty to your garden. Their versatility, hardiness, and striking blooms make them a favorite among garden enthusiasts.
So, why not embark on a zinnia adventure? Plant some zinnia seeds, watch them grow, and immerse yourself in a world of joyful colors and enchanting fragrances. Whether they’re lining your garden beds, filling containers on your patio, or adorning your indoor spaces, zinnias are sure to bring happiness and beauty into your life.
Happy gardening and may your zinnias flourish!
Frequently Asked Questions about When Can You Plant Zinnia Seeds
Was this page helpful?
At Storables.com, we guarantee accurate and reliable information. Our content, validated by Expert Board Contributors, is crafted following stringent Editorial Policies. We're committed to providing you with well-researched, expert-backed insights for all your informational needs.
0 thoughts on “When Can You Plant Zinnia Seeds”