Home>Gardening & Outdoor>Outdoor Entertaining>How To Put Out A Solo Fire Pit
Outdoor Entertaining
How To Put Out A Solo Fire Pit
Modified: August 17, 2024
Learn how to safely extinguish a solo fire pit and create a cozy outdoor entertaining space with our expert tips and techniques. Perfect for your next backyard gathering!
(Many of the links in this article redirect to a specific reviewed product. Your purchase of these products through affiliate links helps to generate commission for Storables.com, at no extra cost. Learn more)
Introduction
Welcome to the world of outdoor entertaining, where the crackling of a fire pit sets the stage for memorable gatherings with friends and family. There's something inherently captivating about the dance of flames that draws people together, fostering an atmosphere of warmth and camaraderie. However, as much as we revel in the glow of a well-tended fire, the responsibility of safely managing it cannot be overlooked. In this guide, we'll delve into the art of managing a solo fire pit, ensuring that your outdoor soiree remains a delightful and secure affair.
Whether you're seeking a tranquil evening under the stars or a lively gathering with loved ones, mastering the art of tending a fire pit solo is a valuable skill. Beyond the practical aspects, there's a sense of satisfaction that comes from creating and maintaining a welcoming fire, casting a soft, flickering light over your outdoor space. So, let's embark on this journey together, exploring the essential steps for kindling, enjoying, and safely extinguishing a solo fire pit. With the right location, supplies, and techniques at your disposal, you'll be well-equipped to orchestrate enchanting evenings around your own mesmerizing fire pit.
Key Takeaways:
- Master the art of tending a solo fire pit by choosing the right location, gathering supplies, and safely building and extinguishing the fire for enchanting outdoor gatherings.
- Create a cozy and inviting ambiance around your solo fire pit, fostering connections and lasting memories with friends and family under the open sky.
Read more: How To Clean A Solo Stove Fire Pit
Selecting the Right Location
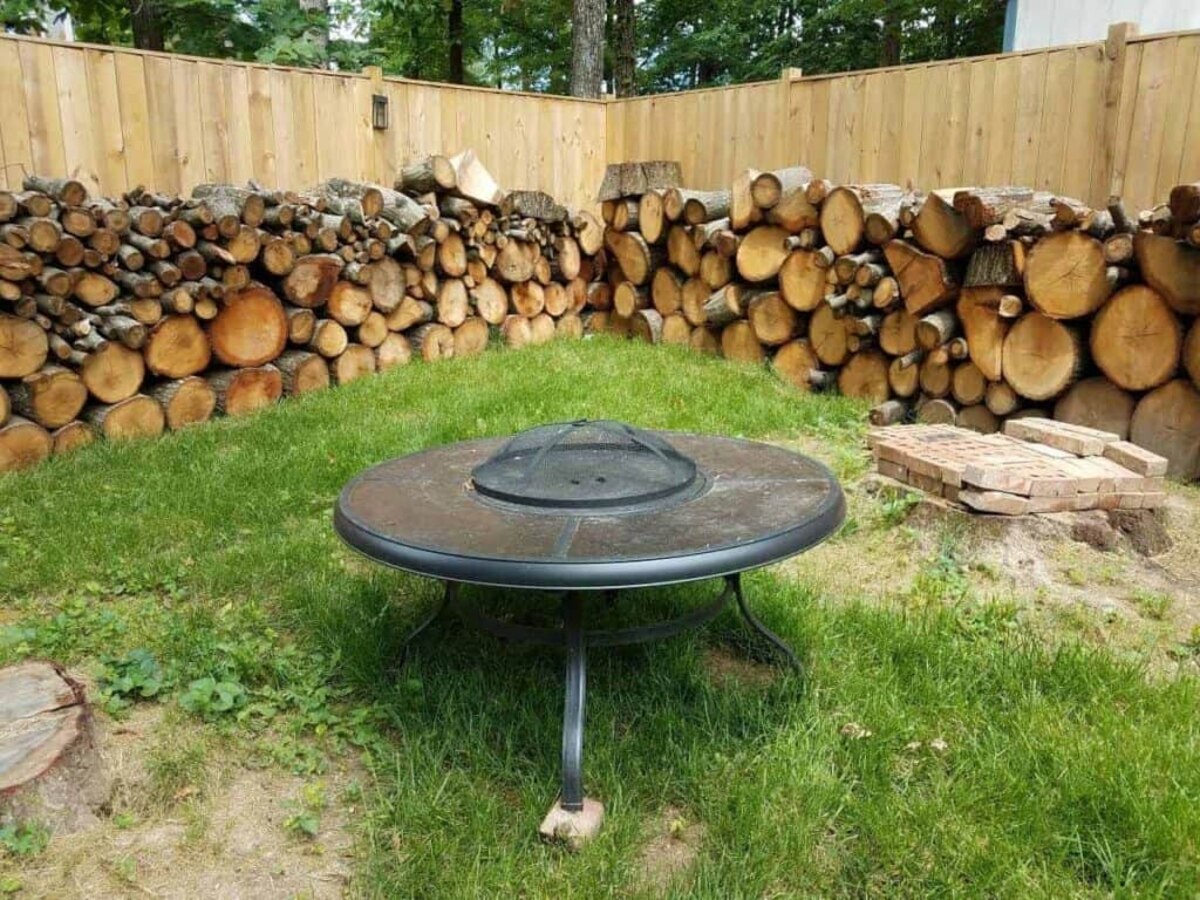
Before you embark on the enchanting journey of igniting a solo fire pit, it’s crucial to choose the perfect spot for this outdoor focal point. The ideal location not only ensures the safety of your surroundings but also sets the stage for a cozy and inviting ambiance.
Consider the following factors when selecting the location for your fire pit:
- Safety First: Opt for a location that is at a safe distance from any flammable structures, overhanging branches, or dry grass. This helps mitigate the risk of accidental fires spreading beyond the pit.
- Stable Ground: Ensure that the ground is level and stable to prevent the fire pit from tipping over. Avoid placing it on uneven or sloping surfaces.
- Wind Direction: Take note of the prevailing wind direction in your outdoor space. Position the fire pit so that the wind blows smoke away from seating areas, ensuring a more comfortable experience for you and your guests.
- Accessibility: Choose a location that is easily accessible and in close proximity to seating areas, making it convenient to tend the fire and enjoy its warmth.
- Aesthetic Appeal: Consider the overall aesthetics of your outdoor space. The fire pit can serve as a centerpiece, so placing it in a visually appealing spot enhances the ambiance of your gathering.
By carefully considering these factors, you can select a location that not only prioritizes safety and convenience but also contributes to the allure of your outdoor entertaining area. Once you’ve identified the perfect spot, you’re one step closer to creating memorable moments around your solo fire pit.
Gathering Necessary Supplies
With the location secured, it’s time to gather the essential supplies for your solo fire pit adventure. Having the right tools and materials at hand ensures a seamless and enjoyable experience, allowing you to tend the fire with confidence and ease.
Here’s a rundown of the supplies you’ll need:
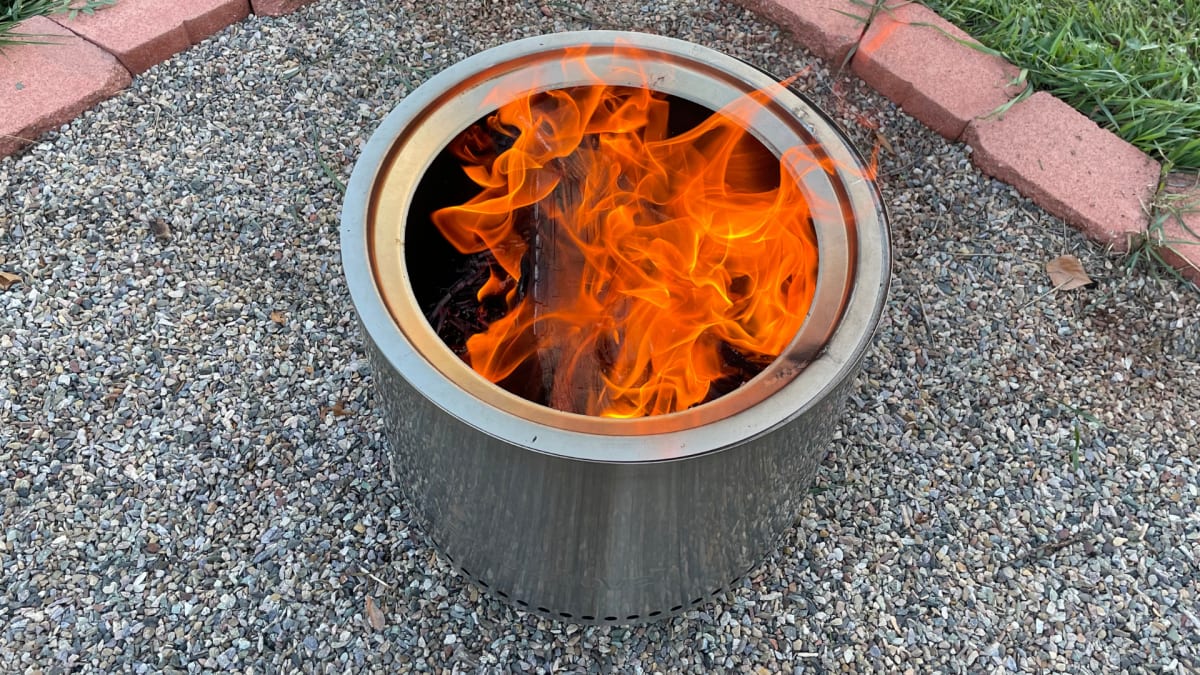
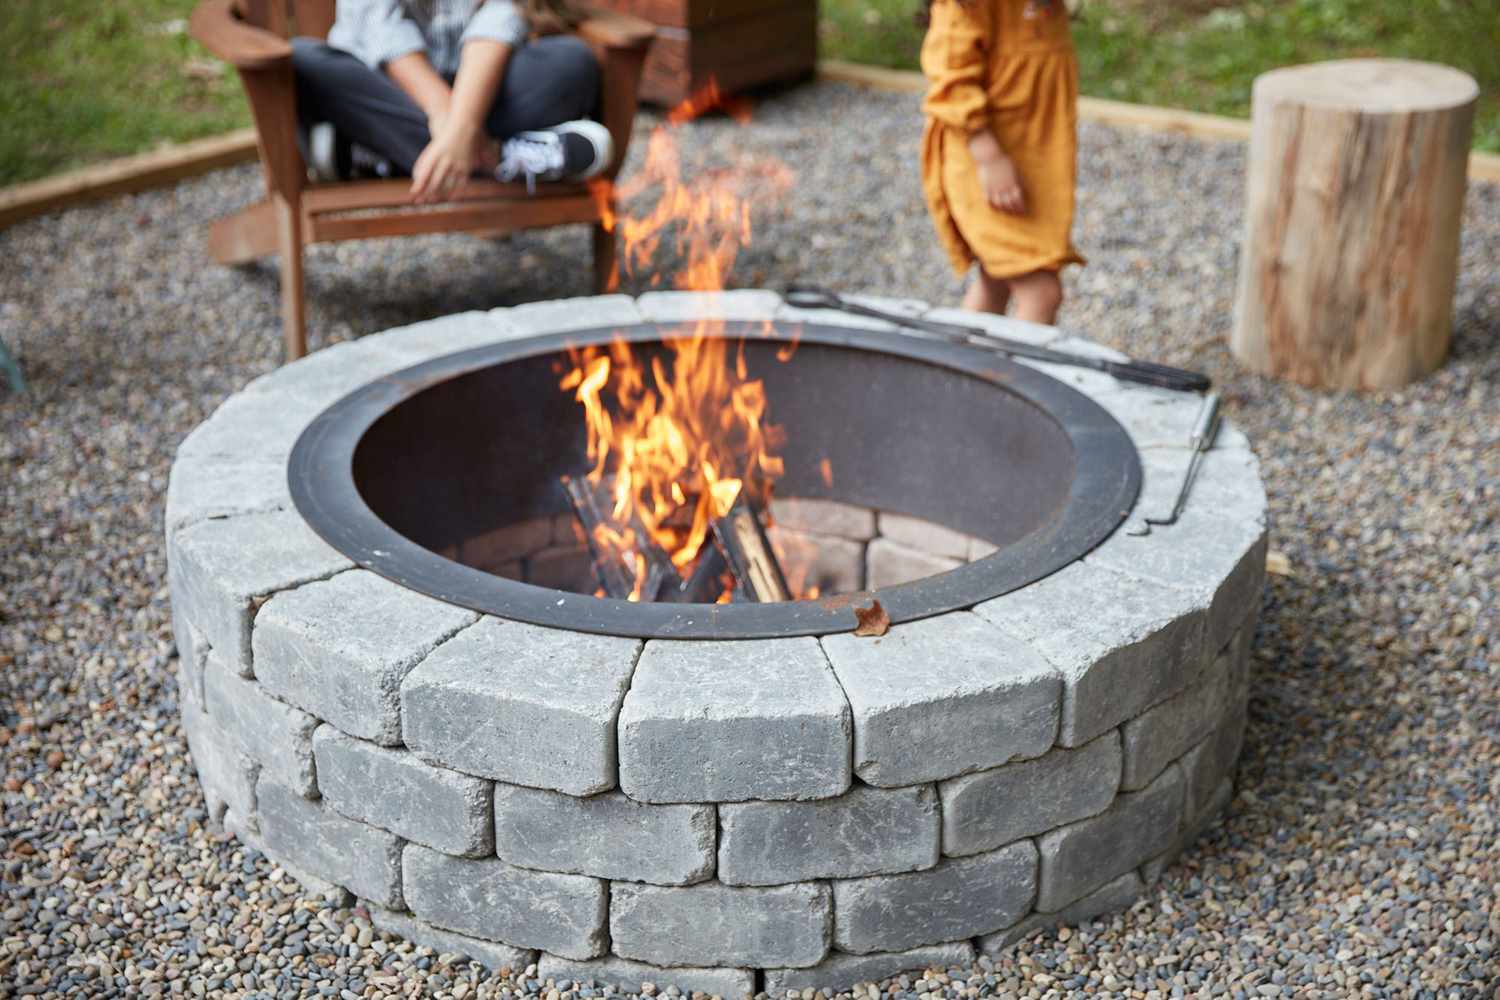
- Fire Pit: Select a fire pit that suits your space and style preferences. Whether it’s a portable metal pit or a permanent stone structure, choose one that complements your outdoor aesthetic.
- Fuel: Depending on your preference, gather firewood, natural fire starters, or charcoal. Opt for seasoned hardwood that burns efficiently and produces a pleasant aroma.
- Ignition Source: Keep a reliable lighter, matches, or a fire starter tool on hand to ignite the fire safely and swiftly.
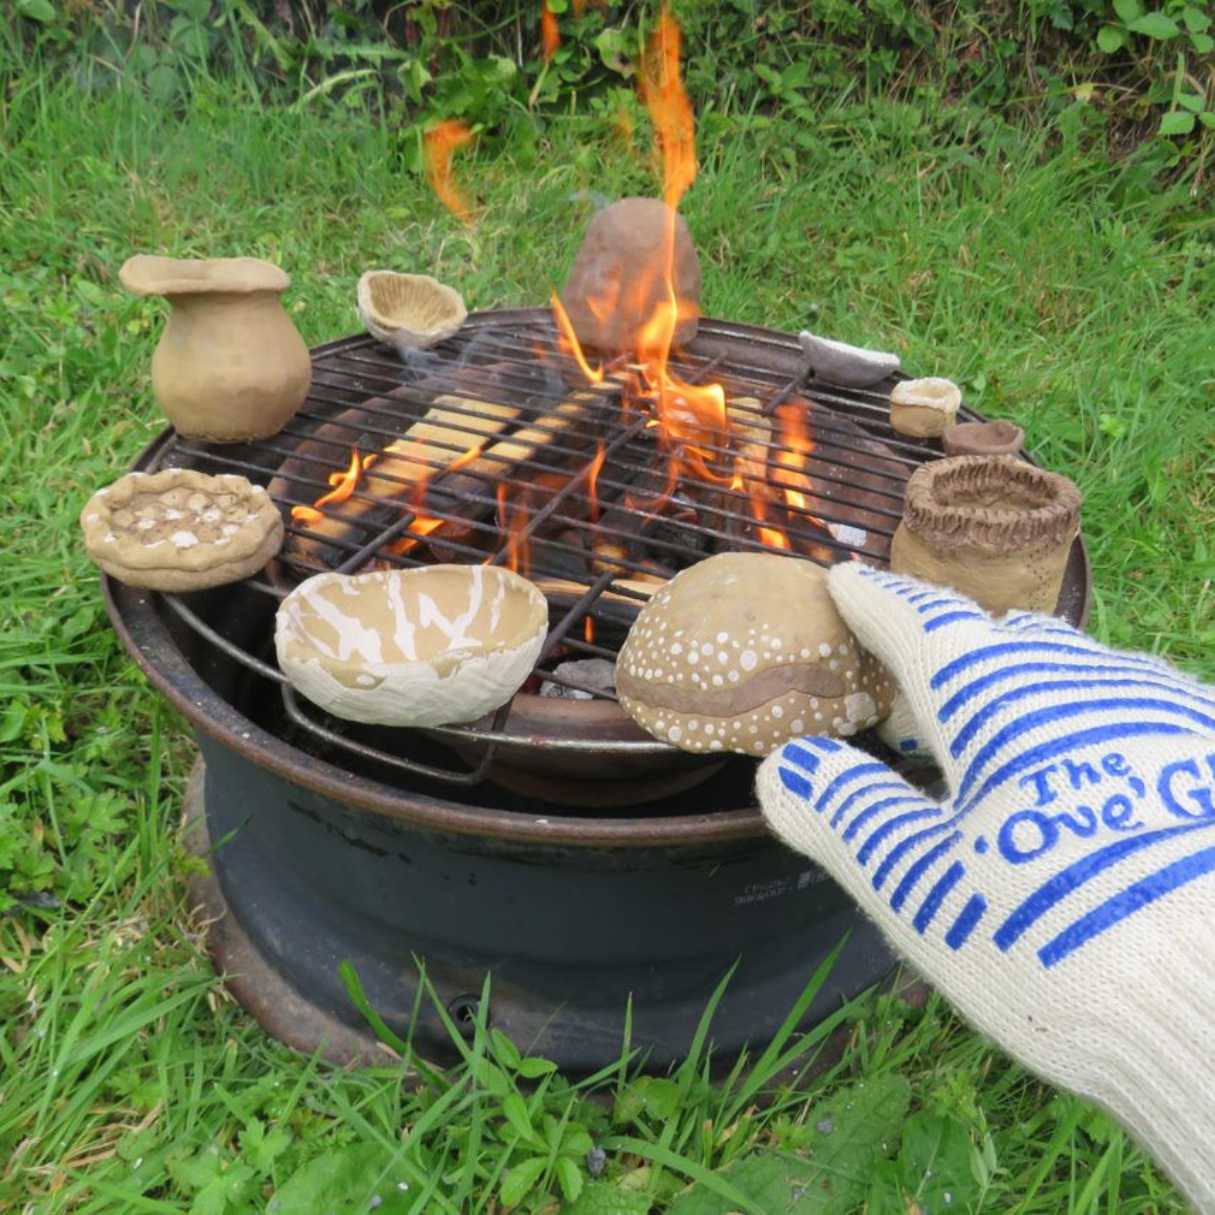
- Fire-Resistant Gloves: Protect your hands while tending the fire with a pair of heat-resistant gloves, allowing you to adjust logs and tend to the flames without risk of burns.
- Seating: Ensure you have comfortable and ample seating arranged around the fire pit, inviting guests to relax and bask in the warmth of the fire.
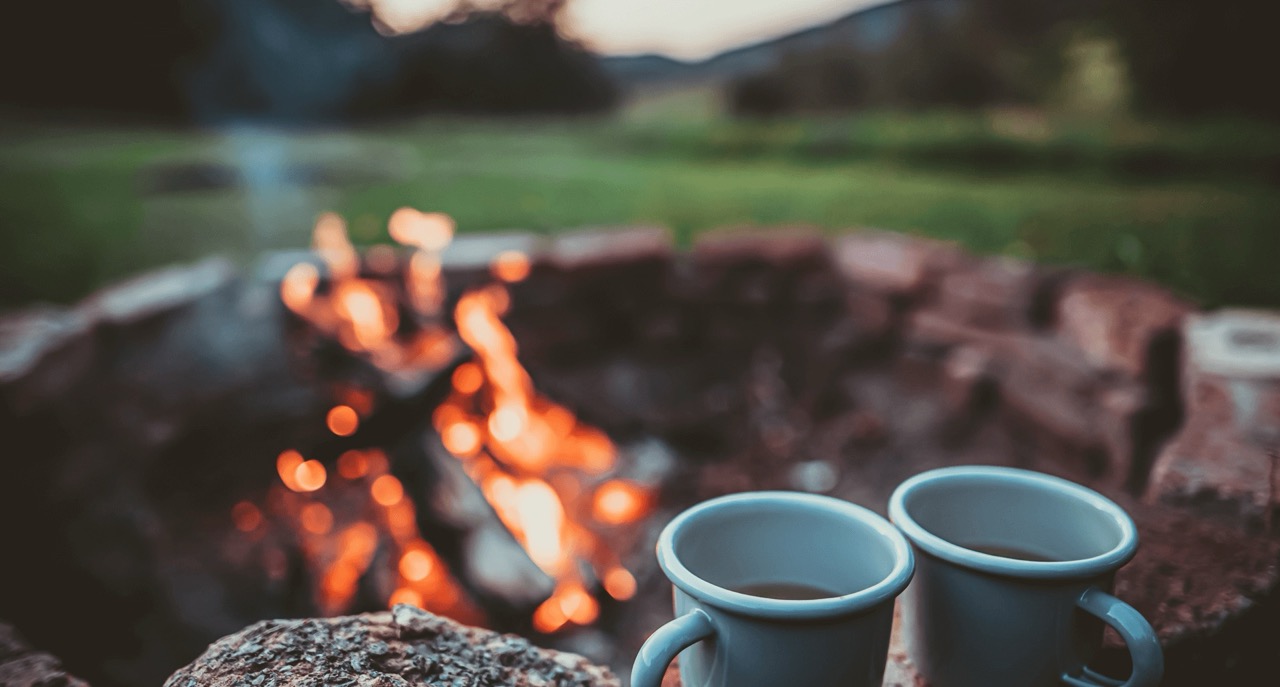
- Snacks and Beverages: Elevate the experience with a selection of snacks and beverages to enjoy while gathered around the fire. Think s’mores ingredients, cozy blankets, and a thermos of hot cocoa for a delightful touch.
- Fire Safety Equipment: As a precaution, keep a fire extinguisher or a bucket of sand nearby to address any unexpected developments.
By gathering these supplies in advance, you’ll be well-prepared to kindle the flames and curate a delightful atmosphere around your solo fire pit. With everything in place, you’re poised to embark on a captivating outdoor experience, embracing the warmth and allure of your carefully tended fire.
Always keep a bucket of water or a fire extinguisher nearby when using a solo fire pit. In case of an emergency, carefully pour water over the fire and stir the ashes to ensure it is completely out. Never leave a fire unattended.
Building the Fire
As the sun begins its descent and the evening air takes on a gentle chill, it’s time to bring your solo fire pit to life. Building a fire is an art form that requires attention to detail and a touch of finesse. By following these steps, you can create a mesmerizing blaze that serves as the centerpiece of your outdoor gathering.
Here’s a step-by-step guide to building a captivating fire in your solo fire pit:
- Prepare the Fire Pit: Clear away any debris or ash from previous fires, ensuring a clean and unobstructed space for your new fire.
- Arrange the Fuel: Place a base layer of kindling, such as small dry twigs or newspaper, at the bottom of the fire pit. This provides a solid foundation for the fire to ignite and spread.
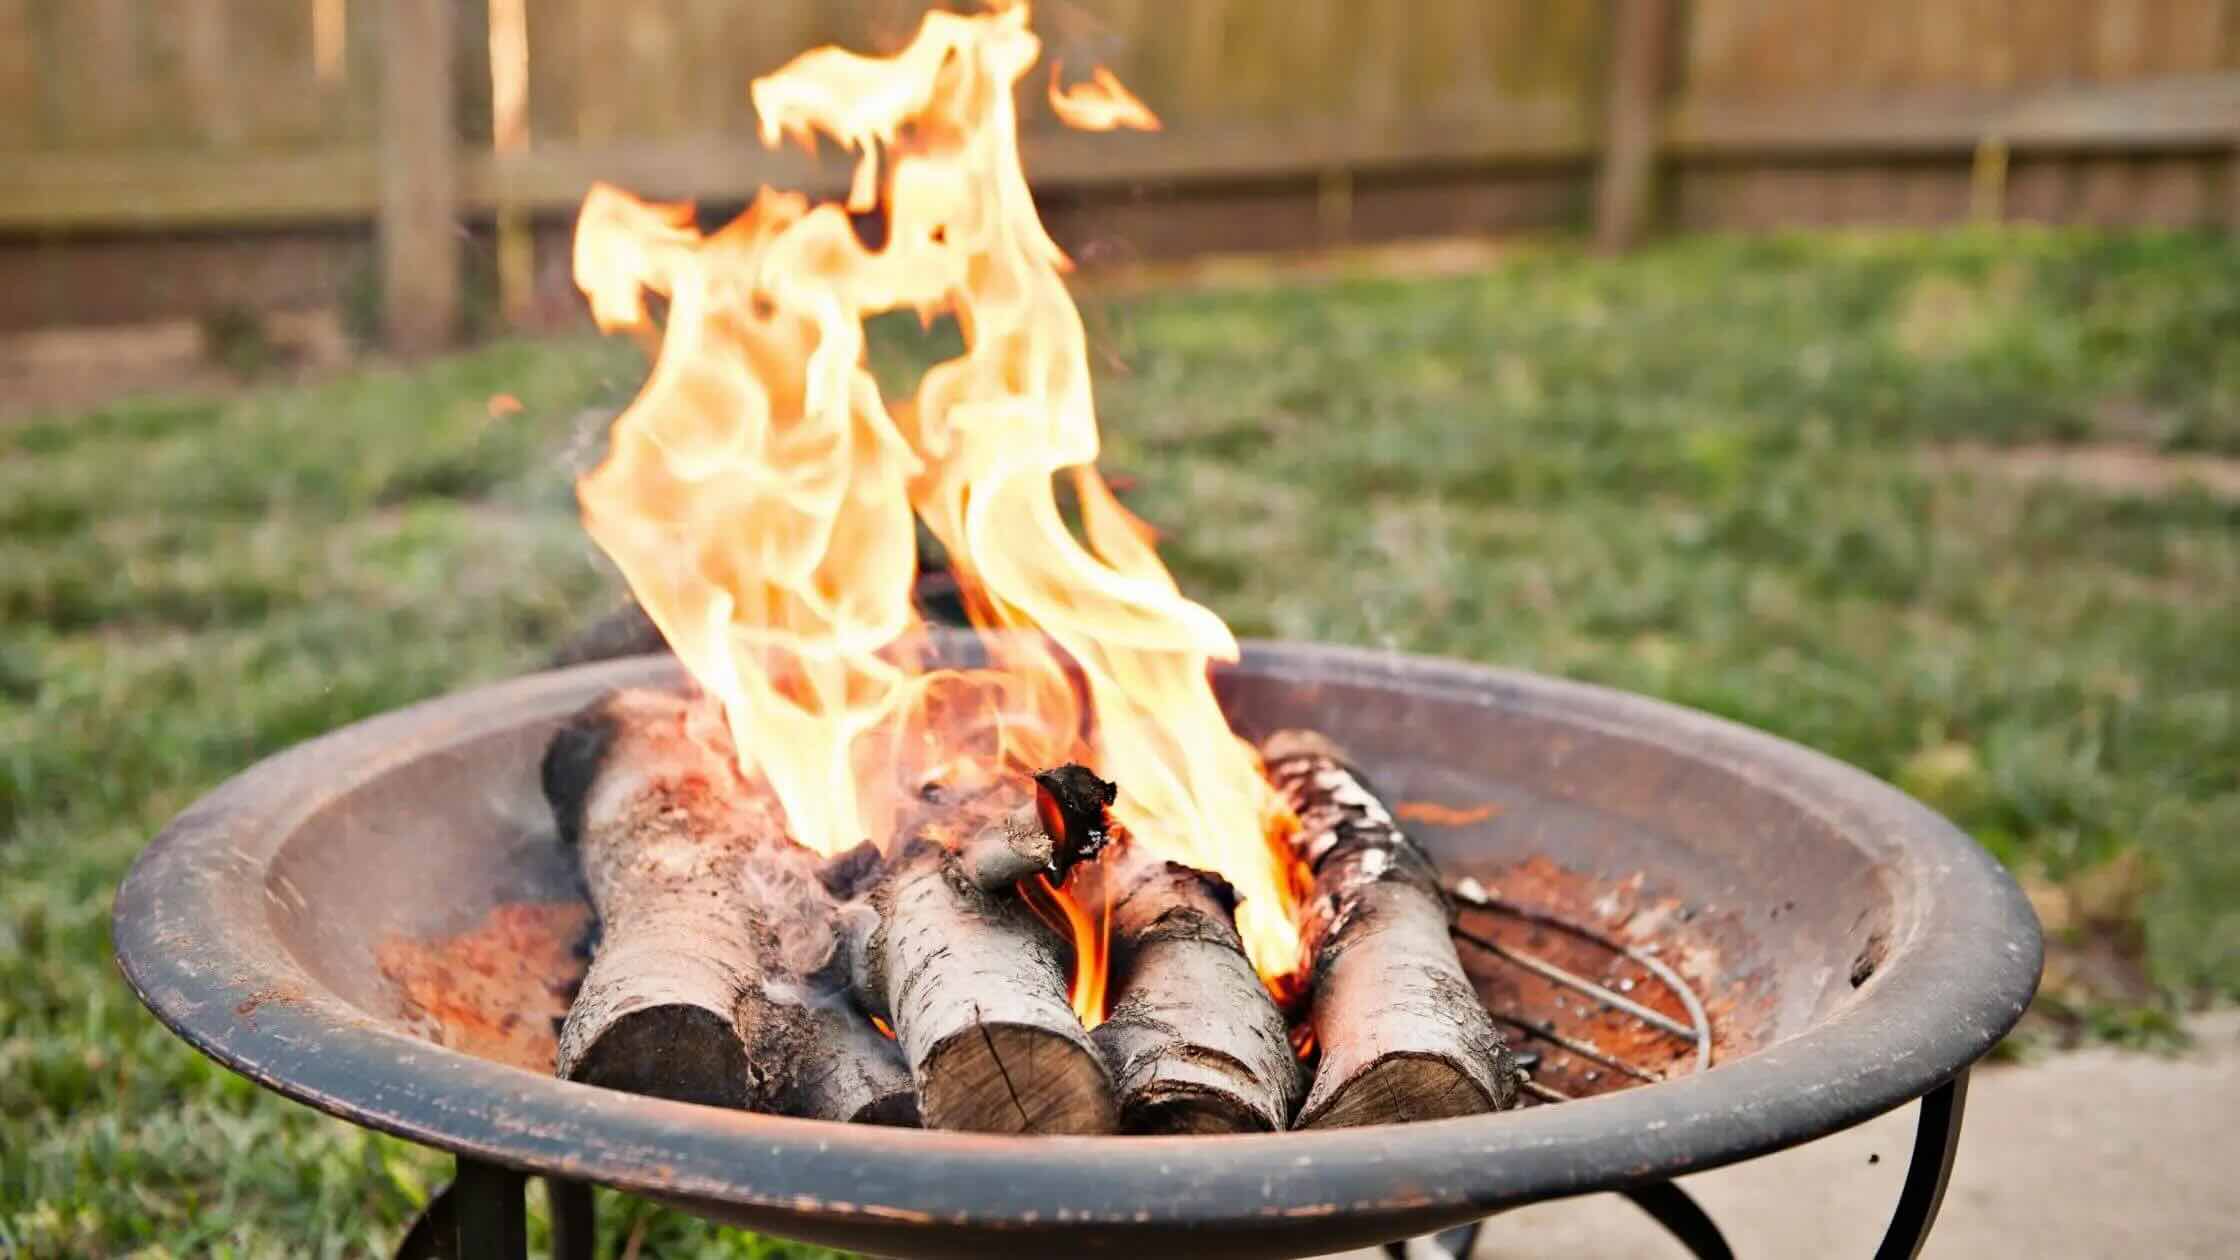
- Stack the Firewood: Arrange seasoned firewood in a crisscross or teepee formation over the kindling, allowing ample airflow between the logs. This arrangement promotes efficient burning and sustained flames.
- Ignite the Fire: Using a lighter, matches, or a fire starter, carefully ignite the kindling at multiple points to ensure even ignition of the firewood. Exercise caution and avoid using accelerants that may produce uncontrollable flames.
- Nurture the Flames: Once the fire has taken hold, gently blow on the base to provide oxygen and encourage the flames to grow. Gradually add more firewood as needed to maintain a steady and inviting blaze.
- Enjoy the Ambiance: As the fire crackles and dances, take a moment to savor the enchanting ambiance it creates. The warm glow and comforting heat set the stage for memorable conversations and shared moments with your guests.
By following these steps, you can transform your solo fire pit into a captivating focal point, infusing your outdoor space with the allure of a crackling fire. With the flames flickering and casting a soft glow, you’re well on your way to orchestrating a delightful evening of outdoor entertainment.
Safely Extinguishing the Fire
As the night draws to a close and the embers of your solo fire pit gradually dim, it’s essential to conclude the evening by safely extinguishing the fire. This final step ensures that the fire is fully contained and poses no risk to your outdoor space or the surrounding environment.
Follow these guidelines to safely extinguish the fire in your solo fire pit:
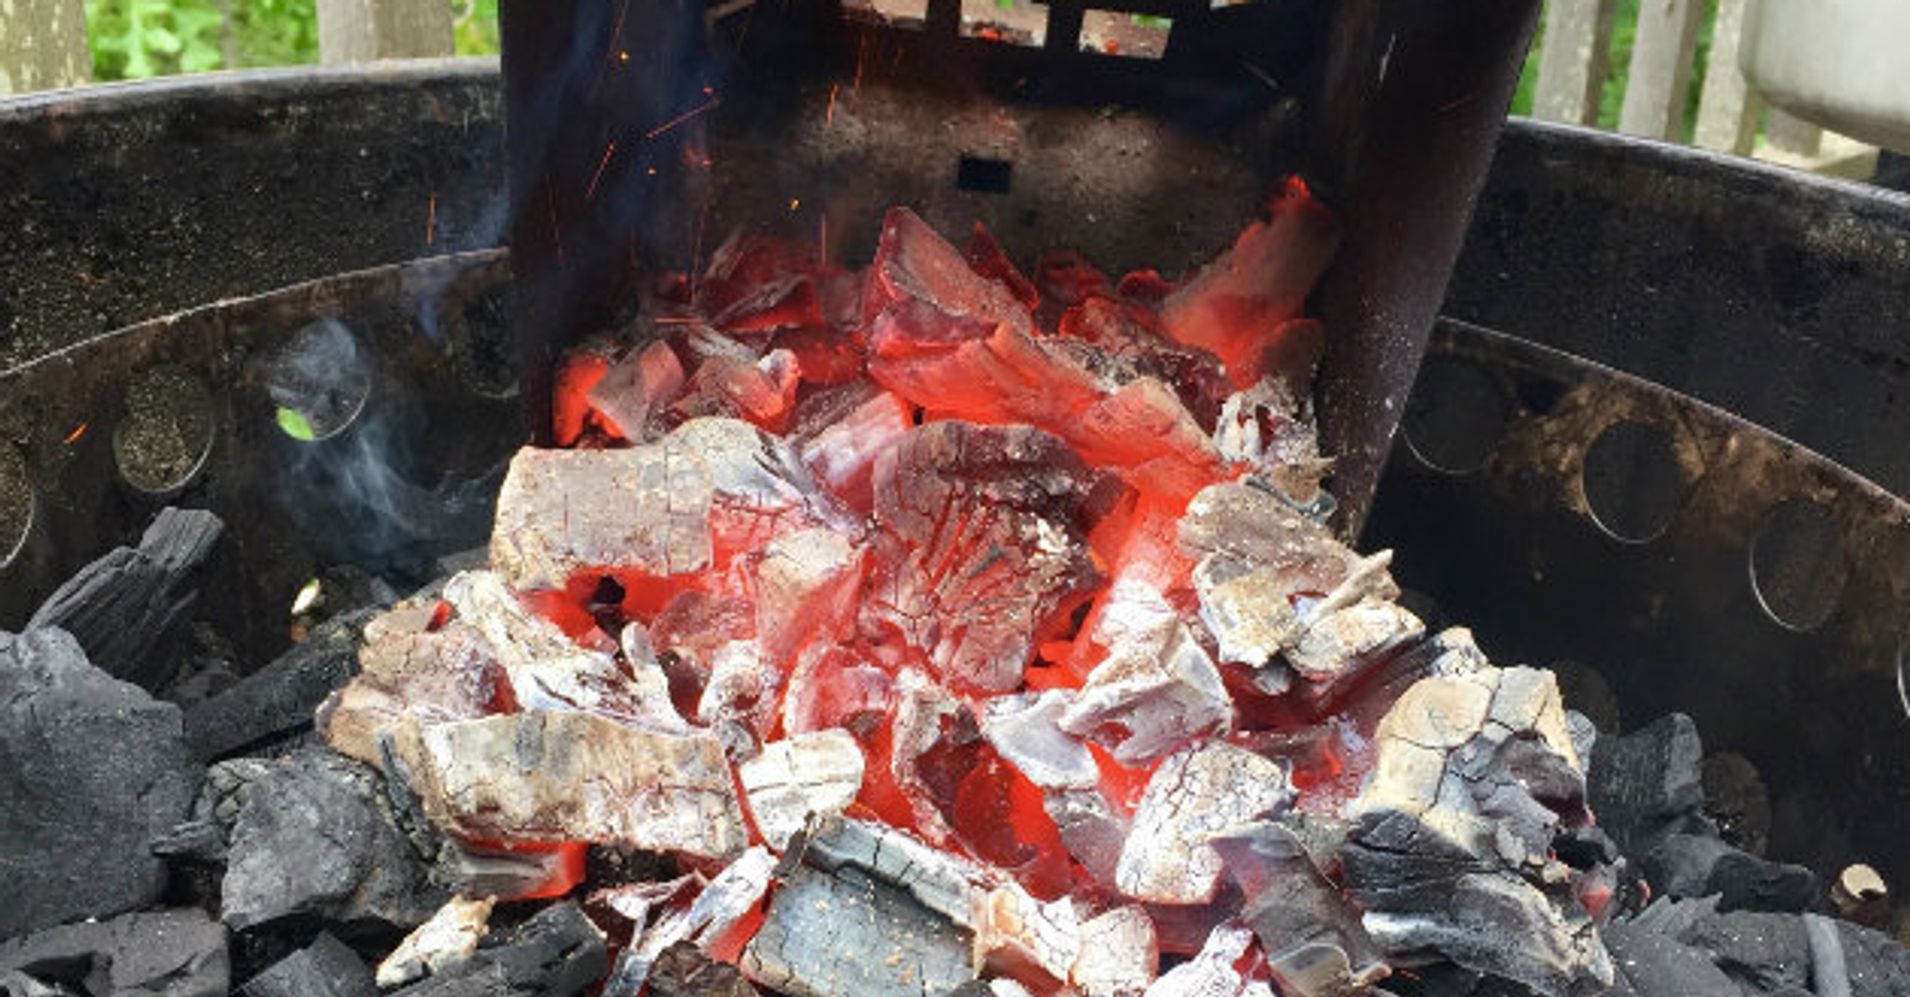
- Allow the Firewood to Burn Down: As the evening winds down, allow the firewood to burn down to a bed of glowing embers. This process reduces the volume of remaining fuel and facilitates a smoother extinguishing process.
- Disperse the Embers: Use a long-handled poker or stick to disperse the embers within the fire pit, spreading them out to accelerate the cooling process.
- Apply Water: Carefully pour water over the embers, ensuring thorough coverage to extinguish any remaining heat. Use a bucket or watering can to control the flow and prevent splashing.
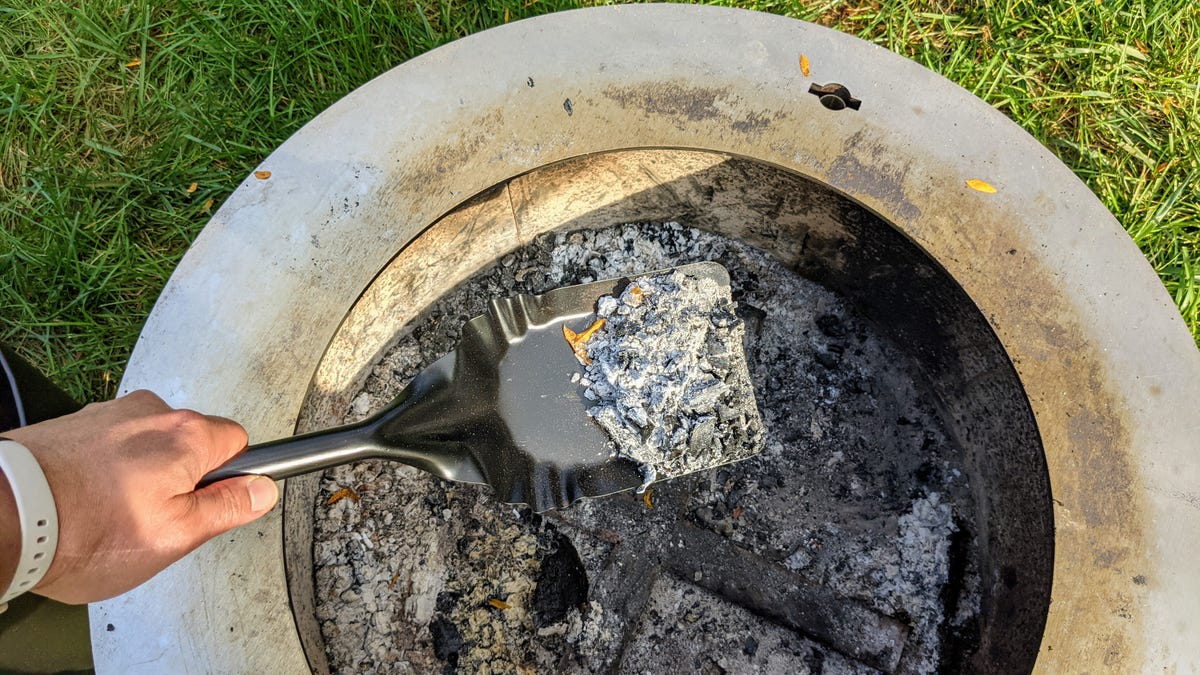
- Stir the Ashes: Gently stir the ashes and embers with a shovel or poker, allowing the water to penetrate and fully douse any remaining hot spots.
- Verify Extinguishment: After applying water and stirring the ashes, verify that the fire is completely extinguished. Look for any lingering embers or smoke, and continue applying water as needed until the fire pit is cool to the touch.
- Monitor the Area: Keep an eye on the fire pit for some time after extinguishing the fire to ensure that no residual heat remains. This precautionary measure helps prevent any potential flare-ups.
By meticulously following these steps, you can effectively and responsibly extinguish the fire in your solo fire pit, promoting safety and environmental consciousness. With the fire fully extinguished, you can relish the satisfaction of a well-tended fire pit and retire for the night, knowing that your outdoor space is secure and ready for future gatherings.
Read more: How Does A Solo Fire Pit Work
Conclusion
Congratulations on mastering the art of tending a solo fire pit! Through the careful selection of the perfect location, the gathering of essential supplies, the skillful building of the fire, and the responsible extinguishing of the flames, you have embarked on a journey of outdoor entertainment that is both enchanting and secure.
By curating a captivating ambiance around your solo fire pit, you’ve created an inviting space for cherished moments with friends and family. The warmth of the fire, the crackling of the embers, and the comforting glow have set the stage for memorable conversations and shared experiences, enriching your outdoor gatherings in a delightful and meaningful way.
As you continue to explore the joys of outdoor entertaining, remember that the allure of a well-tended fire pit extends beyond its flickering flames. It embodies the spirit of togetherness, fostering connections and creating lasting memories under the open sky.
So, as you venture into future evenings around your solo fire pit, may the dance of the flames kindle not only warmth but also a sense of belonging and joy. Embrace the magic of outdoor entertaining, and let your solo fire pit be the radiant centerpiece of many more enchanting gatherings to come.
With the knowledge and skills you’ve acquired, you’re well-equipped to orchestrate captivating evenings around your own mesmerizing fire pit, ensuring that each gathering is a harmonious blend of safety, warmth, and cherished moments.
Now that you've mastered extinguishing your solo fire pit, why not explore other options to enhance your outdoor gatherings? If you're curious about different models, our guide on the best options for fire pits offers insightful comparisons. For those seeking a cleaner burning option, understanding how to construct a smokeless version could be invaluable. Additionally, consider the benefits of a portable model, ideal for tailgating or camping. Each guide provides practical advice, ensuring your next outdoor event is both memorable and safe.
Frequently Asked Questions about How To Put Out A Solo Fire Pit
Was this page helpful?
At Storables.com, we guarantee accurate and reliable information. Our content, validated by Expert Board Contributors, is crafted following stringent Editorial Policies. We're committed to providing you with well-researched, expert-backed insights for all your informational needs.


0 thoughts on “How To Put Out A Solo Fire Pit”