Furniture
How To Wire A Chandelier With A Ground Wire
Modified: October 20, 2024
Learn how to wire a chandelier with a ground wire and enhance your furniture with this easy DIY guide. Step-by-step instructions included!
(Many of the links in this article redirect to a specific reviewed product. Your purchase of these products through affiliate links helps to generate commission for Storables.com, at no extra cost. Learn more)
Introduction
Wiring a chandelier with a ground wire can seem like a daunting task, but with the right tools and knowledge, it can be a straightforward process. In this article, we will guide you through the steps to safely and effectively wire a chandelier with a ground wire.
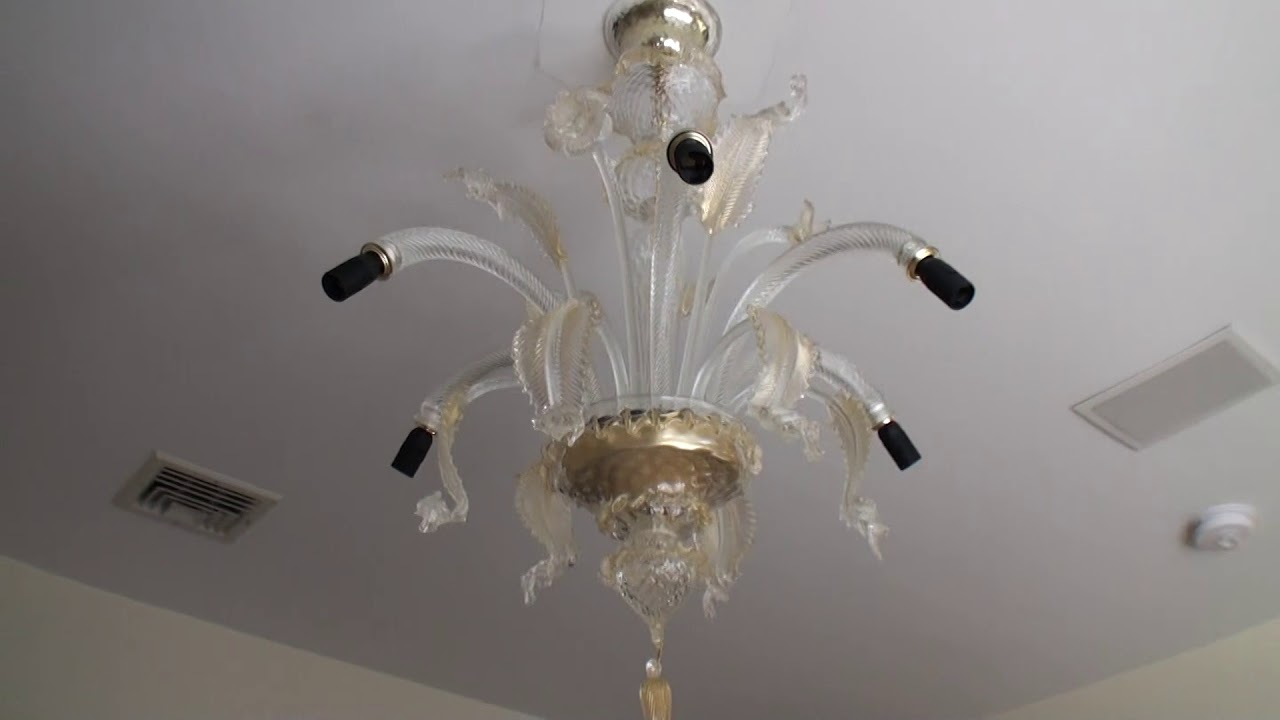
Chandeliers not only provide beautiful ambient lighting, but they also serve as a stunning centerpiece in any room. However, it is crucial to ensure that they are installed correctly, including the proper wiring and grounding. The ground wire is an essential safety feature that protects against electrical shocks and ensures the chandelier operates safely.
Before we dive into the step-by-step process, let’s briefly understand the importance of the ground wire in a chandelier.
Key Takeaways:
- Properly wiring a chandelier with a ground wire is crucial for safety and functionality. Understanding the significance of the ground wire and following the step-by-step process ensures a beautiful and secure installation.
- Prioritizing safety, gathering the right tools, and following electrical code requirements are essential for successfully wiring a chandelier. Investing time and effort in correct installation provides long-term beauty and safety.
Read more: How To Hide Chandelier Wires
Understanding the Ground Wire in a Chandelier
The ground wire, also known as the grounding conductor, is an essential component of electrical wiring systems, including chandeliers. Its primary purpose is to provide a path for electrical faults to safely travel to the ground, preventing electrical shock and potential damage to the chandelier or other electrical appliances.
When a fault occurs in the electrical system, such as an exposed wire or a short circuit, the ground wire acts as a safety measure. It carries the excess electrical energy away from the circuit and directs it safely into the ground, tripping the circuit breaker or blowing a fuse in the process.
In a chandelier, the ground wire is typically a bare or green wire that connects to the grounding screw or terminal on the chandelier’s mounting bracket. It should be connected to the grounding wire in the electrical junction box, which is in turn connected to the grounding system of the building.
By properly grounding a chandelier, you provide protection not only to yourself and your family but also to your valuable investment. Without a proper ground connection, a chandelier may pose a risk of electric shock or become susceptible to electrical damage.
It’s important to note that the ground wire should never be used as a neutral or a current-carrying conductor. It has a specific purpose and should be correctly installed and connected as per the electrical code requirements in your area.
Now that we understand the significance of the ground wire, let’s gather the tools and materials required for wiring a chandelier with a ground wire.
Tools and Materials Needed
Before you begin wiring a chandelier with a ground wire, it’s important to gather all the necessary tools and materials to ensure a smooth installation process. Here’s a list of what you’ll need:
- Chandelier: Choose a chandelier that suits your style and lighting needs. Ensure it comes with a ground wire.
- Electrical Junction Box: This box is necessary for housing the electrical connections and providing a secure mounting location for the chandelier. Ensure it has a ground wire connection point.
- Wire Strippers: These tools are essential for removing the insulation from the wires.
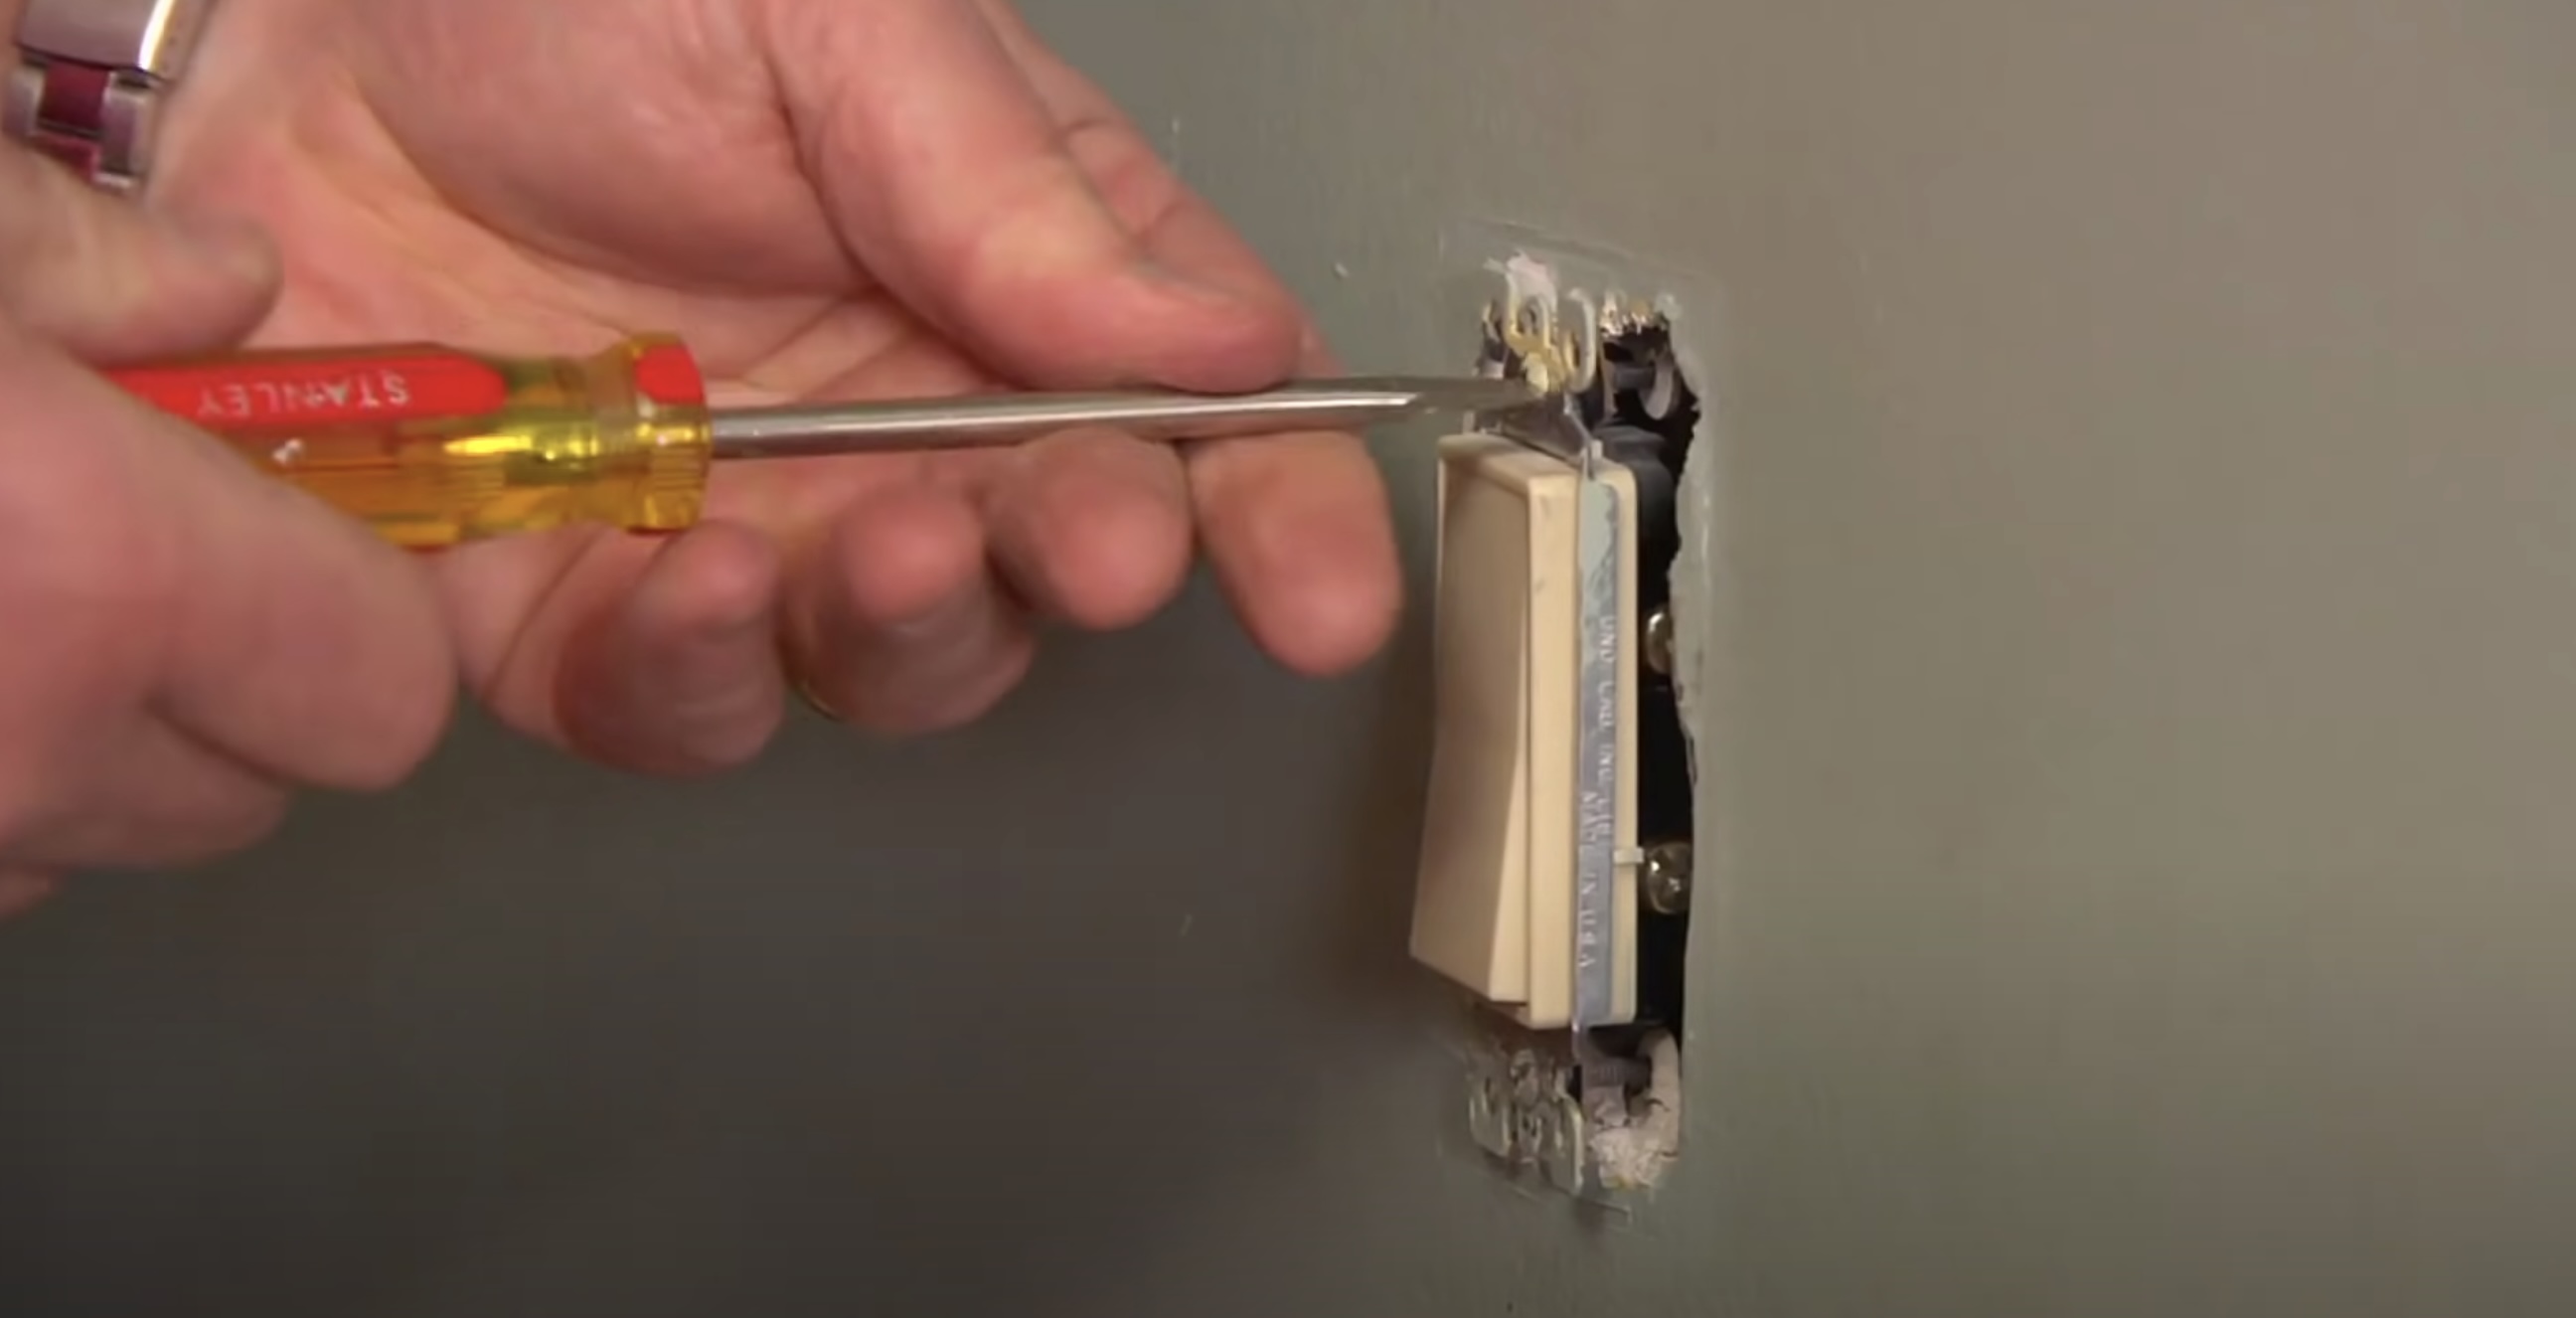
- Screwdriver: Opt for a screwdriver with interchangeable tips for ease of use.
- Wire Nuts: These connectors are used to secure the connections between the chandelier wires and the house wiring.
- Electrical Tape: Use it to insulate and protect the connections.
- Wire Connectors: These connectors are used to join wires together securely.
- Grounding Screw: This screw is used to connect the ground wire to the chandelier’s mounting bracket.
- Ladder or Step Stool: Depending on the height of the installation location, you may need a ladder or step stool for easy access.
- Voltage Tester: This tool helps to ensure that the power is turned off and the wires are not live before starting the installation.
Ensure that you have all the necessary tools and materials before you begin the wiring process. This will make the installation easier and more efficient, ensuring a safe and properly wired chandelier. Now, let’s move on to the step-by-step process of wiring a chandelier with a ground wire.
Step 1: Preparing the Chandelier
Before starting the wiring process, it’s important to prepare the chandelier properly. Follow these steps to ensure a smooth installation:
- Turn off the Power: Begin by turning off the power to the circuit at the main electrical panel. This step ensures your safety during the installation process.
- Assemble the Chandelier: Carefully unpack the chandelier and assemble any components according to the manufacturer’s instructions. This may include attaching decorative elements, mounting brackets, or canopy.
- Inspect the Wiring: Take a close look at the chandelier’s wiring to ensure there are no visible damages or exposed wires. If you notice any issues, contact the manufacturer for guidance or consider hiring a professional electrician.
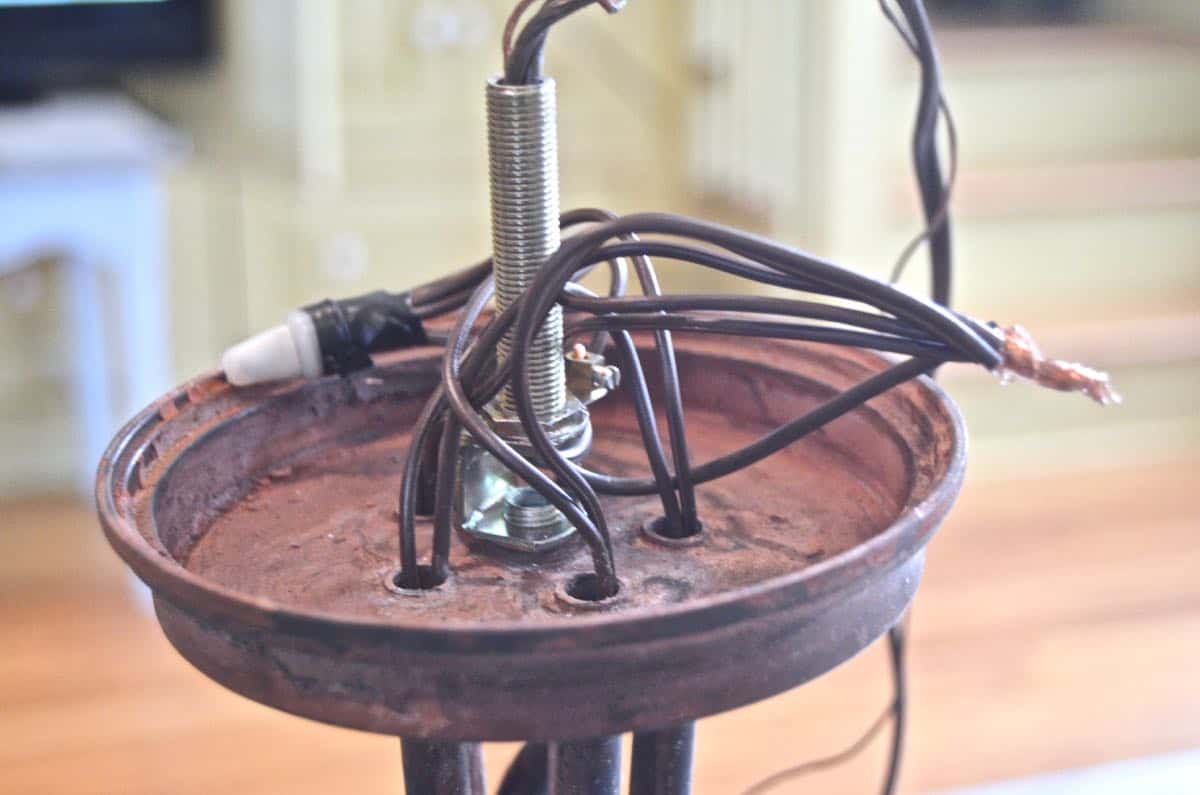
- Identify the Ground Wire: Locate the ground wire, which is typically a green or bare wire, and ensure it’s in good condition. If the chandelier has multiple wires, review the installation manual to identify the ground wire.
By properly preparing the chandelier, you set the foundation for a successful installation. It’s crucial to inspect the wiring and identify the ground wire to ensure it’s undamaged and ready for connection. Once you are satisfied with the preparation, you can move on to step 2: Preparing the Junction Box.
Step 2: Preparing the Junction Box
Once the chandelier is prepared, the next step is to prepare the junction box where the electrical connections will be made. Follow these steps to ensure proper preparation of the junction box:
- Locate the Junction Box: Determine the location of the junction box where the chandelier will be installed. Ensure it is securely mounted and able to support the weight of the chandelier.
- Turn off the Power: As a safety precaution, turn off the power to the circuit at the main electrical panel before working on the junction box.
- Remove the Cover: Remove the cover of the junction box by unscrewing the screws or releasing the clips, exposing the wires within.
- Inspect the Wiring: Carefully inspect the wiring inside the junction box to ensure there are no damages or loose connections. If any issues are identified, consult a professional electrician for guidance.
- Identify the Ground Wire Connection Point: Locate the grounding screw or connection point within the junction box. This is where the chandelier’s ground wire will be connected.
- Secure the Ground Wire: Connect the ground wire from the chandelier to the grounding screw or connection point in the junction box. Use a screwdriver to tighten the connection securely.
- Ensure Proper Grounding: Double-check that the ground wire is properly connected and securely fastened. This step is crucial for the safety and proper functioning of the chandelier.
- Insulate the Connection: Once the ground wire is connected, insulate the connection using electrical tape. This provides an additional layer of protection and helps prevent accidental contact.
By properly preparing the junction box, you ensure a secure and safe electrical connection for your chandelier. Taking the time to inspect the wiring and connect the ground wire correctly is essential for preventing electrical accidents and ensuring the longevity of your chandelier. With the junction box prepared, we’re now ready to move on to step 3: Connecting the Ground Wire.
Read more: How To Extend Chandelier Wire
Step 3: Connecting the Ground Wire
Now that the junction box is prepared, it’s time to connect the ground wire from the chandelier. Follow these steps to ensure a proper connection:
- Turn off the Power: Before working with any electrical connections, always turn off the power to the circuit at the main electrical panel.
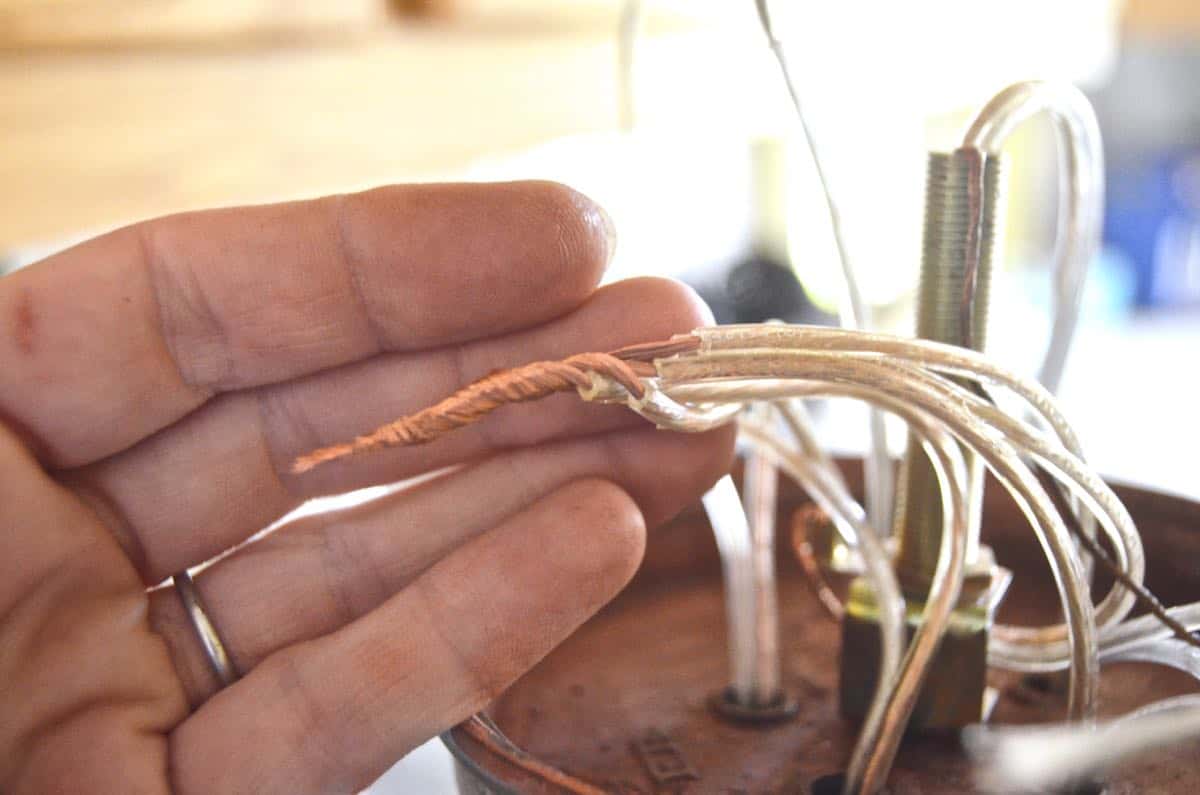
- Expose the Ground Wire: Identify the ground wire from the chandelier. It is typically a green or bare wire. If there are multiple wires, consult the chandelier’s installation manual to locate the ground wire.
- Strip the Wire: Use wire strippers to carefully remove approximately ⅜ inch of insulation from the end of the ground wire.
- Attach to the Grounding Screw: Locate the grounding screw or connection point in the junction box. Wrap the exposed end of the ground wire around the screw, ensuring a tight and secure connection.
- Tighten the Screw: Use a screwdriver to tighten the grounding screw firmly. This will ensure a solid connection between the ground wire and the junction box.
- Inspect the Connection: Double-check the connection to ensure the ground wire is securely fastened. Make sure there are no loose or exposed wires.
- Insulate the Connection: After confirming the secure connection, insulate the grounding screw and wire using electrical tape. This will provide an additional layer of protection.
Connecting the ground wire is a crucial step in wiring a chandelier safely. The ground wire provides an essential safety feature by redirecting electrical faults to the ground, preventing electrical shocks and damage to the chandelier. With the ground wire properly connected, we can now move on to step 4: Connecting the Remaining Wires.
When wiring a chandelier with a ground wire, make sure to connect the ground wire to the grounding screw on the mounting bracket or electrical box. This will help to ensure the safety of the fixture.
Step 4: Connecting the Remaining Wires
With the ground wire securely connected, it’s time to proceed with connecting the remaining wires of the chandelier. Follow these steps to ensure a proper and secure connection:
- Identify the Chandelier Wires: Take a close look at the chandelier’s wires and identify the hot wire (usually black) and the neutral wire (typically white).
- Strip the Wires: Use wire strippers to carefully remove approximately ⅜ inch of insulation from the end of each wire.
- Locate the House Wiring: Identify the corresponding wires in your house’s electrical junction box. The hot wire is typically black, while the neutral wire is usually white.
- Match the Colors: Connect the chandelier’s hot wire to the house’s hot wire by twisting the exposed ends together in a clockwise direction.
- Secure the Connection: Place a wire nut over the twisted wires and twist it clockwise until it is tightly secured. This will ensure a proper and secure connection.
- Repeat for the Neutral Wires: Connect the chandelier’s neutral wire to the house’s neutral wire using the same process as above.
- Double-Check the Connections: After connecting the wires, give them a gentle tug to ensure they are securely attached. Make sure there are no loose or exposed wires.
Properly connecting the remaining wires is essential for the chandelier to function correctly and safely. The hot wire carries the current from the power source, while the neutral wire completes the circuit. By connecting these wires accurately, you ensure that your chandelier will operate as intended. With the wires securely connected, we can move on to step 5: Securing the Connections.
Step 5: Securing the Connections
After connecting the wires, it’s crucial to secure the connections to ensure they remain stable and protected. Follow these steps to properly secure the connections:
- Inspect the Wire Nuts: Take a close look at the wire nuts used to connect the chandelier wires to the house wiring. Ensure they are in good condition and securely fastened.
- Tighten the Wire Nuts: If necessary, use your fingers or pliers to tighten the wire nuts further. This will ensure a snug fit and prevent any loose connections.
- Trim Excess Wire: Trim any excess wire that extends beyond the wire nuts. This will help create a clean and organized appearance inside the junction box.
- Wrap with Electrical Tape: Wrap a layer of electrical tape around the wire nuts and the exposed portion of the wires. This will provide added insulation and protect the connections from moisture or accidental contact.
- Organize the Wires: Carefully arrange the wires within the junction box, making sure they are not strained or crowded. Proper wire management will help prevent any accidental damage to the connections.
- Reinstall the Junction Box Cover: Once the connections are secured, reinstall the cover of the junction box using the appropriate screws or clips. Ensure it is tightly sealed.
Securing the connections is essential to prevent any loose or exposed wires. By tightening the wire nuts, trimming excess wire, and wrapping with electrical tape, you create a safe and tidy wiring setup. Additionally, organizing the wires within the junction box helps prevent any accidental damage to the connections. With the connections secured, we can move on to step 6: Assembling the Chandelier.
Step 6: Assembling the Chandelier
Once the wiring connections are secure, it’s time to assemble the chandelier. Follow these steps to ensure a proper and safe assembly:
- Carefully Lift the Chandelier: With the power turned off, carefully lift the chandelier and align it with the mounting bracket in the junction box. Be cautious of the weight and size of the chandelier to avoid straining yourself or causing any damage.
- Align the Mounting Holes: Align the holes on the chandelier’s mounting bracket with the screws or mounting points on the junction box. This will ensure a proper fit and support for the chandelier.
- Secure the Chandelier: Insert the screws provided with the chandelier into the mounting holes and tighten them securely using a screwdriver. Ensure that the chandelier is level and stable once fully secured.
- Attach Decorative Elements: As per the manufacturer’s instructions, attach any decorative elements, such as crystals or shades, to the chandelier. Follow the specific guidelines to ensure proper installation and alignment.
- Double-Check Stability: Give the chandelier a gentle shake to ensure it is securely mounted and does not wobble or move excessively. If any instability is detected, double-check the mounting screws and connections.
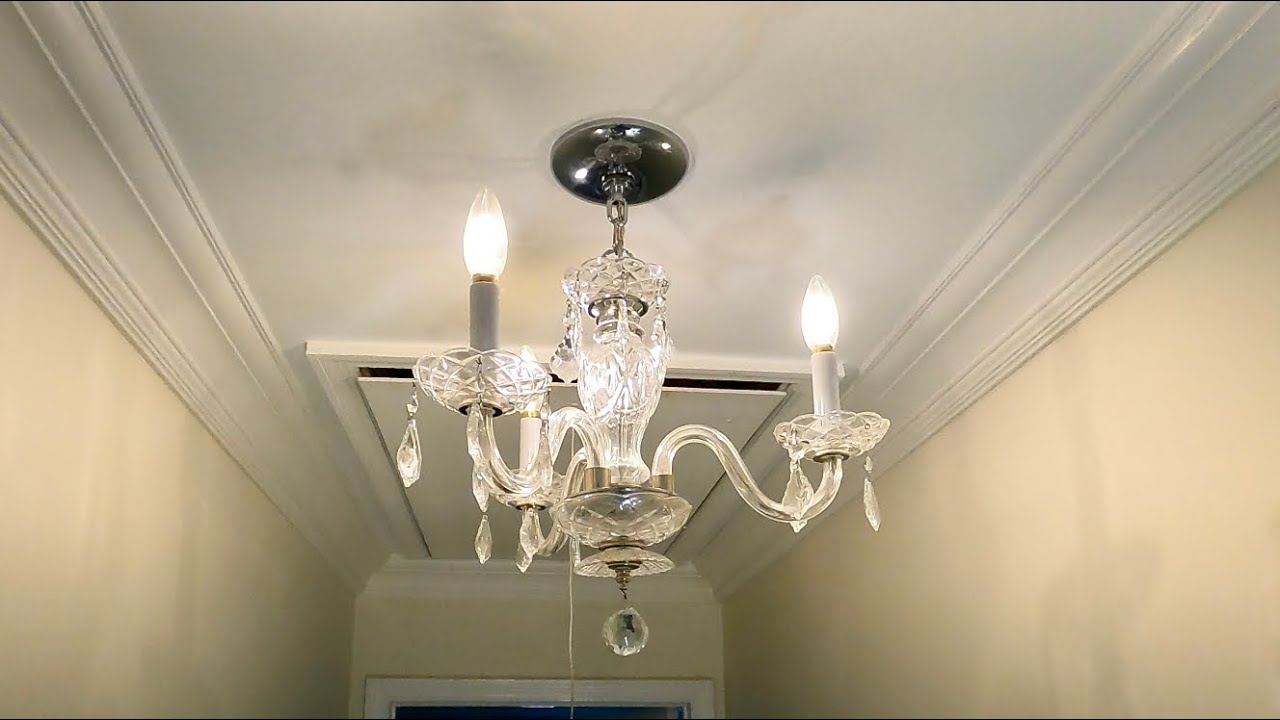
Assembling the chandelier is the final step before testing and enjoying your well-wired lighting fixture. By following these steps carefully, you ensure that the chandelier is securely mounted and aligned correctly. With the chandelier assembled, we can proceed to the last step: Step 7: Testing and Safety Check.
Read more: How To Ground Electrical Wires
Step 7: Testing and Safety Check
After completing the wiring and assembly of the chandelier, it’s important to perform a thorough testing and safety check before using it. Follow these steps to ensure everything is in proper working order:
- Turn on the Power: Return to the main electrical panel and turn on the power to the circuit that the chandelier is connected to.
- Switch on the Chandelier: Use the chandelier’s switch or wall switch to turn on the light. Observe if the chandelier lights up as expected.
- Inspect for Proper Operation: Check if all the bulbs are working and emitting the desired amount of light. Ensure that there are no flickering lights or unusual noises coming from the chandelier.
- Check Stability: Once the chandelier is turned on, observe if it remains stable and does not sway or move excessively. This will ensure there are no loose connections or faulty mounting.
- Test Additional Features: If your chandelier has any additional features, such as adjustable arms or dimming capability, test them to verify their proper functioning.
- Inspect for Safety: Examine the chandelier and its surrounding area for any signs of heat, burning smells, or unusual vibrations. These may indicate potential safety issues that require further investigation.
- Verify Grounding: Double-check that the ground wire is properly connected and secured in the junction box. This ensures the chandelier is safely grounded.
Performing a thorough testing and safety check is crucial to ensure the proper and safe functioning of the chandelier. By checking for proper operation, stability, and safety, you can enjoy the ambiance and functionality of your newly wired chandelier with peace of mind. If any issues are detected during the testing process, consult a professional electrician for further assistance.
Congratulations! You have successfully wired and installed your chandelier with a ground wire. Enjoy the beautiful lighting and the added safety that comes with a properly wired chandelier.
Please remember that working with electricity can be dangerous. If you are unsure or uncomfortable with any step of the process, it is always best to consult a professional electrician for assistance.
Conclusion
Wiring a chandelier with a ground wire may seem like a complex task, but by following the step-by-step process outlined in this article, you can successfully install a chandelier that is both beautiful and safe. Understanding the importance of the ground wire and having the right tools and materials are key to a successful installation.
Throughout the process, remember to prioritize safety by turning off the power and following electrical code requirements. Take your time to properly prepare the chandelier, connect the ground wire, and secure the wiring connections. Proper assembly and thorough testing ensure that your chandelier operates as intended and avoids any potential issues.
By investing time and effort into correctly wiring your chandelier, you can enjoy its beauty, ambiance, and functionality for years to come. Additionally, proper grounding and secure connections provide added safety for you, your family, and your home.
If at any point you feel unsure or uncomfortable with the process, it is always advisable to consult a professional electrician for assistance. They have the expertise and experience to ensure a safe and proper installation.
Now that you have completed the wiring process, sit back, relax, and enjoy the captivating glow of your beautifully installed chandelier. Let it transform your space and create a warm and inviting atmosphere.
Remember, safety is paramount when dealing with electricity. Take the necessary precautions, and always prioritize your well-being throughout the installation process. With proper wiring and grounding, your chandelier will not only enhance the décor of your space but also provide peace of mind.
Frequently Asked Questions about How To Wire A Chandelier With A Ground Wire
Was this page helpful?
At Storables.com, we guarantee accurate and reliable information. Our content, validated by Expert Board Contributors, is crafted following stringent Editorial Policies. We're committed to providing you with well-researched, expert-backed insights for all your informational needs.


0 thoughts on “How To Wire A Chandelier With A Ground Wire”