Home>Gardening & Outdoor>Outdoor Recreation & Activities>How Long Does It Take To Assemble An Acon Sport Hd Trampoline
Outdoor Recreation & Activities
How Long Does It Take To Assemble An Acon Sport Hd Trampoline
Modified: October 21, 2024
Find out how long it takes to assemble the Acon Sport HD trampoline. Get ready for outdoor recreation and activities with this easy-to-set-up trampoline.
(Many of the links in this article redirect to a specific reviewed product. Your purchase of these products through affiliate links helps to generate commission for Storables.com, at no extra cost. Learn more)
Introduction
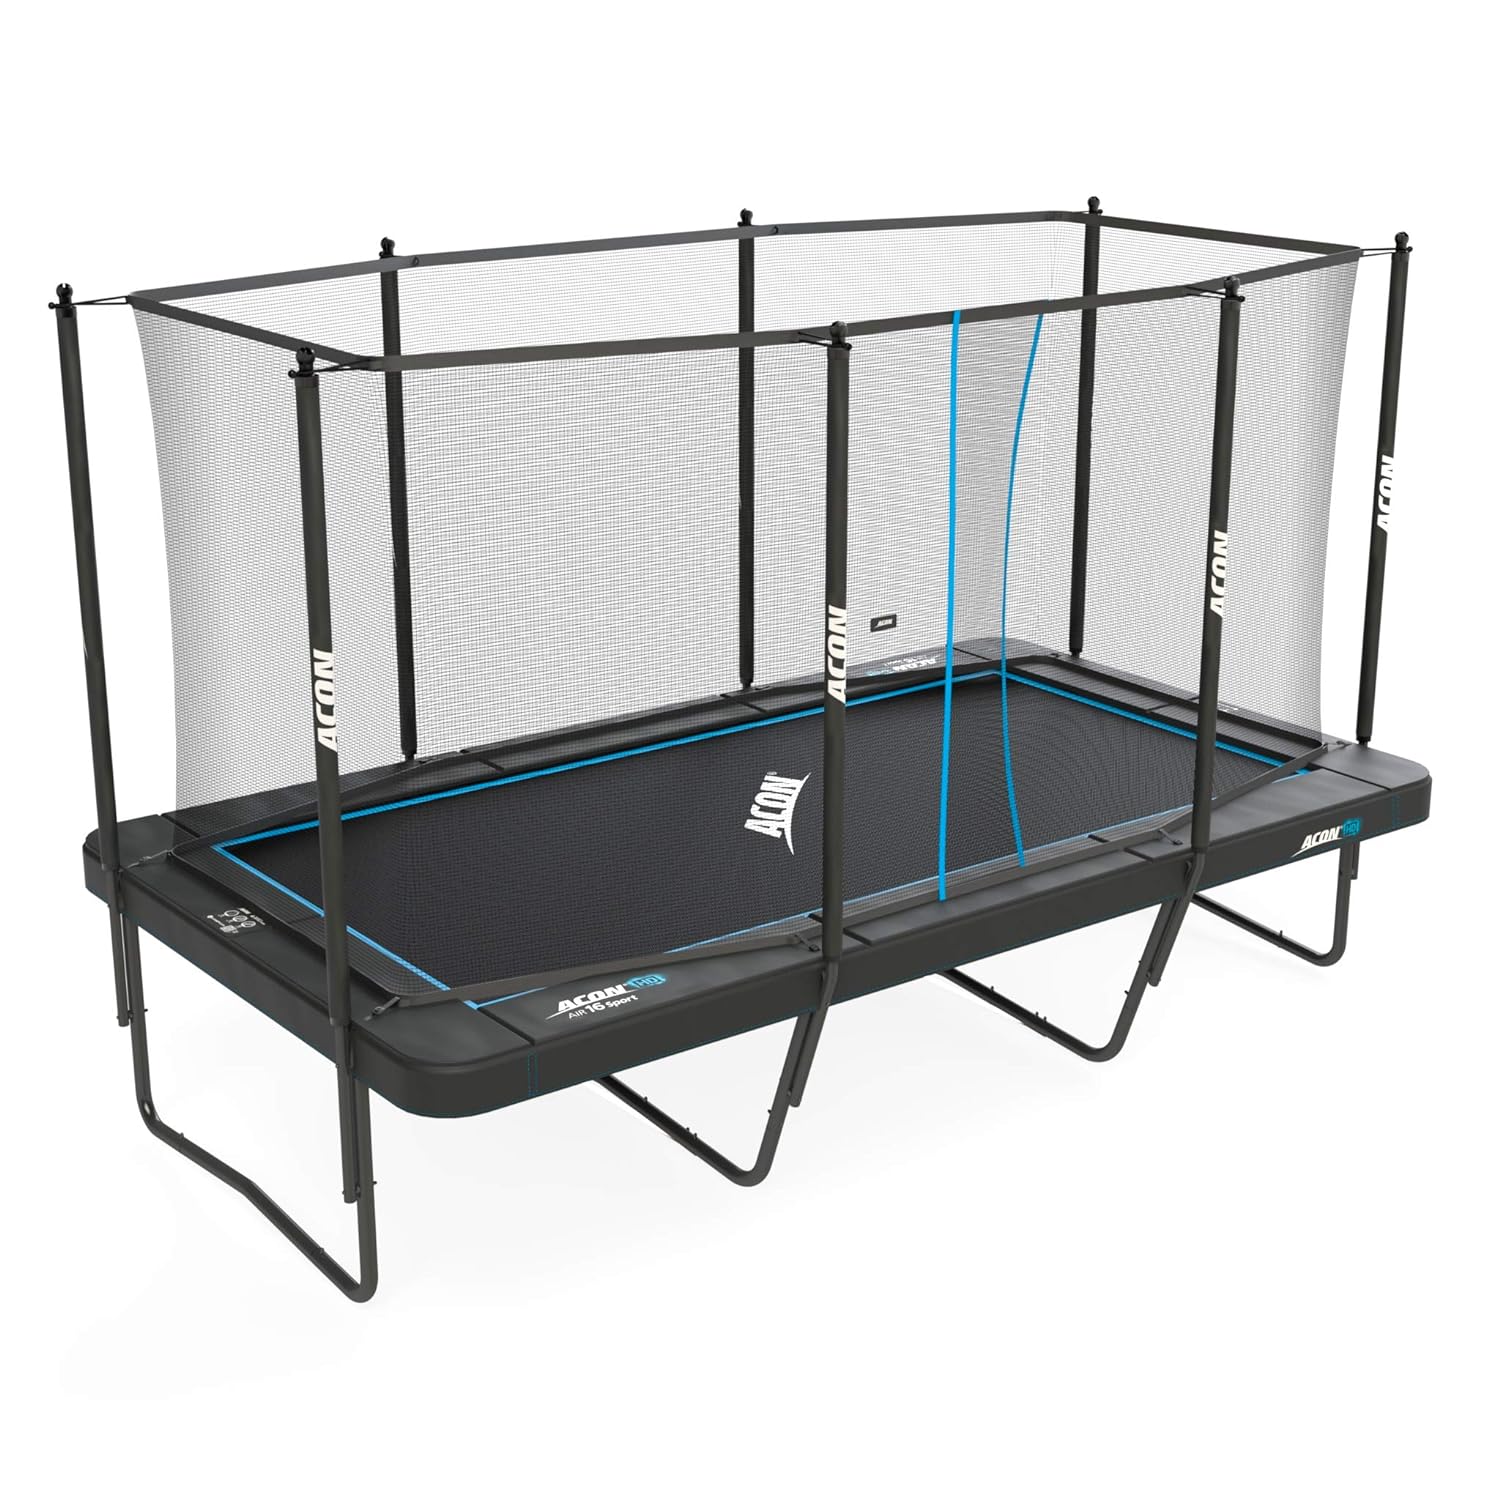
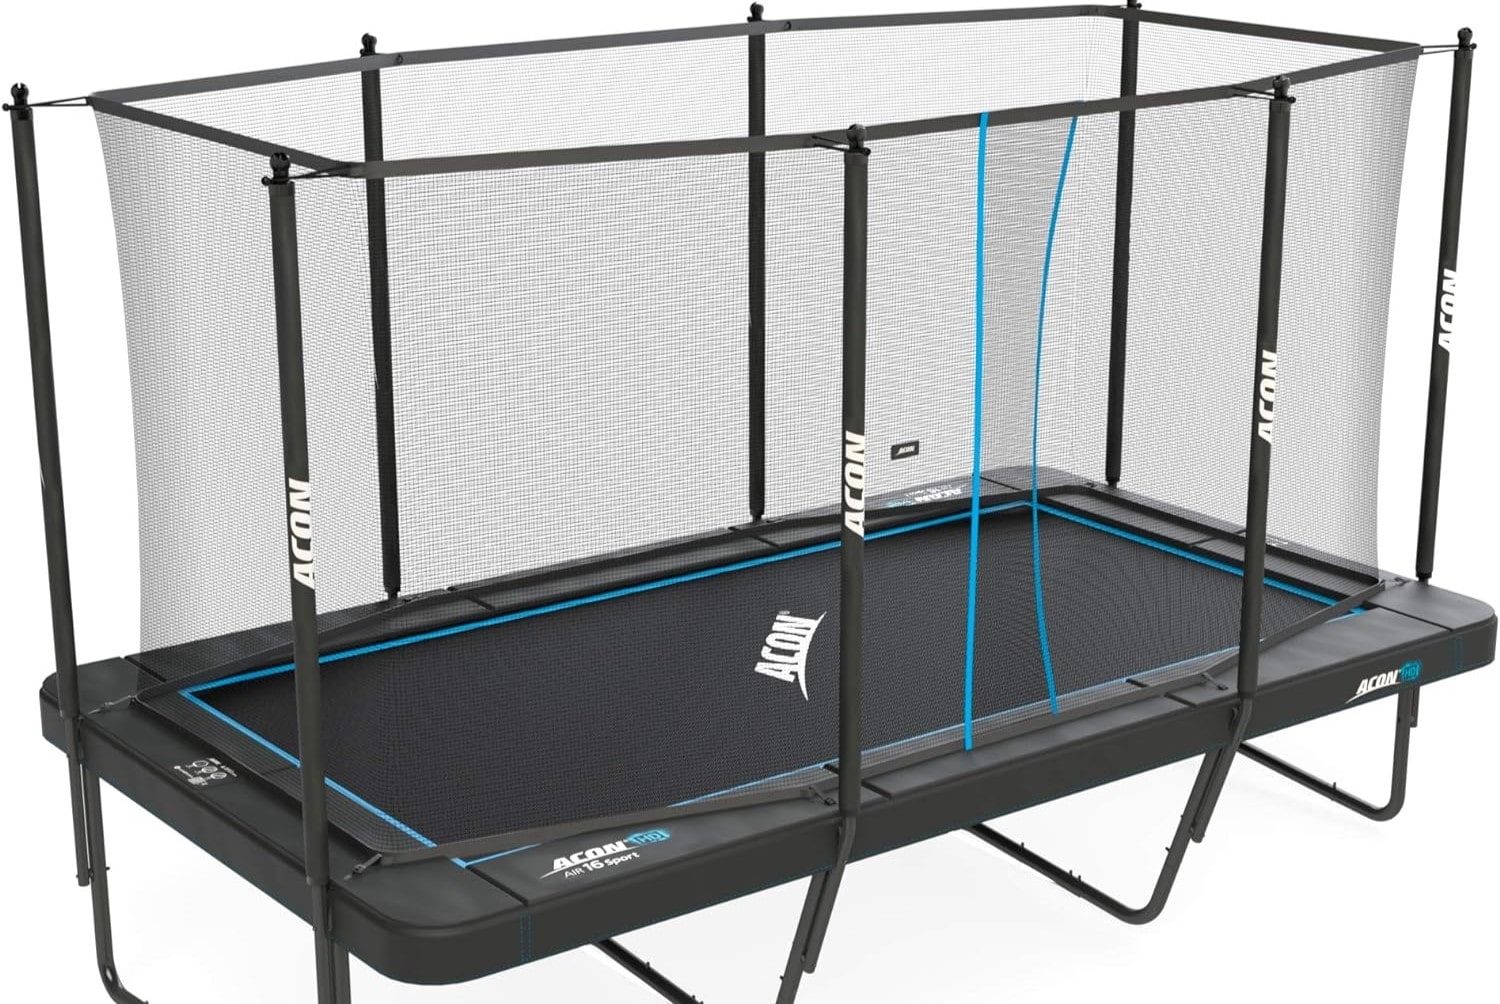
Assembling an Acon Sport HD trampoline is an exciting project that promises countless hours of outdoor fun for the whole family. While the prospect of bouncing and performing gravity-defying tricks is exhilarating, the process of assembling the trampoline may seem daunting at first. However, with the right guidance and a systematic approach, the assembly can be a rewarding and enjoyable experience.
In this comprehensive guide, we will walk you through the step-by-step process of assembling an Acon Sport HD trampoline. From pre-assembly preparation to the final inspection and testing, we will provide valuable insights and tips to ensure a smooth and successful assembly. Whether you are a seasoned DIY enthusiast or a novice in the world of trampoline assembly, this guide is designed to equip you with the knowledge and confidence needed to complete the task efficiently.
So, grab your toolkit, put on your assembly gloves, and let's embark on this trampoline assembly adventure together. By the end of this guide, you will be ready to witness the joy and excitement that comes with owning a fully assembled Acon Sport HD trampoline. Let's dive in!
Key Takeaways:
- Assembling an Acon Sport HD trampoline is a rewarding adventure that requires careful preparation, patience, and attention to detail. Following the step-by-step guide ensures a safe and enjoyable outdoor experience for the whole family.
- The assembly process, from preparing the area to conducting the final inspection, guarantees a sturdy and safe Acon Sport HD trampoline. By following the instructions diligently, you can create a space for countless hours of outdoor fun and laughter.
Pre-Assembly Preparation
Before diving into the assembly process, it’s crucial to set the stage for a smooth and efficient experience. Here are the essential steps to take during the pre-assembly phase:
- Clear the Assembly Area: Select a spacious and level area for the trampoline assembly. Clear the space of any obstacles or debris to create a safe and unobstructed working environment.
- Inspect the Components: Carefully unpack the trampoline components and verify that all parts are included as per the assembly manual. Check for any signs of damage or missing pieces, and promptly contact the manufacturer if any issues are identified.
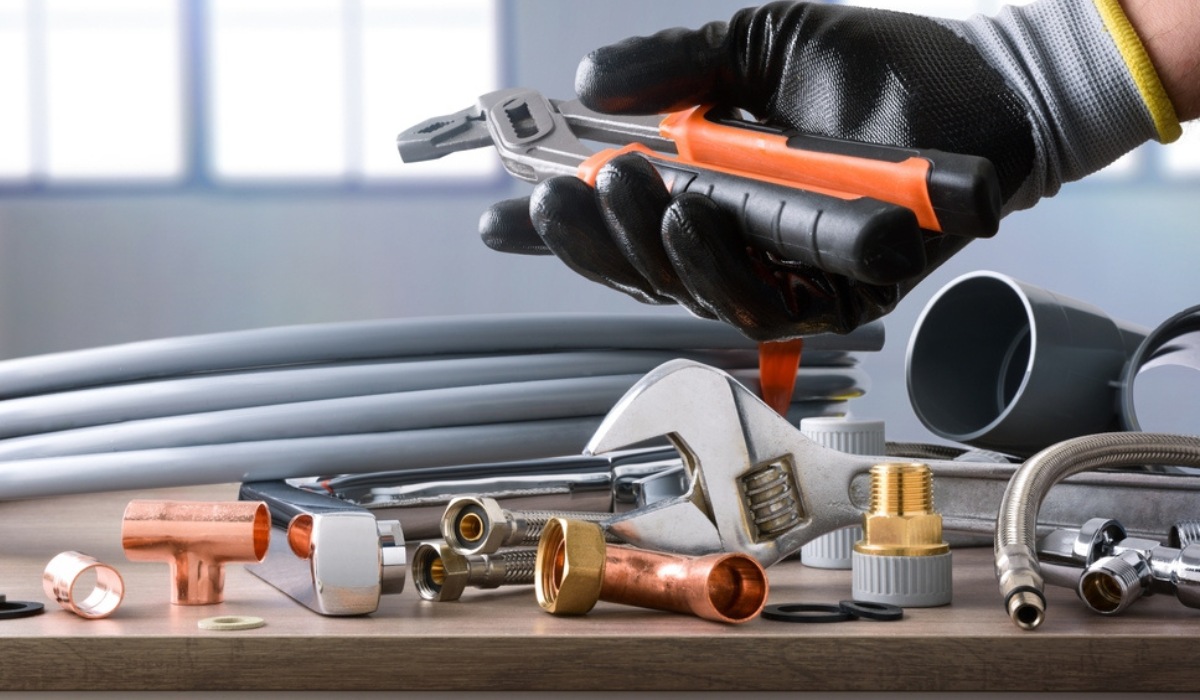
- Gather the Necessary Tools: Ensure that you have all the required tools at hand, including a rubber mallet, wrenches, and screwdrivers. Having the right tools readily available will streamline the assembly process and prevent unnecessary delays.
- Review the Assembly Manual: Take the time to thoroughly review the assembly manual provided by Acon Sport. Familiarize yourself with the step-by-step instructions and visual diagrams to gain a clear understanding of the assembly sequence and requirements.
- Enlist Assistance: Trampoline assembly is often easier and safer with the help of a second person. Enlist the assistance of a family member or friend to collaborate on the assembly, especially during tasks that involve lifting or positioning heavy components.
By meticulously preparing the assembly area, inspecting the components, gathering the necessary tools, reviewing the assembly manual, and enlisting assistance, you will establish a solid foundation for a successful trampoline assembly process. With these preparatory steps completed, you are now ready to embark on the exciting journey of assembling your Acon Sport HD trampoline.
Assembling the Frame
With the pre-assembly preparations completed, it’s time to delve into the first phase of trampoline assembly: constructing the frame. This pivotal step lays the groundwork for the structural integrity and stability of the trampoline. Follow these detailed instructions to effectively assemble the frame:
- Positioning the Frame Components: Lay out the frame components in the designated assembly area, ensuring that the frame tubes, leg braces, and T-joint brackets are easily accessible.
- Connect the Frame Tubes: Begin by connecting the frame tubes according to the configuration specified in the assembly manual. Secure the connections by inserting the provided locking pins and ensuring a snug fit.
- Attach the Leg Braces: Affix the leg braces to the frame tubes, aligning them at the designated connection points. Use the appropriate fastening hardware, such as bolts and nuts, to firmly secure the leg braces in place.
- Install the T-Joint Brackets: Position the T-joint brackets at the intersections of the frame tubes, ensuring that they align with the corresponding slots. Secure the brackets by tightening the provided screws or bolts with a suitable wrench.
- Check Alignment and Stability: Once the frame components are assembled, carefully inspect the alignment and stability of the frame structure. Make any necessary adjustments to ensure that the frame is level and securely connected.
By meticulously following these steps and referring to the assembly manual for precise details, you will successfully complete the assembly of the trampoline frame. The frame serves as the fundamental support structure for the subsequent assembly steps, setting the stage for the attachment of the springs, mat, and safety enclosure. With the frame assembly accomplished, you are now ready to progress to the next phase of assembling your Acon Sport HD trampoline.
Attaching the Springs and Mat
As you transition to the next phase of assembling your Acon Sport HD trampoline, the process of attaching the springs and mat comes into focus. This step is pivotal in establishing the functional core of the trampoline, as it directly impacts the rebounding capability and overall performance. Follow these detailed instructions to effectively attach the springs and mat:
- Positioning the Mat: Lay the trampoline mat flat in the center of the assembled frame, ensuring that it is evenly aligned and positioned with the designated spring attachment points.
- Identify Spring Attachment Points: Locate the spring attachment points along the perimeter of the trampoline mat. These attachment points are typically reinforced with durable stitching and metal grommets to ensure secure connections.
- Attach the First Set of Springs: Starting from any point along the perimeter, attach the springs to the corresponding attachment points on the mat. Utilize a spring puller tool, if available, to facilitate the stretching and attachment of the springs to the frame hooks.
- Distribute Spring Tension Evenly: As you progress around the perimeter, ensure that the tension of the attached springs is distributed evenly to maintain consistent mat tension and trampoline performance.
- Complete the Spring Attachment: Continue attaching the remaining springs around the perimeter of the mat, maintaining a systematic and balanced approach to achieve uniform tension and secure connections.
- Verify Secure Attachment: Once all springs are attached, carefully inspect each connection point to verify that the springs are securely fastened to both the mat and the frame hooks.
By meticulously following these steps and referring to the assembly manual for precise details, you will successfully complete the attachment of the springs and mat. This crucial phase establishes the functional core of the trampoline, ensuring optimal rebounding performance and safety. With the springs and mat securely attached, you are now ready to progress to the final phase of assembling the Acon Sport HD trampoline.
When assembling an Acon Sport HD trampoline, it typically takes around 2-3 hours for two people to complete the process. Make sure to carefully follow the instructions provided in the manual to ensure proper assembly and safety.
Installing the Safety Enclosure
As you approach the final phase of assembling your Acon Sport HD trampoline, the installation of the safety enclosure takes center stage. The safety enclosure serves as a critical component in ensuring a secure and protected bouncing environment for trampoline users. Follow these detailed instructions to effectively install the safety enclosure:
- Unpack and Inspect the Enclosure Components: Carefully unpack the safety enclosure components and verify that all parts are included as per the assembly manual. Check for any signs of damage or missing pieces, and promptly contact the manufacturer if any issues are identified.
- Positioning the Enclosure Poles: Position the enclosure poles around the perimeter of the trampoline frame, ensuring that they align with the designated attachment points and are evenly spaced for optimal support.
- Attach the Upper Section of the Enclosure: Begin by attaching the upper section of the safety enclosure to the designated mounting brackets or sleeves located on the trampoline frame. Follow the specific attachment instructions provided in the assembly manual.
- Secure the Enclosure Net: Unfold the enclosure net and carefully drape it over the assembled poles, ensuring that the net is evenly distributed and free from any twists or tangles.
- Connect the Lower Section of the Enclosure: Secure the lower section of the safety enclosure to the bottom of the trampoline frame, ensuring a snug and secure fit to prevent any gaps or openings.
- Tension and Alignment Check: Once the safety enclosure is fully installed, perform a comprehensive check to ensure that the net is taut, securely attached, and free from any sagging or misalignment.
By meticulously following these steps and referring to the assembly manual for precise details, you will successfully complete the installation of the safety enclosure. This final phase ensures that the trampoline provides a safe and secure environment for users to enjoy bouncing and performing aerial maneuvers. With the safety enclosure securely installed, you have now completed the assembly of your Acon Sport HD trampoline.
Read more: How To Assemble A Springfree Trampoline
Final Inspection and Testing
As the assembly of your Acon Sport HD trampoline nears completion, it’s essential to conduct a thorough final inspection and testing phase to ensure the trampoline is fully functional and safe for use. Follow these essential steps to carry out the final inspection and testing:
- Visual Inspection: Conduct a visual inspection of the entire trampoline assembly, carefully examining the frame, springs, mat, and safety enclosure for any signs of damage, loose components, or irregularities.
- Frame Stability Check: Test the stability of the trampoline frame by applying gentle pressure to various points and ensuring that the frame remains firm and level without any wobbling or shifting.
- Spring Tension Assessment: Verify that the tension of the attached springs is uniform and that they are securely fastened to both the mat and the frame hooks, ensuring optimal rebounding performance and safety.
- Mat Alignment and Tautness: Ensure that the trampoline mat is evenly aligned and taut, with no wrinkles or slack areas that could compromise the bouncing surface.
- Enclosure Integrity Test: Test the integrity of the safety enclosure by gently applying pressure to the netting and poles, ensuring that the enclosure remains securely in place and free from any gaps or openings.
- Functionality Testing: Perform a series of gentle bounces on the trampoline to assess its responsiveness and overall performance. Pay attention to the rebounding action, stability, and the absence of any unusual noises or movements.
By meticulously following these steps and conducting a comprehensive final inspection and testing, you will ensure that your Acon Sport HD trampoline is assembled to the highest standards of safety and functionality. This critical phase provides the assurance that the trampoline is ready for enjoyment and provides a safe and exhilarating bouncing experience for users of all ages. With the final inspection and testing successfully completed, you are now ready to witness the joy and excitement that comes with owning a fully assembled Acon Sport HD trampoline.
Conclusion
Congratulations on successfully completing the assembly of your Acon Sport HD trampoline! The journey from unpacking the components to conducting the final inspection and testing has been an adventure filled with excitement and accomplishment. As you stand back and admire the fully assembled trampoline, you can look forward to countless hours of outdoor fun, laughter, and joyful bouncing experiences with family and friends.
Throughout this comprehensive guide, we have navigated through the step-by-step process of assembling the Acon Sport HD trampoline, imparting valuable insights and tips to ensure a smooth and successful assembly. By meticulously following the pre-assembly preparation, frame assembly, spring and mat attachment, safety enclosure installation, and final inspection and testing, you have demonstrated patience, precision, and a commitment to safety.
As you witness the sheer delight on the faces of those who will soon enjoy the trampoline, you can take pride in knowing that you have created a safe and exhilarating outdoor recreational space. The Acon Sport HD trampoline stands as a symbol of togetherness, laughter, and the boundless joy of outdoor activities.
So, whether it’s a leisurely bounce, an acrobatic feat, or a moment of weightless suspension in mid-air, the assembled trampoline is poised to deliver unforgettable moments and create cherished memories for years to come.
As you embark on this trampoline ownership journey, remember to prioritize safety, regular maintenance, and responsible usage. By doing so, you will ensure that the trampoline continues to be a source of endless fun and enjoyment for all who partake in its exhilarating bounce.
Thank you for entrusting us to guide you through the assembly process. We wish you many joyful and memorable moments with your Acon Sport HD trampoline. Now, go ahead, take that first exhilarating bounce, and let the outdoor adventures begin!
Frequently Asked Questions about How Long Does It Take To Assemble An Acon Sport Hd Trampoline
Was this page helpful?
At Storables.com, we guarantee accurate and reliable information. Our content, validated by Expert Board Contributors, is crafted following stringent Editorial Policies. We're committed to providing you with well-researched, expert-backed insights for all your informational needs.


0 thoughts on “How Long Does It Take To Assemble An Acon Sport Hd Trampoline”