Home>Gardening & Outdoor>Outdoor Recreation & Activities>How To Set Up A Trampoline
Outdoor Recreation & Activities
How To Set Up A Trampoline
Modified: October 21, 2024
Learn how to set up a trampoline for safe outdoor recreation and activities with our step-by-step guide. Ensure fun and safety for the whole family!
(Many of the links in this article redirect to a specific reviewed product. Your purchase of these products through affiliate links helps to generate commission for Storables.com, at no extra cost. Learn more)
Introduction
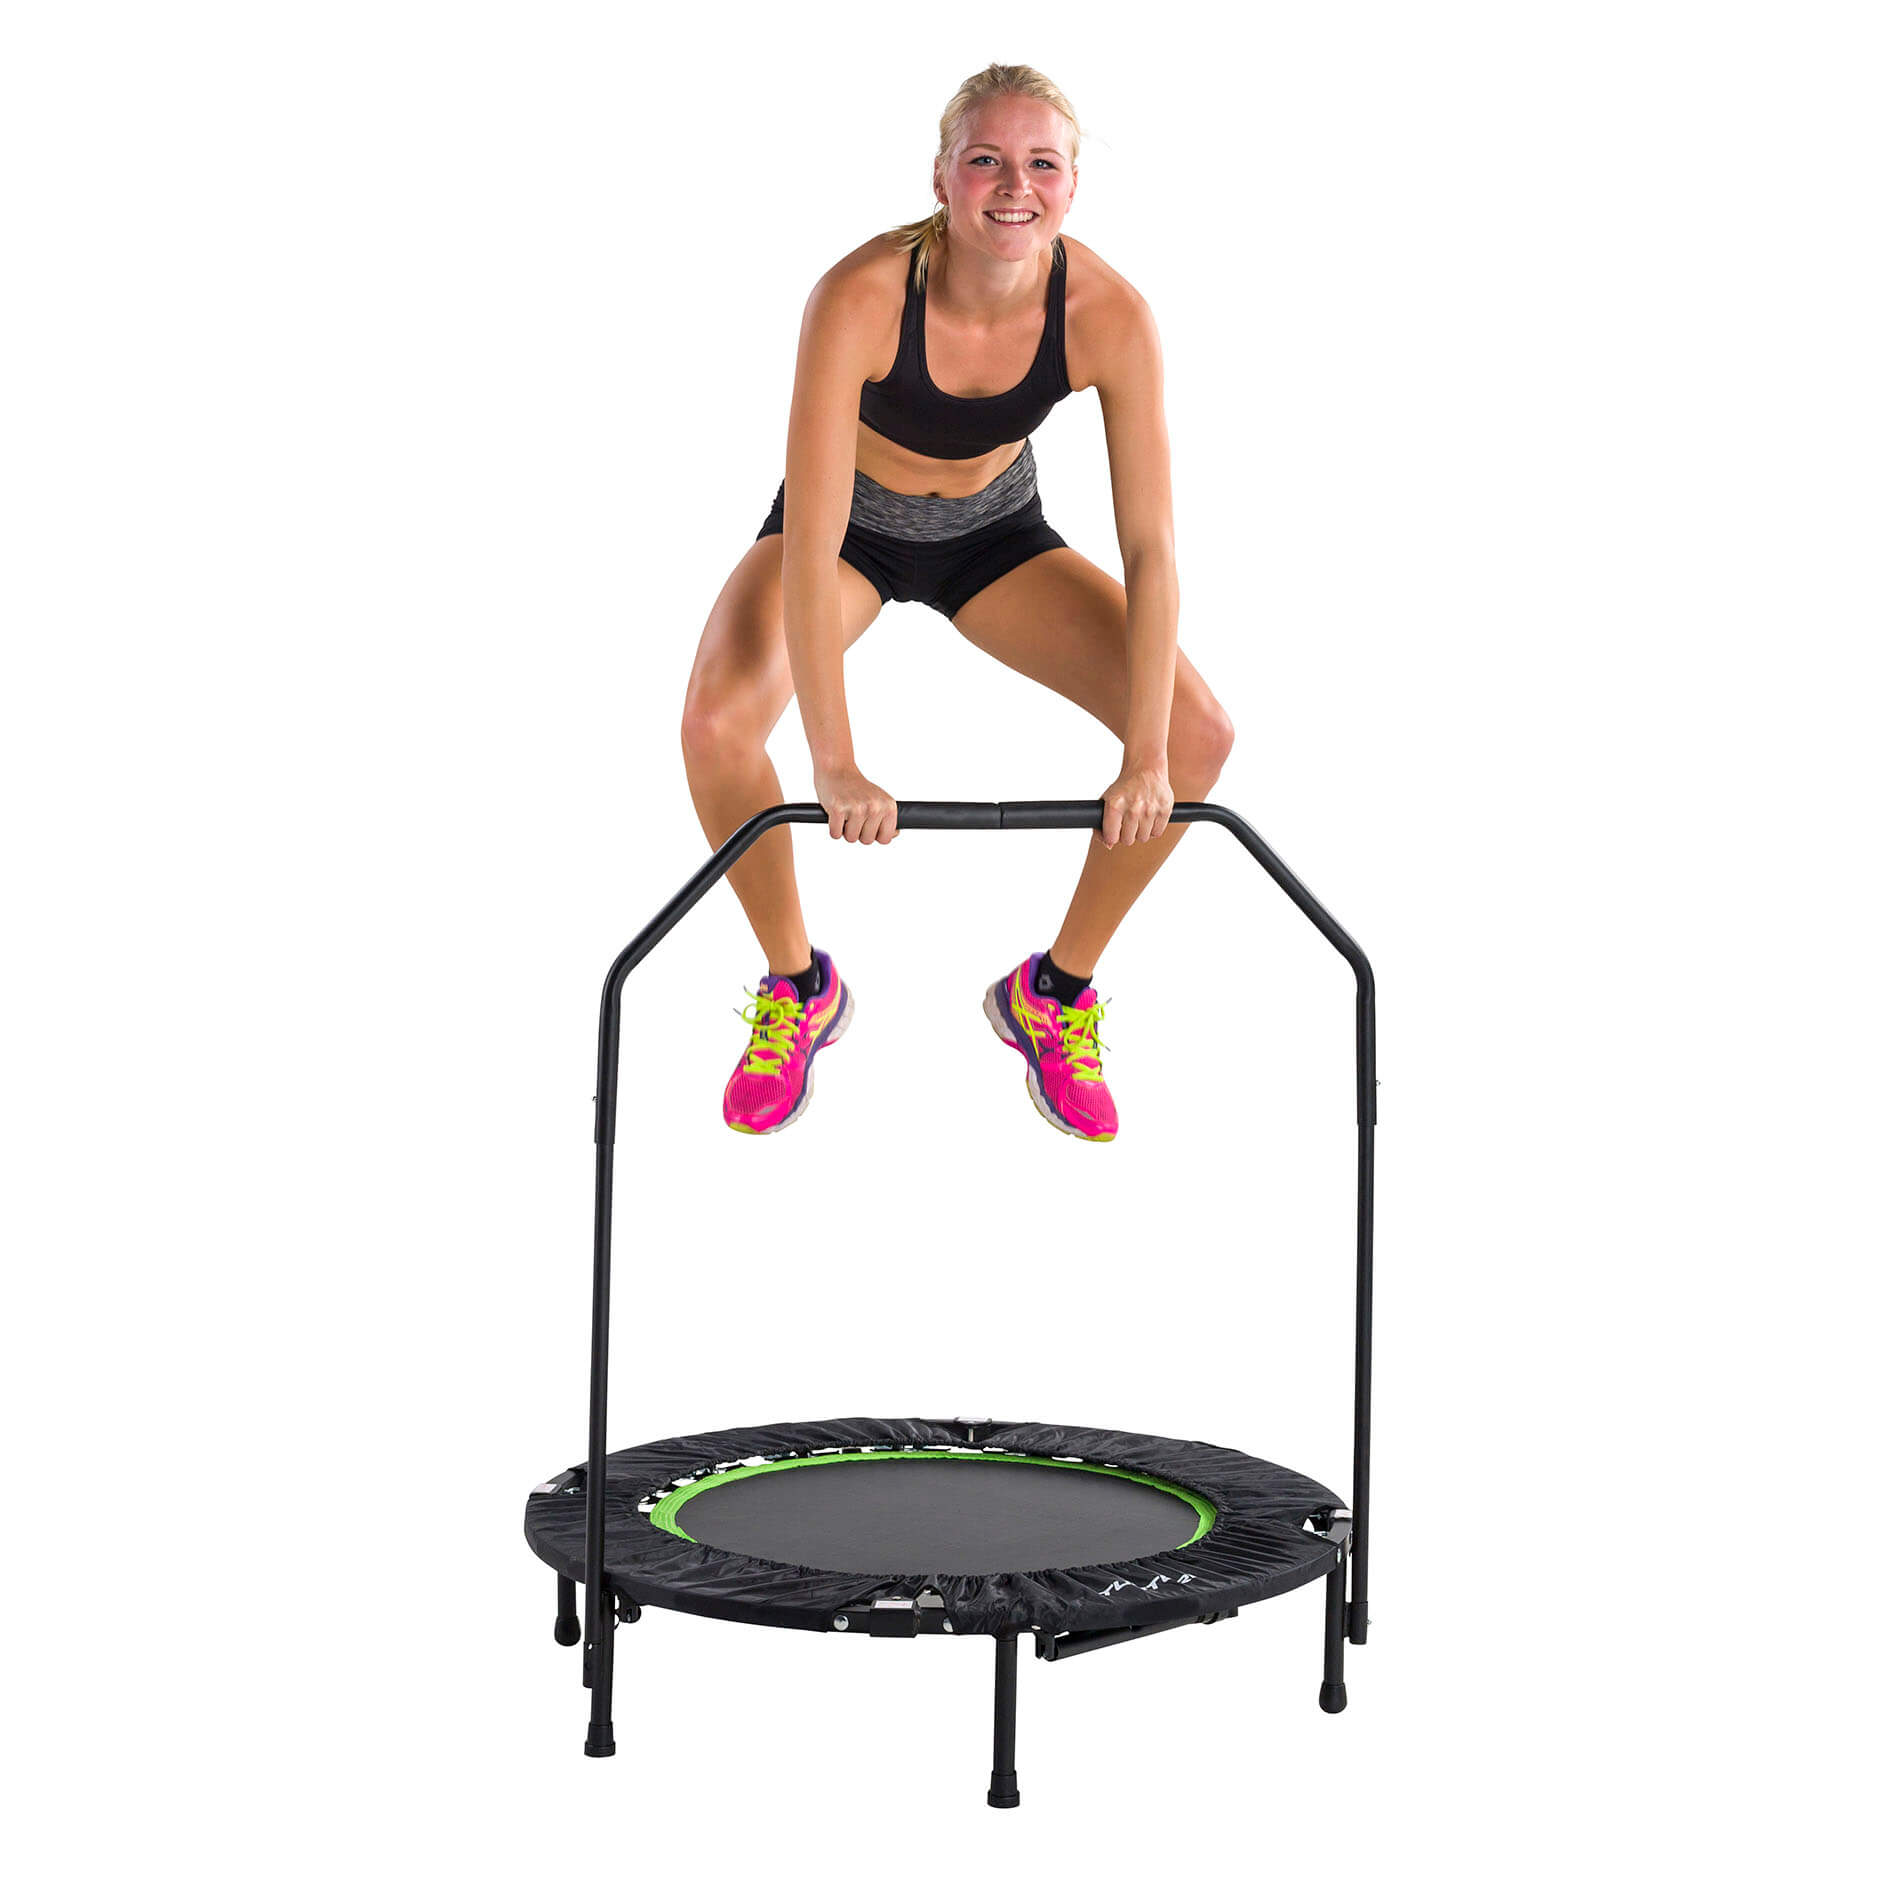
Setting up a trampoline can be an exciting and rewarding experience for the whole family. Whether it's for recreational fun or a tool for fitness and agility training, a trampoline provides a unique way to enjoy the outdoors and stay active. Before you embark on this adventure, it's essential to understand the necessary steps to ensure a safe and enjoyable trampoline setup.
In this comprehensive guide, we'll walk you through the process of setting up a trampoline, from choosing the ideal location to assembling the components and implementing safety measures. By following these steps, you can create a secure and inviting trampoline environment for everyone to relish.
So, let's dive into the details of how to set up a trampoline and make the most of this fantastic addition to your outdoor recreation space.
Key Takeaways:
- Choose a level, clear, and shaded location for your trampoline to ensure stability, safety, and longevity. Consider drainage, sun exposure, and accessibility for an ideal setup.
- Follow step-by-step assembly instructions, attach safety net, add padding, and anchor the trampoline for a secure and enjoyable outdoor experience. Regular maintenance and supervision are key to safety.
Read more: How To Set Up A Trampoline Net
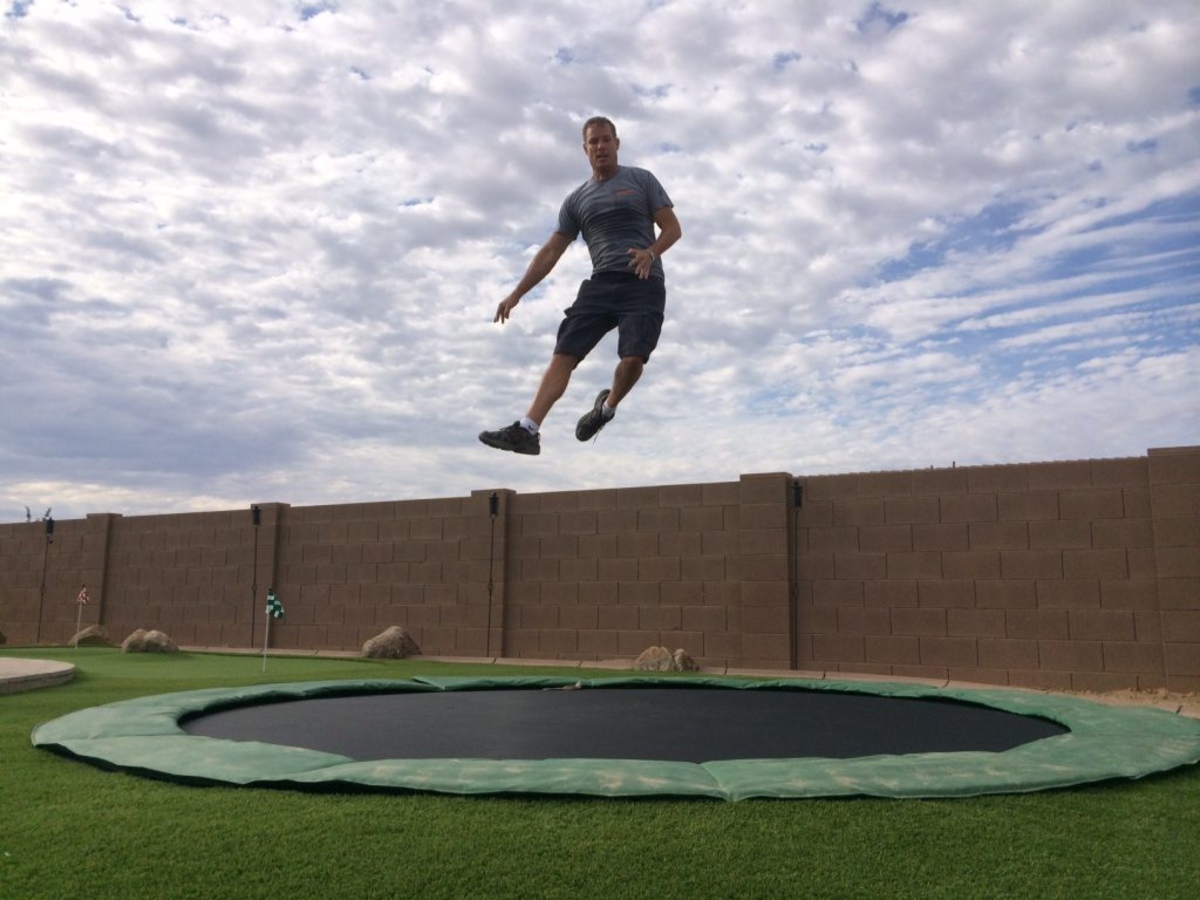
Choosing the Right Location
Before diving into the assembly process, it’s crucial to select the optimal location for your trampoline. The chosen area should provide a safe and level surface, free from potential hazards and obstacles. Here are some key considerations when choosing the right location:
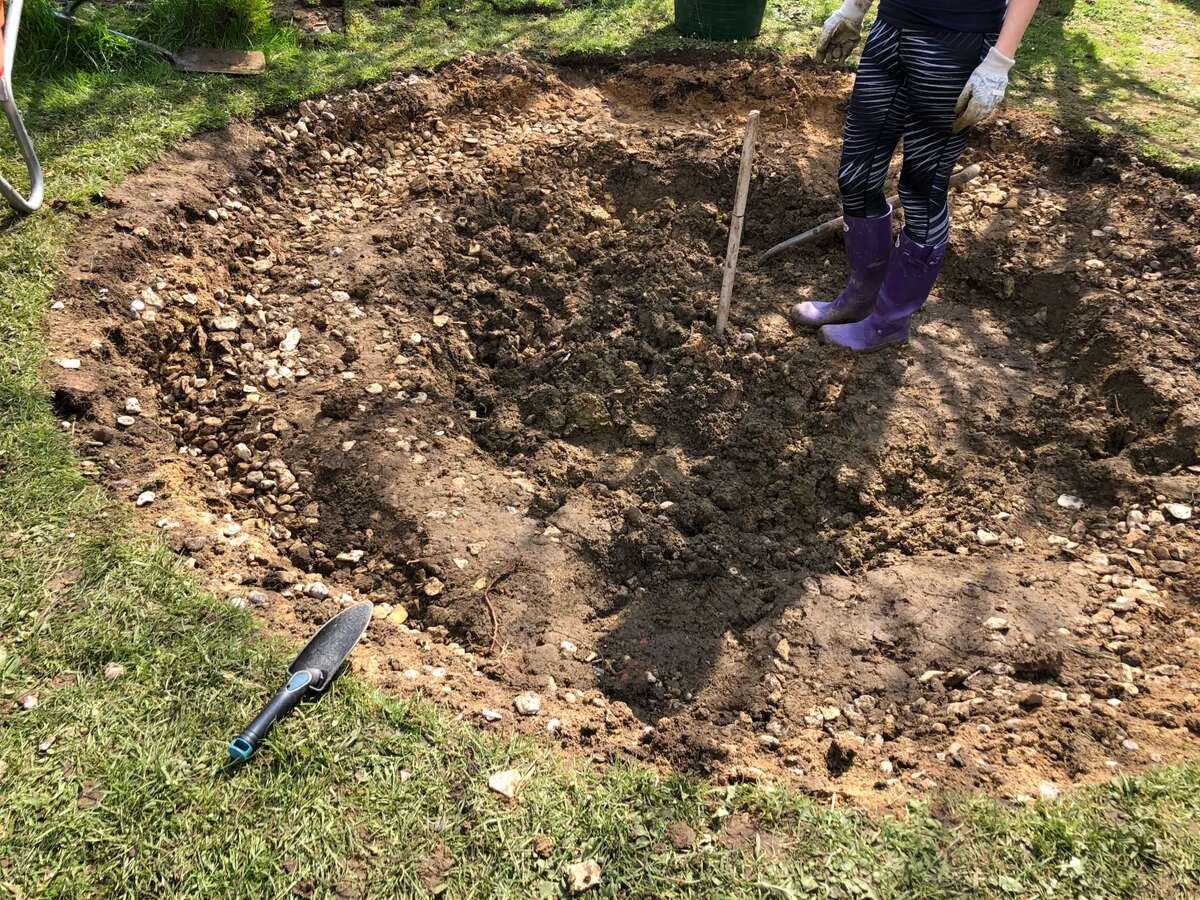
- Level Ground: Ensure that the ground where the trampoline will be placed is level. This is essential for stability and safety during use. If the ground is not level, consider leveling it out or using appropriate shims to create a stable base.
- Adequate Space: The area around the trampoline should be clear of any obstructions, such as trees, fences, or overhead wires. Aim for a clear space of at least 6 feet around the perimeter of the trampoline to prevent any accidents.
- Sun Exposure: While some sun exposure is beneficial, prolonged exposure to direct sunlight can cause the trampoline materials to degrade over time. Consider a location that offers a balance of sun and shade to prolong the life of your trampoline.
- Drainage: It’s important to place the trampoline in an area with adequate drainage to prevent water accumulation, which can lead to rust and deterioration of the trampoline frame and springs.
- Accessibility: Choose a location that allows easy access to the trampoline, making it convenient for users to enter and exit safely.
By carefully considering these factors, you can identify the ideal location for your trampoline, ensuring a safe and enjoyable experience for everyone.
Assembling the Trampoline
Once you’ve identified the perfect location, it’s time to embark on the exciting process of assembling your trampoline. Follow these steps to ensure a smooth and successful assembly:
- Organize the Components: Lay out all the trampoline components in an organized manner, ensuring that nothing is missing. Refer to the manufacturer’s instructions to verify that you have all the necessary parts.
- Frame Assembly: Begin by assembling the frame according to the provided instructions. Connect the frame sections securely, ensuring that all bolts and screws are tightened to the specified torque.
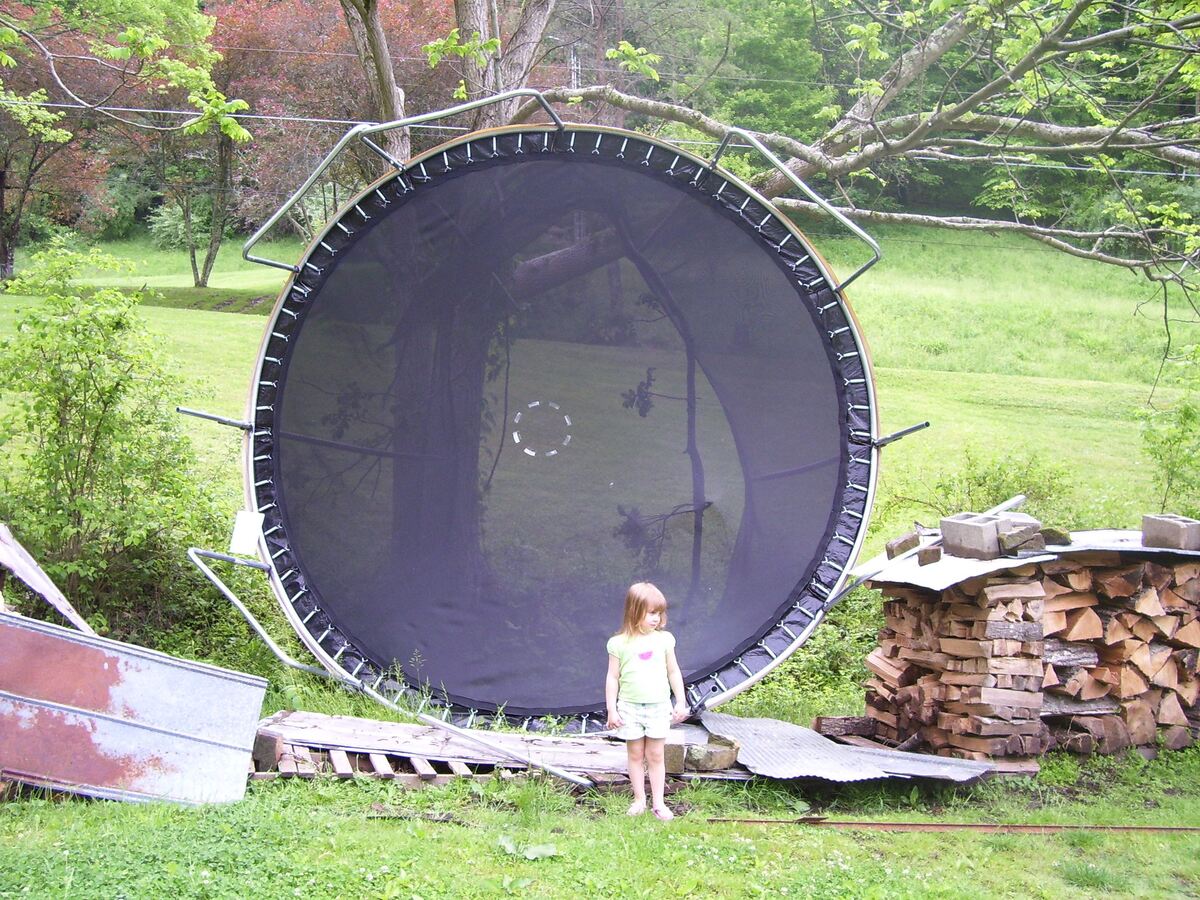
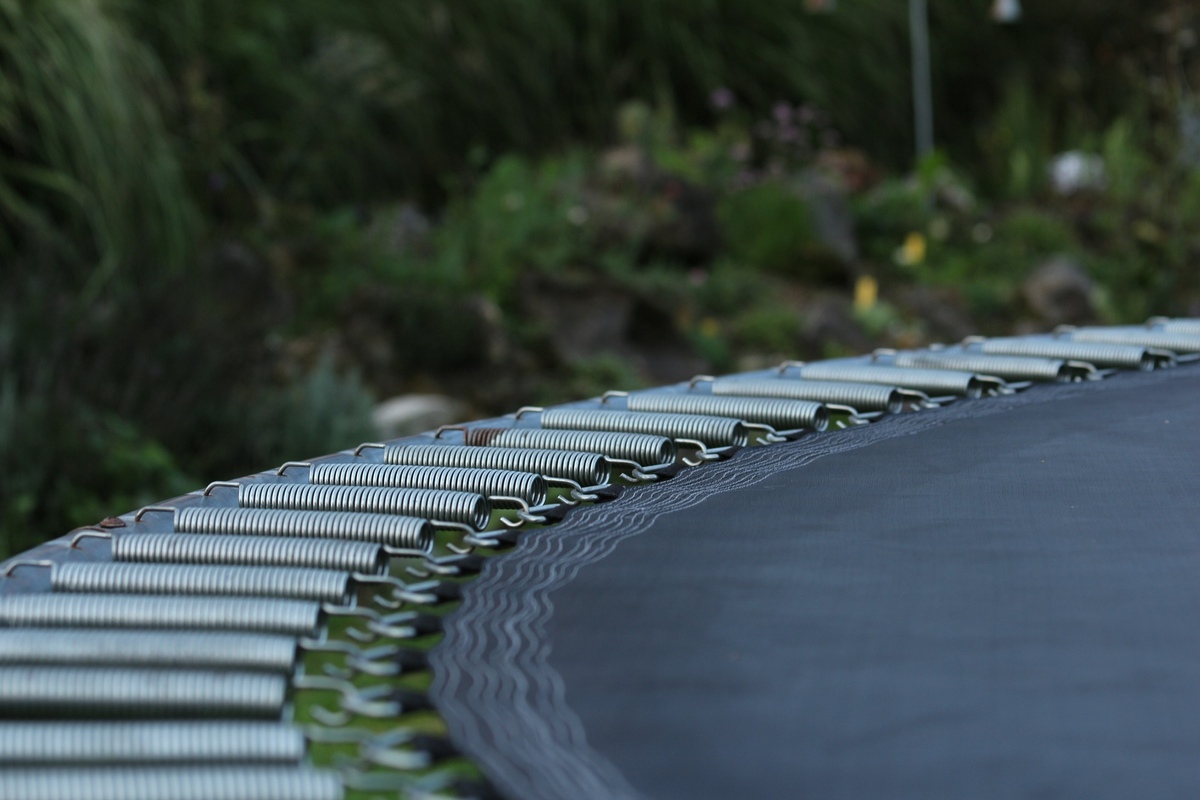
- Spring Attachment: Once the frame is assembled, attach the springs to the frame and the jumping mat. Follow the recommended pattern and technique provided in the assembly instructions to ensure proper tension and alignment.
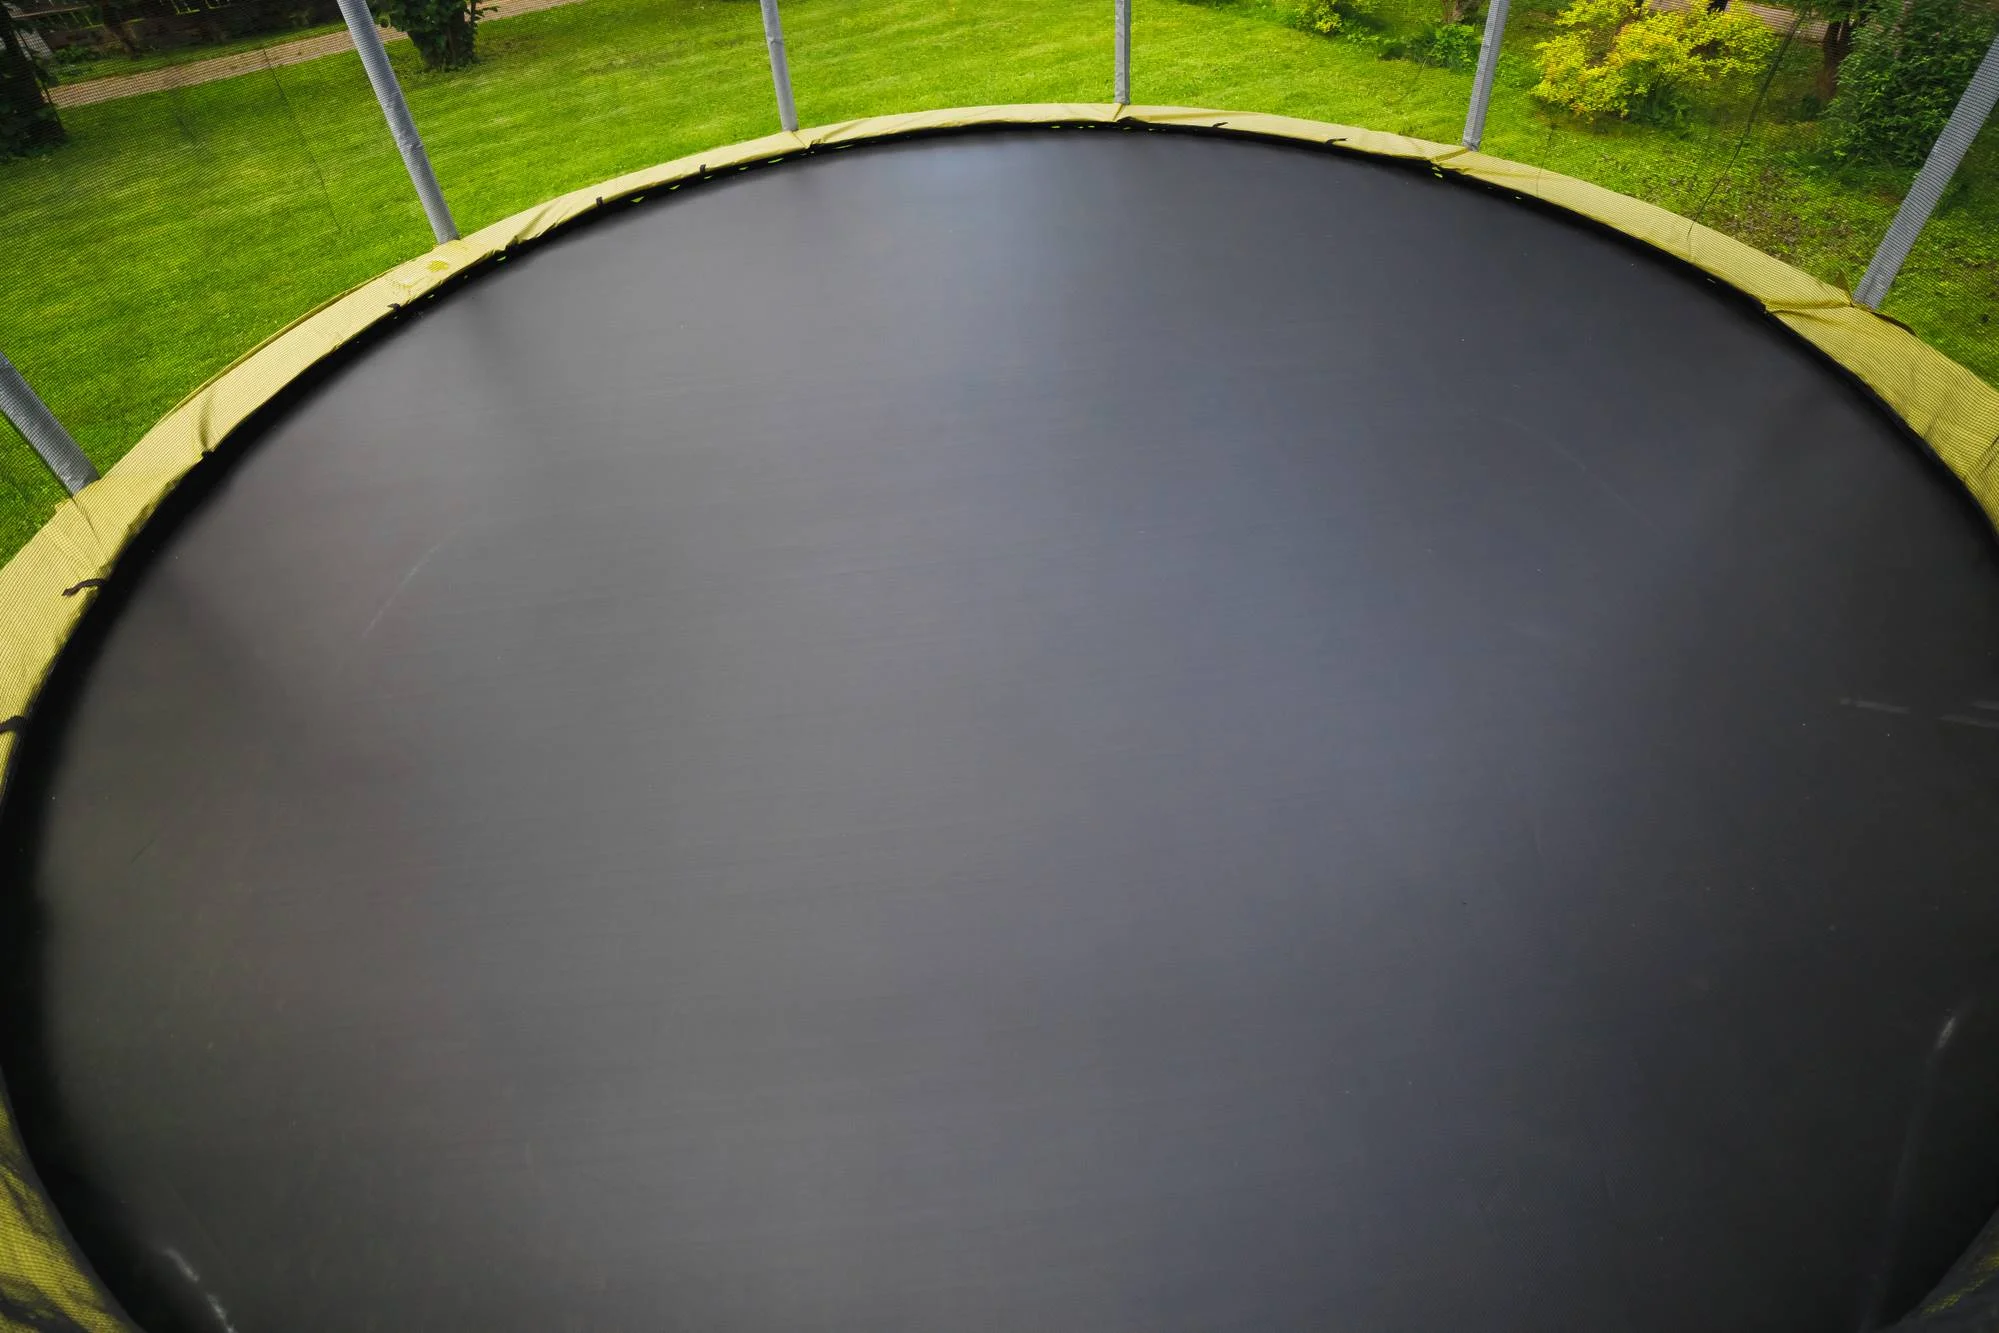
- Attaching the Jumping Mat: Carefully attach the jumping mat to the frame, ensuring that it is evenly positioned and securely fastened to the springs.
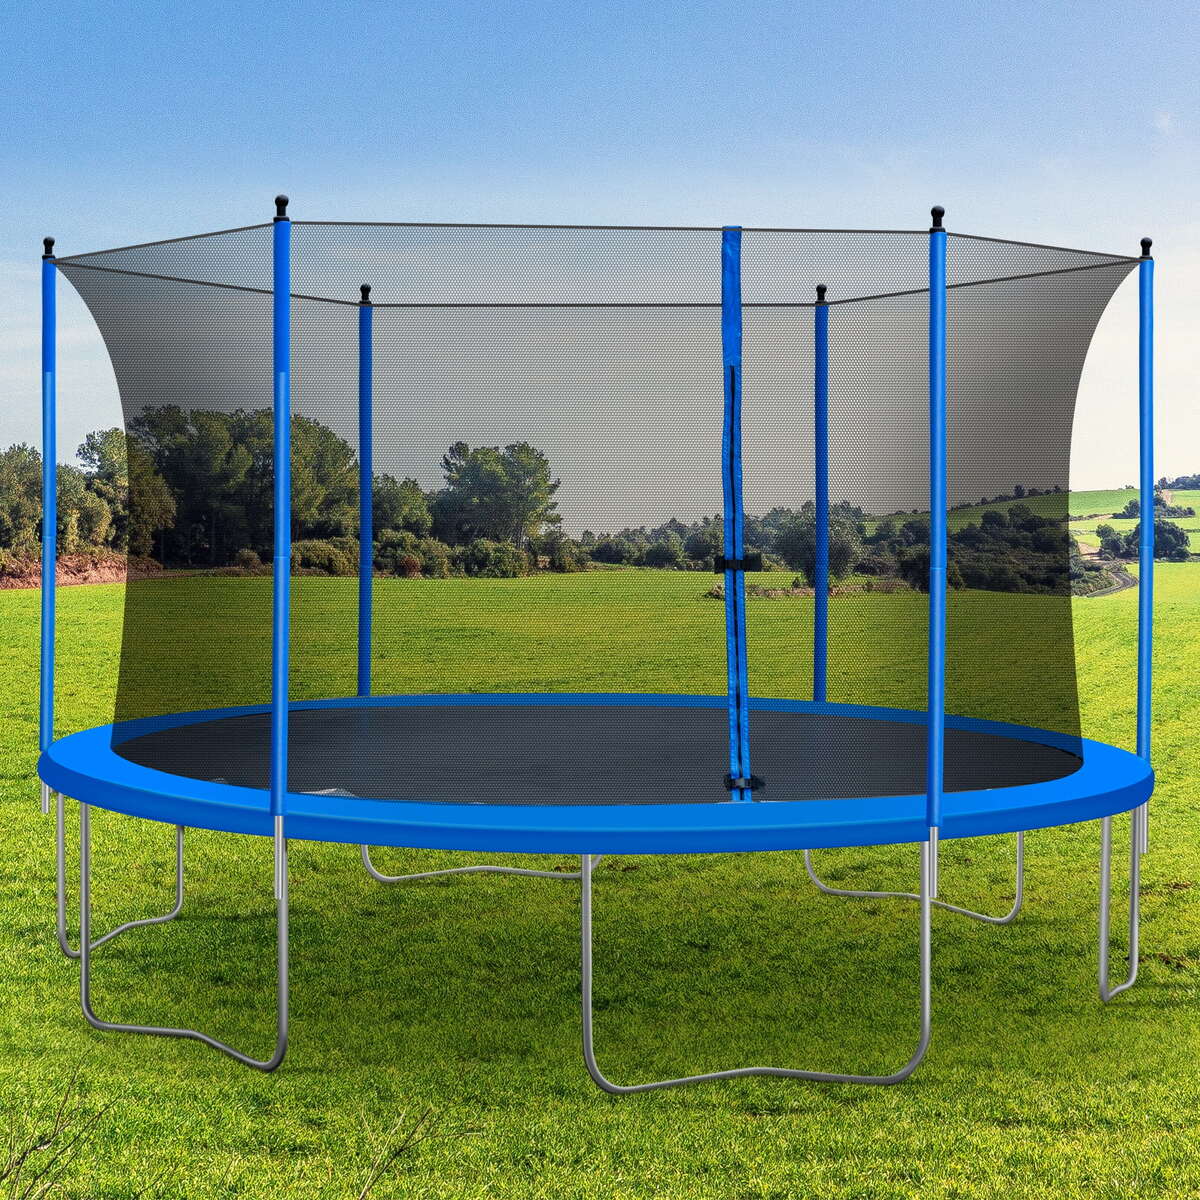
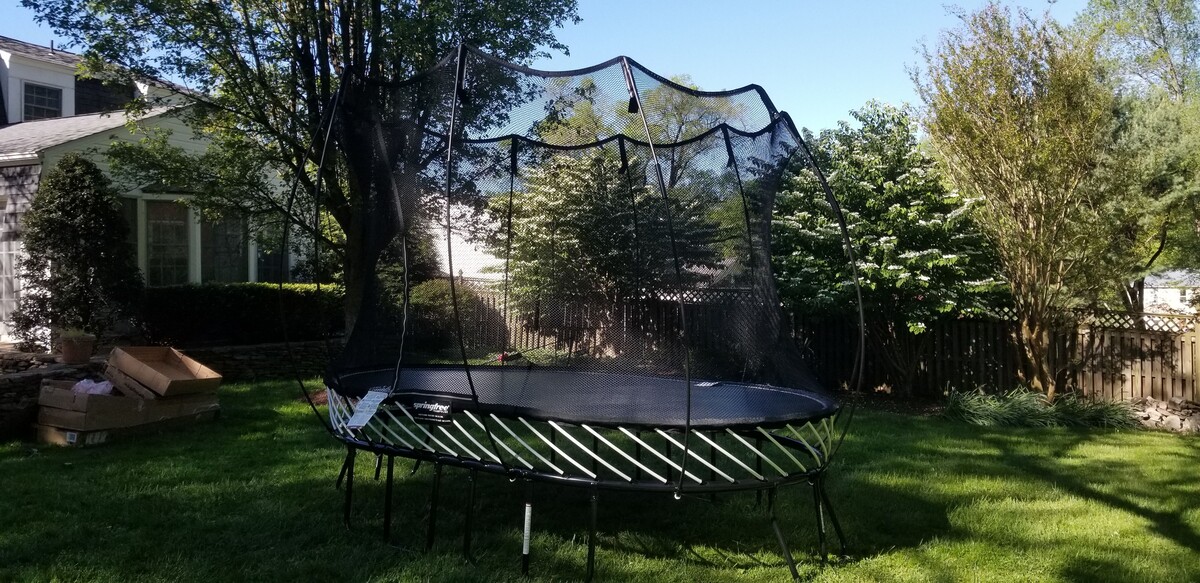
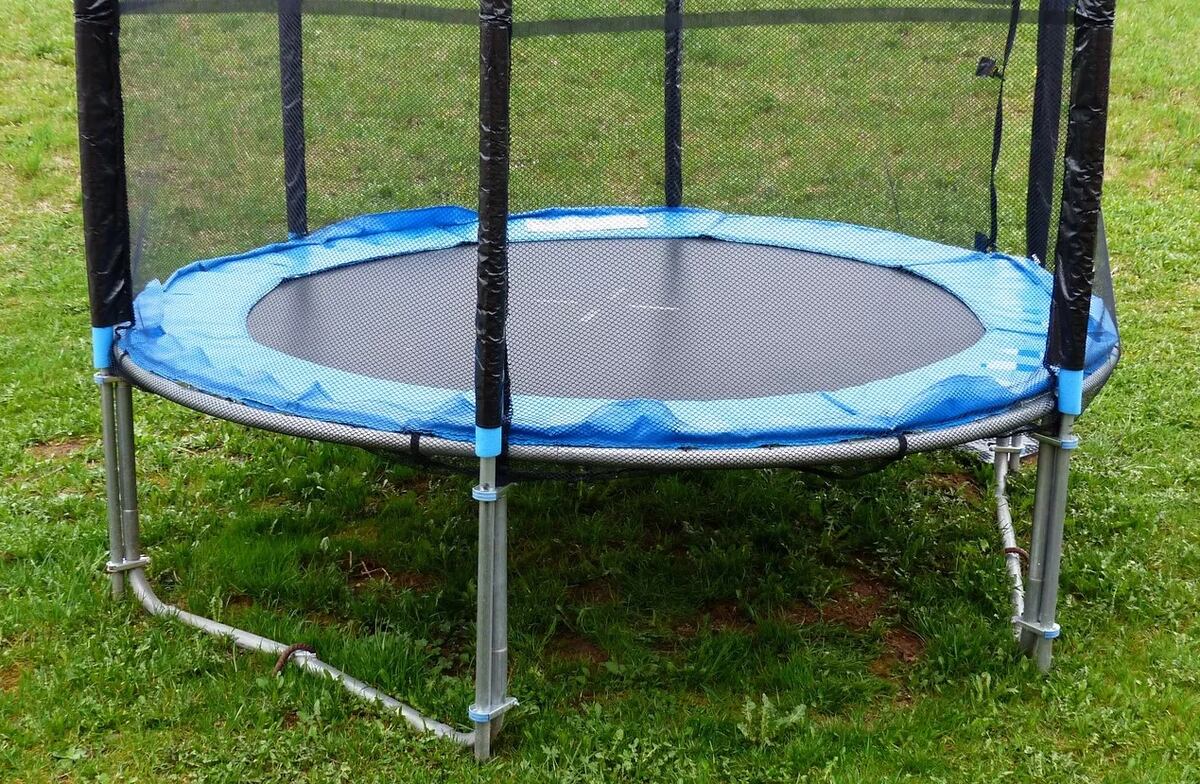
- Installing the Enclosure: If your trampoline includes a safety enclosure, carefully install it according to the manufacturer’s instructions. Ensure that the netting is securely attached to the frame and provides a safe barrier around the jumping area.
- Verify Stability: Once the trampoline is fully assembled, carefully inspect the frame, springs, and mat to ensure everything is securely in place. Test the stability of the trampoline by gently applying pressure to various points around the frame.
By following these step-by-step instructions and referring to the manufacturer’s guidelines, you can successfully assemble your trampoline, setting the stage for endless hours of outdoor fun and recreation.
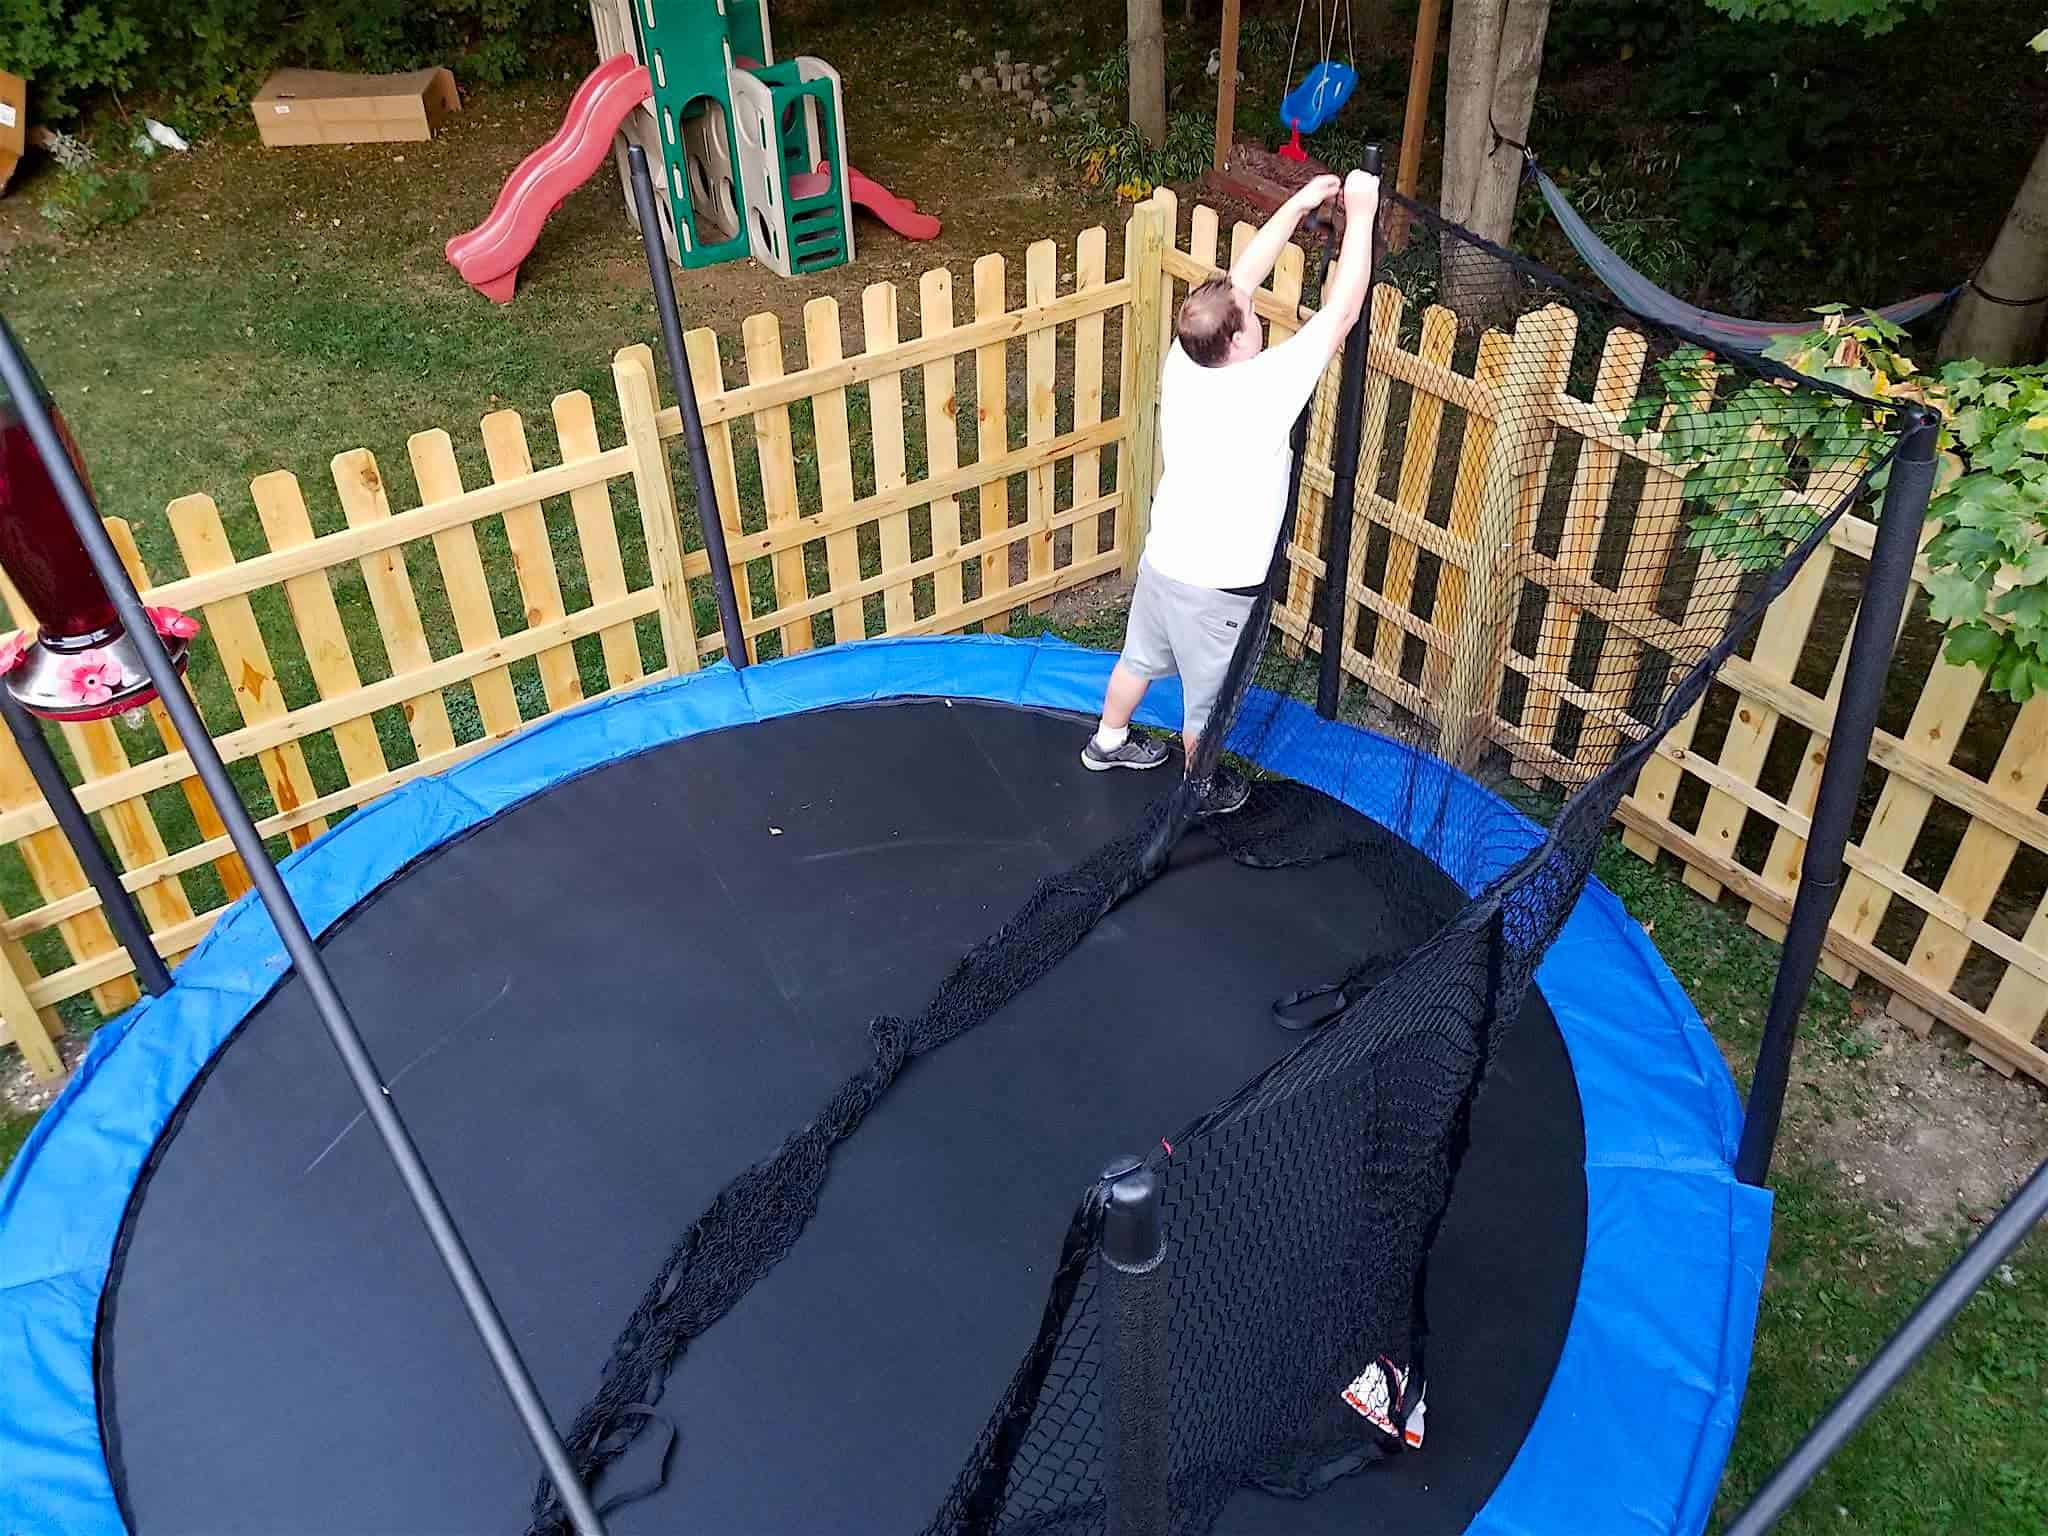
Attaching the Safety Net
Ensuring the safety of trampoline users is paramount, and a key component of this is the attachment of the safety net. When properly installed, the safety net provides a secure barrier that prevents accidental falls and enhances the overall safety of the trampoline. Here’s a guide to attaching the safety net:
- Unpack and Inspect: Carefully unpack the safety net components and inspect them for any damage or missing parts. Refer to the manufacturer’s instructions to ensure that all components are accounted for.
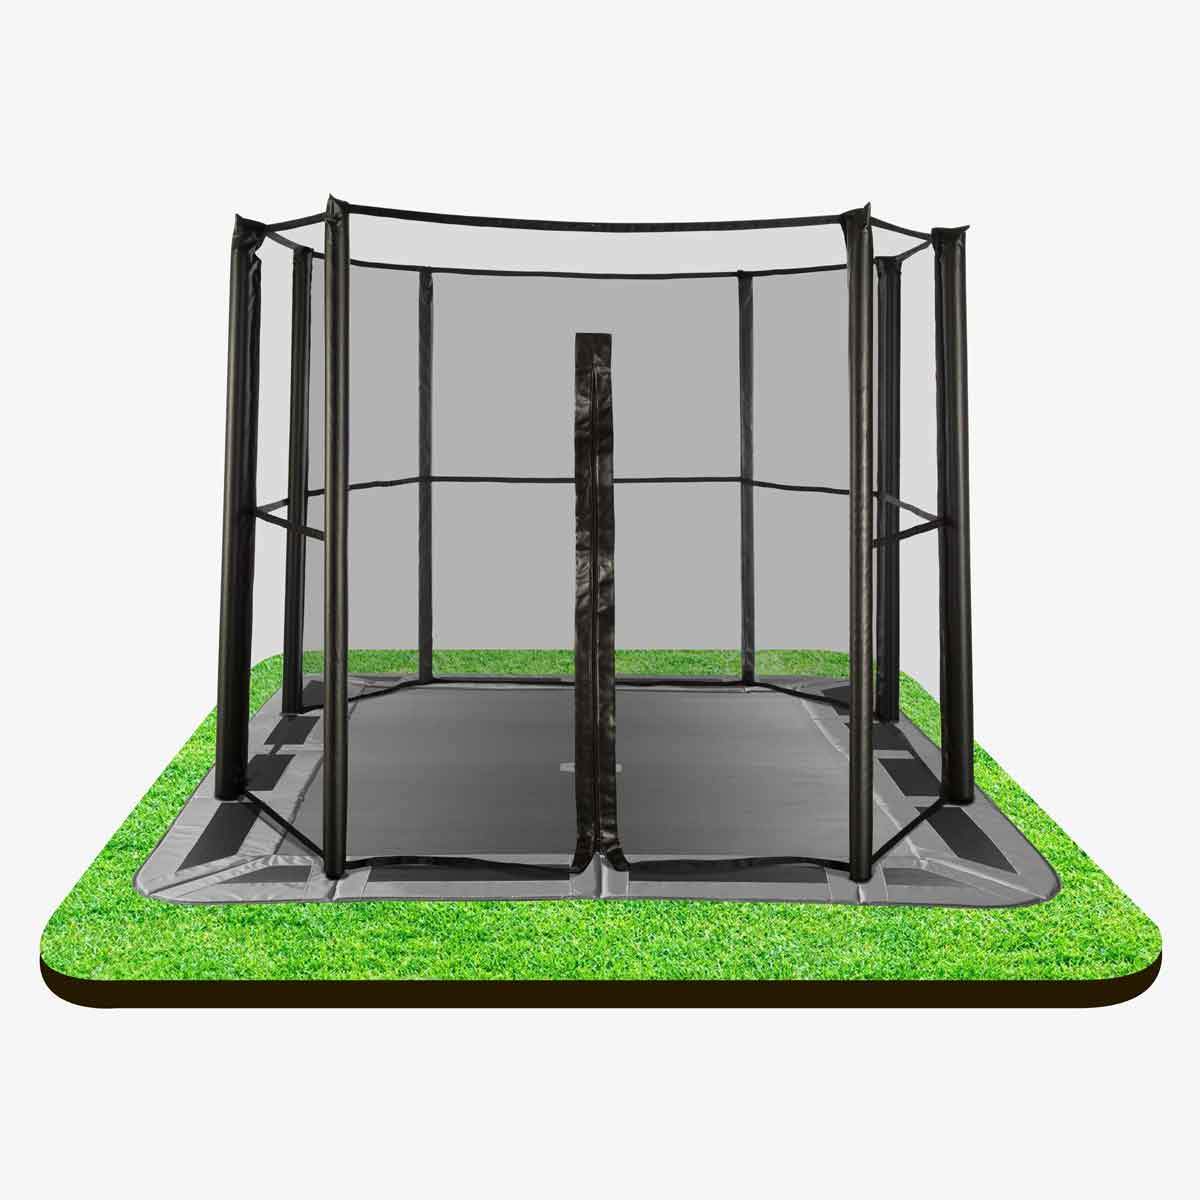
- Frame Attachment: Begin by attaching the lower portion of the safety net to the designated hooks or anchors on the trampoline frame. Ensure that the netting is evenly distributed around the perimeter of the trampoline.
- Vertical Installation: Extend the safety net upwards, securing it to the upper frame or enclosure poles. Follow the provided instructions to ensure that the net is taut and properly aligned to provide maximum safety.
- Secure Fastening: Double-check all attachment points to ensure that the safety net is securely fastened to the trampoline frame and enclosure poles. Tug gently on the net to verify its stability and resistance to pressure.
- Zipper or Closure Mechanism: If the safety net includes a zipper or closure mechanism, test its functionality to ensure that it can be easily opened and closed, providing convenient access to the trampoline while maintaining safety.
By meticulously following these steps and adhering to the manufacturer’s instructions, you can effectively attach the safety net, creating a secure environment for trampoline users to enjoy worry-free fun and physical activity.
Adding Padding and Anchoring the Trampoline
As you near the completion of the trampoline setup, it’s essential to address two crucial aspects: adding protective padding and anchoring the trampoline to enhance stability and safety. Here’s how to tackle these important steps:
- Padding Installation: Begin by installing the protective padding or “spring cover” around the perimeter of the trampoline. Ensure that the padding is securely fastened and covers the springs and frame to prevent accidental contact and minimize the risk of injury.
- Anchoring the Trampoline: Depending on the trampoline model and local regulations, consider anchoring the trampoline to the ground to enhance stability, especially in areas prone to strong winds. Use appropriate anchoring kits or techniques recommended by the manufacturer to secure the trampoline in place.
- Regular Inspection: After adding the padding and anchoring the trampoline, perform a thorough inspection to verify that all components are securely in place. Check the padding for any signs of wear and tear, and ensure that the anchoring system is robust and reliable.
By addressing these final steps in the trampoline setup process, you can significantly enhance the safety and durability of the trampoline, providing a secure and enjoyable environment for users of all ages.
When setting up a trampoline, make sure to place it on a flat and level surface to ensure stability and safety. Check for any overhead obstructions and leave a clear space around the trampoline to prevent accidents.
Read more: How To Set Up A Trampoline Enclosure
Safety Guidelines and Maintenance
Once your trampoline is set up, it’s crucial to establish and communicate safety guidelines to ensure the well-being of all users. Additionally, regular maintenance is essential to prolong the lifespan of the trampoline and uphold its safety standards. Here are some key safety guidelines and maintenance practices to follow:
Safety Guidelines:
- Supervision: Always supervise children when they are using the trampoline, and ensure that they adhere to safety guidelines and restrictions.
- One at a Time: Limit the trampoline to one user at a time to prevent collisions and accidents.
- No Tricks or Somersaults: Discourage users from attempting flips, somersaults, or other high-risk maneuvers that could lead to injury.
- Age Restrictions: Establish age-appropriate guidelines for trampoline use, taking into account the physical capabilities and coordination of users.
- Regular Inspections: Routinely inspect the trampoline for signs of wear, tear, or damage, and address any issues promptly.
Maintenance Practices:
- Seasonal Maintenance: Perform seasonal maintenance, such as tightening bolts, lubricating moving parts, and inspecting the integrity of the frame and springs.
- Padding Replacement: Regularly inspect and replace the protective padding if it shows signs of deterioration or damage.
- Net Integrity: Check the safety net for any tears or holes, and repair or replace it as needed to maintain its effectiveness.
- Weather Precautions: During inclement weather, secure the trampoline or disassemble it to prevent damage from strong winds or heavy precipitation.
By diligently adhering to these safety guidelines and maintenance practices, you can promote a safe and enjoyable trampoline experience for everyone while extending the longevity of your trampoline.
Conclusion
Congratulations on successfully setting up your trampoline! By carefully selecting the ideal location, assembling the components, and implementing safety measures, you’ve created a fun and safe environment for outdoor recreation and physical activity. As you and your family prepare to enjoy the trampoline, it’s essential to keep safety at the forefront of your trampoline experience.
Remember to regularly inspect the trampoline for any signs of wear and tear, and promptly address any maintenance or repair needs. By following the recommended safety guidelines and maintenance practices, you can ensure that the trampoline remains a source of enjoyment for years to come.
As you embark on this exciting trampoline journey, encourage everyone to follow the established safety guidelines and use the trampoline responsibly. With proper care and supervision, the trampoline can provide countless hours of fun, laughter, and physical activity for the entire family.
So, bounce, laugh, and make unforgettable memories on your new trampoline, knowing that you’ve taken the necessary steps to create a safe and enjoyable outdoor recreation space for everyone to relish.
Frequently Asked Questions about How To Set Up A Trampoline
Was this page helpful?
At Storables.com, we guarantee accurate and reliable information. Our content, validated by Expert Board Contributors, is crafted following stringent Editorial Policies. We're committed to providing you with well-researched, expert-backed insights for all your informational needs.


0 thoughts on “How To Set Up A Trampoline”