Home>Gardening & Outdoor>Outdoor Recreation & Activities>How To Assemble An Above Ground Swimming Pool

Outdoor Recreation & Activities
How To Assemble An Above Ground Swimming Pool
Published: February 18, 2024
Learn how to assemble an above ground swimming pool with our comprehensive guide. Perfect for outdoor recreation and activities. Start enjoying your pool today!
(Many of the links in this article redirect to a specific reviewed product. Your purchase of these products through affiliate links helps to generate commission for Storables.com, at no extra cost. Learn more)
Choosing the Right Location
Selecting the ideal location for your above-ground swimming pool is a crucial first step in the assembly process. The right location not only ensures the pool's stability and longevity but also contributes to the overall aesthetic and functionality of your outdoor space. Here's a comprehensive guide to help you make an informed decision when choosing the perfect spot for your above-ground pool.
-
Level Ground: Begin by identifying a spot with level ground. This will facilitate the installation process and prevent potential structural issues down the line. Avoid areas with steep slopes or uneven terrain, as they can pose challenges during assembly and affect the pool's stability.
-
Sun Exposure: Consider the amount of sun exposure the area receives throughout the day. Opt for a location that receives ample sunlight, as this can help maintain the water temperature and minimize the presence of algae and bacteria. Additionally, sunlight can enhance the overall swimming experience, creating a warm and inviting atmosphere.
-
Accessibility: Evaluate the accessibility of the chosen location. Ensure that it is easily accessible from your home, allowing for convenient and seamless transitions between indoor and outdoor spaces. Proximity to amenities such as changing rooms, outdoor showers, and seating areas should also be taken into account for a well-rounded pool setup.
-
Utility Lines and Obstructions: Before finalizing the location, identify the presence of underground utility lines, such as water, gas, and electrical lines. Additionally, take note of any above-ground obstructions, such as trees, overhead power lines, or structures that may encroach upon the pool's designated area. Avoiding these obstacles is essential for safety and ease of maintenance.
-
Privacy and Aesthetics: Consider the level of privacy offered by the location. While you may desire a balance of sunlight and shade, it's also important to create a private and tranquil oasis for relaxation and recreation. Assess the surrounding landscape and aim for a location that aligns with your aesthetic preferences and provides a sense of seclusion.
By carefully considering these factors, you can confidently select the optimal location for your above-ground swimming pool. This thoughtful approach will set the stage for a successful and enjoyable pool assembly process, laying the foundation for countless hours of outdoor fun and relaxation.
Key Takeaways:
- Choose a level, sunny, and accessible location for your above-ground pool to ensure stability, warmth, and convenience. Consider privacy and aesthetics for a tranquil oasis.
- Prepare the ground meticulously, level it, use a protective layer, and verify dimensions for a stable and durable foundation for your above-ground pool.
Preparing the Ground
Preparing the ground for your above-ground swimming pool is a critical step that sets the stage for a stable and long-lasting pool structure. By meticulously attending to the groundwork, you can ensure a level and secure foundation, ultimately contributing to the safety and functionality of the pool. Here's a detailed guide to help you navigate the essential process of preparing the ground for your above-ground pool.
-
Clearing the Area: Begin by clearing the designated area of any debris, rocks, and sharp objects that could potentially puncture the pool liner. This meticulous clearing process is vital for safeguarding the integrity of the pool and preventing future damage.
-
Leveling the Ground: Achieving a level surface is paramount for the stability and structural integrity of the pool. Utilize a long, straight board or a laser level to identify any uneven areas. Gradually fill in low-lying spots with compacted soil and remove excess soil from high spots to create a uniformly level surface.
-
Using a Protective Layer: Once the ground is leveled, it's advisable to lay a protective layer, such as sand or a commercial pool pad, to further safeguard the pool liner from potential abrasions. This protective barrier acts as a cushioning layer, minimizing the risk of punctures and abrasions caused by underlying debris.
-
Establishing Boundaries: Clearly mark the perimeter of the pool area to delineate the exact location where the pool will be installed. This visual demarcation serves as a guide during subsequent assembly steps, ensuring accurate placement and alignment of the pool components.
-
Verifying Dimensions: Prior to proceeding with the assembly, double-check the dimensions of the prepared area to ensure it aligns with the recommended size for your specific pool model. Accurate measurements and adherence to the manufacturer's guidelines are essential for a seamless installation process.
By meticulously preparing the ground in accordance with these steps, you can establish a solid foundation for your above-ground swimming pool. This diligent groundwork not only contributes to the structural integrity of the pool but also sets the stage for a smooth and successful assembly process, bringing you one step closer to enjoying countless hours of aquatic leisure in your own backyard.
Assembling the Frame
Assembling the frame of an above-ground swimming pool is a pivotal phase that lays the groundwork for the pool's structural integrity and overall stability. This process involves meticulously piecing together the framework that will support the pool's walls and form the basis of its structural framework. Here's a comprehensive guide to navigating the intricate process of assembling the frame, ensuring a seamless and secure foundation for your above-ground pool.
-
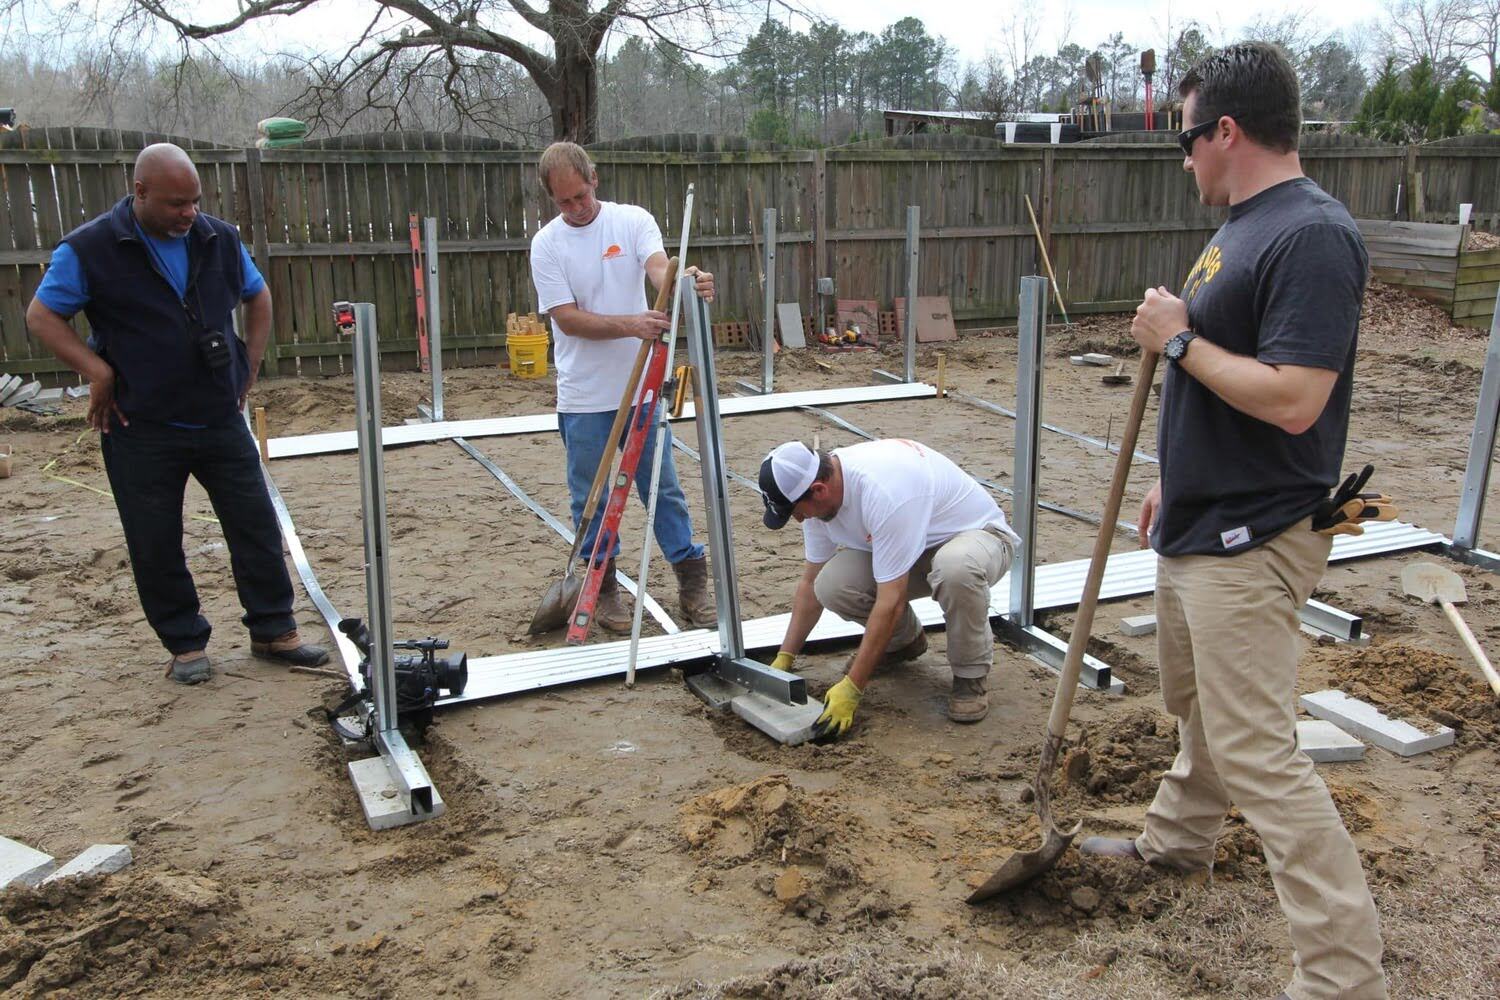
Organizing Components: Begin by carefully organizing all the components of the pool's frame, including the vertical uprights, horizontal rails, and bottom plates. Lay out the components in an organized manner, ensuring easy access and clear visibility during the assembly process.
-
Aligning Uprights: Position the vertical uprights at designated intervals around the circumference of the pool area, ensuring they are evenly spaced and aligned according to the manufacturer's specifications. This meticulous alignment sets the stage for a uniform and stable framework.
-
Securing Bottom Plates: Secure the bottom plates to the base of each vertical upright, ensuring a snug and secure fit. This step forms the foundational connection between the uprights and the pool's base, contributing to the overall stability of the frame.
-
Attaching Horizontal Rails: Carefully attach the horizontal rails to the assembled uprights, interlocking them securely to form a continuous perimeter around the pool. This step involves precision and attention to detail to ensure a seamless and secure connection between the various components.
-
Verifying Alignment: Periodically verify the alignment and levelness of the assembled frame, making any necessary adjustments to maintain uniformity and structural integrity. This meticulous oversight is crucial for preventing potential issues during subsequent assembly stages.
-
Reinforcing Joints: Utilize manufacturer-recommended fasteners and reinforcement techniques to secure the joints and connections within the frame. This additional reinforcement enhances the overall stability and durability of the frame, ensuring its ability to withstand the water pressure once the pool is filled.
By meticulously following these steps and exercising precision throughout the assembly process, you can establish a robust and reliable frame for your above-ground swimming pool. This meticulous attention to detail not only ensures the structural integrity of the pool but also sets the stage for a successful and enjoyable pool assembly experience, bringing you one step closer to creating lasting memories in your own backyard oasis.
Installing the Liner
Installing the liner is a pivotal step in the assembly of an above-ground swimming pool, as it forms the watertight barrier that contains the pool's water and contributes to its overall structural integrity. This meticulous process involves carefully positioning and securing the pool liner to create a smooth and durable interior surface. Here's a comprehensive guide to navigating the intricate process of installing the liner, ensuring a seamless and watertight enclosure for your above-ground pool.
-
Preparing the Pool Base: Before installing the liner, ensure that the pool base is clean, smooth, and free of any debris or sharp objects that could potentially puncture the liner. Additionally, verify that the protective layer, such as sand or a commercial pool pad, is evenly distributed to provide a cushioning foundation for the liner.
-
Unfolding and Positioning the Liner: Begin by unfolding the pool liner in close proximity to the pool, taking care to avoid dragging or stretching the material. Gradually position the liner within the pool, ensuring that it aligns evenly with the pool walls and floor. Exercise caution to prevent wrinkles or air pockets from forming beneath the liner.
-
Securing the Liner: As the liner is positioned within the pool, carefully smooth out any wrinkles and adjust the alignment to achieve a snug fit. Utilize coping strips or other manufacturer-recommended securing mechanisms to affix the liner to the top of the pool wall, ensuring a secure and uniform attachment around the perimeter.
-
Eliminating Wrinkles and Air Pockets: Thoroughly inspect the positioned liner to identify and eliminate any wrinkles or air pockets that may have formed during the installation process. Smooth out the surface of the liner to create a taut and uniform interior, minimizing the risk of premature wear and tear.
-
Trimming Excess Liner: Once the liner is securely positioned and free of wrinkles, carefully trim any excess material from the top of the pool wall, ensuring a neat and tailored appearance. Exercise precision when trimming the liner to achieve a clean and professional finish.
-
Verifying Alignment and Fit: Periodically inspect the installed liner to verify its alignment and fit, making any necessary adjustments to ensure a seamless and watertight enclosure. This meticulous oversight is essential for safeguarding the integrity of the liner and preventing potential leaks or damage.
By meticulously following these steps and exercising precision throughout the installation process, you can establish a durable and watertight liner for your above-ground swimming pool. This meticulous attention to detail not only ensures the structural integrity of the pool but also sets the stage for a successful and enjoyable pool assembly experience, bringing you one step closer to creating lasting memories in your own backyard oasis.
Filling the Pool
With the meticulous groundwork and structural components in place, the exhilarating moment arrives to fill your above-ground swimming pool with water. This pivotal phase marks the transition from a construction site to a refreshing aquatic haven, bringing you one step closer to enjoying leisurely swims and memorable gatherings with family and friends. Here's a detailed guide to navigating the process of filling the pool, ensuring a seamless and efficient transition to the aquatic phase of your above-ground pool assembly.
Read more: How To Bond An Above Ground Swimming Pool
Water Source and Quantity
Before commencing the filling process, ascertain the water source for your pool. Whether utilizing a garden hose, water delivery service, or alternative water supply, ensure that the source is easily accessible and capable of providing the necessary quantity of water to reach the recommended fill level for your specific pool model. It's advisable to calculate the approximate volume of water required based on the pool's dimensions, allowing for an accurate estimation of the filling duration and water consumption.
Gradual Filling and Monitoring
Initiate the filling process by directing the water into the pool, allowing it to gradually accumulate and spread across the pool's interior. It's essential to monitor the filling progress closely, periodically assessing the water level to prevent overfilling. Maintaining a gradual and controlled filling pace is crucial for evenly distributing the water and minimizing undue stress on the pool's structure and liner. Additionally, this approach facilitates the detection of potential leaks or irregularities during the filling process, enabling prompt remediation if necessary.
Water Quality Considerations
As the pool nears its recommended fill level, consider the quality of the water being introduced. If utilizing tap water, be mindful of any chemical treatments, such as chlorine or chloramine, that may be present in the water supply. These additives can impact the initial water chemistry and may necessitate subsequent adjustments to achieve optimal balance. Alternatively, if utilizing well water or water from alternative sources, assess the water quality to identify any potential impurities or imbalances that could affect the pool's overall water chemistry.
Final Adjustments and Balancing
Upon reaching the desired fill level, conduct a comprehensive assessment of the pool's water chemistry, including pH levels, alkalinity, and sanitizer concentrations. Utilize water testing kits or seek professional water analysis to gauge the initial water quality and make any necessary adjustments to achieve optimal balance. This may involve the addition of pool chemicals, such as pH adjusters or sanitizers, to establish a healthy and hygienic aquatic environment conducive to safe and enjoyable swimming experiences.
Read more: How To Drain An Above Ground Swimming Pool
Anticipating Pool Activation
As the pool reaches its recommended fill level and the water quality is appropriately balanced, you are poised to activate the pool's filtration and circulation systems. This pivotal step initiates the continuous maintenance and circulation of the pool water, promoting clarity and cleanliness. Prior to activating the systems, ensure that all components are properly installed and operational, setting the stage for ongoing water maintenance and enjoyment of your fully filled and balanced above-ground swimming pool.
By meticulously following these steps and exercising vigilance throughout the filling process, you can seamlessly transition your above-ground swimming pool from a construction project to a captivating aquatic retreat. This meticulous attention to detail not only ensures the successful completion of the filling phase but also sets the stage for countless hours of aquatic leisure and relaxation in your own backyard oasis.
Adding Chemicals and Balancing the Water
Maintaining the water quality of your above-ground swimming pool is paramount to ensure a safe and enjoyable swimming environment. The process of adding chemicals and balancing the water involves a series of meticulous steps aimed at preserving water clarity, preventing algae growth, and safeguarding the well-being of swimmers. Here's a comprehensive guide to navigating this essential phase of pool maintenance, ensuring that your pool water remains pristine and inviting throughout the swimming season.
Water Testing
Before adding any chemicals, it's imperative to conduct a thorough water test to assess key parameters such as pH levels, alkalinity, and sanitizer concentrations. Utilize a reliable water testing kit to obtain accurate readings, providing valuable insights into the current state of the water chemistry. This initial assessment serves as the foundation for determining the specific chemical adjustments required to achieve optimal water balance.
pH Adjustment
Maintaining the pH level within the recommended range is crucial for water comfort and the effectiveness of sanitizers. If the pH deviates from the ideal range of 7.2 to 7.6, pH adjusters can be utilized to bring the water into balance. By carefully following the manufacturer's guidelines, gradually introduce the pH adjuster into the pool water, allowing for proper dispersion and circulation to achieve the desired pH level.
Alkalinity Regulation
Balancing the alkalinity of the pool water is essential for stabilizing the pH and preventing rapid fluctuations. Alkalinity levels should typically fall within the range of 80 to 120 parts per million (ppm). Utilize alkalinity increasers or decreasers as needed to fine-tune the alkalinity levels, promoting water stability and minimizing the potential for pH variations.
Sanitization
Effective sanitization is vital for controlling bacteria and contaminants in the pool water. Chlorine and other sanitizing agents play a pivotal role in disinfecting the water and ensuring a hygienic swimming environment. Carefully follow the manufacturer's instructions to add the appropriate amount of sanitizer to the pool, maintaining a consistent residual level to combat impurities and safeguard swimmers' well-being.
Shock Treatment
Periodic shock treatments are recommended to address organic buildup, chloramine formation, and other water contaminants that may compromise water clarity and quality. Utilize shock treatment products to provide a potent dose of oxidizing agents, effectively eliminating organic compounds and restoring water clarity. This process is particularly beneficial after heavy pool usage or following adverse weather conditions.
Ongoing Maintenance
After adding chemicals and balancing the water, ongoing maintenance is essential to monitor and sustain optimal water quality. Regularly test the water chemistry, adjust chemical levels as needed, and uphold diligent filtration and circulation practices to uphold pristine water conditions. Additionally, adhere to a consistent pool maintenance schedule, encompassing skimming, vacuuming, and filter cleaning to uphold water clarity and hygiene.
By meticulously following these steps and maintaining a proactive approach to water maintenance, you can ensure that your above-ground swimming pool remains a refreshing and inviting oasis for leisure and recreation. This diligent commitment to water quality management sets the stage for a safe, enjoyable, and memorable swimming experience in the comfort of your own backyard.
Read more: How To Level Ground For A Swimming Pool
Testing the Water and Maintaining the Pool
Maintaining pristine water quality is essential for the longevity and enjoyment of your above-ground swimming pool. Regular testing of the pool water and diligent maintenance practices are pivotal in upholding optimal water conditions, ensuring a safe and inviting environment for swimmers. Here's an in-depth exploration of the crucial process of testing the water and maintaining the pool, encompassing comprehensive water analysis and proactive maintenance measures.
Water Testing and Analysis
Regular water testing forms the cornerstone of effective pool maintenance. Utilize a reliable water testing kit to assess key parameters such as pH levels, alkalinity, sanitizer concentrations, and calcium hardness. These fundamental measurements provide valuable insights into the overall water chemistry, serving as the basis for informed decision-making regarding necessary adjustments and maintenance actions.
Upon obtaining the test results, meticulously analyze the findings to identify any deviations from the recommended ranges. Pay particular attention to the pH level, as it directly influences water comfort and the efficacy of sanitizers. Additionally, assess the alkalinity and sanitizer levels to gauge water stability and disinfection potency. By meticulously interpreting the test results, you can pinpoint specific areas that require attention and tailor your maintenance efforts accordingly.
Chemical Adjustments and Water Balancing
Based on the water test results, initiate targeted chemical adjustments to restore optimal water balance. Utilize pH adjusters to fine-tune the pH level within the recommended range of 7.2 to 7.6, promoting water comfort and sanitizer effectiveness. Similarly, regulate alkalinity levels to ensure stability and prevent pH fluctuations, utilizing alkalinity increasers or decreasers as needed to achieve the ideal range of 80 to 120 parts per million (ppm).
In addition to pH and alkalinity adjustments, maintain a consistent residual level of sanitizers, such as chlorine, to effectively combat bacteria and impurities. Carefully follow manufacturer guidelines to add the appropriate amount of sanitizer, upholding a hygienic swimming environment. Furthermore, monitor and adjust calcium hardness levels to prevent potential water imbalances and equipment damage, ensuring the longevity of pool components.
Ongoing Maintenance Practices
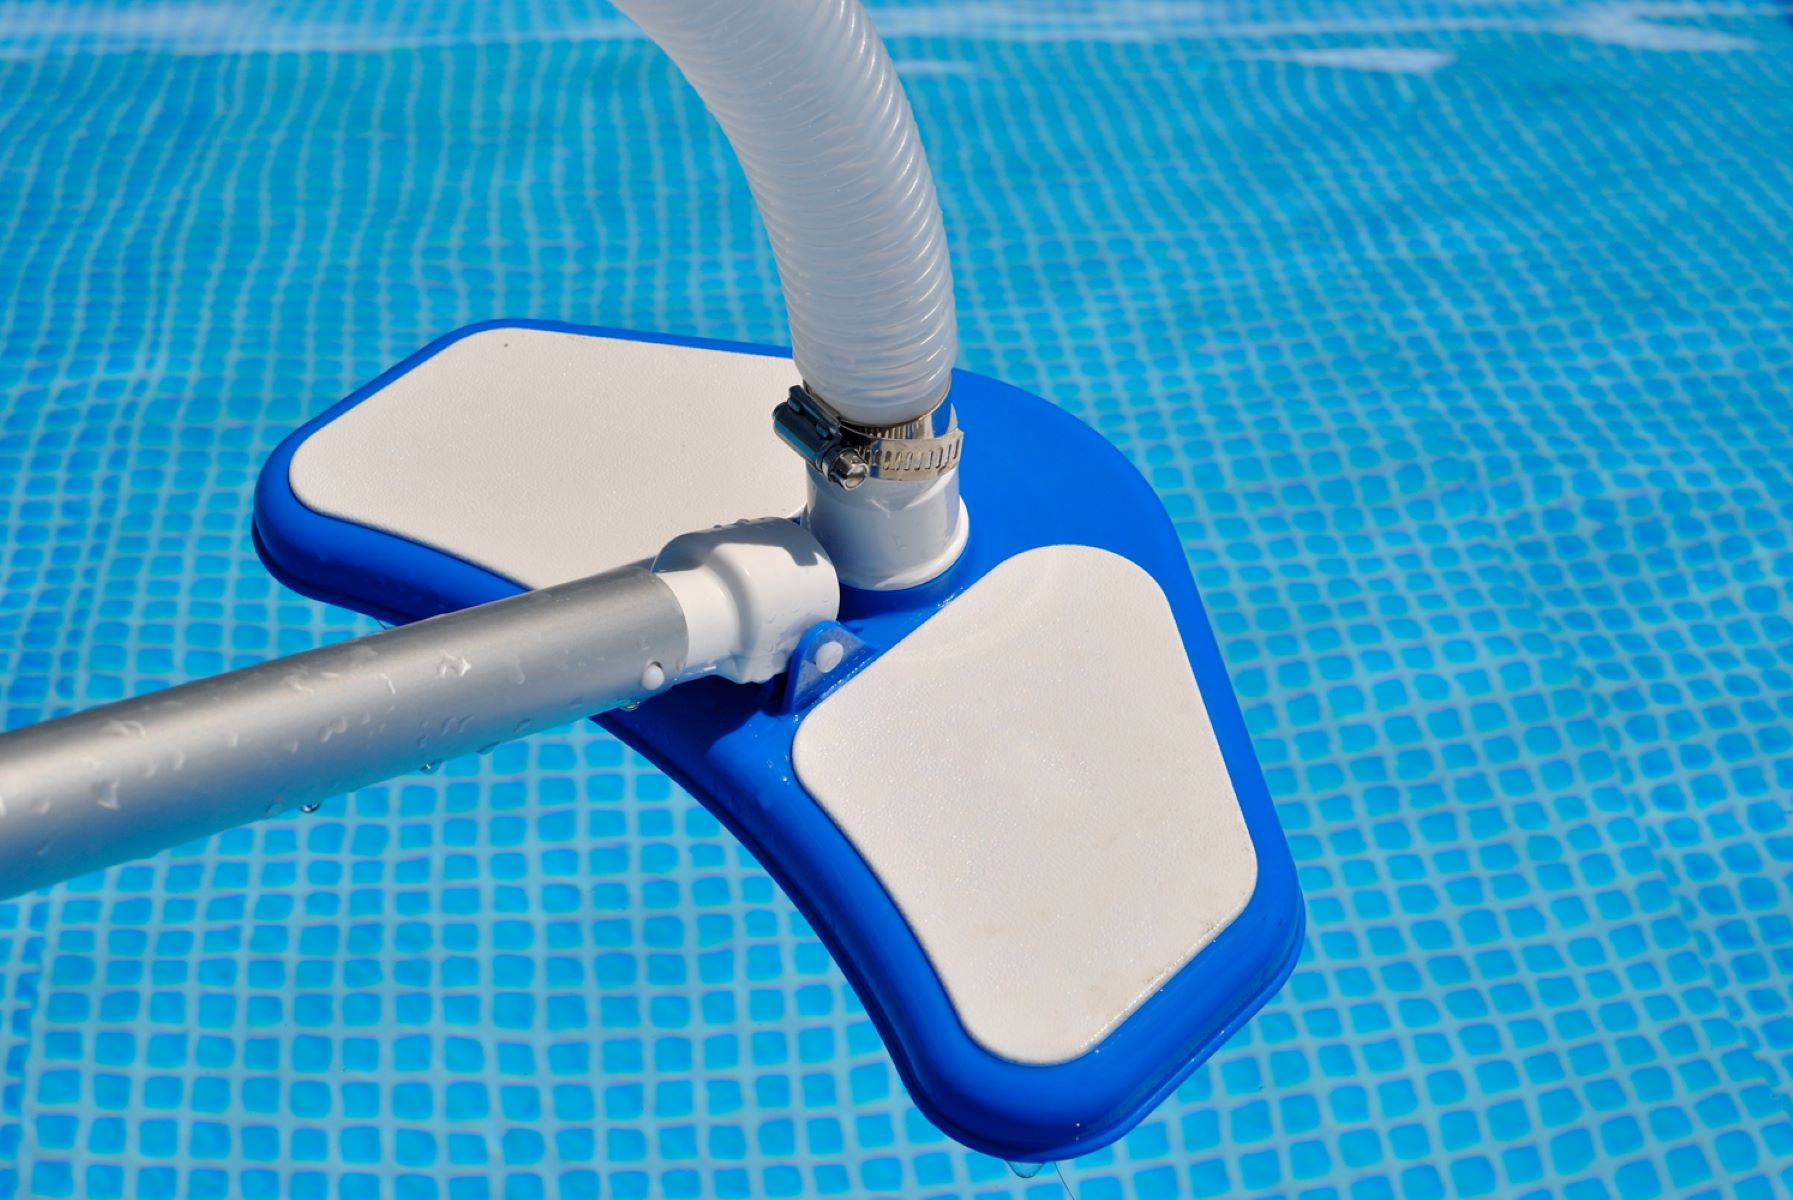
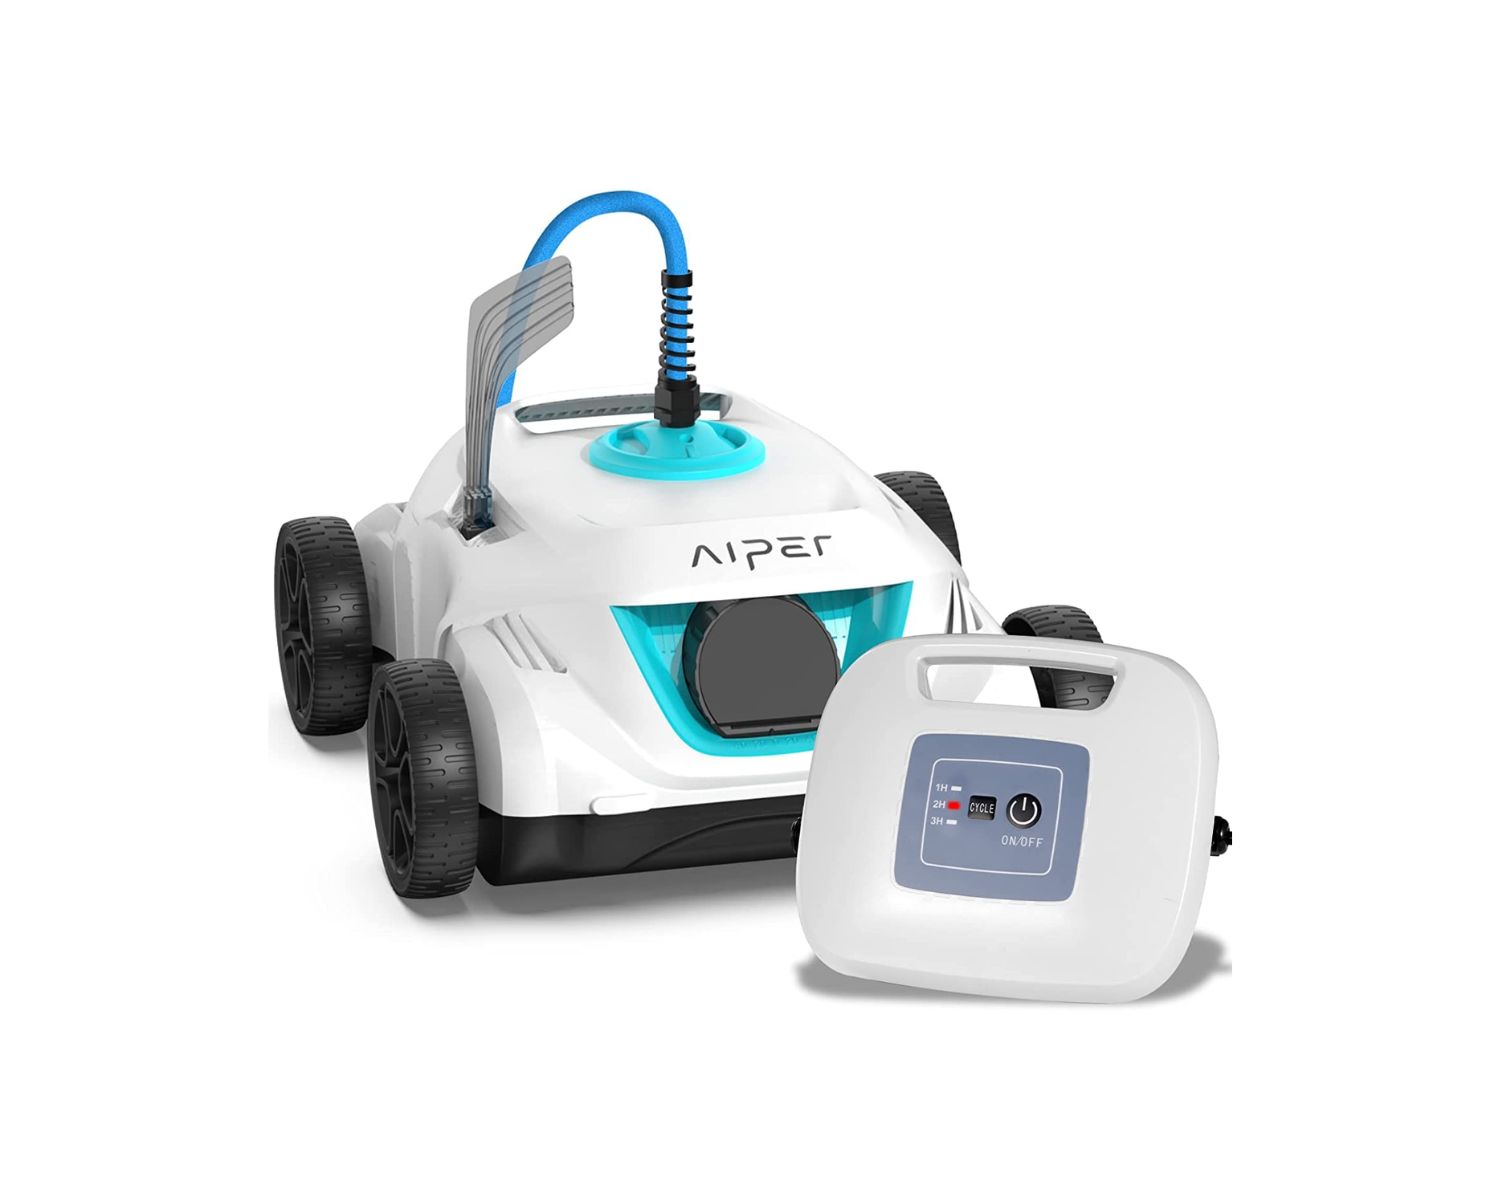
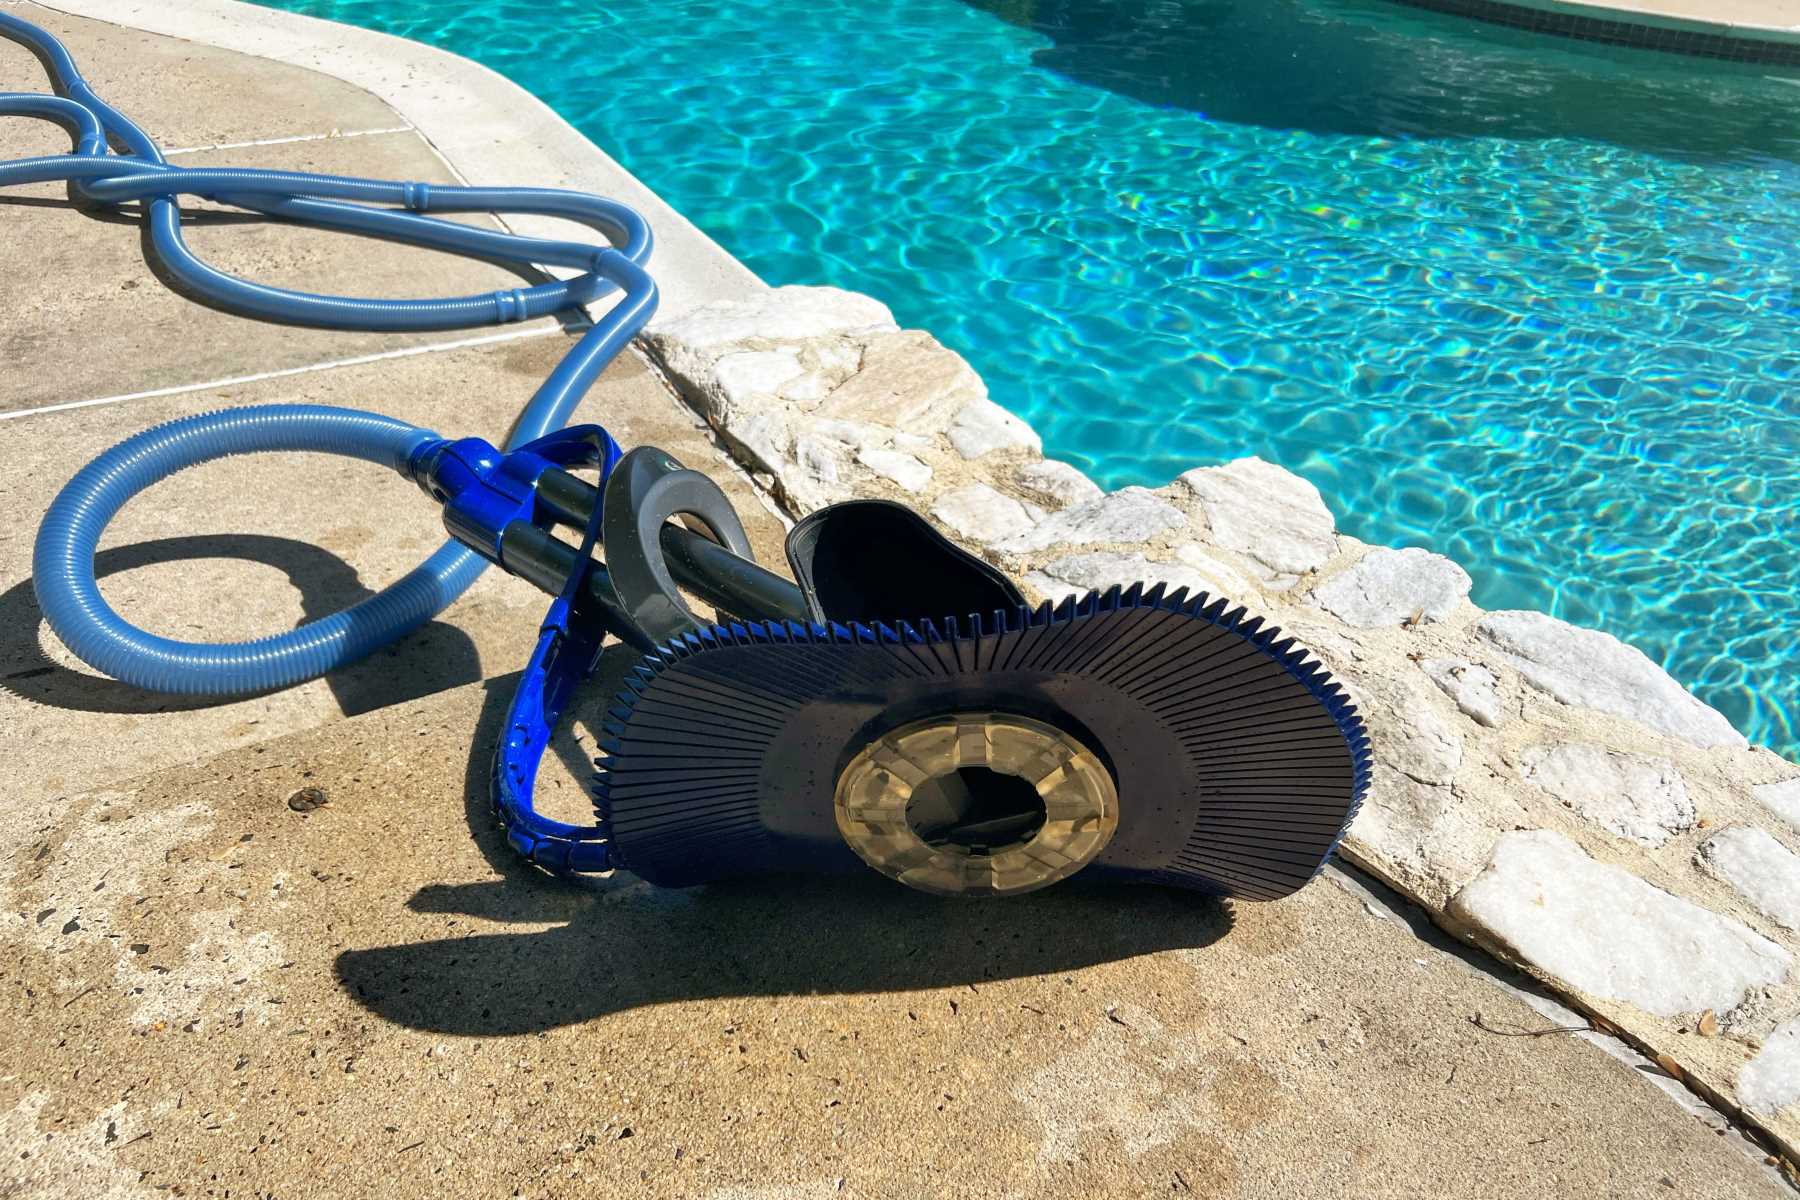
Beyond chemical adjustments, ongoing maintenance practices are integral to sustaining optimal water quality. Implement a regular pool maintenance schedule encompassing skimming, vacuuming, and filter cleaning to remove debris, sediment, and contaminants from the water. Diligent filtration and circulation practices promote water clarity and minimize the accumulation of impurities, contributing to a pristine and inviting swimming environment.
Furthermore, uphold proactive measures to prevent and address potential issues such as algae growth, cloudy water, and scale formation. Utilize algaecides and clarifiers as needed to combat algae and enhance water clarity, safeguarding the visual appeal and hygiene of the pool. Additionally, monitor and address any signs of scaling or staining, utilizing appropriate treatments to maintain the integrity and aesthetics of the pool surfaces.
By integrating meticulous water testing and proactive maintenance practices into your pool care regimen, you can uphold optimal water quality and create a safe, inviting, and enjoyable swimming environment. This dedicated commitment to water maintenance ensures that your above-ground swimming pool remains a captivating oasis for leisure and recreation, fostering countless memorable experiences in the comfort of your own backyard.
Frequently Asked Questions about How To Assemble An Above Ground Swimming Pool
Was this page helpful?
At Storables.com, we guarantee accurate and reliable information. Our content, validated by Expert Board Contributors, is crafted following stringent Editorial Policies. We're committed to providing you with well-researched, expert-backed insights for all your informational needs.

0 thoughts on “How To Assemble An Above Ground Swimming Pool”