Home>Articles>How To Use A Laser Level For Above Ground Pool
Articles
How To Use A Laser Level For Above Ground Pool
Modified: October 20, 2024
Learn how to properly use a laser level for your above ground pool with our informative articles. Discover tips and tricks for achieving accurate leveling results.
(Many of the links in this article redirect to a specific reviewed product. Your purchase of these products through affiliate links helps to generate commission for Storables.com, at no extra cost. Learn more)
Introduction
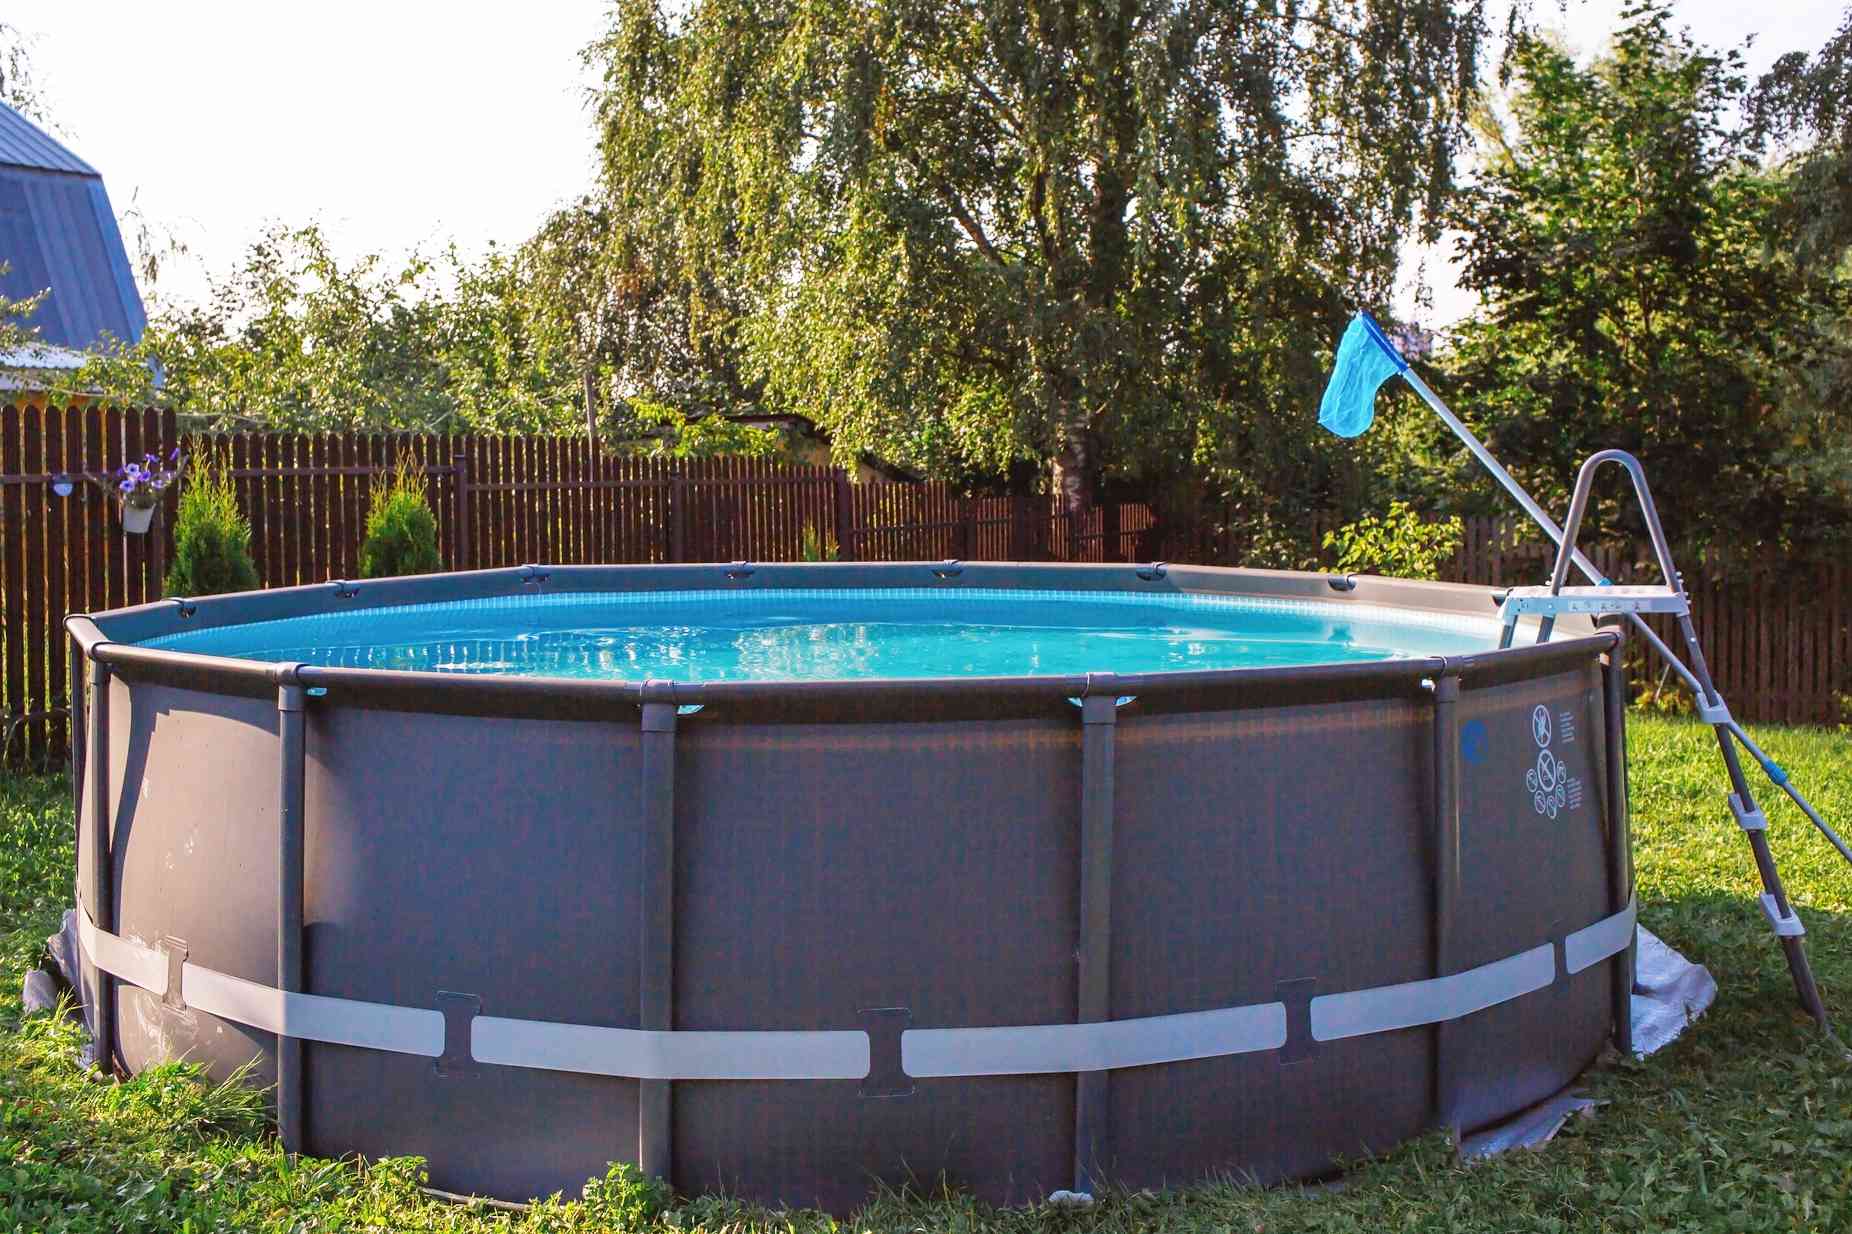
When it comes to installing an above ground pool in your backyard, getting the perfect level is crucial. A level pool not only looks aesthetically pleasing, but it also ensures the proper functioning and longevity of the pool. One of the most effective tools for achieving a level surface is a laser level.
A laser level is a versatile device that projects a laser beam onto a surface to create a straight and level line. It is widely used in construction and various DIY projects, including the installation of above ground pools. By using a laser level, you can achieve precise leveling and positioning, making the pool installation process much more efficient and accurate.
In this article, we will explore the benefits of using a laser level for above ground pools and provide a step-by-step guide on how to use it effectively. Whether you are a DIY enthusiast or a professional pool installer, this information will help you achieve optimal results with your pool installation.
Key Takeaways:
- Using a laser level for above ground pool installation ensures precise leveling, saves time, prevents water imbalance, and enhances pool aesthetics. It’s an essential tool for DIY enthusiasts and professionals alike.
- When using a laser level, avoid common mistakes such as improper setup, rushing the leveling process, and ignoring manufacturer instructions. Patience and attention to detail are key for a successful pool installation.
What is a laser level?
A laser level is a tool that emits a laser beam to create a straight and level reference line on a surface. It consists of a laser diode, a leveling mechanism, and a mount for positioning. The laser diode generates a highly focused laser beam that is projected onto a wall, floor, or other surfaces.
The leveling mechanism in a laser level ensures that the laser beam remains horizontal or vertical. This allows users to accurately measure and align objects or surfaces. Laser levels are available in different types, including line laser levels, rotary laser levels, and combination laser levels. Each type has specific features and applications.
Line laser levels project a single or multiple laser lines horizontally or vertically. They are commonly used for tasks such as installing tiles, aligning furniture, or hanging pictures. Rotary laser levels, on the other hand, emit a rotating laser beam that forms a 360-degree plane. These levels are ideal for large-scale construction projects that require precise leveling over long distances.
Combination laser levels combine the features of line and rotary laser levels. They allow users to project both laser lines and a rotating laser beam, providing flexibility for different applications. Some laser levels also come with additional features, such as self-leveling capabilities, remote control operation, and the ability to detect levelness and adjust the beam accordingly.
Overall, laser levels are powerful tools that simplify the process of leveling and alignment. With their high accuracy and ease of use, they have become essential for various industries, including construction, home improvement, surveying, and, of course, the installation of above ground pools.
Benefits of using a laser level for above ground pools
Using a laser level for the installation of above ground pools offers numerous benefits. Let’s take a look at some of the advantages:
- Accurate leveling: One of the key benefits of using a laser level is the high degree of accuracy it provides. The laser beam creates a precise reference line, allowing you to achieve a perfectly level surface for your pool. This ensures that the water is evenly distributed and prevents structural issues in the pool.
- Time-saving: Installing an above ground pool can be a time-consuming task, especially when it comes to leveling the ground. With a laser level, the process becomes much quicker and more efficient. You can easily identify high and low spots in the ground, ensuring that you level only the necessary areas and saving you valuable time.
- Ease of use: Laser levels are designed to be user-friendly, even for individuals with minimal experience. They typically feature intuitive controls and self-leveling mechanisms, making them easy to operate. You can simply set up the laser level, project the laser beam onto the ground, and adjust accordingly to achieve the desired levelness.
- Prevents water imbalance: A properly leveled pool prevents water imbalance issues. If the pool is not level, one end may have significantly deeper water than the other end. This imbalance can affect the pool’s water circulation, filtration, and overall functionality. By using a laser level, you can ensure that the water is evenly distributed, creating a balanced swimming experience.
- Enhances pool aesthetics: An above ground pool that is level looks visually appealing. Uneven pools not only affect their functionality but also detract from the overall appearance of your backyard. By using a laser level to achieve perfect leveling, you can enhance the aesthetics of your pool area, creating a more inviting and enjoyable space.
- Long-lasting pool structure: A level pool helps distribute the weight of the water evenly, reducing strain on the pool walls and foundation. This prevents undue stress and potential damage to the pool structure, ensuring its longevity. With the use of a laser level, you can prevent future problems and costly repairs.
Overall, the benefits of using a laser level for above ground pools are undeniable. From accurate leveling and time-saving advantages to improving pool aesthetics and ensuring a long-lasting structure, a laser level is an invaluable tool for any pool installation project.
Choosing the right laser level for your pool
When it comes to selecting a laser level for your above ground pool installation, there are a few factors to consider. Here are some key points to keep in mind:
- Type of laser level: Determine the type of laser level that best suits your needs. Line laser levels are suitable for smaller pool installations, where you only need to project vertical and horizontal lines for leveling. Rotary laser levels are ideal for larger pools and more extensive projects that require a 360-degree leveling plane.
- Accuracy: Look for laser levels with high accuracy. The accuracy is typically measured in millimeters per meter (mm/m). The lower the value, the more precise the leveling. For above ground pool installations, a laser level with an accuracy of around ±1.5 mm/m should suffice.
- Range: Consider the range of the laser level, which refers to the distance the laser beam can reach. Ensure that the range is sufficient to cover the size of your pool area. Keep in mind that larger pools may require a laser level with a longer range to ensure accurate leveling throughout the entire space.
- Self-leveling capability: Opt for a laser level with self-leveling functionality. This feature automatically adjusts the laser beam to ensure that it remains perfectly horizontal or vertical. It simplifies the leveling process and eliminates the need for manual adjustments, saving you time and effort.
- Visibility: Consider the visibility of the laser beam. Look for a laser level with a bright and easily visible beam, especially if you are working outdoors or in bright lighting conditions. This will make it easier to see the projected line and ensure accurate leveling.
- Durability: Choose a laser level that is durable and built to withstand the demands of the pool installation process. Look for features such as water resistant or dust-proof construction, shock absorption capabilities, and a sturdy build. This will ensure that your laser level can withstand the rigors of outdoor use.
- Additional features: Consider any additional features that may enhance your pool installation process. This could include features such as remote control operation, laser beam detectors for extended range, or digital displays for precise measurements.
Before making a purchase, read reviews, compare different models, and consider your specific requirements. It is also advisable to consult with professionals or experts in pool installations for their recommendations on the best laser level suited for your specific pool project.
Selecting the right laser level for your above ground pool installation is crucial for achieving accurate and reliable leveling. Take the time to research and choose a high-quality laser level that meets your needs, ensuring a successful pool installation process.
Setting up the laser level
Before you begin using the laser level to install your above ground pool, it’s important to set it up properly. Here are the steps to follow:
- Choose a stable surface: Find a stable and level surface to set up the laser level. This could be a table, a tripod, or any other sturdy platform. Ensuring a stable base will prevent any unwanted movement or vibrations that could affect the accuracy of the laser level.
- Position the laser level: Place the laser level on the chosen surface and position it at a suitable height. Ensure the laser level is secure and won’t tip over during the installation process.
- Verify self-leveling: If your laser level has self-leveling capabilities, ensure that it is properly activated. This feature uses internal sensors to automatically level the laser beam. Some laser levels have a button or switch to enable or disable the self-leveling mode. Verify that the bubble or electronic level indicator is centered to confirm proper self-leveling.
- Prepare the laser target: Attach the laser target to a visible spot on the area where you want to install the pool. The laser target will help you gauge the accuracy and alignment of the laser beam during the leveling process.
- Power on the laser level: If your laser level requires powering on, do so at this stage. Some laser levels operate with batteries, while others have a power cord. Ensure that the batteries are charged or the power cord is connected and functioning properly.
- Adjust the laser level: Use the leveling mechanism on the laser level to adjust the position of the laser beam. Depending on the type of laser level, you may need to adjust the height, angle, or rotation of the laser beam to achieve the desired leveling line. Refer to the manufacturer’s instructions for specific adjustments.
- Test the laser level: Once the laser level is set up, test the laser beam by projecting it onto the laser target or a flat surface nearby. Check if the projected line is level and properly aligned. Make any necessary adjustments to ensure an accurate leveling line.
By following these steps and properly setting up your laser level, you will ensure the accuracy and effectiveness of the leveling process for your above ground pool installation. Take the time to double-check the setup before proceeding with leveling the ground and installing the pool walls.
When using a laser level for an above ground pool, make sure to set it up on a stable surface and adjust the height to match the water level of the pool for accurate measurements.
Using the laser level to level the ground
Once you have set up the laser level, you are ready to begin leveling the ground for your above ground pool installation. Here is a step-by-step guide on how to use the laser level effectively for this task:
- Identify the high and low spots: Walk around the area where you want to install the pool and use the laser level to identify high and low spots. The laser beam will help you visualize any unevenness in the ground.
- Adjust the laser level: Depending on the type of laser level you are using, make the necessary adjustments to align the laser beam with the low spots on the ground. This will serve as a reference line for leveling the area. You can also mark the low spots on the ground using stakes or spray paint for easier identification.
- Remove excess soil: Start by removing any excess soil from the high spots. Use a shovel or a grading rake to redistribute the soil from the high areas to the low areas. Continue this process until the ground is relatively level and matches the reference line of the laser level.
- Check the levelness: Periodically check the levelness of the ground using the laser level. Adjust the ground as needed by adding or removing soil until the entire area is leveled. Pay close attention to areas where the pool walls will rest as they should be perfectly level. Use a hand tamper or plate compactor to compact the soil and ensure stability.
- Recheck the level: After leveling the ground, recheck the levelness using the laser level. Make any final adjustments to ensure that the ground is perfectly level. Take your time with this step, as it is crucial for the stability and longevity of your above ground pool.
- Verify with a straight edge: Once you are satisfied with the levelness achieved using the laser level, use a straight edge, such as a long level or a long board, to further confirm the flatness of the ground. Place the straight edge on various points across the leveled area to check for any deviations or unevenness.
- Double-check the laser level: Finally, double-check the accuracy of the laser level by projecting the laser beam onto the laser target or a flat surface nearby. Ensure that the beam remains level throughout the leveled area. If there are any discrepancies, make the necessary adjustments to achieve the desired levelness.
Using a laser level to level the ground ensures precision and accuracy, resulting in a stable and properly aligned foundation for your above ground pool. Following these steps will help you achieve optimal results, providing a solid base for the rest of the pool installation process.
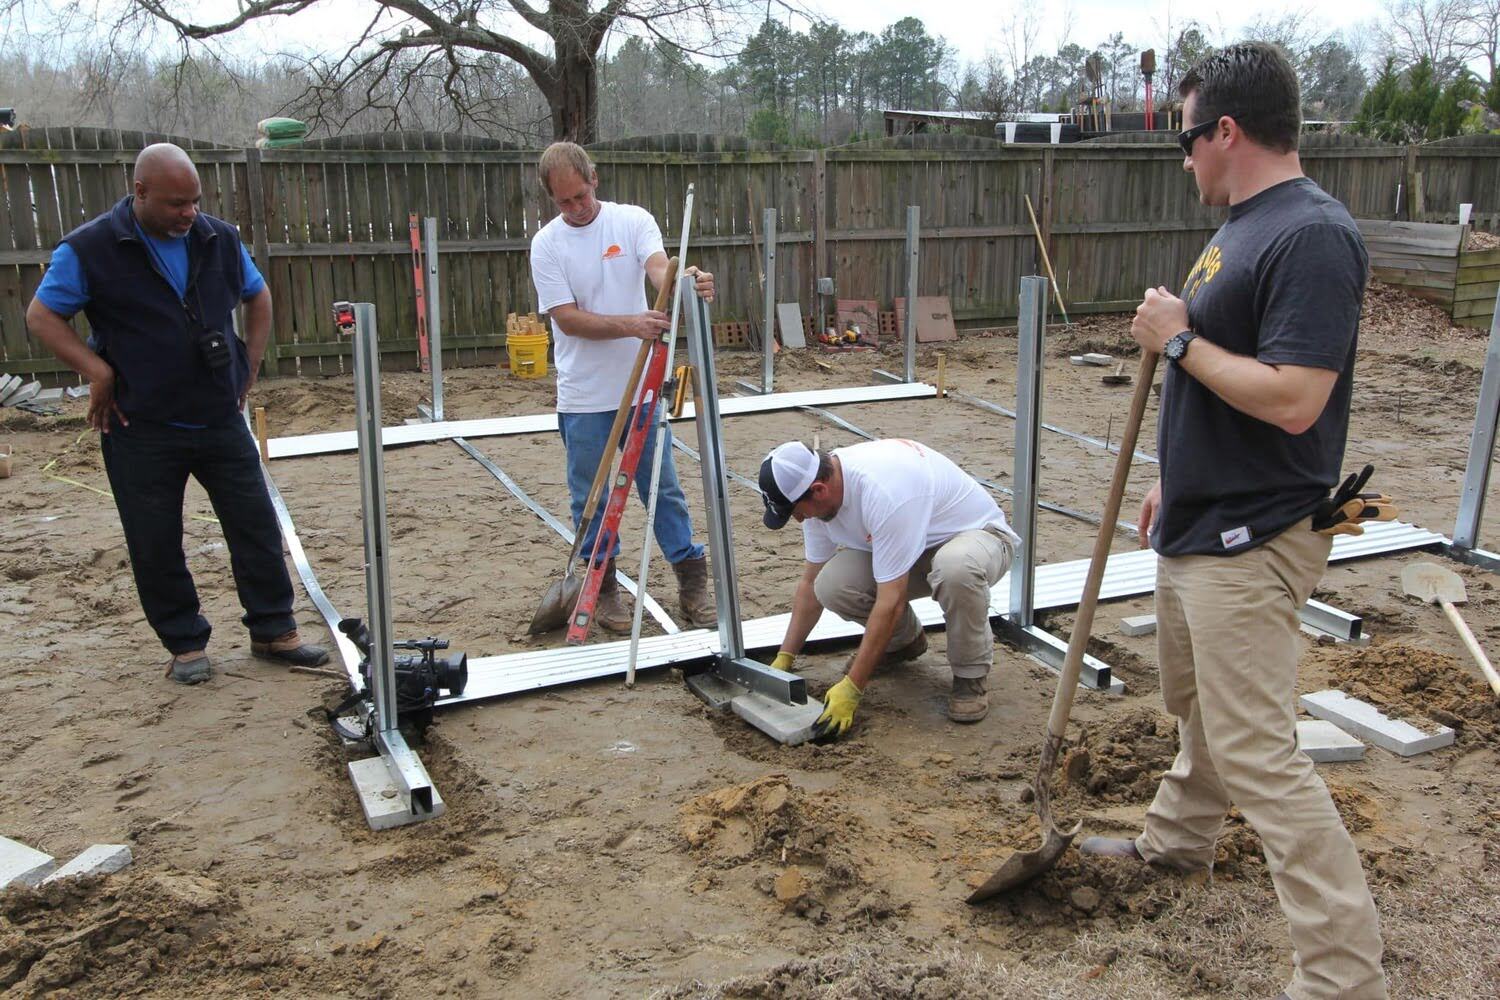
Using the laser level to install the pool walls
After leveling the ground, the next step in the above ground pool installation process is to use the laser level to assist in installing the pool walls. Here’s how you can effectively use the laser level for this task:
- Position the laser level: Set up the laser level on a stable surface at a suitable height. Ensure that it is positioned to project a level line along the area where the pool walls will be installed.
- Align the laser beam: Adjust the laser level to align the laser beam with the desired height for the top of the pool walls. This will serve as a guide for ensuring the walls are installed at the correct elevation throughout the process.
- Mark the wall height: Use a measuring tape or a marker to mark the correct height on the pool walls based on the laser beam. This will ensure consistency in the installation as you move around the perimeter of the pool.
- Attach the pool wall panels: Begin attaching the pool wall panels to the bottom track, using the marked height as a reference. Secure the panels firmly, making sure they are level and aligned with the laser beam. Use screws or brackets as recommended by the pool manufacturer.
- Check the levelness: As you progress with attaching the pool wall panels, periodically check the levelness using the laser level. Adjust the panels as necessary to maintain a consistent height and ensure that the walls remain level throughout the installation.
- Verify alignment and stability: As each panel is added, verify its alignment with the neighboring panels. Ensure that they are properly joined and securely fastened. Confirm the stability and verticality of the walls by checking for any wobbling or sagging.
- Continue panel installation: Repeat the process of marking, attaching, checking, and verifying the levelness and alignment for each additional pool wall panel until you have completed the installation around the entire circumference of the pool.
- Check for gaps and adjustments: Once all the wall panels are installed, carefully inspect the joints and connections for any gaps or misalignments. Make any necessary adjustments to ensure a snug fit and a uniform appearance.
By utilizing a laser level, you can maintain accuracy and consistency in installing the pool walls at the desired height and levelness. Remember to follow the manufacturer’s instructions and guidelines for your specific above ground pool model to ensure proper installation.
Checking the level throughout the installation process
Ensuring the levelness of your above ground pool is crucial for its stability, functionality, and aesthetics. Throughout the installation process, it’s important to continuously check the level using your laser level. Here are some guidelines to follow:
- Regularly verify the laser level: Before starting any installation task, check and confirm that the laser level is still properly aligned and functioning correctly. This helps to maintain the accuracy and reliability of the leveling reference.
- Check the levelness of the ground: As you progress with the pool installation, periodically check the levelness of the ground using the laser level. This ensures that any adjustments made during the leveling phase remain intact and provides a solid foundation for the pool.
- Monitor the level of the pool walls: Throughout the process of installing the pool walls, regularly check the levelness using the laser level. Pay close attention to the height and alignment of each panel, ensuring that they remain consistent with the laser beam reference.
- Confirm the levelness of the pool base: After the pool walls are fully installed, check the levelness of the pool base using the laser level. This is especially important for pools with flexible or expandable bottoms. Adjust the base as needed to ensure a level surface for the pool liner installation.
- Utilize the laser level for accessory placement: The laser level can also be used to ensure the proper placement of accessories such as skimmers, return fittings, and ladder anchors. Align these components based on the level line projected by the laser level for optimal functionality.
- Inspect the level during backfilling: If you are backfilling around the pool, periodically check the levelness as you proceed. This helps to prevent any shifting or settling of the pool structure during the backfilling process.
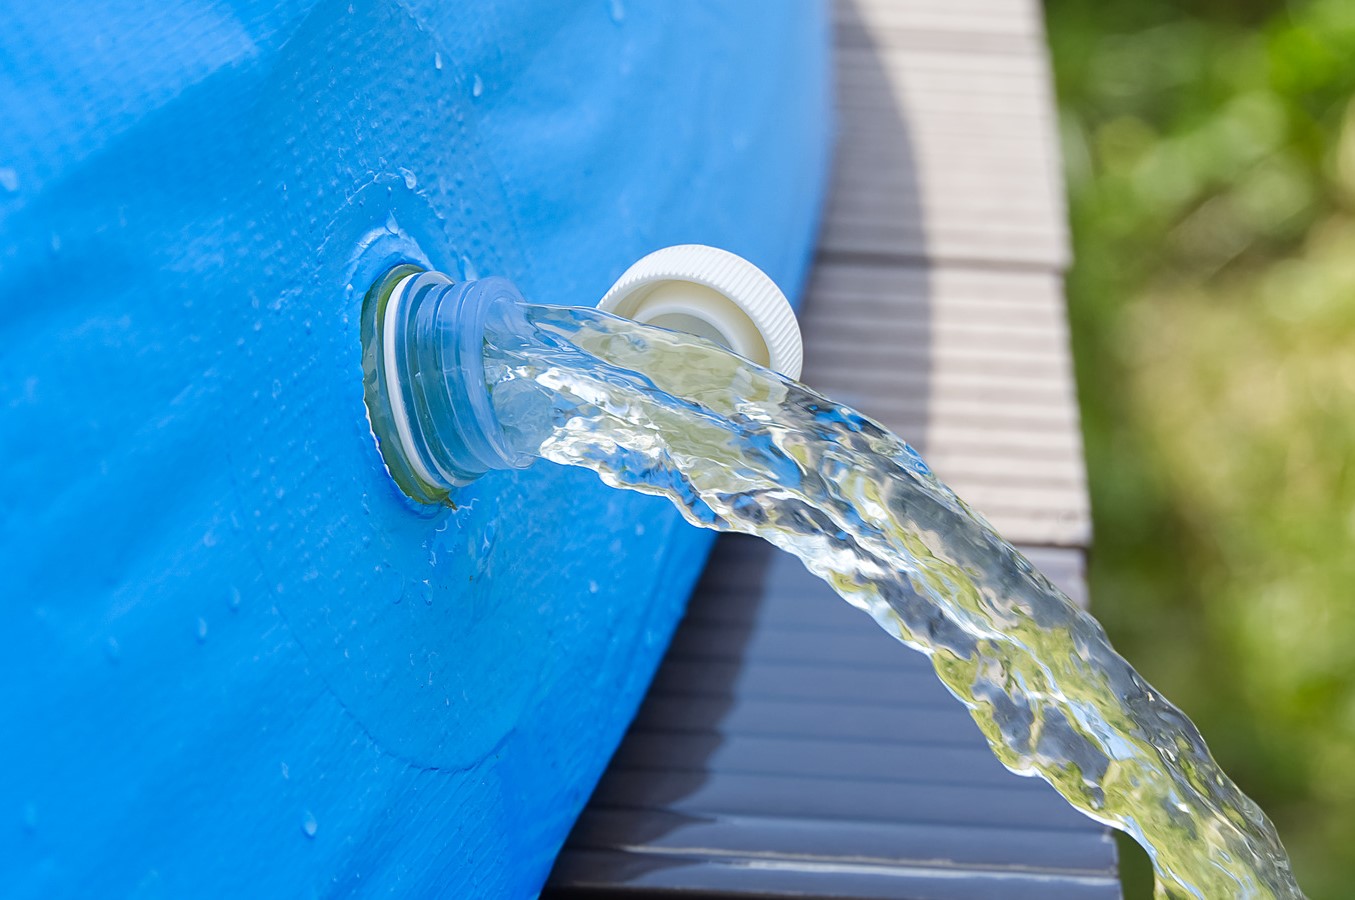
- Verify levelness before filling with water: Before filling the pool with water, perform a final check of the levelness using the laser level. Make any necessary adjustments to ensure that the pool is perfectly level, as any discrepancies may be amplified once the water is added.
Continuous monitoring and adjustment of the level throughout the installation process will help you achieve a level and stable above ground pool. The laser level serves as a valuable tool in maintaining accuracy and ensuring a successful installation.
Common mistakes to avoid when using a laser level
While using a laser level for your above ground pool installation can greatly simplify the leveling process, it’s important to be aware of common mistakes that can compromise its effectiveness. By avoiding these errors, you can ensure accurate leveling and a successful pool installation. Here are some mistakes to watch out for:
- Not setting up the laser level properly: One of the most common mistakes is failing to properly set up the laser level. Make sure it is positioned on a stable surface and leveled correctly before use.
- Forgetting to check the levelness of the laser level itself: Before starting the installation process, remember to verify the levelness of the laser level itself. Check its self-leveling mechanism and ensure that it is functioning correctly.
- Not adjusting the laser beam properly: Incorrectly aligning the laser beam can lead to inaccurate leveling. Take the time to adjust the laser level so that the beam is properly aligned with the desired height or reference line.
- Failure to periodically recheck the level: Throughout the installation process, it is essential to periodically recheck the levelness using the laser level. This helps catch any deviations or changes and allows you to make necessary adjustments promptly.
- Relying solely on the laser level: While the laser level is a valuable tool, it is important to also cross-check the levelness using other methods, such as a straight edge or spirit level. This ensures accuracy and provides additional verification.
- Ignoring ground preparation: Neglecting to properly prepare the ground before leveling can cause issues. Clear the area of debris, roots, and rocks, and ensure proper compaction for a stable foundation before using the laser level.
- Not following manufacturer instructions: Each laser level may have specific instructions and guidelines provided by the manufacturer. Failing to follow these instructions can lead to incorrect setup or usage, compromising the accuracy of the leveling process.
- Misinterpreting results: Avoid misinterpreting the results shown by the laser level. Take the time to understand the readings and adjust accordingly. If unsure, seek clarification or guidance from experts or refer to the user manual.
- Working in unfavorable lighting conditions: Ensure adequate visibility of the laser beam by working in appropriate lighting conditions. Bright sunlight or excessive darkness can affect the visibility and accuracy of the laser level.
- Rushing the leveling process: Patience is key when using a laser level. Take the time to carefully level the ground and install the pool walls. Rushing the process can lead to errors and unevenness in the final result.
By being mindful of these common mistakes, you can maximize the effectiveness of your laser level and achieve accurate and reliable leveling for your above ground pool installation.
Read more: How To Bond An Above Ground Swimming Pool
Conclusion
Using a laser level for the installation of an above ground pool can significantly enhance the accuracy, efficiency, and overall success of the project. The laser level serves as a valuable tool in achieving precise leveling, ensuring a stable foundation, and creating a visually appealing pool area.
Throughout the installation process, it is important to set up the laser level correctly, regularly check its levelness, and adjust the laser beam as needed. This will help you maintain accuracy while leveling the ground, installing the pool walls, and checking for levelness at various stages.
Avoid common mistakes such as overlooking proper setup, neglecting to periodically recheck the level, and not following manufacturer instructions. These errors can compromise the effectiveness of the laser level and impact the quality of the pool installation.
By utilizing a laser level, you can save time, achieve precise leveling, prevent water imbalance issues, and create a solid foundation for your above ground pool. The laser level’s ease of use, accuracy, and versatility make it an essential tool for both DIY enthusiasts and professional pool installers.
Remember to choose the right laser level based on your specific needs, considering factors such as type, accuracy, range, self-leveling capability, and additional features. Consult professionals or experts if needed to ensure you select the most suitable laser level for your pool installation.
In conclusion, incorporating a laser level into your above ground pool installation process is a wise choice. It will not only save you time and effort but also guarantee a level and stable pool that will provide years of enjoyment. Embrace the power of a laser level and embark on your above ground pool installation with confidence and precision.
Frequently Asked Questions about How To Use A Laser Level For Above Ground Pool
Was this page helpful?
At Storables.com, we guarantee accurate and reliable information. Our content, validated by Expert Board Contributors, is crafted following stringent Editorial Policies. We're committed to providing you with well-researched, expert-backed insights for all your informational needs.


0 thoughts on “How To Use A Laser Level For Above Ground Pool”