Home>Gardening & Outdoor>Outdoor Recreation & Activities>How To Bond An Above Ground Swimming Pool
Outdoor Recreation & Activities
How To Bond An Above Ground Swimming Pool
Modified: November 2, 2024
Learn how to properly bond an above ground swimming pool for safe and enjoyable outdoor recreation and activities. Follow these expert tips for a secure and compliant pool setup.
(Many of the links in this article redirect to a specific reviewed product. Your purchase of these products through affiliate links helps to generate commission for Storables.com, at no extra cost. Learn more)
Introduction
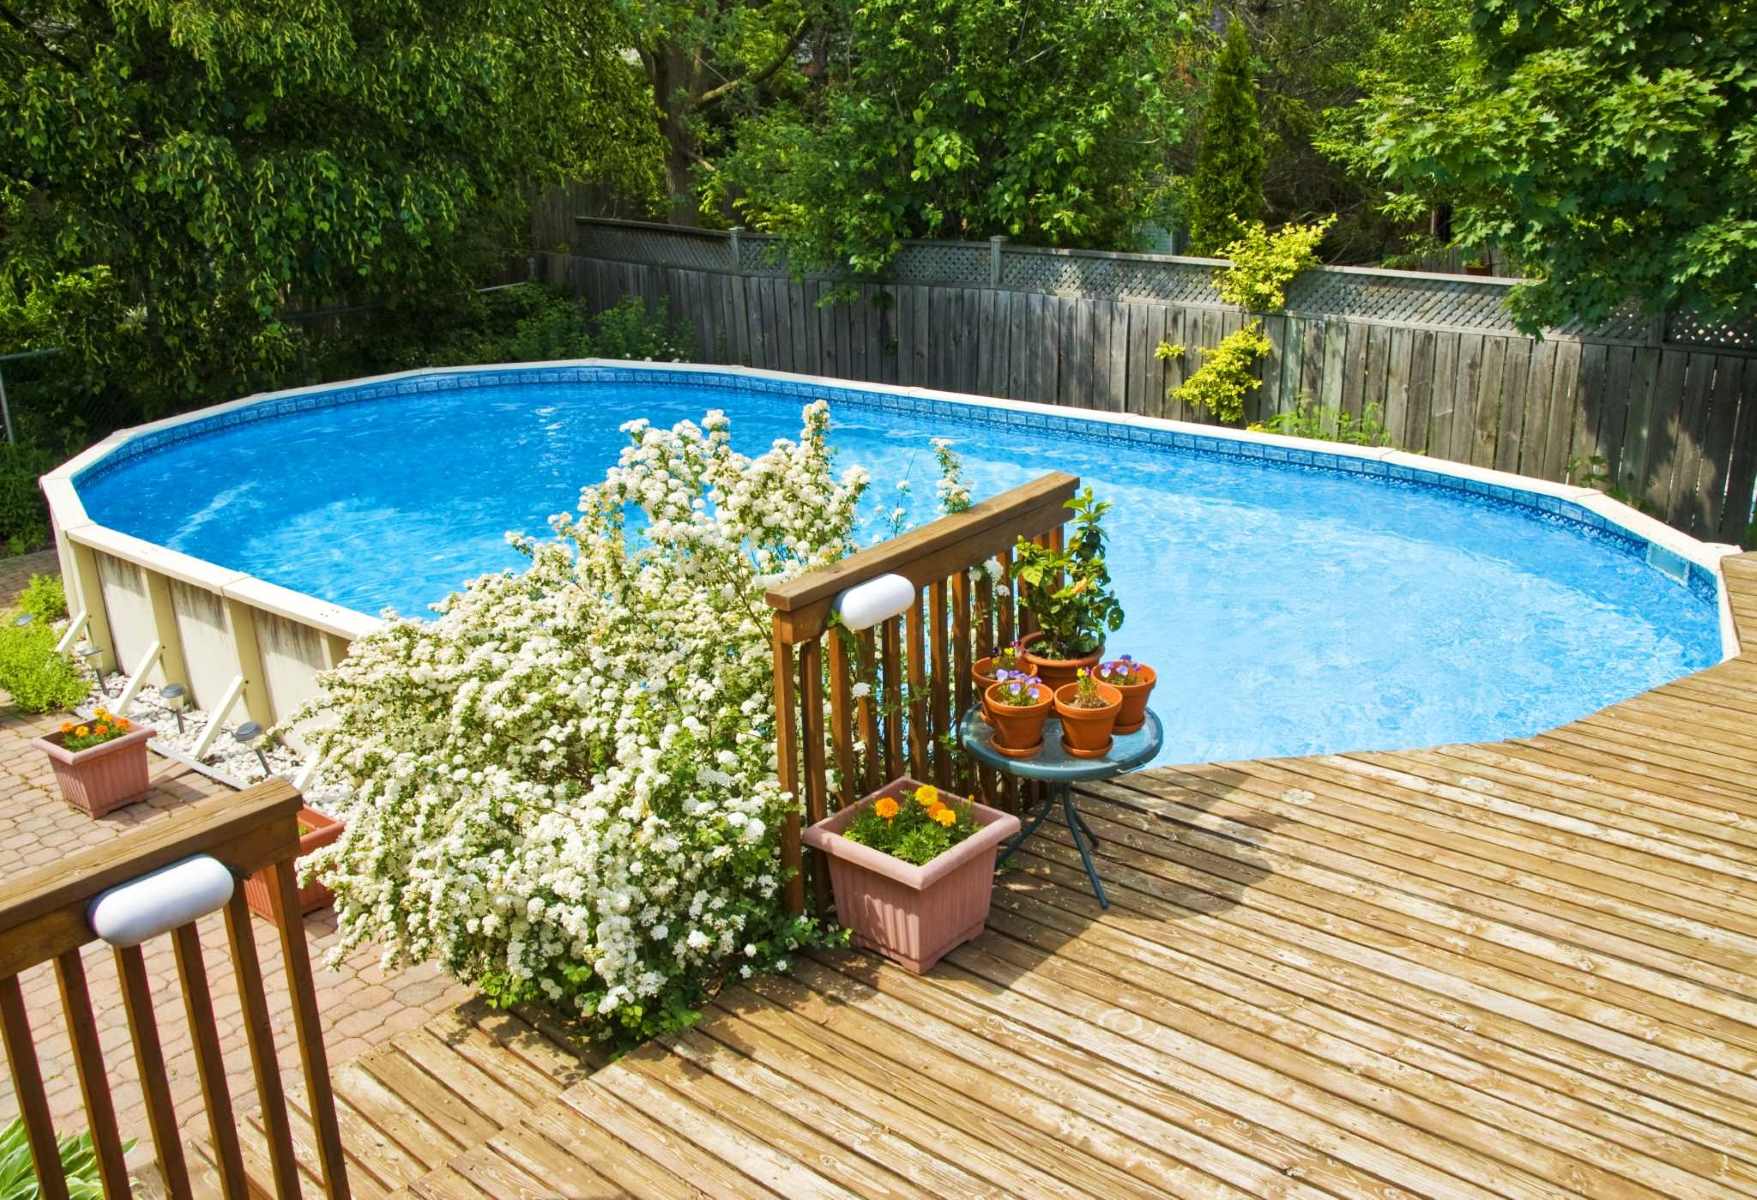
Setting up an above ground swimming pool can be an exciting and rewarding project that brings endless hours of enjoyment and relaxation for you and your family. Whether it's a refreshing dip on a hot summer day or a fun gathering with friends, having a pool in your backyard can create lasting memories. However, the process of bonding an above ground swimming pool requires careful planning, attention to detail, and a bit of elbow grease. In this comprehensive guide, we will walk you through the step-by-step process of setting up your above ground pool, from selecting the right location to adding the finishing touches.
Installing an above ground pool is not just about creating a water oasis; it's about creating a space where laughter and joy can thrive. It's about transforming your backyard into a hub of relaxation and recreation, a place where you can escape the hustle and bustle of everyday life. By following the steps outlined in this guide, you'll be well on your way to creating a backyard retreat that will be the envy of the neighborhood.
So, roll up your sleeves and get ready to embark on this fulfilling journey of bonding an above ground swimming pool. Whether you're a seasoned DIY enthusiast or a first-time pool owner, this guide will equip you with the knowledge and confidence to tackle this project with ease. Let's dive in and transform your outdoor space into a haven of aquatic bliss.
Key Takeaways:
- Choosing the right location and preparing the ground are crucial for setting up an above ground swimming pool. It ensures stability, longevity, and a visually appealing pool environment for endless enjoyment.
- Maintaining the chemical balance and cleanliness of the pool is essential for a safe and enjoyable swimming experience. Regular testing, pH adjustment, and proper filtration contribute to a pristine and inviting pool environment.
Step 1: Selecting the Right Location
Selecting the right location for your above ground swimming pool is a crucial first step in the bonding process. The chosen spot will not only determine the aesthetic appeal of your pool but also impact its functionality and longevity. Here's a detailed guide to help you make an informed decision:
Consider Ground Stability
Before marking the spot for your pool, assess the stability of the ground. Look for a level area that is free from any potential obstructions such as tree roots, large rocks, or underground pipes. Uneven ground can lead to structural issues and liner damage, so it's essential to ensure a flat and stable base.
Sun Exposure
Take note of the sun's path across your backyard. Opt for a location that receives a good amount of sunlight throughout the day. Adequate sun exposure not only keeps the water comfortably warm but also aids in preventing algae growth. Additionally, the warmth from the sun can enhance the overall swimming experience.
Accessibility
Consider the accessibility of the chosen location. It should be easily accessible from your home, allowing for convenient supervision, especially if you have children. Furthermore, easy access simplifies maintenance tasks such as cleaning and adding chemicals, making the overall pool ownership experience more enjoyable.
Read more: How To Drain An Above Ground Swimming Pool
Privacy and Aesthetics
Evaluate the surrounding landscape for privacy and aesthetics. Choose a location that offers a balance of privacy and visual appeal. While some homeowners prefer a secluded spot shielded by trees or fencing, others may opt for a location with a picturesque view of the surrounding scenery. Striking this balance ensures a serene and visually pleasing pool environment.
Local Regulations
Check local regulations and zoning laws regarding pool placement. Some areas have specific requirements regarding setbacks, fencing, and property lines. Adhering to these regulations not only ensures compliance but also contributes to the safety and legal operation of your pool.
By carefully considering these factors, you can select a location that maximizes the enjoyment and longevity of your above ground swimming pool. Once you've identified the perfect spot, you're ready to move on to the next step in the bonding process.
Step 2: Preparing the Ground
Preparing the ground for your above ground swimming pool is a critical phase that sets the stage for a sturdy and long-lasting installation. Proper ground preparation not only ensures the structural integrity of the pool but also contributes to a safe and level foundation. Here's a detailed walkthrough of the essential steps involved in preparing the ground for your above ground pool:
Clearing the Area
The first step in ground preparation is to clear the designated area of any debris, vegetation, and rocks. Use a rake, shovel, or a sod cutter to remove grass, roots, and other organic matter. It's crucial to create a clean and level surface to prevent uneven settling and potential damage to the pool structure.
Leveling the Ground
Achieving a level base is paramount for the stability and structural integrity of your above ground pool. Utilize a long, straight board or a laser level to assess the evenness of the ground. Gradually fill in low-lying areas with compacted soil or sand to create a uniformly level surface. Take your time with this step, as a properly leveled base is fundamental to the overall stability of the pool.
Adding a Base Material
Once the ground is leveled, it's advisable to add a layer of protective base material to further safeguard the pool's bottom. A popular choice for this purpose is a layer of sand, which acts as a cushioning barrier between the pool liner and the ground. Spread the sand evenly across the prepared area, ensuring that it extends slightly beyond the perimeter of the pool footprint.
Installing a Ground Cloth
To provide an additional layer of protection and minimize the risk of punctures or abrasions to the pool liner, consider installing a ground cloth or pool pad over the layer of sand. This durable material acts as a barrier, shielding the pool bottom from potential damage caused by rough or abrasive ground surfaces.
Securing the Ground Cloth
Once the ground cloth is in place, secure it firmly by tucking the edges under the pool footprint. This prevents shifting and ensures that the ground cloth remains in position during the subsequent steps of the installation process.
By meticulously following these ground preparation steps, you'll establish a solid and stable foundation for your above ground swimming pool. With the ground meticulously prepared, you're now ready to progress to the next phase of the installation, bringing you one step closer to enjoying your own backyard oasis.
Step 3: Assembling the Pool Frame
Assembling the pool frame is a pivotal stage in the installation process, laying the groundwork for the structural integrity and stability of your above ground swimming pool. This phase involves meticulously piecing together the components that form the framework of the pool, creating a robust and reliable structure that will support the weight of the water and withstand the test of time.
Organize the Components
Before commencing the assembly, carefully organize and inspect all the components included in the pool kit. Lay out the various parts, including the metal frame sections, top rails, bottom rails, and connectors, in a clear and open area. Refer to the manufacturer's instructions to ensure that all the necessary components are accounted for and in good condition.
Follow the Manufacturer's Instructions
Adhere closely to the manufacturer's assembly guidelines provided in the instruction manual. Each pool model may have specific nuances in its assembly process, and following the prescribed instructions ensures that the pool is assembled correctly and according to industry standards. Pay attention to the orientation and alignment of each component, as precision in assembly is crucial for the structural integrity of the pool.
Begin with the Bottom Rails
Start by connecting the bottom rails, which form the base of the pool frame. Align the bottom rails around the circumference of the designated pool area, ensuring that they interlock securely and form a continuous loop. Take care to maintain a consistent level as you position and secure the bottom rails, as this will directly impact the overall stability of the pool.
Read more: How To Level Ground For A Swimming Pool
Assemble the Upright Supports
Once the bottom rails are in place, proceed to install the upright supports at designated intervals along the perimeter of the pool. These vertical components provide essential reinforcement and support for the pool walls. Secure the upright supports to the bottom rails using the designated connectors, ensuring a snug and stable fit at each connection point.
Install the Top Rails
With the upright supports in position, it's time to install the top rails, which encircle the top edge of the pool. Carefully affix the top rails to the upright supports, following the manufacturer's guidelines for proper alignment and attachment. The top rails play a crucial role in distributing the weight of the water evenly, contributing to the overall structural integrity of the pool.
Verify Alignment and Stability
Throughout the assembly process, periodically verify the alignment and stability of the pool frame. Use a level to ensure that the frame components are uniformly positioned and that the entire structure is level and plumb. Making adjustments as needed during the assembly phase will result in a well-aligned and stable pool frame.
By meticulously following these steps and exercising precision in the assembly process, you'll establish a robust and reliable pool frame that forms the backbone of your above ground swimming pool. With the pool frame securely assembled, you're now poised to progress to the next phase of the installation, bringing you one step closer to enjoying your own backyard aquatic retreat.
Step 4: Installing the Liner
Installing the liner is a pivotal phase in the construction of an above ground swimming pool, as it not only contributes to the pool's visual appeal but also forms a watertight barrier that holds the pool's contents. The liner serves as a protective membrane, safeguarding the pool walls and bottom while providing a smooth and comfortable surface for swimmers. Here's a detailed guide on the essential steps involved in installing the liner for your above ground pool:
Unpack and Inspect the Liner
Begin by carefully unpacking the pool liner from its packaging, taking care to avoid any sharp objects that could potentially damage the material. Lay out the liner in close proximity to the pool area and conduct a thorough inspection to ensure that it is free from any defects, tears, or irregularities. It's essential to address any issues with the liner before proceeding with the installation to prevent complications later on.
Positioning the Liner
With the pool frame fully assembled, carefully position the liner inside the pool, ensuring that it is evenly spread out and aligned with the contours of the pool walls and bottom. Take care to smooth out any wrinkles or folds in the liner, as these can affect the overall appearance and integrity of the pool. Proper positioning of the liner is crucial for achieving a snug and secure fit that will withstand the pressure of the water.
Securing the Liner
Once the liner is correctly positioned, begin securing it in place by attaching it to the top of the pool wall. Depending on the specific design of your pool, this may involve using coping strips, bead receivers, or other securing mechanisms provided by the manufacturer. Work methodically around the perimeter of the pool, gradually fastening the liner to the top rail or coping, ensuring a tight and uniform fit.
Smoothing and Adjusting
As the liner is secured in place, take the time to smooth out any remaining wrinkles or air pockets, ensuring that the liner conforms snugly to the pool's contours. Gently adjust the positioning of the liner as needed, paying close attention to the corners and creases to achieve a smooth and uniform appearance. Properly smoothing and adjusting the liner is essential for a visually appealing and structurally sound installation.
Read more: How To Remove Grass For An Above-Ground Pool
Trimming Excess Liner
After the liner is securely in place and smoothed out, carefully trim away any excess material using sharp scissors or a utility knife. Take care to leave a small overhang of the liner, typically around 2 inches, to allow for proper fitting and adjustment during the final stages of the installation. Trim the excess liner neatly and precisely to achieve a clean and professional finish.
By meticulously following these steps and exercising precision in the installation process, you'll establish a well-fitted and secure liner that forms the protective barrier of your above ground swimming pool. With the liner expertly installed, you're now ready to progress to the next phase of the installation, bringing you one step closer to enjoying your own backyard aquatic retreat.
Step 5: Filling the Pool
With the pool frame assembled and the liner securely in place, the exhilarating moment arrives to fill your above ground swimming pool with water. This phase marks the transition from a construction site to a shimmering aquatic oasis, bringing your backyard retreat to life. Filling the pool is a straightforward yet crucial step in the bonding process, and attention to detail during this phase ensures a successful and enjoyable pool ownership experience.
Water Source and Delivery
Before commencing the filling process, determine the water source for your pool. Depending on your location and access to resources, you may opt to fill the pool using a garden hose connected to an outdoor faucet, a water delivery service, or a combination of both. Ensure that the chosen water source can provide an adequate supply to fill the pool to the recommended level.
Monitoring the Water Level
As the pool begins to fill, monitor the water level closely to ensure that it aligns with the manufacturer's guidelines. Most above ground pools have a designated fill line, typically indicated on the pool wall or in the instruction manual. Maintaining the correct water level is essential for optimal performance and safety, so it's important to adjust the filling rate as needed to prevent overfilling.
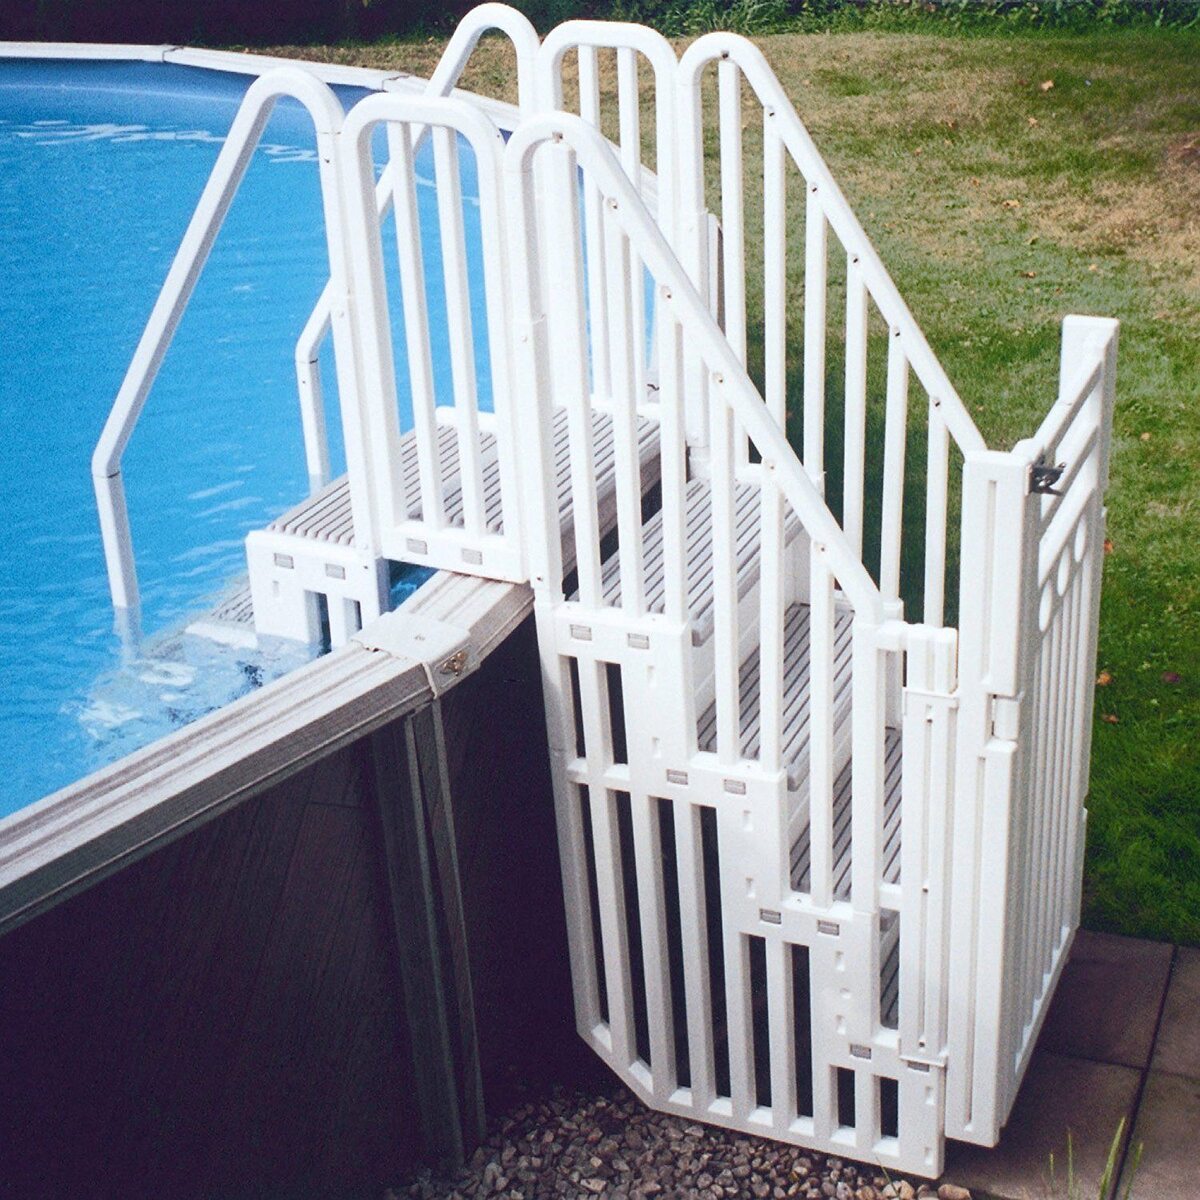
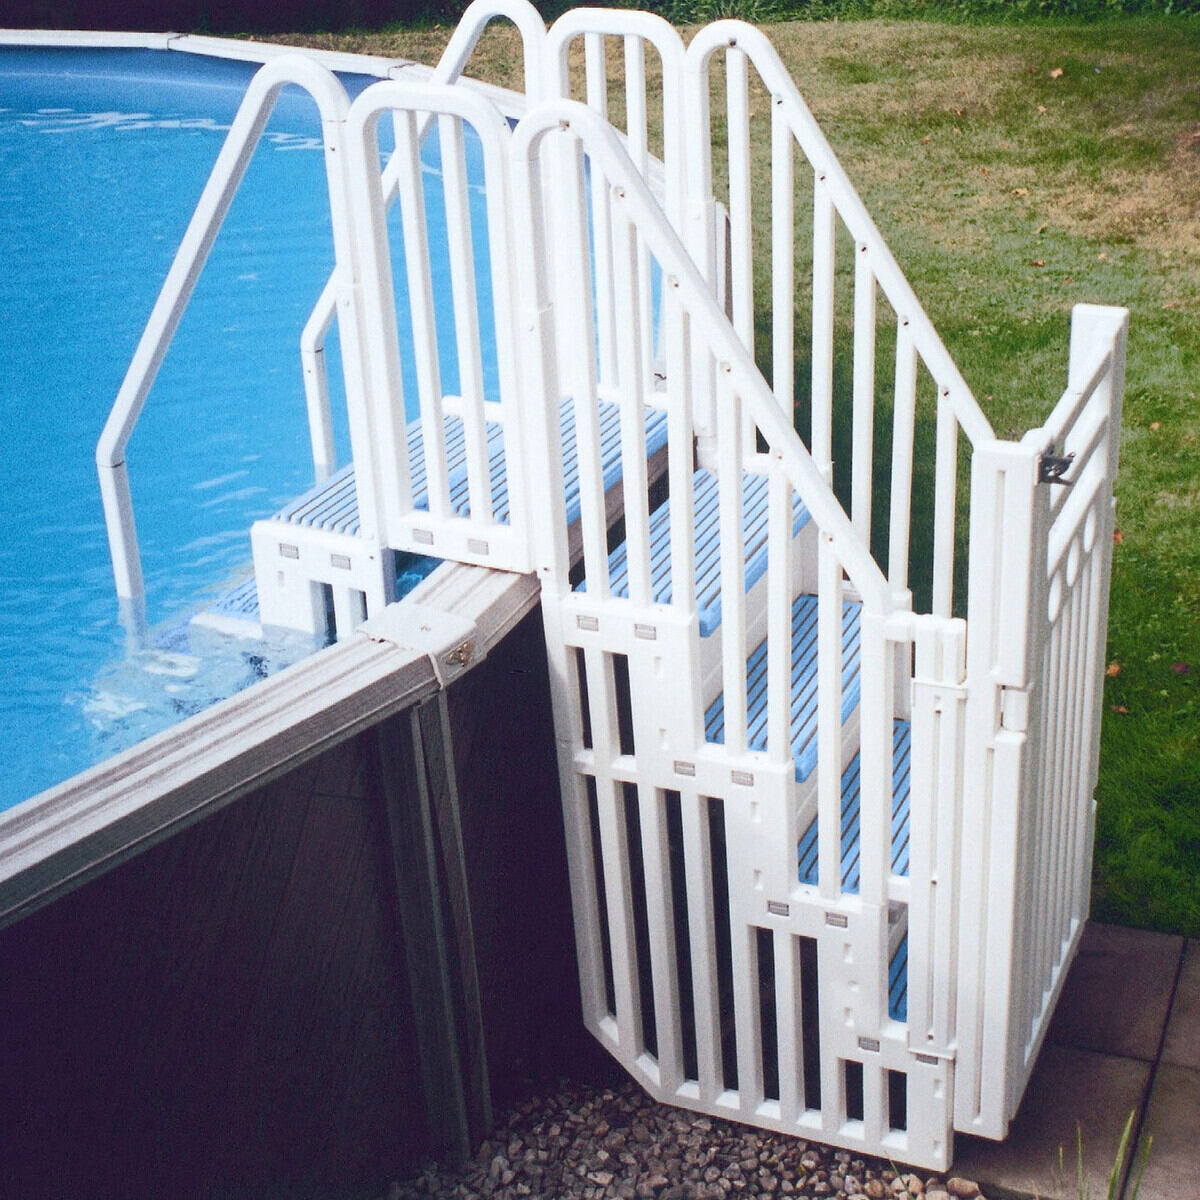
Read more: How To Install An Above Ground Pool Ladder
Addressing Wrinkles and Adjustments
As the water level rises, pay attention to the positioning of the liner and address any remaining wrinkles or folds that may become more apparent with the increasing water pressure. Smooth out the liner as needed, ensuring that it conforms snugly to the pool's contours. This step is crucial for achieving a visually appealing and structurally sound installation.
Adding Start-Up Chemicals
Once the pool is filled to the recommended level, it's time to introduce the initial set of start-up chemicals. These chemicals, typically including chlorine or other sanitizers, pH balancers, and algaecides, are essential for establishing a clean and balanced pool environment. Follow the manufacturer's guidelines and recommended dosages for adding these chemicals, ensuring that they are distributed evenly throughout the pool.
Water Circulation and Filtration
After adding the start-up chemicals, initiate the pool's circulation and filtration system to begin the process of water treatment and maintenance. Run the pump and filtration system according to the manufacturer's recommendations, allowing the water to circulate and undergo initial filtration. This step sets the stage for maintaining clear and healthy pool water throughout the swimming season.
Patience and Vigilance
As the pool fills and the initial chemical treatment takes effect, exercise patience and vigilance in monitoring the water quality and clarity. Regularly test the water for pH, chlorine levels, and other chemical parameters, making adjustments as needed to achieve and maintain a balanced and sanitary pool environment. Additionally, keep an eye out for any signs of leaks or irregularities as the pool reaches its full capacity.
By meticulously following these steps and exercising care during the filling process, you'll ensure that your above ground swimming pool is primed for a season of enjoyment and relaxation. With the pool filled and the initial chemical treatment underway, you're now poised to embark on the ongoing maintenance and care that will keep your pool in pristine condition for years to come.
Step 6: Adding Chemicals and Maintenance
Maintaining the chemical balance and overall cleanliness of your above ground swimming pool is essential for ensuring a safe and enjoyable swimming environment. Proper chemical treatment and diligent maintenance practices are the keys to preserving water quality, preventing algae growth, and prolonging the lifespan of your pool. Here's a comprehensive overview of the crucial steps involved in adding chemicals and maintaining your above ground pool:
Water Testing
Before adding any chemicals, it's imperative to conduct a thorough water test to assess the current chemical levels and overall water quality. Test kits are readily available and provide accurate measurements of crucial parameters such as pH, chlorine, alkalinity, and calcium hardness. Regular testing, ideally performed at least once a week, allows you to identify any imbalances or irregularities in the water chemistry.
pH Adjustment
Maintaining the proper pH level of the pool water is fundamental for ensuring the effectiveness of other chemicals and the comfort of swimmers. The recommended pH range for pool water typically falls between 7.2 and 7.6. If the test results indicate a deviation from this range, pH-adjusting chemicals such as pH increaser (sodium carbonate) or pH decreaser (sodium bisulfate) can be used to bring the water back into the optimal range.
Chlorine Treatment
Chlorine plays a pivotal role in sanitizing the pool water and eliminating harmful bacteria and contaminants. Whether using traditional chlorine tablets, granules, or liquid chlorine, maintaining the appropriate chlorine level is crucial for preventing the spread of waterborne illnesses and ensuring a safe swimming environment. Regularly adding chlorine to the pool, especially in the evening to maximize its effectiveness, helps to keep the water clear and sanitized.
Algaecide Application
To prevent the growth of algae and maintain crystal-clear water, the periodic application of algaecide is recommended. Algaecides work to inhibit the growth of algae spores and prevent the formation of unsightly and potentially hazardous algae blooms. Selecting an appropriate algaecide and following the manufacturer's instructions for application helps to keep the pool water free from algae-related issues.
Shock Treatment
Periodically shocking the pool with a potent dose of chlorine, known as shock treatment, is essential for oxidizing organic contaminants, eliminating chloramines, and restoring water clarity. This process is particularly beneficial after heavy pool usage, periods of intense sunlight, or following heavy rainfall. Shocking the pool helps to maintain a clean and sanitary swimming environment.
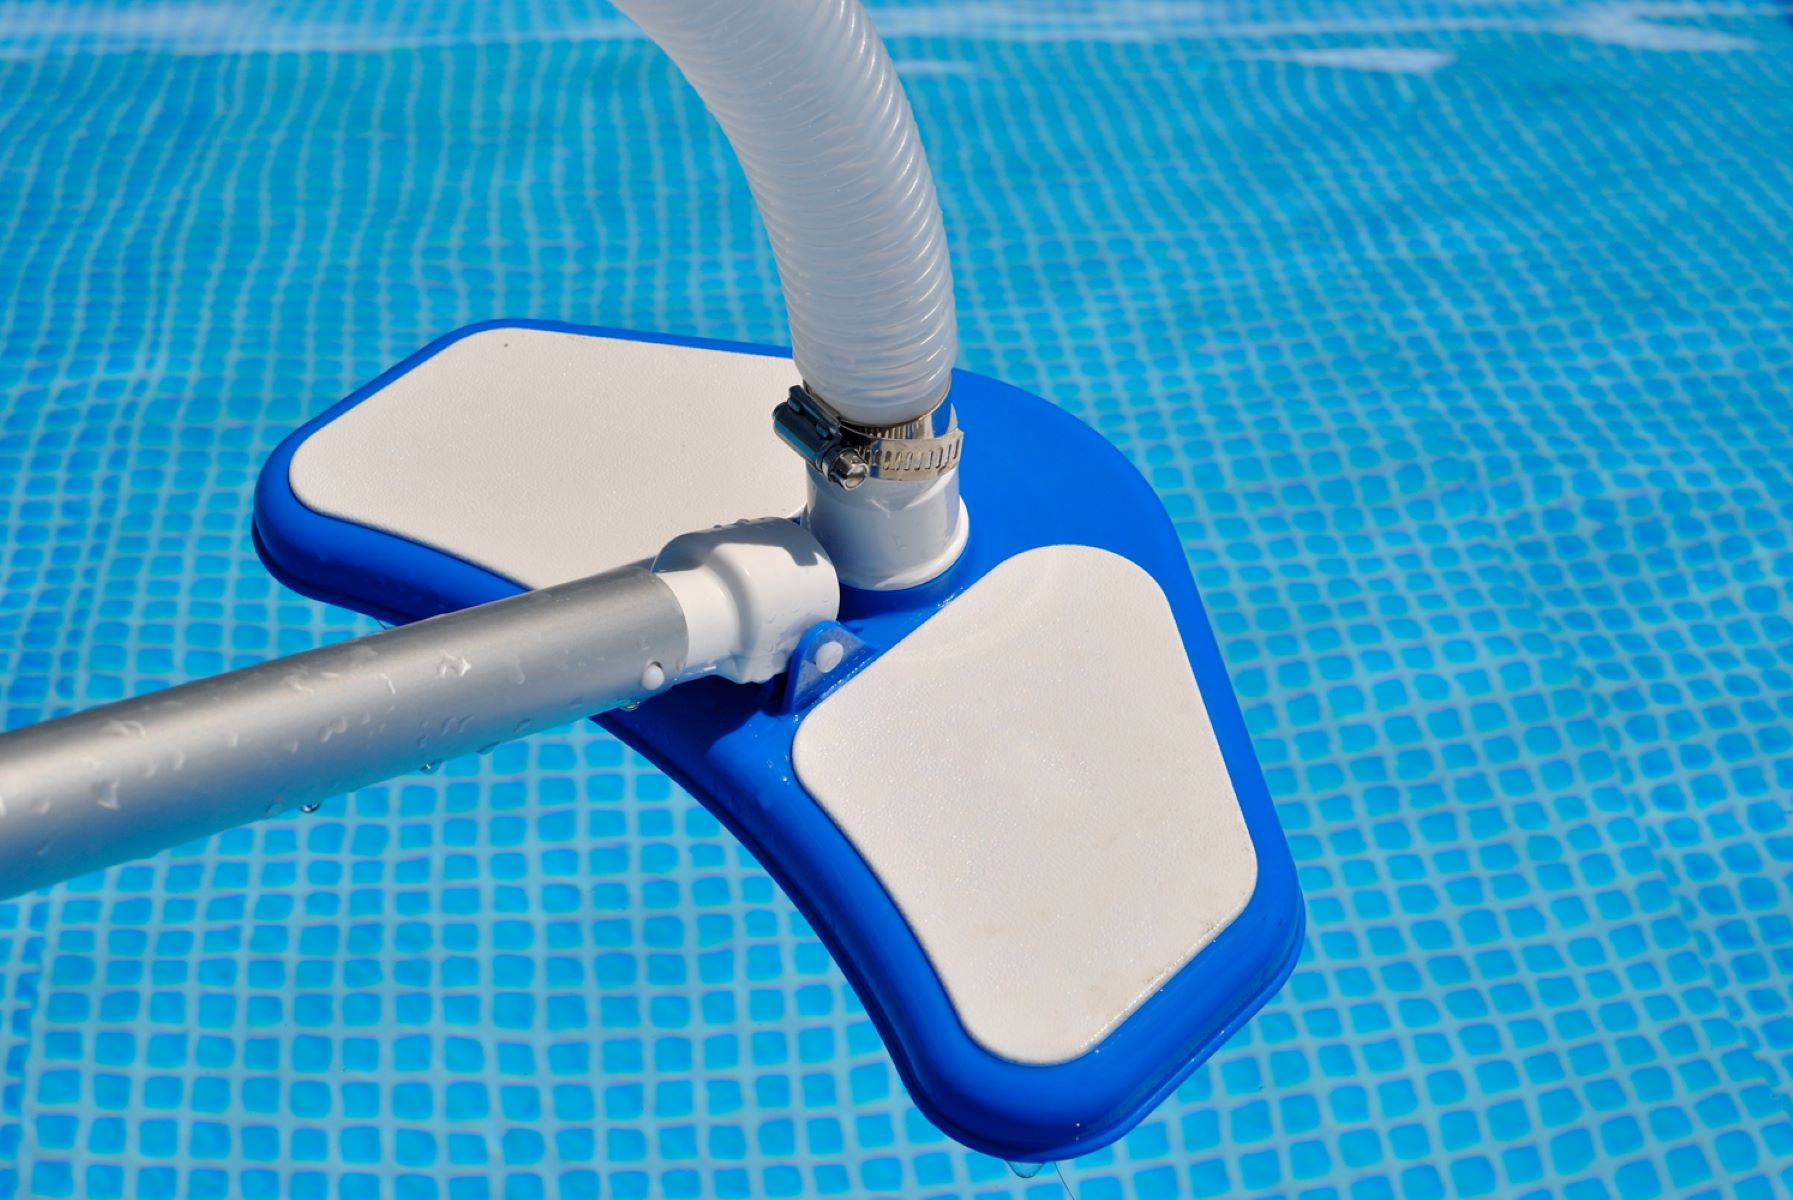
Filtration and Circulation
Proper filtration and circulation are integral components of pool maintenance. Regularly cleaning and backwashing the pool filter, ensuring adequate water circulation, and running the filtration system for the recommended duration each day are essential for removing debris, maintaining water clarity, and distributing chemicals evenly throughout the pool.
Regular Cleaning
In addition to chemical treatment, regular cleaning of the pool surfaces, skimming the water's surface, and vacuuming the pool bottom are essential for preventing the buildup of debris, leaves, and other contaminants. Keeping the pool clean not only enhances its visual appeal but also reduces the strain on the filtration system and minimizes the need for excessive chemical treatment.
By diligently following these maintenance practices and maintaining the appropriate chemical balance, you'll ensure that your above ground swimming pool remains a pristine and inviting oasis for relaxation and recreation. Consistent attention to water quality, chemical treatment, and maintenance tasks will contribute to a season of carefree enjoyment and create a welcoming environment for family and friends to savor the pleasures of your backyard pool.
Read more: What To Put Under Above Ground Pool On Grass
Conclusion
As you reach the culmination of the above ground swimming pool bonding process, you stand on the threshold of transforming your outdoor space into a captivating retreat that beckons with the promise of relaxation, recreation, and cherished moments with loved ones. The journey of setting up an above ground pool is not merely a construction endeavor; it is a venture that breathes life into your backyard, infusing it with the allure of aquatic bliss.
Through meticulous planning, careful groundwork preparation, precise assembly of the pool frame, expert installation of the liner, and the gradual filling and chemical treatment of the pool, you have embarked on a fulfilling odyssey that culminates in the creation of a captivating aquatic haven. Each step in the bonding process has been a testament to your dedication to crafting a space where laughter, joy, and cherished memories will flourish.
As you stand back and behold the shimmering expanse of water embraced by the sturdy pool frame, you are not merely witnessing the completion of a construction project; you are gazing upon the realization of a vision. Your backyard has been elevated into a realm where the cares of the day melt away, and the refreshing embrace of the pool beckons, offering respite from the demands of everyday life.
The above ground swimming pool you have meticulously bonded is more than a mere structure; it is a conduit for moments of connection, laughter, and rejuvenation. It is a stage upon which the simple pleasures of life unfold, where children splash with glee, friends gather for leisurely conversations, and you find solace in the gentle embrace of the water.
As the seasons unfold and the pool becomes a focal point of outdoor enjoyment, you will witness the fruits of your labor in the form of countless memories created against the backdrop of the shimmering water. The laughter of children, the soothing sounds of splashing water, and the warmth of shared moments will echo within the confines of your backyard oasis, affirming that the journey of bonding an above ground swimming pool has yielded a treasure trove of experiences.
So, as you prepare to immerse yourself in the delights of your newly bonded above ground pool, take a moment to savor the accomplishment. You have not merely installed a pool; you have cultivated a space where the simple joys of life find expression, where the ordinary is transformed into the extraordinary, and where the bonds of family and friendship are strengthened amidst the tranquil embrace of the water. Embrace this achievement, relish the moments that await, and revel in the knowledge that your backyard has been elevated into a realm of aquatic enchantment.
Frequently Asked Questions about How To Bond An Above Ground Swimming Pool
Was this page helpful?
At Storables.com, we guarantee accurate and reliable information. Our content, validated by Expert Board Contributors, is crafted following stringent Editorial Policies. We're committed to providing you with well-researched, expert-backed insights for all your informational needs.
0 thoughts on “How To Bond An Above Ground Swimming Pool”