Home>Gardening & Outdoor>Outdoor Recreation & Activities>How To Drain An Above Ground Swimming Pool
Outdoor Recreation & Activities
How To Drain An Above Ground Swimming Pool
Modified: February 18, 2024
Learn how to properly drain an above ground swimming pool to ensure the safety of your outdoor recreation area. Follow our step-by-step guide for a hassle-free process.
(Many of the links in this article redirect to a specific reviewed product. Your purchase of these products through affiliate links helps to generate commission for Storables.com, at no extra cost. Learn more)
Introduction
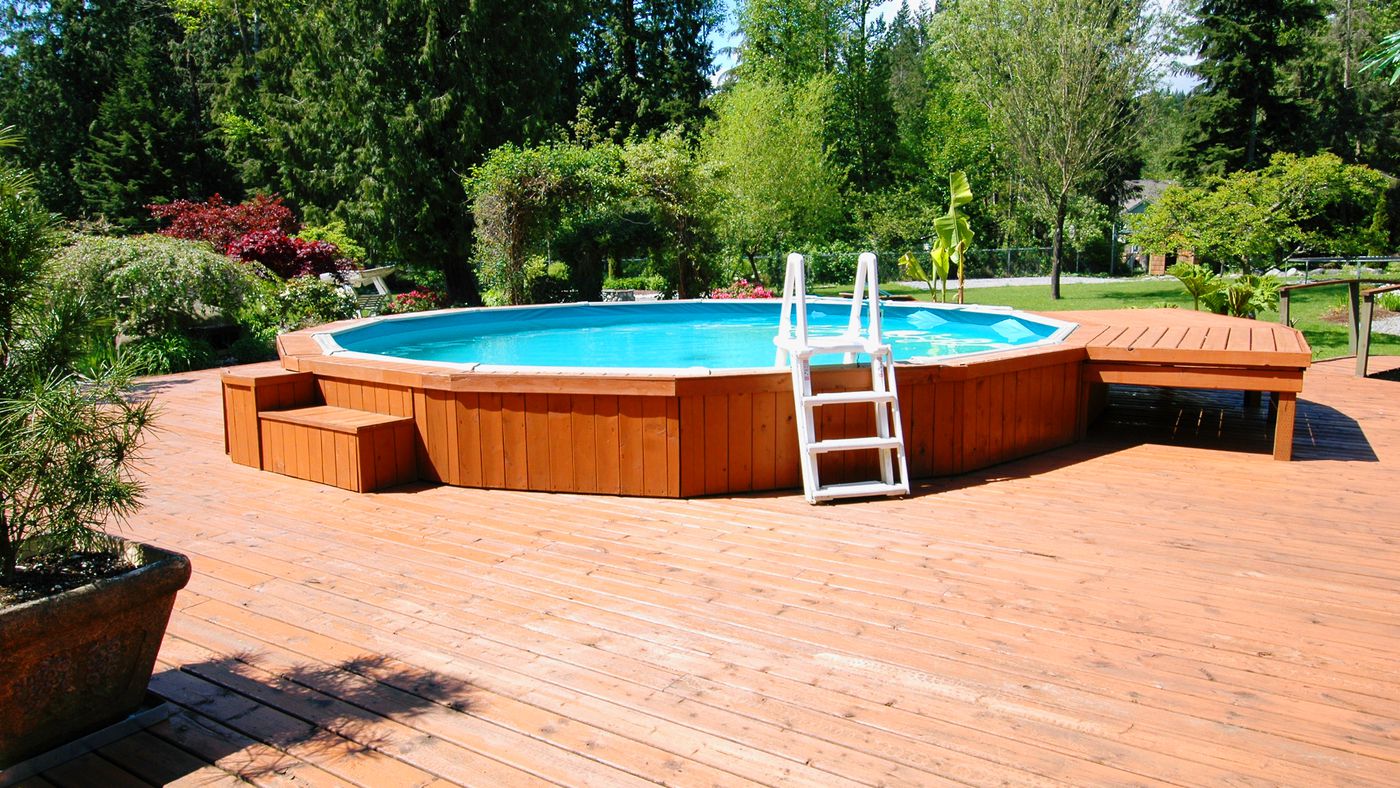
Draining an above ground swimming pool is an essential maintenance task that ensures the water remains clean and safe for swimming. Whether you're preparing to close the pool for the season or need to replace the water, knowing how to properly drain it is crucial. This process not only helps in maintaining the pool's water quality but also prevents potential damage caused by excessive water accumulation.
In this comprehensive guide, we will walk you through the step-by-step process of draining an above ground swimming pool. From gathering the necessary equipment to monitoring the draining process, each step is crucial in ensuring a smooth and efficient drainage. By following these instructions, you can effectively maintain your pool and prolong its lifespan, providing a pristine environment for relaxation and enjoyment.
Properly draining your above ground swimming pool also allows you to inspect the pool liner and the pool floor for any signs of wear and tear. Additionally, it provides an opportunity to clean the pool's surfaces thoroughly, ensuring that any accumulated debris or algae is removed. By understanding and implementing the correct drainage process, you can contribute to the longevity and functionality of your pool, ultimately enhancing your overall swimming experience.
Now, let's dive into the detailed steps required to drain an above ground swimming pool effectively. By the end of this guide, you will have the knowledge and confidence to carry out this essential maintenance task with ease and precision.
Key Takeaways:
- Keep your pool clean and safe by draining it properly. Gather the right equipment, turn off the pump, connect the hose, open the valve, monitor the process, and clean and store the equipment for a smooth and efficient drainage.
- Draining your pool helps maintain its longevity and functionality. By following the steps and best practices, you can ensure a clean and safe environment for leisure and relaxation.
Step 1: Gather necessary equipment
Before initiating the process of draining your above ground swimming pool, it is essential to gather the necessary equipment to ensure a smooth and efficient operation. Having the right tools at your disposal will not only streamline the process but also contribute to the overall safety and effectiveness of the task at hand.
Here's a comprehensive list of the essential equipment required for draining an above ground swimming pool:
-
Submersible Pump: A submersible pump is a vital tool for effectively draining the pool. It is designed to be submerged in water and is capable of pumping out large volumes of water efficiently. When selecting a submersible pump, ensure that it has the capacity to handle the volume of water in your pool.
-
Drainage Hose: A durable and flexible drainage hose is necessary to channel the water from the submersible pump to a suitable drainage area. The hose should be long enough to reach the desired location without kinking or causing obstructions.
-
Wrench or Pliers: Depending on the type of drainage valve on your pool, a wrench or pliers may be required to open the valve and initiate the drainage process. It's important to have the appropriate tool on hand to avoid any delays or complications.
-
Gloves and Eye Protection: Handling the equipment and coming into contact with pool water may require the use of gloves and eye protection to ensure personal safety and hygiene.
-
Cleaning Supplies: Once the pool is drained, you may need cleaning supplies such as a pool brush, pool vacuum, and cleaning chemicals to thoroughly clean the pool surfaces and remove any debris or algae buildup.
-
Storage Containers: Proper storage containers should be prepared to store the drainage hose and other equipment after use. This helps in maintaining the equipment and ensures they are readily available for future use.
By ensuring that you have all the necessary equipment ready, you can proceed with confidence and efficiency in the subsequent steps of draining your above ground swimming pool. This proactive approach minimizes interruptions and allows for a seamless execution of the entire process.
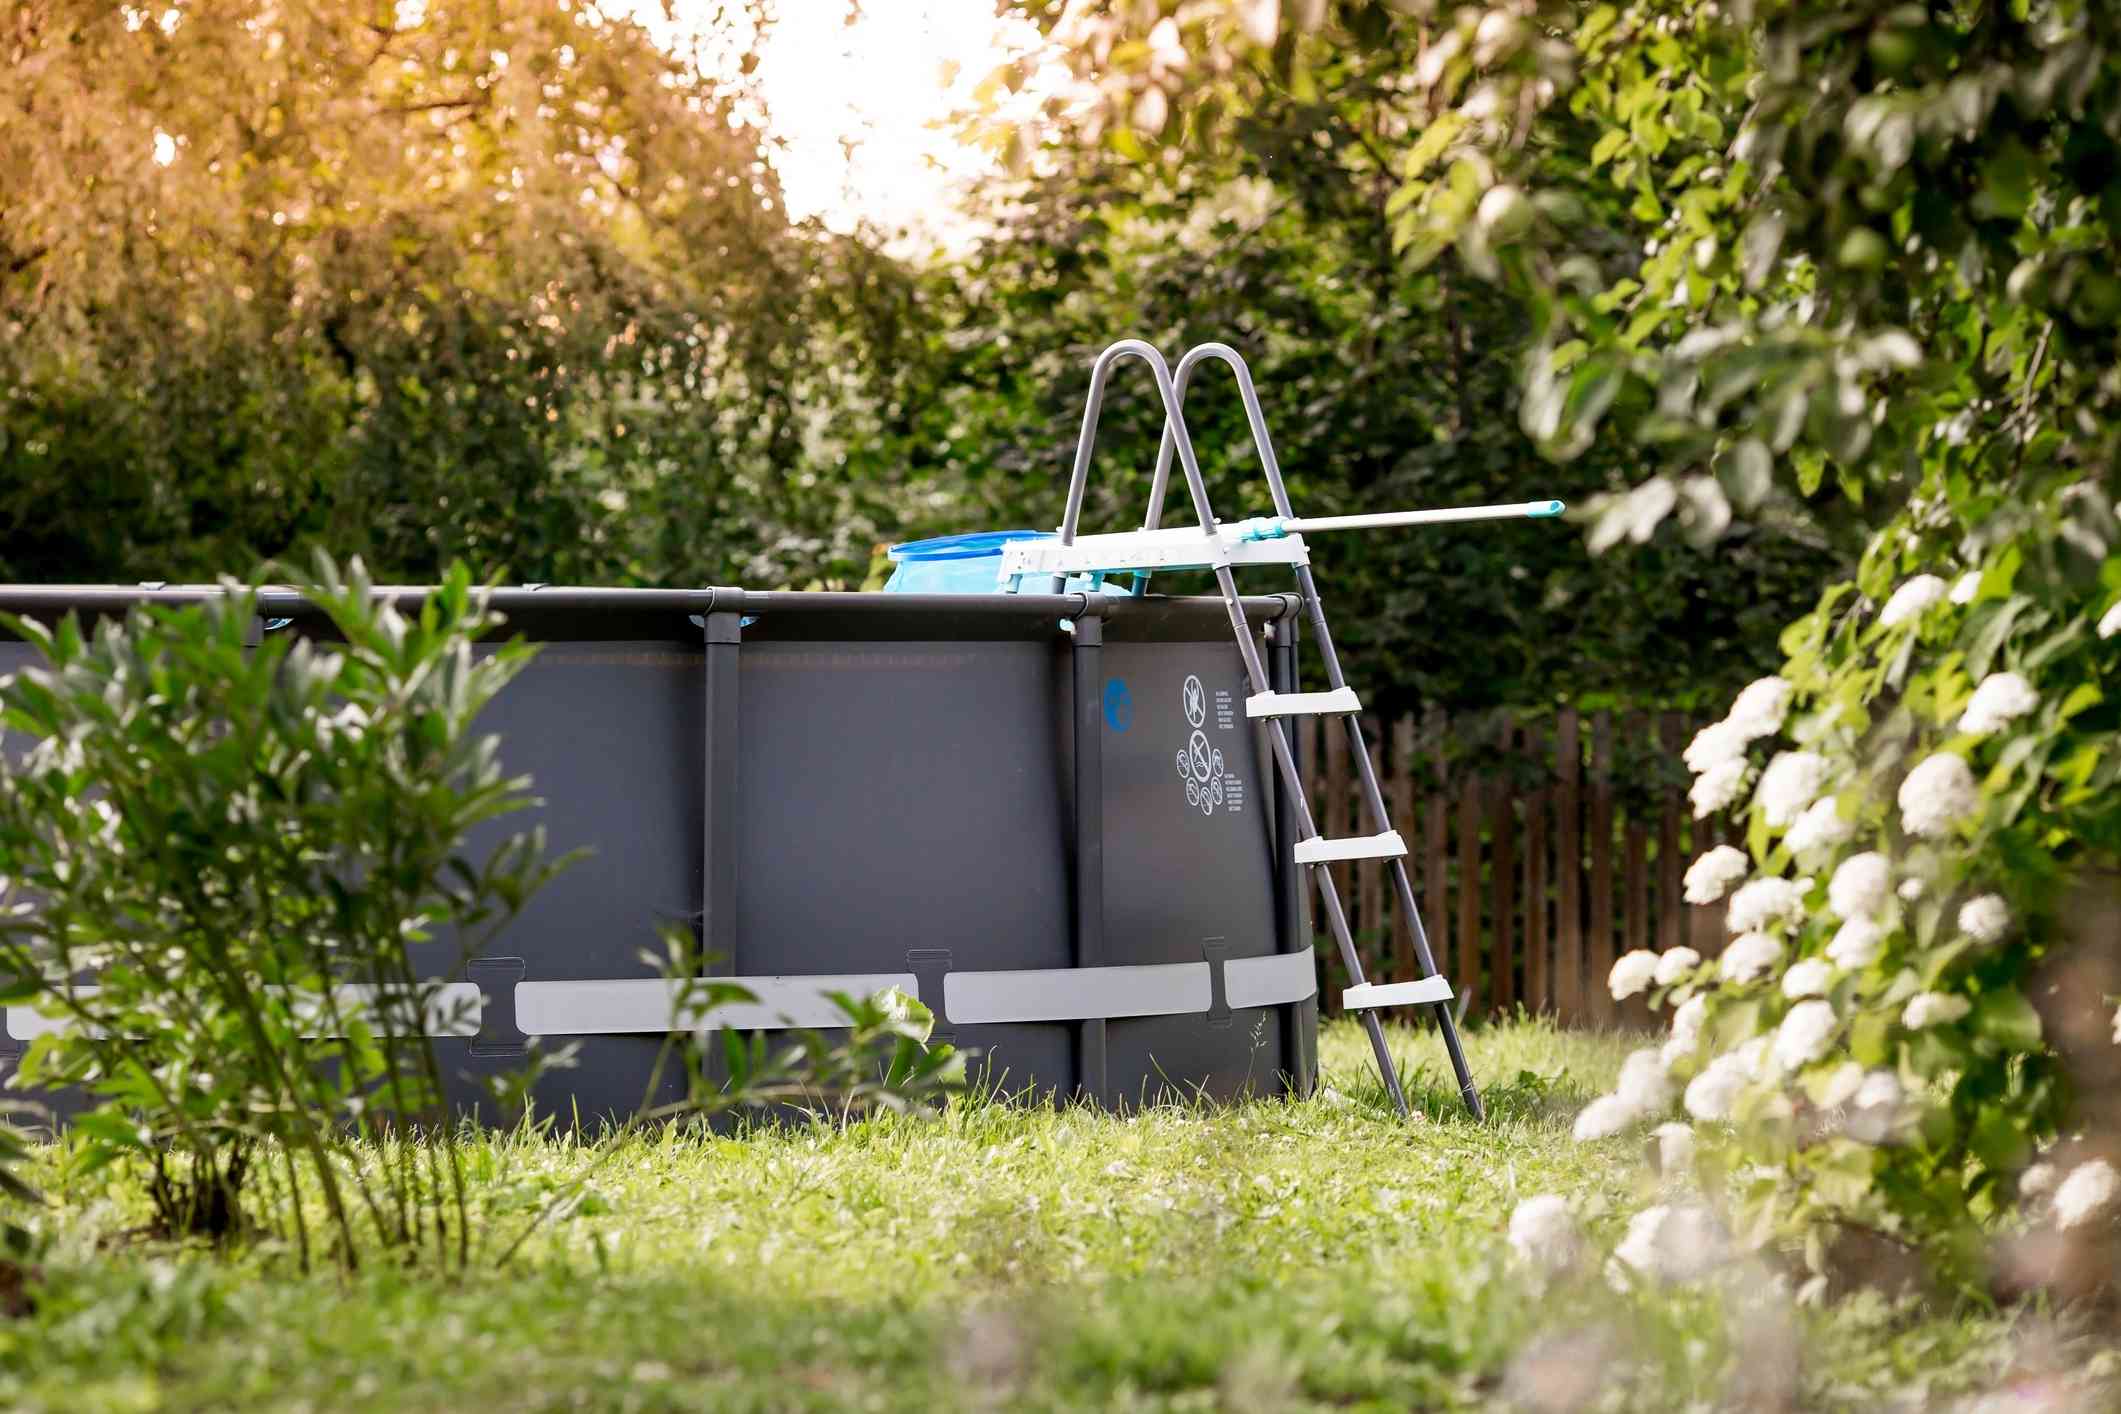
Step 2: Turn off the pool pump
Turning off the pool pump is a crucial step in preparing to drain an above ground swimming pool. The pump plays a central role in the circulation and filtration of the pool water, and shutting it off is essential to ensure a controlled and efficient drainage process.
To begin, locate the main power switch or circuit breaker that controls the pool pump. This is typically situated near the pump itself or in the vicinity of the pool equipment. Switch off the power supply to the pump by toggling the designated switch or by turning off the corresponding circuit breaker. It's important to verify that the pump is completely powered down to prevent any potential mishaps during the drainage process.
By turning off the pool pump, you halt the circulation of water, allowing it to settle and gather in preparation for drainage. This step also prevents the pump from running dry once the water level drops below the intake level, which could potentially damage the pump. Additionally, by ceasing the filtration process, any sediment or debris present in the water will gradually settle at the bottom of the pool, facilitating a more effective cleaning process once the pool is drained.
It's important to exercise caution and ensure that the pump is completely powered down before proceeding with the next steps. This not only safeguards the integrity of the pump but also minimizes the risk of electrical hazards during the drainage process.
By diligently following this step, you set the stage for a smooth and controlled drainage process, laying the groundwork for the subsequent steps involved in effectively draining your above ground swimming pool.
Step 3: Connect the drainage hose
Connecting the drainage hose is a pivotal step in the process of draining an above ground swimming pool. This essential component facilitates the efficient removal of water from the pool, directing it to a designated drainage area. Properly connecting the drainage hose ensures a smooth and controlled flow of water, contributing to the overall effectiveness of the drainage process.
To begin, carefully uncoil the drainage hose and inspect it for any signs of damage or blockages. It's crucial to ensure that the hose is free from kinks, twists, or obstructions that could impede the water flow. Select a suitable location for the hose to expel the drained water, ensuring that it leads to an area where the water can safely and effectively disperse without causing any potential damage or inconvenience.
Once the drainage hose is inspected and the drainage location is determined, proceed to connect one end of the hose to the submersible pump. Ensure a secure and watertight connection to prevent any leaks or disconnections during the drainage process. Depending on the type of pump and hose fittings, you may need to utilize appropriate adapters or clamps to achieve a secure attachment.
Next, carefully position the other end of the drainage hose in the designated drainage area. It's important to ensure that the hose is free from any sharp objects or abrasive surfaces that could cause damage. Additionally, the hose should be positioned to allow for unobstructed water flow, preventing any backflow or pooling around the pool area.
Once the drainage hose is securely connected to both the submersible pump and the designated drainage area, double-check the connections to confirm that they are tight and leak-free. This proactive approach minimizes the risk of disruptions or water spillage during the drainage process, ensuring a seamless and efficient operation.
By meticulously following these steps to connect the drainage hose, you establish a reliable and effective channel for removing the water from your above ground swimming pool. This sets the stage for the subsequent steps, allowing for a controlled and systematic drainage process that contributes to the overall maintenance and care of your pool.
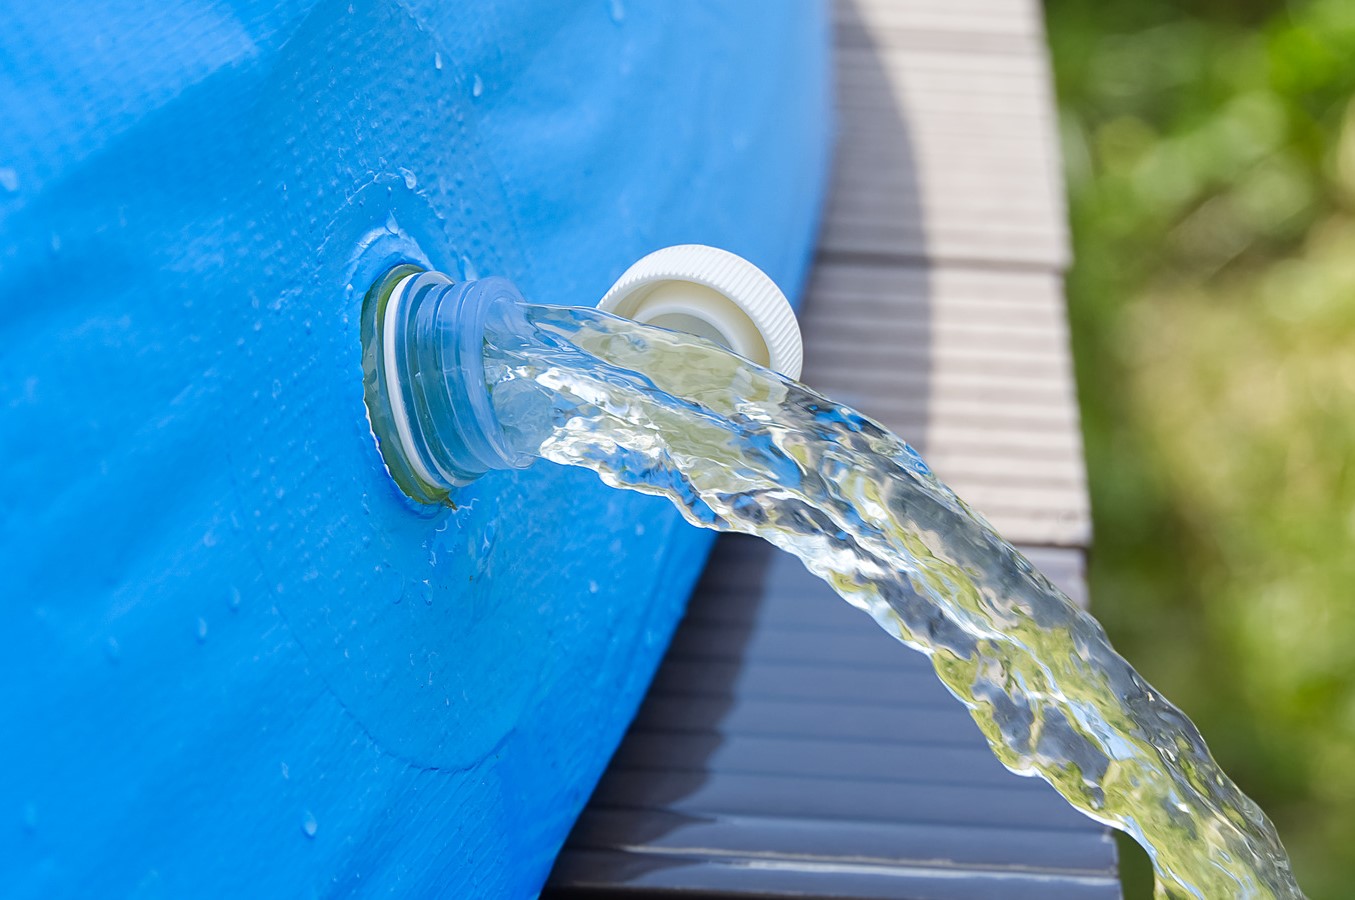
Before draining an above ground swimming pool, make sure to turn off the pump and disconnect any hoses. Use a submersible pump or a siphon to slowly remove the water, and direct it away from the pool to prevent flooding.
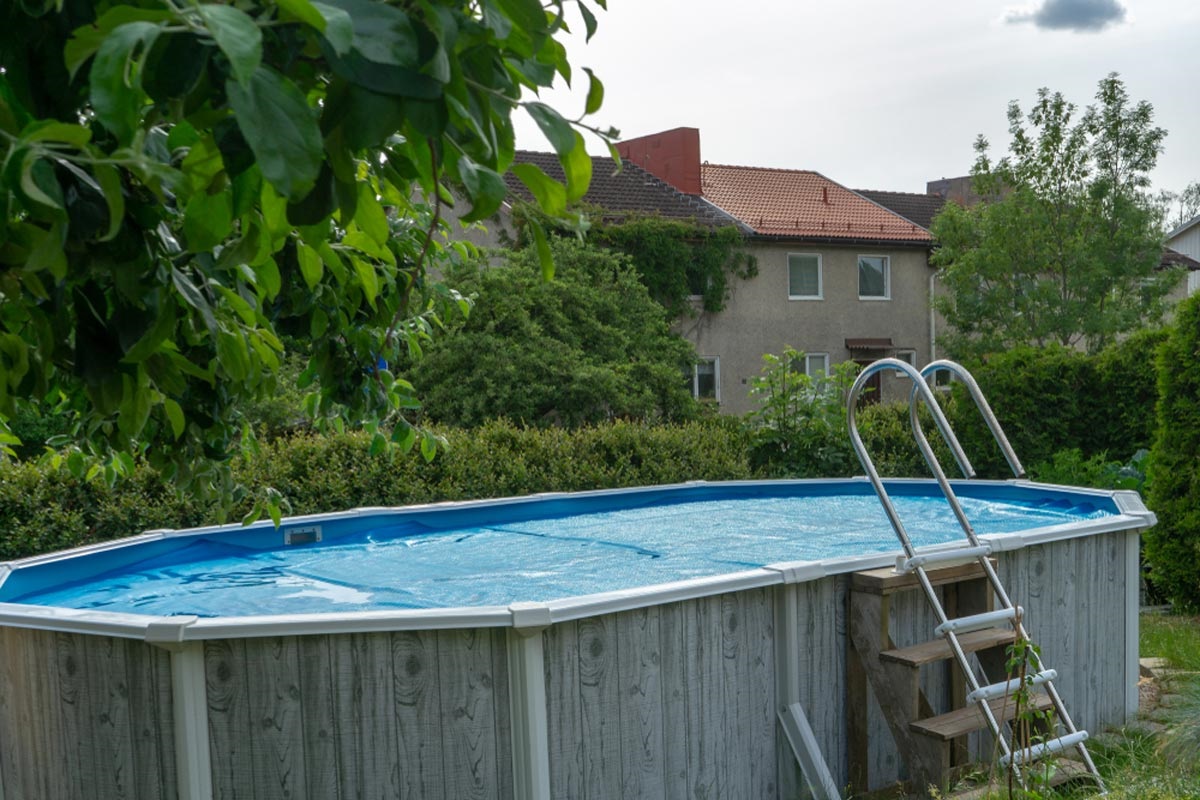
Step 4: Open the drainage valve
Opening the drainage valve is a critical step in the process of draining an above ground swimming pool. The drainage valve, typically located at the base of the pool, serves as the primary outlet for releasing the water from the pool. By carefully and methodically opening the drainage valve, you initiate the controlled release of water, facilitating the efficient drainage of the pool.
To begin, locate the drainage valve at the lowest point of the pool. Depending on the pool's design, the valve may be situated near the pool's base or within the pool's filtration system. Once located, prepare to open the valve by ensuring that the area surrounding the valve is clear of any debris or obstructions. This proactive measure prevents any potential blockages that could impede the water flow during the drainage process.
Using the appropriate tool, such as a wrench or pliers, carefully loosen the valve to initiate the water release. Exercise caution to avoid applying excessive force, as this could damage the valve or its components. Gradually open the valve to allow the water to flow out steadily, avoiding sudden surges that could lead to uncontrolled water discharge.
As the drainage valve is opened, closely monitor the water flow to ensure that it is directed towards the designated drainage area. This proactive oversight prevents any unintended pooling or flooding around the pool, maintaining a controlled and efficient drainage process. Additionally, by observing the water flow, you can make any necessary adjustments to the drainage hose to optimize the water discharge.
Throughout the process of opening the drainage valve, it's essential to maintain a vigilant eye on the water level within the pool. As the water drains, periodically check the depth to gauge the progress of the drainage. This allows you to anticipate the completion of the drainage process and take any additional measures, if necessary, to ensure a thorough and effective removal of the water.
By methodically opening the drainage valve and attentively monitoring the water flow, you establish a systematic and controlled approach to draining your above ground swimming pool. This pivotal step sets the stage for the subsequent phases of the drainage process, ensuring a smooth and efficient operation that contributes to the overall maintenance and care of your pool.
Read more: How To Bond An Above Ground Swimming Pool
Step 5: Monitor the draining process
As the drainage process commences, it is crucial to actively monitor the water level and flow to ensure a controlled and efficient drainage. By maintaining a vigilant eye on the draining process, you can address any potential issues promptly and make necessary adjustments to optimize the overall operation.
One of the primary aspects to monitor is the rate of water discharge from the pool. By observing the flow of water through the drainage hose, you can gauge the speed and consistency of the drainage. It is essential to ensure that the water is steadily and continuously flowing out of the pool, indicating an unobstructed drainage process. Any sudden changes in the water flow should be promptly investigated to identify and resolve any potential blockages or disruptions.
Additionally, closely monitoring the drainage area is vital to prevent any unintended pooling or flooding. Ensure that the water is effectively dispersing in the designated drainage area without causing any accumulation or overflow. By maintaining a clear and unobstructed drainage path, you can prevent potential water damage to the surrounding area and maintain a controlled drainage process.
Simultaneously, keep a watchful eye on the water level within the pool. As the water drains, periodically check the depth to track the progress of the drainage. This allows you to anticipate the completion of the drainage process and make any necessary adjustments to the drainage hose or valve to optimize the water discharge.
Furthermore, it is essential to remain attentive to any unusual sounds or vibrations emanating from the submersible pump or the drainage system. Unusual noises or vibrations may indicate potential issues with the equipment or the drainage process, warranting immediate attention to prevent any disruptions or damage.
By actively monitoring the draining process, you ensure a systematic and controlled approach to removing the water from your above ground swimming pool. This proactive oversight allows for the timely identification and resolution of any potential issues, contributing to a smooth and efficient drainage operation.
As the draining process nears completion, continue to monitor the water level and flow to ensure that the pool is effectively and thoroughly drained. This diligent approach sets the stage for the subsequent steps involved in cleaning and storing the equipment, ultimately contributing to the overall maintenance and care of your pool.
Step 6: Clean and store equipment
Once the above ground swimming pool has been effectively drained, it is essential to proceed with the cleaning and proper storage of the equipment used during the drainage process. This final step ensures that the equipment remains in optimal condition for future use and contributes to the overall maintenance and care of the pool.
Begin by carefully disconnecting the drainage hose from the submersible pump and the designated drainage area. Inspect the hose for any residual water and debris, and if necessary, use a suitable cleaning tool to remove any accumulated sediment or contaminants. Thoroughly rinse the drainage hose to ensure that it is free from any obstructions or impurities that could affect its performance in future use.
Next, attend to the submersible pump by cleaning its exterior and removing any debris or sediment that may have accumulated during the drainage process. Inspect the pump for any signs of damage or wear, and if required, perform any necessary maintenance or repairs to ensure its continued functionality.
After cleaning the equipment, allow it to thoroughly dry to prevent the formation of mold or mildew. Properly drying the equipment also helps in maintaining its integrity and prolonging its lifespan. Once dry, carefully coil the drainage hose and store it in a designated storage container, ensuring that it is protected from potential damage and readily accessible for future use.
Similarly, store the submersible pump and any accompanying tools or accessories in a secure and organized manner. Proper storage minimizes the risk of damage and ensures that the equipment remains in optimal condition for subsequent drainage or maintenance tasks.
Additionally, take this opportunity to inspect the pool area for any remaining debris or residue. Utilize a pool brush, pool vacuum, or suitable cleaning chemicals to thoroughly clean the pool surfaces, ensuring that any accumulated debris or algae is effectively removed. By maintaining a clean pool environment, you contribute to the overall hygiene and longevity of the pool.
By diligently cleaning and storing the equipment and attending to any remaining cleaning tasks, you conclude the drainage process with a proactive approach to equipment maintenance and pool care. This final step ensures that the equipment is preserved for future use and that the pool is left in a pristine condition, ready for enjoyment and relaxation.
This meticulous approach to cleaning and equipment storage not only contributes to the longevity of the equipment but also enhances the overall maintenance and care of the above ground swimming pool, providing a clean and inviting environment for leisure and recreation.
Conclusion
In conclusion, effectively draining an above ground swimming pool is a fundamental aspect of pool maintenance that ensures the water remains clean, safe, and inviting for swimming. By following the comprehensive steps outlined in this guide, you can successfully navigate the process of draining your pool with confidence and precision.
The initial step of gathering the necessary equipment sets the stage for a smooth and efficient drainage process. By ensuring that you have the essential tools at your disposal, you proactively minimize interruptions and streamline the subsequent steps involved in draining the pool.
Turning off the pool pump is a critical measure that safeguards the pump from potential damage and allows the water to settle, preparing it for drainage. This proactive approach contributes to the overall effectiveness of the drainage process and sets the stage for a controlled and systematic water removal.
Connecting the drainage hose and opening the drainage valve are pivotal steps that establish a reliable channel for removing the water from the pool. By carefully executing these steps, you facilitate a smooth and controlled flow of water, ensuring an efficient drainage process that contributes to the overall maintenance and care of the pool.
Throughout the drainage process, actively monitoring the water level, flow, and drainage area is essential to ensure a controlled and efficient operation. This vigilant oversight allows for the timely identification and resolution of any potential issues, ultimately contributing to a seamless and effective drainage process.
Finally, the cleaning and proper storage of the equipment used during the drainage process ensure that the equipment remains in optimal condition for future use. This proactive approach to equipment maintenance and pool care concludes the drainage process with a commitment to preserving the equipment and maintaining a clean and inviting pool environment.
By diligently following these steps and incorporating best practices for pool maintenance, you contribute to the longevity and functionality of your above ground swimming pool. This not only enhances the overall swimming experience but also ensures a clean and safe environment for leisure and relaxation.
In essence, mastering the art of draining an above ground swimming pool empowers you to proactively maintain and care for your pool, ultimately enhancing its longevity and providing a pristine environment for enjoyment and recreation.
Frequently Asked Questions about How To Drain An Above Ground Swimming Pool
Was this page helpful?
At Storables.com, we guarantee accurate and reliable information. Our content, validated by Expert Board Contributors, is crafted following stringent Editorial Policies. We're committed to providing you with well-researched, expert-backed insights for all your informational needs.
0 thoughts on “How To Drain An Above Ground Swimming Pool”