Home>Gardening & Outdoor>Outdoor Recreation & Activities>How To Level Ground For A Swimming Pool
Outdoor Recreation & Activities
How To Level Ground For A Swimming Pool
Modified: October 19, 2024
Learn how to level ground for a swimming pool to ensure a safe and stable outdoor recreation and activities area. Follow these expert tips for a successful pool installation.
(Many of the links in this article redirect to a specific reviewed product. Your purchase of these products through affiliate links helps to generate commission for Storables.com, at no extra cost. Learn more)
Introduction
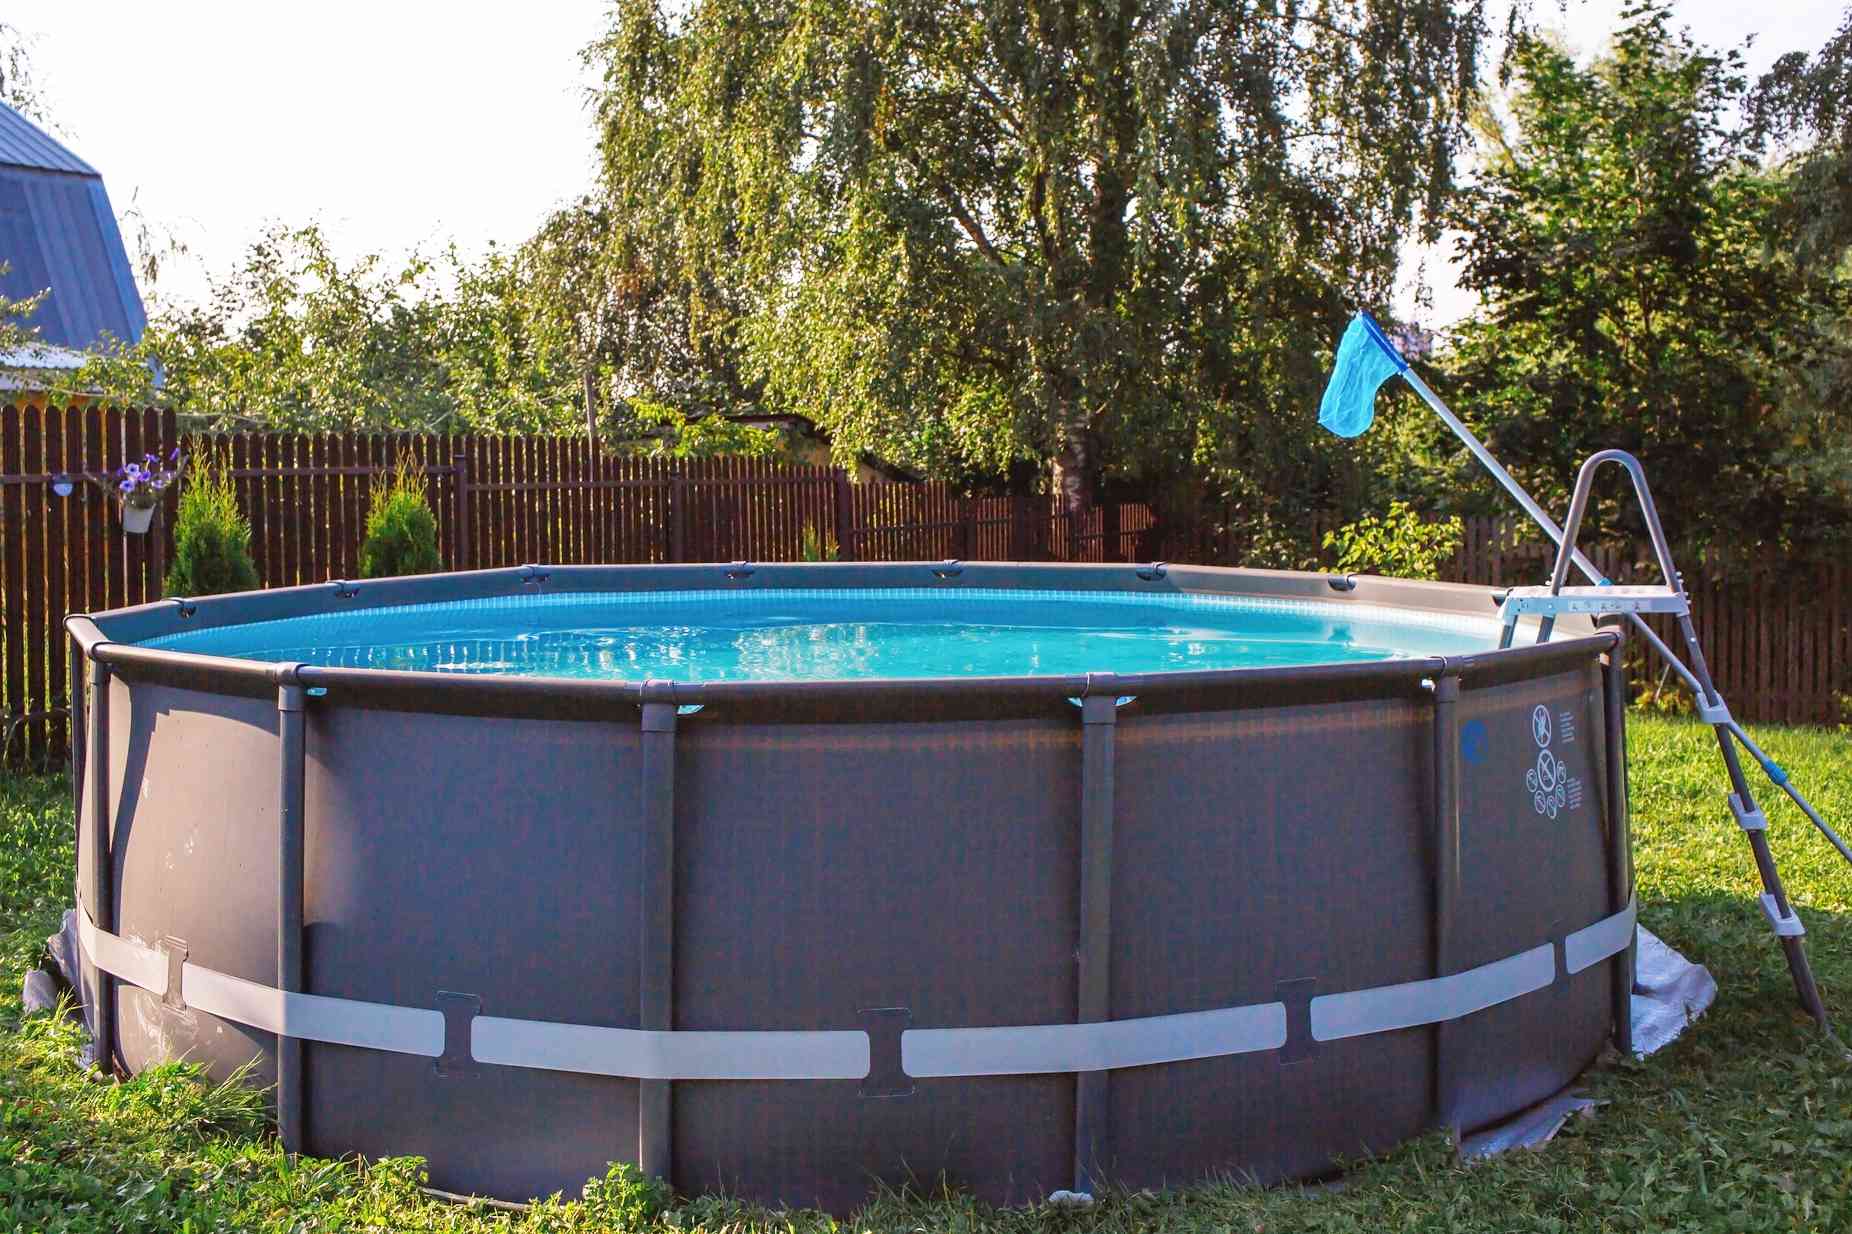
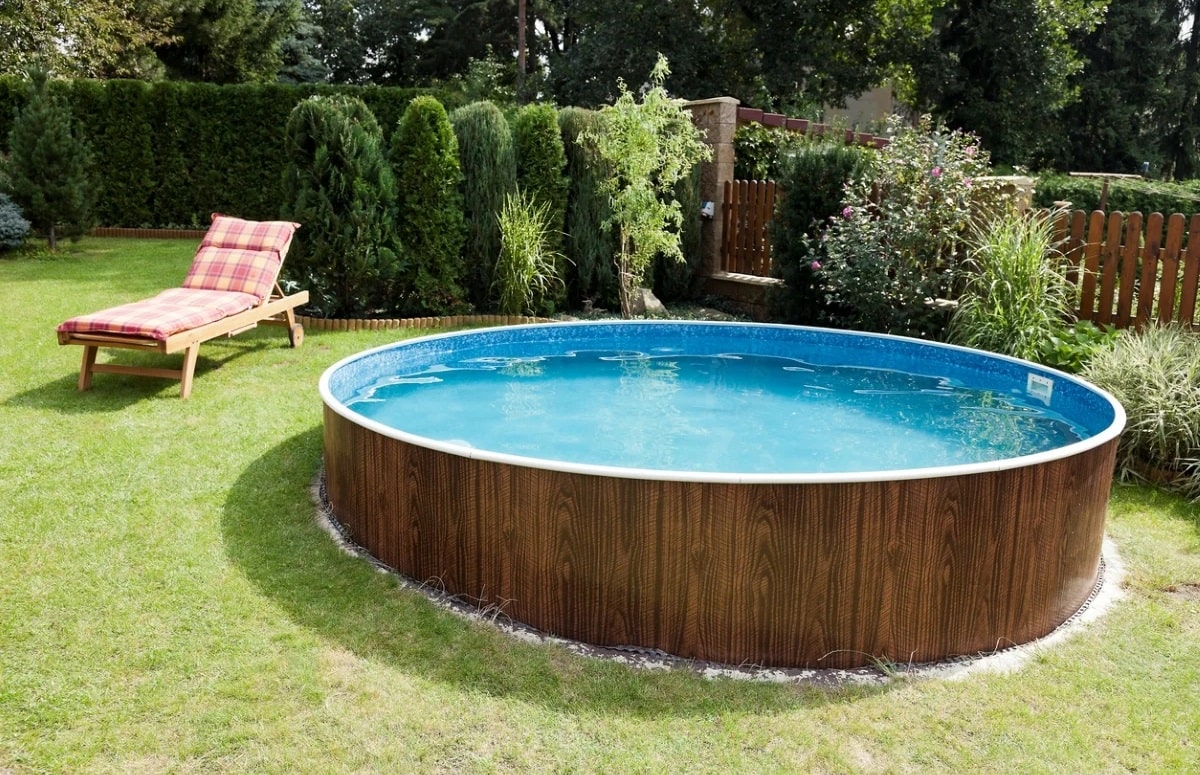
Leveling the ground for a swimming pool is a crucial step in ensuring the stability and safety of the pool structure. Whether you're installing an above-ground pool or excavating for an in-ground pool, the ground must be properly prepared to prevent future issues such as uneven settling, water drainage problems, or structural damage. By following a systematic approach to leveling the ground, you can create a solid foundation for your swimming pool, providing a smooth and secure surface for years of aquatic enjoyment.
Properly leveling the ground for a swimming pool involves a series of essential steps, including clearing the area, marking the boundaries, removing high spots, filling in low spots, compacting the ground, and meticulously checking for levelness. Each of these steps plays a critical role in achieving a stable and even surface that will support the weight of the pool and withstand environmental factors.
In this comprehensive guide, we will walk you through the step-by-step process of leveling the ground for a swimming pool, providing valuable insights and practical tips to help you tackle this important task with confidence. Whether you're a seasoned DIY enthusiast or a first-time pool owner, understanding the fundamentals of ground leveling will empower you to create a safe and enjoyable swimming environment for your family and friends.
So, let's dive into the details of each step, equipping you with the knowledge and skills needed to successfully level the ground for your swimming pool project. By the end of this guide, you'll be well-prepared to embark on this essential pre-installation process, setting the stage for a smooth and seamless pool construction experience.
Key Takeaways:
- Properly leveling the ground for a swimming pool involves clearing the area, marking boundaries, removing high spots, filling in low spots, compacting the ground, and checking for levelness. This ensures a stable and safe foundation for the pool.
- By following a systematic approach to leveling the ground for a swimming pool, you can create a solid foundation, providing a smooth and secure surface for years of aquatic enjoyment.
Step 1: Clearing the Area
Before embarking on the process of leveling the ground for a swimming pool, it is essential to start with a clean and clear area. This initial step sets the foundation for the entire ground leveling process, ensuring that the subsequent tasks can be carried out effectively and accurately.
The first task in clearing the area involves removing any debris, rocks, vegetation, or other obstructions that may be present on the ground. This can be accomplished by using a shovel, rake, or a small excavator, depending on the size of the area and the nature of the debris. By thoroughly clearing the ground, you create a smooth and even surface, free from any potential obstacles that could interfere with the leveling process.
In addition to removing visible debris, it is important to assess the area for any underground obstructions, such as tree roots, large rocks, or utility lines. Clearing the area also involves identifying and addressing these hidden obstacles to prevent any interference with the subsequent steps of the ground leveling process.
Furthermore, if the ground is covered with grass or vegetation, it may be necessary to strip away the top layer of sod to expose the underlying soil. This step not only facilitates a more accurate assessment of the ground's natural contours but also allows for better integration of the leveling materials during the later stages of the process.
By taking the time to thoroughly clear the area, you create a clean canvas on which to work, enabling you to proceed with the subsequent steps of marking the boundaries, removing high spots, filling in low spots, and compacting the ground with precision and efficiency.
In summary, clearing the area is the crucial first step in preparing the ground for a swimming pool. By meticulously removing debris, addressing underground obstructions, and exposing the natural soil contours, you establish the groundwork for a successful ground leveling process, setting the stage for the creation of a stable and secure foundation for your swimming pool.
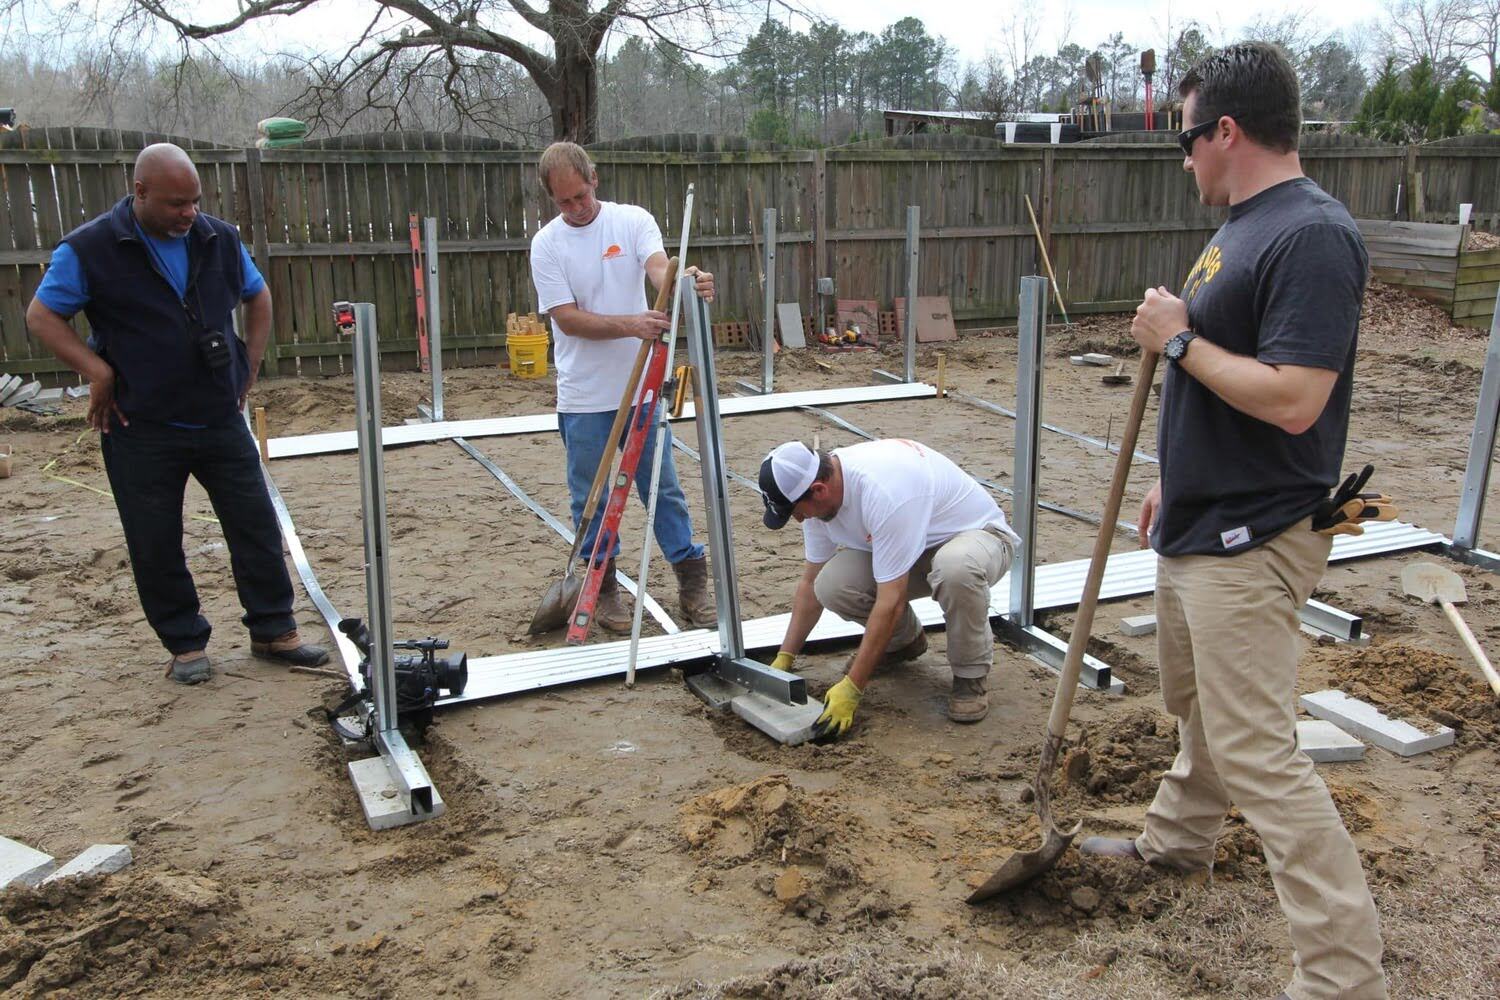
Step 2: Marking the Boundaries
Once the area has been cleared, the next critical step in leveling the ground for a swimming pool is marking the boundaries. This step is essential for defining the precise area where the pool will be installed and establishing the boundaries for the ground leveling process.
To begin, gather the necessary tools for marking the boundaries, including wooden stakes, string, a measuring tape, and spray paint. Start by identifying the exact location and dimensions of the swimming pool as specified in the installation plans or guidelines. Using the measuring tape, mark the outer dimensions of the pool on the ground, ensuring that the measurements are accurate and align with the intended placement.
After determining the perimeter of the pool, drive wooden stakes into the ground at key points along the marked boundaries. These stakes serve as reference points for outlining the pool's shape and size, providing a visual guide for the subsequent leveling tasks. Once the stakes are in place, use string to connect them, creating a clear and visible outline of the pool area.
In addition to marking the outer boundaries of the pool, it is important to designate any additional areas for surrounding features such as decks, walkways, or landscaping. By extending the boundary markings to include these auxiliary spaces, you can ensure that the entire installation area is accounted for in the leveling process, allowing for seamless integration of the pool and its surroundings.
Furthermore, consider using spray paint to delineate the boundaries directly on the ground, providing a visual reference that will remain visible throughout the ground leveling process. This additional step can help maintain clarity and precision as you proceed with the subsequent tasks, minimizing the risk of errors or discrepancies in the defined area.
By meticulously marking the boundaries of the pool and its surrounding features, you establish a clear framework for the ground leveling process, laying the groundwork for the precise shaping and leveling of the installation area. This proactive approach not only enhances the accuracy of the leveling process but also contributes to the overall efficiency and success of the pool installation project.
Step 3: Removing High Spots
After marking the boundaries of the pool area, the next crucial step in leveling the ground for a swimming pool involves identifying and removing high spots on the terrain. High spots refer to elevated areas or uneven mounds of soil that can disrupt the uniformity of the ground surface, potentially leading to instability and irregularities in the pool's foundation.
To begin the process of removing high spots, carefully inspect the marked pool area to identify any noticeable elevations or irregularities in the ground. This visual assessment can be complemented by using a long, straight board or a laser level to detect variations in the terrain. By systematically traversing the area with the leveling tool, you can pinpoint the specific locations where the ground rises above the desired level, indicating the presence of high spots.
Once the high spots have been identified, the next step is to initiate their removal. This can be accomplished using a combination of manual and mechanical methods, depending on the size and nature of the high spots. For smaller elevated areas, a shovel or a grading rake can be used to carefully redistribute the excess soil to lower-lying areas, gradually leveling out the surface. In the case of larger high spots or compacted soil, a small excavator or a skid-steer loader may be employed to effectively remove the excess soil and create a more uniform ground level.
As the high spots are being addressed, it is important to maintain a systematic approach, ensuring that the entire pool area is thoroughly inspected and leveled. By focusing on each high spot individually and gradually integrating the redistributed soil into the surrounding areas, you can achieve a more consistent and balanced ground surface.
Furthermore, as the high spots are removed and the ground is leveled, it is essential to periodically reassess the area to verify the progress and identify any remaining irregularities. This iterative process allows for continuous refinement, ensuring that the ground is uniformly leveled and free from any lingering high spots that could compromise the stability and integrity of the pool installation.
By meticulously addressing and removing high spots, you create a smooth and even foundation for the swimming pool, laying the groundwork for a stable and structurally sound installation. This proactive approach not only enhances the safety and longevity of the pool but also contributes to the overall aesthetic appeal and functionality of the outdoor space.
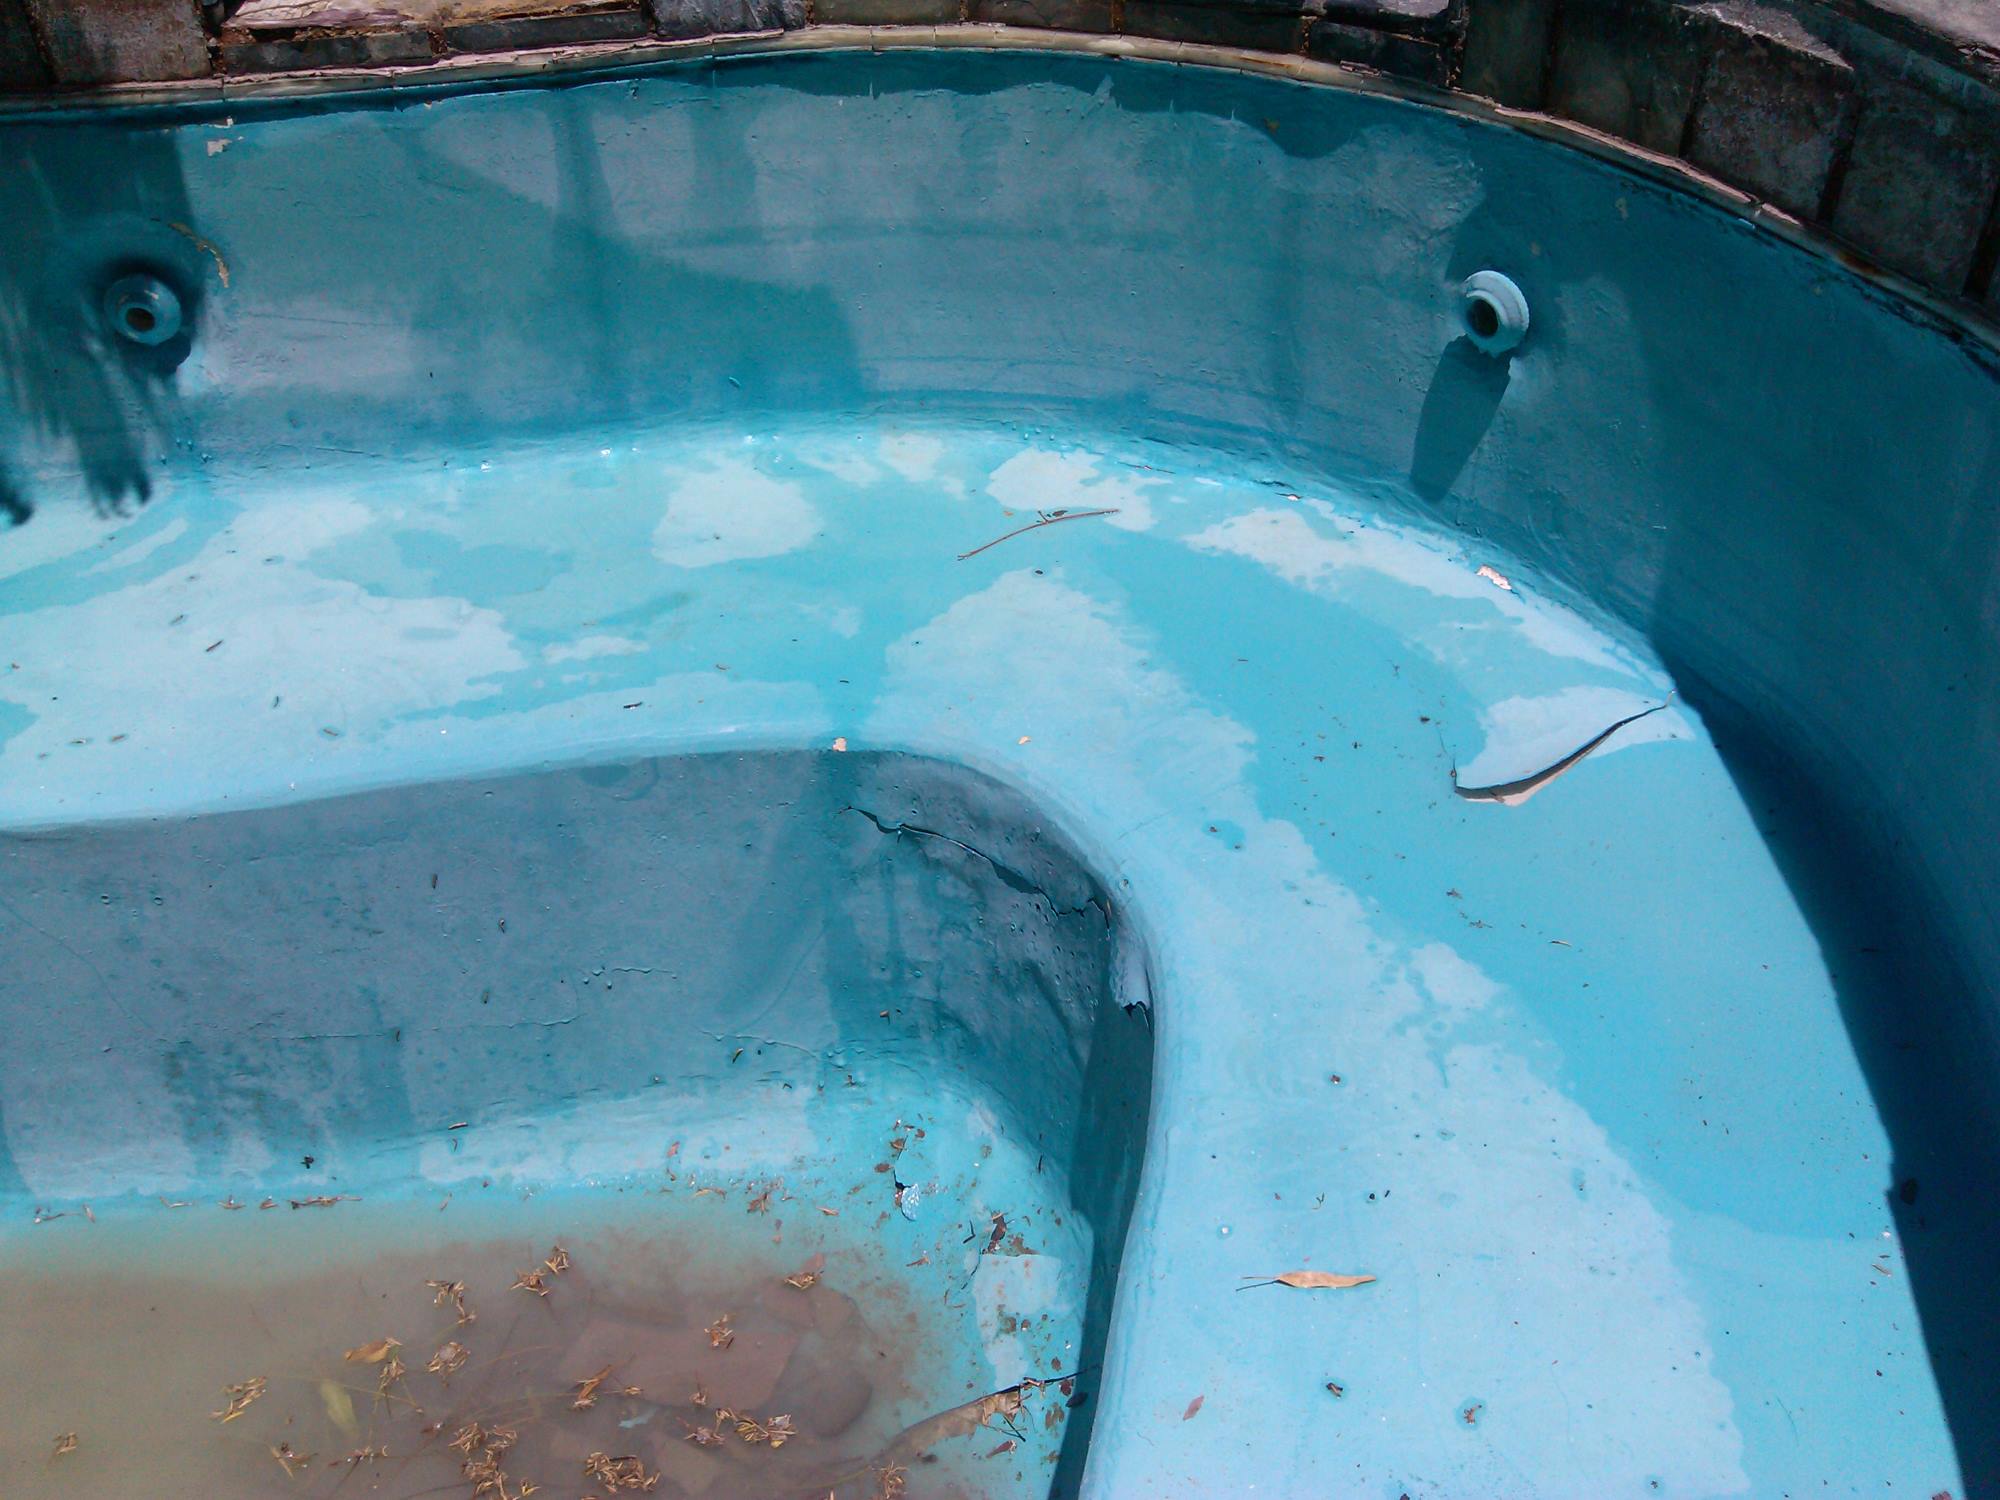
Before leveling the ground for a swimming pool, make sure to remove any rocks, roots, and debris. Use a transit level to check for any uneven areas and add or remove soil as needed. Compact the soil to create a stable base for the pool.
Step 4: Filling in Low Spots
Once the high spots have been addressed and the ground has been leveled to remove any uneven elevations, the next crucial step in the ground leveling process is filling in low spots. Low spots, also known as depressions or dips in the terrain, can create vulnerabilities in the pool's foundation and compromise the overall stability and functionality of the installation. Therefore, it is essential to systematically identify and address these areas to ensure a uniformly level surface for the swimming pool.
To begin the process of filling in low spots, carefully inspect the leveled ground to identify any noticeable depressions or uneven areas. This visual assessment can be complemented by using a straight board or a laser level to detect variations in the terrain. By systematically traversing the area with the leveling tool, you can pinpoint the specific locations where the ground dips below the desired level, indicating the presence of low spots.
Once the low spots have been identified, the next step is to initiate their filling. This can be accomplished using suitable filling materials such as compacted soil, sand, or gravel, depending on the depth and extent of the depressions. For shallow low spots, additional topsoil or compacted fill dirt can be applied to gradually raise the level of the ground, ensuring a smooth and consistent surface. In the case of deeper or more extensive low spots, a layer of sand or gravel may be utilized to effectively fill in the depressions and create a more uniform ground level.
As the low spots are being filled, it is important to maintain a systematic approach, ensuring that the entire pool area is thoroughly inspected and leveled. By focusing on each low spot individually and gradually integrating the filling materials into the depressions, you can achieve a more consistent and balanced ground surface.
Furthermore, as the low spots are filled and the ground is leveled, it is essential to periodically reassess the area to verify the progress and identify any remaining irregularities. This iterative process allows for continuous refinement, ensuring that the ground is uniformly leveled and free from any lingering low spots that could compromise the stability and integrity of the pool installation.
By meticulously addressing and filling in low spots, you create a smooth and even foundation for the swimming pool, laying the groundwork for a stable and structurally sound installation. This proactive approach not only enhances the safety and longevity of the pool but also contributes to the overall aesthetic appeal and functionality of the outdoor space.
Read more: How To Bond An Above Ground Swimming Pool
Step 5: Compacting the Ground
Compacting the ground is a critical step in the process of leveling the ground for a swimming pool. This essential task involves the strategic compression of the soil to enhance its stability, load-bearing capacity, and resistance to settling, thereby creating a solid and durable foundation for the pool installation.
To begin the process of compacting the ground, it is important to utilize suitable compaction equipment, such as a plate compactor or a vibrating roller, depending on the size and nature of the installation area. These specialized tools are designed to exert controlled force on the soil, effectively reducing air voids and increasing soil density, resulting in a more stable and uniform ground surface.
As the compaction equipment is employed, it is essential to systematically traverse the entire pool area, ensuring that the soil is uniformly compacted to the desired density. This process may involve multiple passes with the compactor, gradually consolidating the soil and minimizing the risk of future settling or subsidence.
Furthermore, it is important to pay special attention to the edges and perimeter of the pool area, as these areas are particularly susceptible to inadequate compaction. By focusing on these critical zones and employing precise compaction techniques, you can mitigate the potential for edge settlement and ensure a consistent levelness across the entire installation area.
In addition to mechanical compaction, it may be necessary to introduce moisture to the soil to optimize compaction efforts, particularly in cases where the natural soil composition requires additional hydration for proper compaction. By carefully monitoring the moisture content and adjusting as needed, you can enhance the effectiveness of the compaction process, resulting in a more robust and stable ground foundation.
Throughout the compaction process, it is crucial to adhere to industry standards and best practices to achieve the desired soil density and stability. This may involve consulting compaction specifications and guidelines provided by pool manufacturers or relevant construction authorities, ensuring that the compaction efforts align with established quality and safety standards.
By meticulously compacting the ground, you establish a solid and resilient foundation for the swimming pool, minimizing the risk of future settling and ensuring long-term structural integrity. This proactive approach not only enhances the stability and safety of the pool installation but also contributes to the overall longevity and performance of the outdoor recreational space.
Step 6: Checking for Levelness
After completing the essential steps of clearing the area, marking the boundaries, removing high spots, filling in low spots, and compacting the ground, the next critical task in leveling the ground for a swimming pool is meticulously checking for levelness. This pivotal step involves the comprehensive assessment of the ground surface to ensure that it meets the necessary criteria for uniformity and stability, laying the foundation for a successful and enduring pool installation.
To begin the process of checking for levelness, it is imperative to utilize precise leveling tools and techniques to accurately evaluate the ground surface. This may involve employing a long, straight board, a laser level, or a transit level to systematically traverse the entire pool area, meticulously gauging the elevation and slope of the ground. By methodically measuring and comparing the height variations across the installation area, you can identify any remaining discrepancies and deviations from the desired levelness.
Furthermore, as the levelness is being assessed, it is crucial to pay special attention to the critical areas where the pool structure will directly interface with the ground, such as the perimeter and base. These key zones serve as the primary support for the pool, and ensuring their levelness is paramount to the overall stability and integrity of the installation. By focusing on these pivotal areas and meticulously verifying their levelness, you can mitigate the risk of structural issues and ensure a secure foundation for the pool.
In addition to visual inspections and manual measurements, it may be beneficial to conduct a water level test to validate the levelness of the ground. This involves utilizing a water-filled transparent tube to compare the water levels at various points across the installation area, providing a precise and reliable method for confirming the uniformity of the ground surface. By incorporating this supplementary testing approach, you can enhance the accuracy and thoroughness of the levelness assessment, further validating the stability and reliability of the ground foundation.
Moreover, it is essential to address any identified discrepancies in levelness promptly, employing targeted adjustments and refinements to achieve the desired uniformity. This may involve redistributing soil, fine-tuning the compaction, or implementing localized filling to rectify minor irregularities and ensure a consistent levelness across the entire pool area.
By meticulously checking for levelness, you establish a solid and uniform foundation for the swimming pool, laying the groundwork for a stable and enduring installation. This proactive approach not only enhances the safety and longevity of the pool but also contributes to the overall aesthetic appeal and functionality of the outdoor recreational space.
Conclusion
In conclusion, the process of leveling the ground for a swimming pool is a fundamental undertaking that sets the stage for a stable, secure, and enduring pool installation. By following a systematic approach that encompasses clearing the area, marking the boundaries, removing high spots, filling in low spots, compacting the ground, and meticulously checking for levelness, homeowners and contractors can ensure that the pool's foundation is well-prepared to withstand the demands of installation and long-term use.
Clearing the area serves as the initial step, creating a clean and obstruction-free canvas for the subsequent tasks. This process involves the removal of debris, vegetation, and underground obstructions, setting the groundwork for a thorough and effective ground leveling process.
Marking the boundaries is essential for defining the precise area where the pool will be installed and establishing the framework for the ground leveling process. By accurately delineating the pool's perimeter and any surrounding features, such as decks and walkways, homeowners can ensure that the entire installation area is accounted for in the leveling process.
Removing high spots and filling in low spots are critical steps that contribute to achieving a uniformly level ground surface. By addressing uneven elevations and depressions, homeowners can create a stable and balanced foundation that minimizes the risk of future settling or structural issues.
Compacting the ground is a pivotal task that enhances the stability and load-bearing capacity of the soil, ensuring a solid and resilient foundation for the pool. This process involves the strategic compression of the soil using specialized equipment, resulting in a more stable and uniform ground surface.
Meticulously checking for levelness is the final step in the ground leveling process, allowing homeowners to verify the uniformity and stability of the ground surface. By employing precise leveling tools and techniques, any remaining discrepancies can be identified and promptly addressed, ensuring a consistent levelness across the entire pool area.
In essence, the successful leveling of the ground for a swimming pool is a multifaceted endeavor that demands attention to detail, precision, and a proactive approach. By adhering to the step-by-step process outlined in this guide, homeowners and contractors can lay the foundation for a safe, durable, and aesthetically pleasing pool installation, providing a source of enjoyment and relaxation for years to come.
Frequently Asked Questions about How To Level Ground For A Swimming Pool
Was this page helpful?
At Storables.com, we guarantee accurate and reliable information. Our content, validated by Expert Board Contributors, is crafted following stringent Editorial Policies. We're committed to providing you with well-researched, expert-backed insights for all your informational needs.

0 thoughts on “How To Level Ground For A Swimming Pool”