Home>Gardening & Outdoor>Landscaping Ideas>How To Remove Grass For An Above-Ground Pool
Landscaping Ideas
How To Remove Grass For An Above-Ground Pool
Modified: August 27, 2024
Learn effective landscaping ideas for removing grass and preparing the ground for an above-ground pool. Get step-by-step guidance for a smooth and successful pool installation.
(Many of the links in this article redirect to a specific reviewed product. Your purchase of these products through affiliate links helps to generate commission for Storables.com, at no extra cost. Learn more)
Introduction
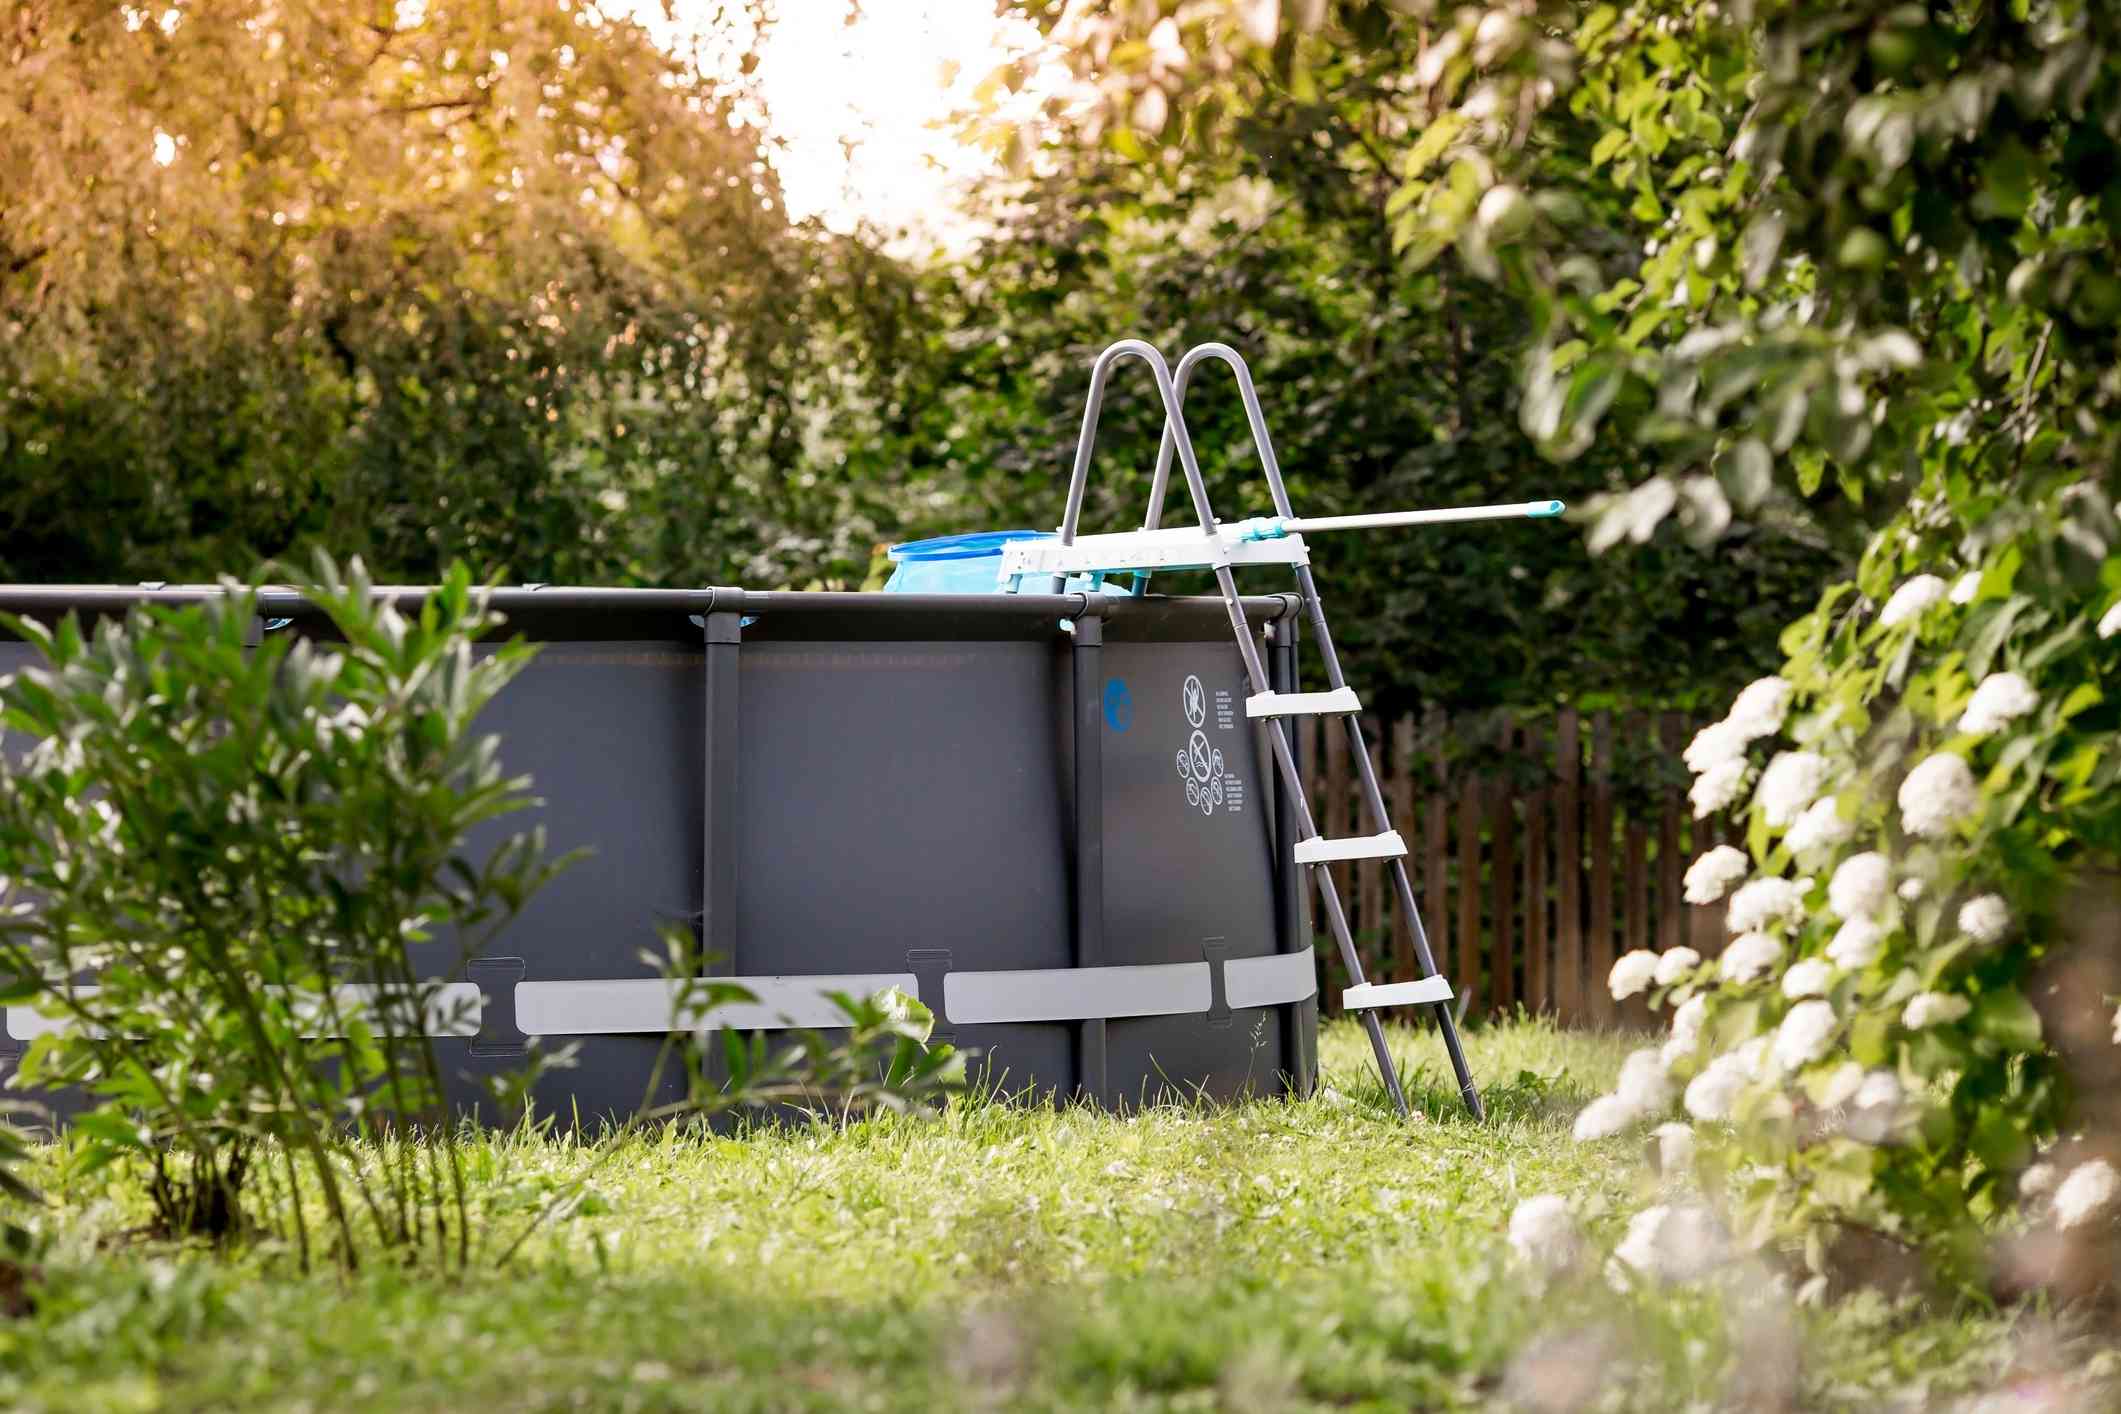
Preparing the ground for an above-ground pool involves several crucial steps to ensure a stable and safe foundation. One of the initial tasks is to remove the existing grass and create a level surface for the pool. This process requires careful planning and execution to guarantee the longevity and structural integrity of the pool. By following the recommended steps, you can effectively prepare the area and create an ideal setting for your above-ground pool.
Removing the grass is a fundamental aspect of the pool installation process, as it allows for proper leveling and prevents potential damage to the pool structure. Additionally, eliminating the grass ensures that the pool's base remains free from organic matter, reducing the risk of uneven settling and potential damage to the pool liner.
In this comprehensive guide, we will walk you through the essential steps for removing grass and preparing the ground for your above-ground pool. From marking the area to installing the pool, each stage plays a crucial role in ensuring a successful and durable pool setup. By carefully following these steps, you can create a solid foundation that will support your above-ground pool for years to come.
Now, let's delve into the step-by-step process of removing grass and preparing the ground for your above-ground pool. Each stage is vital in creating a stable and secure base, setting the stage for a refreshing and enjoyable pool experience.
Key Takeaways:
- Removing grass and leveling the ground are crucial for a stable above-ground pool. Careful planning and execution ensure a durable and visually appealing pool setup, providing a safe and enjoyable outdoor oasis.
- Laying a protective barrier and following manufacturer guidelines for pool installation are essential. These steps safeguard the pool’s foundation, ensuring a secure and inviting environment for leisure and relaxation.
Read more: What To Put Under Above Ground Pool On Grass
Step 1: Mark the Area
Before embarking on the task of removing grass for your above-ground pool, it is essential to mark the designated area with precision. This initial step sets the foundation for the entire process, ensuring that the pool's location is accurately defined and aligned with your vision for the outdoor space.
To begin, gather the necessary tools for marking the area, including wooden stakes, a measuring tape, and brightly colored spray paint. With these tools in hand, carefully measure and mark the perimeter of the pool area, taking into account the recommended clearance space around the pool's circumference. This clearance space is crucial for safe and convenient access to the pool for maintenance and recreational activities.
As you mark the area, envision the layout of the pool and consider factors such as proximity to the house, sunlight exposure, and potential landscaping features. By strategically positioning the pool within the outdoor space, you can optimize its functionality and aesthetic appeal.
Additionally, take into consideration any local building codes or regulations pertaining to the installation of above-ground pools. Adhering to these guidelines ensures compliance with safety standards and may influence the placement of the pool within your property.
Once the perimeter is clearly marked, take a moment to review the layout and make any necessary adjustments to ensure that it aligns with your vision for the pool area. This careful planning at the outset can prevent potential rework and ensure that the subsequent steps in the pool installation process proceed smoothly.
By meticulously marking the area for your above-ground pool, you establish a clear framework for the subsequent stages of the preparation process. This deliberate approach sets the stage for a successful and visually appealing pool installation, laying the groundwork for a relaxing and enjoyable outdoor oasis.
Step 2: Remove the Grass
Once the area for the above-ground pool has been accurately marked, the next crucial step is to remove the existing grass to create a clean and level surface. This process is essential for ensuring the stability and longevity of the pool's foundation. Here's a detailed breakdown of the grass removal process:
Clearing the Vegetation
Begin by clearing the area of any obstacles such as rocks, twigs, and large debris that may hinder the grass removal process. Use a rake or garden hoe to eliminate these impediments and create a clear workspace for the subsequent steps.
Cutting the Grass
With the area cleared, proceed to cut the grass as close to the ground as possible using a lawn mower or grass trimmer. This step aims to reduce the grass to a manageable height, facilitating the subsequent removal process.
Removing the Grass Sod
To effectively remove the grass, utilize a sod cutter or a sharp spade to cut beneath the grass roots and lift the sod from the ground. Work methodically across the marked area, carefully extracting the grass sod to create a smooth and even surface.
Disposing of the Grass
Once the grass sod has been removed, it is essential to dispose of it properly. Consider composting the grass sod if it is free from pesticides and herbicides, or arrange for its disposal in accordance with local waste management regulations.
Soil Preparation
After the grass has been removed, take the opportunity to inspect the underlying soil for any irregularities or debris. Level the ground and remove any remaining roots or rocks to ensure a uniform and stable base for the pool.
Protective Measures
To prevent the regrowth of grass and weeds, consider applying a layer of landscaping fabric or a suitable weed barrier over the prepared ground. This protective measure helps inhibit the emergence of unwanted vegetation, maintaining the integrity of the pool's foundation.
By meticulously removing the grass and preparing the ground, you establish a solid foundation for the successful installation of your above-ground pool. This meticulous approach sets the stage for a visually appealing and durable pool setup, ensuring a relaxing and enjoyable outdoor oasis for years to come.
Step 3: Level the Ground
Achieving a level ground surface is a critical aspect of preparing the area for an above-ground pool. A properly leveled ground not only ensures the structural integrity of the pool but also enhances its visual appeal and overall functionality. Here's a detailed exploration of the essential steps involved in leveling the ground for your above-ground pool:
Assessing the Ground
Before commencing the leveling process, carefully assess the ground to identify any uneven areas or slopes that may impact the stability of the pool. Utilize a long, straight board or a laser level to gauge the existing contours of the ground and pinpoint any areas that require adjustment.
Excavation and Filling
In cases where the ground exhibits significant unevenness or slopes, excavation and filling may be necessary to create a uniformly level surface. Begin by excavating the higher areas and redistributing the soil to fill in the lower regions, gradually working towards achieving a consistent ground level.
Compaction
Once the ground has been leveled and filled as needed, it is imperative to compact the soil thoroughly to enhance its stability and load-bearing capacity. Utilize a plate compactor or a hand tamper to compact the soil evenly, ensuring that it is firm and resilient to support the weight of the pool.
Read more: How To Bond An Above Ground Swimming Pool
Verifying the Level
After the compaction process, verify the levelness of the ground using a reliable leveling tool. Check multiple points across the prepared area to confirm that the ground surface is uniformly level, with no noticeable deviations or irregularities.
Fine-Tuning
In instances where minor discrepancies in ground level are identified, employ additional soil filling and compaction to fine-tune the surface. Pay close attention to achieving a seamless and consistent ground level, as this directly contributes to the stability and aesthetics of the pool installation.
Ensuring Drainage
As a final consideration, ensure that the leveled ground allows for proper drainage to prevent water accumulation around the pool area. Incorporate gentle slopes or drainage channels as needed to facilitate the efficient flow of water away from the pool site, mitigating potential water-related issues in the future.
By meticulously leveling the ground, you establish a solid and reliable foundation for your above-ground pool, setting the stage for a visually appealing and enduring outdoor oasis. This meticulous approach ensures that the pool is positioned on a stable and level surface, enhancing its longevity and providing a safe and enjoyable environment for leisure and recreation.
Step 4: Lay a Protective Barrier
Once the ground has been meticulously leveled and prepared for the above-ground pool, the next crucial step involves laying a protective barrier to safeguard the pool's foundation and minimize the risk of unwanted vegetation growth. This protective measure plays a pivotal role in preserving the integrity and longevity of the pool setup, ensuring a stable and visually appealing outdoor oasis. Here's a detailed exploration of the essential considerations and steps involved in laying a protective barrier for your above-ground pool:
Read more: How To Drain An Above Ground Swimming Pool
Selecting the Barrier Material
The first step in this process is to select a suitable protective barrier material that effectively inhibits the growth of grass, weeds, and other vegetation. Common options include landscaping fabric, also known as weed barrier fabric, and synthetic pool underlayment. These materials are designed to provide a durable and resilient barrier against unwanted plant growth while allowing for proper water drainage.
Cutting and Placement
Once the protective barrier material has been chosen, carefully measure and cut it to fit the dimensions of the prepared pool area. Ensure that the barrier extends beyond the perimeter of the pool to provide comprehensive coverage and prevent vegetation encroachment from the surrounding areas. Lay the cut barrier material evenly across the ground, smoothing out any wrinkles or folds to create a seamless protective layer.
Securing the Barrier
To secure the protective barrier in place, utilize landscape staples or heavy-duty fasteners to anchor the material to the ground. Place the staples at regular intervals along the edges and within the central area of the barrier, ensuring that it remains taut and securely positioned. This anchoring process prevents displacement of the barrier and maintains its protective efficacy over time.
Overlapping and Seaming
In cases where multiple pieces of protective barrier material are required to cover the entire pool area, ensure that the individual sections overlap sufficiently to create a continuous and impenetrable barrier. Secure the overlapping sections with durable seam tape or adhesive to prevent gaps that may allow for unwanted vegetation growth. This meticulous approach ensures comprehensive coverage and maximizes the barrier's effectiveness.
Final Inspection
Upon laying and securing the protective barrier, conduct a thorough inspection of the entire area to verify the integrity and coverage of the barrier. Address any potential gaps, tears, or loose edges to guarantee that the barrier provides complete protection against grass and weed encroachment. This meticulous attention to detail ensures that the pool's foundation remains free from unwanted vegetation, preserving its stability and visual appeal.
By laying a protective barrier with precision and care, you establish a resilient defense against unwanted vegetation growth, safeguarding the pool's foundation and ensuring a durable and visually appealing outdoor oasis. This essential step contributes to the long-term maintenance and enjoyment of the above-ground pool, creating a secure and inviting environment for leisure and relaxation.
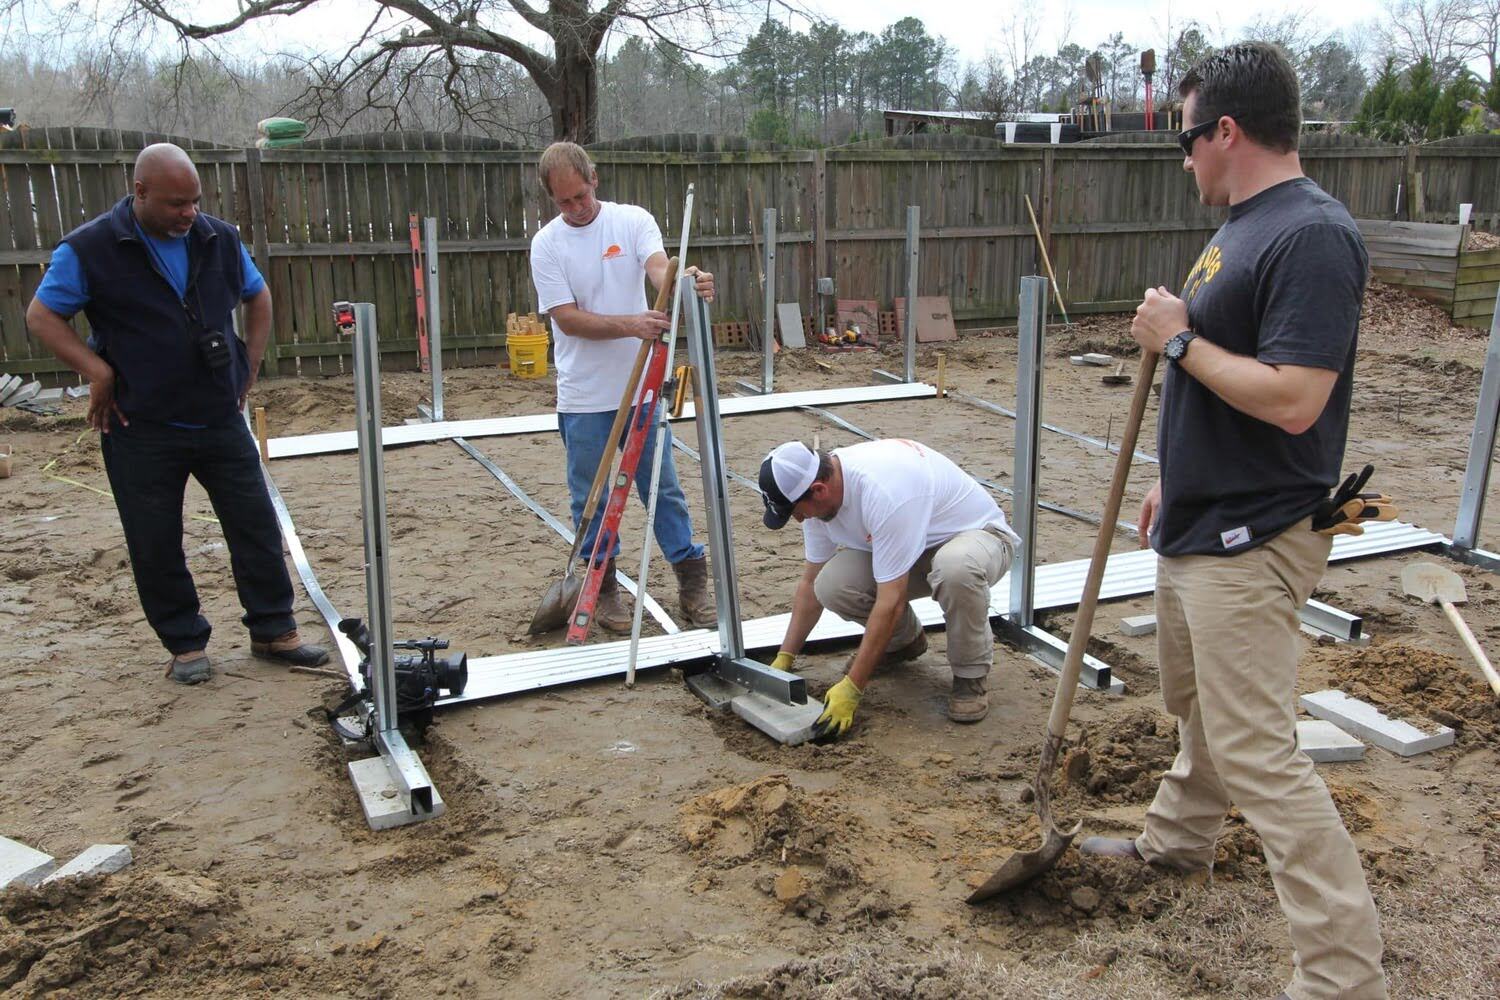
Step 5: Install the Pool
With the ground meticulously prepared and the protective barrier in place, the final and pivotal step in the above-ground pool installation process is the actual placement and assembly of the pool structure. This phase requires precision, attention to detail, and adherence to manufacturer guidelines to ensure a secure and functional pool setup. Here's a comprehensive exploration of the essential considerations and steps involved in installing the above-ground pool:
Positioning the Pool Components
Begin by carefully positioning the individual components of the above-ground pool, including the wall panels, support posts, and top rails, according to the manufacturer's specifications. Ensure that the components are aligned accurately with the designated pool area, taking into account any necessary clearances and orientation requirements.
Assembling the Pool Structure
Follow the manufacturer's assembly instructions meticulously as you piece together the pool structure. Connect the wall panels securely, affix the support posts in their designated positions, and install the top rails with precision. Pay close attention to the alignment and levelness of the components to ensure a stable and uniform pool structure.
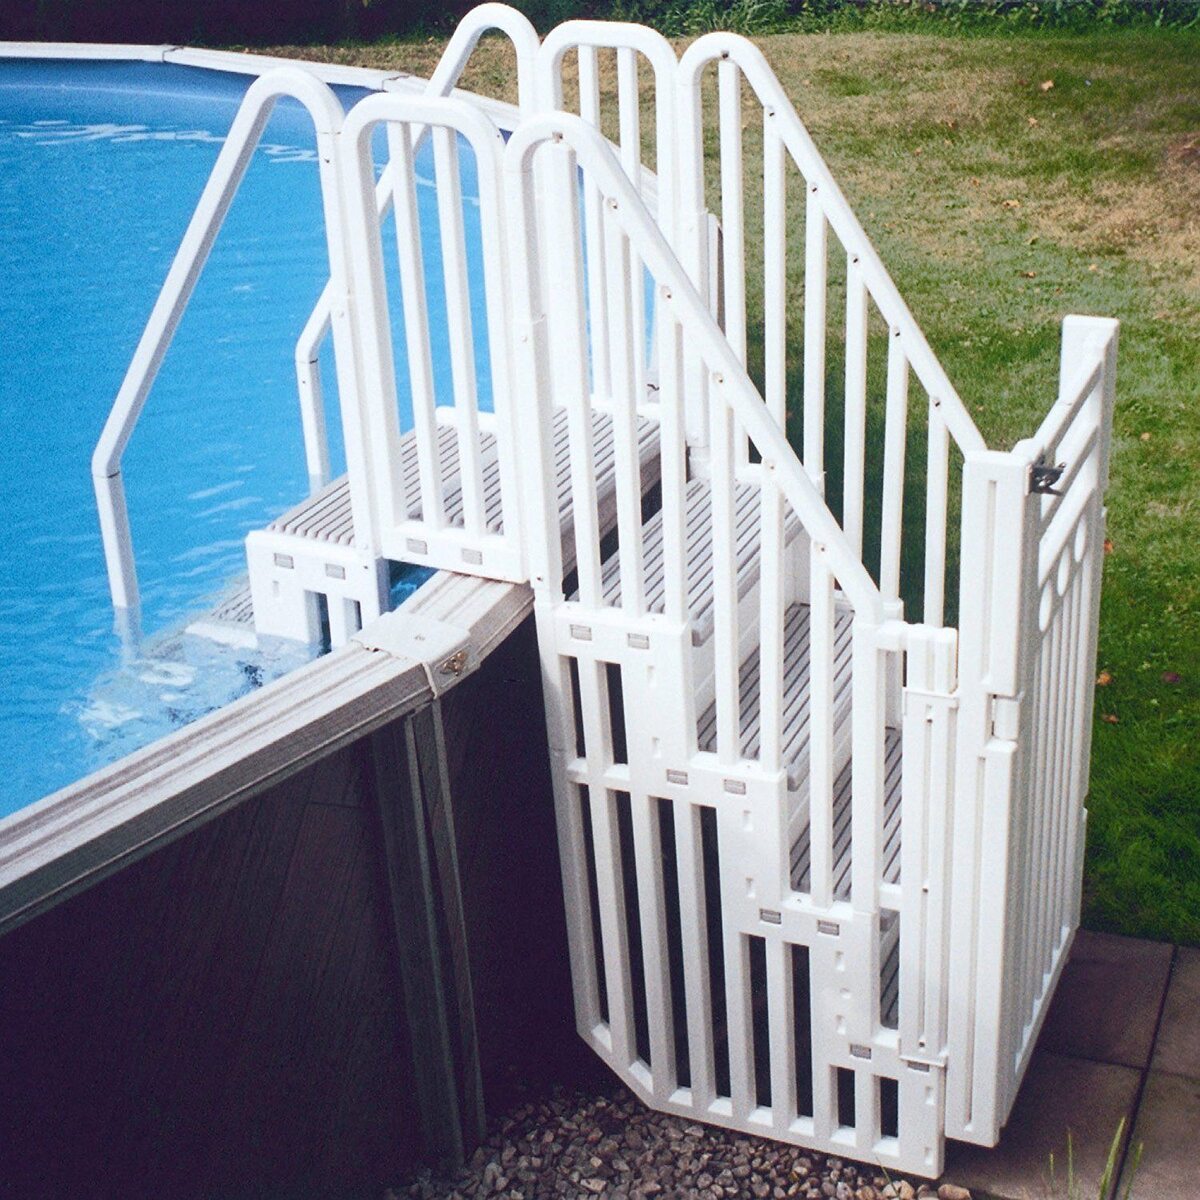
Read more: How To Install An Above Ground Pool Ladder
Leveling and Stabilizing
As the pool structure takes shape, verify that it is level and stable on the prepared ground. Utilize a reliable leveling tool to confirm the evenness of the pool base and make any necessary adjustments to achieve a balanced and secure installation. Additionally, secure the pool structure to the ground according to the manufacturer's recommendations, ensuring that it is resistant to shifting or movement.
Adding the Liner and Water
Once the pool structure is securely assembled and leveled, proceed to install the pool liner with care and precision. Smooth out any wrinkles or folds in the liner to create a seamless and snug fit within the pool structure. Following the liner installation, carefully fill the pool with water, monitoring the process to ensure that the liner settles evenly and without distortion.
Final Inspection and Testing
Conduct a thorough inspection of the installed pool, verifying the integrity of the structure, liner, and water level. Check for any signs of leakage, instability, or irregularities, addressing any issues promptly to guarantee a fully functional and secure pool setup. Additionally, test the pool equipment, such as filtration systems and pumps, to ensure proper functionality and water circulation.
By meticulously following the installation steps and adhering to manufacturer guidelines, you establish a reliable and visually appealing above-ground pool that provides a refreshing and enjoyable outdoor retreat. This meticulous approach ensures that the pool is positioned on a stable and level surface, enhancing its longevity and providing a safe and inviting environment for leisure and relaxation.
Frequently Asked Questions about How To Remove Grass For An Above-Ground Pool
Was this page helpful?
At Storables.com, we guarantee accurate and reliable information. Our content, validated by Expert Board Contributors, is crafted following stringent Editorial Policies. We're committed to providing you with well-researched, expert-backed insights for all your informational needs.
0 thoughts on “How To Remove Grass For An Above-Ground Pool”