Home>Gardening & Outdoor>Outdoor Recreation & Activities>How To Make Rings For A Ring Toss Game
Outdoor Recreation & Activities
How To Make Rings For A Ring Toss Game
Modified: February 18, 2024
Learn how to make rings for a fun outdoor ring toss game. Enjoy outdoor recreation and activities with this simple DIY project.
(Many of the links in this article redirect to a specific reviewed product. Your purchase of these products through affiliate links helps to generate commission for Storables.com, at no extra cost. Learn more)
Introduction
Welcome to the world of outdoor games! Ring toss is a classic game that brings joy and excitement to gatherings, picnics, and backyard parties. Making your own rings for a ring toss game can be a fun and rewarding project. Not only does it provide an opportunity for creativity and hands-on crafting, but it also allows you to customize the game to your liking.
In this guide, we will walk through the process of creating rings for a ring toss game using simple materials that can be easily found at your local hardware store. Whether you are planning a family get-together, a birthday party, or simply looking for a new DIY project, making rings for a ring toss game is a fantastic way to add a personal touch to your outdoor entertainment.
Gather your materials and get ready to embark on a crafting adventure that will result in hours of laughter and friendly competition. Let's dive in and learn how to make rings for a ring toss game that will become a cherished addition to your outdoor activities repertoire.
Key Takeaways:
- Crafting your own ring toss game rings is a fun DIY project that adds a personal touch to outdoor entertainment, fostering creativity and hands-on crafting skills.
- Customizing the size, material, and color of the rings allows for versatile gameplay, making the ring toss game suitable for players of all ages and skill levels.
Read more: How To Make A Ring Toss Game
Materials Needed
Before diving into the crafting process, it’s essential to gather the necessary materials. You’ll need the following items to create your own rings for a ring toss game:
- Wooden dowel
- PVC pipe
- Saw
- Sandpaper
- Measuring tape
- Marker
- Acrylic paint
- Paintbrushes
- Protective tarp or newspaper
These materials are readily available at most hardware or craft stores, making it convenient to gather everything you need for this enjoyable DIY project. Once you have these items on hand, you’re ready to move on to the next steps of creating your own ring toss game set.
Step 1: Prepare the Wooden Dowel
The first step in creating rings for a ring toss game involves preparing the wooden dowel, which will serve as the material for crafting the rings. Start by measuring and marking the wooden dowel at regular intervals, typically around 1-inch to 1.5-inch increments, depending on the desired size of the rings. Using a measuring tape and a marker, carefully mark the spots where you will cut the dowel to form individual rings.
Once the markings are in place, use a saw to carefully cut the wooden dowel at each marked point. Take your time and ensure a smooth and even cut for each ring. After cutting the dowel, lightly sand the edges of the wooden rings to remove any rough or sharp areas, creating a smooth surface that is safe for handling.
By preparing the wooden dowel in this manner, you will create the foundation for the ring toss game. This step sets the stage for the subsequent crafting and assembly process, bringing you one step closer to completing your homemade ring toss game set.
Step 2: Cut the PVC Pipe
Next, you will need to work with the PVC pipe to create the rings for the ring toss game. Begin by measuring the PVC pipe to the desired ring width, typically around 6 to 8 inches in diameter. Use a measuring tape to mark the appropriate lengths on the PVC pipe, ensuring consistency across all the rings you plan to make.
Once marked, carefully cut the PVC pipe at the designated points using a saw. Take caution to maintain a straight and even cut for each ring. After cutting the PVC pipe, it’s important to smooth out any rough edges using sandpaper. This step ensures that the rings are safe to handle and won’t cause any splinters or scratches during gameplay.
By cutting the PVC pipe into rings, you are creating the essential components for the ring toss game. This process allows you to customize the size and quantity of rings according to your preferences, providing flexibility in tailoring the game to suit different skill levels and playing environments.
With the PVC pipe cut into rings, you are ready to proceed to the next phase of assembling the rings for the ring toss game, bringing you closer to completing your homemade game set.
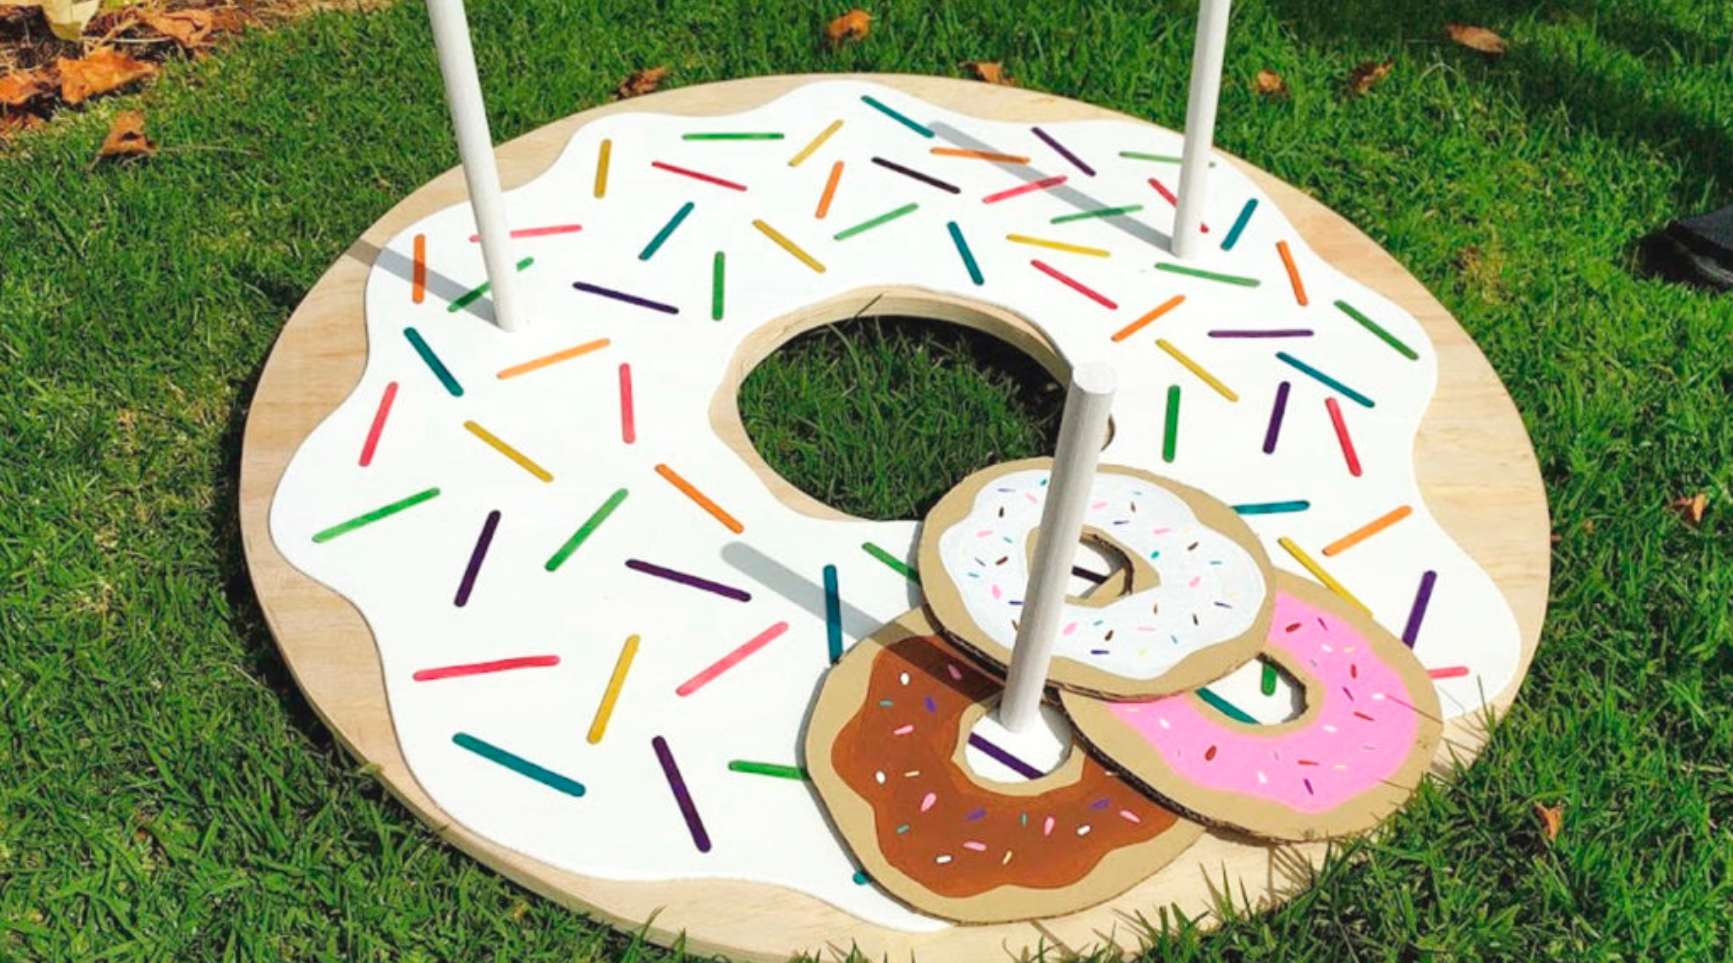
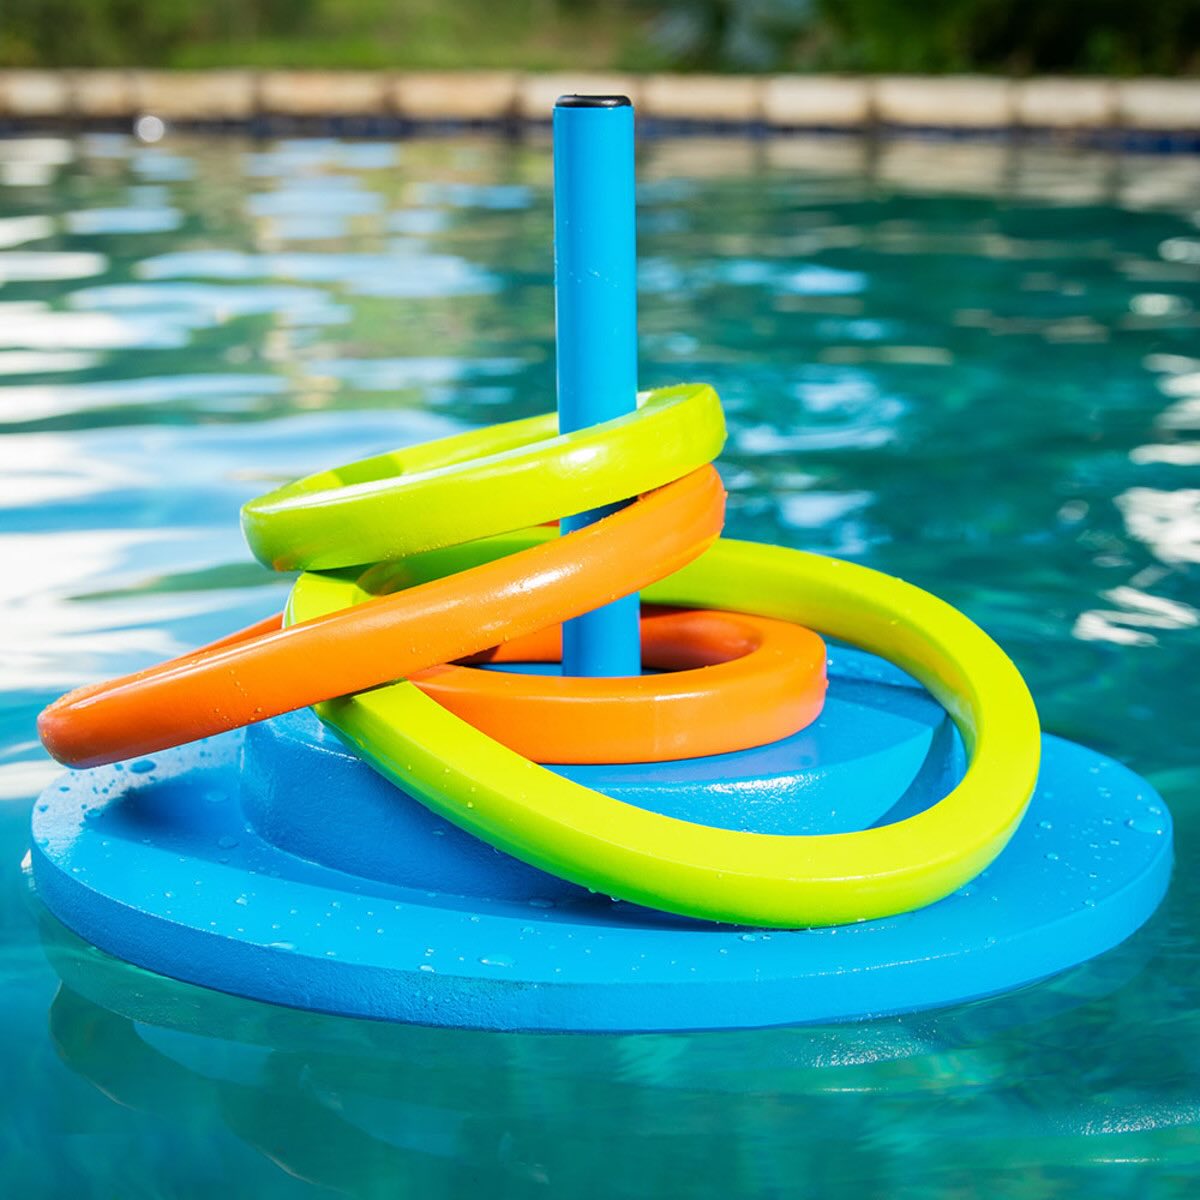
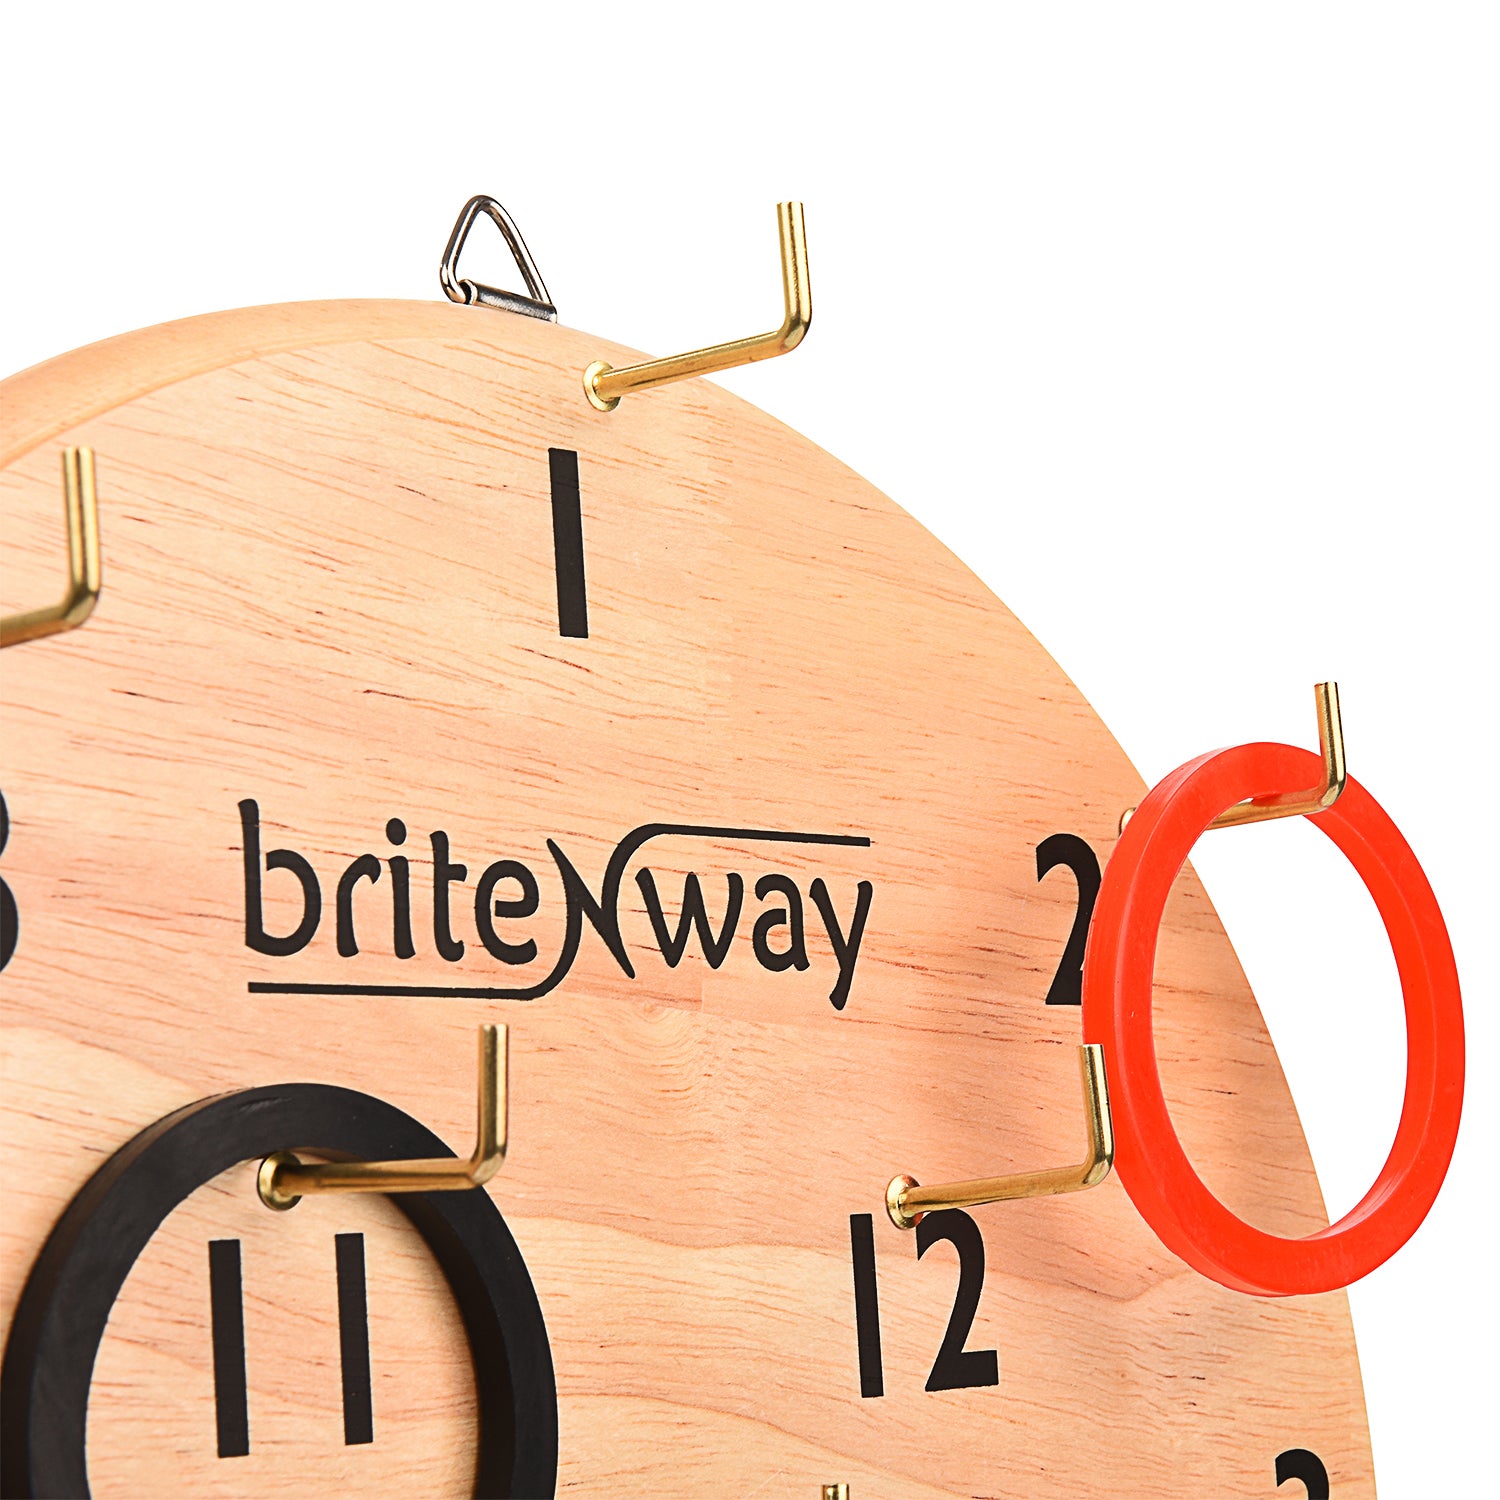
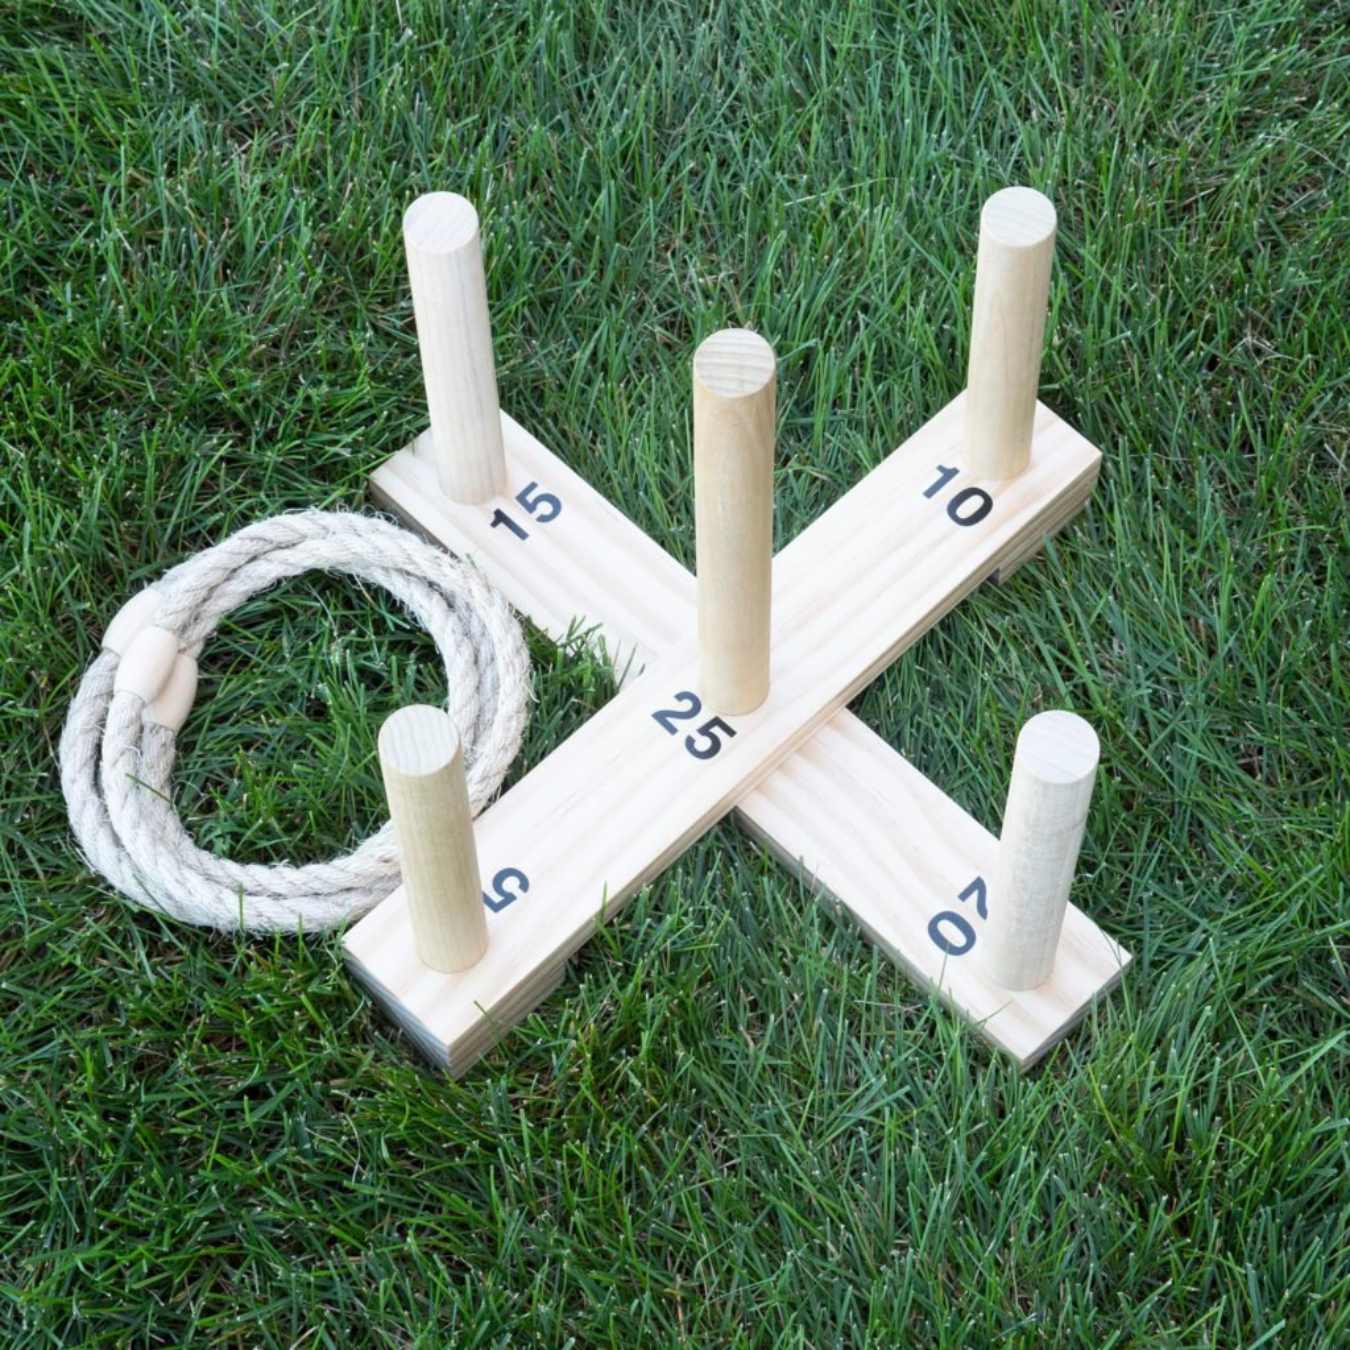
For making rings for a ring toss game, use durable materials like PVC pipe or rope to create the rings. Ensure the rings are the right size to fit over the pegs for a challenging game.
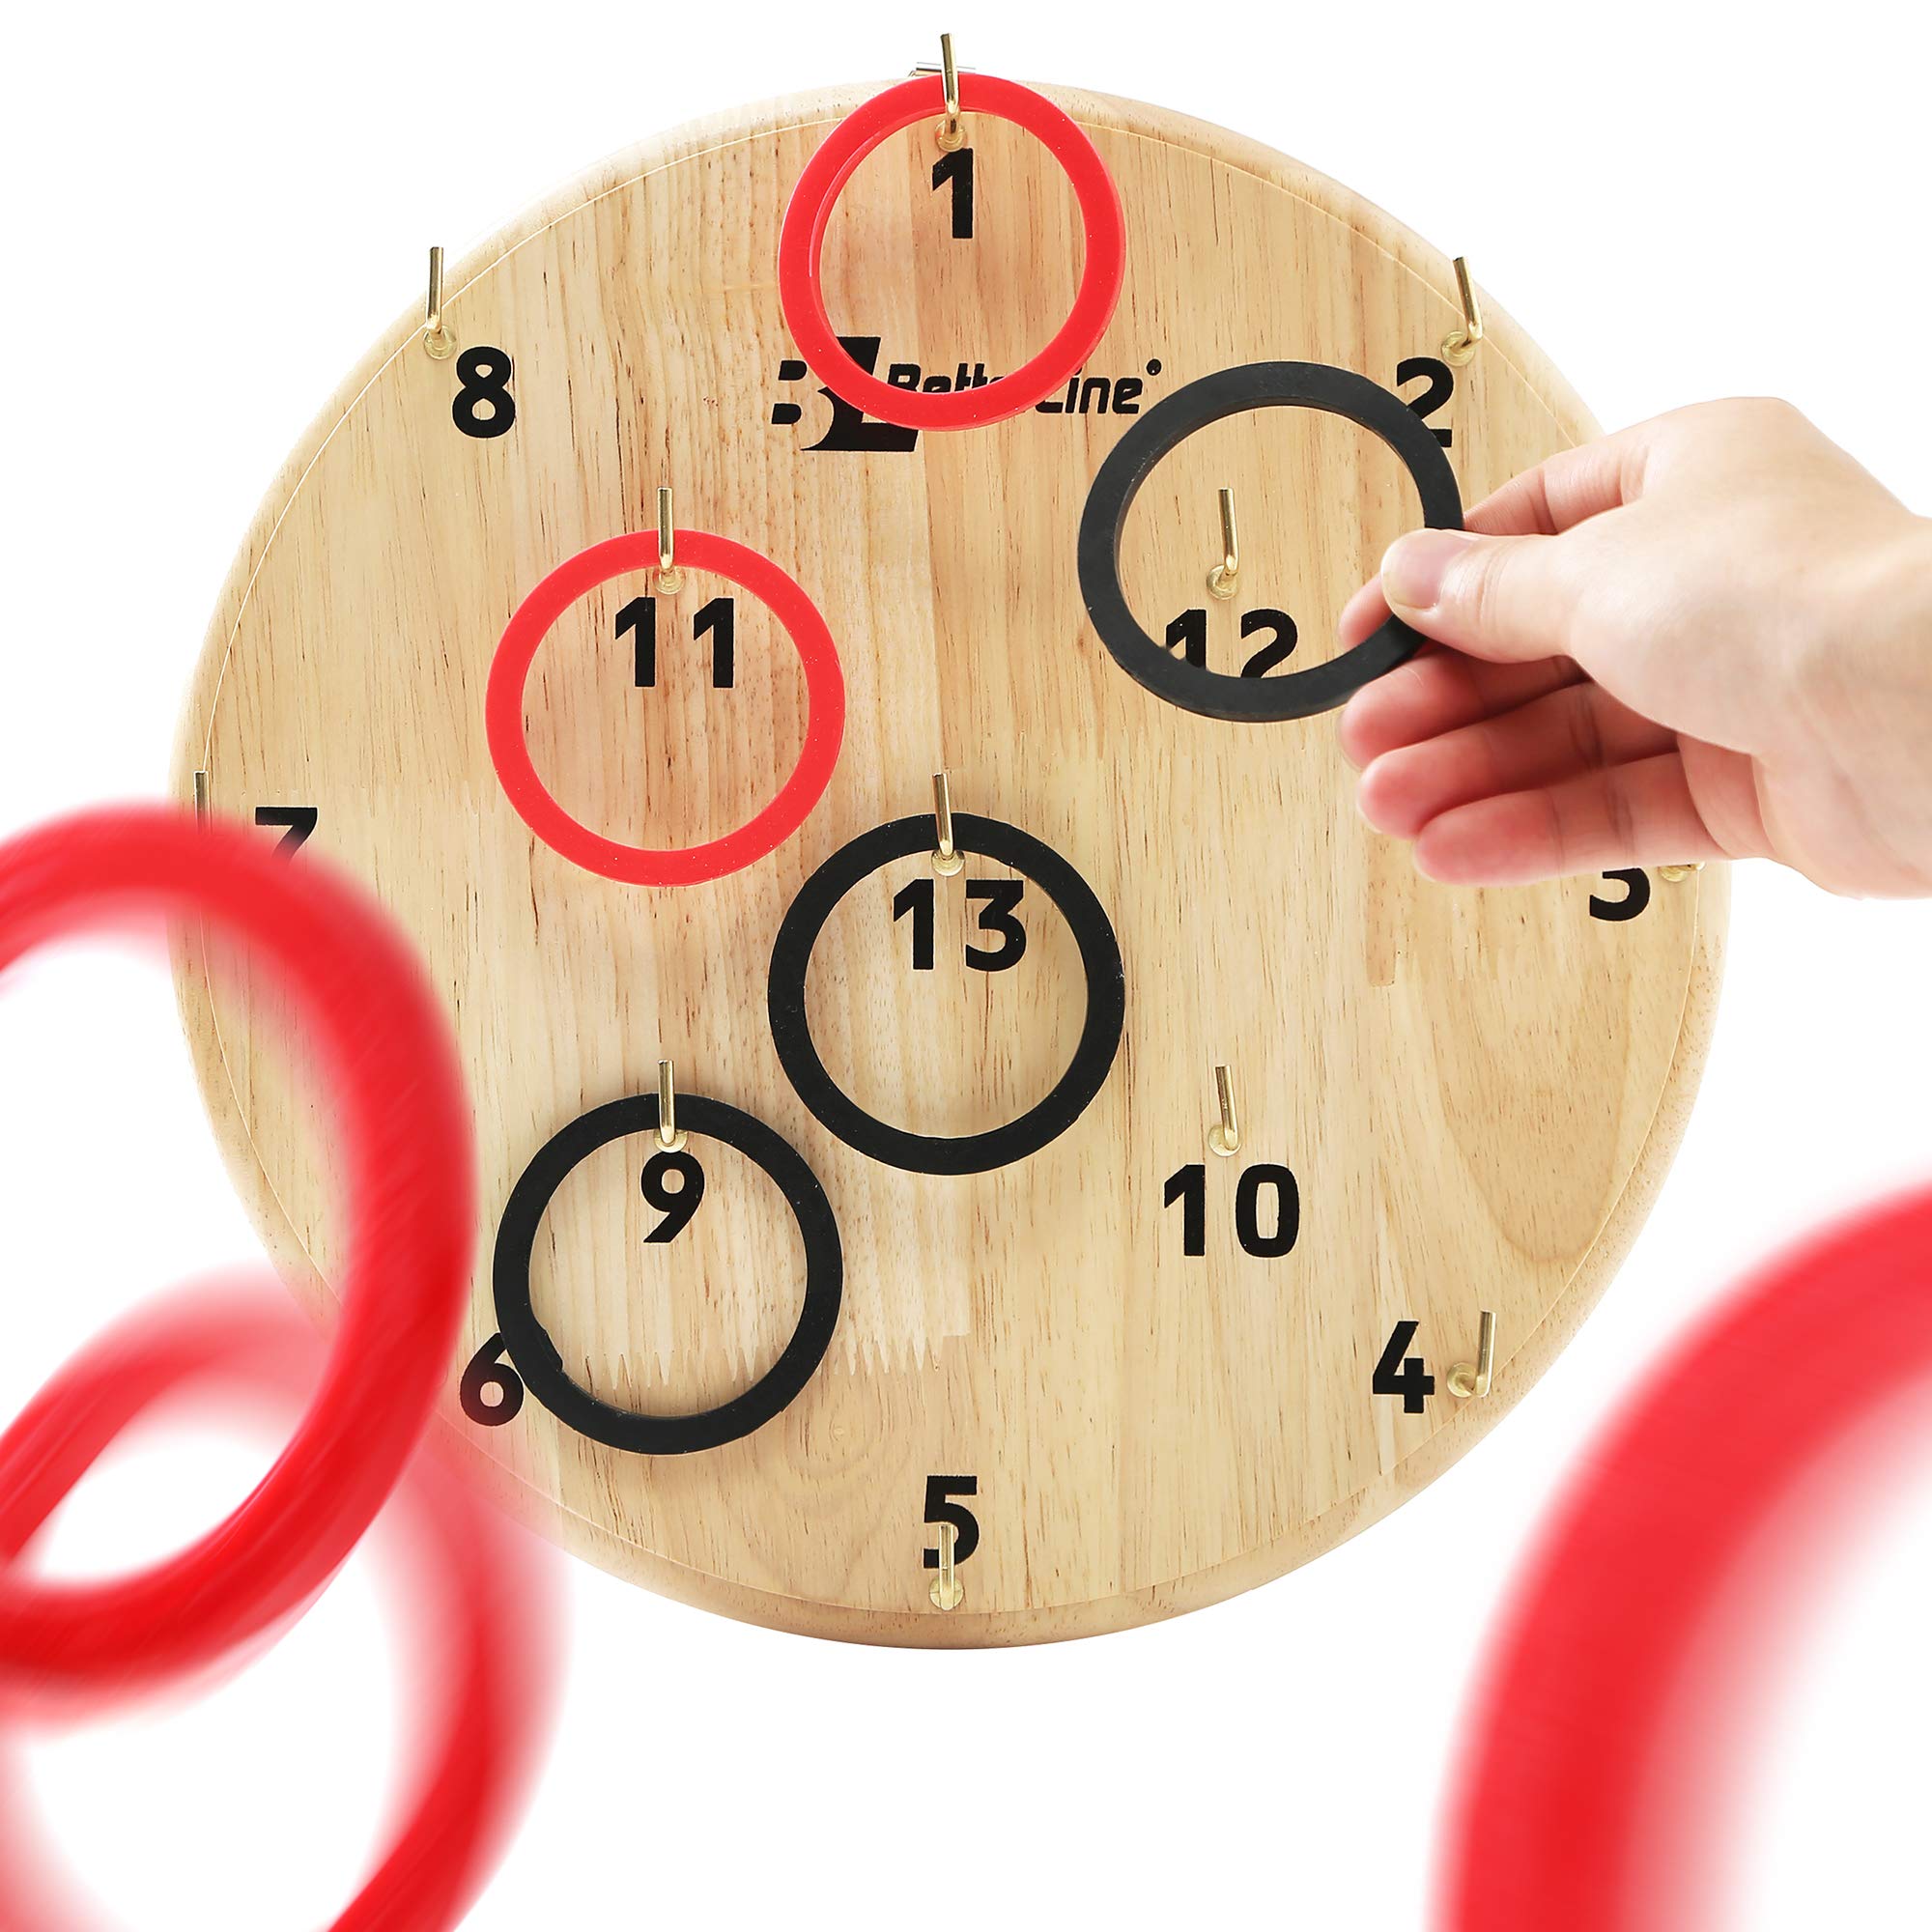
Step 3: Assemble the Rings
Assembling the rings for the ring toss game is an exciting stage that brings your homemade game set to life. With the wooden dowel rings and PVC rings prepared, it’s time to combine them to create a versatile and engaging set of tossing rings.
Begin by arranging the wooden dowel rings and PVC rings side by side, ensuring that they are organized and easily accessible for the next steps. Depending on your preferences, you can create sets of rings with varying compositions, such as all wooden rings, all PVC rings, or a mix of both materials. This customization allows you to tailor the game to different playing styles and environments.
Once the rings are arranged, consider grouping them into sets for different skill levels or game variations. For example, you might create sets with a higher number of smaller rings for a challenging game, or sets with larger rings for younger players or casual gameplay. This flexibility adds depth and versatility to the ring toss game, making it suitable for a wide range of participants.
By assembling the rings in a thoughtful and creative manner, you are shaping the interactive and customizable nature of the ring toss game. This step sets the stage for engaging gameplay and encourages friendly competition and skill development among players of all ages.
With the rings assembled, you are ready to add a personalized touch to your homemade game set through the next step of painting the rings, enhancing their visual appeal and durability.
Step 4: Paint the Rings
Painting the rings for the ring toss game is a creative and essential step that adds flair and durability to your homemade game set. By applying vibrant colors and protective coatings, you can enhance the visual appeal of the rings while ensuring their longevity and resilience during gameplay.
Before painting, it’s important to lay down a protective tarp or newspaper to create a designated workspace. This safeguards your surroundings from any paint splatters and makes for easy cleanup. Once your workspace is prepared, gather your acrylic paint and paintbrushes, ready to infuse the rings with your chosen colors.
Consider selecting a color scheme that aligns with your personal preferences or the theme of the event where the ring toss game will be played. Bright and bold hues can add a festive touch, while classic colors such as red, blue, and yellow evoke a timeless appeal. Additionally, you may opt to apply multiple coats of paint to achieve a rich and even color finish on the rings.
As you paint the rings, allow each coat to fully dry before applying the next layer. This ensures that the colors are vibrant and long-lasting, with a smooth and professional appearance. Once the rings are painted to your satisfaction, consider adding a protective sealant to safeguard the surfaces from wear and tear, especially during outdoor use.
By painting the rings with care and creativity, you are personalizing your ring toss game set and preparing it for countless rounds of entertaining gameplay. This step elevates the visual appeal of the rings while reinforcing their durability, making them ready for the next phase of setting up the game.
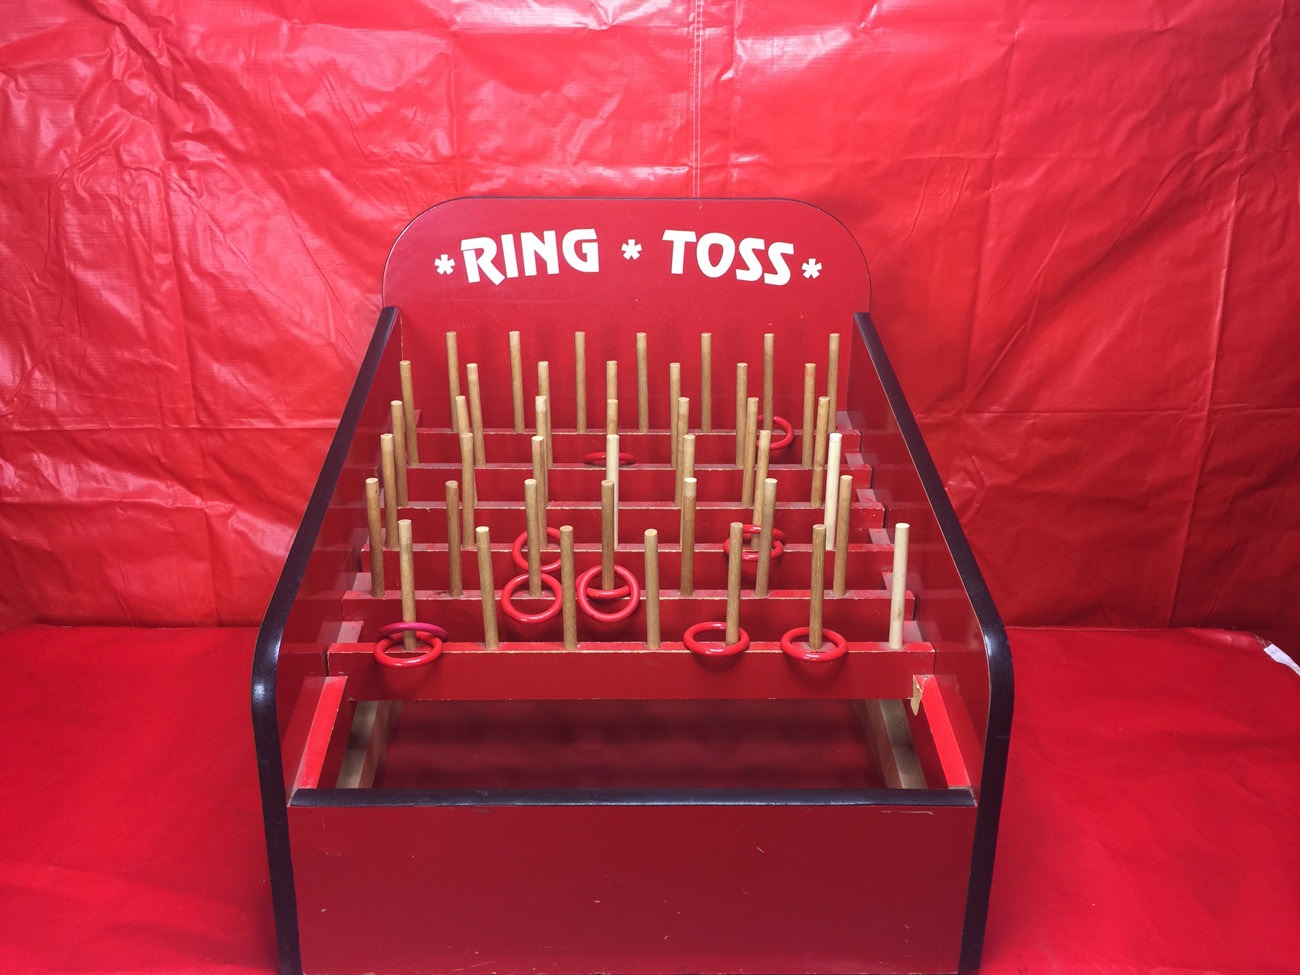
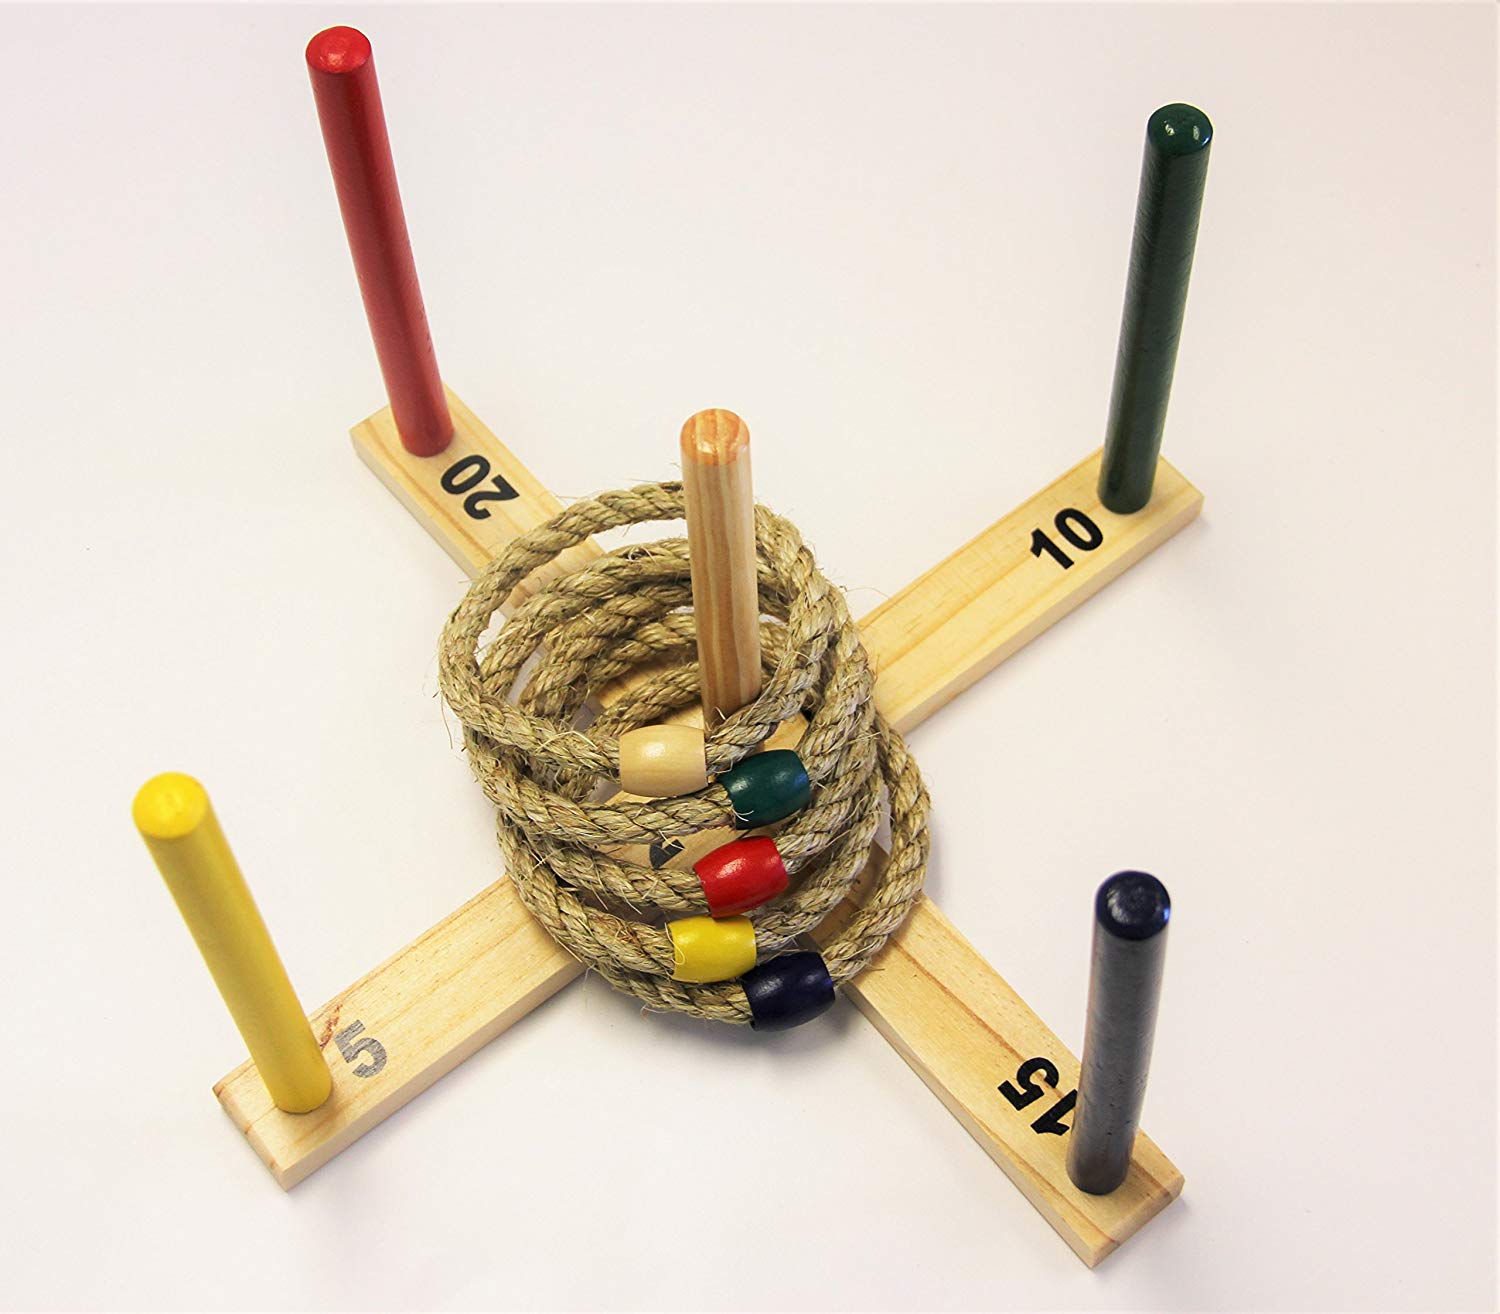
Step 5: Set Up the Game
Setting up the ring toss game is the culmination of your crafting efforts, transforming the individual components into an exciting and interactive activity. Whether you’re hosting a gathering in your backyard, organizing a community event, or simply enjoying a day outdoors, the process of arranging the game creates an inviting and engaging atmosphere for participants of all ages.
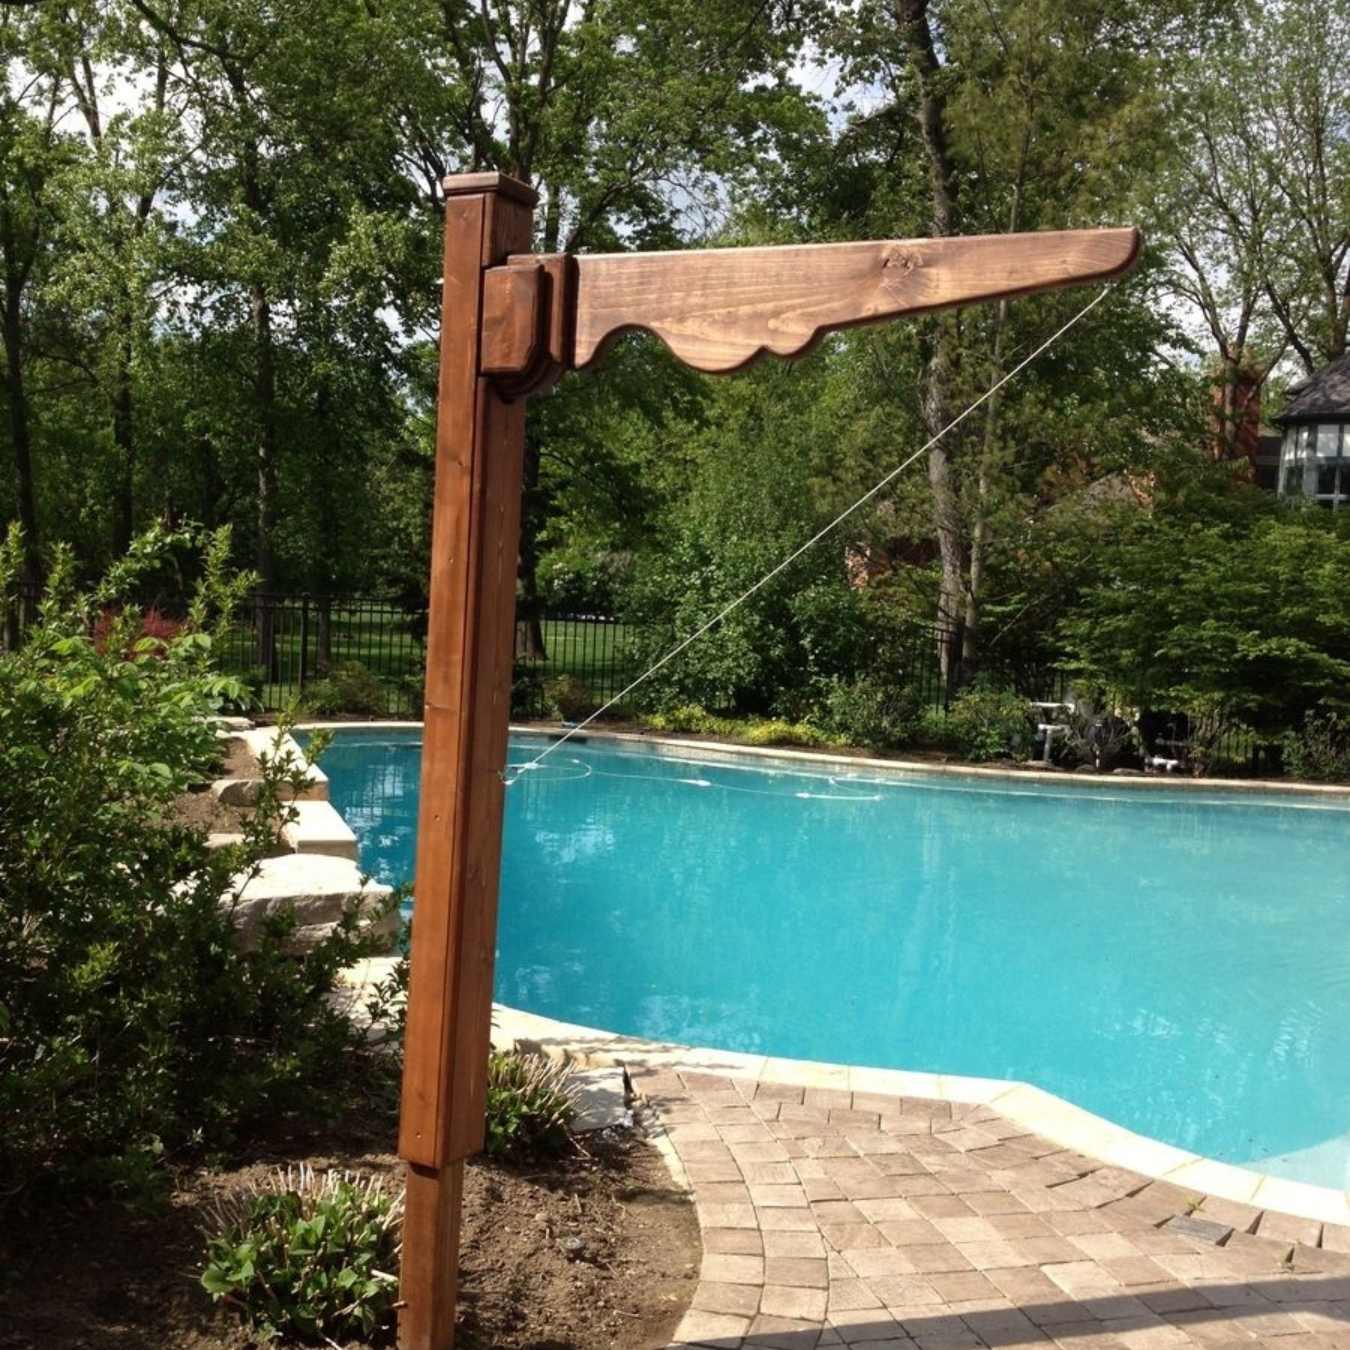
Begin by selecting a suitable location for the ring toss game, ensuring ample space for players to step back and take aim at the target. Whether on grass, sand, or a designated play area, the game’s setup should allow for comfortable movement and clear visibility of the target posts.
Position the target posts, which can be simple stakes or freestanding posts, at a distance that aligns with the skill level and age group of the players. For younger participants or casual gameplay, a closer distance may be ideal, while more experienced players might enjoy a greater challenge with a longer throwing distance.
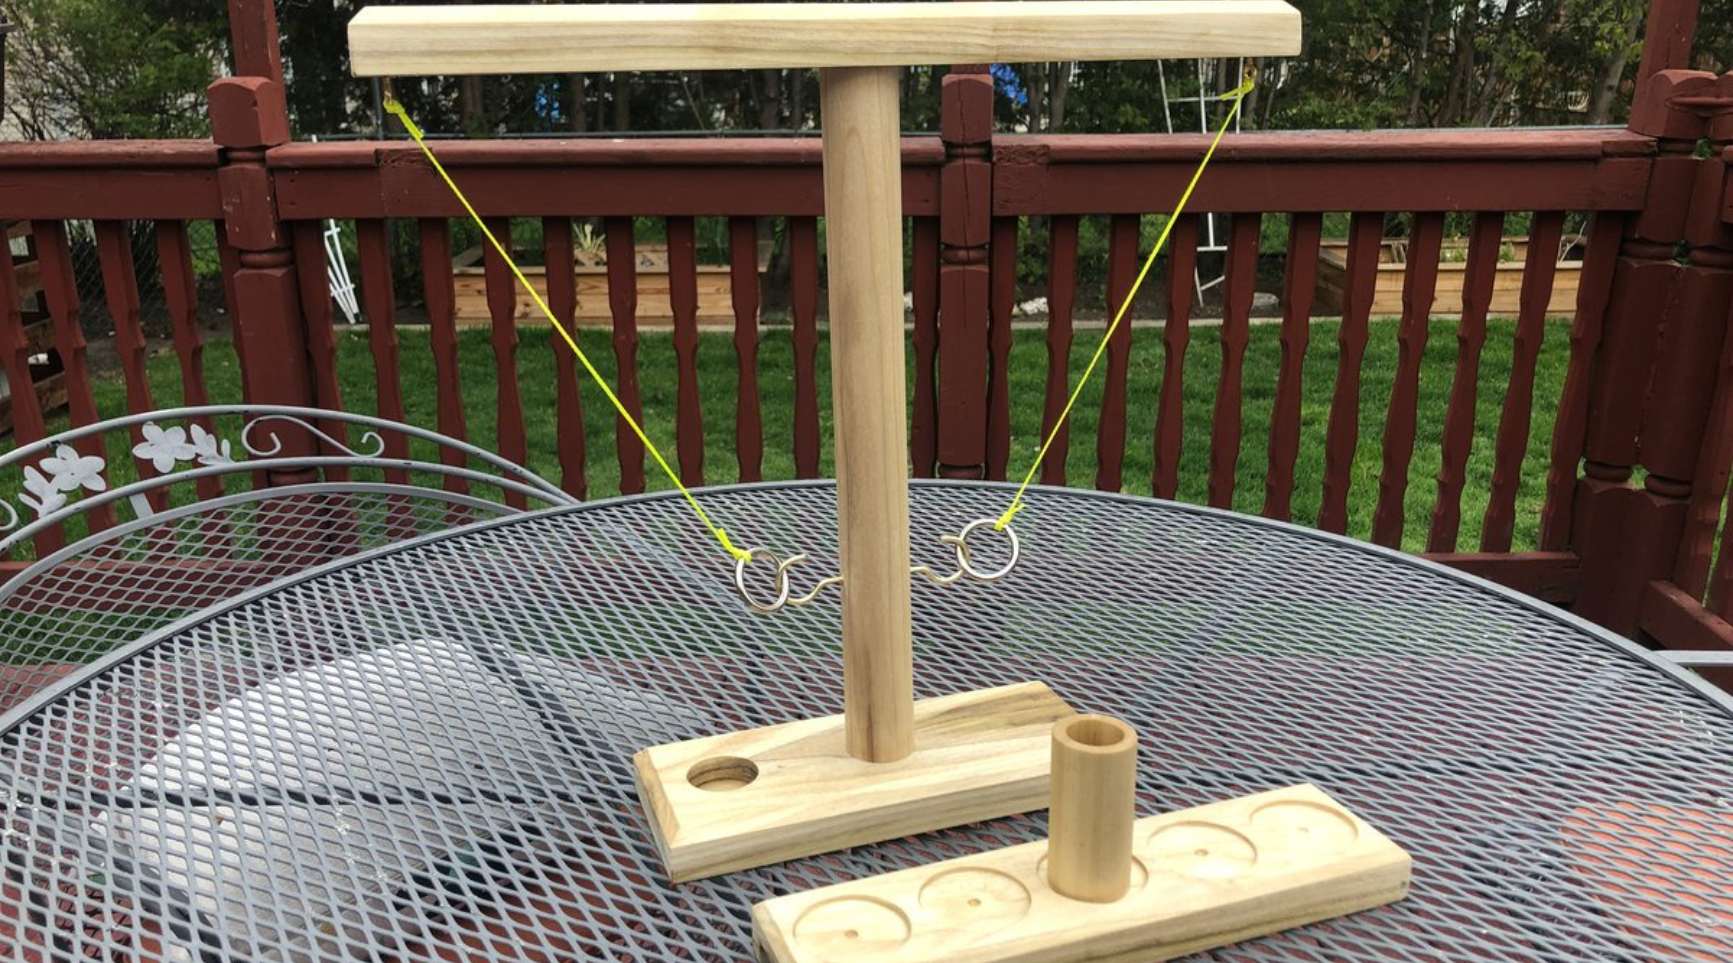
Arrange the rings in an accessible and visually appealing manner, whether on a designated stand, a tabletop, or directly on the ground. Consider organizing the rings into sets based on their size or material, allowing players to choose their preferred challenge level or game variation.
Once the rings are in place and the target posts are set up, invite participants to take turns tossing the rings and aiming for the posts. Encourage friendly competition, cheers of encouragement, and celebratory moments as players successfully land their tosses on the target posts. The setup process sets the stage for a memorable and enjoyable experience, fostering camaraderie and lighthearted fun among all participants.
With the game set up, you have successfully brought your homemade ring toss game to life, providing an entertaining and inclusive activity for gatherings and outdoor recreation. The carefully crafted rings and thoughtfully arranged gameplay area create an inviting and interactive environment, inviting players to partake in a beloved classic game with a personalized touch.
Conclusion
Congratulations on completing the journey of creating rings for a ring toss game! Through the process of crafting, assembling, and setting up the game, you have not only built a fun and engaging activity but also fostered opportunities for laughter, friendly competition, and cherished memories with family and friends.
The act of making your own rings for a ring toss game goes beyond the tangible components; it encapsulates the spirit of creativity, hands-on crafting, and the joy of outdoor recreation. By customizing the rings to your preferences, painting them with care, and setting up the game with thoughtfulness, you have imbued the activity with your unique touch, making it a reflection of your creativity and enthusiasm for interactive entertainment.
As you witness the rings being tossed, the sound of laughter filling the air, and the camaraderie among players, take pride in the role you’ve played in creating a memorable experience. The ring toss game you’ve crafted has the power to bring people together, encourage friendly competition, and provide moments of pure enjoyment in various settings, from backyard gatherings to community events.
Furthermore, the versatility of the game allows for adaptations and variations, making it suitable for different age groups and skill levels. Whether it’s a lighthearted game among children or a spirited competition among adults, the ring toss game offers inclusive entertainment that transcends generations and fosters a sense of togetherness.
As you continue to explore the world of outdoor activities and DIY projects, remember the joy and fulfillment that come with creating meaningful experiences through hands-on crafting. The ring toss game you’ve brought to life serves as a testament to the power of creativity, personalization, and the simple pleasures found in classic outdoor games.
So, gather your rings, set up the game, and let the laughter and friendly competition commence. Your homemade ring toss game is more than just a set of rings; it’s a symbol of shared moments, lighthearted fun, and the enduring joy of outdoor recreation.
Frequently Asked Questions about How To Make Rings For A Ring Toss Game
Was this page helpful?
At Storables.com, we guarantee accurate and reliable information. Our content, validated by Expert Board Contributors, is crafted following stringent Editorial Policies. We're committed to providing you with well-researched, expert-backed insights for all your informational needs.


0 thoughts on “How To Make Rings For A Ring Toss Game”