Home>Gardening & Outdoor>Outdoor Recreation & Activities>How To Make A Ring Toss Game With A Pool Noodle
Outdoor Recreation & Activities
How To Make A Ring Toss Game With A Pool Noodle
Modified: March 21, 2024
Learn how to create a fun and easy ring toss game using a pool noodle for outdoor recreation and activities. Perfect for family gatherings and backyard fun!
(Many of the links in this article redirect to a specific reviewed product. Your purchase of these products through affiliate links helps to generate commission for Storables.com, at no extra cost. Learn more)
Introduction
Are you searching for a fun and budget-friendly outdoor game to entertain friends and family? Look no further! Creating a ring toss game with a pool noodle is an enjoyable and simple DIY project that promises hours of entertainment. This engaging game is perfect for backyard gatherings, children's parties, or leisurely afternoons at the park. By repurposing a few basic materials, you can craft a whimsical and colorful game that will spark joy and laughter.
In this guide, we will walk you through the step-by-step process of constructing your very own ring toss game using a humble pool noodle. With just a few easy-to-follow instructions and a touch of creativity, you can transform a mundane pool noodle into a captivating and interactive game that will delight players of all ages. So, gather your supplies and get ready to embark on an exciting DIY adventure! Let's dive into the world of crafting and outdoor fun as we bring this delightful ring toss game to life.
Key Takeaways:
- Crafting a ring toss game with a pool noodle is a fun and budget-friendly DIY project that brings hours of outdoor entertainment for all ages. It’s easy, creative, and perfect for gatherings or leisurely afternoons.
- By repurposing a pool noodle, you can create a vibrant and engaging ring toss game that fosters camaraderie, skill, and lighthearted competition. It’s a simple yet delightful way to infuse outdoor gatherings with laughter and shared enjoyment.
Read more: How To Make Rings For A Ring Toss Game
Materials Needed
Before diving into the creative process of crafting a ring toss game with a pool noodle, it’s essential to gather the necessary materials. The beauty of this DIY project lies in its simplicity and affordability, as most of the items can be easily found around the house or purchased at a local store. Here’s a list of the materials you’ll need to get started:
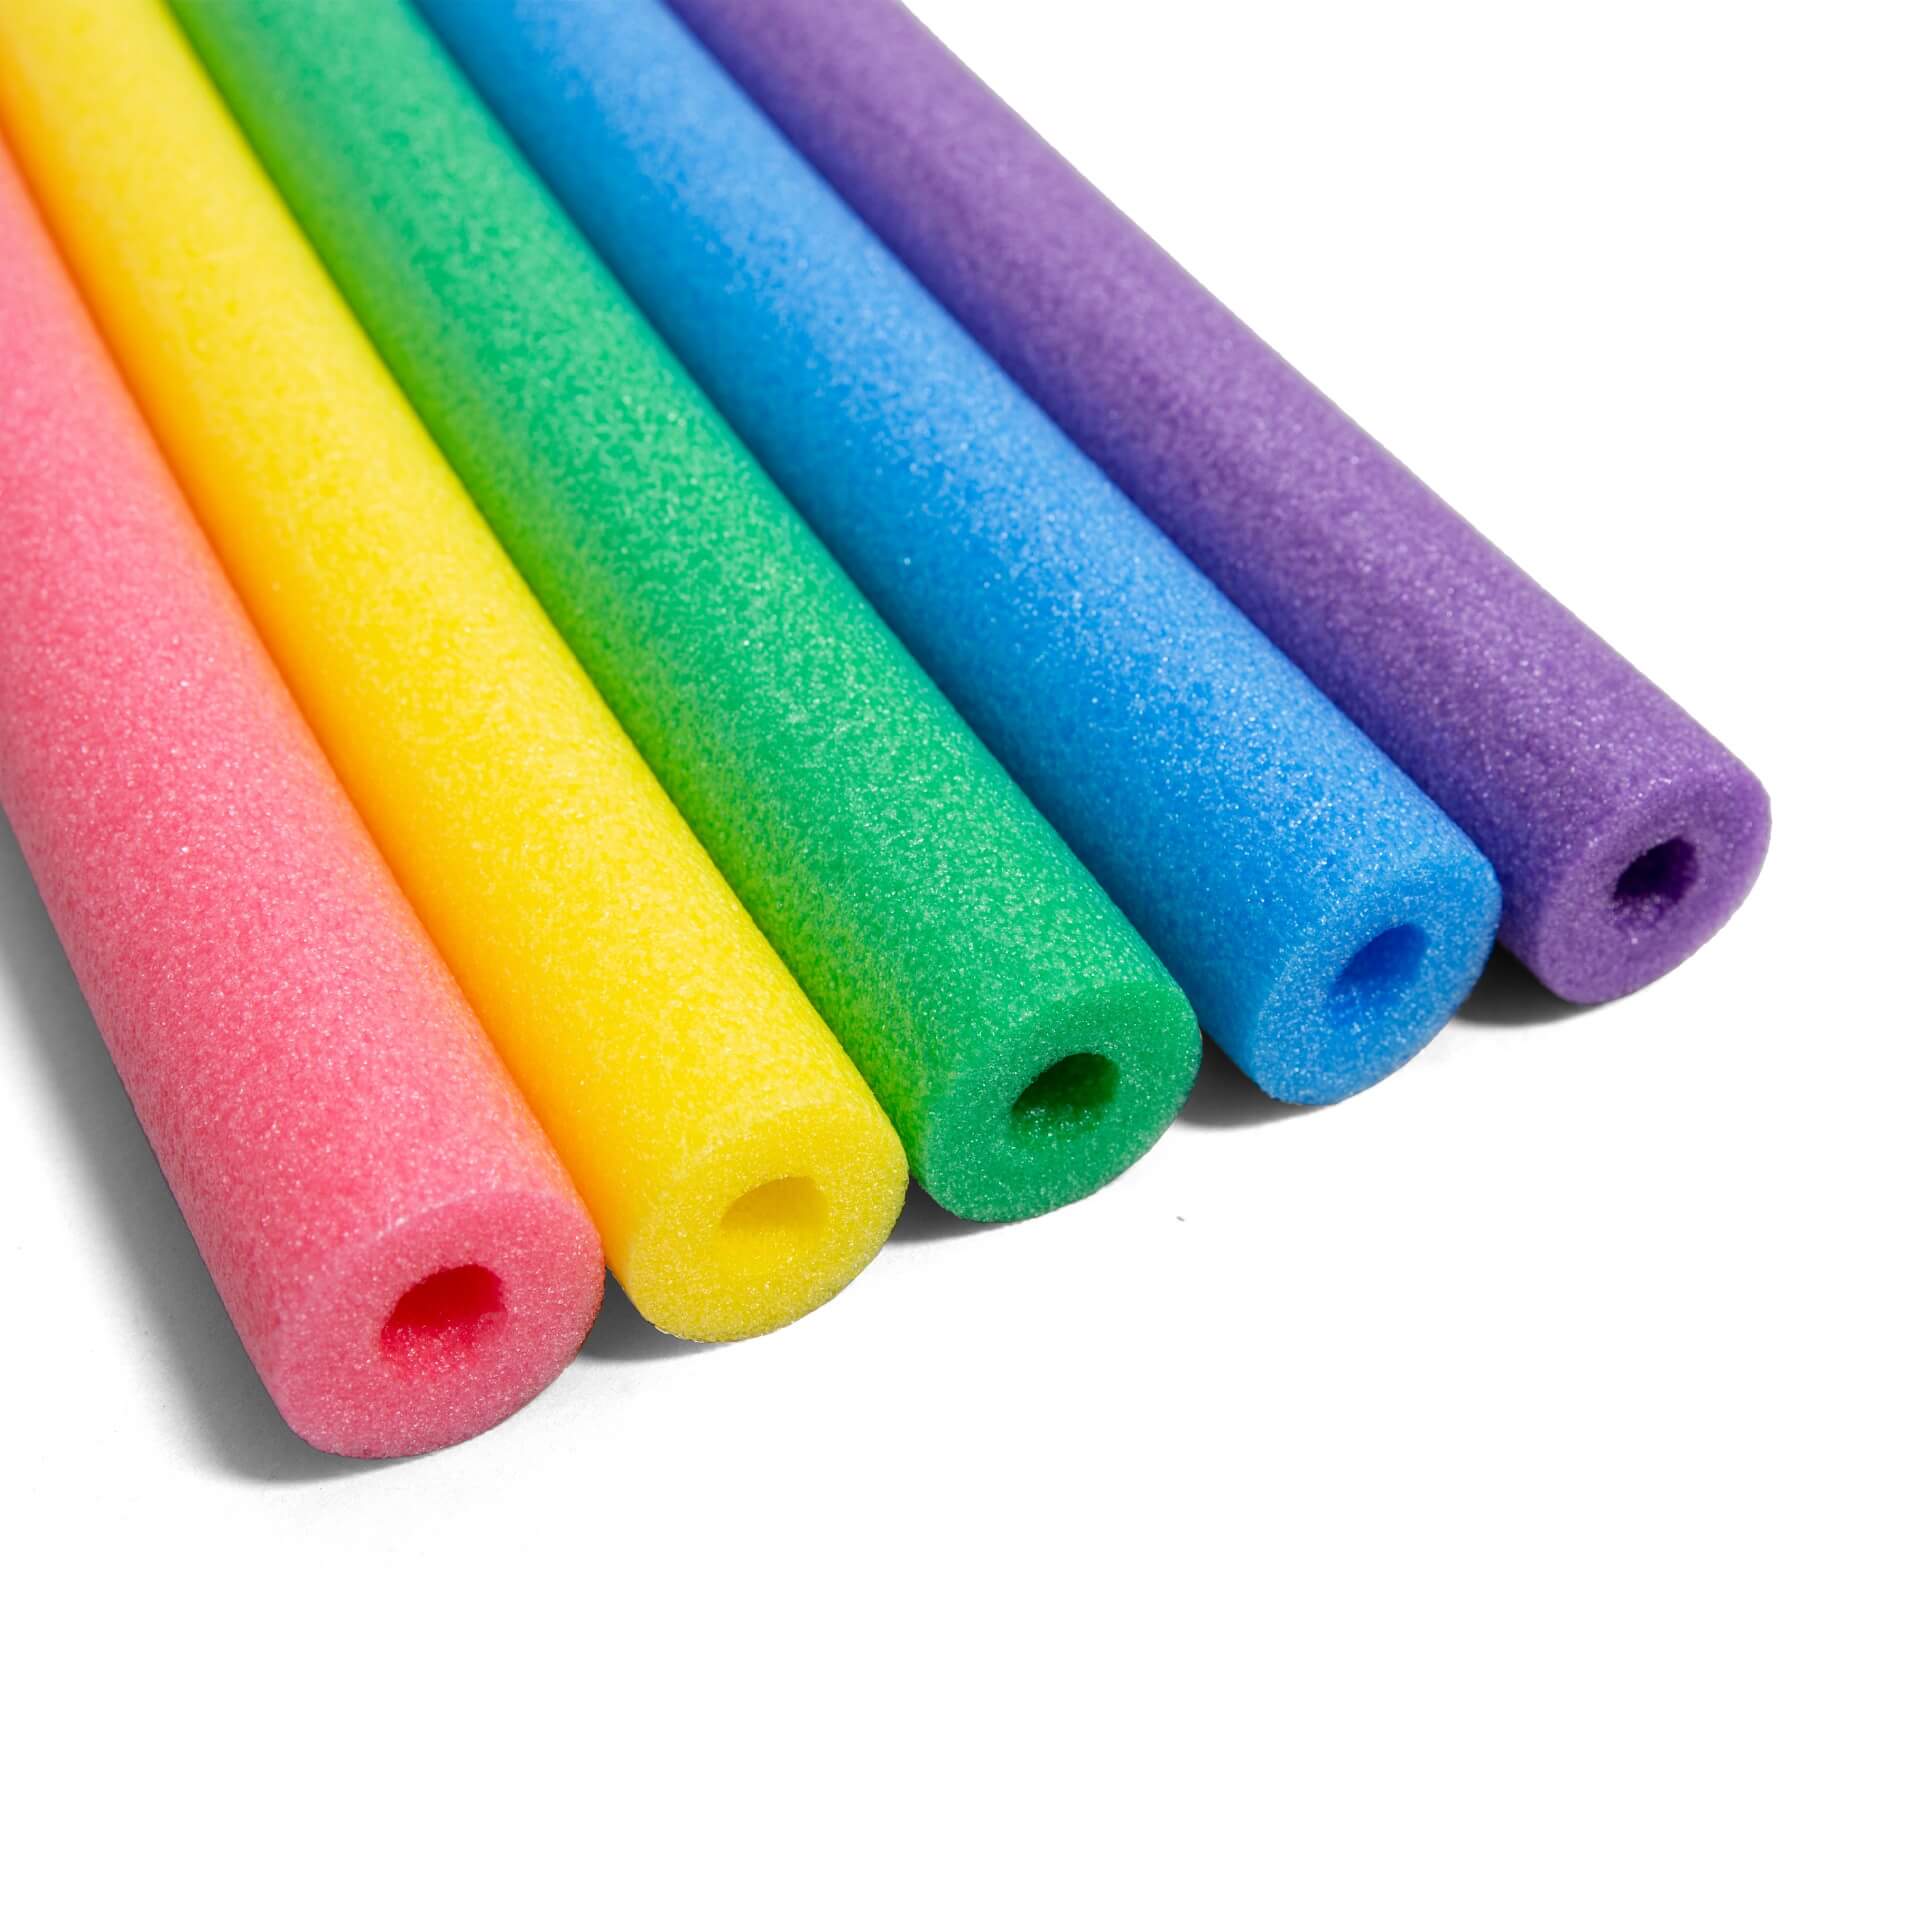
- A pool noodle (standard size, any color)
- Scissors or a sharp utility knife
- Colorful duct tape or washi tape
- Cardboard or poster board
- Markers or paint for decorating
- A ruler or measuring tape
- Optional: Decorative stickers or embellishments
These readily available materials will serve as the building blocks for your ring toss game. The versatile pool noodle, in particular, will be the primary component for creating the rings, adding an element of whimsy and creativity to the game. With these supplies in hand, you’re all set to embark on this engaging DIY adventure and bring the joy of a homemade ring toss game to life.
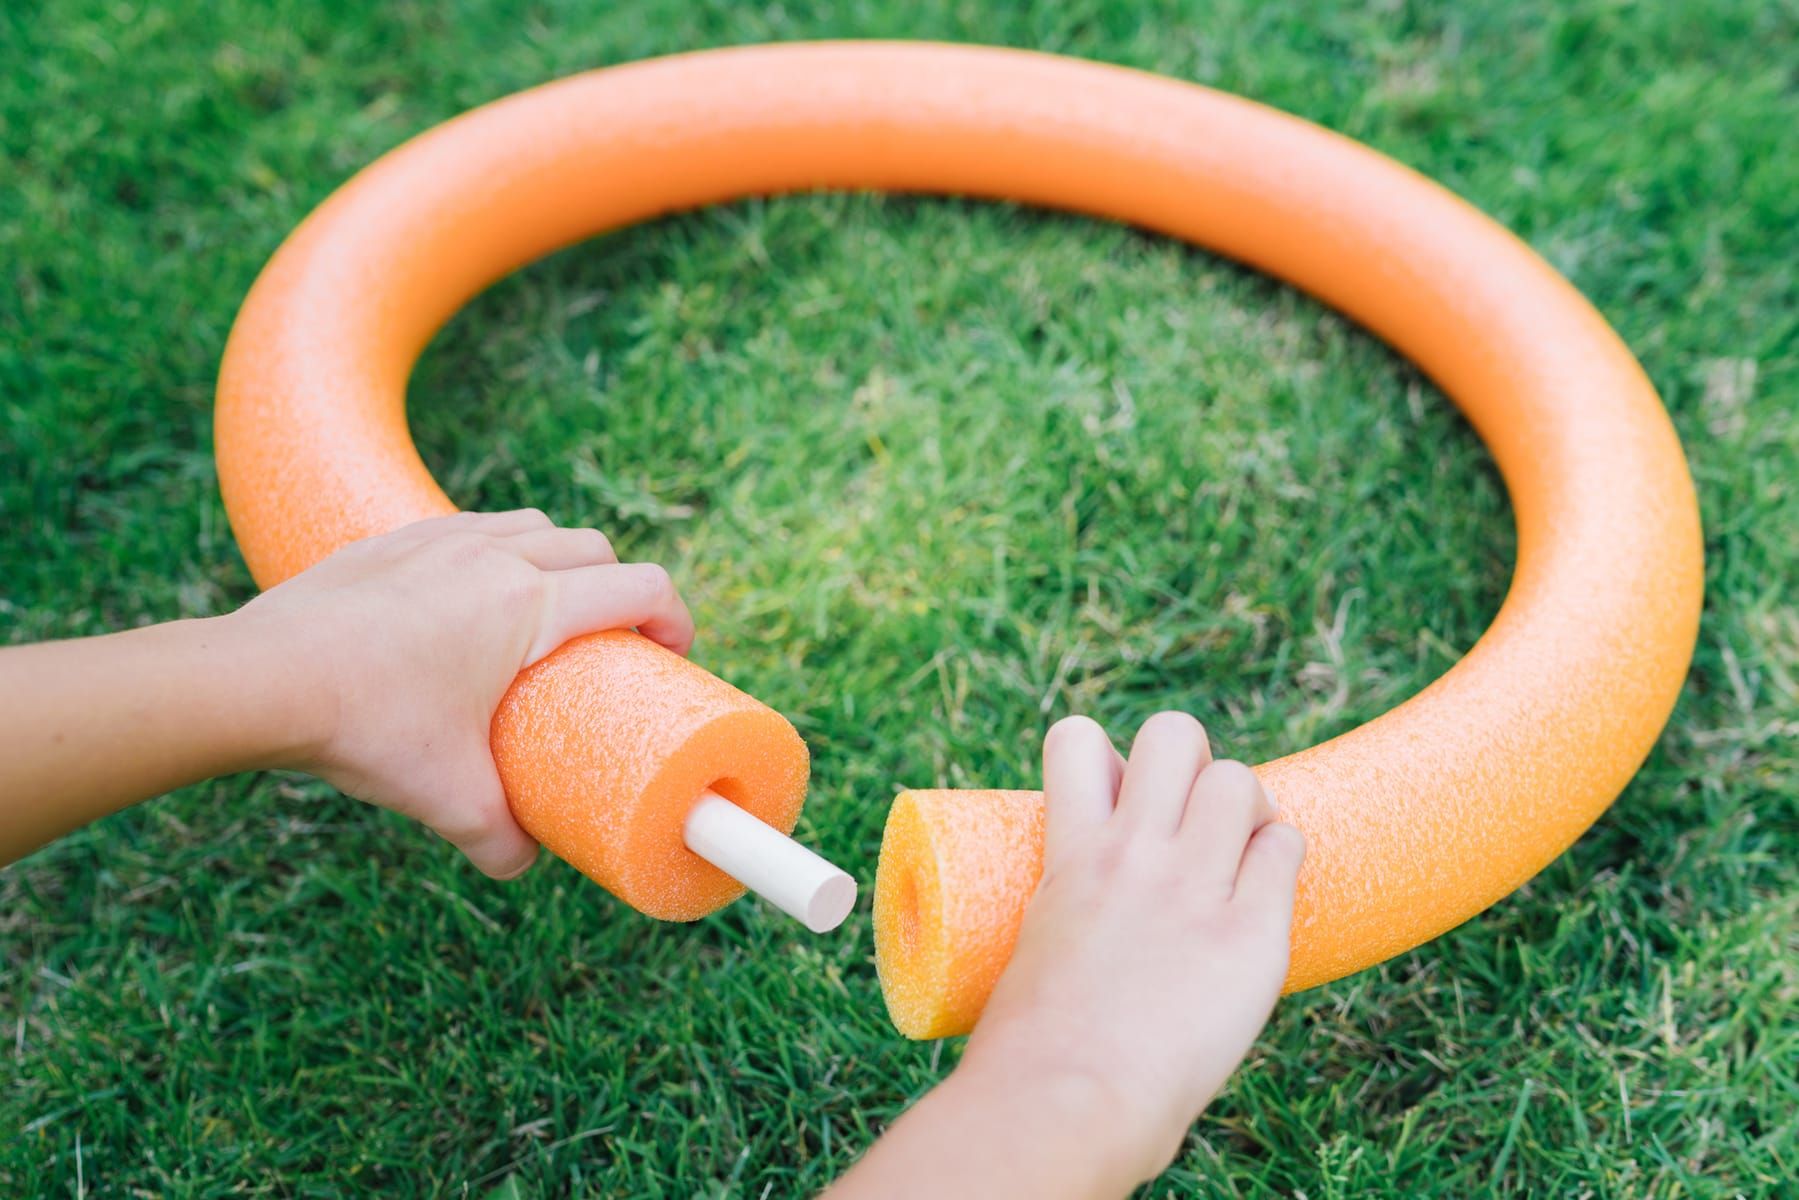
Step 1: Cutting the Pool Noodle
The first step in crafting your own ring toss game with a pool noodle is to prepare the noodle for the creation of the rings. This process involves cutting the pool noodle into equally-sized sections to form the rings that players will aim to toss onto the target. Follow these simple instructions to begin the transformation of the pool noodle into the essential components of the game:
- Start by selecting a standard-sized pool noodle in the color of your choice. The flexibility and lightweight nature of the pool noodle make it an ideal material for crafting the rings, ensuring a safe and enjoyable game for players of all ages.
- Using a pair of sharp scissors or a utility knife, carefully cut the pool noodle into uniform sections, each approximately 1 to 1.5 inches in width. It’s crucial to maintain consistency in the size of the rings to ensure fairness and balance during gameplay. Exercise caution while cutting the noodle to prevent any accidents or injuries.
- As you cut the sections, place them on a flat surface to assess their size and ensure uniformity. You may also use a ruler or measuring tape to guide the cutting process and achieve precise dimensions for each ring.
Once you’ve completed this step, you will have successfully transformed the pool noodle into a set of colorful rings, laying the foundation for an entertaining and visually appealing ring toss game. The next phase of the project will involve adding decorative elements to the rings, infusing them with personality and charm to elevate the overall gaming experience.
Step 2: Creating the Rings
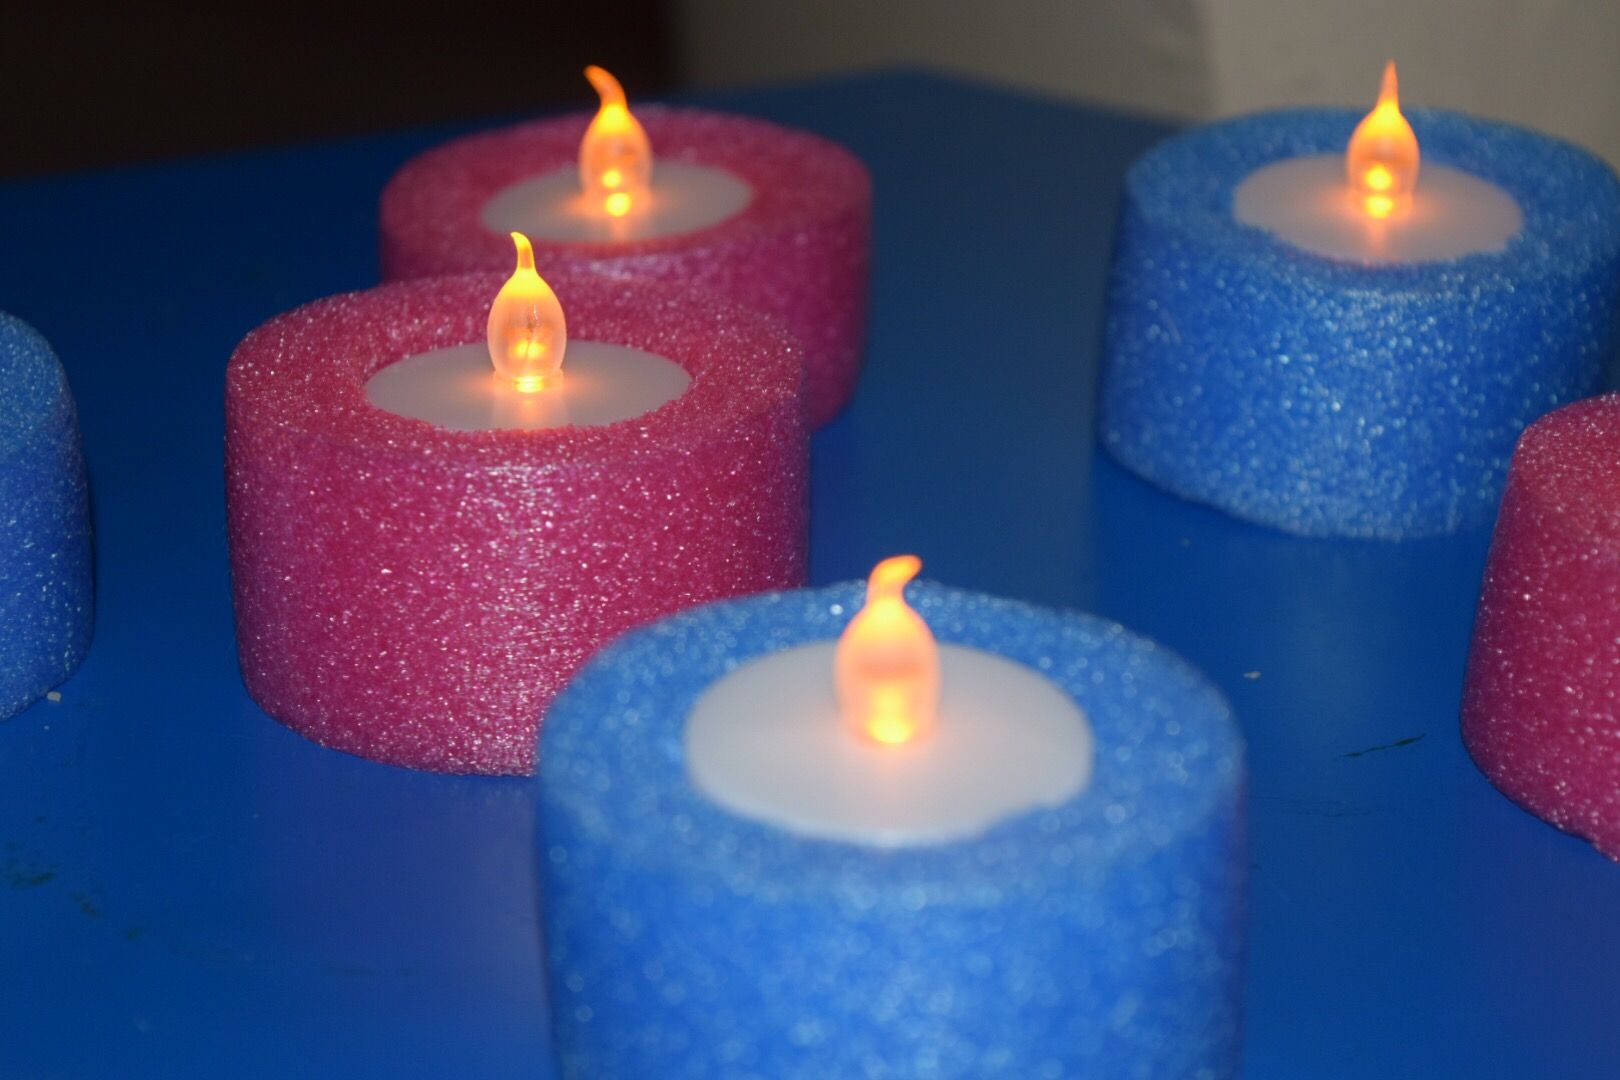
With the pool noodle cut into uniform sections, it’s time to infuse these simple rings with vibrancy and character. This step involves adding decorative touches to the rings, transforming them from basic foam segments into eye-catching and engaging components of the ring toss game. Let’s explore the creative process of embellishing the rings to enhance their visual appeal and charm:
- Choose colorful duct tape or washi tape in an assortment of vibrant hues and patterns. These versatile materials will serve as the primary medium for decorating the rings, allowing you to customize each ring according to your preferences and aesthetic sensibilities.
- Wrap the exterior of each foam ring with the selected tape, ensuring a snug and secure fit. The tape not only adds a pop of color and visual interest but also reinforces the structure of the rings, making them durable and resilient during gameplay.
- Feel free to experiment with different tape combinations, patterns, and designs to create a diverse set of rings that exude personality and charm. Whether you opt for bold, contrasting colors or whimsical patterns, the decorative tape will breathe life into the rings, making them a delightful focal point of the game.
- For an extra touch of creativity, consider incorporating decorative stickers, adhesive gems, or other embellishments onto the rings. These small adornments can further enhance the aesthetic appeal of the rings, adding a touch of whimsy and individuality to each one.
By following these steps, you will transform ordinary foam segments into captivating and visually striking rings that are ready to take center stage in your DIY ring toss game. The personalized and colorful nature of these rings will undoubtedly elevate the overall experience, inviting players to partake in a lively and entertaining outdoor activity.
When cutting the pool noodle, use a sharp knife and make sure to cut straight across to create even rings for the game.
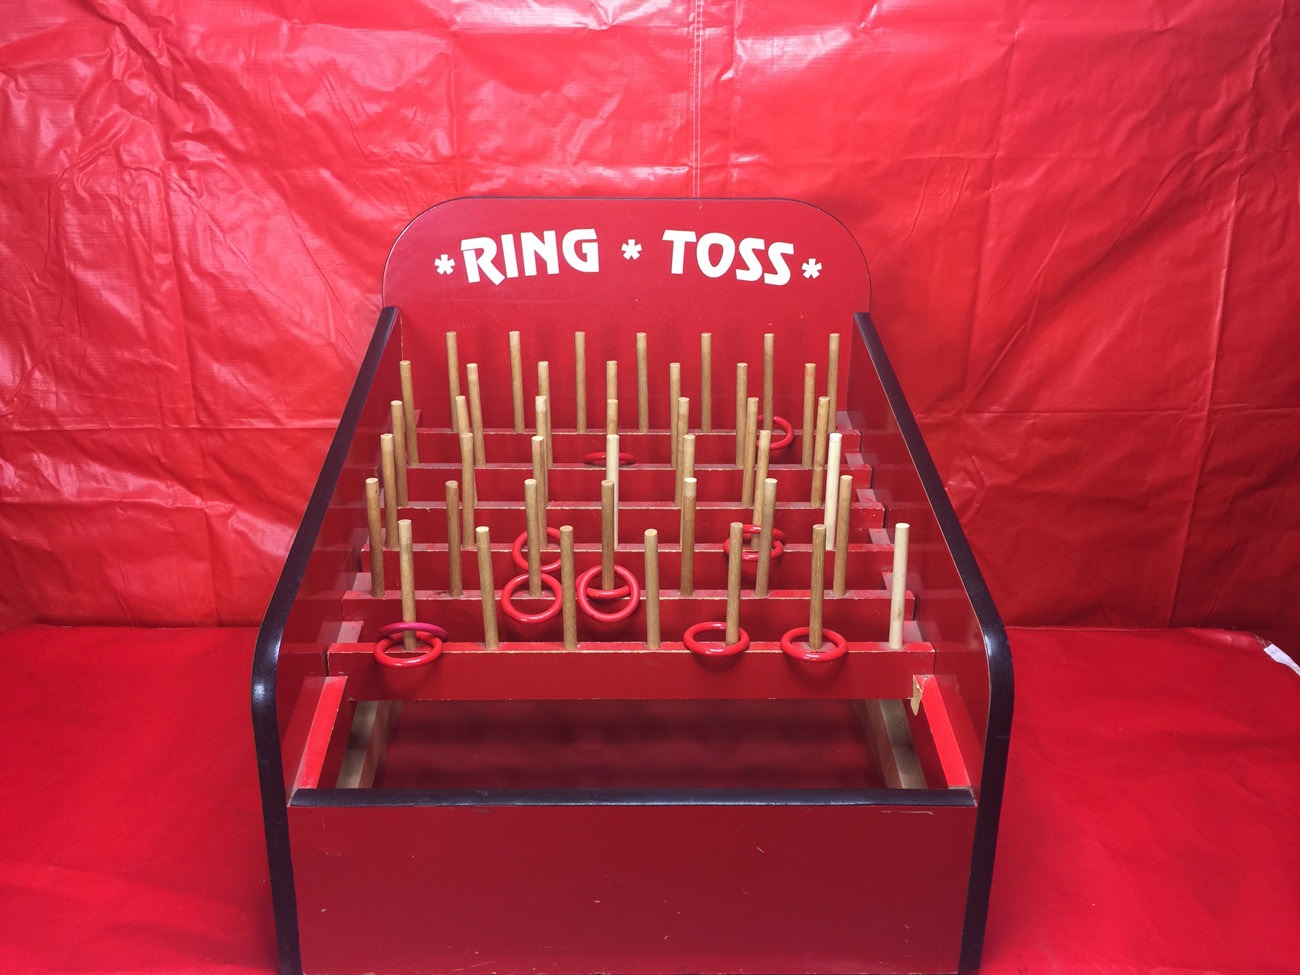
Step 3: Setting Up the Game
With the rings beautifully adorned and ready for action, it’s time to set the stage for an exciting round of ring toss. This step involves arranging the game components and establishing the playing area, ensuring that everything is in place for a seamless and enjoyable experience for all participants. Let’s delve into the process of setting up the ring toss game with precision and flair:
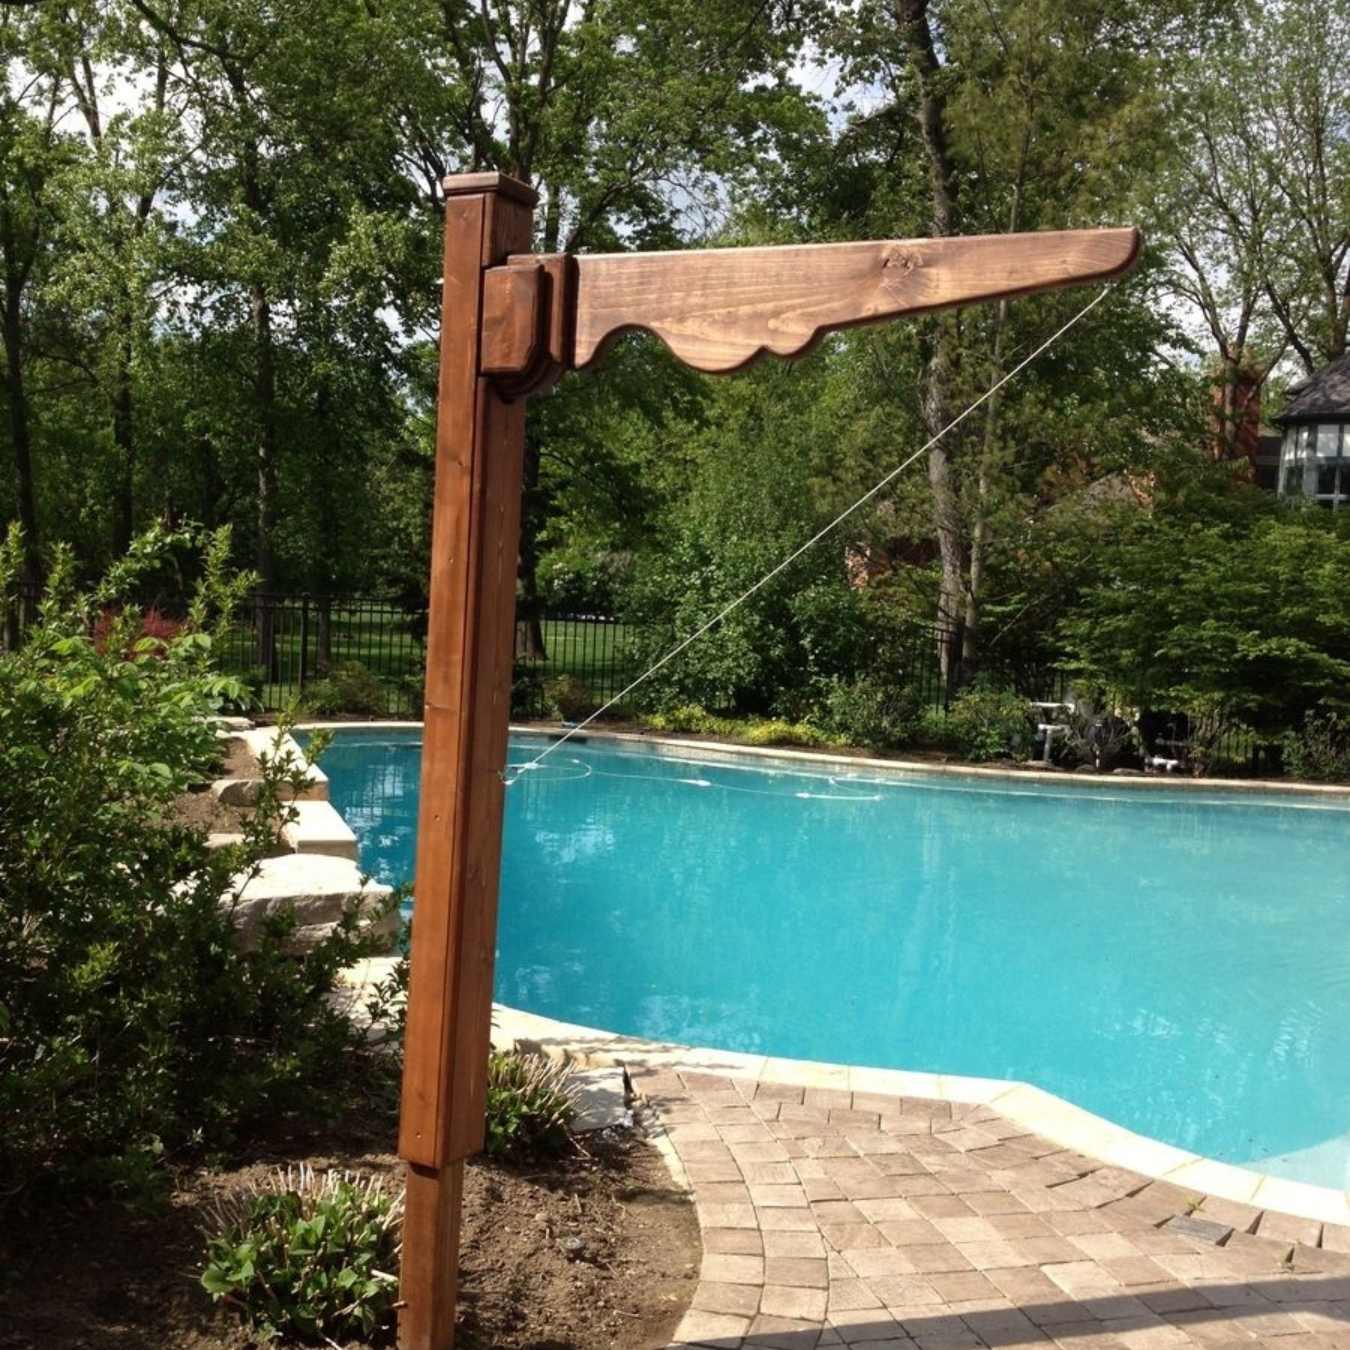
- Identify a suitable outdoor location for the game, such as a spacious backyard, a park with open grassy areas, or a designated recreational area. The chosen setting should offer ample space for players to move around and toss the rings towards the target, fostering an environment of fun and friendly competition.
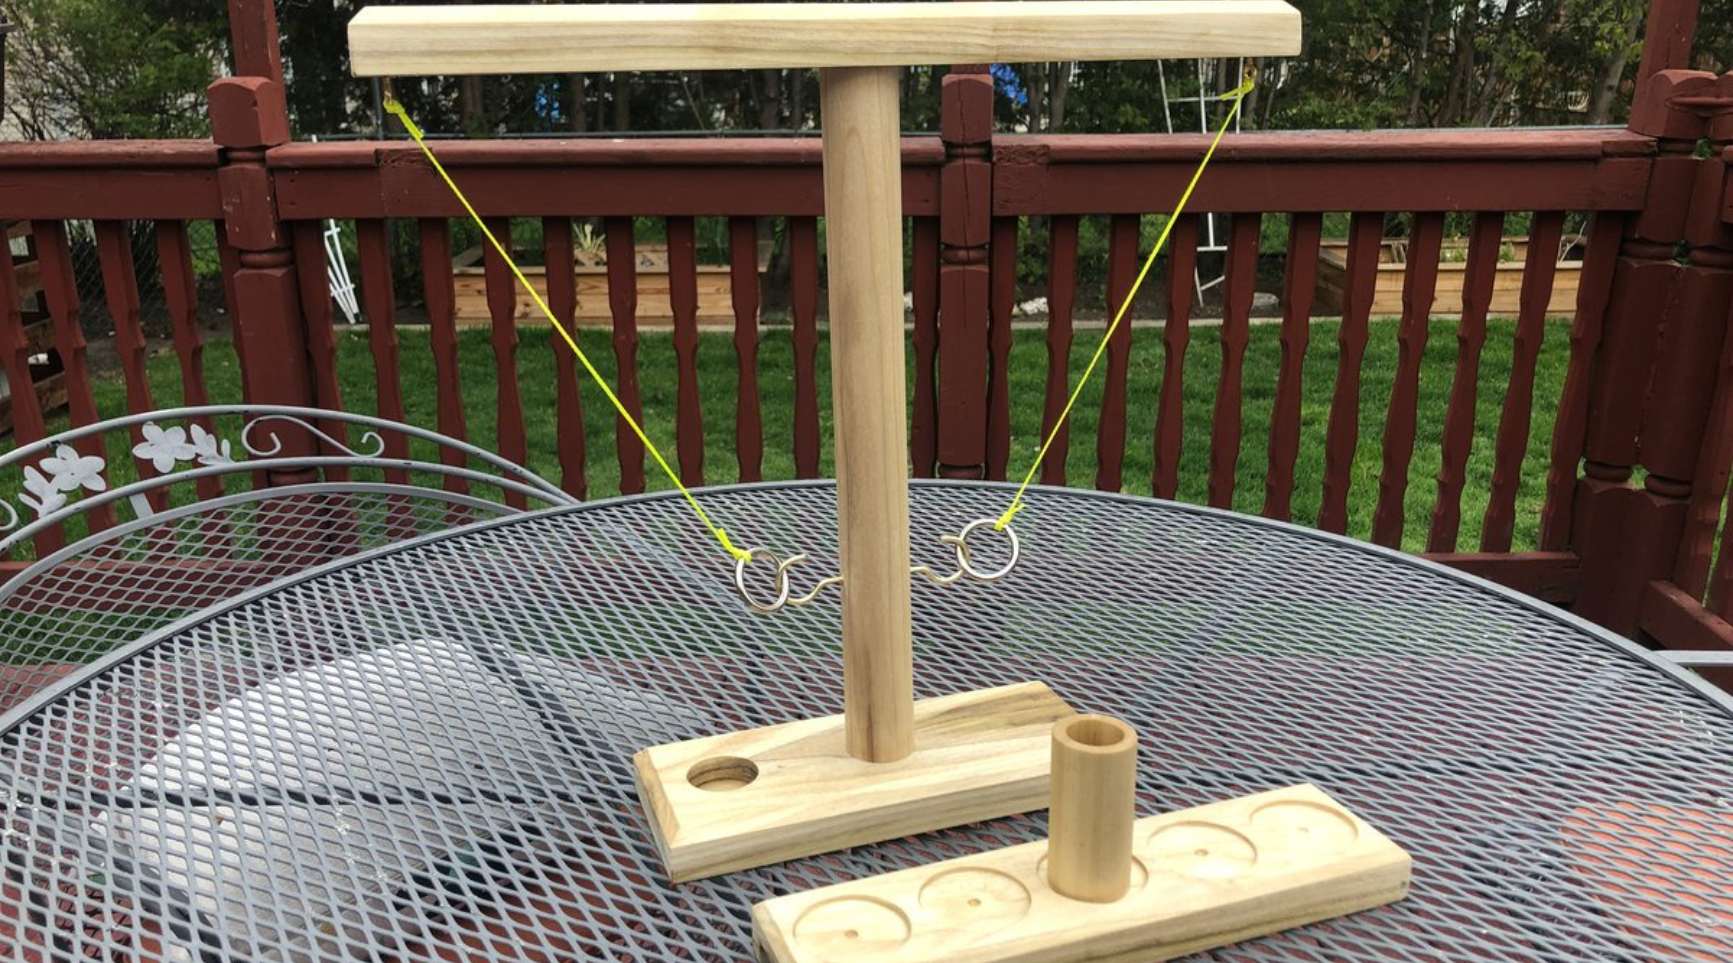
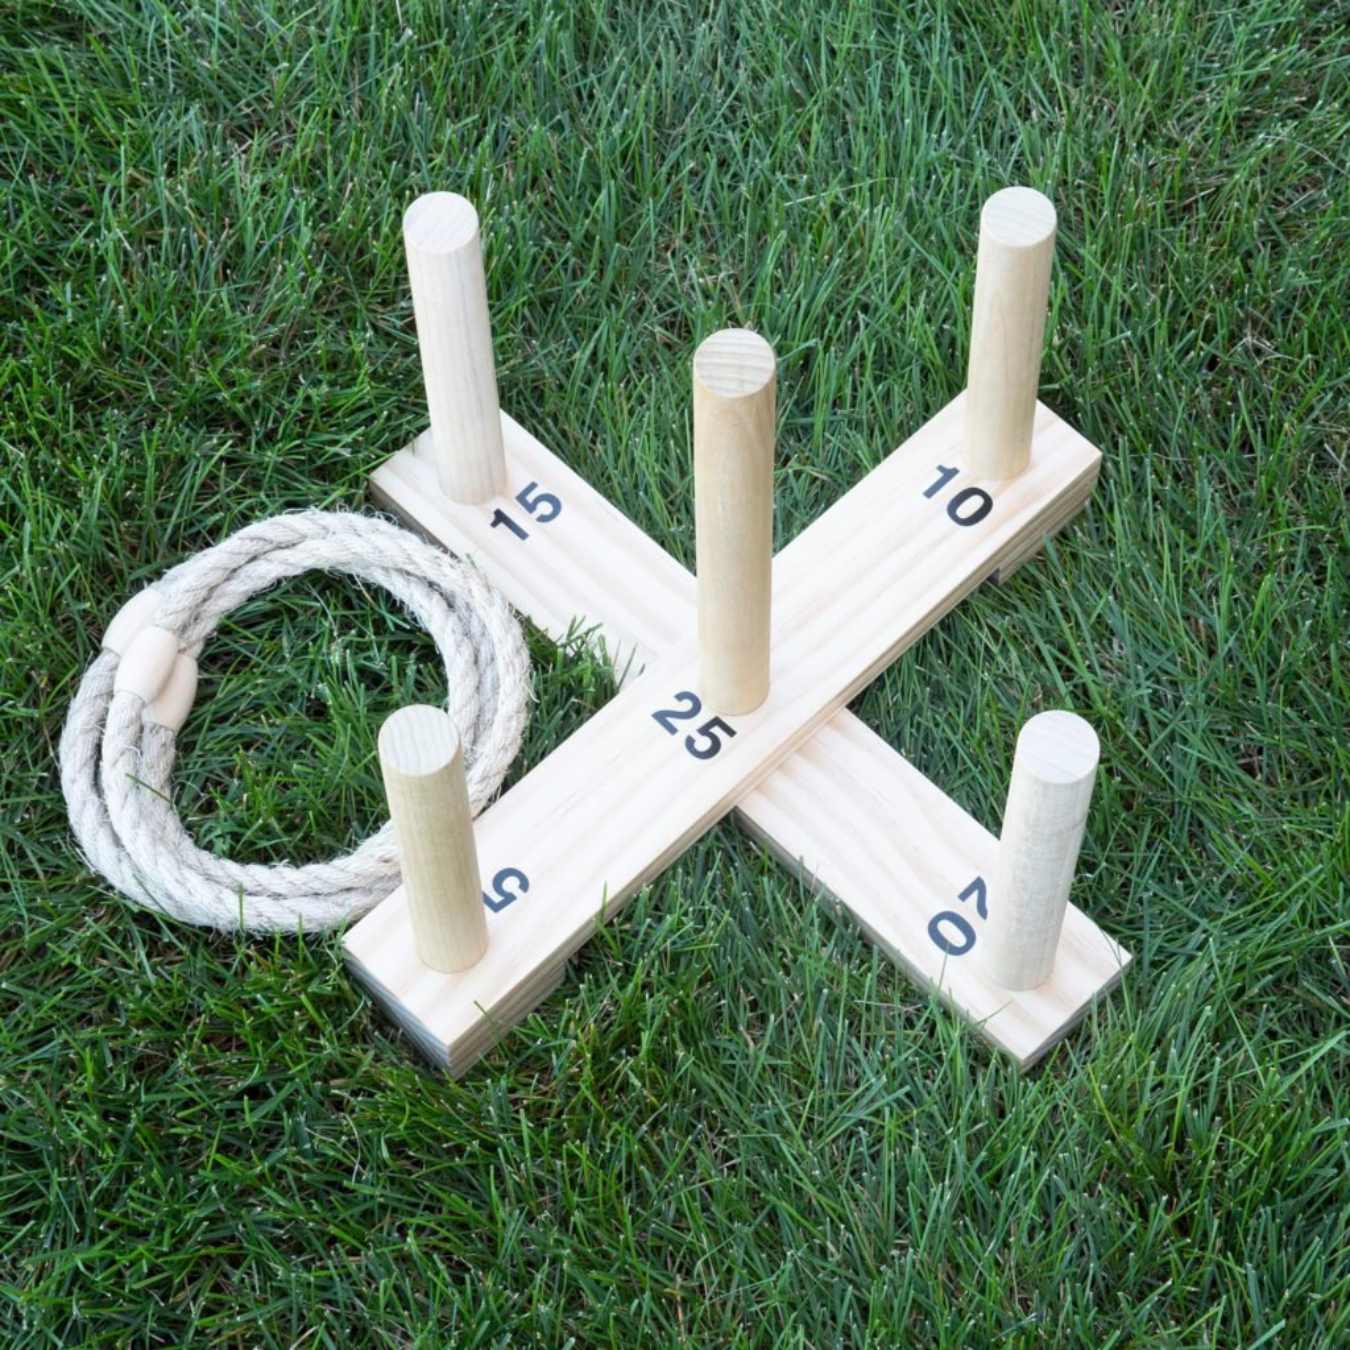
- Position the target, which can take the form of a sturdy stake or a freestanding structure, at a reasonable distance from the starting point. The distance can be adjusted based on the age and skill level of the players, ensuring that the game remains engaging and achievable for everyone involved.
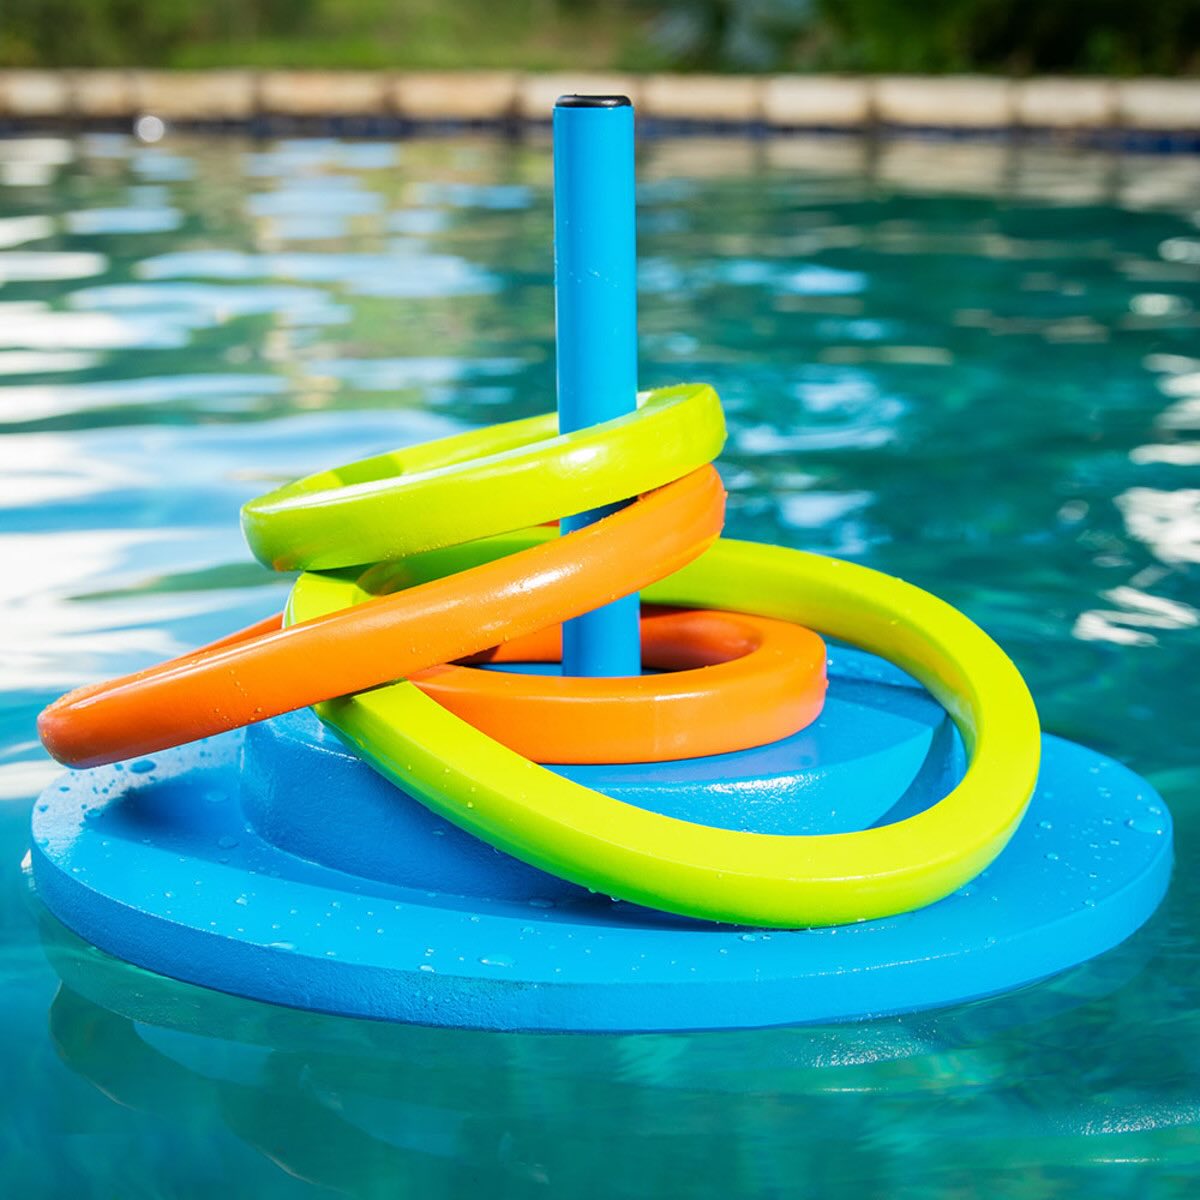
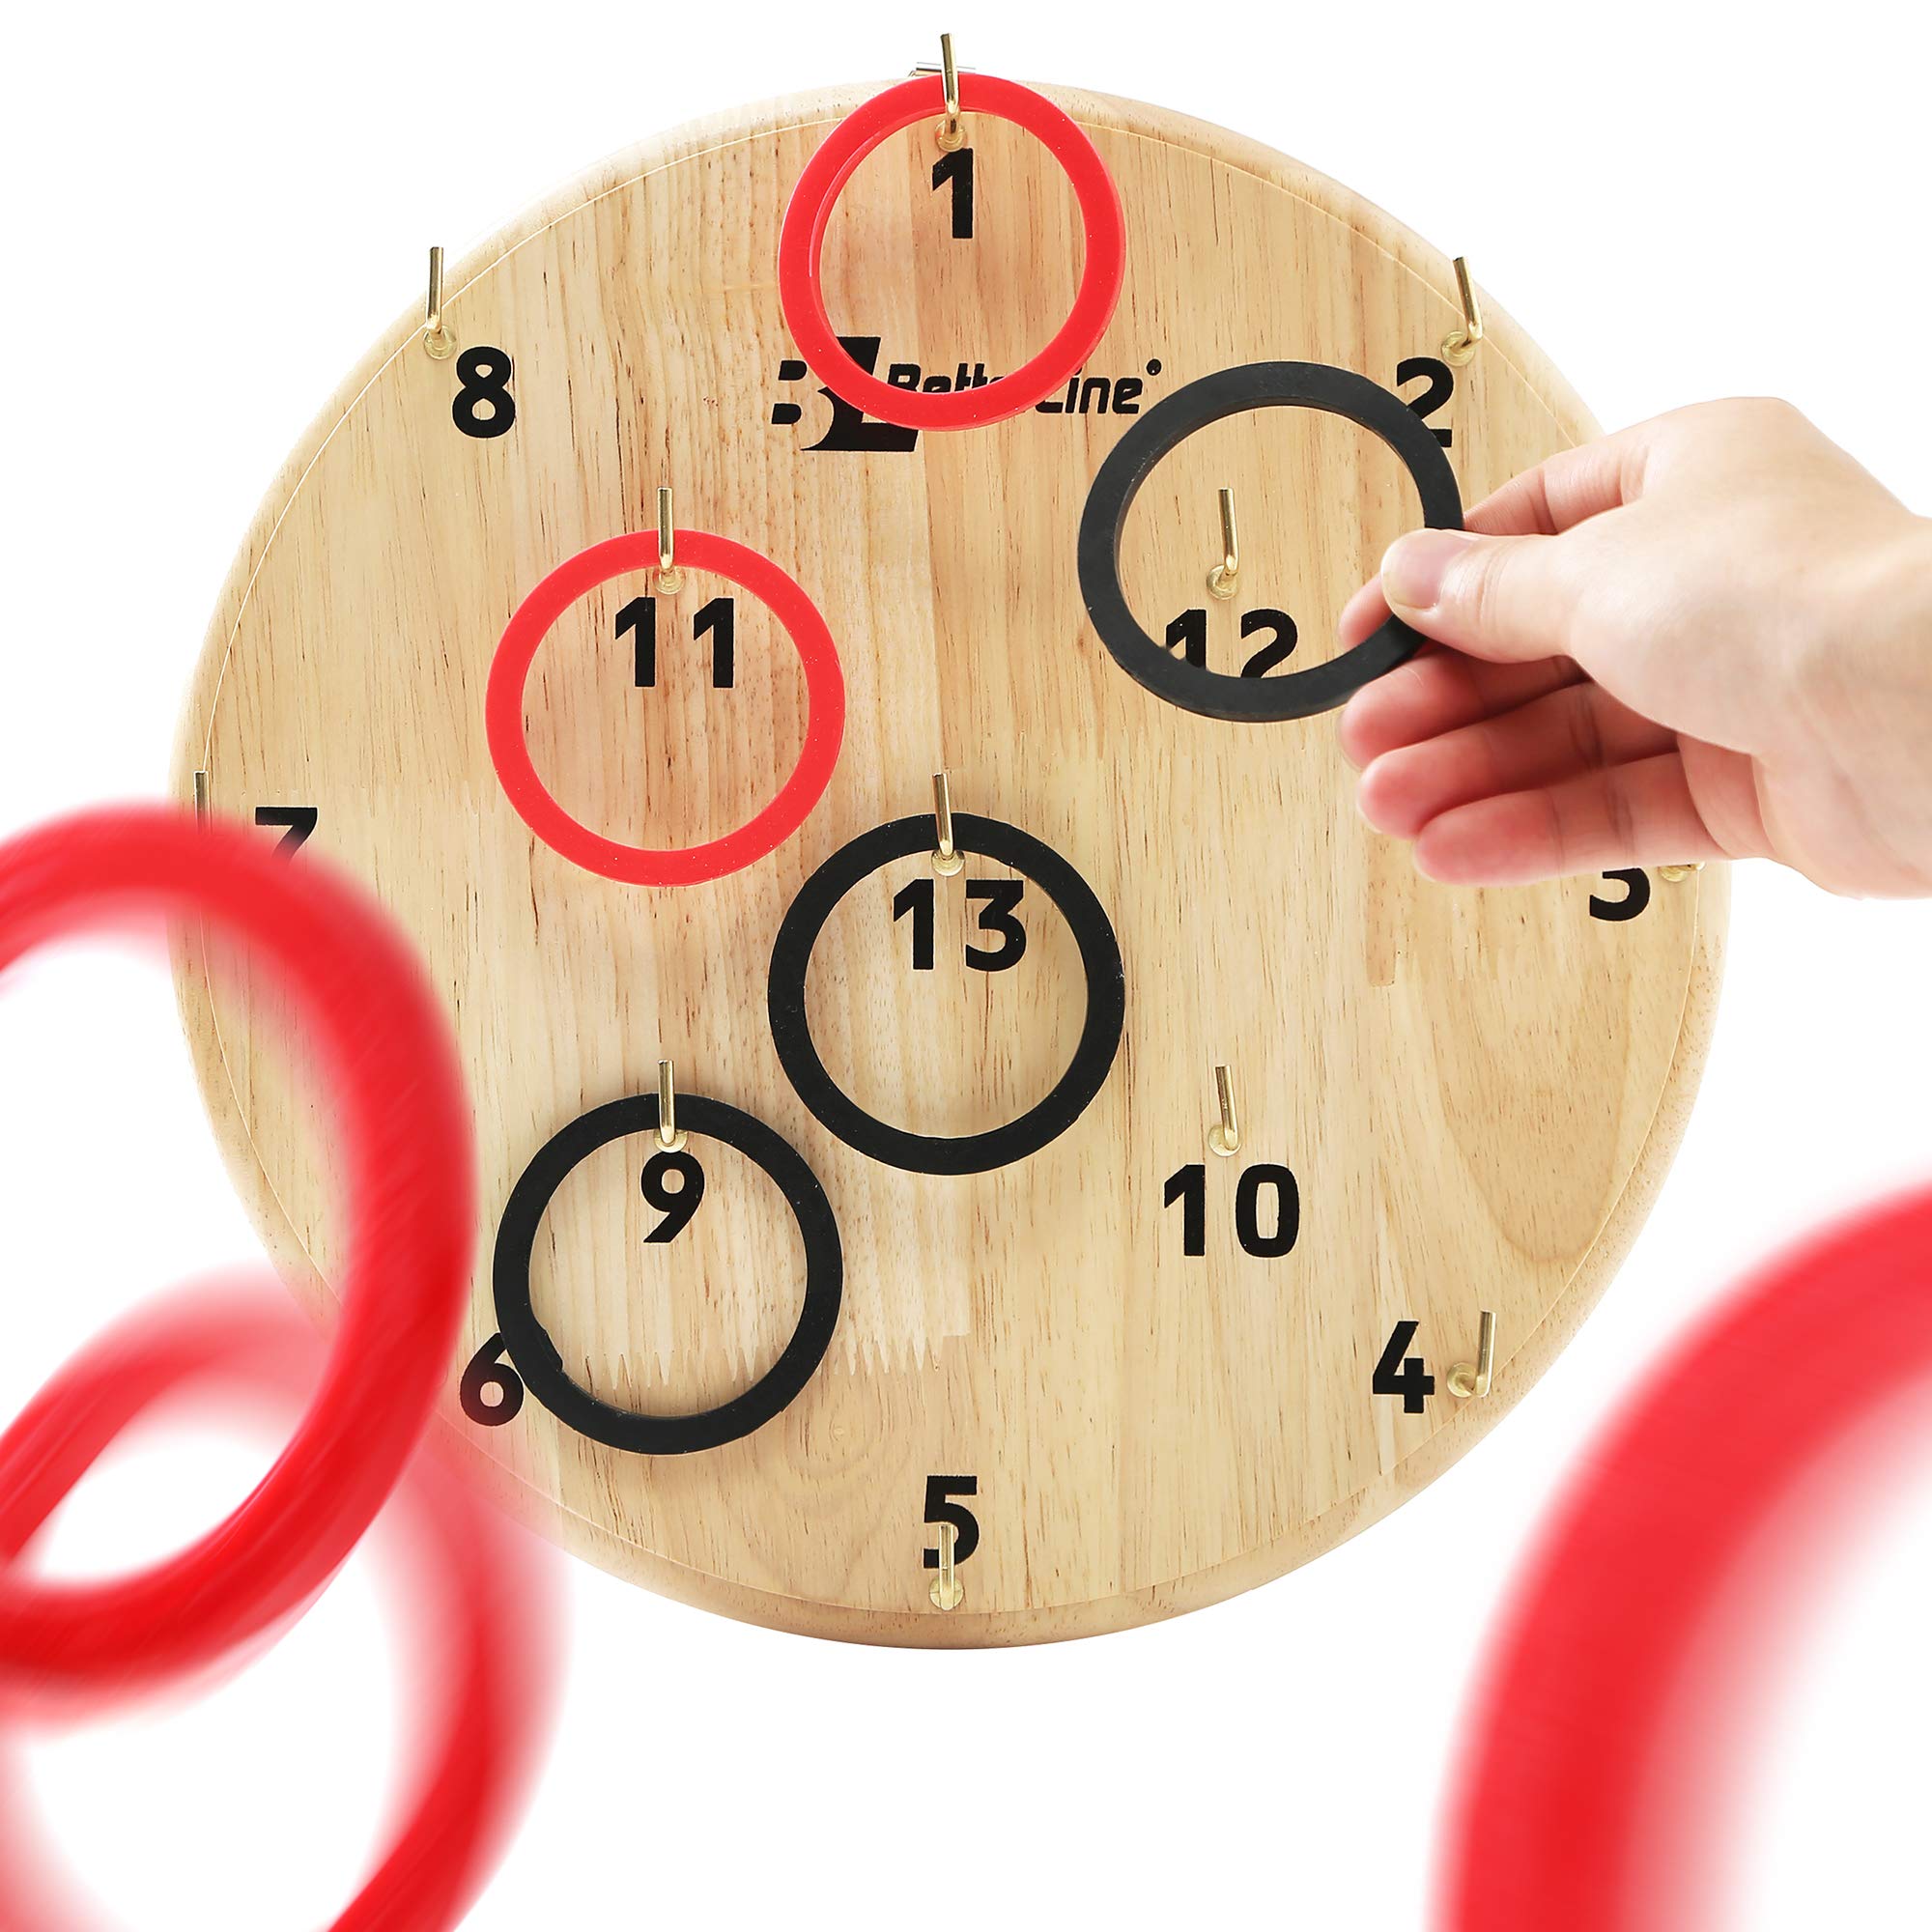
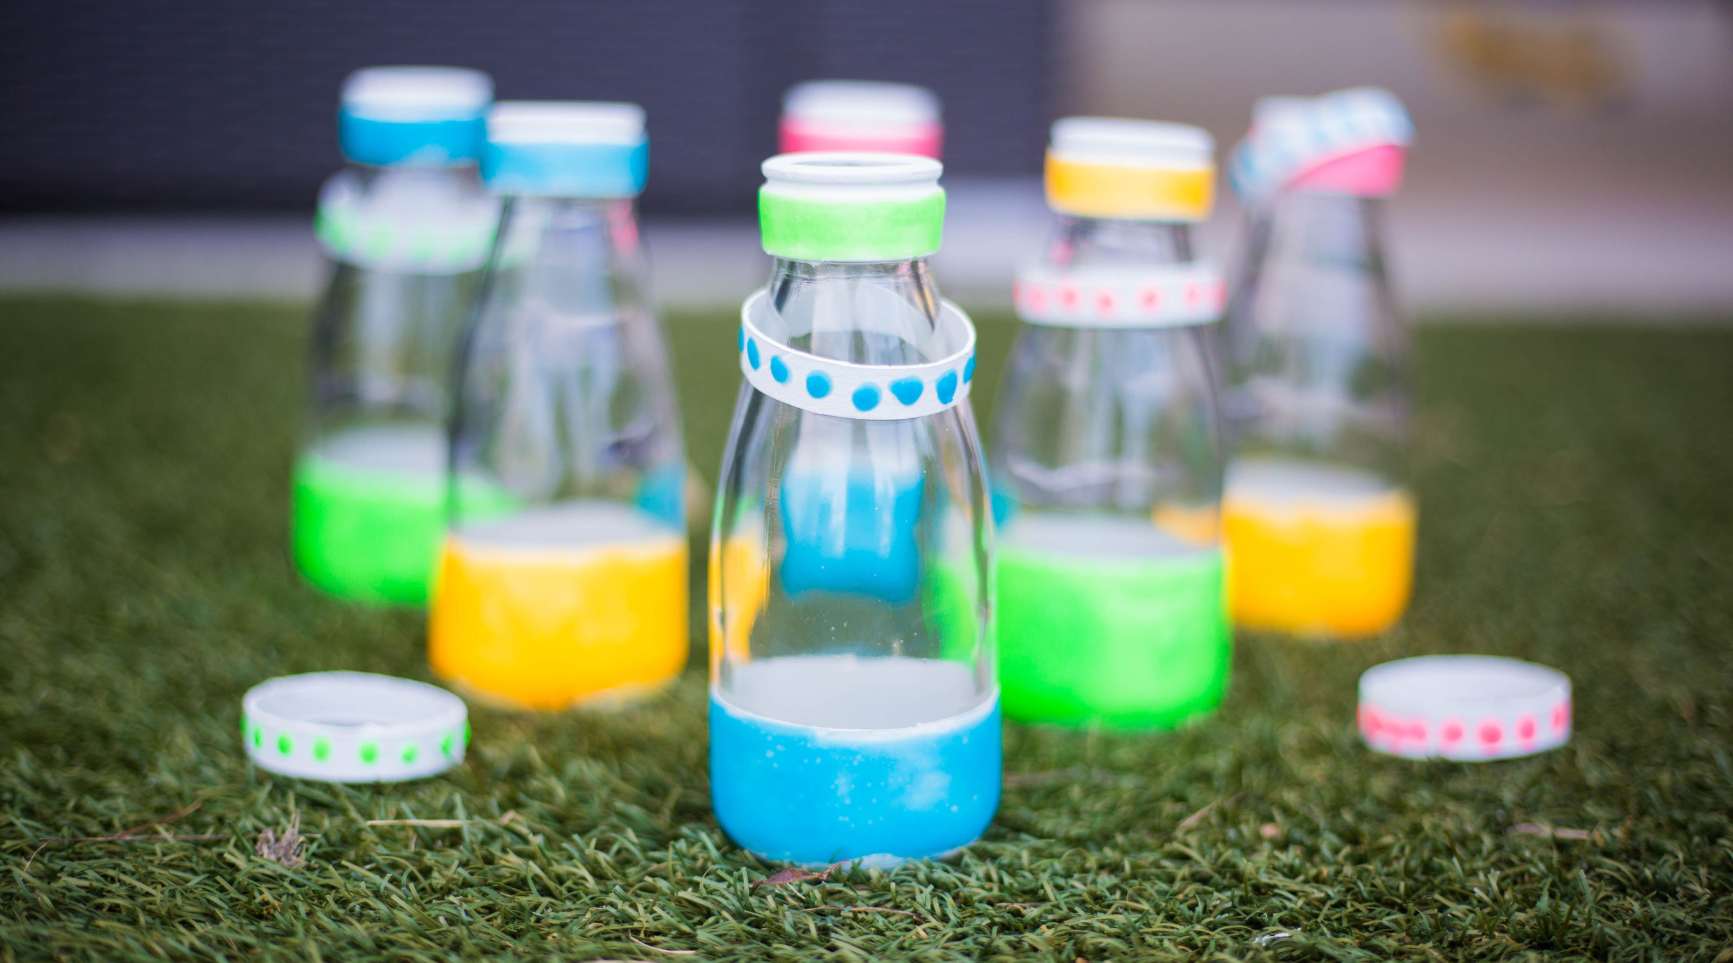
- Arrange the rings in a visually appealing display, either by hanging them on the target or placing them in a designated area nearby. The vibrant and decorated rings will serve as enticing targets for players, beckoning them to take aim and test their tossing skills.
- Establish clear and straightforward rules for the game, outlining the number of tosses allowed per player, the point system, and any additional guidelines to ensure fair play and sportsmanship. By communicating the rules effectively, you’ll create a cohesive and enjoyable gaming experience for all participants.
By following these steps, you will have successfully set up the ring toss game, creating an inviting and festive atmosphere for players to engage in lighthearted competition and camaraderie. The carefully arranged components and thoughtfully established rules will lay the groundwork for an entertaining and memorable outdoor activity.
Read more: How To Make A Ring Toss Game
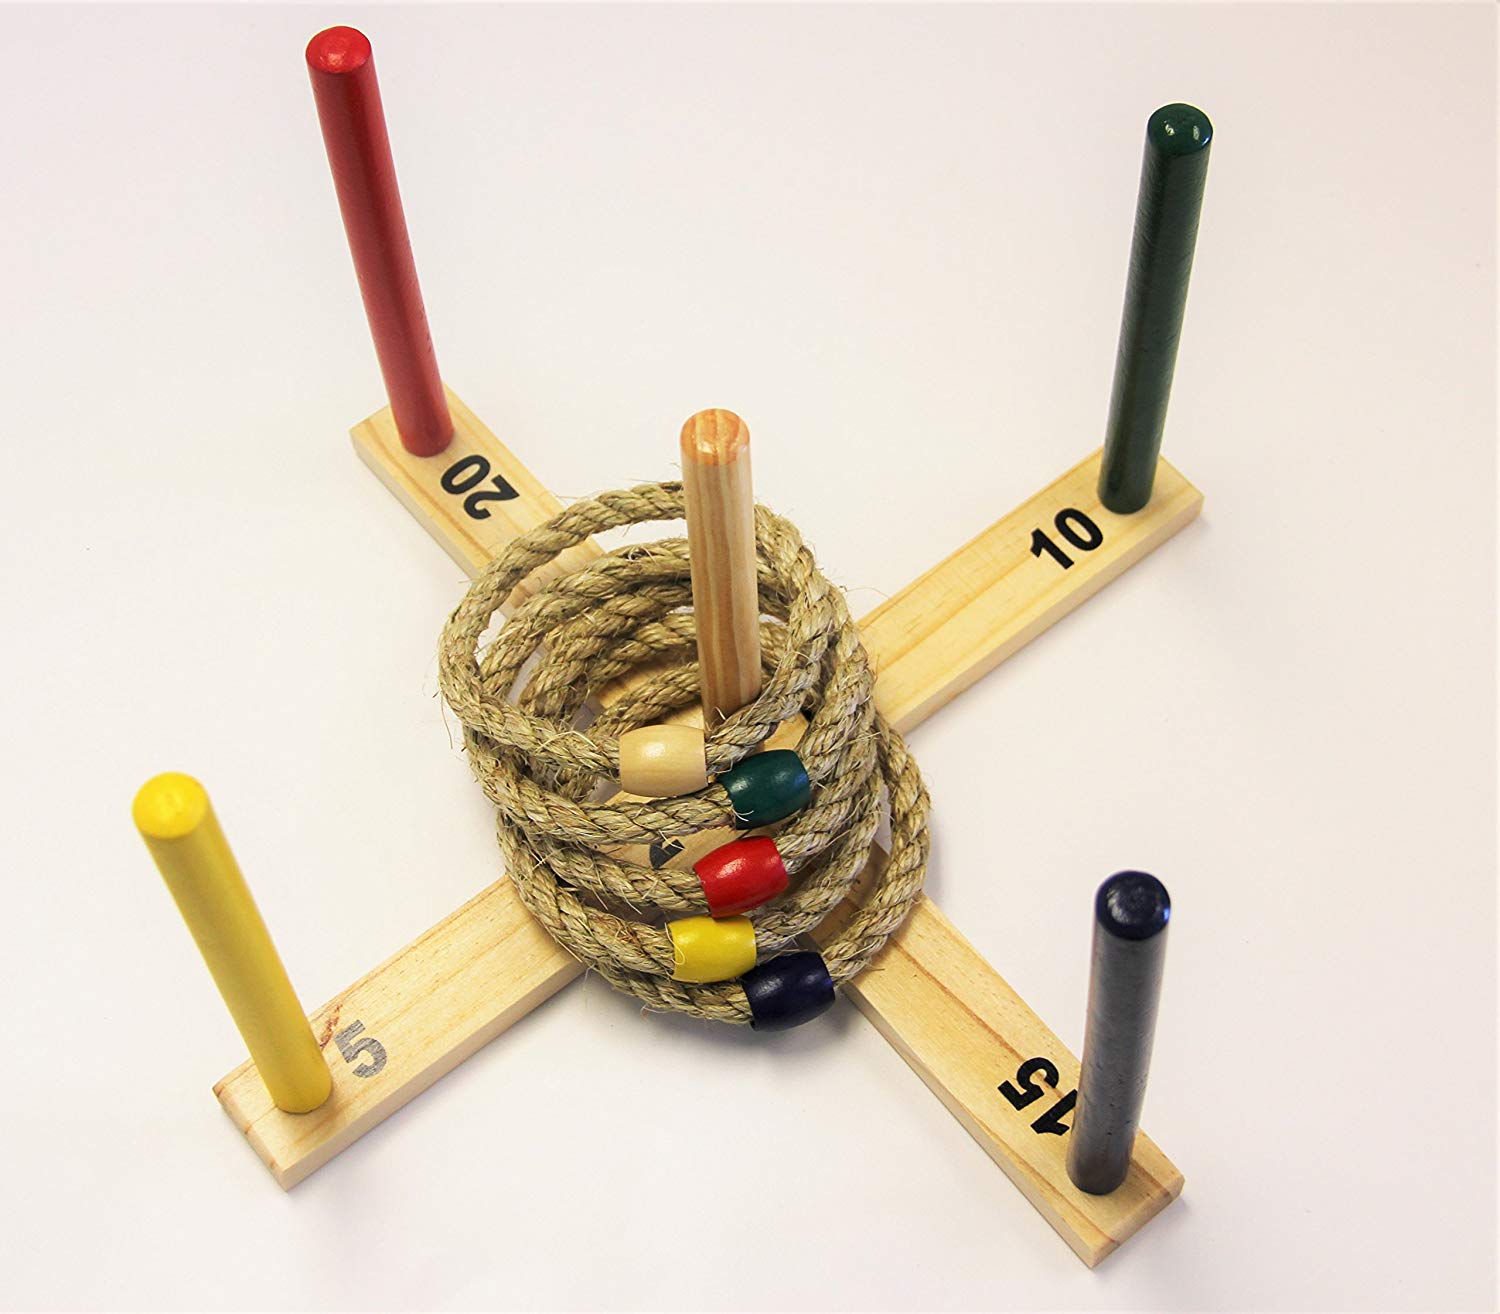
Step 4: Playing the Game
As the stage is set and the players are eager to test their skills, it’s time to dive into the exhilarating gameplay of the ring toss game. This step involves guiding participants through the rules and mechanics of the game, fostering an atmosphere of friendly competition and enjoyment. Let’s explore the engaging process of playing the ring toss game with enthusiasm and camaraderie:
- Designate the order of play, allowing each participant to take turns attempting to toss the rings onto the target. Encourage friendly banter and support among players, creating a spirited and inclusive environment that celebrates both successful tosses and good-natured attempts.
- Establish a point system to track the success of each toss. Assign varying point values to different sections of the target, such as the outer and inner rings, to add an element of strategy and skill to the game. This scoring mechanism will heighten the excitement and engagement of the players as they aim for high point totals.
- Encourage players to showcase their tossing techniques, whether employing a gentle underhand toss or a more dynamic overhand throw. Emphasize the importance of precision and control, inspiring participants to refine their skills and adapt their strategies with each successive turn.
- Celebrate the achievements of each player, regardless of the outcome, and foster a supportive and encouraging atmosphere throughout the game. Emphasize the value of sportsmanship and camaraderie, ensuring that every participant feels appreciated and uplifted during the gameplay.
By following these steps, you will orchestrate a vibrant and spirited round of ring toss, infusing the outdoor setting with laughter, friendly competition, and a sense of shared enjoyment. The inclusive and engaging nature of the game will create lasting memories and forge connections among the participants, making it a cherished addition to any outdoor gathering or celebration.
Conclusion
Crafting a ring toss game with a pool noodle is not only a delightful DIY project but also a gateway to fostering memorable moments of outdoor fun and togetherness. By repurposing a humble pool noodle and infusing it with creativity, you can bring to life a vibrant and engaging game that captivates players of all ages. The process of cutting, decorating, and setting up the game culminates in an experience that celebrates camaraderie, skill, and lighthearted competition.
As the rings are artfully crafted and the game is eagerly set in motion, the air becomes filled with the joyous laughter of participants as they aim, toss, and celebrate each successful ring landing. The game not only entertains but also cultivates a sense of shared enjoyment and friendly interaction, making it a perfect addition to outdoor gatherings, picnics, and recreational outings.
Through the simple act of repurposing a pool noodle, you have unlocked the potential for endless hours of outdoor amusement and bonding. The colorful rings, each a testament to creativity and individual flair, serve as beacons of excitement and challenge, drawing players into a world of lighthearted competition and shared delight.
So, as you embark on your next outdoor adventure, consider bringing along your homemade ring toss game. Whether it’s a casual gathering with friends, a family picnic, or a leisurely day at the park, this charming and accessible game is sure to infuse the atmosphere with laughter, camaraderie, and the spirit of wholesome outdoor recreation.
With a pool noodle, a dash of creativity, and a sprinkle of competitive spirit, you’ve crafted more than just a game—you’ve created cherished moments of joy and connection that will linger in the hearts of all who partake in the whimsical allure of the ring toss game.
Frequently Asked Questions about How To Make A Ring Toss Game With A Pool Noodle
Was this page helpful?
At Storables.com, we guarantee accurate and reliable information. Our content, validated by Expert Board Contributors, is crafted following stringent Editorial Policies. We're committed to providing you with well-researched, expert-backed insights for all your informational needs.


0 thoughts on “How To Make A Ring Toss Game With A Pool Noodle”