Home>Gardening & Outdoor>Outdoor Recreation & Activities>How To Make A Ring Toss Game With Bottles

Outdoor Recreation & Activities
How To Make A Ring Toss Game With Bottles
Modified: February 18, 2024
Learn how to create a fun and engaging ring toss game using bottles for outdoor recreation and activities. Perfect for family gatherings and backyard fun!
(Many of the links in this article redirect to a specific reviewed product. Your purchase of these products through affiliate links helps to generate commission for Storables.com, at no extra cost. Learn more)
Introduction
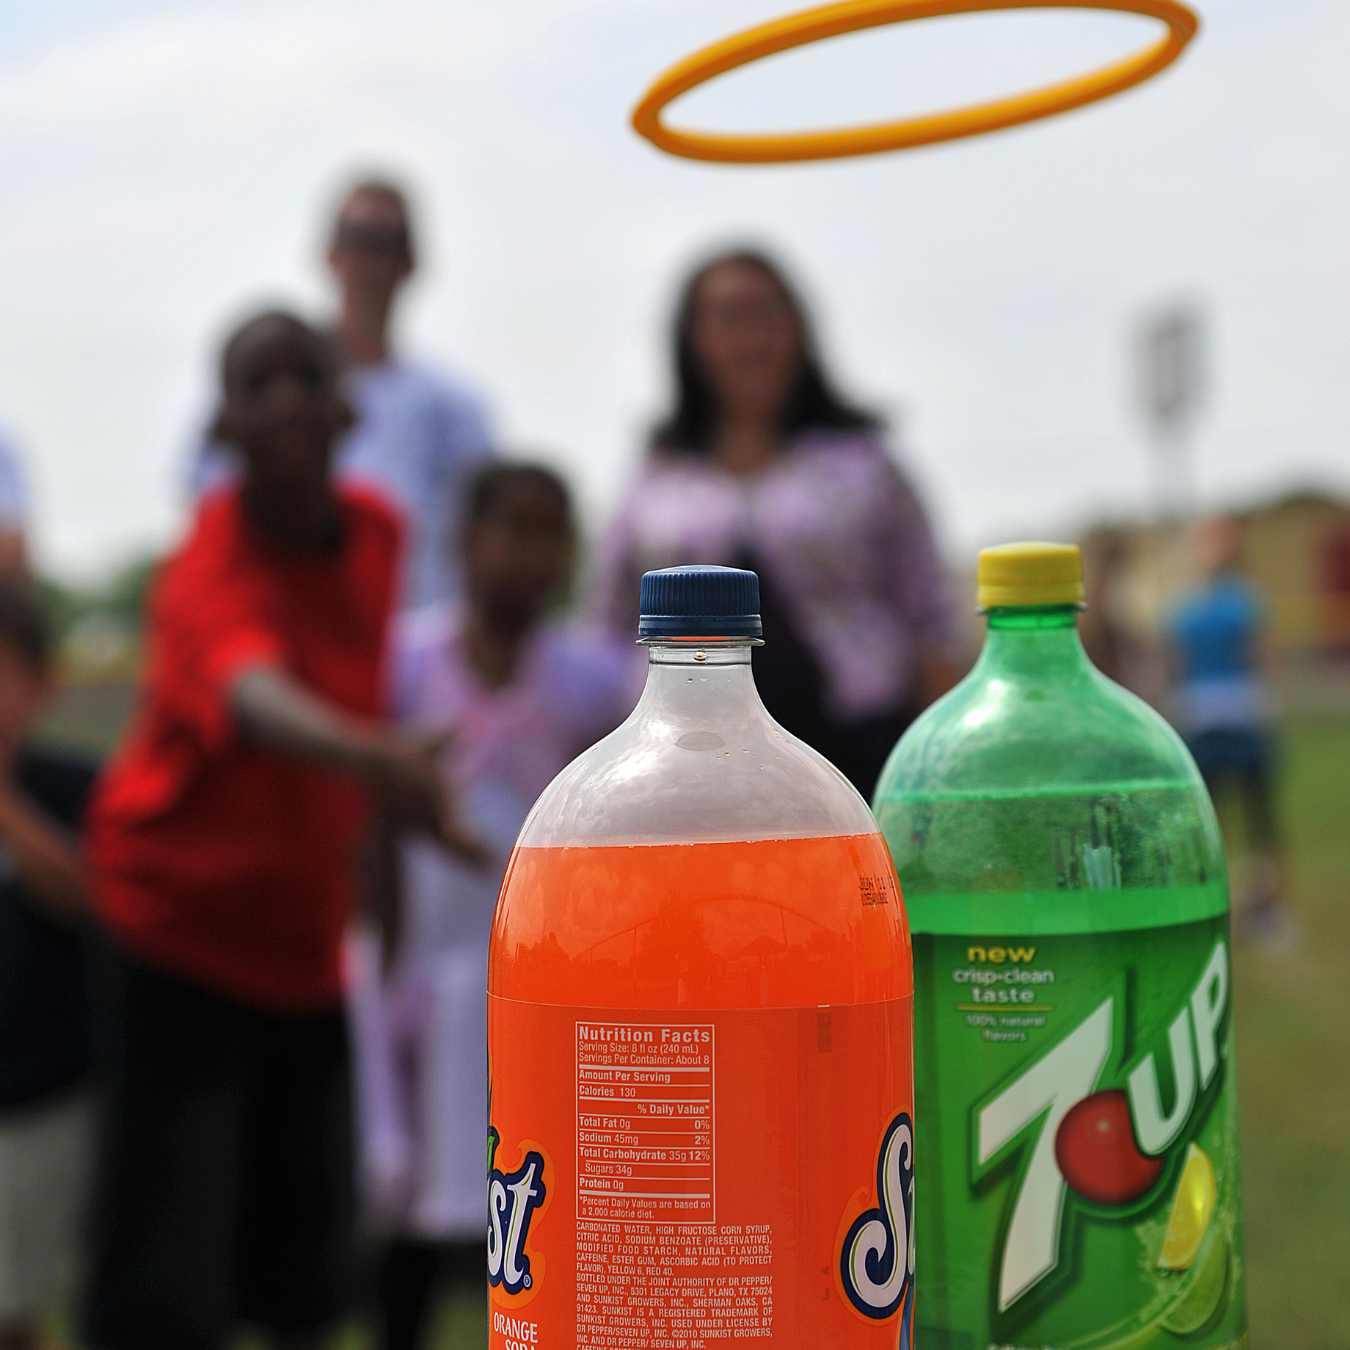
Are you looking for a fun and engaging outdoor game that can be easily set up and enjoyed by people of all ages? Look no further than the classic ring toss game! This beloved pastime is not only entertaining but also a fantastic way to test your hand-eye coordination and aiming skills. Whether you're planning a family gathering, a backyard barbecue, or a community event, creating your own ring toss game with bottles is a fantastic way to add a touch of excitement to any outdoor occasion.
In this guide, we'll walk you through the step-by-step process of crafting your very own ring toss game using simple, readily available materials. Whether you're a DIY enthusiast or just looking for a fun project to tackle, this activity is sure to bring joy and entertainment to all who participate. So, gather your supplies and get ready to embark on a creative journey as we delve into the world of DIY outdoor recreation. Let's dive in and discover how to make a ring toss game with bottles that will provide hours of laughter and enjoyment for everyone involved.
Key Takeaways:
- Create a vibrant ring toss game with bottles using simple materials like paint, cardboard, and colorful tape. It’s a fun DIY project that brings people together for outdoor play and friendly competition.
- Transform ordinary items into a source of joy and connection with a homemade ring toss game. Enjoy laughter, camaraderie, and shared memories as players of all ages test their skills in this classic outdoor activity.
Read more: How To Make Rings For A Ring Toss Game
Materials Needed
Before diving into the process of creating your ring toss game, it’s essential to gather all the necessary materials. The beauty of this project lies in its simplicity and accessibility. Here’s a list of the items you’ll need to get started:
- Empty plastic bottles (such as soda or water bottles)
- Acrylic paint or colorful tape
- Scissors
- Paintbrushes (if using paint)
- Cardboard or foam board
- Marker
- Ruler
- X-acto knife or box cutter
- Decorative stickers (optional)
- Glue (if using decorative stickers)
- Colored markers or paint pens
- Thin rope or twine
- Colorful duct tape (optional)
These materials are easy to find at your local craft store, or you may even have some of them lying around the house. Once you have everything on the list, you’re ready to embark on the creative journey of crafting your very own ring toss game. Let’s move on to the exciting process of preparing the bottles for the game.
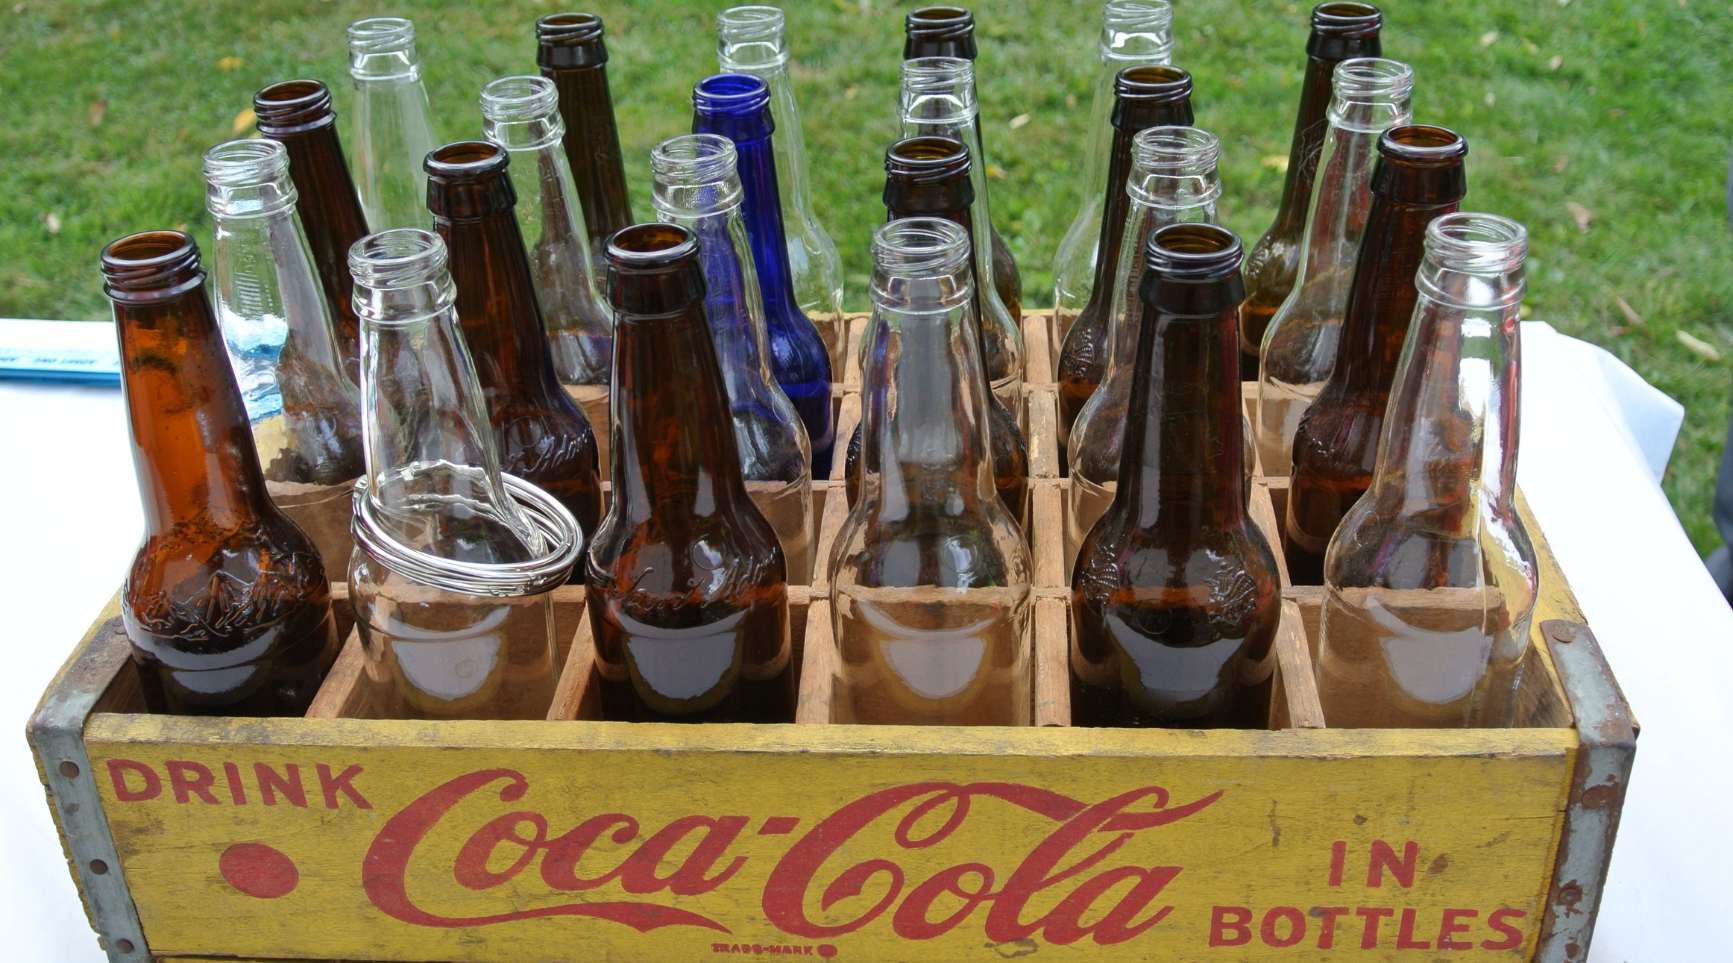
Step 1: Prepare the Bottles
Preparing the bottles is the first crucial step in creating your DIY ring toss game. This process involves transforming ordinary plastic bottles into vibrant targets that will add a pop of color and excitement to your game setup. Here’s a detailed guide on how to prepare the bottles:
- Clean and Dry the Bottles: Start by ensuring that the plastic bottles are thoroughly cleaned and dried. Remove any labels or adhesive residue to provide a smooth surface for decorating.
- Apply Colorful Designs: Use acrylic paint or colorful tape to adorn the bottles with eye-catching designs. You can paint the bottles in various bright hues or use decorative tape to create patterns and stripes. Let your creativity flow as you customize each bottle to make them visually appealing.
- Add Decorative Elements: For an extra touch of flair, consider using decorative stickers to embellish the painted bottles. These stickers can feature playful shapes, symbols, or themed designs that align with the overall aesthetic of your game.
- Allow for Drying Time: If you’ve used paint, allow the bottles to dry completely before moving on to the next step. This ensures that the colors set and adhere properly, preventing any smudges or smears during the game.
Once you’ve completed these steps, you’ll have a collection of beautifully decorated bottles that are ready to serve as the targets for your ring toss game. The vibrant colors and patterns will instantly elevate the visual appeal of the game, adding a delightful touch to your outdoor recreational setup. With the bottles prepared, you’re now ready to move on to the next phase of creating the rings for the game.
Step 2: Create the Rings
Now that the bottles are prepped and brimming with color, it’s time to fashion the rings that will be used for the toss. Crafting the rings is a straightforward yet essential part of the process, and it offers an opportunity to infuse a personal touch into the game. Follow these simple steps to create the rings:
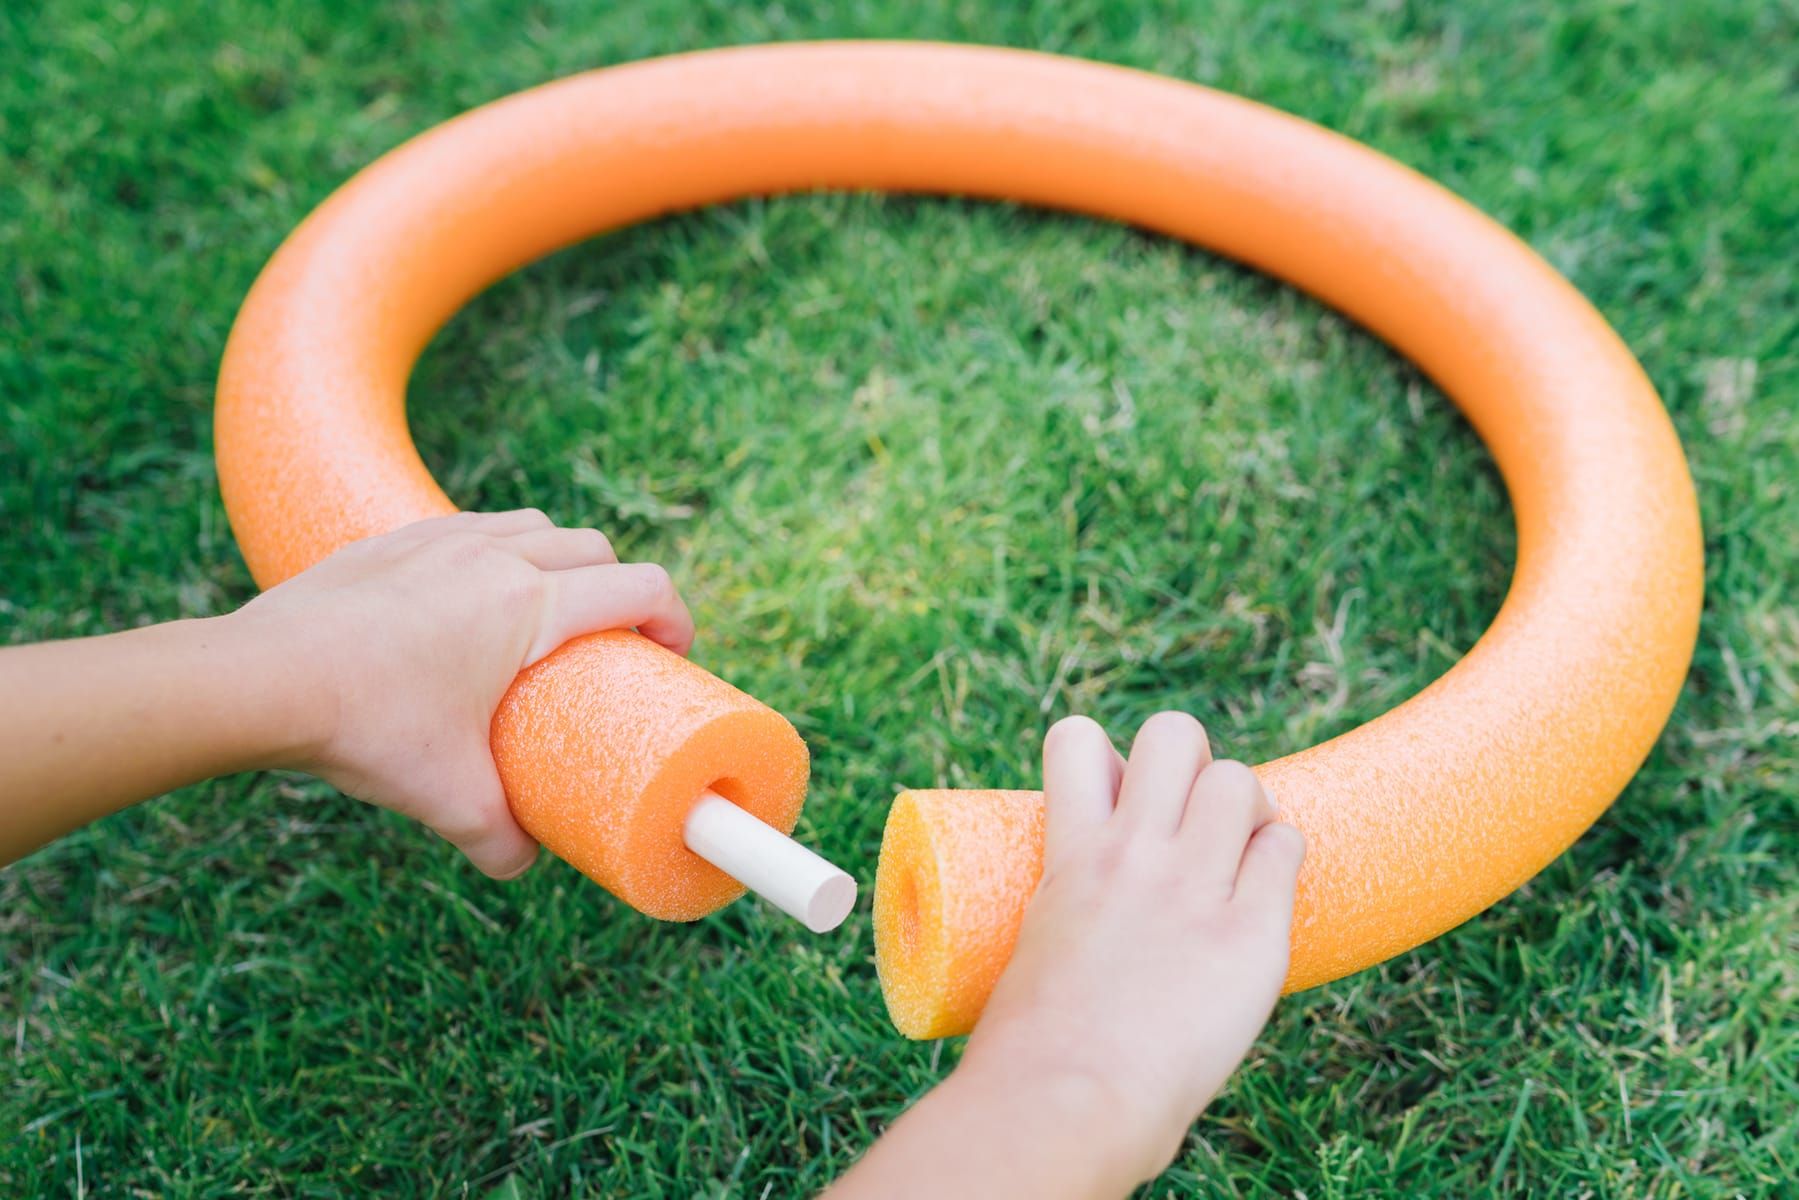
- Prepare the Base Material: Cut the cardboard or foam board into strips of equal width using scissors or a box cutter. The width of the strips will determine the size of the rings, so ensure they are uniform for consistency.
- Form the Rings: Take each strip of cardboard or foam board and form a circle by overlapping the ends and securing them with tape. You can adjust the circumference of the rings by overlapping the ends to achieve the desired size.
- Add Color and Design: Use colored markers or paint pens to decorate the rings. You can opt for vibrant hues, patterns, or even personalize each ring with unique designs. This step allows for creative expression and adds a playful flair to the game.
- Optional: Use Colorful Duct Tape: If you prefer a simpler approach, wrap the cardboard rings with colorful duct tape. This not only adds a splash of color but also reinforces the rings, making them durable for repeated use.
By following these steps, you’ll have a set of custom-made rings that are both visually appealing and functional. The personalized touch added to each ring infuses the game with a sense of individuality and creativity. With the rings completed, you’re now ready to proceed to the exciting phase of setting up the game for play.
When making a ring toss game with bottles, make sure to use bottles that are sturdy and won’t easily tip over. You can fill the bottles with sand or water to add weight and stability. Additionally, decorate the bottles to make them more visually appealing and fun to play with.
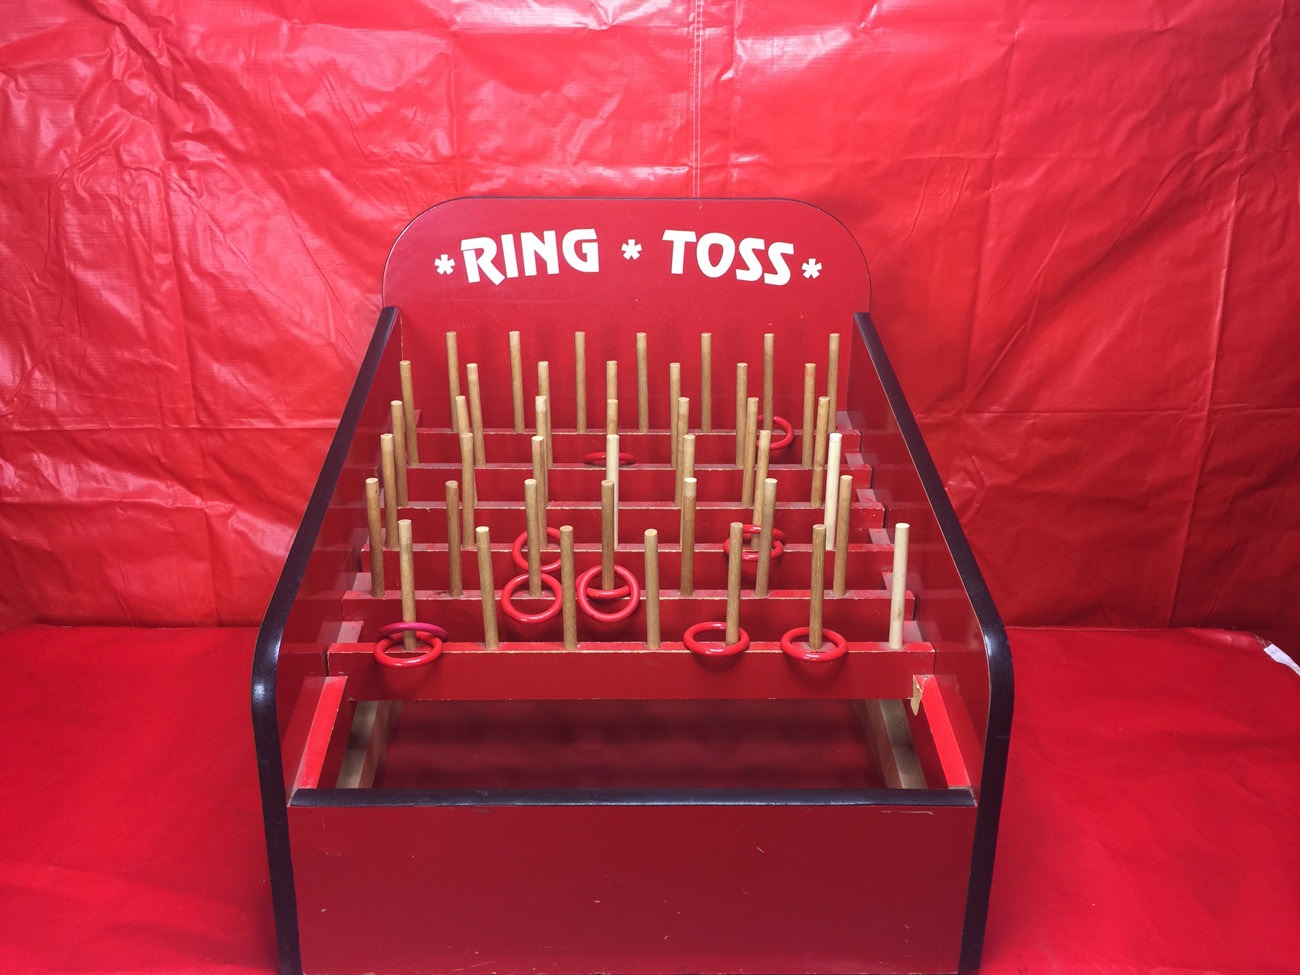
Step 3: Set Up the Game
Setting up the ring toss game is where the elements come together to create an inviting and entertaining activity for participants. This step involves arranging the prepared bottles and rings in a manner that invites engagement and excitement. Follow these guidelines to set up the game:
- Select a Playing Area: Choose a level and open outdoor space for the game setup. Ensure that there is ample room for players to toss the rings comfortably without any obstructions.
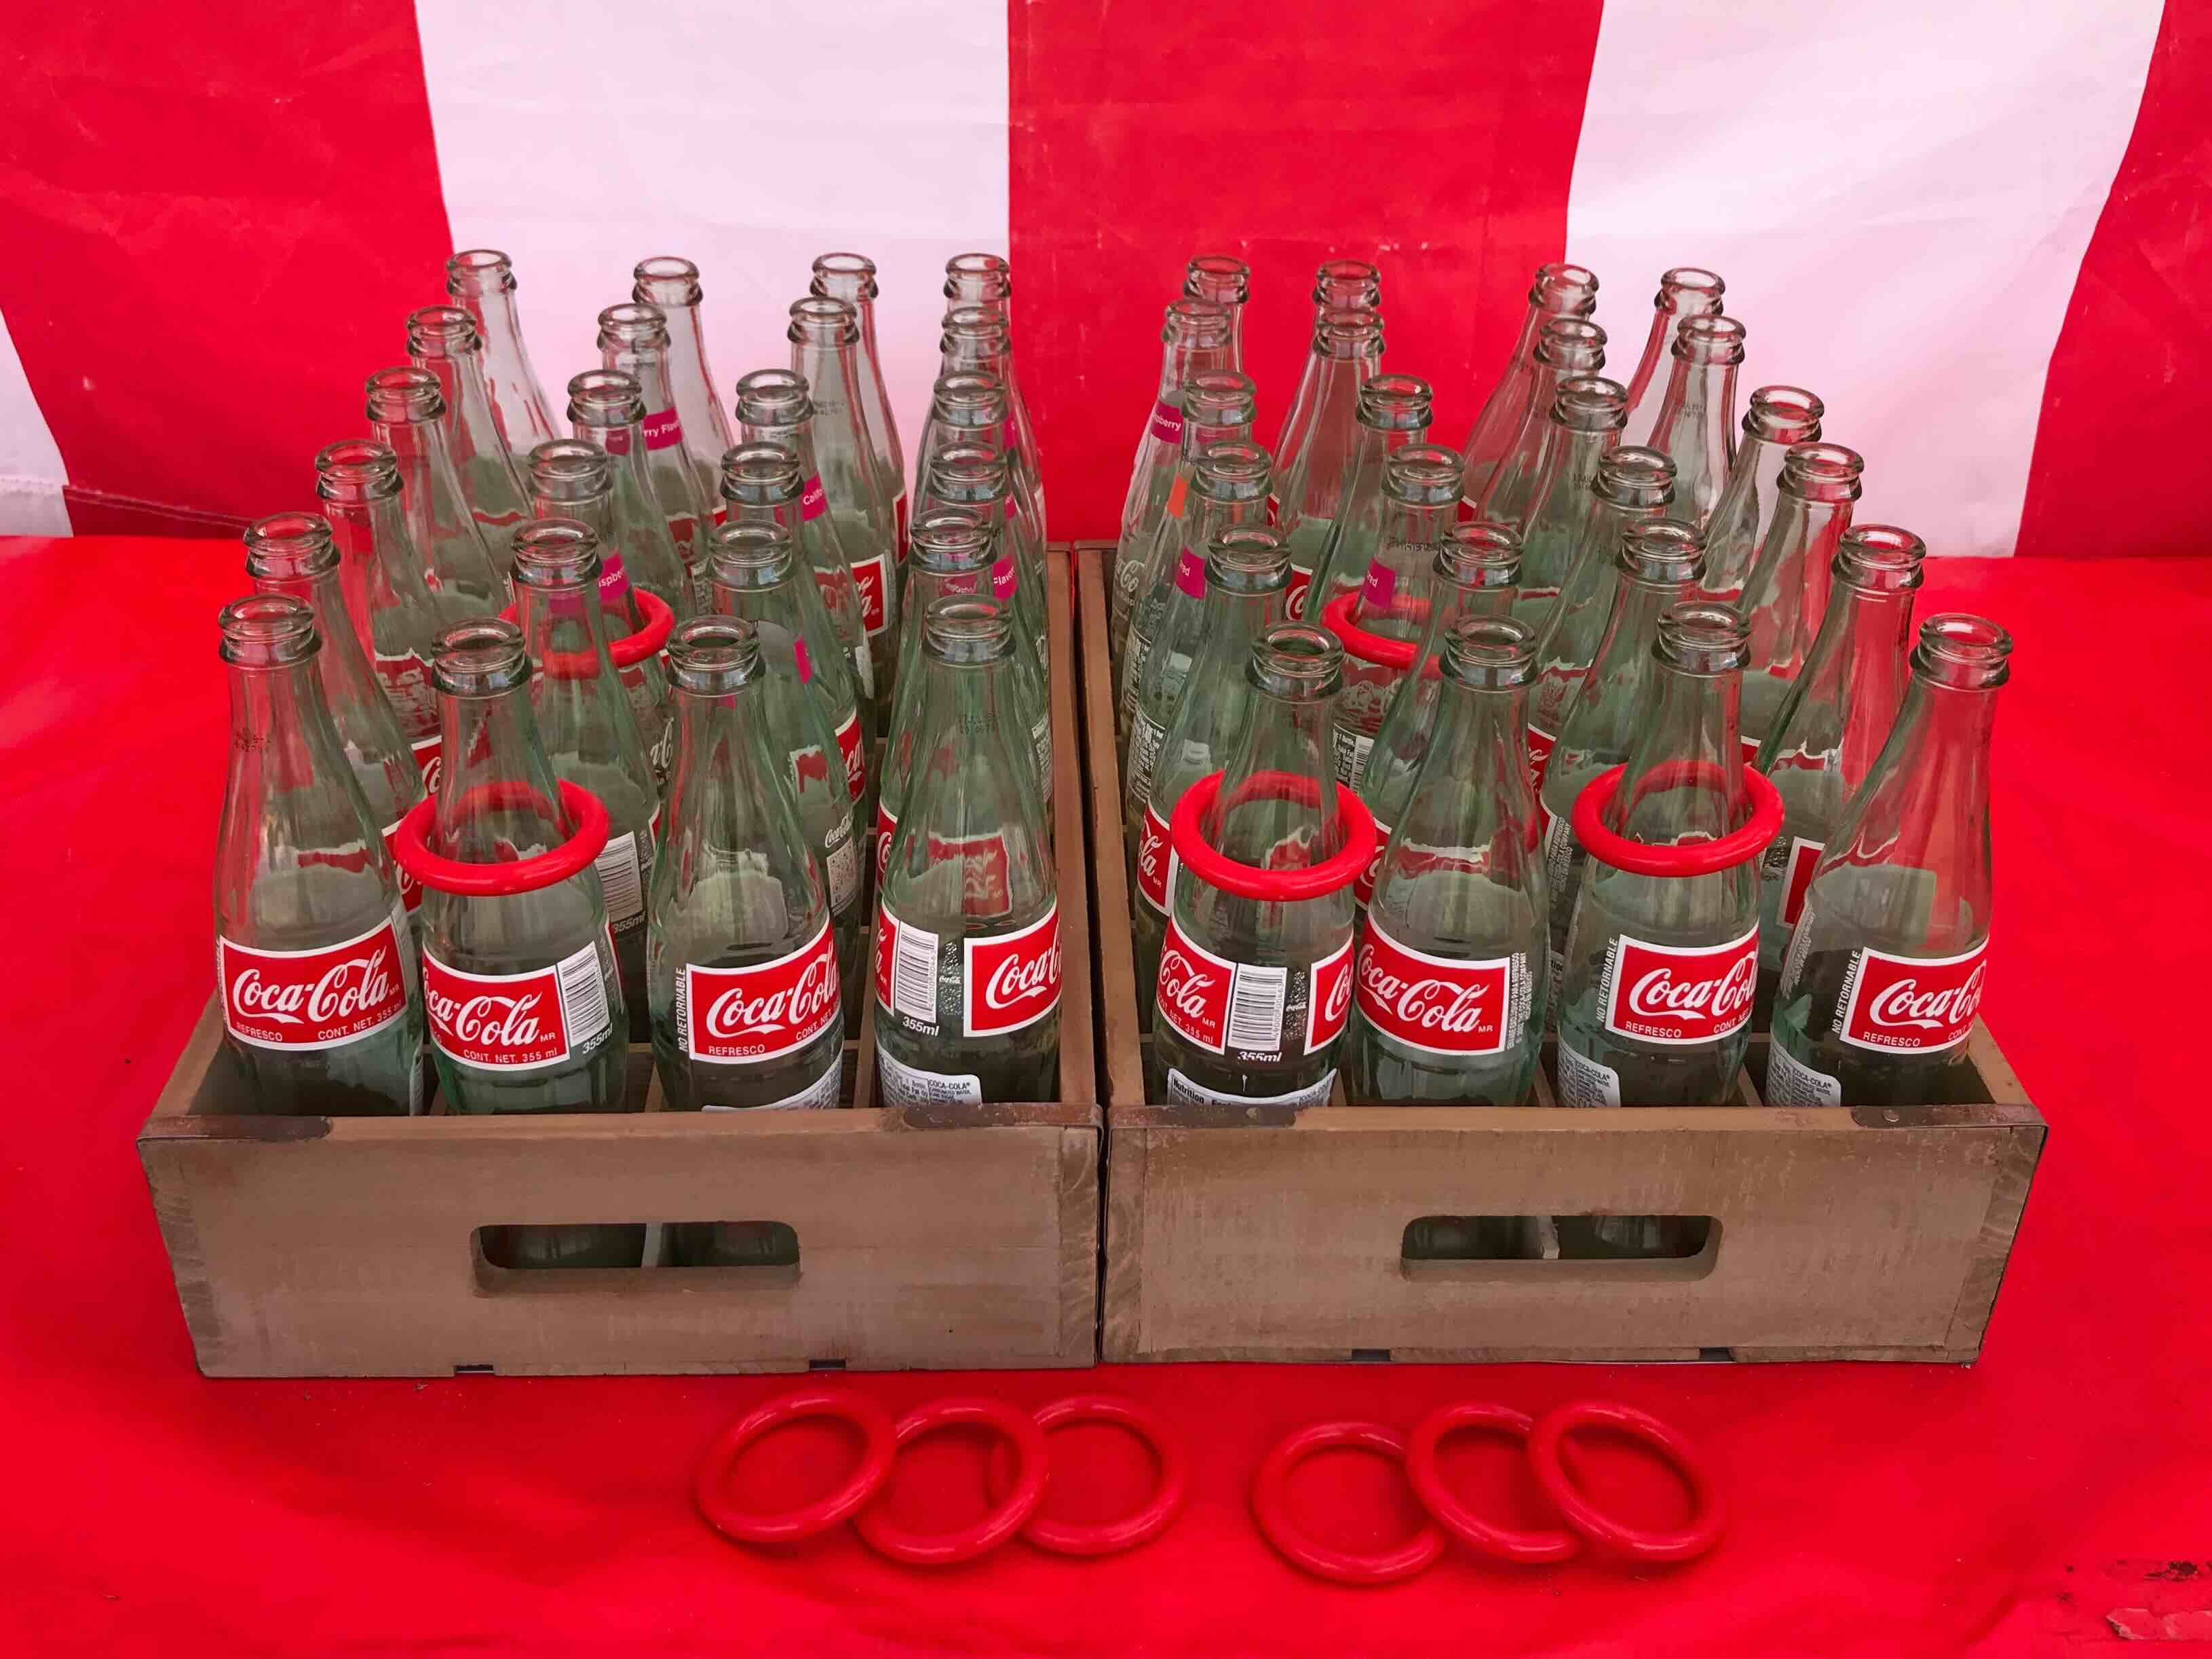
- Position the Bottles: Arrange the decorated bottles in a triangular or square formation, similar to a traditional bowling pin setup. Ensure that the bottles are evenly spaced and stable to prevent them from toppling over too easily.
- Mark the Throwing Line: Use colorful tape or chalk to mark a designated throwing line a few feet away from the bottles. This line serves as the starting point from which participants will aim and toss the rings towards the targets.
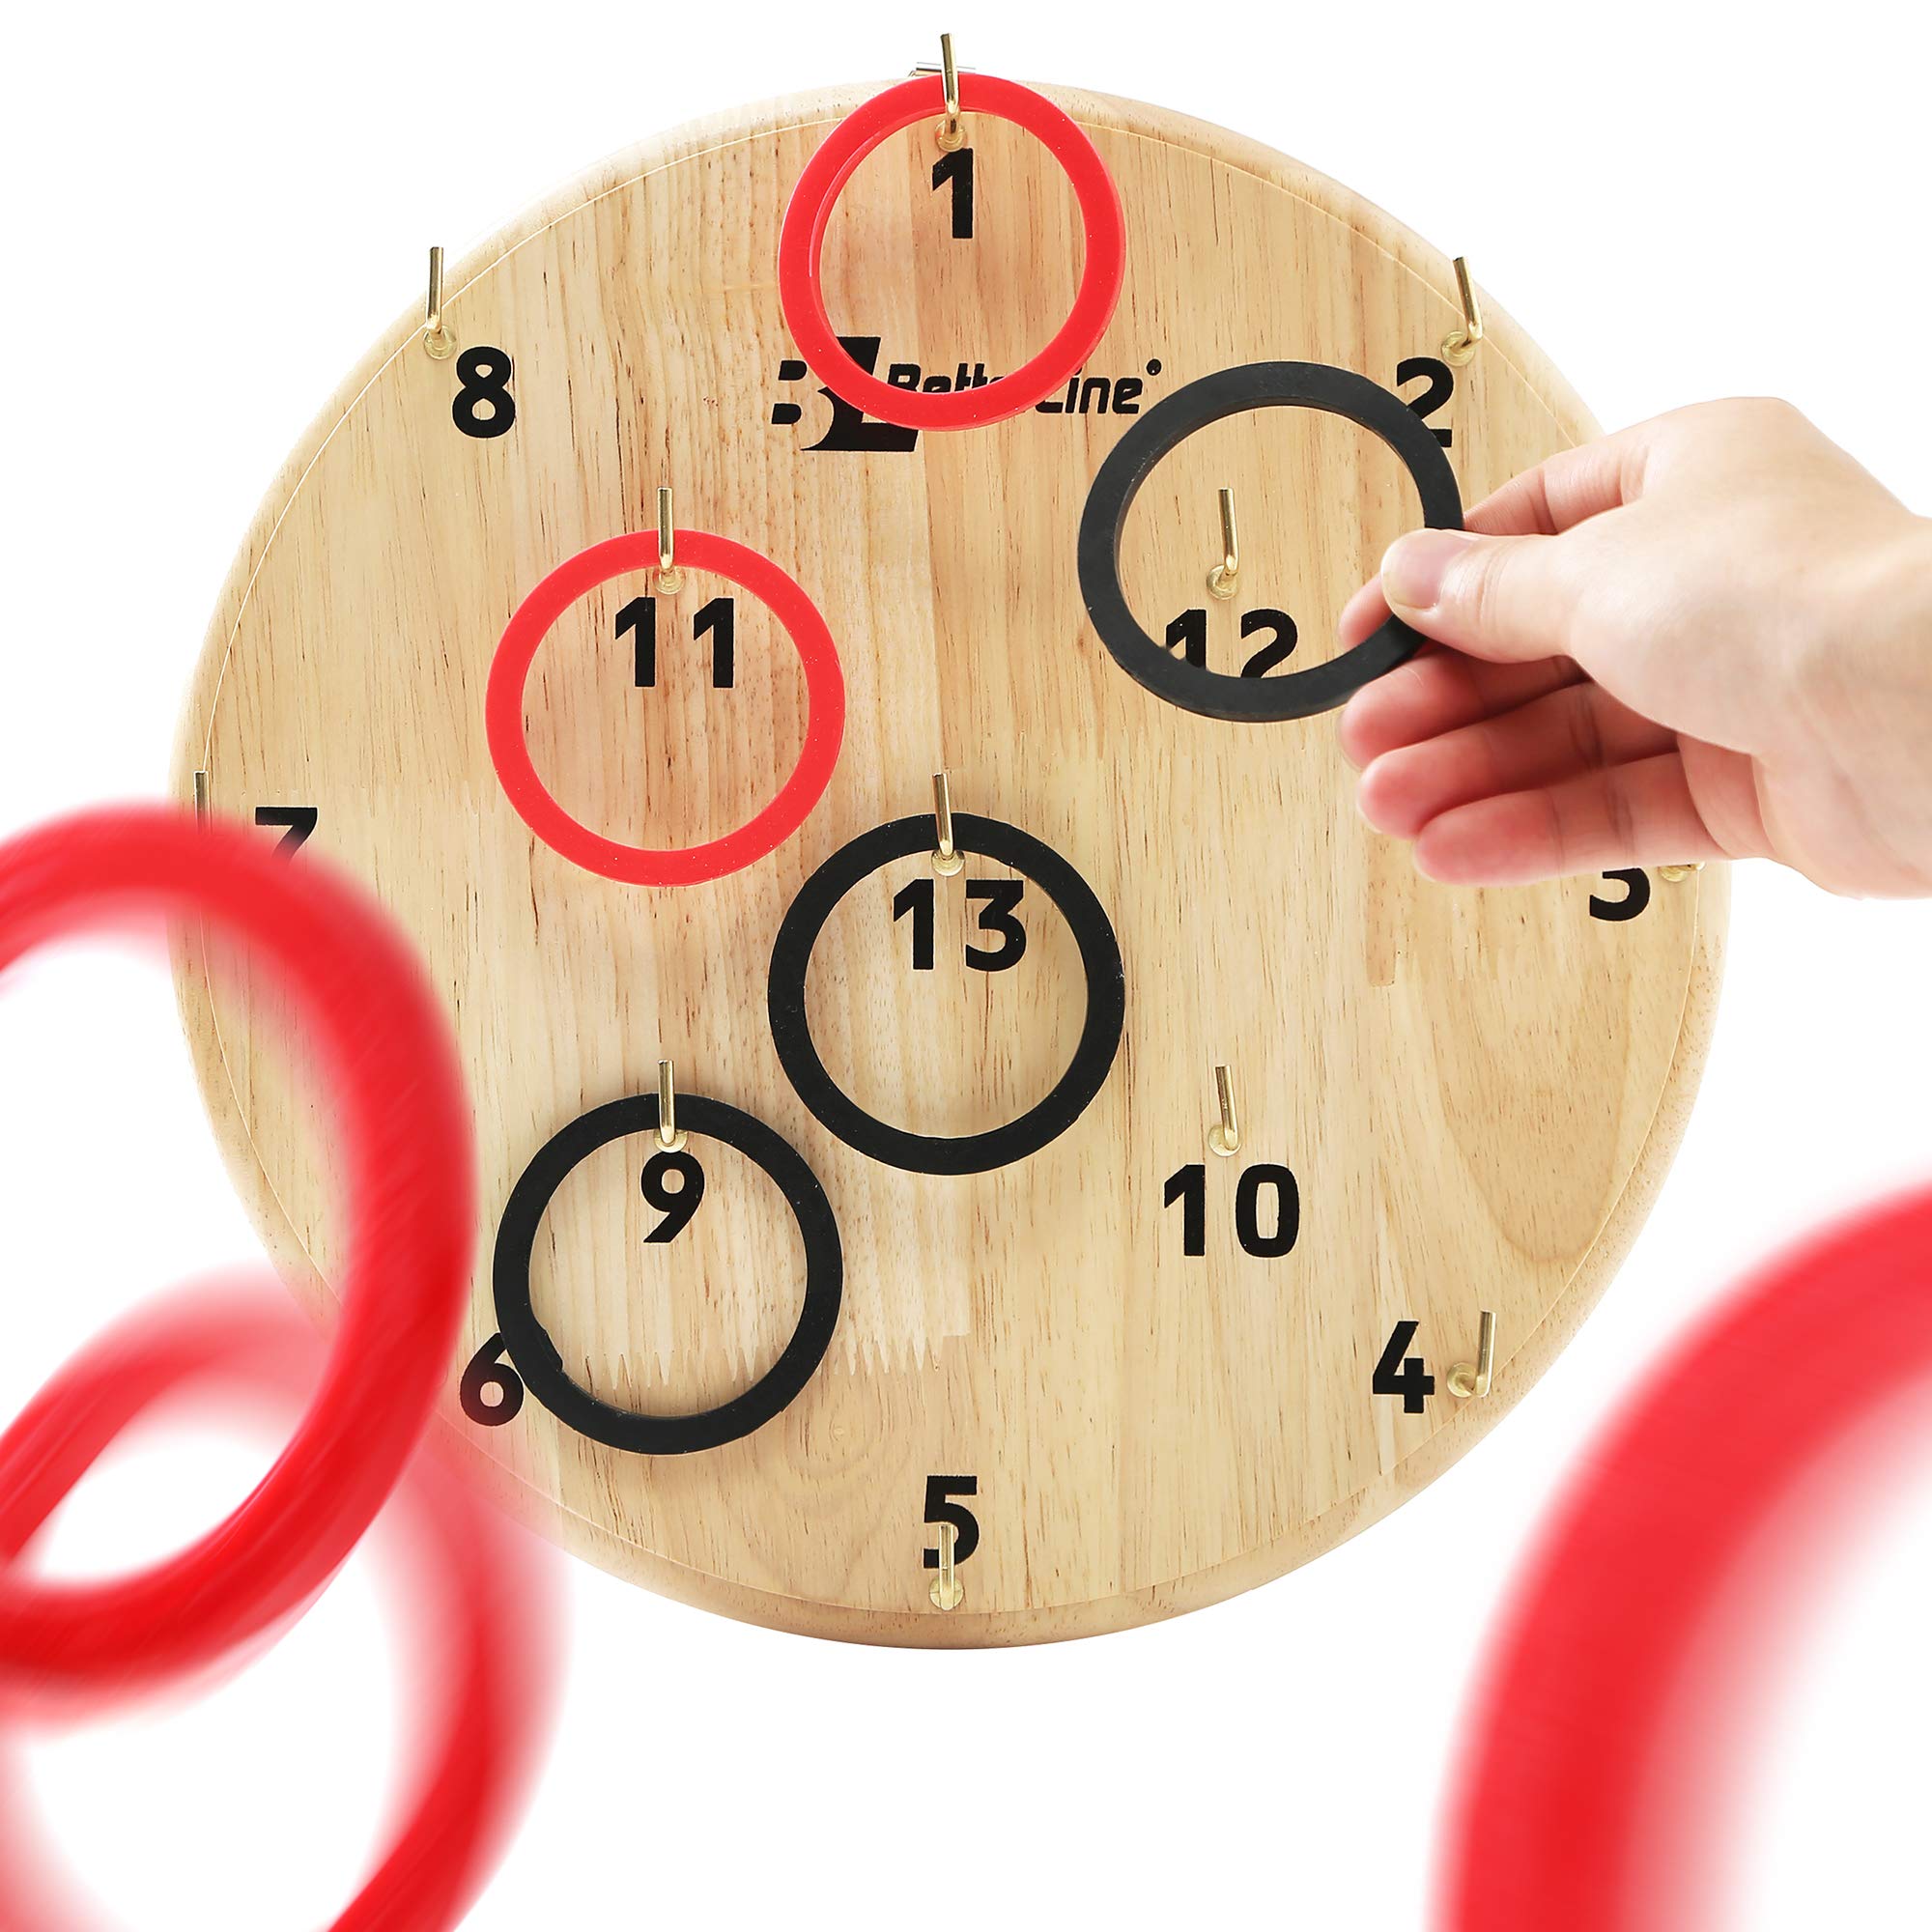
- Determine Point Values: If desired, assign point values to the bottles based on their placement. For example, the back row of bottles could yield higher points than the front row, adding an extra layer of challenge and strategy to the game.
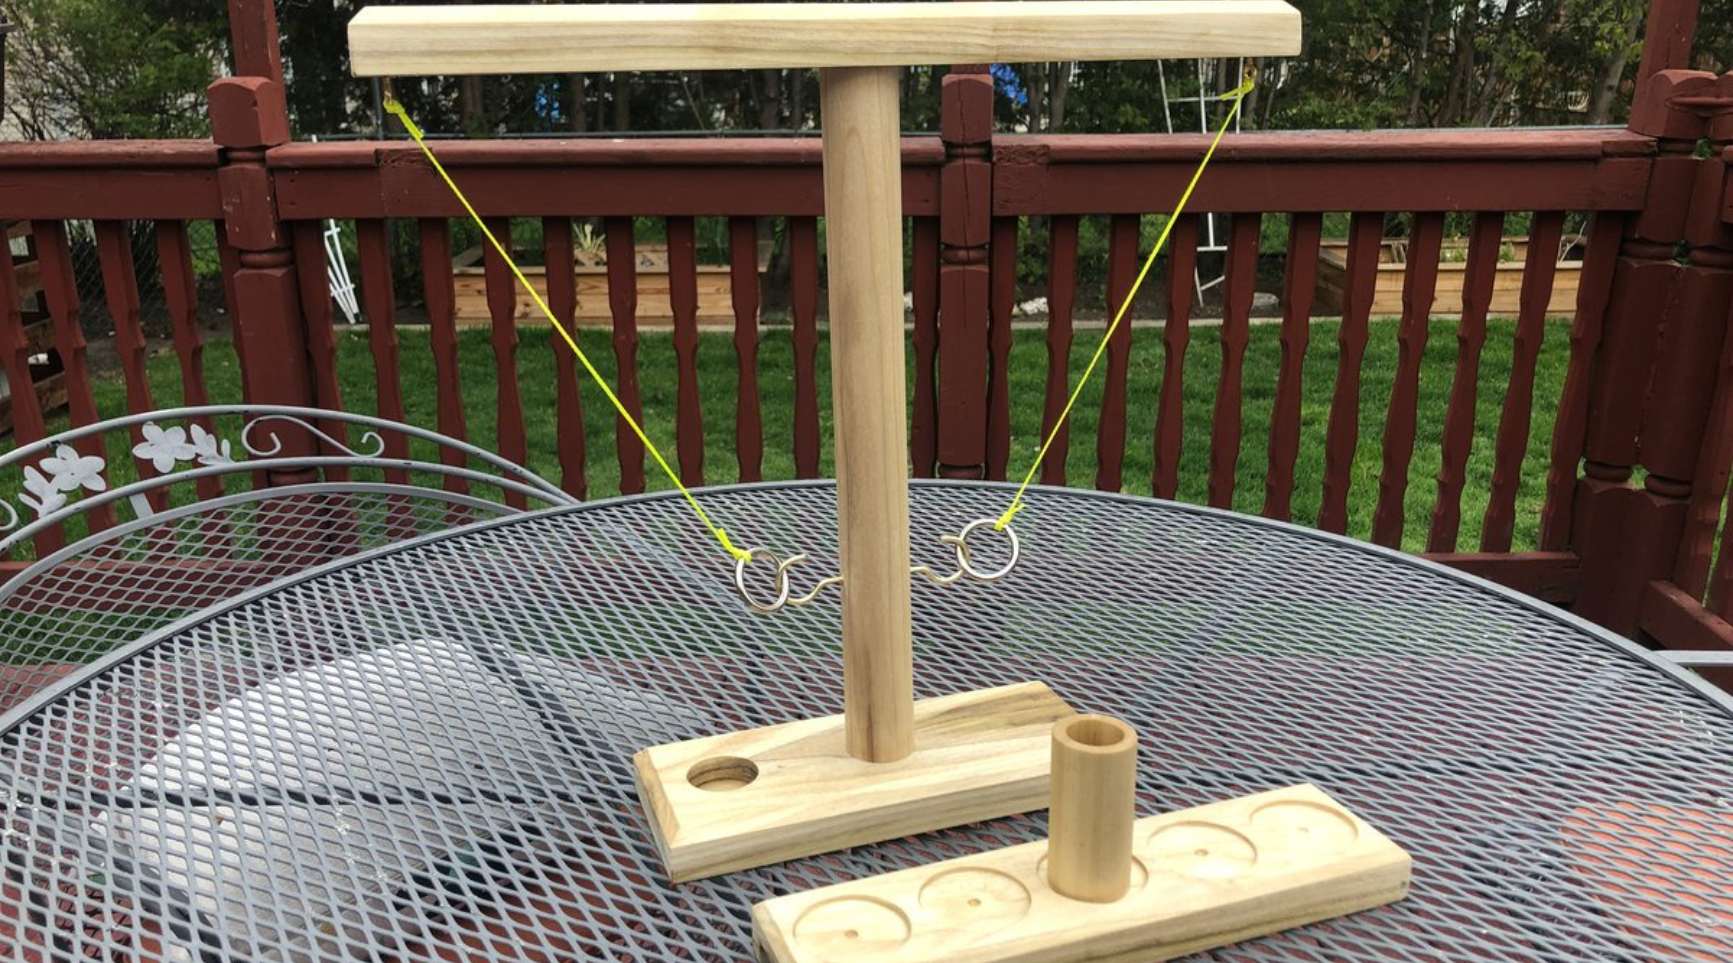
- Display the Rings: Place the crafted rings in a central location near the throwing line, ensuring easy access for players. Consider arranging them in an aesthetically pleasing manner, such as on a decorative tray or in a bucket, to enhance the visual appeal of the game setup.
By following these steps, you’ll create an enticing and well-organized game layout that beckons players to step up and test their tossing skills. The careful arrangement of the bottles and rings sets the stage for an enjoyable and immersive experience. With the game set up, it’s time to move on to the eagerly anticipated phase of playing and enjoying the ring toss game.
Read more: How To Make A Ring Toss Game
Step 4: Play and Enjoy
With the game meticulously set up, it’s time to immerse yourself and your fellow participants in the joyous experience of playing the ring toss game. This step marks the culmination of your efforts, offering a lively and engaging activity for all involved. Follow these suggestions to ensure a memorable and enjoyable gameplay:
- Explain the Rules: Before commencing the game, outline the rules and objectives to all participants. Clarify the point system, throwing technique, and any specific guidelines to ensure a fair and fun-filled experience for everyone.
- Take Turns Tossing: Establish a turn-based system, allowing each player to step up to the throwing line and attempt to ring the bottles. Encourage friendly competition and support among participants as they take their shots.
- Celebrate Successful Throws: When a player successfully rings a bottle, celebrate their achievement with applause and encouragement. Acknowledge their skill and accuracy, fostering a positive and uplifting atmosphere throughout the game.
- Keep Score: Record each player’s points as they successfully ring the bottles. This adds an element of friendly competition and allows participants to track their progress, creating an engaging and interactive experience.
- Embrace Laughter and Camaraderie: Encourage lighthearted banter, laughter, and camaraderie among players. The joyous ambiance adds to the overall experience, creating cherished memories and fostering a sense of togetherness.
As the game unfolds, revel in the shared moments of excitement and accomplishment. Whether it’s a family gathering, a social event, or a casual get-together, the ring toss game serves as a delightful avenue for bonding and merriment. Embrace the laughter, friendly competition, and jubilant spirit that permeate the air as participants engage in this beloved outdoor activity.
By following these steps, you’ll ensure that the ring toss game becomes a highlight of any outdoor gathering, captivating participants and leaving them with cherished memories of shared joy and camaraderie. With the game thoroughly enjoyed, it’s time to reflect on the experience and consider the lasting impact of this engaging outdoor pastime.
Conclusion
Creating a ring toss game with bottles is not just a recreational activity; it’s a journey that culminates in shared moments of joy, laughter, and friendly competition. As you reflect on the process of transforming ordinary materials into a vibrant and engaging game, it becomes evident that the true essence of this endeavor lies in the connections forged and the memories created.
By repurposing simple items such as plastic bottles and cardboard into a source of entertainment, you’ve not only showcased your creativity but also fostered an environment where individuals of all ages can come together and revel in the simple pleasures of outdoor play. The act of preparing the bottles, crafting the rings, and setting up the game has not only resulted in a tangible activity but has also laid the groundwork for cherished experiences and lasting bonds.
As the game unfolds and participants immerse themselves in the delightful challenge of tossing rings onto the colorful targets, the air is filled with laughter, encouragement, and the unmistakable sound of camaraderie. Each successful ring toss becomes a cause for celebration, and each missed attempt is met with good-natured banter and support. Through it all, the game serves as a conduit for shared moments of joy and connection.
Whether it’s a family gathering, a community event, or a casual afternoon in the backyard, the ring toss game transcends its simple origins, becoming a symbol of togetherness and shared delight. The memories created during the game extend far beyond the activity itself, leaving a lasting imprint on the hearts of all involved.
So, as you embark on the journey of creating your very own ring toss game with bottles, remember that you’re not just assembling a recreational activity – you’re crafting moments of pure, unbridled joy. Embrace the process, relish the gameplay, and cherish the connections forged along the way. The ring toss game is more than just a game; it’s a testament to the power of simple pleasures and the enduring magic of shared experiences.
Frequently Asked Questions about How To Make A Ring Toss Game With Bottles
Was this page helpful?
At Storables.com, we guarantee accurate and reliable information. Our content, validated by Expert Board Contributors, is crafted following stringent Editorial Policies. We're committed to providing you with well-researched, expert-backed insights for all your informational needs.


0 thoughts on “How To Make A Ring Toss Game With Bottles”