Home>Furniture>Bedroom Furniture>How To Find An Air Mattress Hole
Bedroom Furniture
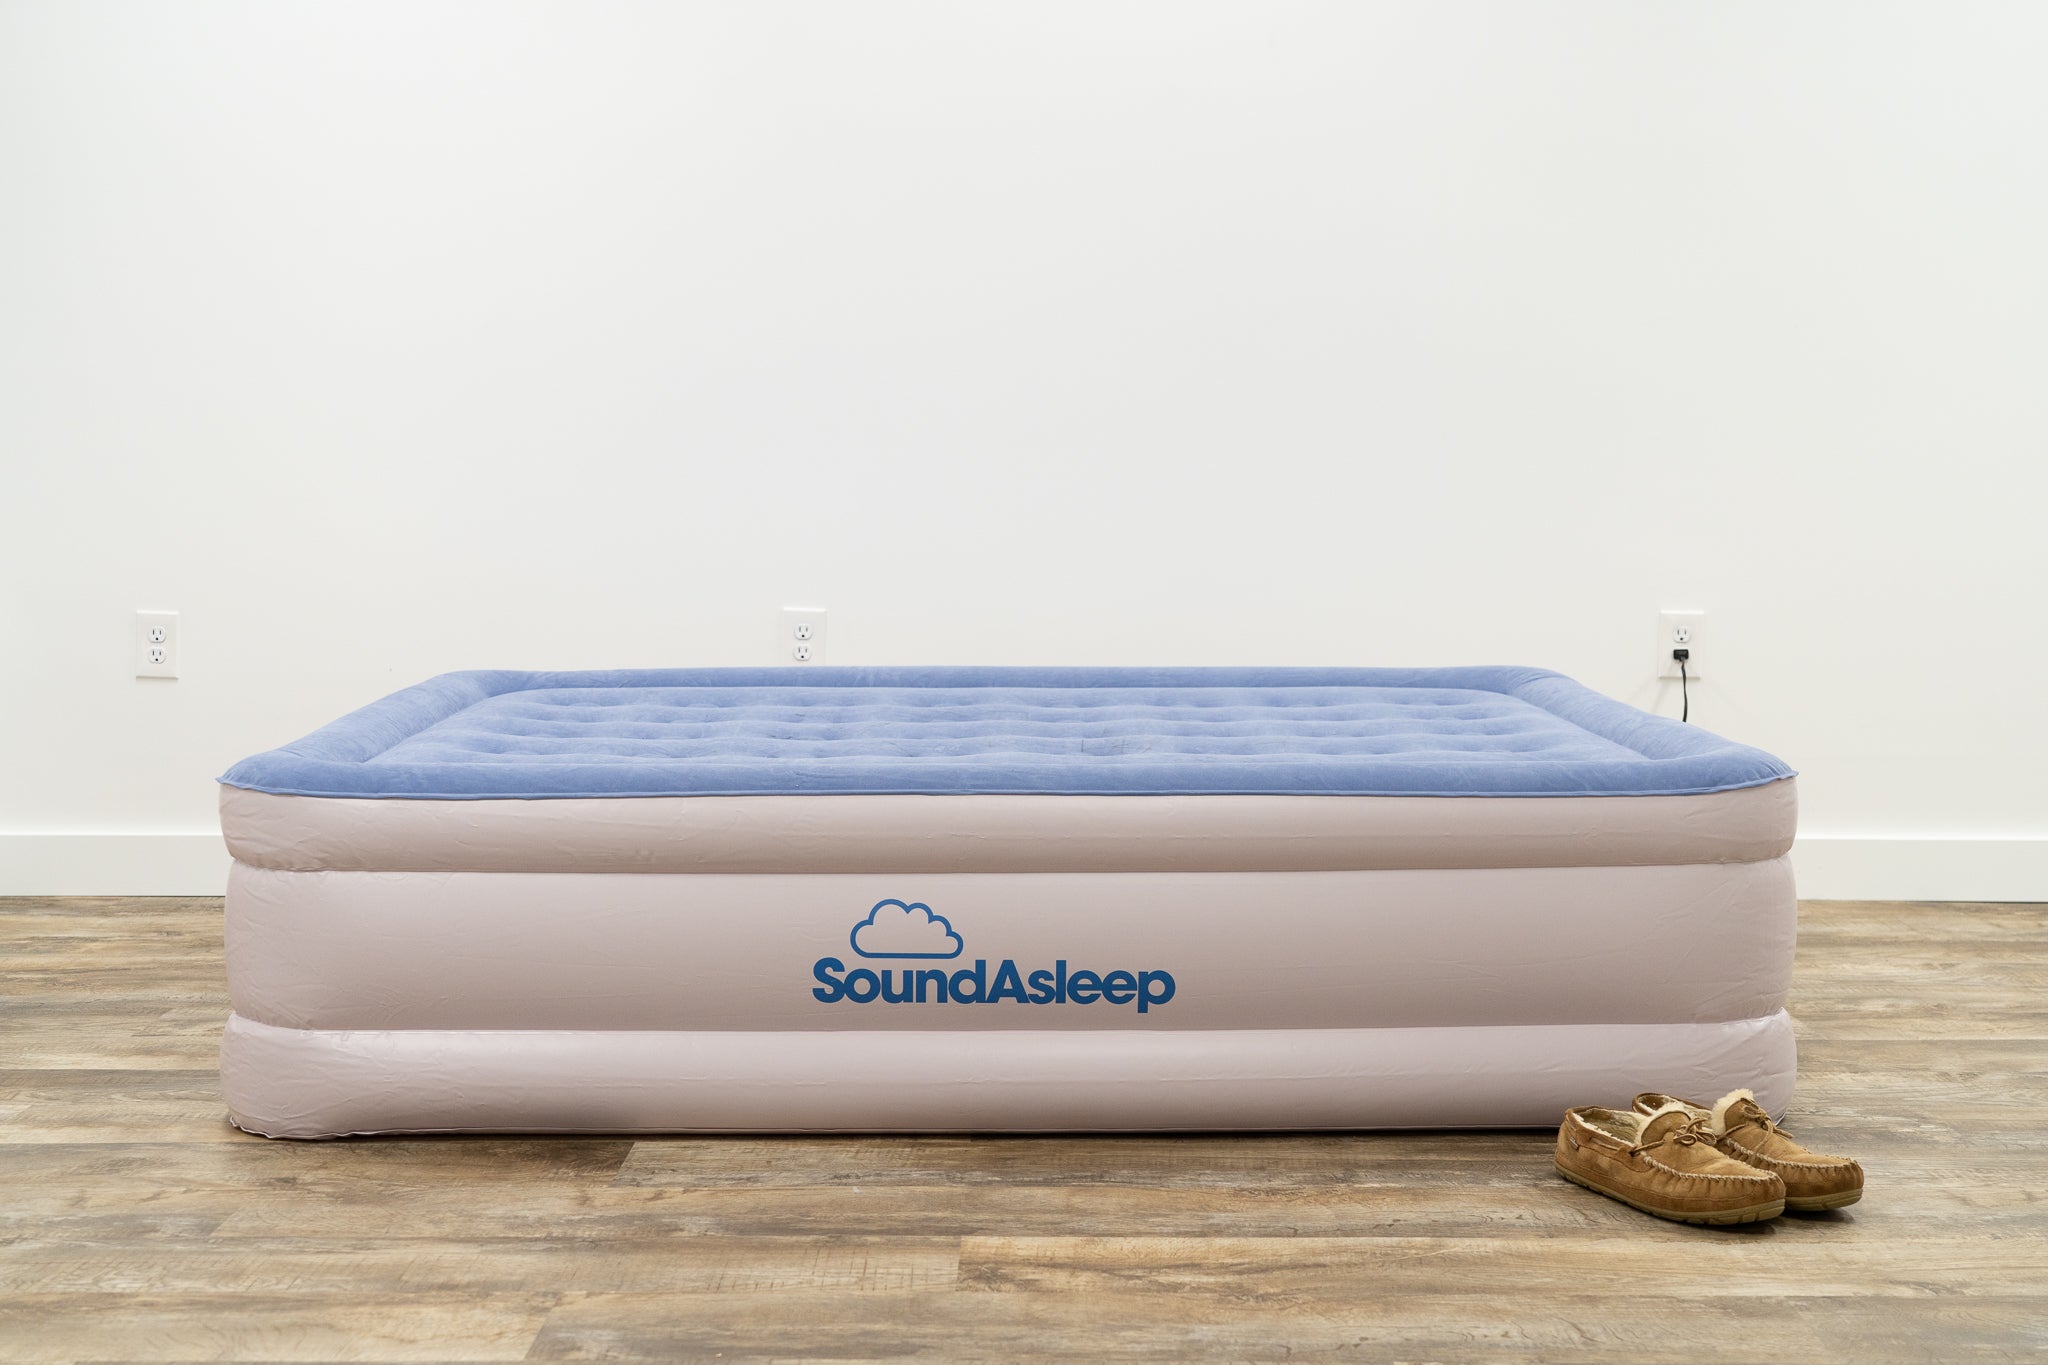
How To Find An Air Mattress Hole
Modified: October 21, 2024
"Learn how to easily locate and fix a hole in an air mattress with our step-by-step guide. Find the perfect solution to your bedroom furniture problem."
(Many of the links in this article redirect to a specific reviewed product. Your purchase of these products through affiliate links helps to generate commission for Storables.com, at no extra cost. Learn more)
Introduction
Welcome to this comprehensive guide on how to find an air mattress hole. Whether you’re an avid camper, a frequent guest at friends’ houses, or simply enjoy the comfort of an air mattress for a good night’s sleep, discovering a leak can be quite frustrating. A deflated air mattress not only ruins your sleeping experience but also requires immediate attention to prevent further damage.
In this article, we’ll walk you through a step-by-step process of finding and repairing an air mattress hole. By following these simple steps, you’ll be able to locate the source of the leak and successfully fix it, extending the lifespan of your mattress and ensuring many peaceful nights of sleep.
Before we dive into the details, let’s take a moment to gather the necessary tools for this task.
Key Takeaways:
- Easily locate and repair air mattress holes using simple tools like soap and water, marker, and patch kit. Follow step-by-step instructions to find leaks, patch them up, and enjoy uninterrupted sleep.
- Prevent frustration from deflated air mattresses by proactively checking for leaks, properly maintaining, and storing the mattress. With the right tools and techniques, you can easily locate and repair air mattress holes, ensuring peaceful sleep.
Read more: How To Plug A Hole In An Air Mattress
Step 1: Gather the necessary tools
Before you begin the process of finding and fixing an air mattress hole, it’s essential to gather the following tools:
- Soap and water solution: This is a simple mixture of liquid dish soap and water. It will help you identify leaks by creating bubbles when applied to the surface of the mattress.
- Towel or cloth: You’ll need this to dry off the mattress after applying the soap and water solution.
- Marker or pen: This will be used to mark the location of the hole for later repair.
- Patch kit: If you’ve purchased an air mattress that came with a patch kit, make sure to have it on hand. If not, you can find patch kits specifically designed for air mattresses at most camping supply stores or online.
- Air pump: To inflate the mattress and test for leaks, you’ll need an air pump. Ensure that it’s fully functional and compatible with your air mattress valve.
Once you have gathered these tools, you’re ready to move on to the next step: inflating the air mattress.
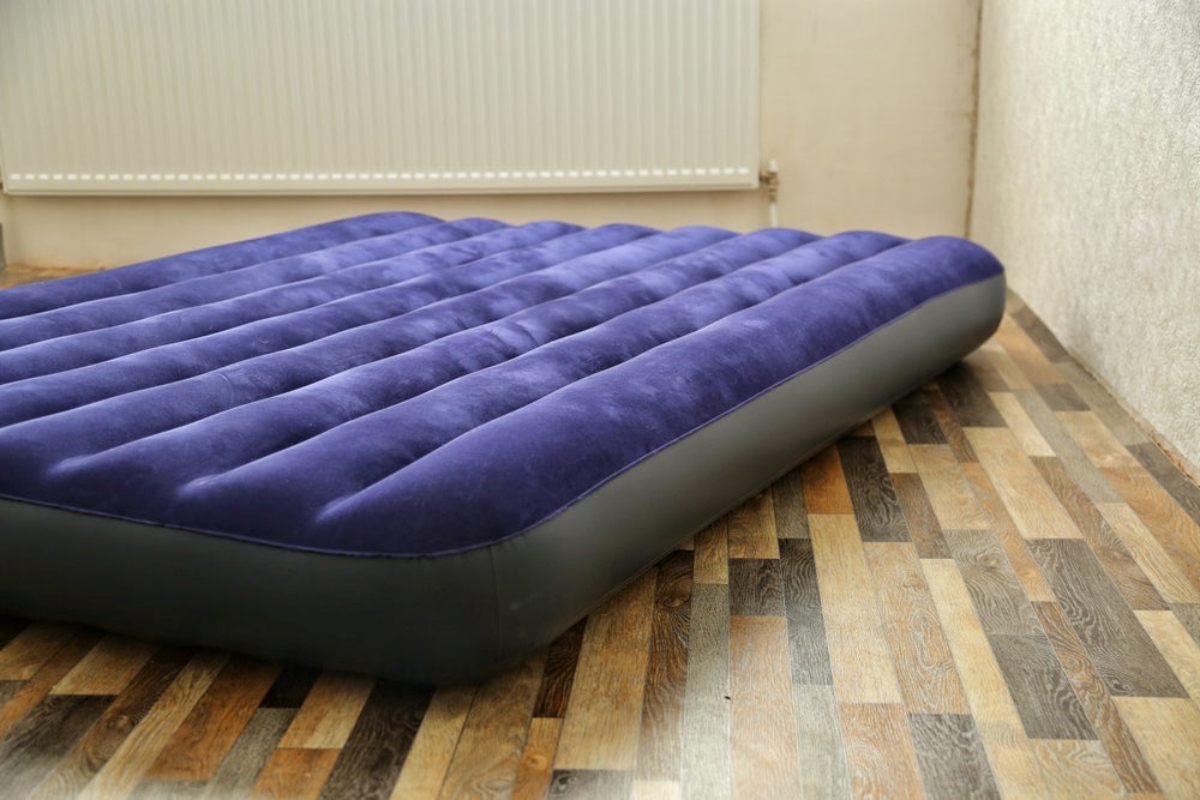
Step 2: Inflate the air mattress
Before you can begin the process of locating the air mattress hole, you’ll need to ensure that the mattress is fully inflated. Follow these steps to properly inflate your mattress:
- Locate the valve on your air mattress. It is usually located on the side or the top of the mattress.
- Ensure the valve is closed securely. If it has a cap, make sure it is tightly sealed.
- Attach the air pump nozzle to the valve securely. Make sure there are no air leaks between the nozzle and the valve.
- Begin pumping air into the mattress using the air pump. Inflate it to its maximum capacity or to your desired level of firmness.
- Once fully inflated, close the valve to prevent air from escaping.
With your air mattress now fully inflated, you’re ready to move on to the next step: listening for the hissing sound.
Step 3: Listen for the hissing sound
Now that your air mattress is fully inflated, it’s time to start the process of locating the air mattress hole. The first technique involves listening for the hissing sound of escaping air.
- Find a quiet and tranquil environment where external noise won’t interfere with your ability to hear the air escaping.
- Position yourself close to the mattress and remain still for a few moments to allow your ears to adjust.
- Slowly move your ear along the surface of the mattress, paying close attention for the distinct sound of air hissing.
- If you hear a hissing sound, pinpoint the area where the sound is the strongest. This will help you identify the general location of the hole.
Listening for the hissing sound can be an effective way to locate smaller holes or punctures in your air mattress. However, if you don’t hear a distinct sound or the leak is too minimal to detect audibly, you’ll need to move on to the next step: using a soap and water solution.
Step 4: Use soap and water solution
If you were unable to locate the air mattress hole by listening for the hissing sound, don’t worry. The next technique involves using a soap and water solution to create visible bubbles and identify the leak more accurately.
- In a bowl or container, mix a small amount of liquid dish soap with water to create a soapy solution.
- Dip a cloth or your fingers into the solution and apply it to the surface of the inflated air mattress.
- Pay close attention to the seams, valve, and any suspicious areas where a hole may be present.
- Observe the surface of the mattress for any bubbling or foaming action. These bubbles indicate a leak.
- If you notice bubbles forming in a specific area, mark that spot using a marker or pen for later repair.
The soap and water solution technique helps to visibly identify the location of the air mattress hole, especially for smaller and less audible leaks. Once you have marked the spot, you can move on to the next step: inspecting the mattress seams.
To find a hole in an air mattress, inflate the mattress fully and then run your hand along the surface, feeling for any escaping air. You can also listen for a hissing sound to locate the hole. Once found, mark the area and patch it with a repair kit.
Read more: How To Find A Hole In A Bounce House
Step 5: Inspect the mattress seams
Now that you have identified the general location of the air mattress hole using the soap and water solution, it’s time to focus your inspection on the mattress seams. The seams are often a common area for leaks to occur, so thorough examination is crucial.
- Using your hands, carefully run your fingers along the seams of the air mattress.
- Feel for any irregularities, such as cuts, tears, or punctures in the material.
- Pay close attention to any areas that appear weak or where the seams appear to be coming apart.
- If you detect any visible damage or suspect a hole in the seam, mark it with a marker or pen.
It’s important to note that while inspecting the seams, you should also check other areas of the mattress surface, especially if you did not locate the hole during the soap and water solution test. Leaks can occur anywhere on the mattress, so a thorough inspection is crucial for finding the air mattress hole.
Once you have inspected the seams and identified the potential hole location, it’s time to move on to the next step: marking the location of the hole.
Step 6: Mark the location of the hole
Now that you have identified the potential air mattress hole, it’s important to mark its exact location for later repair. Marking the hole ensures that you can easily find it once you are ready to patch it up.
- Take a marker or pen and make a clear and visible mark around the area where the hole is located. It’s best to make a circle or square shape around the hole to provide a clear reference point.
- Make sure the mark is large enough to be easily seen but not too big that it covers a significant portion of the mattress surface.
- If you have multiple potential holes, ensure that each one is clearly marked so that you can address them accordingly.
By marking the location of the air mattress hole, you can now move on to the next step: patching up the hole and restoring the mattress to its full functionality.
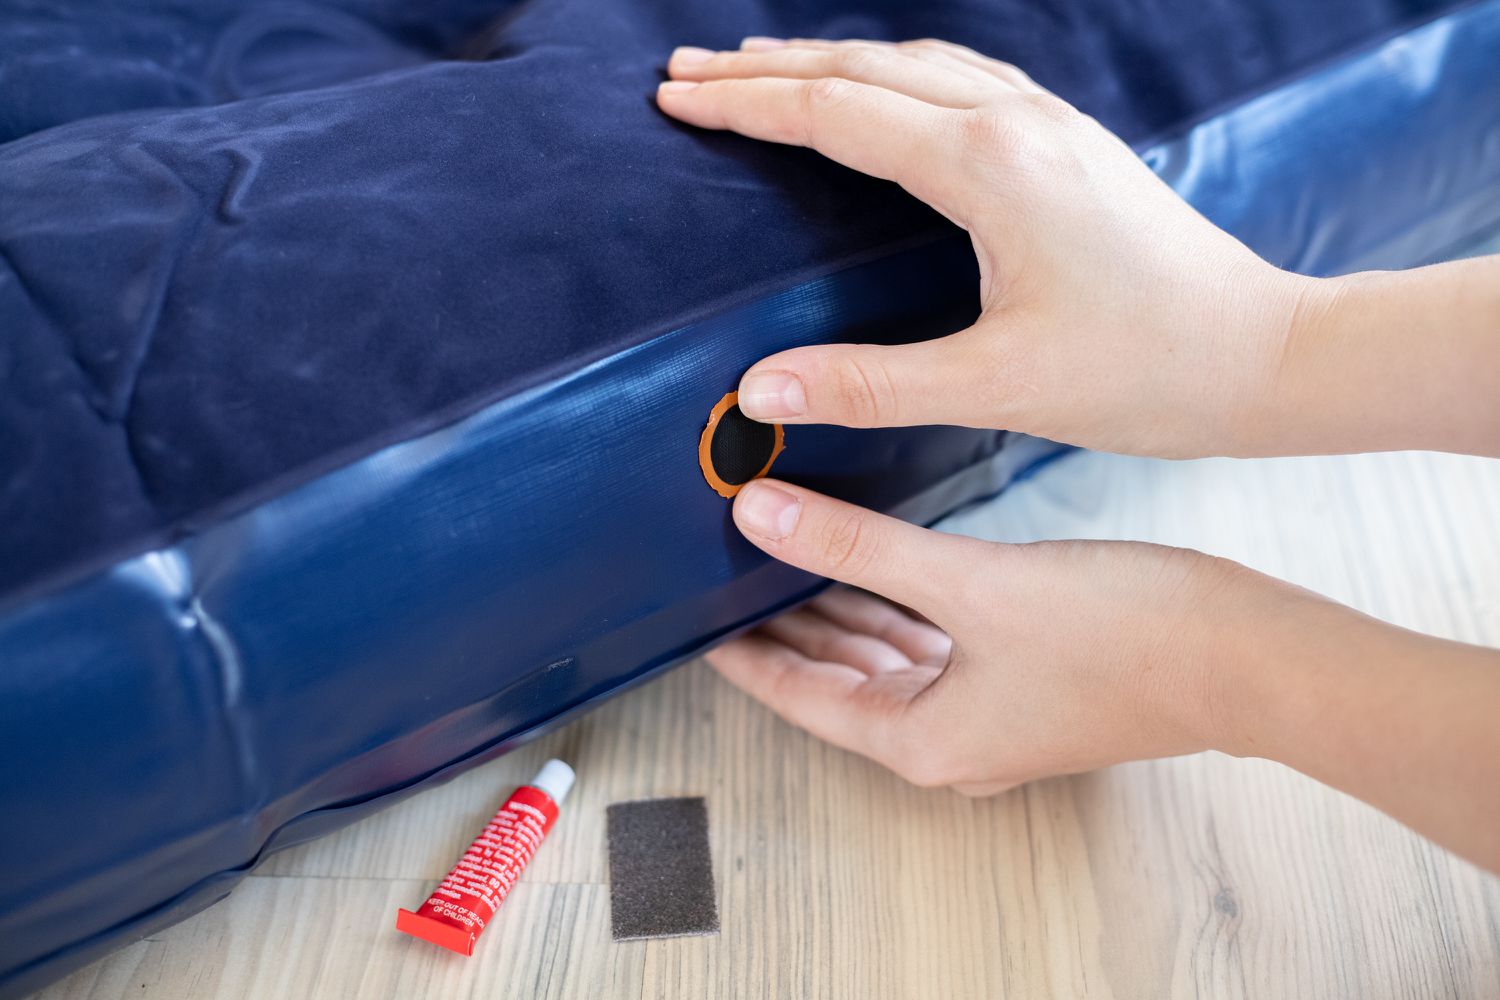
Step 7: Patch the air mattress hole
Now that you have located and marked the air mattress hole, it’s time to patch it up to restore the integrity of the mattress. Follow these steps to successfully repair the hole:
- Ensure that the area around the marked hole is clean and dry. Use a towel or cloth to remove any moisture.
- Take out your patch kit. Most patch kits include a patch and adhesive.
- Cut a patch from the kit that is slightly larger than the hole. This will provide adequate coverage for a secure repair.
- Apply the adhesive to the back of the patch, following the instructions provided in the patch kit.
- Carefully place the patch over the marked hole, pressing firmly to ensure proper adhesion.
- Hold the patch in place for the recommended amount of time specified in the patch kit instructions, allowing the adhesive to fully bond.
- Once the patch is securely in place, gently smooth out any air bubbles or wrinkles.
- Let the adhesive cure and dry completely before moving on to the next step.
By following these steps and properly applying the patch, you can effectively seal the air mattress hole and prevent any further air leakage.
With the air mattress hole patched up, it’s time for the final step: inflating and testing the mattress.
Step 8: Inflate and test the air mattress
Now that you have successfully patched the air mattress hole, it’s crucial to ensure that the repair was effective and that the mattress is holding up properly. Follow these final steps to inflate and test the air mattress:
- Ensure that the valve is securely closed, and the patch is dry and fully bonded to the mattress surface.
- Attach the air pump nozzle to the valve and begin inflating the mattress.
- Inflate the mattress to its maximum capacity or to your desired level of firmness.
- Once fully inflated, close the valve tightly to prevent any air leaks.
- Observe the mattress for a significant period, ideally overnight, to see if any deflation occurs.
- If the mattress remains fully inflated without any noticeable air loss, this indicates that the patch was successful, and the mattress is now ready for use.
- If you notice any signs of air leakage or deflation, check the patched area again for any flaws or inadequate bonding.
- If necessary, repeat the patching process or consider seeking professional repair services if the hole is too large or difficult to fix.
By performing the inflation and testing process, you can ensure that your air mattress is properly repaired and ready to provide a comfortable and leak-free sleeping surface.
Congratulations! You have successfully found and fixed the air mattress hole, saving yourself from the frustration of a deflated mattress. Remember to keep your patch kit handy for any future repair needs that may arise.
With your air mattress now in great condition, you can enjoy many nights of peaceful and restful sleep, whether at home or during your outdoor adventures.
Happy sleeping!
Read more: How To Find A Hole In An Inflatable Hot Tub
Conclusion
Discovering a hole or leak in your air mattress can be a frustrating experience, but with the right tools and techniques, you can easily locate and repair the problem. By following the step-by-step process outlined in this guide, you can effectively find the air mattress hole and patch it up, restoring the mattress to its full functionality.
Remember, it’s important to gather the necessary tools, including a soap and water solution, marker or pen, towel, and patch kit. Inflating the mattress and listening for the hissing sound can be the first steps in locating the hole. If these methods don’t work, using a soap and water solution can help reveal the location of smaller, less audible leaks. Additionally, inspecting the seams and marking the hole’s location are crucial for efficient repair.
Once you’ve identified the hole, patching it up properly with a patch kit and allowing the adhesive to dry completely is essential. Finally, inflate and test the mattress to ensure the repair was successful. If the mattress holds up without any air loss, you can rest assured knowing you’ve fixed the air mattress hole.
By following these steps and being prepared with the necessary tools, you can save yourself from the inconvenience of a deflated air mattress and enjoy comfortable and uninterrupted sleep.
Remember, taking proactive measures such as regularly checking for leaks, proper maintenance, and storing the mattress correctly can also help prevent future holes and extend the lifespan of your air mattress.
Now, armed with the knowledge and skills to find and fix an air mattress hole, you can confidently embark on your camping trips, accommodate guests with ease, or simply enjoy the comfort of your air mattress at home.
Sleep tight!
Frequently Asked Questions about How To Find An Air Mattress Hole
Was this page helpful?
At Storables.com, we guarantee accurate and reliable information. Our content, validated by Expert Board Contributors, is crafted following stringent Editorial Policies. We're committed to providing you with well-researched, expert-backed insights for all your informational needs.