Home>Gardening & Outdoor>Outdoor Recreation & Activities>How To Make A Swimming Pool From A Stock Tank
Outdoor Recreation & Activities
How To Make A Swimming Pool From A Stock Tank
Modified: March 19, 2024
Learn how to transform a stock tank into a refreshing swimming pool for your outdoor recreation and activities. Dive into DIY tips and ideas now!
(Many of the links in this article redirect to a specific reviewed product. Your purchase of these products through affiliate links helps to generate commission for Storables.com, at no extra cost. Learn more)
Introduction
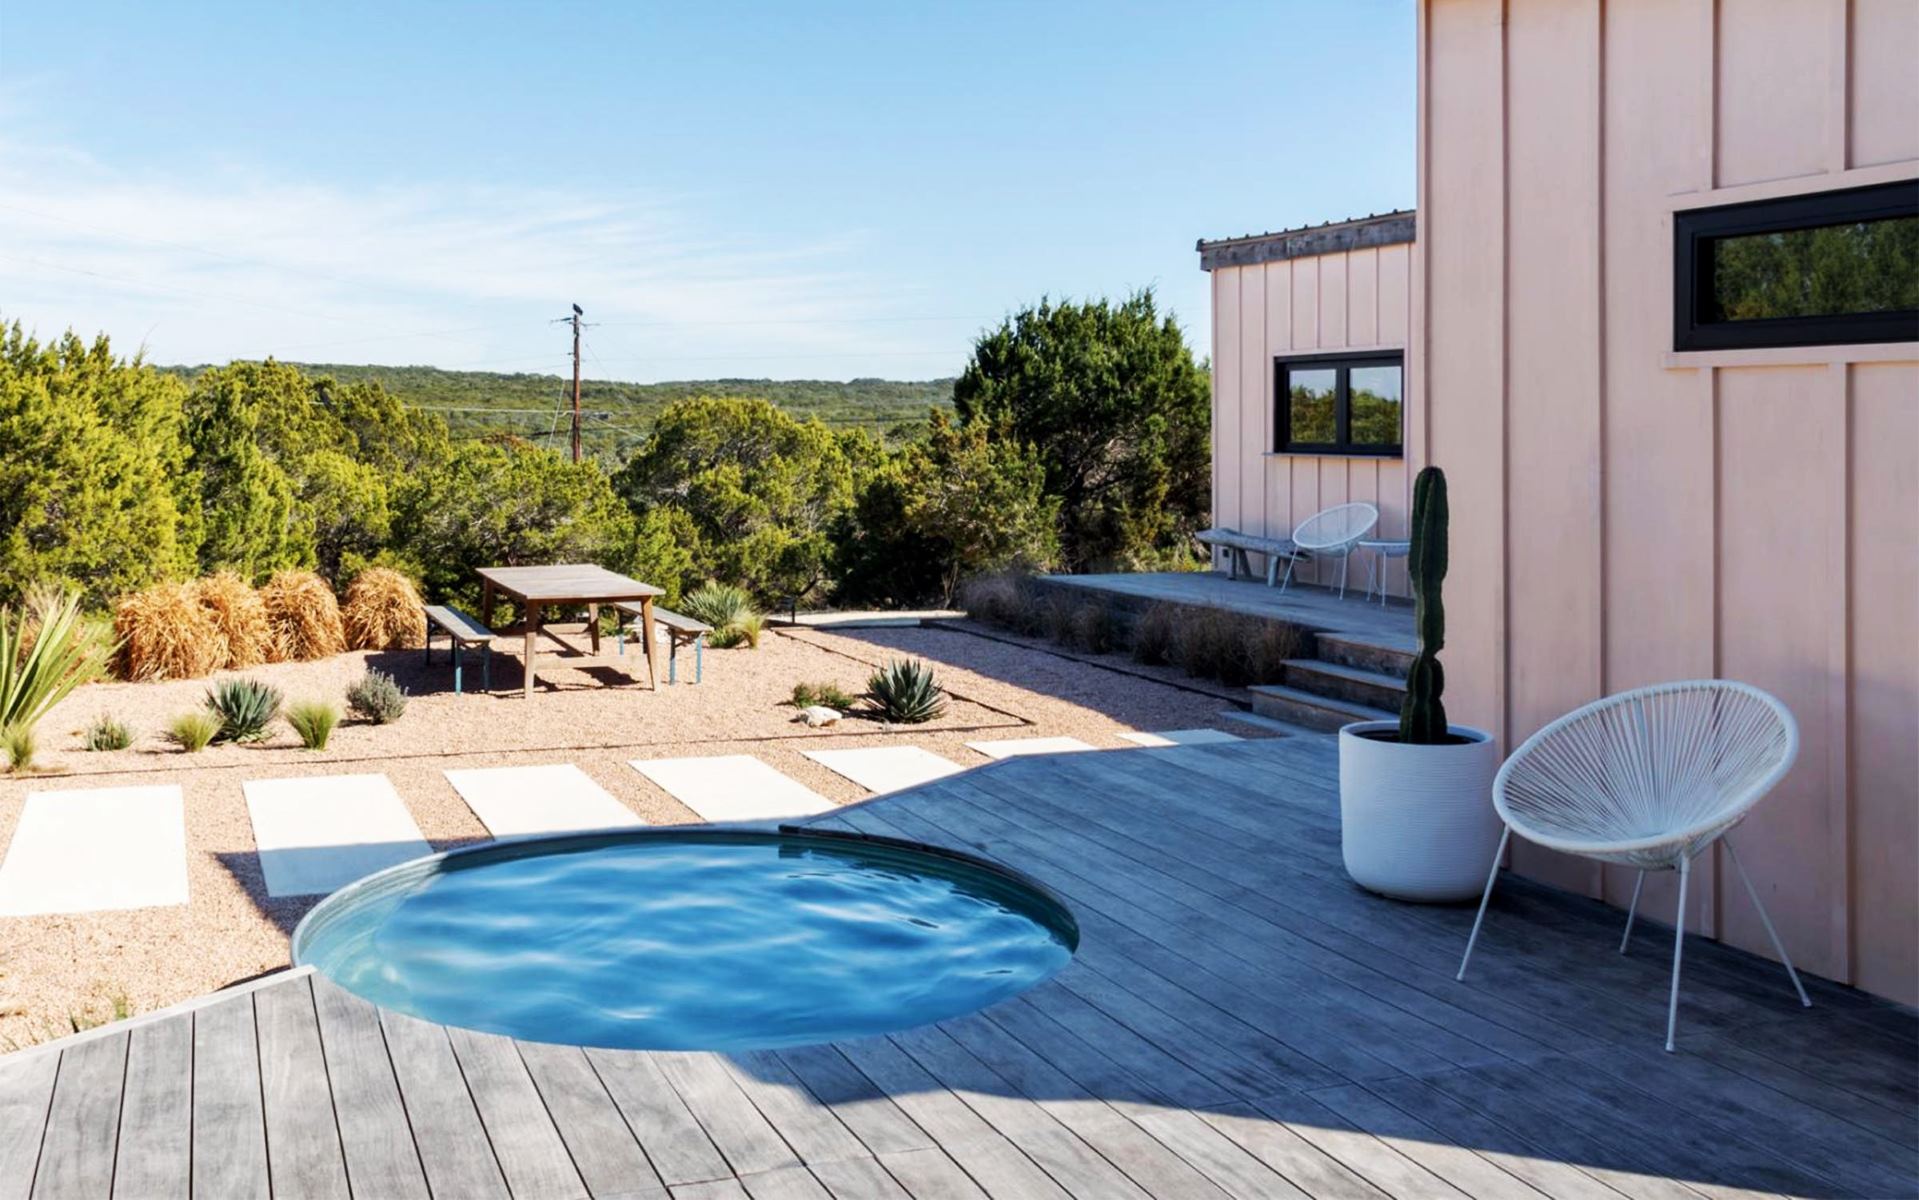
Creating a swimming pool from a stock tank is an innovative and cost-effective way to bring the joy of a refreshing dip right to your backyard. Stock tank pools have gained popularity for their simplicity, durability, and versatility, offering a practical solution for those seeking a budget-friendly and stylish alternative to traditional in-ground pools. Whether you're looking to beat the summer heat, enhance your outdoor space, or simply enjoy a leisurely swim, a stock tank pool can provide a delightful oasis for relaxation and recreation.
In this comprehensive guide, we will walk you through the step-by-step process of transforming a stock tank into a fully functional swimming pool. From selecting the right tank size to adding essential pool accessories, you'll learn everything you need to know to create your own backyard retreat. With a bit of creativity and some basic DIY skills, you can embark on this rewarding project and enjoy the benefits of a personal pool oasis in no time.
So, roll up your sleeves, gather your materials, and get ready to dive into the exciting world of stock tank pool creation. Whether you're a seasoned DIY enthusiast or a first-time pool owner, this guide will equip you with the knowledge and confidence to embark on this fulfilling endeavor. Let's turn your outdoor space into a haven for relaxation, entertainment, and endless summer fun with your very own stock tank pool.
Key Takeaways:
- Transforming a stock tank into a DIY pool is a fun and rewarding project that brings relaxation and joy to your backyard. From choosing the right tank to adding accessories, it’s a creative journey to a personalized aquatic retreat.
- Maintaining a stock tank pool is essential for preserving water quality and creating a safe and enjoyable swimming environment. Regular upkeep ensures lasting memories and countless moments of relaxation and fun in your very own DIY pool oasis.
Step 1: Choosing the Right Stock Tank
Selecting the appropriate stock tank is the crucial first step in creating your own stock tank pool. These tanks, originally designed for feeding and watering livestock, have become a popular choice for DIY pool projects due to their durability and affordability. When choosing a stock tank for your pool, several factors should be considered to ensure a successful and enjoyable pool-building experience.
Size Matters: The size of the stock tank will largely depend on the available space in your backyard and the number of people who will be using the pool. Stock tanks come in various sizes, ranging from small, family-sized options to larger models suitable for hosting gatherings and parties. Consider the dimensions of the area where the pool will be placed, ensuring that the tank fits comfortably while allowing ample space for movement and additional pool features.
Material and Durability: Stock tanks are typically constructed from galvanized steel or polyethylene, each offering distinct advantages. Galvanized steel tanks are known for their strength and resilience, making them a durable choice for long-term use. On the other hand, polyethylene tanks are lightweight and resistant to rust and corrosion, providing a low-maintenance option for pool construction. Assess the climate and environmental conditions in your area to determine which material will best withstand the elements and ensure the longevity of your pool.
Depth and Shape: Consider the desired depth of the pool and the shape that best suits your preferences. Stock tanks are available in various depths, allowing you to choose a shallow pool for lounging and relaxation or a deeper pool for swimming and water activities. Additionally, some stock tanks feature round shapes, while others are oval or rectangular. Select a shape that complements your outdoor space and aligns with your aesthetic vision for the pool area.
Accessories Compatibility: Keep in mind the compatibility of the stock tank with pool accessories such as filters, pumps, and ladders. Ensure that the chosen tank accommodates the installation of these essential components, as they are integral to maintaining water quality and ensuring a safe and enjoyable swimming experience.
By carefully considering these factors, you can confidently select a stock tank that meets your specific needs and sets the stage for a successful stock tank pool project. With the right tank in hand, you'll be one step closer to creating a refreshing and inviting oasis in your own backyard.
Step 2: Preparing the Area
Before diving into the physical installation of the stock tank pool, it's essential to thoroughly prepare the designated area to ensure a stable and functional foundation for your new aquatic retreat. Proper preparation not only contributes to the structural integrity of the pool but also enhances the overall aesthetics and safety of the surrounding space. Here's a detailed guide on how to prepare the area for your stock tank pool:
Clearing and Leveling the Ground
Begin by clearing the chosen area of any debris, rocks, or vegetation that may obstruct the placement of the stock tank. Use a shovel or a rake to level the ground, ensuring that the surface is even and free from any uneven patches. A level ground is crucial for the stability of the pool and facilitates the subsequent installation steps.
Creating a Solid Base
To prevent the stock tank from sinking or shifting over time, it's advisable to create a solid base for the pool. One popular method is to lay down a layer of sand or gravel to provide a stable and level foundation. This base layer helps distribute the weight of the pool evenly, reducing the risk of uneven settling and potential damage to the tank.
Read more: How To Make A Stock Tank Hot Tub
Adding a Protective Barrier
Consider placing a protective barrier, such as a ground cloth or a pond underlayment, between the base layer and the stock tank. This additional layer serves as a cushion, protecting the bottom of the pool from abrasive surfaces and minimizing the risk of punctures or wear over time.
Assessing Drainage and Accessibility
Evaluate the area's drainage to ensure that water will not accumulate around the pool, potentially causing damage or creating a safety hazard. Additionally, consider accessibility for future maintenance and cleaning tasks. Adequate space around the pool will facilitate easy access for equipment and allow for unhindered movement during routine upkeep.
Incorporating Aesthetic Elements
While focusing on practical considerations, don't overlook the opportunity to enhance the visual appeal of the pool area. Consider incorporating landscaping elements, such as potted plants, decorative stones, or outdoor lighting, to create an inviting and harmonious outdoor space around the stock tank pool.
By meticulously preparing the area for your stock tank pool, you set the stage for a successful and enjoyable pool installation process. Taking the time to lay a solid foundation and attend to essential details will contribute to the long-term durability, functionality, and aesthetic charm of your DIY aquatic haven.
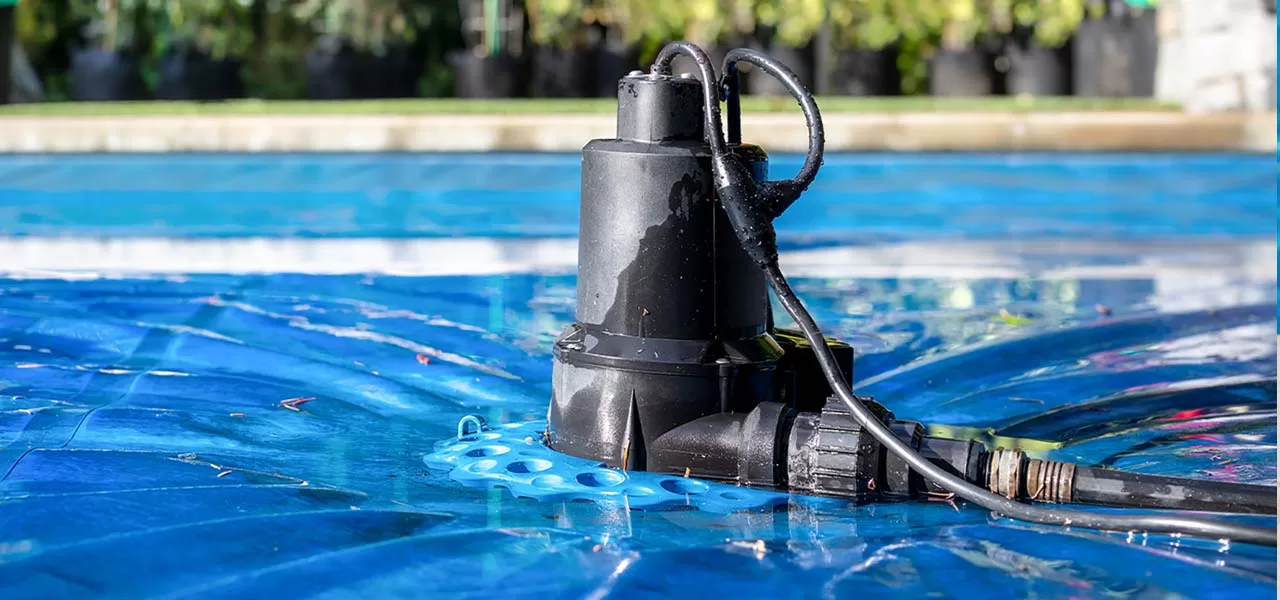
Step 3: Installing the Filter and Pump
Installing the filter and pump is a pivotal step in creating a functional and hygienic stock tank pool. These essential components work in tandem to circulate and purify the water, ensuring a clean and inviting swimming environment for you and your guests. By following these detailed instructions, you can seamlessly integrate the filter and pump into your stock tank pool setup.
Read more: How To Make A Swimming Pool Slide
Selecting the Right Equipment
Before commencing the installation process, carefully select a filter and pump system that is suitable for the size of your stock tank pool. Consider the pool's water capacity and flow rate requirements to ensure that the chosen equipment is capable of effectively circulating and filtering the water. Opt for a system designed for above-ground pools or stock tanks, as these are specifically engineered to meet the unique demands of such setups.
Positioning the Filter and Pump
Identify a suitable location near the stock tank to position the filter and pump. Ideally, the equipment should be placed on a stable and level surface, such as a concrete pad or a sturdy platform. Ensure that the chosen spot allows for easy access to the equipment for maintenance and servicing purposes.
Connecting the Components
Begin by connecting the filter to the pump using the appropriate hoses and fittings. Follow the manufacturer's instructions to establish a secure and watertight connection between the two components. Verify that the hoses are properly sized and fitted to prevent leaks and optimize the efficiency of the filtration system.
Priming the Pump
Once the filter and pump are connected, it's essential to prime the pump to initiate the water circulation process. Fill the pump with water to remove any air pockets and facilitate the smooth operation of the system. Refer to the equipment's manual for specific priming instructions, as different pump models may require varying procedures.
Read more: How To Make A Saltwater Swimming Pool
Testing and Adjusting
After priming the pump, power up the system and observe the water circulation and filtration in action. Check for any irregularities or unusual noises, and make adjustments as needed to optimize the performance of the filter and pump. Monitor the water flow and filtration efficiency to ensure that the pool water remains clear and free of debris.
Safety Considerations
Prioritize safety when installing the filter and pump, ensuring that electrical connections are secure and compliant with safety standards. If you are unsure about electrical work, consider consulting a professional to handle the wiring and connections to guarantee a safe and reliable setup.
By meticulously installing the filter and pump, you establish the foundation for a well-maintained and enjoyable stock tank pool. These vital components play a crucial role in preserving water quality and creating a pristine swimming environment, allowing you to fully embrace the pleasures of your DIY aquatic retreat.
Step 4: Filling the Tank with Water
Filling the stock tank with water marks a significant milestone in the creation of your DIY pool oasis. This step not only brings your vision to life but also sets the stage for the enjoyment and relaxation that your stock tank pool will provide. To ensure a seamless and efficient filling process, consider the following guidelines:
Water Source and Quantity
Determine the water source for filling the stock tank pool. Depending on the tank's size and your access to water, you may opt to use a garden hose, a portable water delivery service, or a combination of multiple sources. Calculate the approximate volume of water required to fill the tank to the desired depth, factoring in any additional water displacement caused by individuals entering the pool.
Read more: How To Make A Cheap Swimming Pool
Monitoring Water Quality
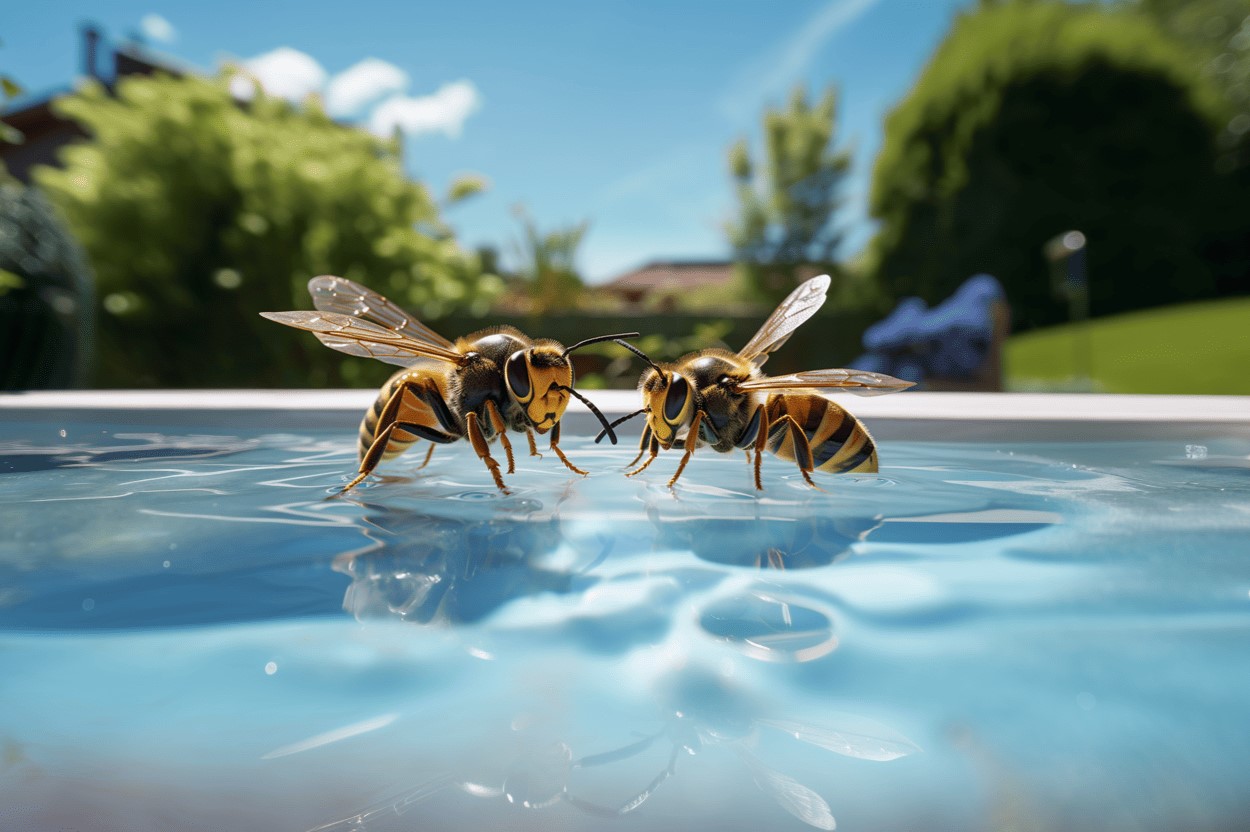
Prior to filling the stock tank, assess the quality of the water to be used. If using tap water, consider testing it for pH levels, chlorine content, and other relevant parameters to ensure that the initial water quality meets safety and hygiene standards. If necessary, treat the water with appropriate chemicals or filtration methods to achieve optimal balance and clarity.
Filling Process
Commence the filling process by directing the water into the stock tank at a steady and controlled rate. Avoid rapid or forceful filling, as this may cause displacement or splashing, potentially leading to water loss and uneven distribution. Monitor the water level as the tank fills, ensuring that it aligns with your predetermined depth and volume requirements.
Temperature Considerations
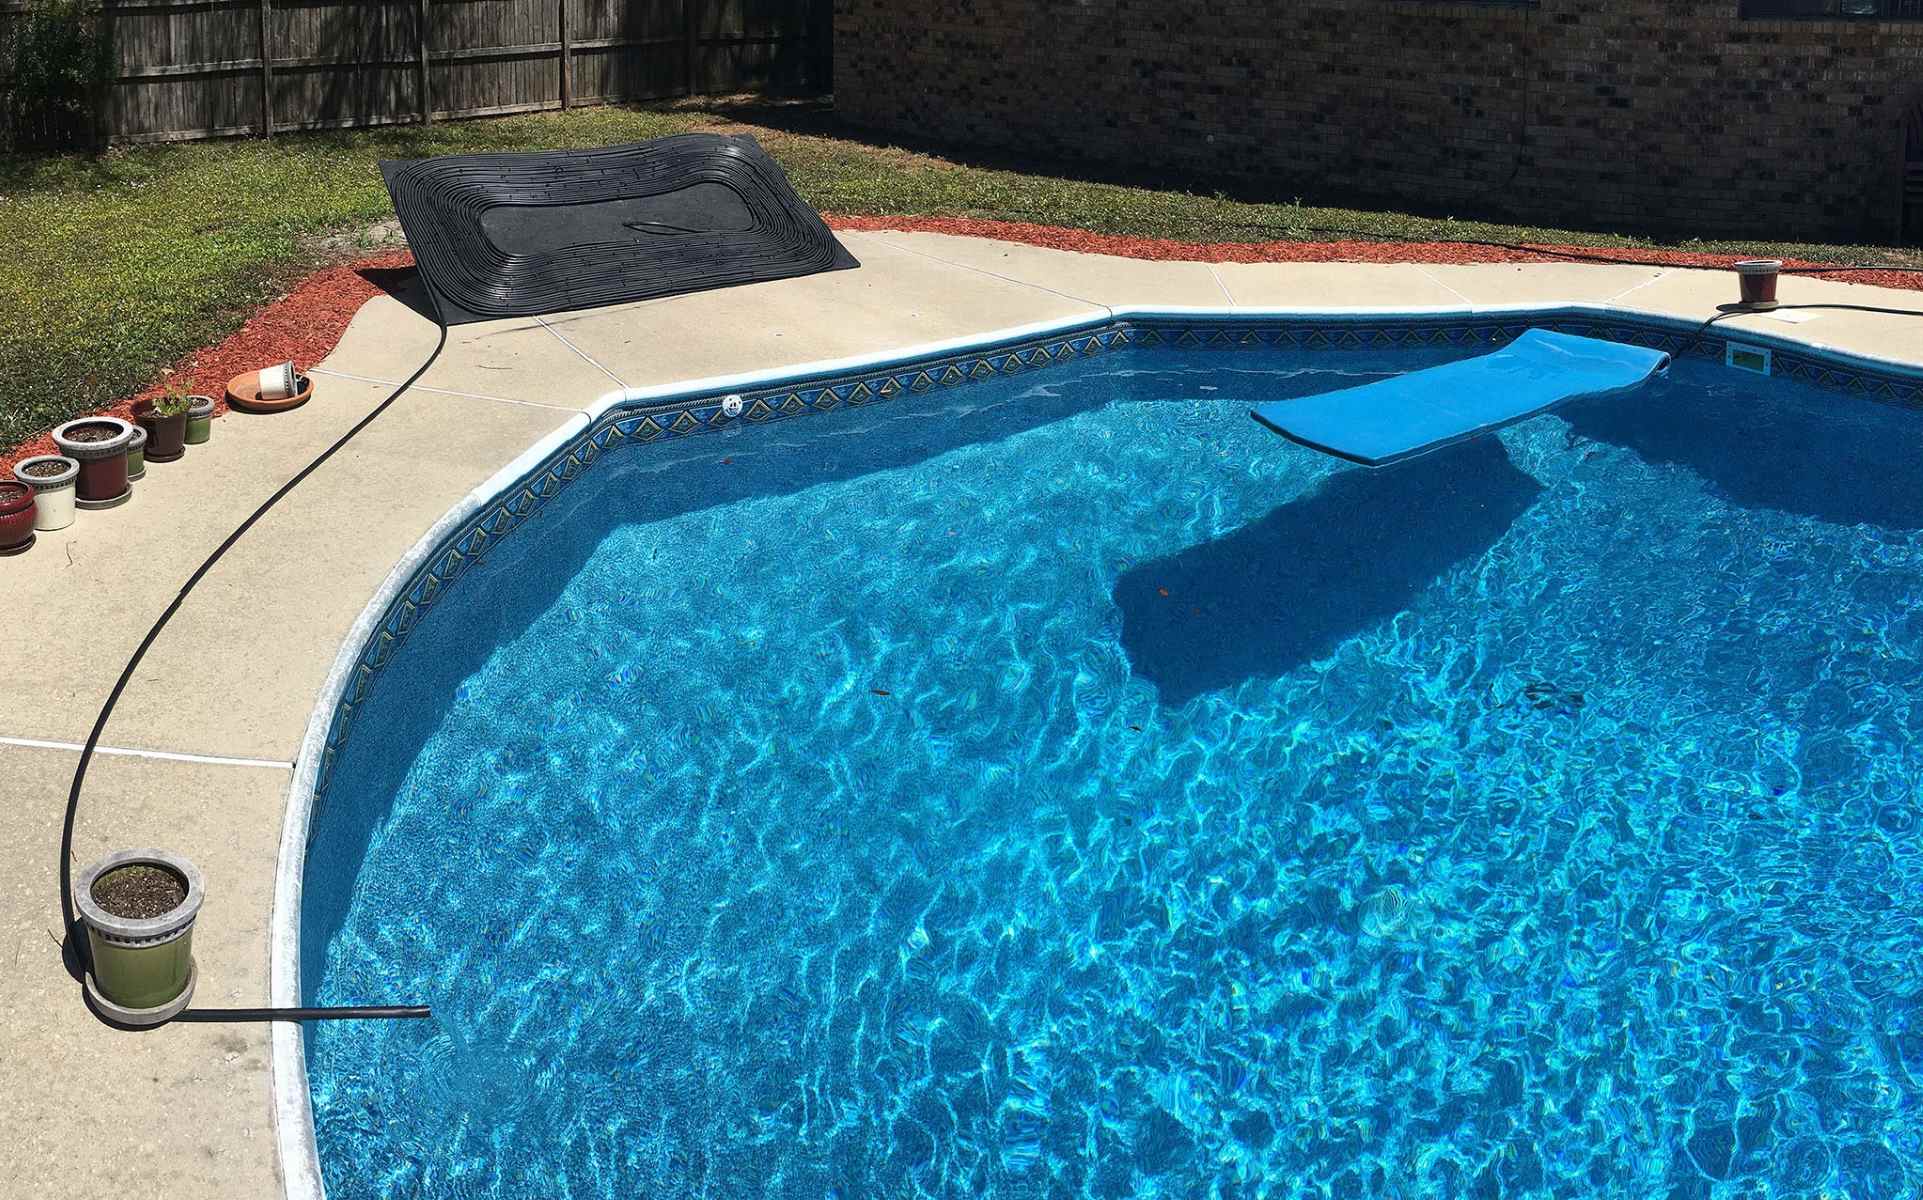
Take into account the water temperature during the filling process, especially if you intend to use the pool for immediate enjoyment. In warmer climates, the water may naturally reach a comfortable temperature, while in cooler regions, you might consider heating the water using solar covers or other heating methods to enhance the overall swimming experience.
Water Conservation
Be mindful of water conservation practices during the filling process, especially in regions experiencing water scarcity or drought conditions. Consider collecting and repurposing rainwater or exploring eco-friendly water-saving techniques to minimize wastage and promote sustainable pool ownership.
By conscientiously approaching the task of filling the stock tank with water, you pave the way for the realization of your backyard aquatic haven. With the pool now filled and ready for enjoyment, you are one step closer to relishing the delights of your DIY stock tank pool and creating lasting memories in your personal outdoor retreat.
Read more: How To Make A Swimming Pool For Dolls
Step 5: Adding Pool Accessories
Enhancing your stock tank pool with carefully selected accessories can elevate its functionality, aesthetics, and overall appeal, transforming it into a captivating and inviting aquatic retreat. From practical additions that improve safety and convenience to decorative elements that infuse personality and charm, the right pool accessories can enrich your swimming experience and create a welcoming ambiance in your outdoor space.
Safety and Comfort Features
Prioritize safety by incorporating essential accessories such as pool ladders or steps to facilitate easy entry and exit from the water. Choose sturdy and corrosion-resistant options that are compatible with the height and design of your stock tank. Additionally, consider installing handrails or grab bars to provide extra support and stability, especially for individuals with varying mobility levels.
To enhance comfort and relaxation, invest in pool floats, inflatable loungers, or foam noodles that offer buoyancy and leisurely floating options. These accessories not only provide a comfortable lounging experience but also add a playful and inviting touch to the pool environment, encouraging leisurely enjoyment and social gatherings.
Water Maintenance and Enhancement
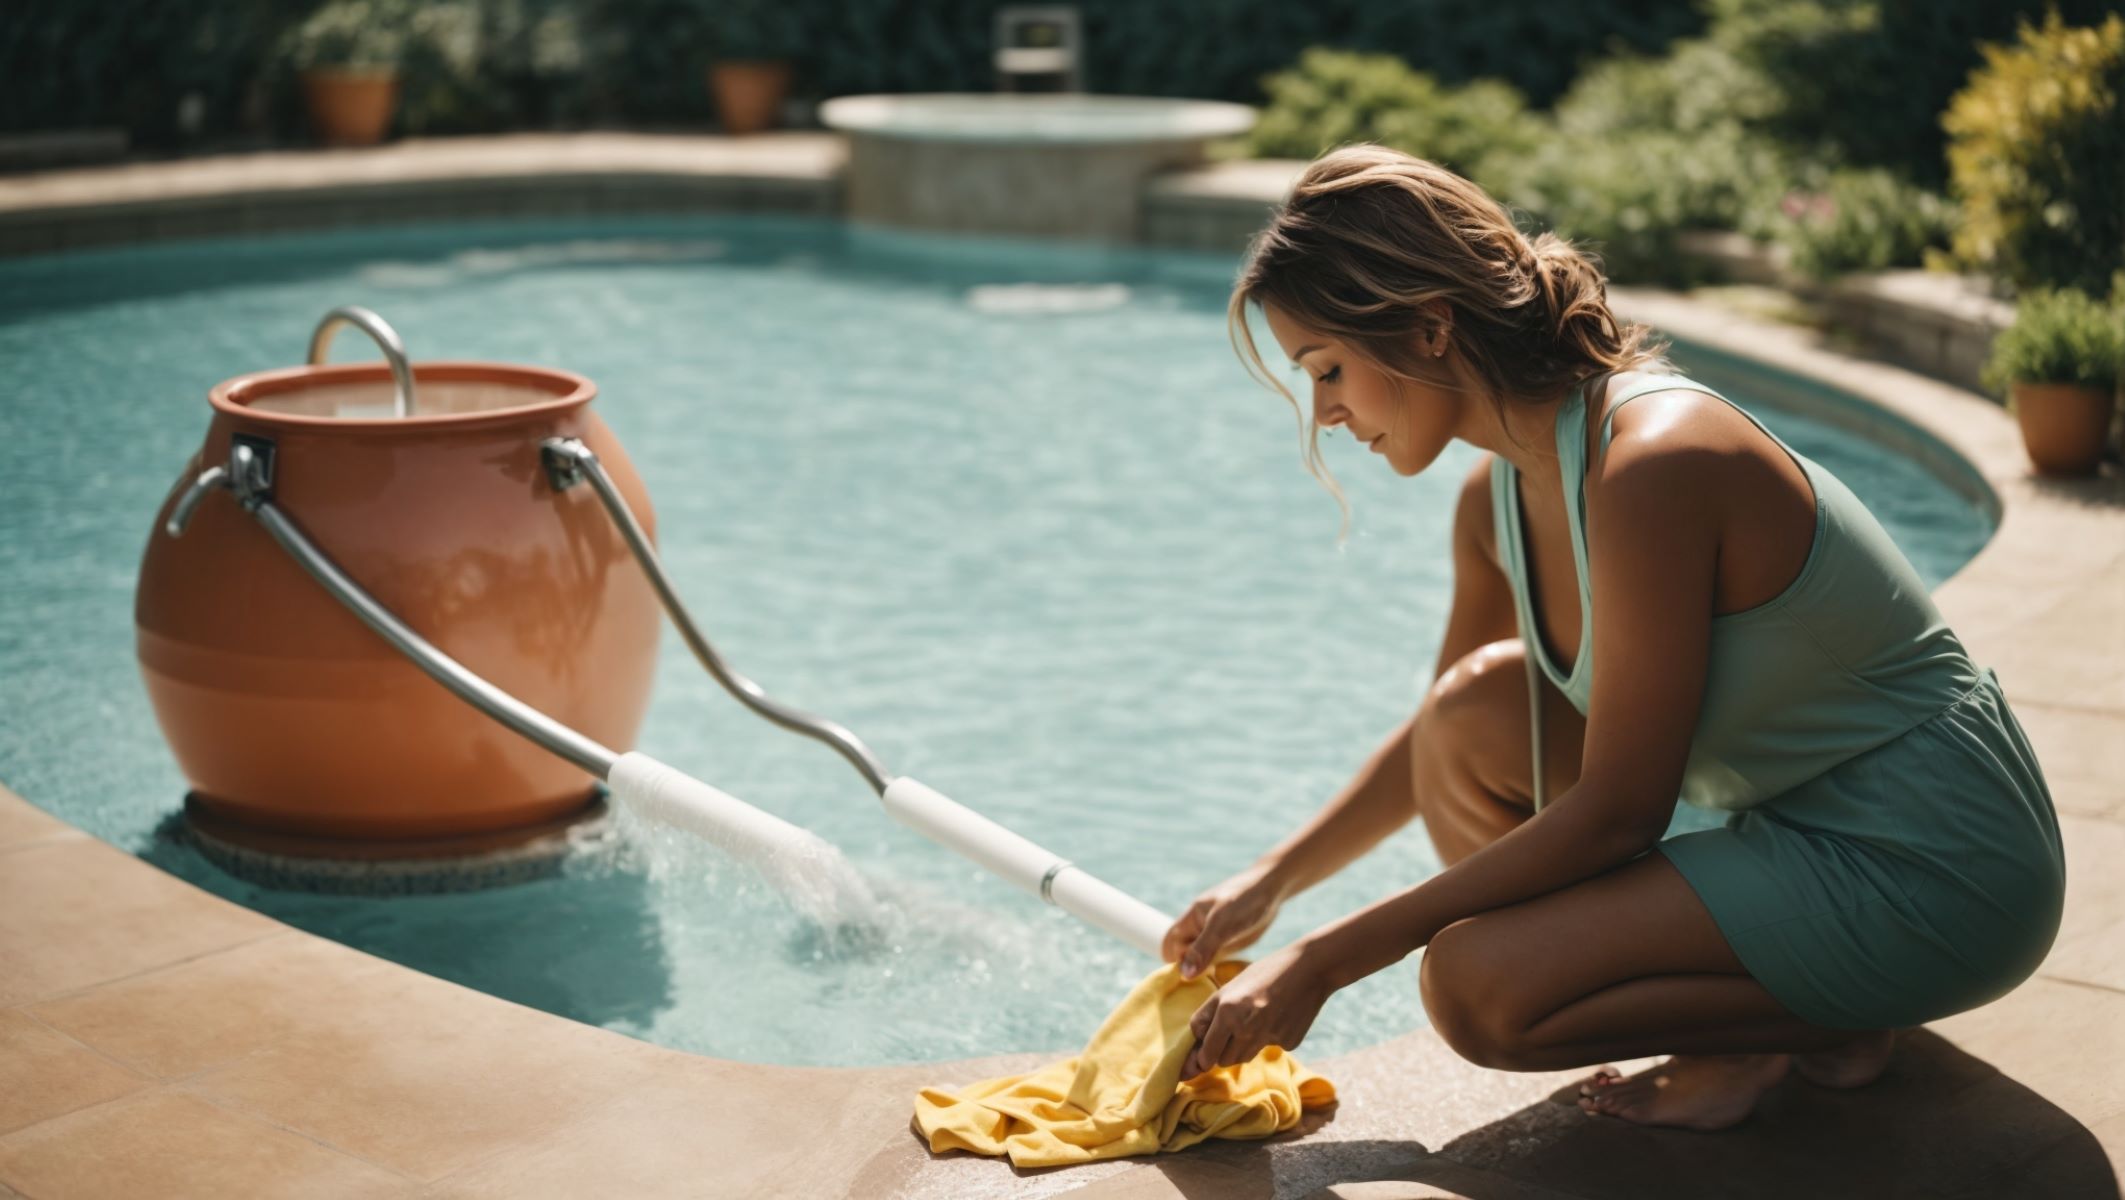
Maintaining water quality is essential for a pleasant swimming experience. Integrate a pool skimmer or handheld net to remove debris and leaves from the water's surface, preserving its clarity and cleanliness. Additionally, consider adding a pool brush for regular scrubbing and maintenance of the stock tank's interior surfaces, ensuring a hygienic and inviting swimming environment.
To enhance the visual appeal and ambiance of the pool, explore lighting options such as waterproof LED lights or solar-powered fixtures. These lighting accessories not only illuminate the pool area for evening enjoyment but also create a captivating and inviting atmosphere, allowing you to extend your pool activities into the night.
Decorative and Functional Elements
Incorporate decorative elements such as potted plants, outdoor rugs, or decorative umbrellas to infuse the pool area with personality and style. These additions can create a resort-like ambiance, adding a touch of luxury and comfort to your outdoor space. Consider integrating a poolside storage unit or organizer to keep pool toys, cleaning supplies, and accessories neatly organized and easily accessible, promoting a tidy and functional pool environment.
By thoughtfully selecting and integrating pool accessories, you can customize your stock tank pool to align with your preferences and lifestyle, creating a welcoming and enjoyable space for relaxation, recreation, and social gatherings. These accessories not only enhance the practicality and aesthetics of the pool but also contribute to the overall allure and charm of your DIY aquatic retreat.
Read more: What Size Stock Tank For Bathtub
Step 6: Maintaining Your Stock Tank Pool
Maintaining your stock tank pool is essential for preserving water quality, ensuring safety, and prolonging the longevity of your DIY aquatic oasis. By implementing regular maintenance practices and adhering to a consistent upkeep routine, you can uphold a clean, inviting, and enjoyable swimming environment for yourself, your family, and your guests. Here's a comprehensive guide to effectively maintaining your stock tank pool:
Water Testing and Treatment
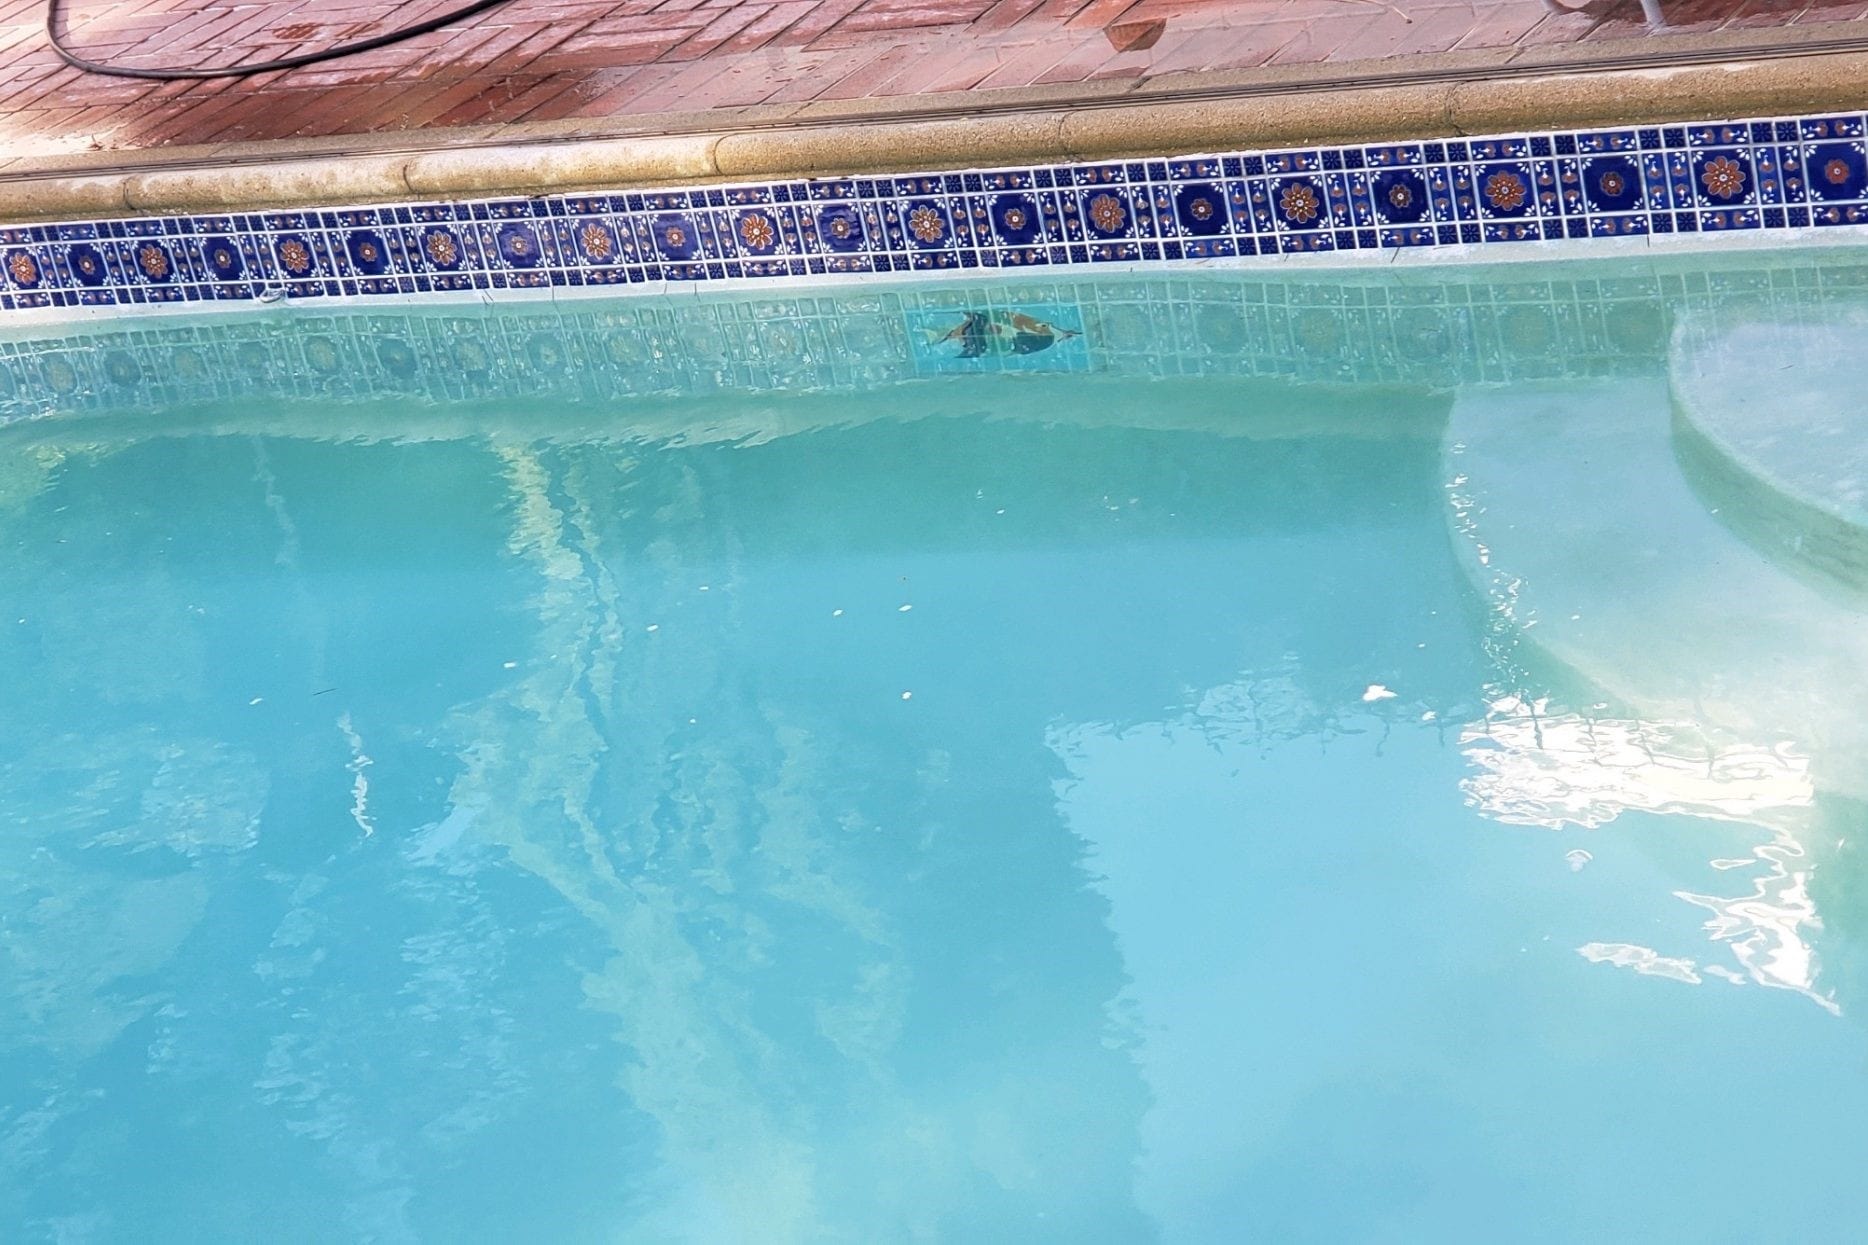
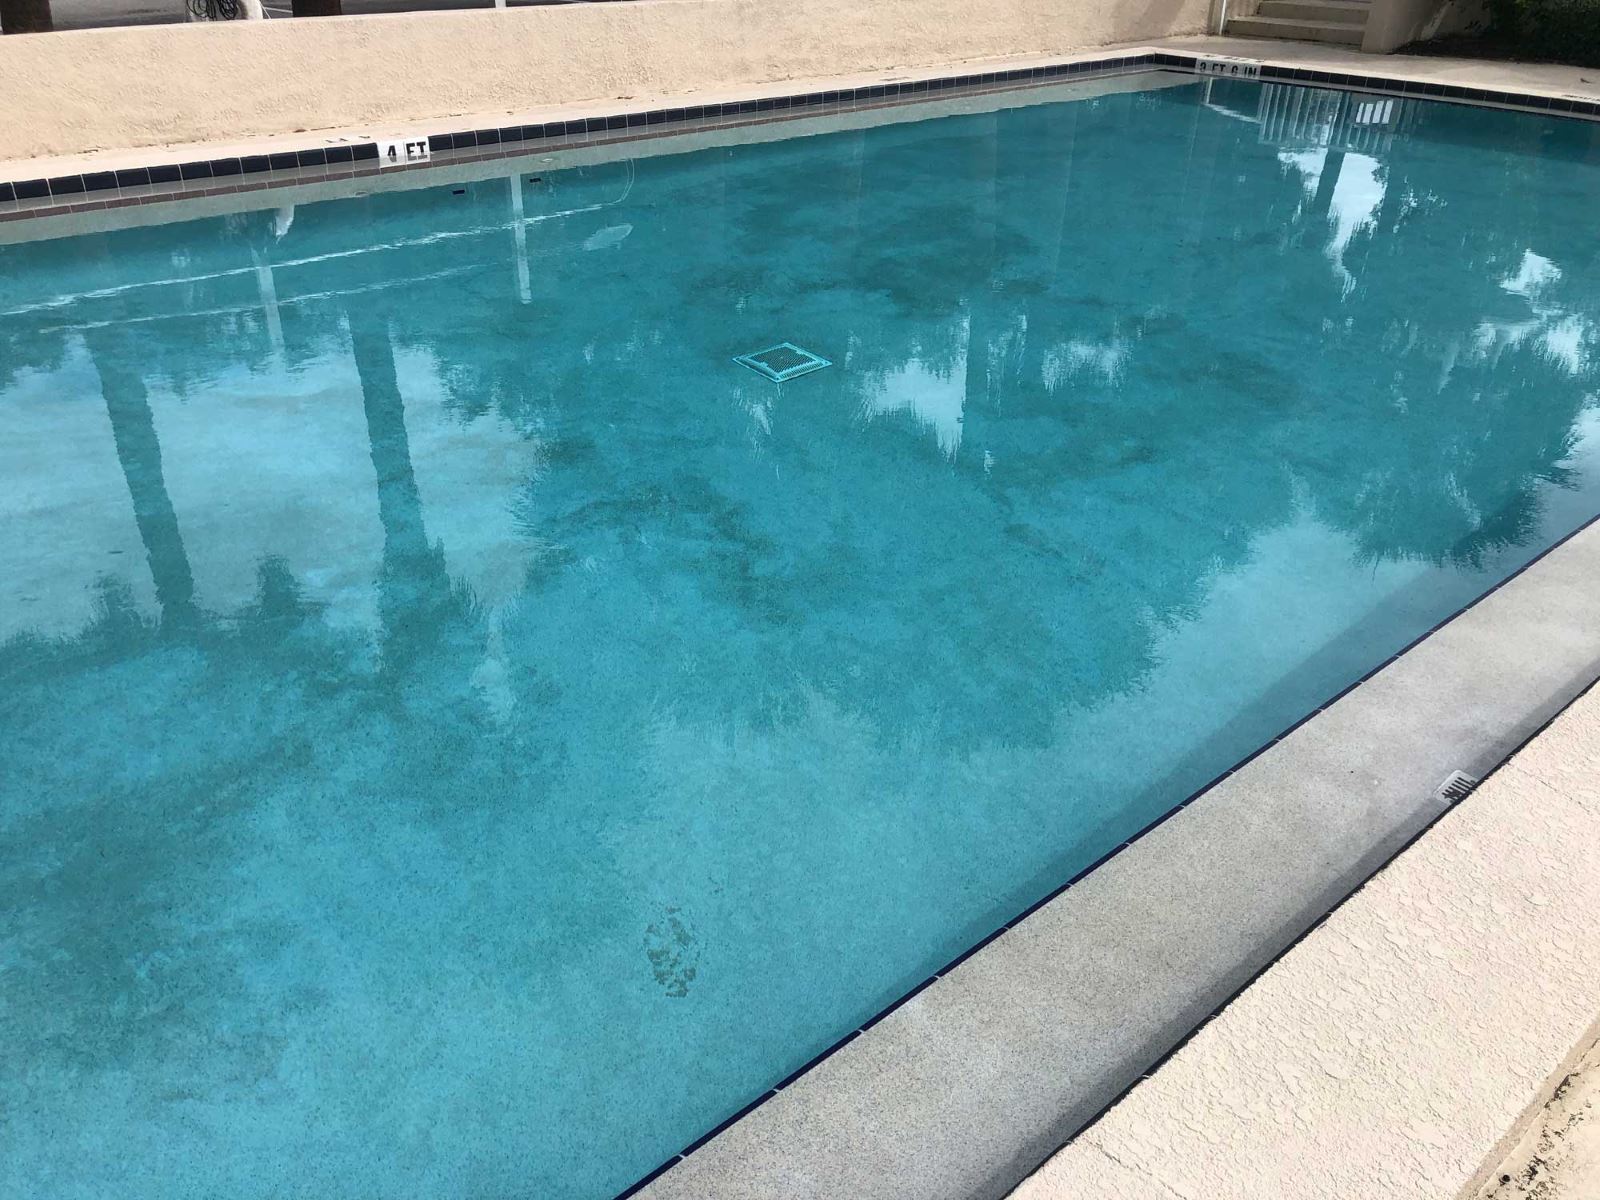
Regularly test the pool water to monitor pH levels, chlorine or sanitizer concentrations, and overall water balance. Utilize water testing kits to assess these parameters and make necessary adjustments to maintain optimal water quality. Treat the water with appropriate chemicals or sanitizers to prevent algae growth, bacterial contamination, and other waterborne issues.
Cleaning and Skimming
Frequently skim the pool's surface to remove leaves, insects, and debris, preventing them from sinking and affecting water clarity. Use a pool skimmer or handheld net to efficiently eliminate surface impurities. Additionally, vacuum the pool floor and walls to eliminate sediment and maintain a pristine swimming environment.
Filter Maintenance
Regularly inspect and clean the pool filter to ensure proper water circulation and filtration. Follow the manufacturer's guidelines for filter maintenance, which may involve backwashing, rinsing, or replacing filter media. A well-maintained filter is crucial for removing impurities and preserving water clarity.
Read more: How To Build A Stock Tank Hot Tub
Water Replacement
Periodically replace a portion of the pool water to refresh its quality and dilute accumulated impurities. Drain a portion of the water and refill the pool with fresh, clean water. This practice helps maintain water balance and reduces the buildup of dissolved solids and contaminants.
Structural Inspection
Conduct routine inspections of the stock tank's structural integrity, checking for signs of corrosion, leaks, or damage. Address any issues promptly to prevent potential hazards and maintain the pool's functionality and safety.
Winterization and Seasonal Care
Prepare the stock tank pool for winter by implementing appropriate winterization practices, such as draining the pool, protecting plumbing components from freezing, and covering the pool to prevent debris accumulation. In warmer climates, adjust maintenance routines to accommodate seasonal variations and ensure year-round pool readiness.
Safety and Compliance
Regularly assess the pool area for safety hazards, ensuring that pool accessories, ladders, and handrails are secure and in good condition. Adhere to local regulations and safety guidelines to promote a safe and compliant pool environment for all users.
By diligently maintaining your stock tank pool and adhering to these proactive maintenance practices, you can uphold a pristine and inviting swimming environment, prolong the lifespan of your pool, and create a safe and enjoyable space for aquatic leisure and relaxation.
Conclusion
In conclusion, the journey of transforming a stock tank into a refreshing and inviting pool has been an enriching and rewarding experience. From the initial selection of the right stock tank to the meticulous installation of essential components and the thoughtful addition of pool accessories, every step has contributed to the creation of a personalized aquatic retreat in your own backyard.
As you stand back and admire the culmination of your efforts, it's evident that your DIY stock tank pool represents more than just a functional water feature. It embodies creativity, resourcefulness, and a deep appreciation for outdoor leisure and relaxation. The pool area, once a blank canvas, now exudes charm, offering a space for rejuvenation, social gatherings, and cherished moments with family and friends.
Your stock tank pool is not merely a recreational amenity; it's a testament to your ability to transform humble materials into a captivating and enjoyable oasis. The careful consideration given to every detail, from the selection of the stock tank to the maintenance routines, reflects your commitment to creating a space that harmoniously blends practicality with aesthetics.
As you prepare to embark on the journey of stock tank pool ownership, remember that the joy and fulfillment derived from this endeavor extend far beyond the cool waters of the pool. It encompasses the sense of accomplishment, the joy of creating a space for relaxation and connection, and the pride of nurturing a project from conception to fruition.
Embrace the upcoming days of leisurely swims, lively gatherings, and tranquil moments by the pool, knowing that your DIY stock tank pool stands as a testament to your ingenuity and passion for outdoor living. May it continue to be a source of delight, relaxation, and cherished memories for years to come.
With your stock tank pool now ready to offer endless hours of enjoyment and tranquility, you have successfully transformed your outdoor space into a haven for aquatic leisure and recreation. Cheers to the fulfillment of your DIY pool dreams and the countless moments of joy and relaxation that await in your very own stock tank pool.
Frequently Asked Questions about How To Make A Swimming Pool From A Stock Tank
Was this page helpful?
At Storables.com, we guarantee accurate and reliable information. Our content, validated by Expert Board Contributors, is crafted following stringent Editorial Policies. We're committed to providing you with well-researched, expert-backed insights for all your informational needs.
0 thoughts on “How To Make A Swimming Pool From A Stock Tank”