Home>Gardening & Outdoor>Outdoor Recreation & Activities>How To Make Painted Jenga Blocks Slippery
Outdoor Recreation & Activities
How To Make Painted Jenga Blocks Slippery
Modified: October 19, 2024
Learn how to make your Jenga blocks slippery for a fun outdoor game. Get creative with outdoor recreation and activities!
(Many of the links in this article redirect to a specific reviewed product. Your purchase of these products through affiliate links helps to generate commission for Storables.com, at no extra cost. Learn more)
**
Introduction
**
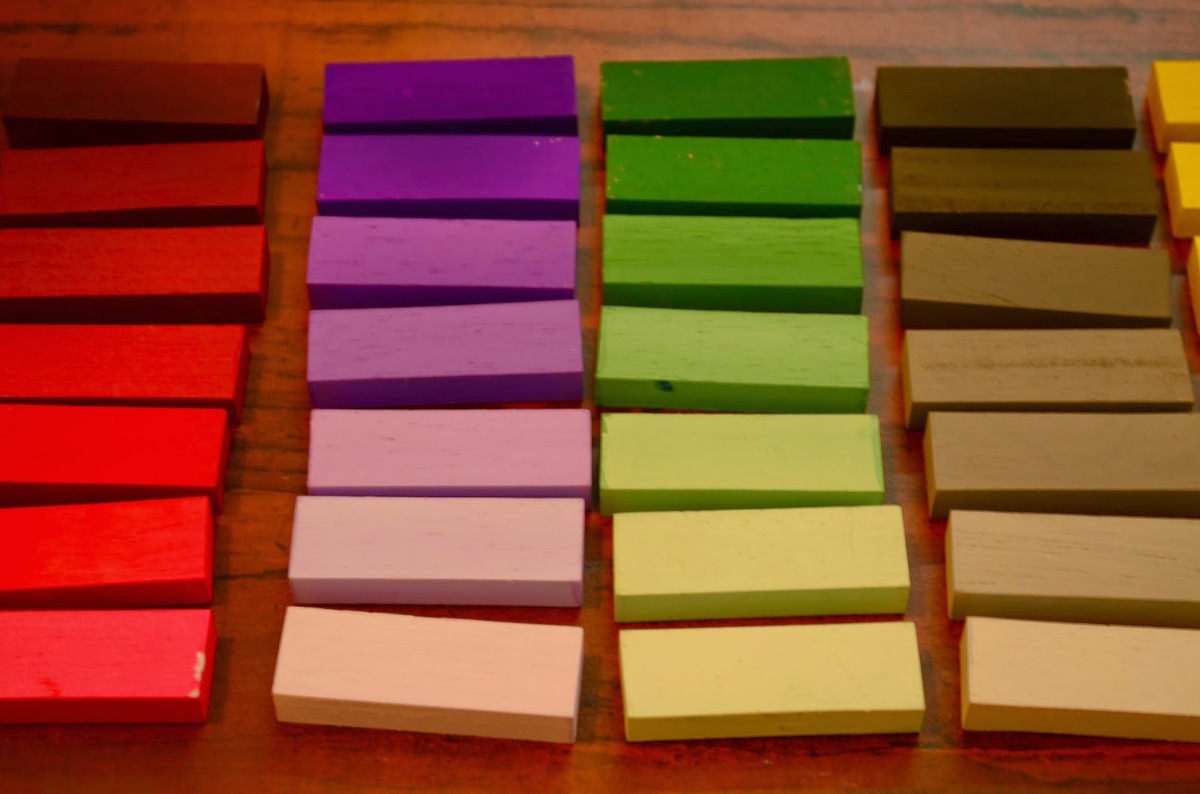
Welcome to the exciting world of customizing Jenga blocks! If you're looking to add a twist to your Jenga game, creating painted and slippery blocks can introduce a whole new level of challenge and fun. Whether you're a Jenga enthusiast or just love getting creative with DIY projects, this guide will walk you through the process of making your Jenga blocks delightfully slippery while maintaining their vibrant painted appearance.
In this step-by-step tutorial, we'll delve into the materials needed, the preparation process, and the application of slippery paint to transform your Jenga blocks. By the end of this guide, you'll have a set of personalized, slick Jenga blocks that will elevate your gaming experience to new heights.
So, grab your enthusiasm, creativity, and let's embark on this engaging journey of crafting painted Jenga blocks with a slippery twist!
**
Key Takeaways:
- Transform standard Jenga blocks into personalized, slippery game pieces for an exciting and challenging gaming experience. Infuse vibrant colors and slick surfaces to elevate every Jenga game with friends and family.
- Embrace the joy of gaming with custom-painted, slippery Jenga blocks, adding an extra dose of excitement to your gaming sessions. Showcase your creativity and craftsmanship with one-of-a-kind game pieces.
Read more: How To Play Jenga Blocks
Materials Needed
**
Before diving into the exciting process of making your Jenga blocks slippery, it’s essential to gather the necessary materials. Here’s what you’ll need:
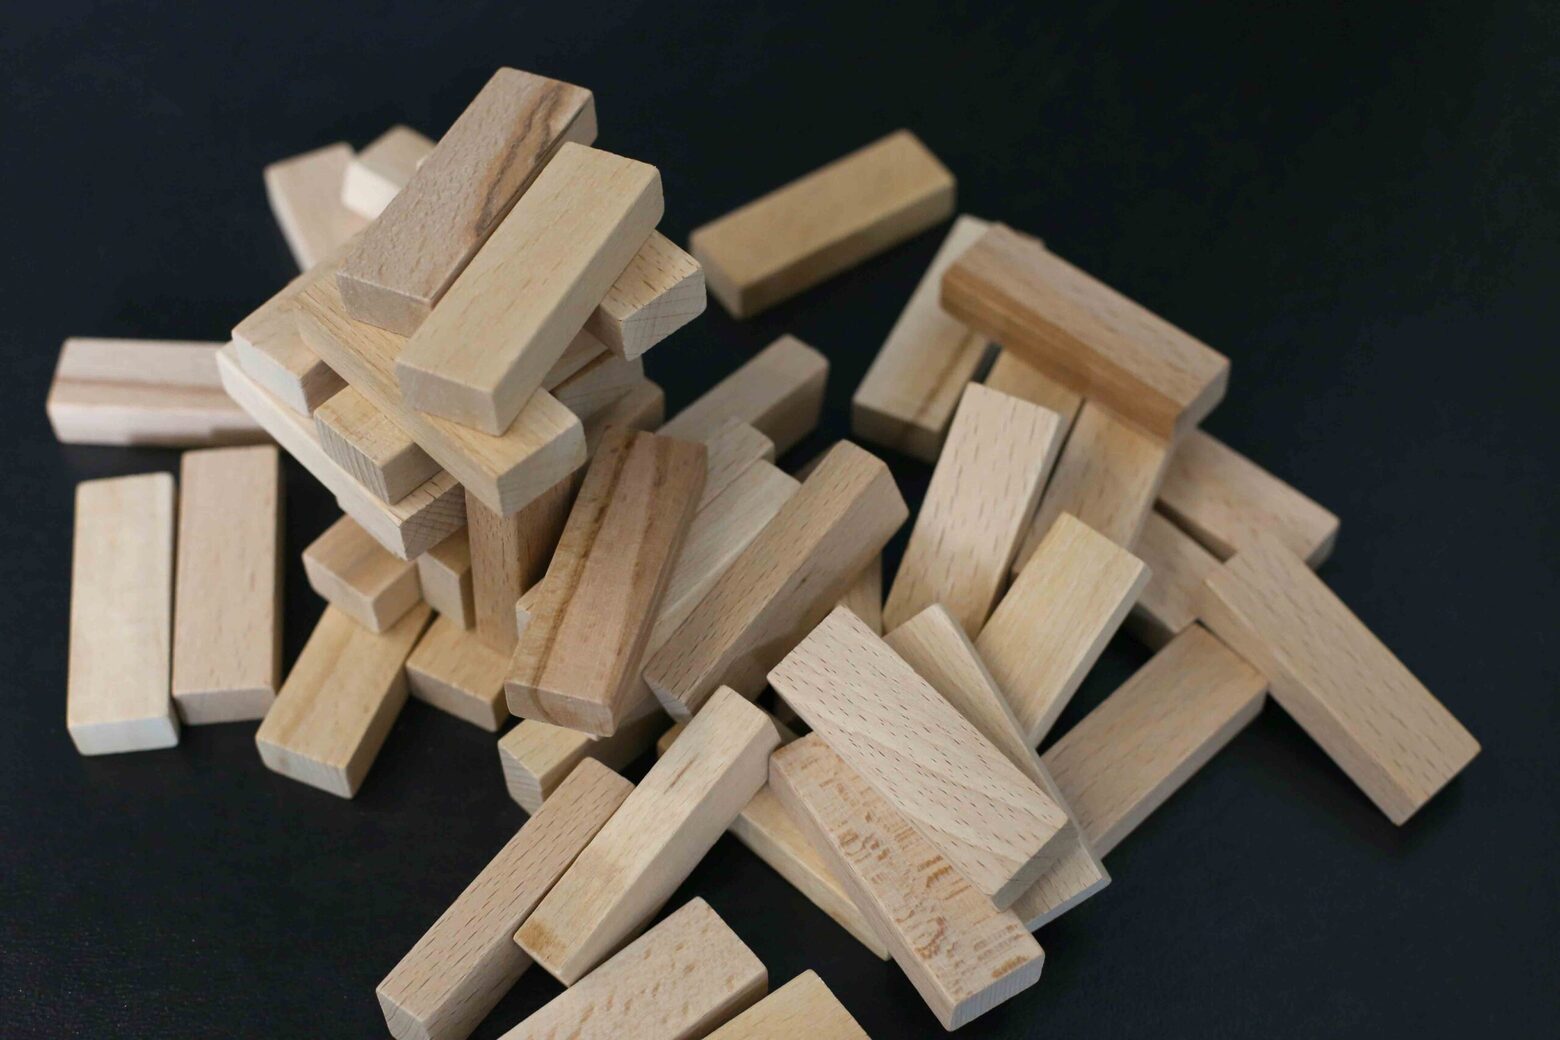
- Jenga Blocks: A standard Jenga set or individual Jenga blocks that you’d like to customize.
- Sandpaper: Choose fine-grit sandpaper to smooth the surface of the blocks.
- Primer: Select a high-quality primer suitable for the type of wood used in your Jenga blocks.
- Spray Paint: Opt for a durable, high-gloss spray paint in your preferred colors.
- Clear Acrylic Sealer: This will provide a protective layer and enhance the slippery surface of the blocks.
- Drop Cloth or Newspaper: To protect your work area from paint and primer.
- Protective Gear: Gloves, a mask, and safety goggles to ensure a safe and comfortable painting experience.
- Well-Ventilated Workspace: Choose a ventilated area for painting to ensure proper air circulation.
- Painter’s Tape: To mask off any areas you don’t want to paint.
- Clean Cloth or Tack Cloth: For wiping the blocks clean between sanding and painting stages.
By having these materials at your disposal, you’ll be fully equipped to embark on the exciting journey of transforming your Jenga blocks into personalized, slippery game pieces.
**
Step 1: Sanding the Blocks
**
Before applying paint to your Jenga blocks, it’s crucial to prepare the surface to ensure optimal adhesion and a smooth finish. Follow these steps to effectively sand the blocks:
- Gather Your Materials: Set up your workspace with the Jenga blocks, fine-grit sandpaper, and a clean cloth or tack cloth.
- Inspect the Blocks: Examine each block for rough spots, splinters, or uneven surfaces.
- Sand the Blocks: Using the fine-grit sandpaper, gently sand each block to create a smooth and even surface. Pay particular attention to the edges and corners to remove any sharp edges or rough areas.
- Wipe Clean: After sanding, use a clean cloth or tack cloth to remove any dust and debris from the blocks.
- Inspect and Repeat: Inspect the blocks to ensure they are uniformly smooth. If necessary, repeat the sanding process until the surfaces are free of imperfections.
By meticulously sanding the blocks, you’ll create an ideal foundation for the subsequent painting steps, ultimately contributing to the durability and visual appeal of your customized Jenga set.
**
Step 2: Applying a Base Coat
**
Applying a base coat serves as a crucial preparatory step before adding the slippery paint to your Jenga blocks. Here’s how to effectively apply a base coat:
- Prepare Your Workspace: Set up a well-ventilated area and lay down a drop cloth or newspaper to protect your surroundings.
- Prime the Blocks: Using a high-quality primer, evenly coat each block with a smooth layer of primer. This will enhance paint adhesion and create a uniform base for the subsequent layers of paint.
- Allow Drying Time: Follow the manufacturer’s instructions for the primer’s drying time. Ensure the blocks are completely dry before proceeding to the next step.
- Inspect and Touch Up: After the primer has dried, inspect the blocks for any missed spots or imperfections. Touch up as needed to ensure a consistent base coat.
By diligently applying a base coat, you’ll establish a solid foundation for the subsequent layers of paint, contributing to the overall durability and professional finish of your painted Jenga blocks.
**
To make painted Jenga blocks slippery, lightly sand the surface before painting and use a glossy or satin finish paint. This will help reduce friction and make the blocks easier to slide out during the game.
Step 3: Applying the Slippery Paint
**
Now comes the exciting stage of adding the slippery paint to your primed Jenga blocks. Follow these steps to achieve a smooth and slick surface:
- Select Your Paint: Choose a high-quality, high-gloss spray paint in your desired colors. Ensure the paint is formulated for slickness to enhance the gameplay experience.
- Prepare the Blocks: Place the primed blocks on a clean, protected surface, ready for painting.
- Apply the Paint: Holding the spray paint can at the recommended distance, apply a smooth and even coat of paint to each block. Rotate the blocks as needed to cover all surfaces, ensuring no areas are left unpainted.
- Allow Drying Time: Follow the paint manufacturer’s instructions for drying time. Ensure the blocks are thoroughly dry before handling them.
- Inspect and Repeat: Once the first coat has dried, inspect the blocks for any missed spots or uneven coverage. Apply additional coats as needed to achieve a consistent and slippery finish.
By skillfully applying the slippery paint, you’ll transform your Jenga blocks into sleek and captivating game pieces, ready to elevate your gameplay experience to new heights.
**
Read more: What Can You Make With Jenga Blocks
Step 4: Drying and Finishing
**
As you near the completion of your painted Jenga block project, it’s essential to ensure proper drying and apply a finishing touch for durability. Follow these steps to finalize the process:
- Allow Ample Drying Time: After applying the final coat of slippery paint, allow the blocks to dry completely. Ensure they are placed in a well-ventilated area to expedite the drying process.
- Apply Clear Acrylic Sealer: Once the paint has dried, apply a clear acrylic sealer to the blocks. This protective layer will enhance the durability of the paint and contribute to the slickness of the surface, ensuring a smooth gameplay experience.
- Final Inspection: After applying the sealer, inspect the blocks for any imperfections or areas that may require touch-ups. Address any issues to achieve a flawless finish.
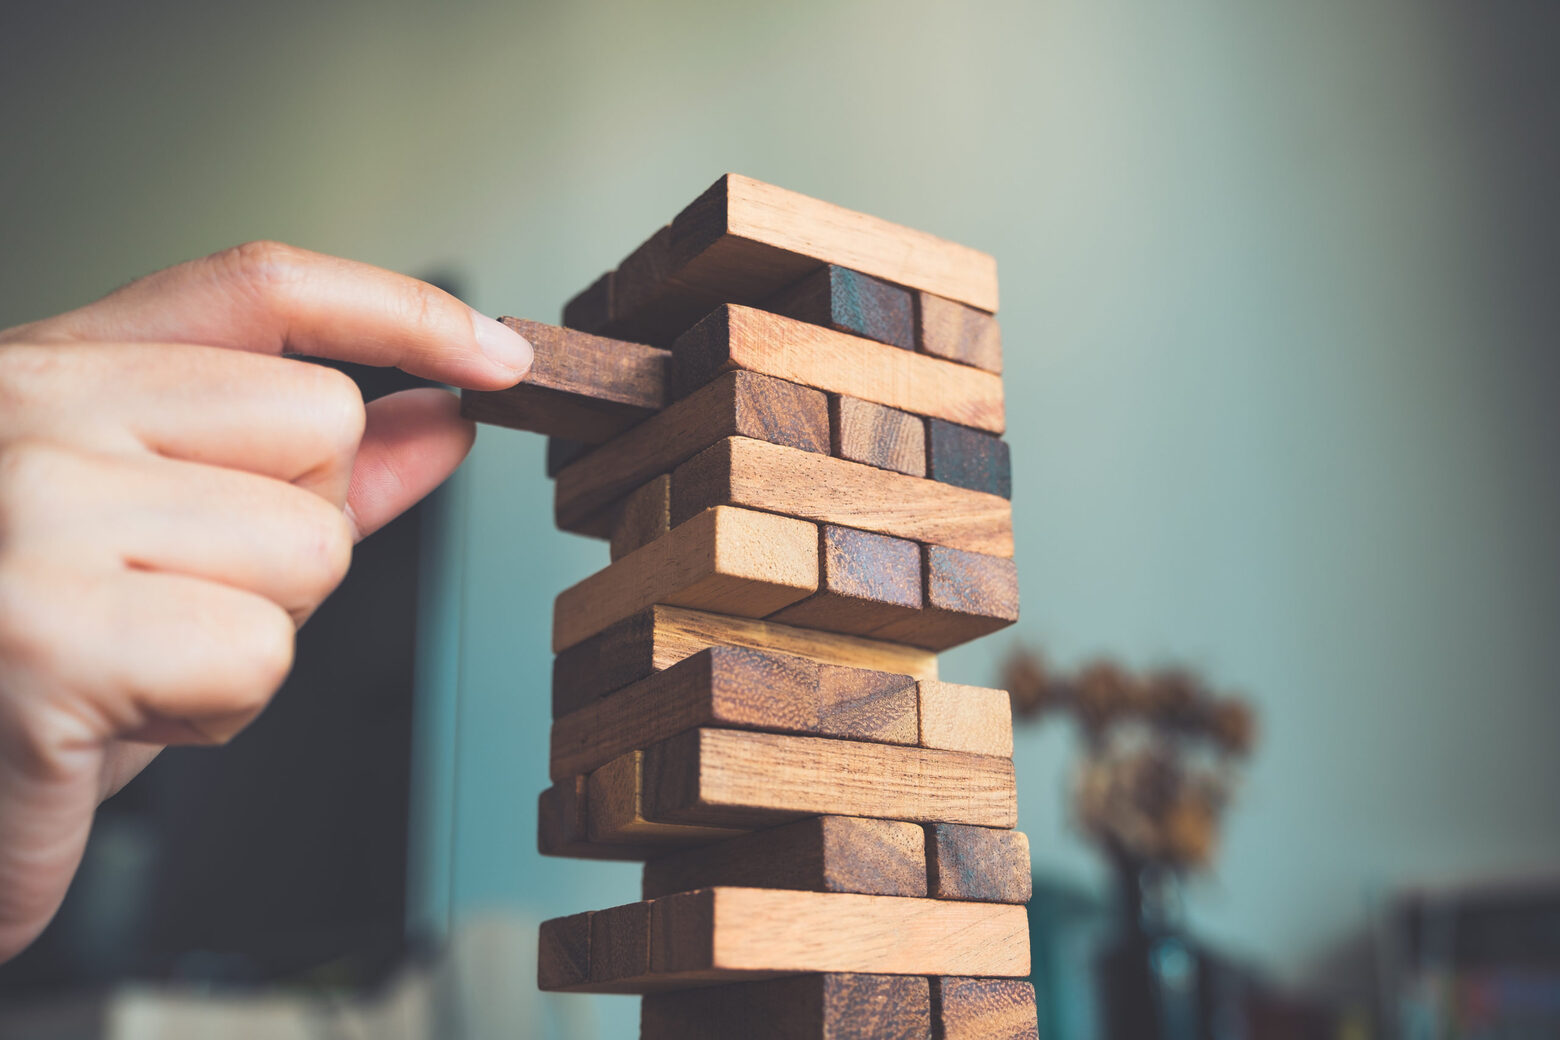
- Enjoy Your Customized Jenga Blocks: Once the blocks are fully dried and finished, they’re ready to take center stage in your Jenga games. Embrace the excitement of playing with your personalized, slippery Jenga blocks and savor the unique challenge they bring to the table.
By meticulously attending to the drying process and applying a protective sealer, you’ll ensure the longevity and visual appeal of your painted Jenga blocks, setting the stage for countless enjoyable gaming sessions.
**
Conclusion
**
Congratulations on successfully navigating the process of transforming standard Jenga blocks into personalized, slippery game pieces! By following the steps outlined in this guide, you’ve embarked on a creative journey that has resulted in a unique and engaging addition to your gaming repertoire.
Through meticulous sanding, priming, and painting, you’ve infused your Jenga blocks with a vibrant and slippery charm, setting the stage for countless memorable gaming moments with friends and family. The tactile allure and enhanced challenge brought about by the slick surfaces of your customized blocks promise to elevate the excitement of every Jenga game.
As you admire your finished creation, take pride in the craftsmanship and creativity that have gone into this project. Your personalized Jenga blocks are a testament to your ingenuity and passion for enhancing everyday experiences through DIY customization.
Now, with your sleek and vibrant Jenga blocks at the ready, it’s time to gather your fellow gamers, set up the tower, and immerse yourselves in the delightful challenge that awaits. Embrace the laughter, suspense, and skillful maneuvers that define the Jenga experience, now amplified by your unique touch.
So, go forth and revel in the joy of gaming with your custom-painted, slippery Jenga blocks. Let the clatter of the blocks and the thrill of each precarious move bring an extra dose of excitement to your gaming sessions, showcasing the creativity and craftsmanship that have made your Jenga set truly one-of-a-kind.
May your gaming adventures be filled with laughter, camaraderie, and the delightful challenge of your personalized Jenga blocks!
Frequently Asked Questions about How To Make Painted Jenga Blocks Slippery
Was this page helpful?
At Storables.com, we guarantee accurate and reliable information. Our content, validated by Expert Board Contributors, is crafted following stringent Editorial Policies. We're committed to providing you with well-researched, expert-backed insights for all your informational needs.


0 thoughts on “How To Make Painted Jenga Blocks Slippery”