Articles
How To Make Snowball Quilt Block
Modified: February 24, 2024
Learn how to create a stunning snowball quilt block with our informative articles. Enhance your quilting skills and create beautiful designs.
(Many of the links in this article redirect to a specific reviewed product. Your purchase of these products through affiliate links helps to generate commission for Storables.com, at no extra cost. Learn more)
Introduction
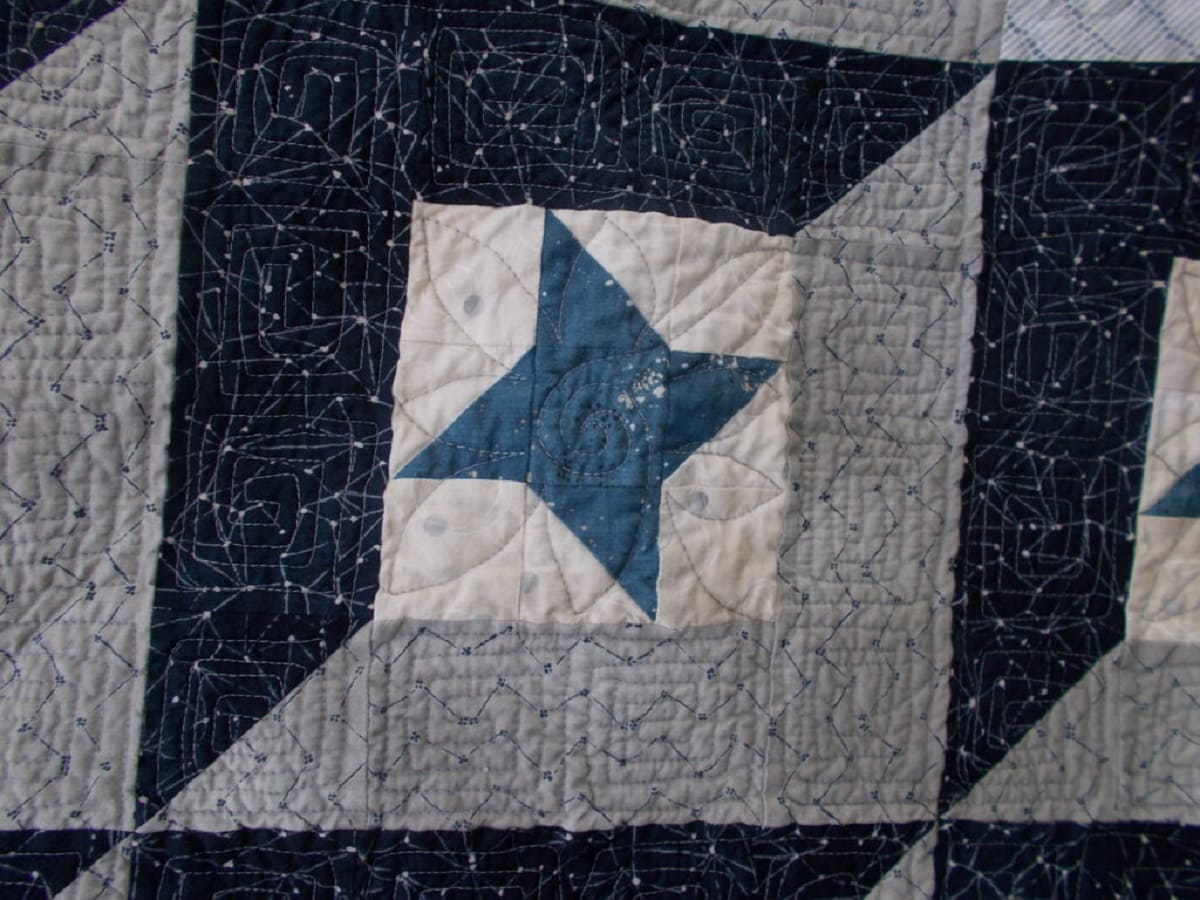
The snowball quilt block is a classic design that adds a touch of charm and whimsy to any quilt project. With its rounded corners and contrasting fabrics, this block creates a sense of movement and depth. If you’re new to quilting or looking to try out a new technique, the snowball block is a great place to start.
In this article, we’ll explore step-by-step instructions on how to make a snowball quilt block. We’ll cover everything from gathering the necessary materials to finishing the block with precision. So grab your fabric, thread, and sewing machine, and let’s dive into the wonderful world of the snowball quilt block!
Before we begin, let’s talk about the materials you’ll need to make a snowball quilt block. Here’s a handy list to get you started:
Key Takeaways:
- Dive into the world of quilting with the charming snowball quilt block, adding movement and depth to your projects. Experiment with fabrics and colors to create unique, personalized quilt designs.
- Master the art of creating snowball quilt blocks with precision and creativity. From cutting fabric to assembling blocks, enjoy the process and embrace the beauty of handmade quilts.
Read more: How To Make A Block Quilt
Materials Needed
Making a snowball quilt block requires a few essential materials. Here’s what you’ll need:
- Fabric: Choose at least two contrasting fabrics to create the snowball effect. You’ll need a fabric for the snowball corners and a fabric for the background.
- Scissors or rotary cutter: To cut the fabric pieces to the desired size.
- Ruler: A clear quilting ruler will help you measure and cut accurate fabric pieces.
- Pins: Use pins to secure the fabric in place while sewing.
- Sewing machine: A sewing machine will make the construction process faster and more efficient, but you can also sew the blocks by hand if you prefer.
- Iron and ironing board: Pressing the fabric at each step is crucial for achieving precise and professional-looking quilt blocks.
- Thread: Choose a thread color that complements your fabric choices.
- Quilting needles: Quilting needles have a larger eye and a sharper point, making them ideal for working with multiple layers of fabric.
- Quilting ruler: A quilting ruler with clear measurements and angles will help you achieve accurate cuts and seam allowances.
Now that you have all the necessary materials, let’s move on to the step-by-step process of making a snowball quilt block.
Step 1: Cutting the Fabric
The first step in creating a snowball quilt block is to cut your fabric into the appropriate sizes. Follow these simple instructions to ensure accurate cuts:
- Measure and cut your background fabric: Determine the finished size of your snowball block and add an extra 1/2 inch for seam allowance. For example, if you want a finished block size of 6 inches, cut your background fabric into 6 1/2-inch squares. You’ll need one background fabric square for each snowball block.
- Measure and cut your corner fabric: Determine the size of the corner squares by subtracting the desired finished size of your snowball block from the background fabric size. For example, if your background fabric is 6 1/2 inches and you want a finished block size of 6 inches, cut your corner fabric into 1 1/2-inch squares. You’ll need four corner fabric squares for each snowball block.
It’s important to measure and cut your fabric accurately to ensure that all your blocks match up seamlessly. Use a clear quilting ruler and a rotary cutter or scissors to achieve clean and precise cuts.
Once you have your fabric pieces cut, it’s time to move on to the next step: creating the snowball units.
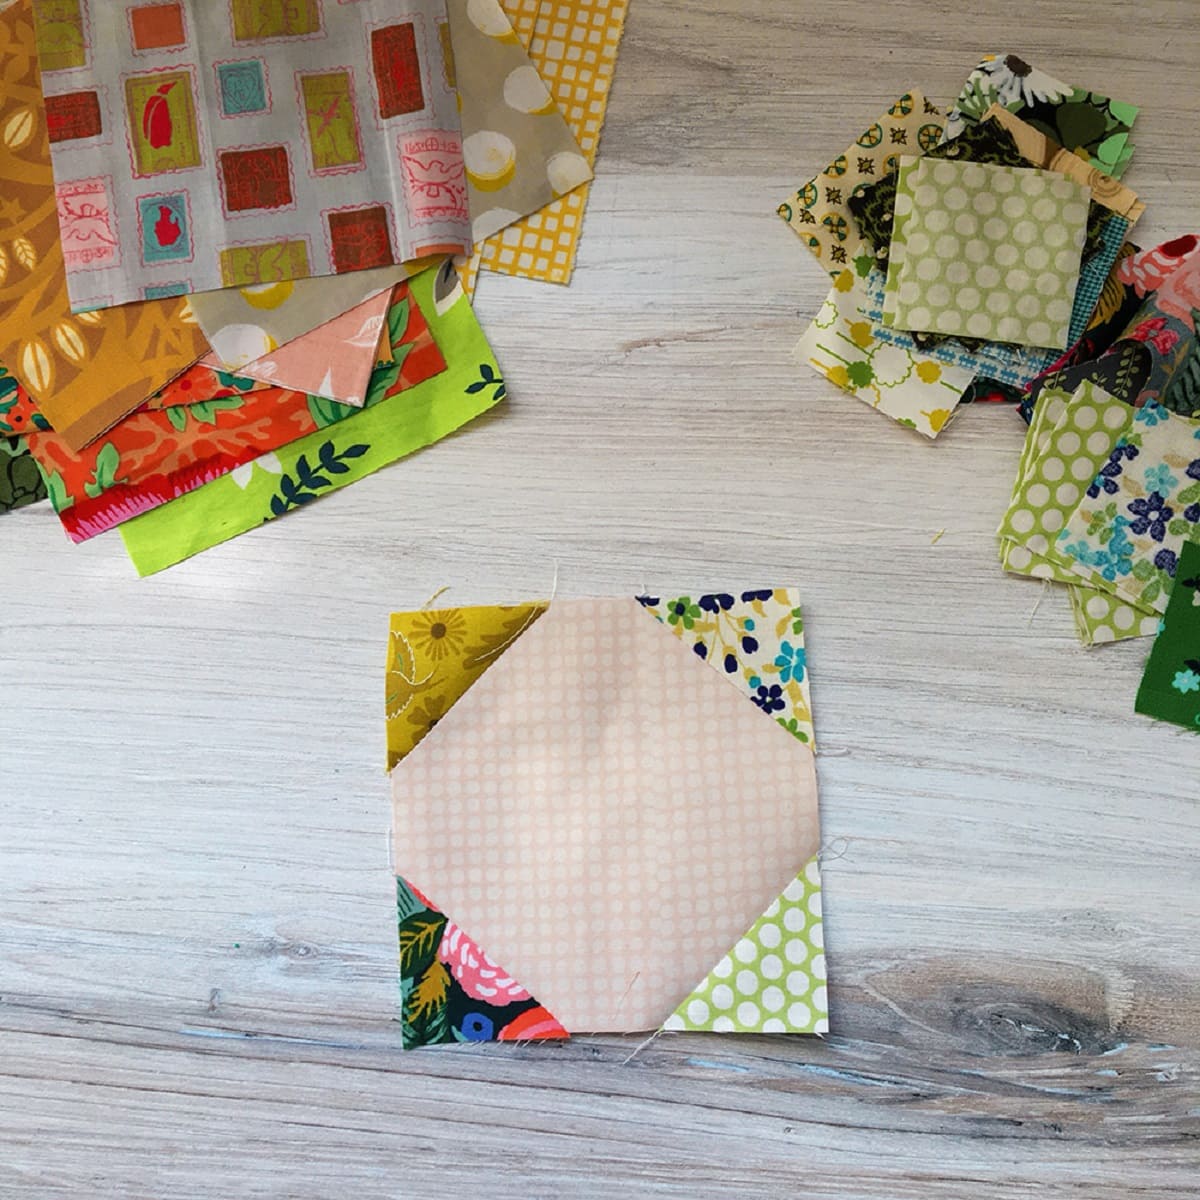
Step 2: Creating the Snowball Units
Now that you have your fabric pieces cut, it’s time to start creating the snowball units. Follow these steps to add the corner fabric to the background fabric:
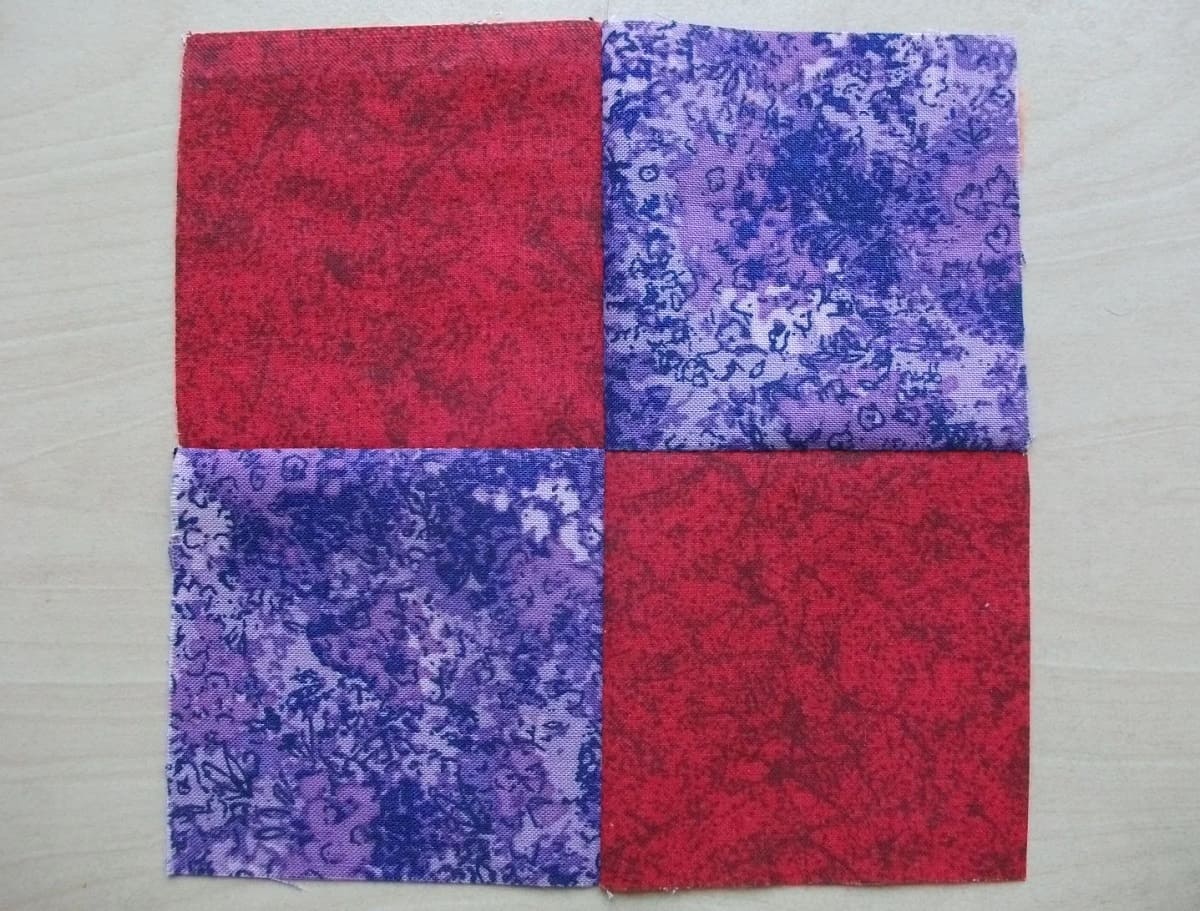
- Take one corner fabric square and place it on the right side of the background fabric square. Align the corners of the two fabrics.
- Pin the corner fabric in place to prevent it from shifting during sewing.
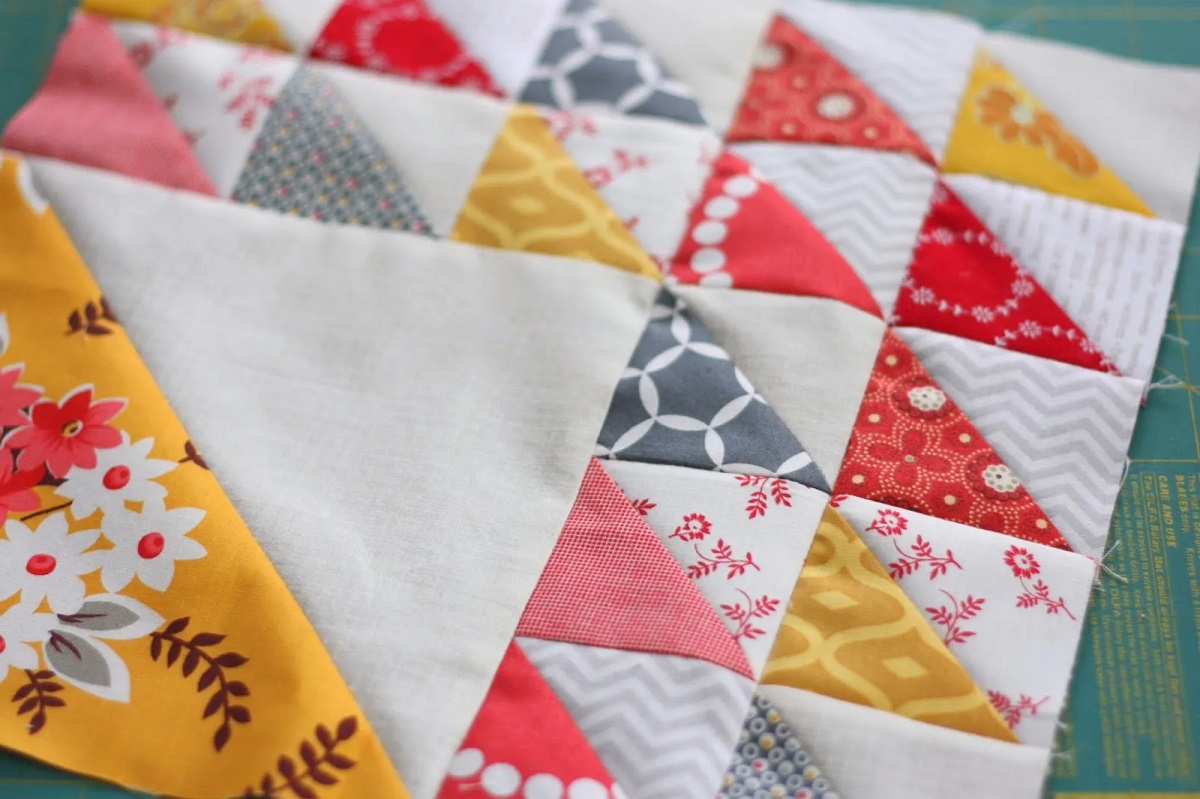
- Sew a diagonal line from one corner of the corner fabric to the opposite corner. You can either draw a faint pencil line to guide you or simply sew along the edge of the fabric.
- Trim the excess corner fabric, leaving a 1/4 inch seam allowance.
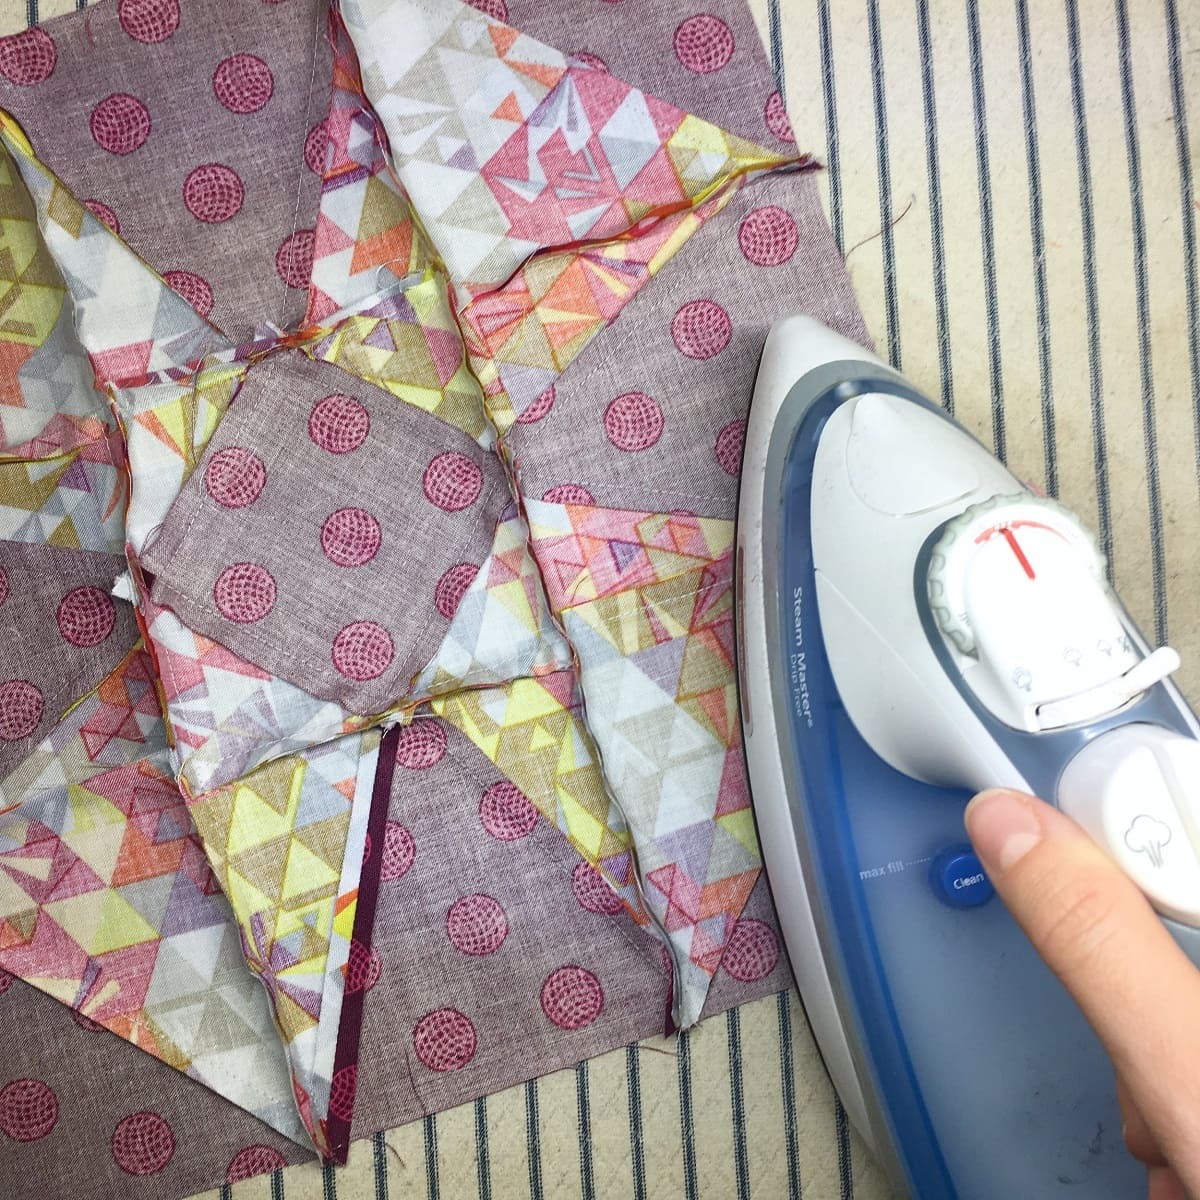
- Press the seam allowance towards the corner fabric.
- Repeat steps 1-5 for the remaining three corners of the background fabric.
Take your time and ensure that your sewing lines are straight and your corners are aligned. Pressing the seams after each step will give your snowball units a neat and professional finish.
Once you have created all the snowball units, it’s time to assemble the snowball blocks. Move on to the next step to learn how.
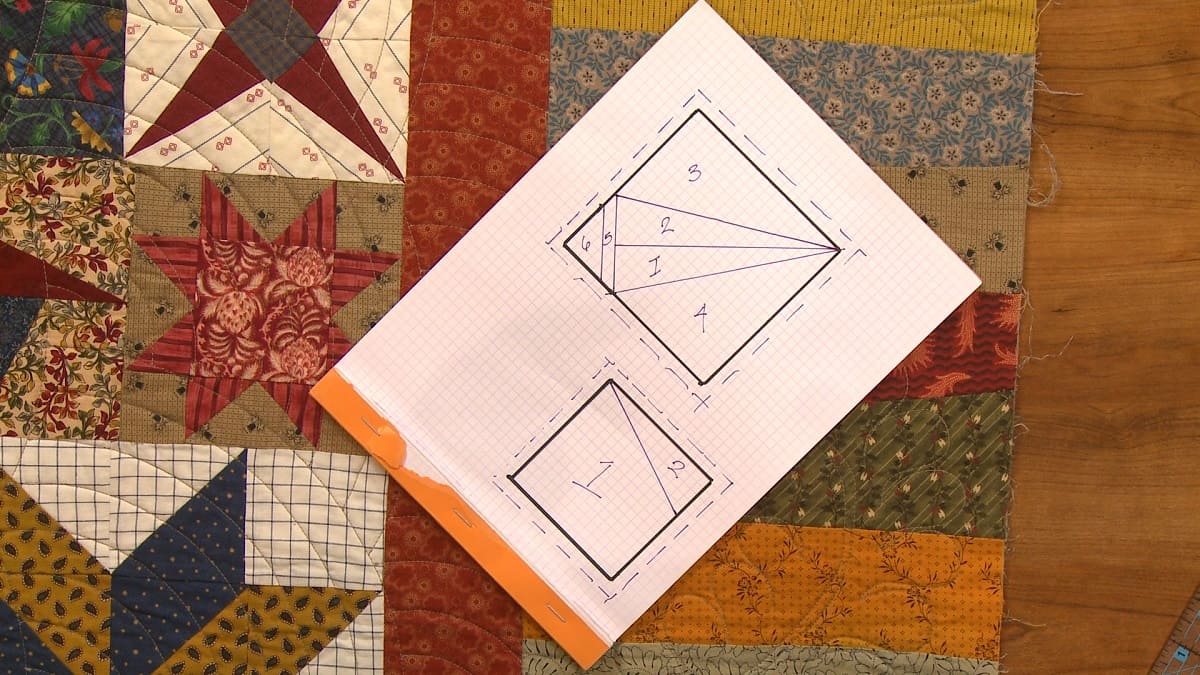
When making a snowball quilt block, be sure to accurately mark and sew your diagonal lines to create the corner triangles. Use a ruler to ensure precision.
Step 3: Assembling the Snowball Blocks
With the snowball units completed, it’s time to assemble the snowball blocks. Follow these steps to put all the pieces together:
- Lay out your background fabric squares on a flat surface.
- Take one snowball unit and place it in one corner of a background fabric square. Align the edges and pin it in place.
- Repeat step 2 with the remaining three snowball units, placing one unit in each corner of the background fabric square.
- Once all the snowball units are pinned to the background fabric square, sew a 1/4 inch seam along each edge, securing the snowball units in place.
- Repeat steps 2-4 for the remaining background fabric squares and snowball units.
As you sew, be mindful of maintaining a consistent 1/4 inch seam allowance and ensuring that your corners are aligned. Pressing the seams open or towards the background fabric will help reduce bulk and create a smoother finish.
Once you have assembled all your snowball blocks, it’s time to finish them off and create a stunning quilt. Read on to discover the final step.
Read more: How To Make A Heart Quilt Block
Step 4: Finishing the Quilt Block
Now that you have your snowball blocks assembled, it’s time to finish them off and prepare them for quilting. Follow these final steps to complete your quilt block:
- Trim the excess fabric: Use a quilting ruler and rotary cutter to trim the edges of your snowball blocks to the desired finished size. Make sure all the blocks are the same size for consistency.
- Press the blocks: Use an iron to press the blocks, ensuring the seams lie flat and the fabric is smooth. This will give your quilt a polished and professional appearance.
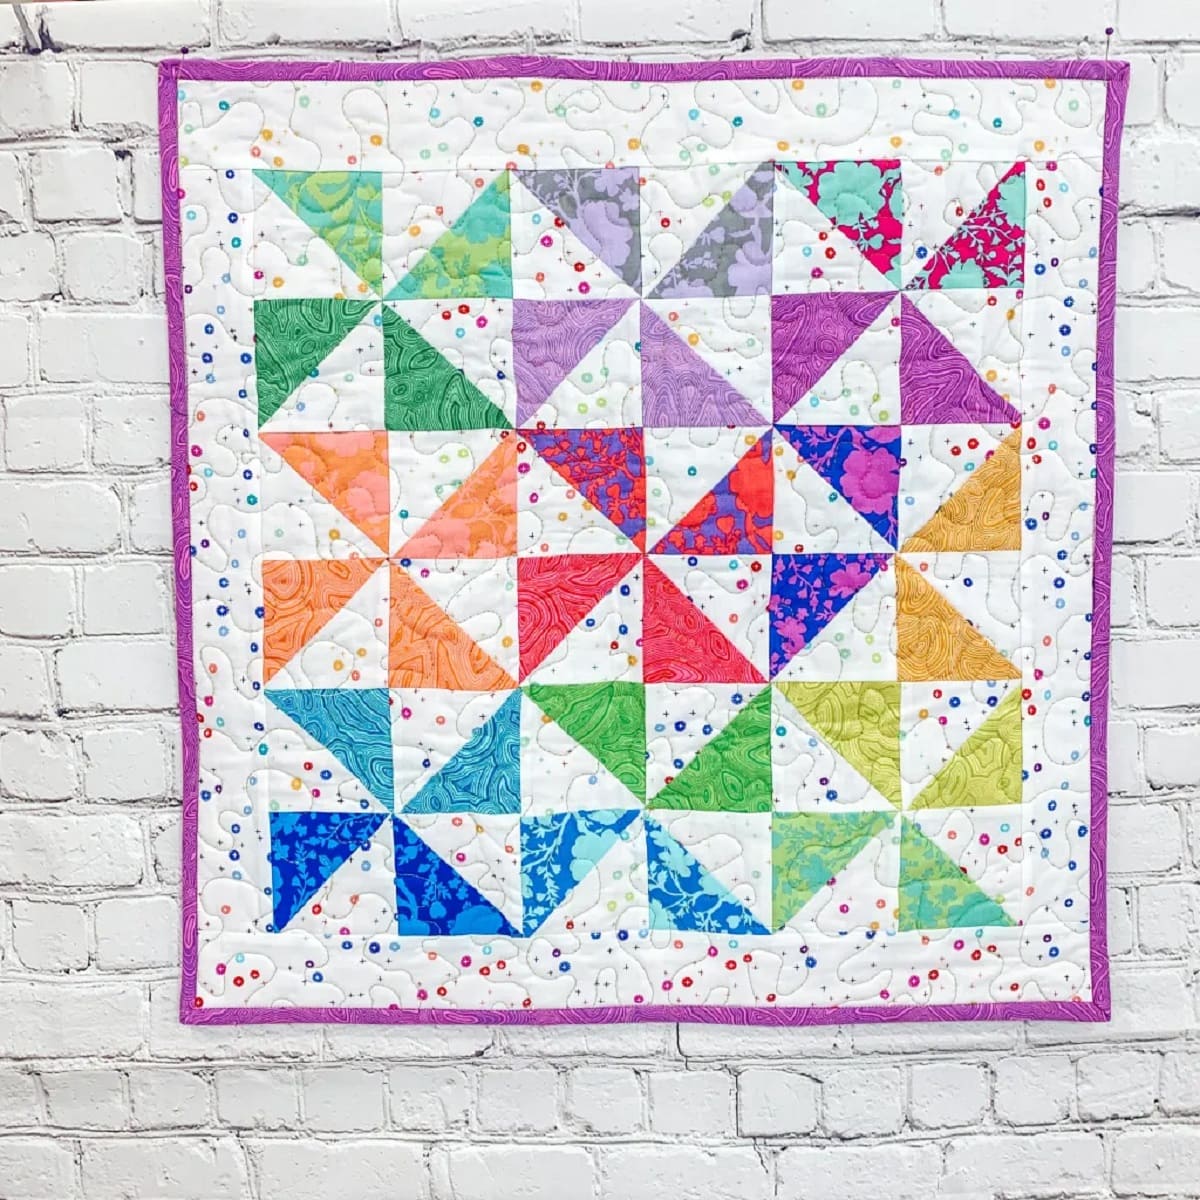
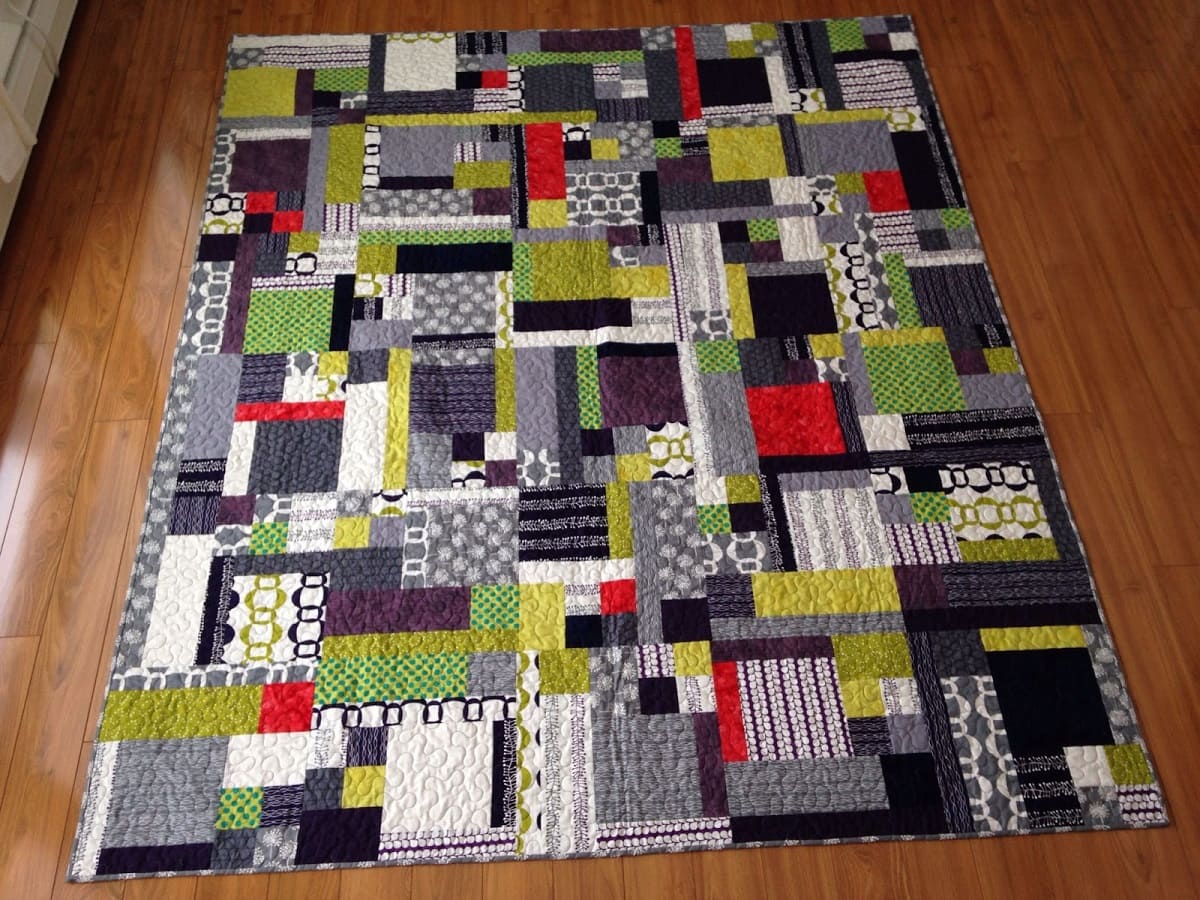
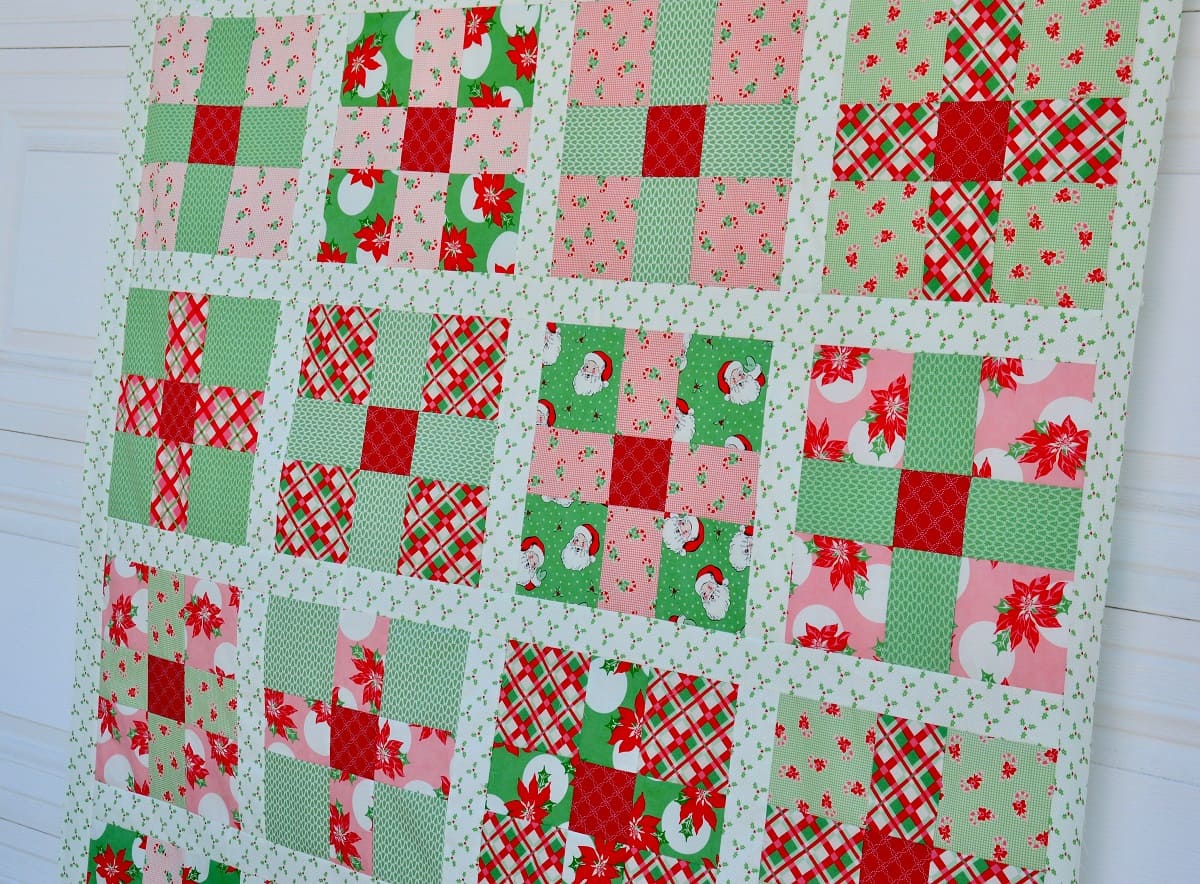
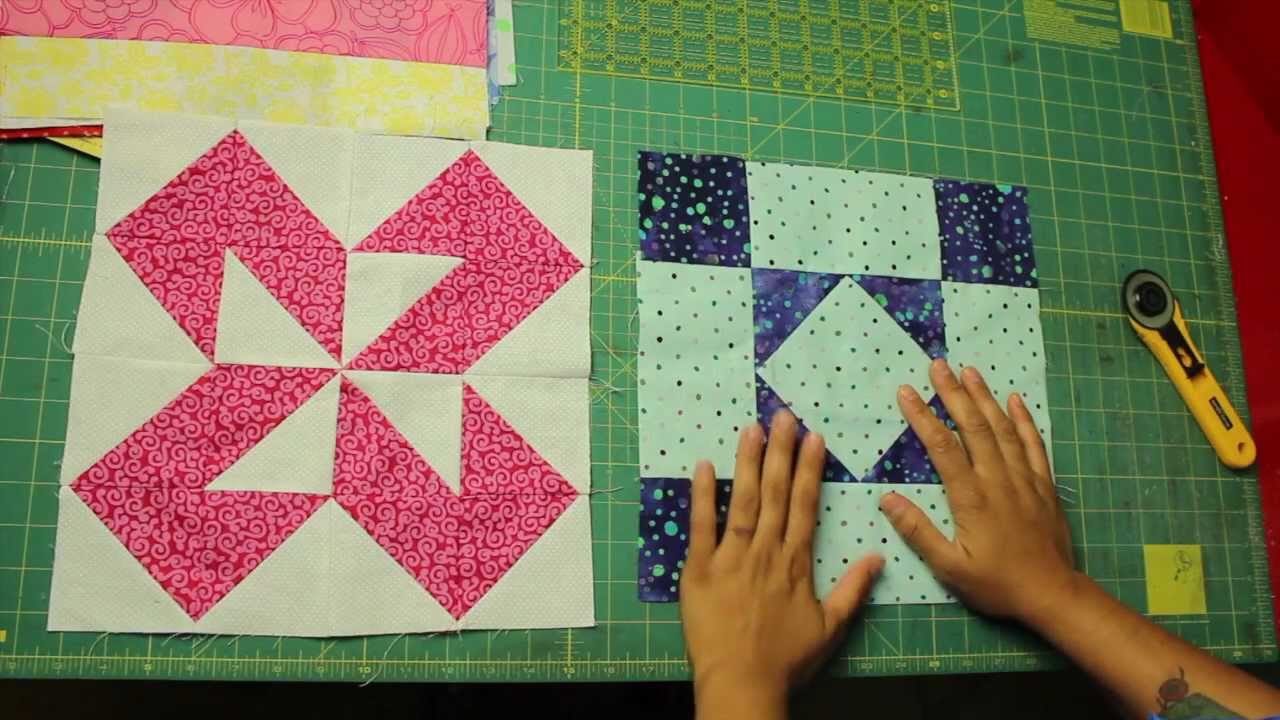
- Layout the blocks: Arrange your snowball blocks in a layout that you find visually appealing. Experiment with different arrangements until you find one that suits your taste.
- Sew the blocks together: Once you’re satisfied with the layout, sew the blocks together row by row using a 1/4 inch seam allowance. Press the seams open or to one side to reduce bulk.
- Complete the quilt top: Add any borders or additional blocks to complete your quilt top. Press the seams as you go and ensure the blocks are aligned and sewn securely.
With your quilt top finished, you can now layer it with batting and backing fabric and proceed with the quilting process. Whether you choose to quilt by hand or by machine, take your time and enjoy the creative process. Once your quilting is complete, bind the edges, and your snowball quilt block project is finished.
Congratulations! You’ve successfully learned how to make a snowball quilt block. Now it’s time to get creative and experiment with different fabrics, colors, and layouts. Whether you’re making a small project or a full-sized quilt, the snowball block is sure to add a touch of beauty and charm to your work.
Conclusion
Creating snowball quilt blocks is a fun and rewarding process that adds character and depth to any quilt project. By following the step-by-step instructions outlined in this article, you’ve learned how to cut the fabric, create the snowball units, assemble the blocks, and finish the quilt block with precision. With your newfound knowledge, you can now embark on creating stunning quilts that showcase the beauty of the snowball block design.
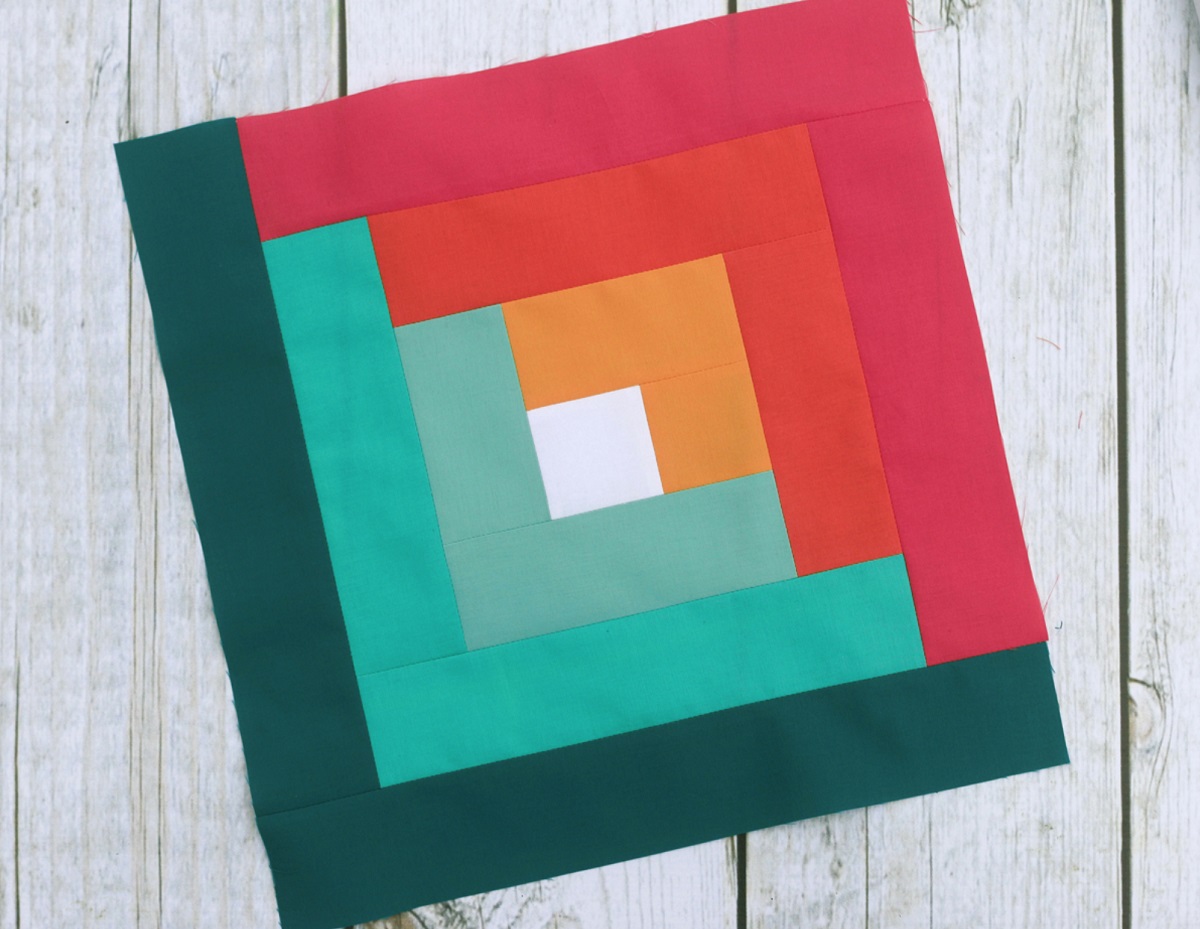
Remember, as you explore this quilting technique, don’t be afraid to experiment with different fabrics, colors, and layouts. The snowball block offers endless possibilities for customization, allowing you to create unique and personalized quilt projects.
Whether you’re a beginner or an experienced quilter, the snowball quilt block is a versatile choice that can be incorporated into various quilt patterns and styles. From baby quilts to bed quilts, wall hangings to table runners, the snowball block adds a touch of whimsy and charm that will surely impress.
So, gather your materials, fire up your sewing machine, and let your creativity soar as you dive into the world of snowball quilt blocks. Enjoy the process, embrace the beauty of handmade quilts, and create cherished heirlooms that will be treasured for years to come.
Happy quilting!
Frequently Asked Questions about How To Make Snowball Quilt Block
Was this page helpful?
At Storables.com, we guarantee accurate and reliable information. Our content, validated by Expert Board Contributors, is crafted following stringent Editorial Policies. We're committed to providing you with well-researched, expert-backed insights for all your informational needs.


0 thoughts on “How To Make Snowball Quilt Block”