Articles
How To Make A Heart Quilt Block
Modified: August 22, 2024
Learn how to make a stunning heart quilt block with our collection of informative and easy-to-follow articles. Master the art of quilting and create beautiful pieces for yourself or as gifts.
(Many of the links in this article redirect to a specific reviewed product. Your purchase of these products through affiliate links helps to generate commission for Storables.com, at no extra cost. Learn more)
Introduction
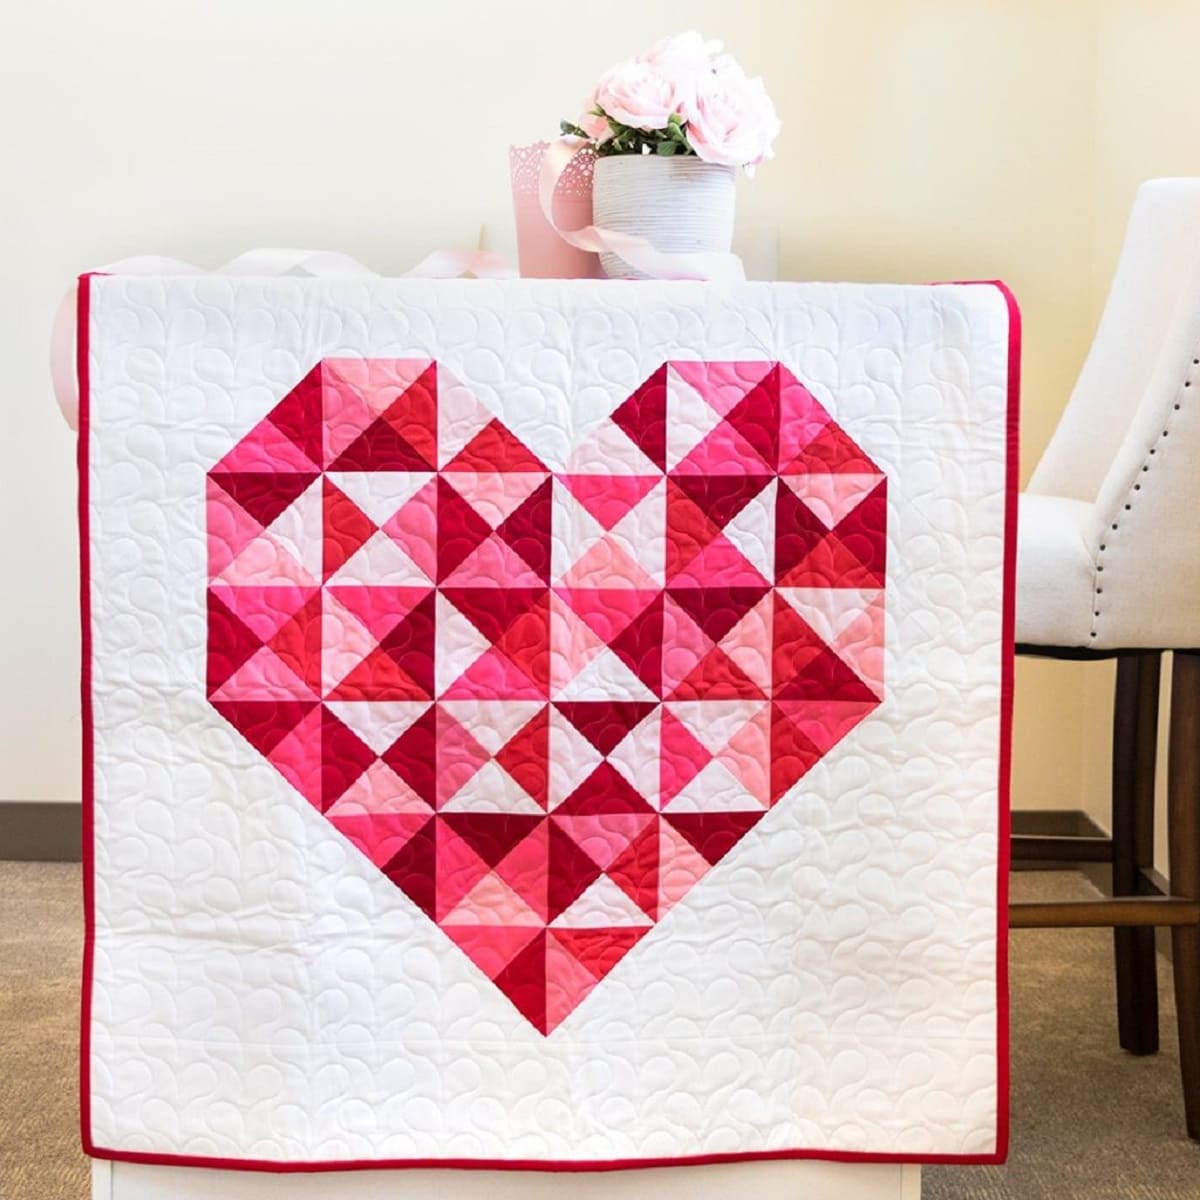
Quilting is a beloved craft that allows individuals to combine their creativity with intricate stitching techniques. One popular quilting design is the heart quilt block. The heart shape is not only a symbol of love and affection but also adds a charming touch to any quilt.
In this article, we will guide you through the process of creating a heart quilt block from scratch. Whether you are an experienced quilter looking for a new project or a beginner eager to learn, this article will provide you with the necessary steps and tips to make your own heart quilt block.
But before we get started, let’s gather the materials needed.
Key Takeaways:
- Crafting a heart quilt block involves choosing fabrics, cutting precise shapes, and sewing with care. The process allows for personal expression and the creation of a unique, love-filled piece of art.
- From pressing seams to adding optional borders and embellishments, the finishing touches elevate the heart quilt block into a polished, visually stunning creation. The journey of quilting is a joyful, creative endeavor.
Read more: How To Make A Block Quilt
Materials Needed
Before diving into the heart quilt block project, let’s make sure we have all the necessary materials on hand. Here’s a list of items you will need:
- Fabric: Choose a variety of fabrics in different colors and patterns that complement each other. Make sure to have enough fabric to create multiple heart shapes.
- Scissors: Sharp fabric scissors are essential for cutting the fabric accurately.
- Ruler: A clear quilting ruler will help you measure and cut the fabric precisely.
- Pen or fabric marker: This will be used to trace the heart shape onto the fabric.
- Sewing machine: While hand stitching is an option, using a sewing machine will make the process faster and more efficient.
- Thread: Choose a thread color that matches your fabric or provides contrast, depending on the desired effect.
- Pins: These will be used to secure the fabric layers together during sewing.
- Iron: An iron is essential for pressing the seams and ensuring a neat finish.
- Backing fabric: If you plan to turn the heart quilt block into a mini quilt, you will need backing fabric to complete the project.
- Batting: Batting provides the necessary insulation and thickness for the quilt. Choose a batting that suits your preferences and desired quilt thickness.
- Quilting needles and pins: These specialized needles and pins are designed to handle multiple layers of fabric and batting.
- Quilting ruler and mat: These tools will help you accurately measure and cut the fabric and batting.
Now that you have gathered all the materials needed, let’s move on to the step-by-step process of making a heart quilt block.
Step 1: Choosing Fabric
The fabric you choose for your heart quilt block can greatly impact the overall look and feel of the finished piece. Consider the color scheme, patterns, and texture of the fabrics you plan to use.
When selecting fabrics, aim for a combination of solid colors and patterns that complement each other. You may opt for a monochromatic color scheme, a combination of complementary colors, or even a mix of bold and pastel shades for contrast.
Consider using fabrics with different textures, such as cotton, linen, or even flannel, to create visual interest in your quilt block. Mixing textures can add depth and dimension to the design.
Keep in mind the overall theme or purpose of your quilt block – whether it’s for a specific project, gift, or simply for decorative purposes. Choose fabrics that reflect and enhance the intended aesthetic.
If you’re unsure about which fabrics to choose, consider creating a mock-up or color scheme board before cutting into your main fabrics. This will help you visualize how the colors and patterns will work together.
Now that you’ve chosen your fabrics, it’s time to move on to the next step: cutting the fabric.
Step 2: Cutting the Fabric
Once you have chosen your fabrics for the heart quilt block, it’s time to prepare them by cutting them into the desired shapes. Here’s how you can proceed:
- Start by washing and ironing your fabrics. This will remove any dirt, shrinkage, or creases, ensuring that your quilt block turns out neat and flat.
- Decide on the size of your heart template. You can find heart-shaped templates online or create your own by drawing a symmetrical heart on a piece of paper or cardboard.
- Using a ruler, measure and mark the desired size of the heart template on your fabric. Make sure to leave a small seam allowance around the edges for sewing.
- Once you have marked the heart shape, carefully cut out the fabric along the lines.
- Repeat this process for as many heart shapes as you’d like to include in your quilt block. You can vary the sizes and colors of the hearts to add visual interest.
- As you cut out the hearts, keep them organized in piles or separate containers, so they don’t get mixed up.
When cutting the fabric, it’s crucial to be precise and accurate. Use sharp fabric scissors and follow the lines carefully to ensure clean and even cuts. Take your time and double-check your measurements to avoid any mistakes.
Once you have finished cutting the fabric hearts, you are now ready to move on to the next step: creating the heart template.
Step 3: Creating the Heart Template
Before tracing and cutting out the heart shapes from your fabric, it’s helpful to create a heart template that will serve as a guide. Having a template ensures consistency in shape and size across all your fabric hearts. Here’s how you can create a heart template:
- Take a piece of sturdy paper or cardstock that is larger than your desired heart size. This will serve as the base for your template.
- Using a ruler, draw a straight line down the center of the paper. This line will serve as the guide for creating a symmetrical heart shape.
- At the top of the line, draw a half-circle shape. Start from one end of the line, curve downwards, and then come back up to the other end of the line. This will form the top of the heart shape.
- From the middle of the half-circle, draw two diagonal lines that slant outward. These lines will form the sides of the heart.
- Connect the ends of the diagonal lines with a curved line. This will complete the bottom part of the heart shape.
- Once you are satisfied with the shape, cut out the heart template along the outlined lines.
- Your heart template is now ready to be used for tracing onto the fabric. Ensure that the template is fully dry and free from any pen or pencil marks before proceeding.
Having a heart template will make the tracing step in the next section much easier and more efficient. You can reuse the template for multiple projects, ensuring consistent heart shapes.
With your heart template in hand, you’re now ready to move on to tracing the heart shapes onto the fabric in the next step.
Read more: How To Make Snowball Quilt Block
Step 4: Tracing the Heart Shape
Now that you have your fabric hearts cut out and your heart template ready, it’s time to transfer the shape onto the fabric. Tracing the heart shape ensures that you have a precise outline to follow when cutting out the fabric hearts. Follow these steps to trace the heart shape:
- Lay the fabric flat on a smooth surface, ensuring there are no wrinkles or folds.
- Place the heart template on top of the fabric, aligning it to the desired position.
- Using a pen or fabric marker, carefully trace around the edges of the heart template onto the fabric.
- Apply light pressure when tracing to avoid any damage to the fabric.
- Be sure to trace the heart shape onto all the fabric hearts you plan to use for your quilt block.
It’s essential to use a pen or fabric marker that is easily visible on the fabric but won’t bleed or wash away during the sewing process. Test the pen or marker on a scrap piece of fabric before tracing the hearts to ensure it works as desired.
Additionally, take care to align the heart template accurately on the fabric to achieve symmetrical shapes. If you’re concerned about the pen or marker showing on the final quilt block, you can trace the hearts on the wrong side of the fabric.
With the heart shapes traced onto the fabric, you’re now ready to move on to the next step: cutting out the hearts.
Step 5: Cutting Out the Heart Shape
With the heart shapes traced on the fabric, it’s time to cut them out. Cutting out the fabric hearts is a critical step as it determines the final shape and appearance of your heart quilt block. Follow these steps to cut out the hearts:
- Take a pair of sharp fabric scissors and carefully cut along the traced lines of each heart shape.
- Make precise cuts, following the edges of the traced lines, to create clean and even fabric hearts.
- Pay attention to any intricate curves or corners of the heart shape to ensure accuracy.
- Take your time and cut slowly to avoid any mistakes or uneven edges.
- If you’re working with different fabrics for the hearts, continue cutting out the hearts from each fabric until you have the desired number of hearts.
- You now have a collection of fabric hearts ready to be sewn together.
After cutting out the fabric hearts, it’s a good idea to double-check their sizes and shapes. Ensure that they are uniform and match your desired specifications. If needed, make adjustments or recut any hearts that may require it.
With the hearts cut out, you’re ready to move on to the next step: sewing the hearts together to form the quilt block.
When sewing the pieces together for a heart quilt block, use a 1/4 inch seam allowance to ensure accurate and consistent block sizes.
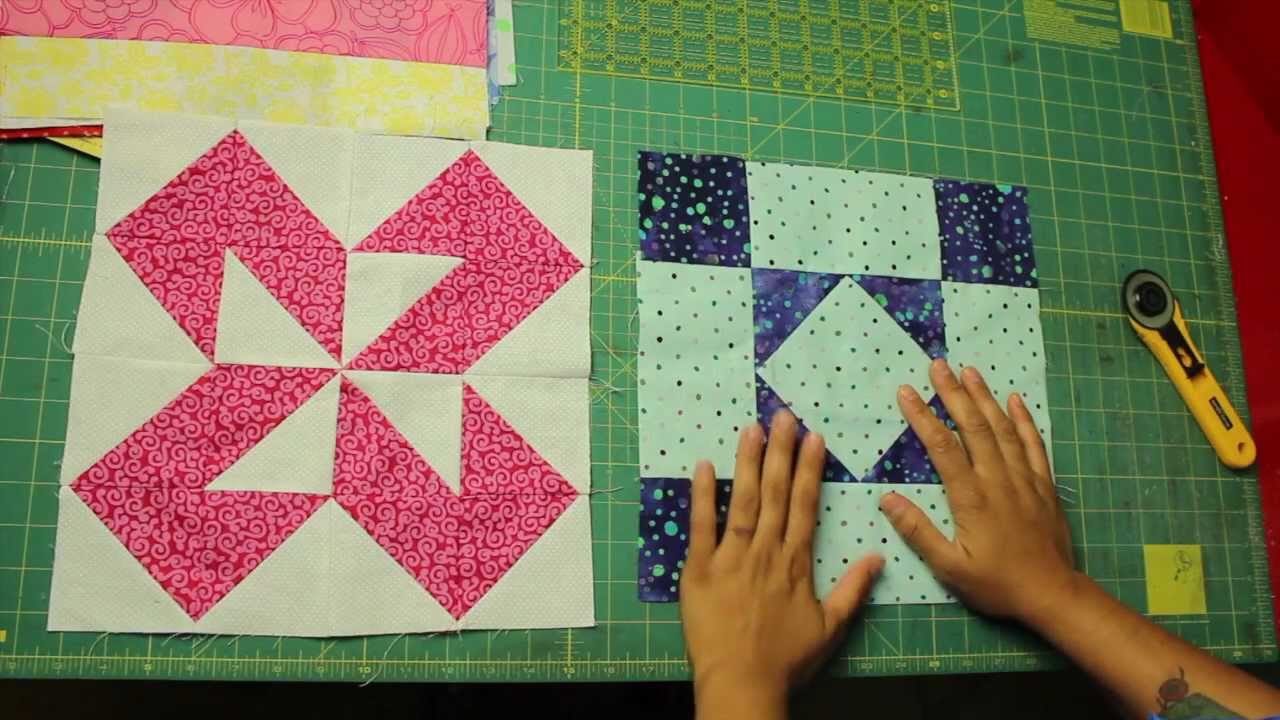
Step 6: Sewing the Hearts Together
Now that you have cut out the fabric hearts, it’s time to start assembling the heart quilt block by sewing the hearts together. This step requires precision and attention to detail to ensure that the hearts are aligned properly and securely attached. Follow these steps to sew the hearts together:
- Arrange the fabric hearts in the desired pattern or layout for your quilt block. You can experiment with different placements to achieve the desired effect.
- Take the first two hearts and place them right sides together, aligning the edges that will be sewn.
- Using a sewing machine or a needle and thread, stitch along the edge, starting at the top curve and ending at the bottom point of the heart. Use a ¼ inch seam allowance and backstitch at the beginning and end to secure the stitches.
- Continue sewing the rest of the hearts together in the same manner until all hearts are attached.
- Take care to maintain even seam allowances and ensure that the hearts are aligned correctly as you sew.
- Press the sewn seams open or to one side, depending on your preference and the final look you want to achieve.
- Inspect the quilt block to ensure that all the hearts are securely attached and that the seams are smooth.
If you’re a beginner or prefer a less intricate design, you can start by sewing just a few hearts together and gradually expand the design as you gain confidence.
Remember to take your time and sew with precision to achieve a polished and professional-looking heart quilt block. Once you have sewn the hearts together, it’s time to move on to the next step: pressing the seams.
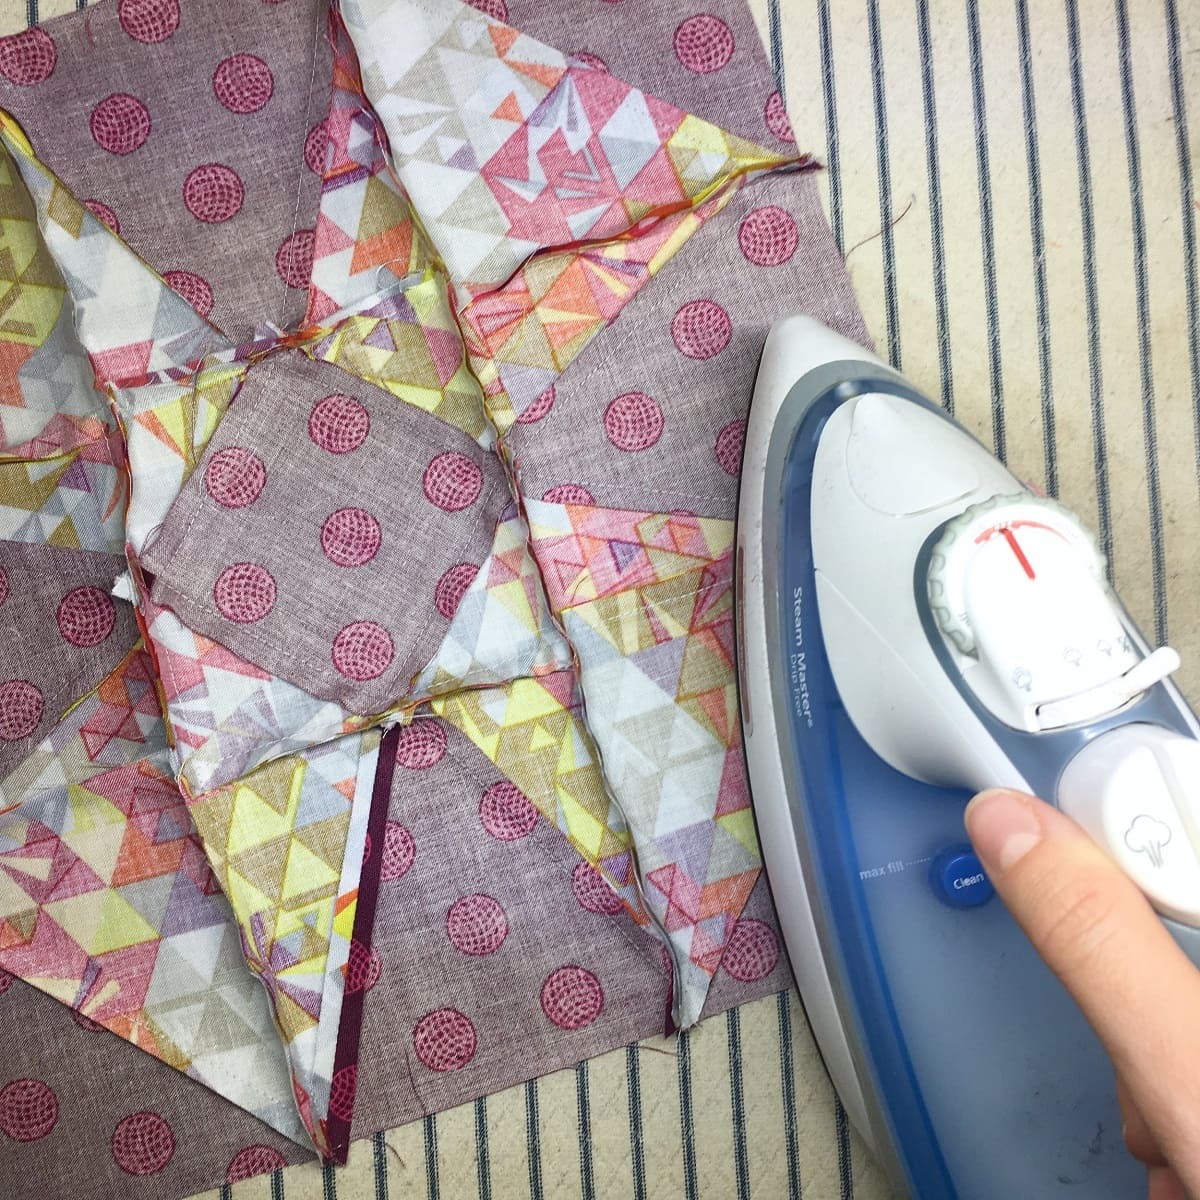
Step 7: Pressing the Seams
Pressing the seams is an important step in quilting as it helps to set the stitches, flatten the fabric, and create a neat and professional finish. By pressing the seams, you will ensure that your heart quilt block looks polished and the fabric lays flat. Follow these steps to press the seams:
- Lay your sewn heart quilt block on an ironing board or flat surface.
- Start by pressing the seam allowances as they were sewn. If the seams are pressed open, press them in the same direction. If they are pressed to one side, press them to the same side.
- Place the iron on top of the seam allowance and apply gentle pressure. Move the iron along the seam, pressing the fabric as you go.
- Repeat this process for all the seam allowances in the heart quilt block.
- Take care not to stretch or distort the fabric as you press. Gentle, even pressure is key to achieving a flat and crisp result.
- Once all the seams have been pressed, flip the quilt block over and press the front side to remove any remaining wrinkles or creases.
- Ensure that the quilt block lays flat and all the seams are laying smoothly.
Pressing the seams will give your heart quilt block a professional and well-finished look. It also helps to prepare the block for the next steps in the quilting process, such as adding borders or quilting.
With the seams pressed, your heart quilt block is now ready for the next step: adding borders (if desired).
Read more: How To Make A Pinwheel Quilt Block
Step 8: Adding Borders (Optional)
Adding borders to your heart quilt block is an optional step but can enhance the overall design and provide a finished look. Borders can frame the hearts, add visual interest, and even expand the size of your quilt block. Follow these steps to add borders to your heart quilt block:
- Measure the dimensions of your heart quilt block to determine the length and width of the borders you will need.
- Cut fabric strips for the borders according to your measurements. Make sure the width of the strips matches your desired border width.
- Place one border strip on the side of the quilt block, right sides together, and align the edges.
- Pin the border strip in place, ensuring that it extends beyond the corners of the quilt block.
- Using a ¼ inch seam allowance, sew the border strip to the quilt block, backstitching at the beginning and end to secure the stitches.
- Repeat this process to add the remaining borders to the other sides of the quilt block.
- Press the seams towards the borders or open, depending on your preference.
If you want to add multiple borders, repeat the steps for each additional border layer, adjusting the measurements accordingly.
Adding borders can be an opportunity to bring in different fabric colors or patterns to complement the hearts. You can choose a border fabric that matches or contrasts with the hearts for a striking effect.
Once the borders are added, press the quilt block again to ensure the seams are flat and the fabric lies smoothly.
With the borders in place, your heart quilt block is now ready for the next step: quilting.
Step 9: Quilting the Block
Quilting adds both decorative and functional elements to your heart quilt block. It secures the layers of fabric together and adds texture and visual interest. There are various quilting techniques to choose from, depending on your preferences and skill level. Follow these steps to quilt your heart quilt block:
- Prepare your quilt block by layering it with backing fabric and batting. Lay the backing fabric wrong side up, place the batting on top, and then place your heart quilt block right side up.
- Pin or baste the layers together to prevent shifting during quilting.
- Decide on the type of quilting design you want to incorporate. Popular options include outline quilting around the hearts, diagonal or straight-line quilting, or even free-motion quilting with intricate patterns.
- Using a quilting ruler, mark your desired quilting lines or designs on the quilt block. Alternatively, you can use quilting stencils or templates to guide your quilting.
- Thread your sewing machine with a suitable quilting thread that coordinates with your quilt block.
- Follow your marked lines or designs and sew the quilting stitches with a straight or zigzag stitch.
- Take your time and ensure that the stitches are even and consistent.
- Continue quilting until you have covered the entire quilt block or achieved the desired quilting effect.
If you are new to quilting, start with simple quilting designs and gradually experiment with more complex patterns as you gain confidence.
After quilting, trim any excess batting and backing fabric, leaving a small border around the quilt block.
With the quilting complete, your heart quilt block is now ready for the final step: adding the finishing touches.
Step 10: Finishing Touches
Adding the finishing touches to your heart quilt block completes the overall look and ensures a polished final product. These finishing touches can include binding the edges, adding embellishments, or even washing and blocking the quilt block. Here are some options for the finishing touches:
- Binding: Binding is used to encase the raw edges of the quilt block, providing a clean and finished look. You can choose a fabric that matches or complements your quilt block. Cut bias strips of fabric, sew them together, and attach them to the edges of your quilt block by sewing them down with a ¼ inch seam allowance.
- Embellishments: If desired, you can add embellishments to your heart quilt block to further enhance its visual appeal. This can include applique, embroidery, or even adding buttons or beads to the hearts. Use your creativity to add personal touches that reflect your style and taste.
- Washing and Blocking: Once your heart quilt block is complete, you may want to consider washing it to remove any remaining marks or stains. Follow the fabric care instructions and allow the quilt block to air dry or tumble dry on a low setting. After washing, you can block the quilt block by gently stretching and smoothing it into shape.
By adding these finishing touches, you’ll elevate your heart quilt block from a simple fabric construction to a beautiful, completed project.
Congratulations! You have successfully created your own heart quilt block. Whether you plan to use it as a standalone block or incorporate it into a larger quilt, the heart design will bring a touch of love and warmth to your quilting project.
Remember to enjoy the process and let your creativity flow as you make your heart quilt block. Happy quilting!
Conclusion
Making a heart quilt block is a rewarding and creative endeavor that allows you to showcase your quilting skills while incorporating a symbol of love and affection. By following the step-by-step process outlined in this article, you can create a beautiful heart quilt block that can be used as a standalone piece or as part of a larger quilt project.
From choosing the fabric and cutting out the hearts to sewing them together and adding the finishing touches, each step plays a crucial role in creating a visually stunning and well-crafted quilt block. Whether you’re a seasoned quilter or a beginner, with a little patience and attention to detail, you can successfully complete this project.
Remember to unleash your creativity when selecting fabrics, combining colors and patterns that resonate with your personal style. Feel free to experiment with different quilting techniques and embellishments to make your heart quilt block truly unique and one-of-a-kind.
Quilting is not only a craft but also an artform that allows you to express yourself and create something with love and care. As you stitch and quilt each heart, let it be a reminder of the joy and warmth that quilting brings to your life.
So, gather your materials, fire up your sewing machine, and embark on the journey of creating your own heart quilt block. And who knows, it may not only become a treasured piece in your home but also a cherished gift for someone special in your life.
Happy quilting!
Frequently Asked Questions about How To Make A Heart Quilt Block
Was this page helpful?
At Storables.com, we guarantee accurate and reliable information. Our content, validated by Expert Board Contributors, is crafted following stringent Editorial Policies. We're committed to providing you with well-researched, expert-backed insights for all your informational needs.


0 thoughts on “How To Make A Heart Quilt Block”