Articles
How To Make A Pinwheel Quilt Block
Modified: August 27, 2024
Learn how to create a stunning pinwheel quilt block with our informative articles. Master the art of quilting and create beautiful designs today!
(Many of the links in this article redirect to a specific reviewed product. Your purchase of these products through affiliate links helps to generate commission for Storables.com, at no extra cost. Learn more)
Introduction
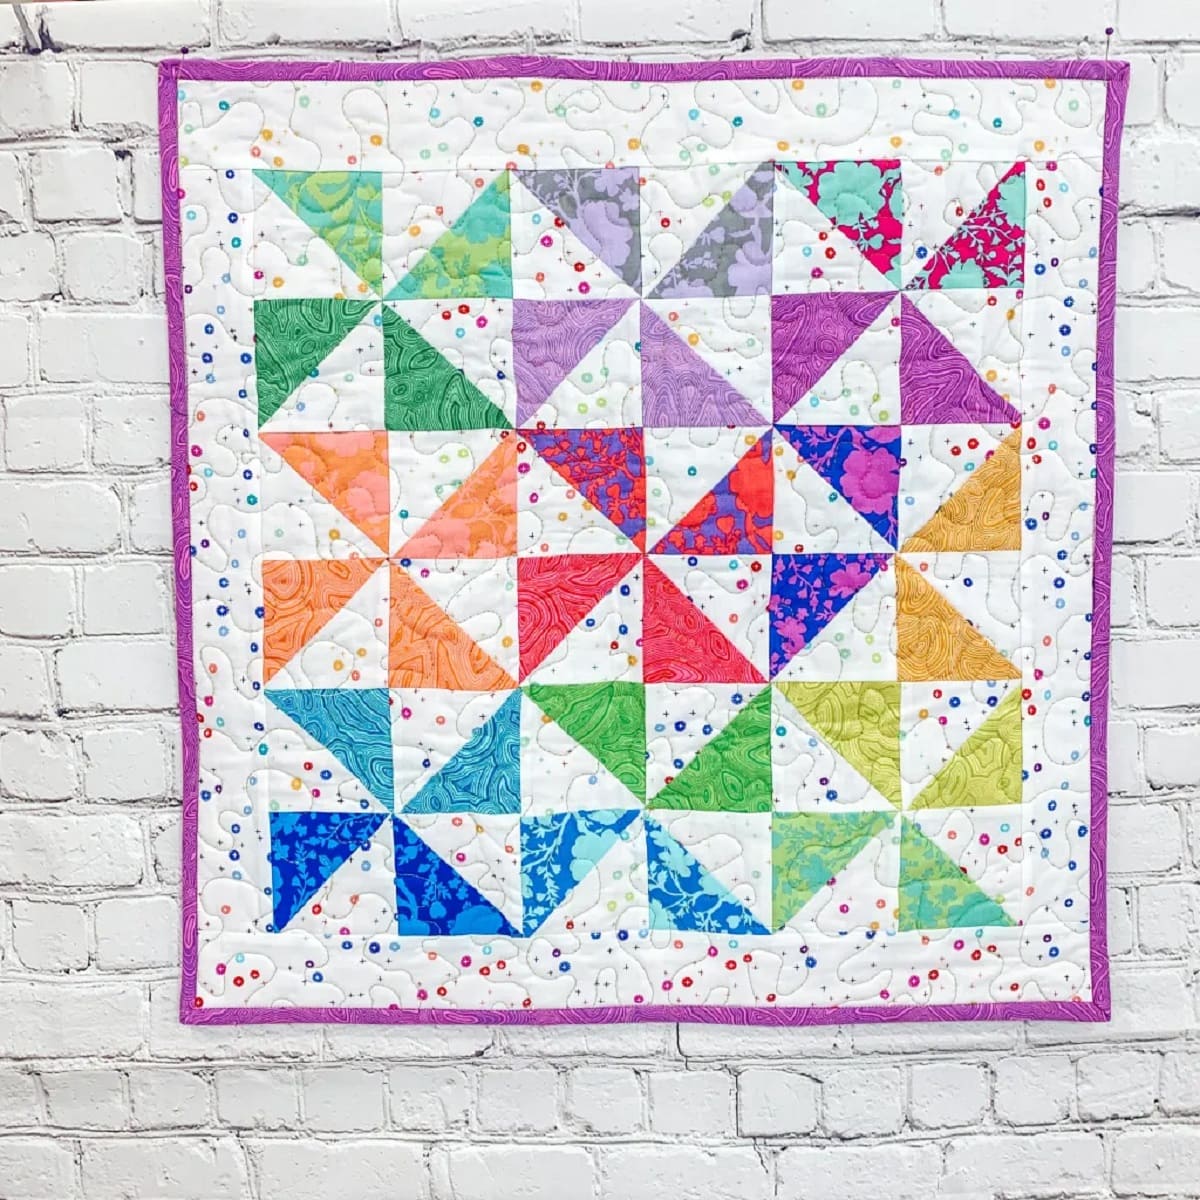
Welcome to the wonderful world of quilting! If you’re a beginner looking to start your quilting journey, making a pinwheel quilt block is a fantastic place to start. The pinwheel block is a classic and versatile design that adds charm and movement to any quilt project. Whether you’re creating a small wall hanging or a full-size quilt, the pinwheel block is sure to delight.
In this article, we will guide you through the process of creating a pinwheel quilt block step by step. You don’t need to be an expert seamstress or have advanced sewing skills to make this block. With just a few materials and some basic sewing techniques, you’ll be well on your way to creating beautiful pinwheels in no time.
Before we dig into the details, let’s talk about what you’ll need to get started.
Key Takeaways:
- Dive into the world of quilting with a charming pinwheel quilt block, perfect for beginners. Explore fabric cutting, sewing techniques, and finishing touches to create a personalized and beautiful design.
- Unleash your creativity and express your artistic style through quilting. Master the art of making a pinwheel quilt block and use it as a foundation for larger quilt projects, combining colors and patterns for stunning, personalized designs.
Read more: How To Make A Block Quilt
Materials Needed
Before you begin making your pinwheel quilt block, you’ll need to gather a few essential materials. These include:
- Fabric: Choose two or more coordinating fabrics to create your pinwheel. You’ll need at least a quarter yard of each fabric, depending on the size of your block.
- Rotary Cutter and Cutting Mat: These tools are essential for precise fabric cutting. Make sure your rotary cutter blade is sharp for clean cuts.
- Ruler: A clear, straight ruler will help you measure and cut your fabric accurately.
- Pins or Wonder Clips: These will hold your fabric pieces together during sewing.
- Sewing Machine: Using a sewing machine will make the process faster and give you neat, professional-looking stitches.
- Thread: Choose a thread color that complements your fabric choices.
- Iron and Ironing Board: Pressing your fabric at various stages of the process will ensure crisp, polished results.
- Scissors: You’ll need scissors for cutting thread and trimming fabric.
Once you have gathered all the necessary materials, you’re ready to move on to the next steps of creating your pinwheel quilt block.
Step 1: Cutting the Fabric
The first step in creating a pinwheel quilt block is to cut your fabric into the required pieces. Here’s how to do it:
- Prepare your fabric: Start by washing and ironing your fabric to remove any wrinkles or creases. This will ensure accurate cutting and precise sewing.
- Measure and mark: Use your ruler to measure and mark the dimensions of the fabric pieces needed for your pinwheel block. The size of your pinwheel block will depend on the project you’re working on, so refer to your pattern or desired measurements.
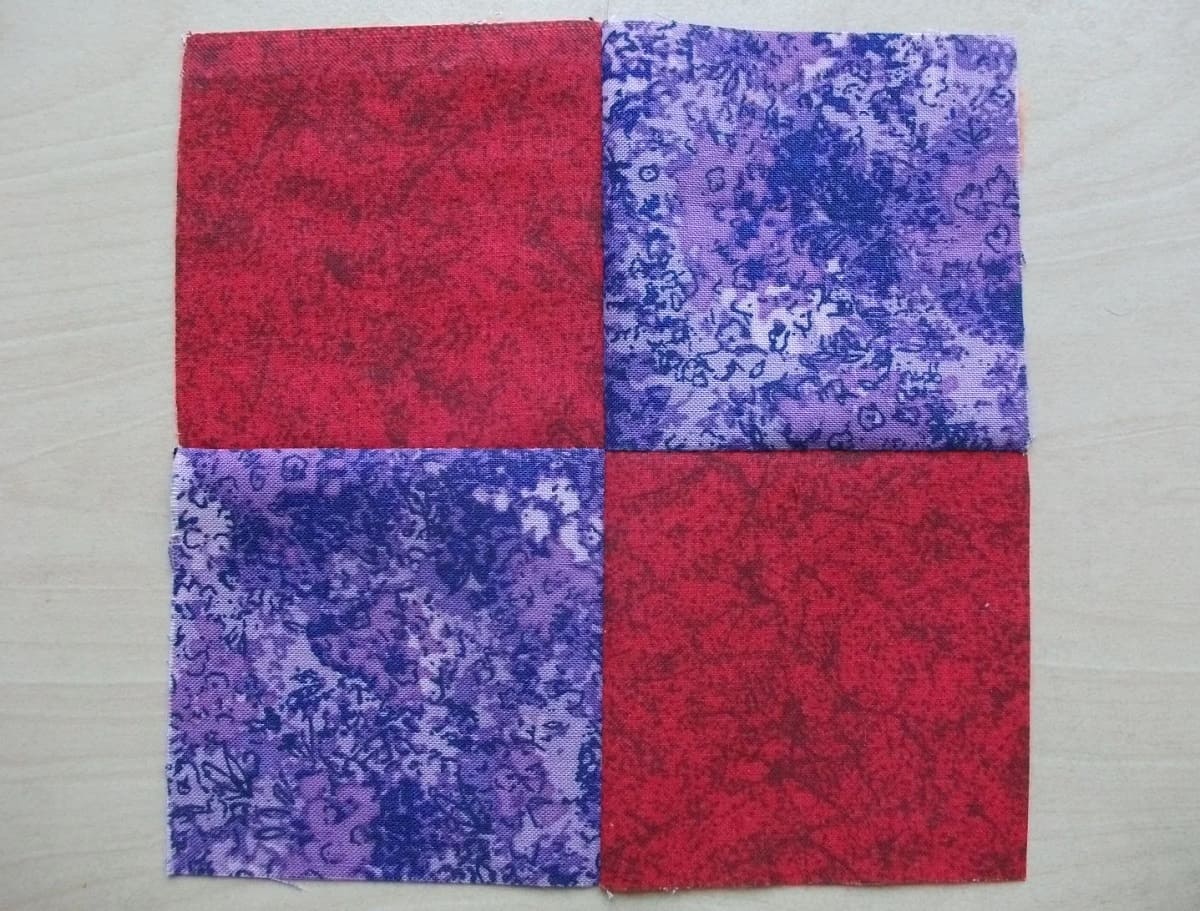
- Cutting the squares: Cut equal-sized squares from each fabric. For example, if your pinwheel block requires 4-inch squares, cut two 4-inch squares from one fabric and two 4-inch squares from another fabric.
- Trimming the triangles: Once you have the squares, you’ll need to cut them into triangles. To do this, place a ruler diagonally across one of the squares and cut along the ruler’s edge to create two triangles. Repeat this step for all the squares.
- Repeat for the other fabric: Follow the same process with the other set of squares to create triangles from the second fabric.
Ensure that your cuts are as accurate as possible, as precise cutting will make the sewing process much smoother and result in a more polished pinwheel quilt block.
Once you have cut all the fabric pieces, it’s time to move on to the next step: sewing the pinwheel blocks.
Step 2: Sewing the Pinwheel Blocks
Now that you have your fabric triangles ready, it’s time to start sewing the pinwheel blocks. Follow these steps:
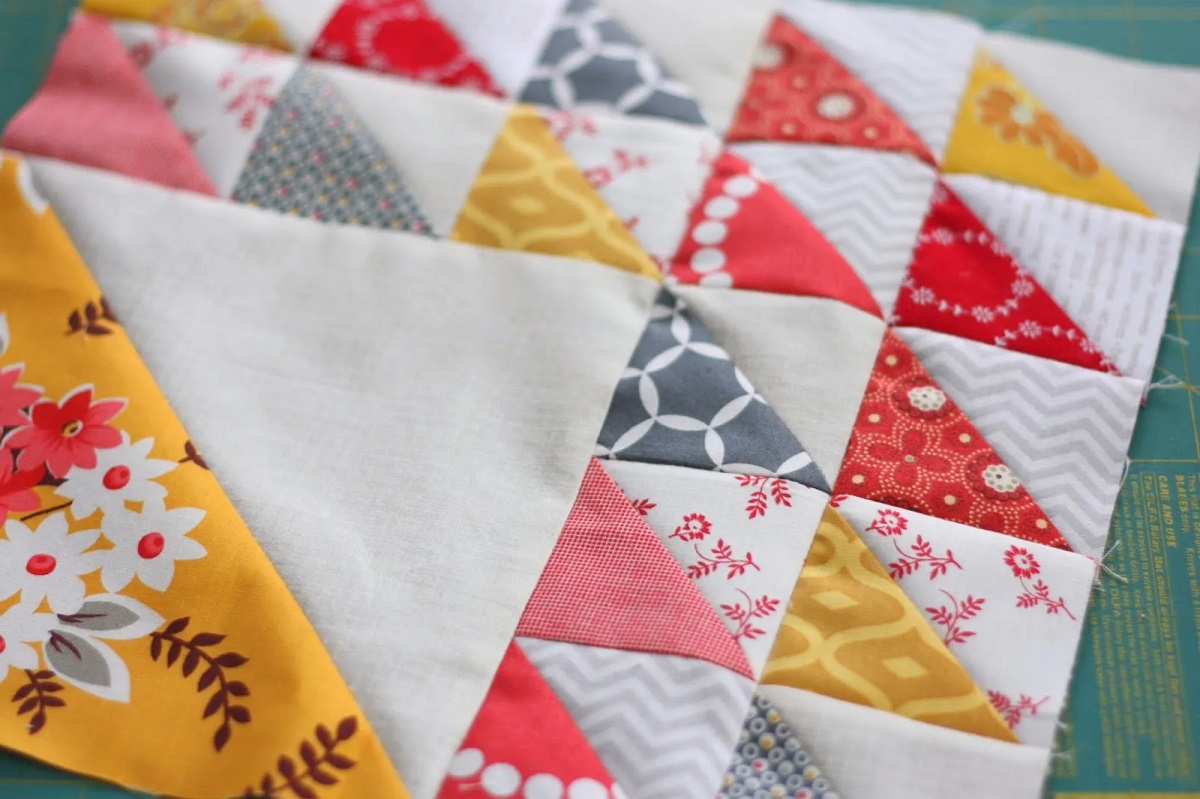
- Arrange the triangles: Take one triangle from each fabric and place them right sides together, matching up the edges. Repeat this with the other two triangles.
- Sew the triangles: Using a 1/4-inch seam allowance, sew along one of the edges of the triangle pairs. Backstitch at the beginning and end to secure the stitching.
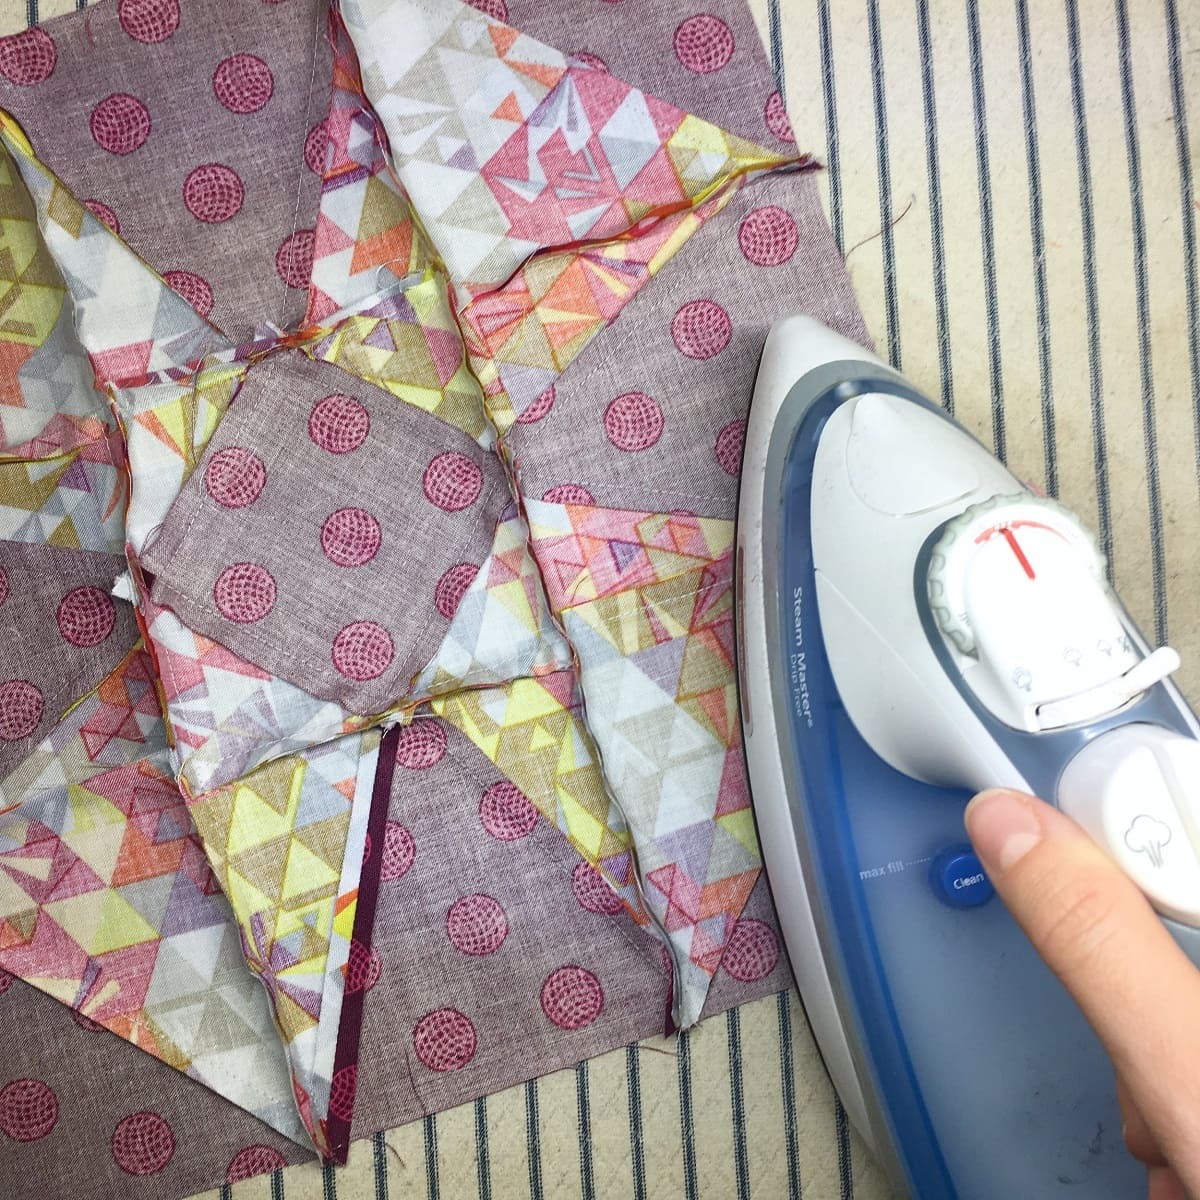
- Press the seam: Open up the sewn triangle pairs and press the seam towards the darker fabric. This will help the pinwheel block lay flat and reduce bulk at the center.
- Repeat with the other sets of triangles: Take the remaining two triangles and sew them together using the same process as before. Press the seam towards the darker fabric.
- Trim the blocks: Trim any excess fabric and ensure that your block is square. Take care to maintain the integrity of the pinwheel design.
Once you have sewn and pressed the pinwheel blocks, it’s time to move on to the next step: assembling the pinwheel quilt block.
When making a pinwheel quilt block, be sure to press your seams open to reduce bulk and create a flatter, smoother finish. This will make it easier to piece the blocks together and achieve a more professional-looking quilt top.
Step 3: Assembling the Pinwheel Quilt Block
Now that you have your pinwheel blocks ready, it’s time to assemble them into the pinwheel quilt block. Follow these steps:
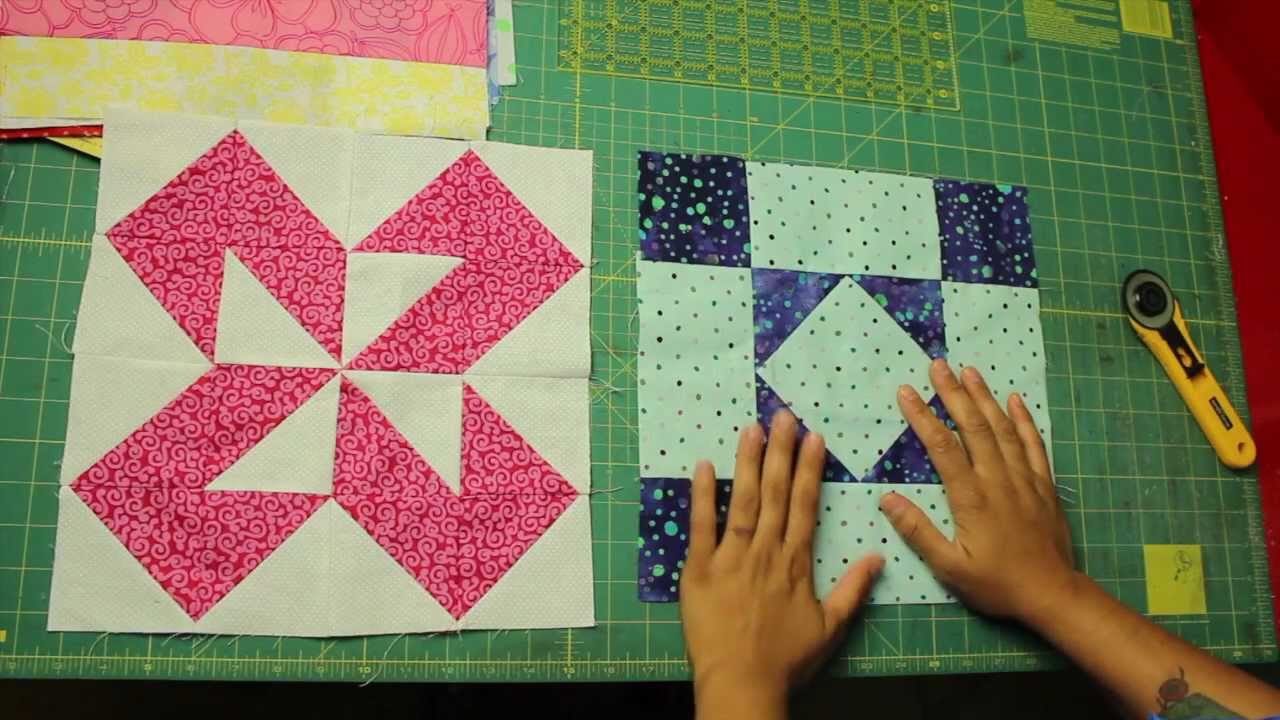
- Arrange the pinwheel blocks: Take your pinwheel blocks and lay them out in the desired pattern. You can experiment with different arrangements to find the one that you like best.
- Sew the blocks together: Once you’re happy with the arrangement, take the first two blocks and place them right sides together. Align the edges and pin or clip them to hold them in place. Sew a 1/4-inch seam along the pinned edges, backstitching at the beginning and end. Repeat this process to sew all the blocks together.
- Press the seams: Open up the sewn blocks and press the seams in one direction. This will help the block lay flat and create a neat appearance.
- Trim the block: Trim any excess fabric and square up the block to ensure it is straight and even.
Once you have assembled your pinwheel quilt block, it’s time for the final step: adding the finishing touches.
Read more: How To Make Snowball Quilt Block
Step 4: Finishing Touches
Now that your pinwheel quilt block is assembled, it’s time to add the finishing touches to make it complete. Follow these steps:
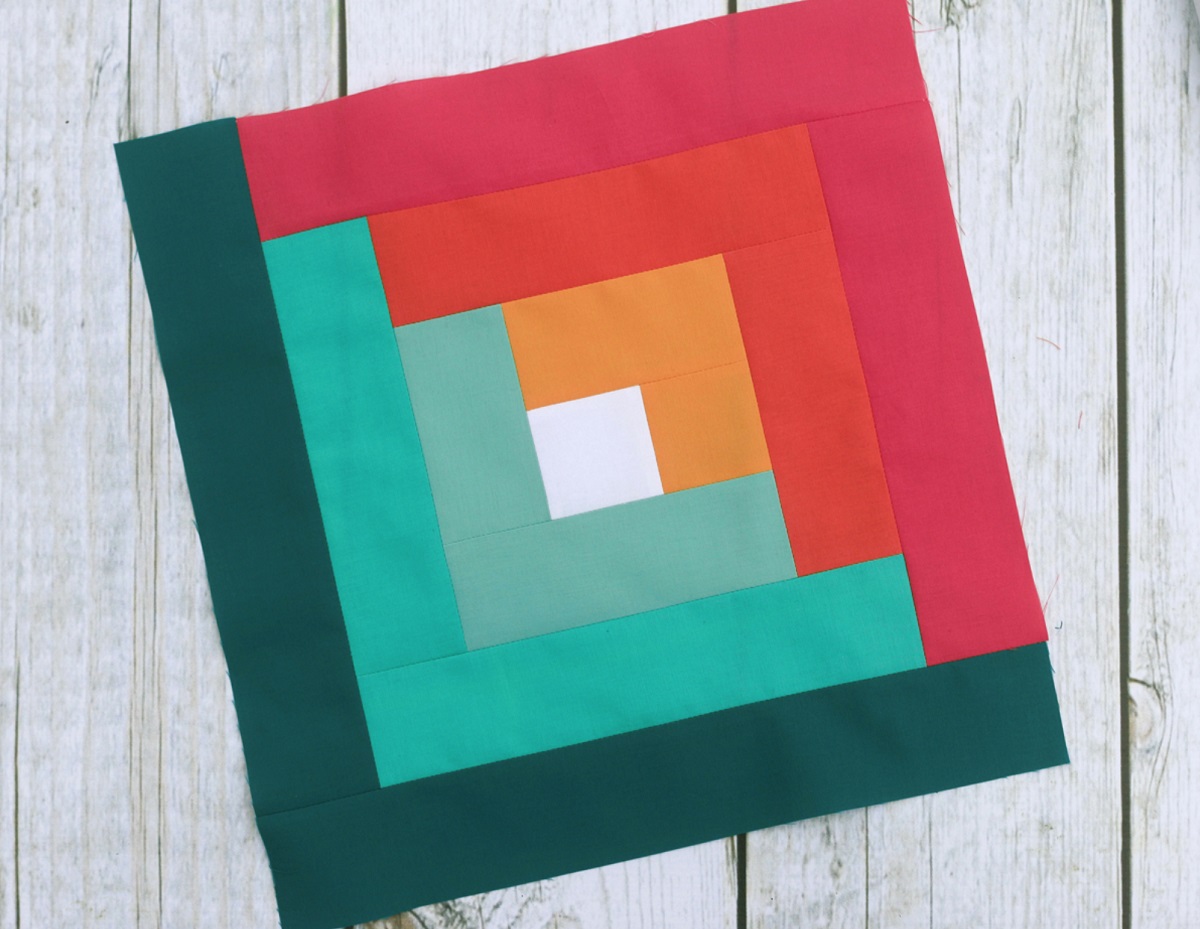
- Add borders (optional): If you want to enhance the design of your pinwheel quilt block, consider adding borders. Measure and cut fabric strips to the desired width and length for your borders. Sew the borders to the sides of the quilt block, matching up the edges and using a 1/4-inch seam allowance. Press the seams after sewing.
- Quilt the layers: Quilt the layers together to secure them and add texture to your quilt. This can be done by hand or with a sewing machine. Choose a quilting design that complements your pinwheel block and sew along the lines or patterns of your choosing.
- Add binding: Finish off your pinwheel quilt block by adding binding. Cut fabric strips to the desired width for your binding. Sew the binding strips together to create one continuous strip, then sew the binding strip onto the edges of the quilt, folding it over the raw edges and sewing it in place. Miter the corners for a clean finish.
- Finishing touches: Once the binding is attached, give your quilt block a final press to ensure it looks crisp and polished. Trim any loose threads or excess fabric.
With these finishing touches, your pinwheel quilt block is now complete and ready to be incorporated into your quilting project.
Conclusion
Congratulations! You have successfully created a beautiful pinwheel quilt block. Through the process of cutting fabric, sewing the pinwheel blocks, assembling the quilt block, and adding the finishing touches, you have learned essential quilting techniques and created a charming design.
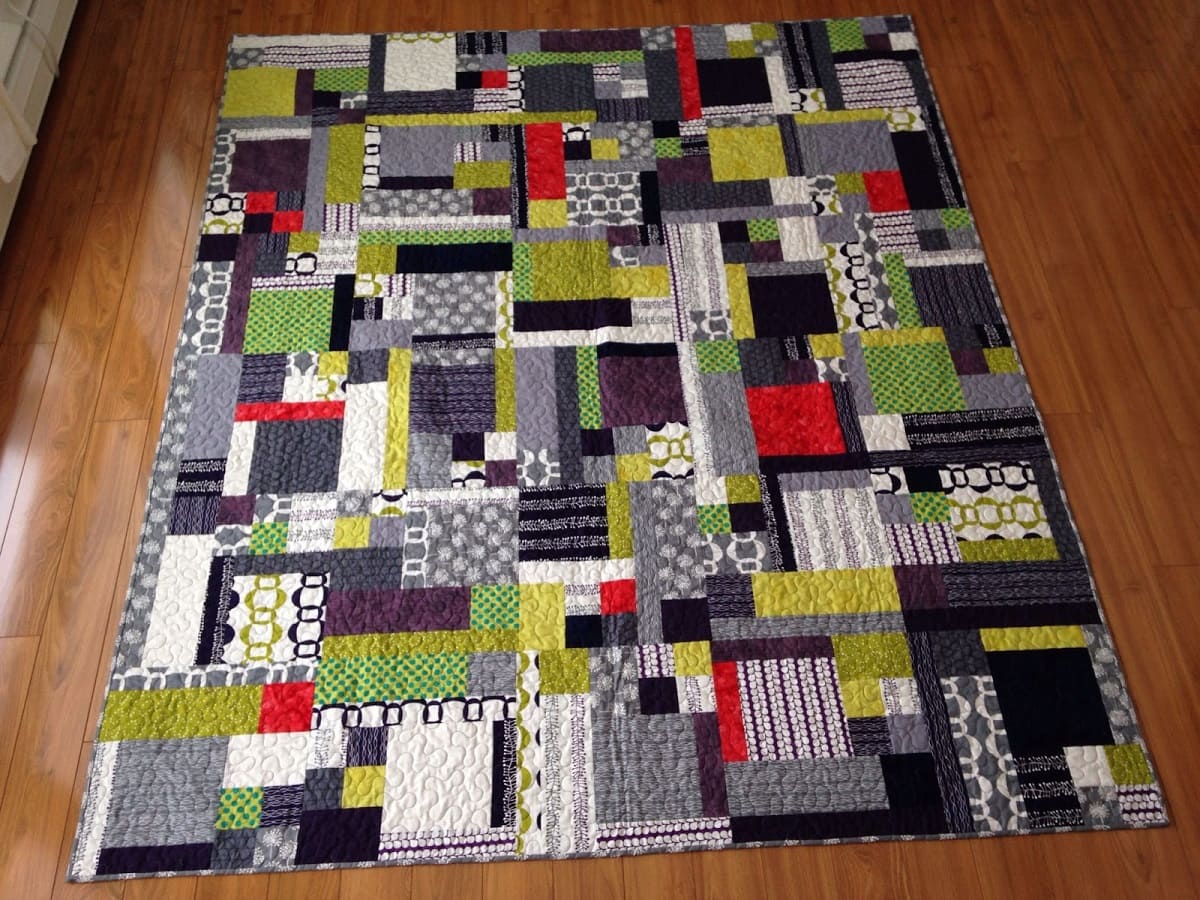
Remember, quilting is a creative and enjoyable craft that allows you to express your artistic style. The pinwheel quilt block is just one of many possibilities in the world of quilting. Experiment with different fabrics, colors, and patterns to create unique and personalized designs.
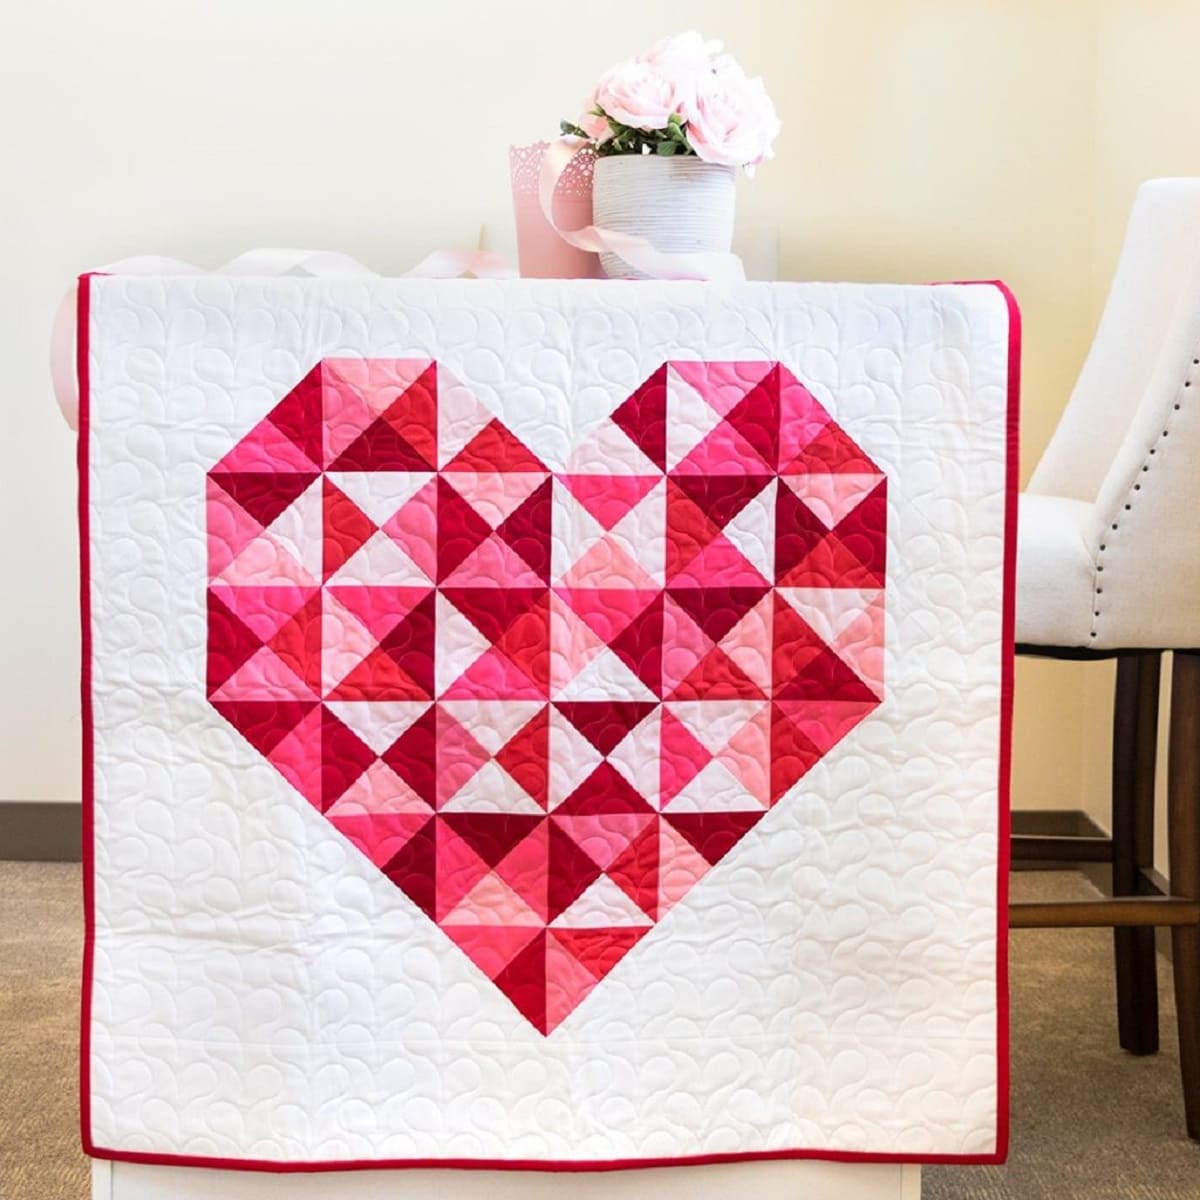
Now that you have mastered the art of making a pinwheel quilt block, you can use it as a building block for larger quilt projects. Combine multiple pinwheel blocks together to create a gorgeous pinwheel quilt, or mix them with other block designs for a stunning patchwork effect.
Don’t be afraid to explore and try new techniques and designs. Quilting is a journey of continuous learning and growth, and with each project, you will gain more skills and confidence.
So, grab your fabric, thread your sewing machine, and embark on your quilting adventure. Enjoy the process of creating something beautiful with your own hands and let your imagination soar. Happy quilting!
Frequently Asked Questions about How To Make A Pinwheel Quilt Block
Was this page helpful?
At Storables.com, we guarantee accurate and reliable information. Our content, validated by Expert Board Contributors, is crafted following stringent Editorial Policies. We're committed to providing you with well-researched, expert-backed insights for all your informational needs.


0 thoughts on “How To Make A Pinwheel Quilt Block”