
Articles
How To Make A Block Quilt
Modified: August 22, 2024
Learn how to make a visually stunning block quilt with our informative articles. Discover helpful tips and techniques to create your own masterpiece.
(Many of the links in this article redirect to a specific reviewed product. Your purchase of these products through affiliate links helps to generate commission for Storables.com, at no extra cost. Learn more)
Introduction
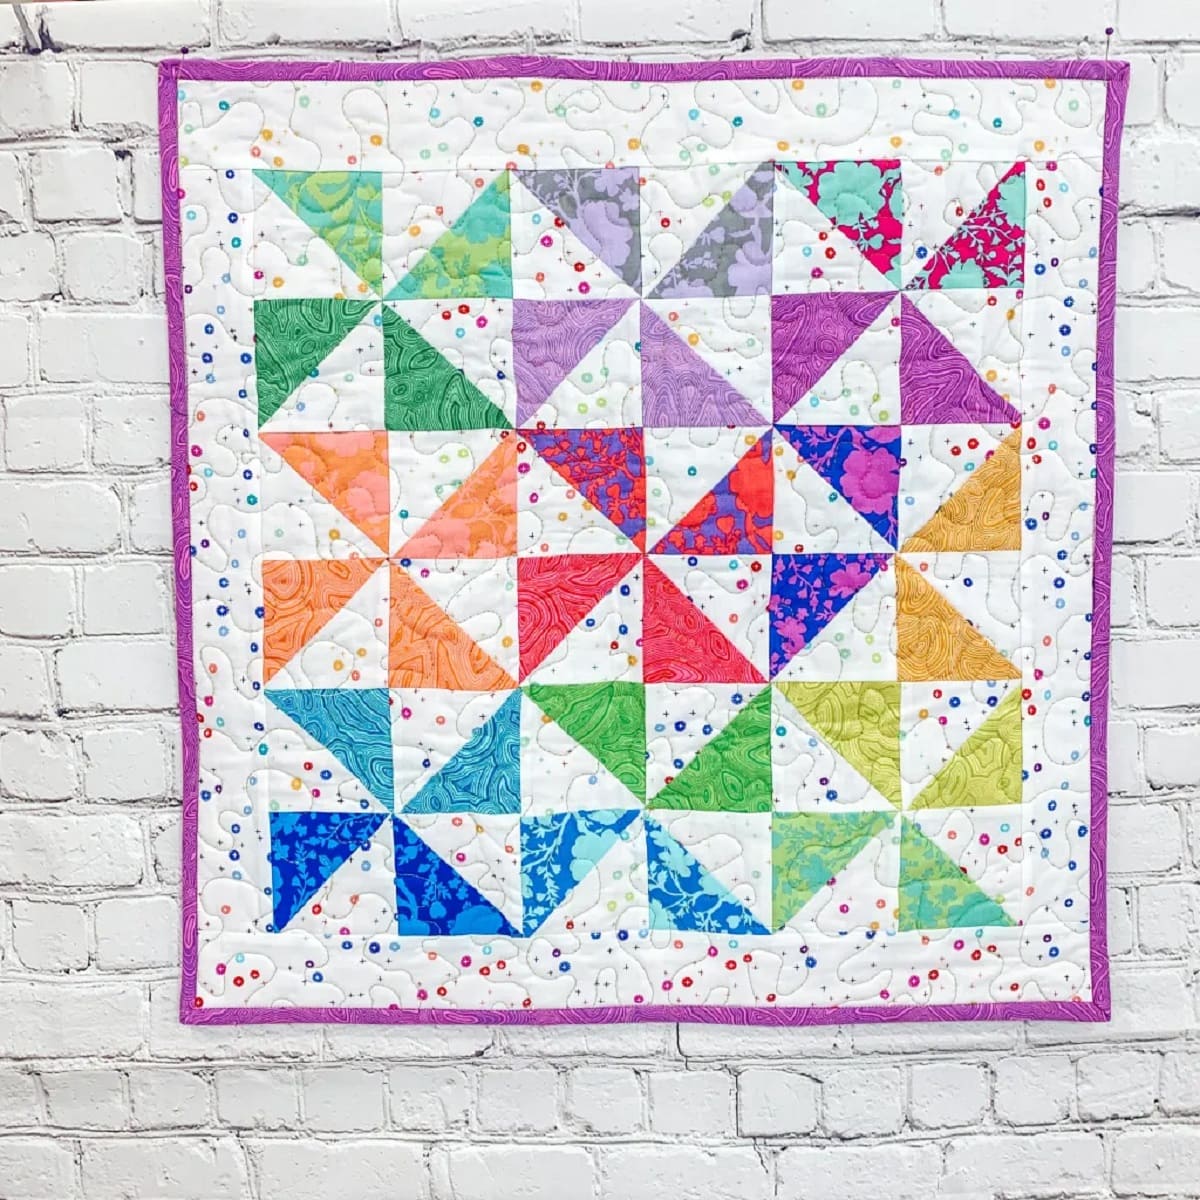
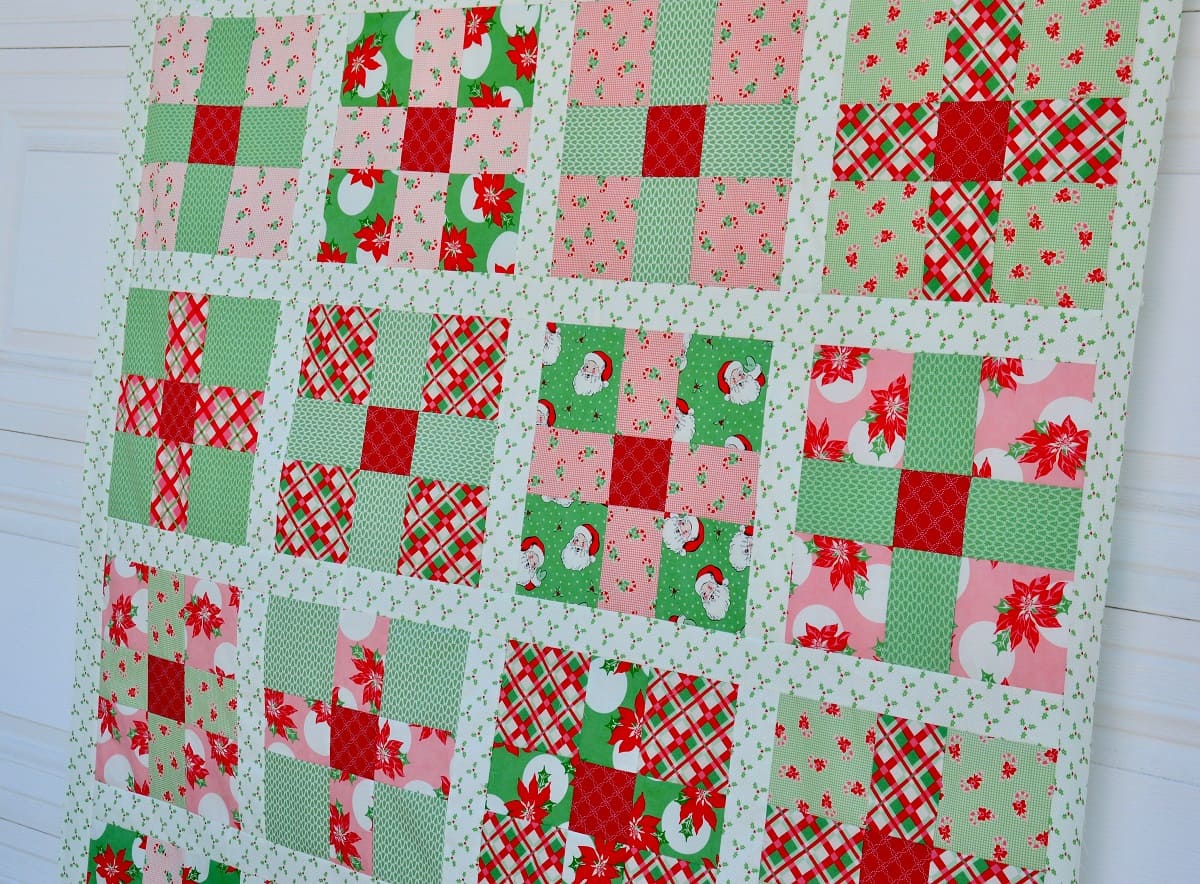
Welcome to the world of quilting! Quilting is a timeless craft that allows you to create beautiful and functional pieces of art. One of the most popular quilting techniques is block quilting, where different fabric blocks are sewn together to form a quilt.
Block quilts are not only visually appealing but also a great way to showcase different fabrics and patterns. Whether you’re a beginner or an experienced quilter, making a block quilt is a rewarding and enjoyable project.
In this article, we will guide you through the process of creating a stunning block quilt, from choosing your fabrics to adding the finishing touches. So, grab your sewing machine and let’s get started!
Key Takeaways:
- Making a block quilt is a creative and rewarding journey that involves careful fabric selection, precise cutting, skillful sewing, and thoughtful finishing touches. Embrace imperfections and quirks, as they add character and charm to your quilt.
- Quilting is a skill that develops over time, so don’t be afraid to experiment, try new techniques, and challenge yourself with more complex designs in the future. Each quilt you create will be a testament to your growth and creativity as a quilter.
Read more: How To Make Snowball Quilt Block
Choosing Your Fabrics
The first step in making a block quilt is selecting the right fabrics. The fabric choices will greatly influence the overall look and feel of your quilt, so it’s important to choose wisely.
When choosing fabrics for a block quilt, consider the color scheme and the theme you want to achieve. You can opt for a cohesive look by selecting fabrics that belong to the same color family, or you can mix and match contrasting colors for a more vibrant and eclectic quilt.
It’s also essential to select fabrics of different textures, prints, and scales to create visual interest. You can incorporate solid colors, floral prints, geometric patterns, or even novelty fabrics to add a unique touch to your quilt.
Pay attention to the fabric quality as well. Opt for 100% cotton fabrics, as they are durable, easy to work with, and provide a soft and comfortable feel to your finished quilt. Avoid fabrics with stretch or sheen, as they can be challenging to sew and may not hold up well over time.
Consider prewashing your fabrics before starting your project to prevent any shrinkage or color bleeding. This step is especially important if you’re using fabrics of different colors in your quilt.
Once you have selected your fabrics, make a swatch card or layout your fabrics to see how they work together. This will give you a better idea of the overall color balance and ensure that the fabrics complement each other.
Keep in mind that fabric selection is a personal preference, and there are no hard and fast rules. Choose fabrics that speak to you and reflect your style and creativity.
Cutting the Fabric Squares
Now that you have chosen your fabrics, it’s time to cut them into squares. The size of the squares will depend on the desired finished size of your quilt blocks.
Start by measuring and marking the desired size of your fabric squares on a cutting mat using a rotary cutter and ruler. It’s important to be precise with your measurements to ensure that all the blocks are uniform in size.
If you’re new to quilting or prefer a simple design, you can cut the fabric squares all the same size. A common choice is 6-inch or 8-inch squares, but you can adjust the size to your preference.
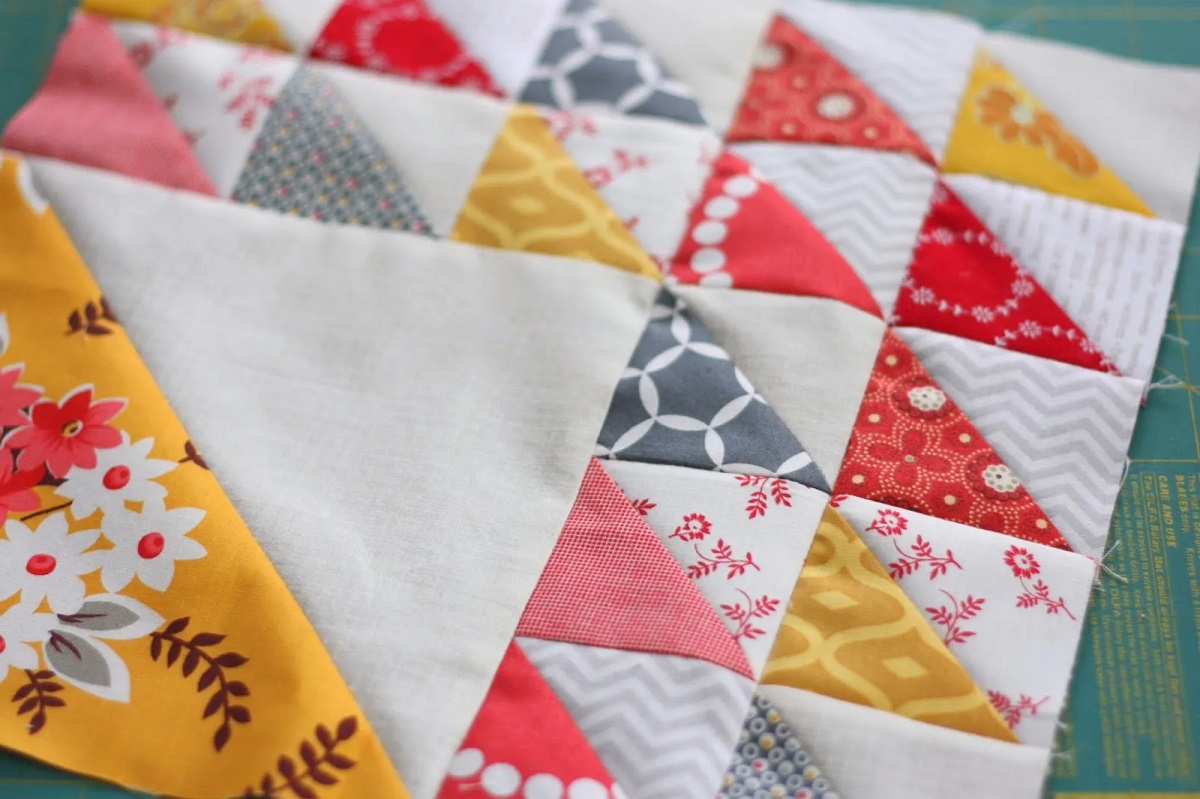
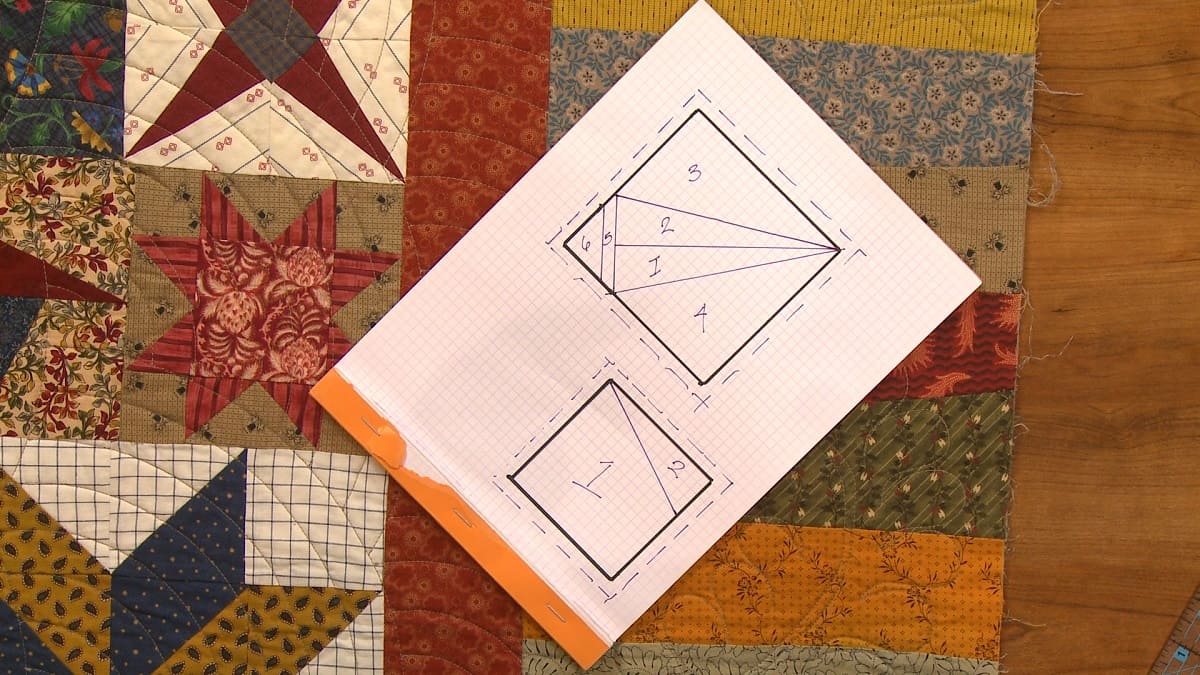
If you’re feeling adventurous and want to create more dynamic quilt blocks, you can cut fabrics into different sizes and shapes. Experiment with rectangles, triangles, or even curved pieces to add variety to your quilt.
When cutting the fabric squares, remember to account for seam allowances. Generally, a ¼-inch seam allowance is used in quilting. This means you should add ½ inch to each side of your desired finished block size. For example, if you want a 6-inch finished block, cut your fabric squares to be 6 ½ inches.
Make sure to be cautious and use a sharp rotary cutter to achieve clean and accurate cuts. Take your time, and if you’re unsure, always double-check your measurements before cutting.
As you cut your fabric squares, organize them by color or print, or whatever system works best for you. This will make it easier when it comes time to arrange and sew the blocks together.
Once you have cut all your fabric squares, double-check that you have enough squares to create the desired size of your quilt. It’s always better to have a few extra squares than not enough.
Cutting the fabric squares is a crucial step in the block quilt-making process. Take your time and ensure accuracy to create beautifully pieced blocks.
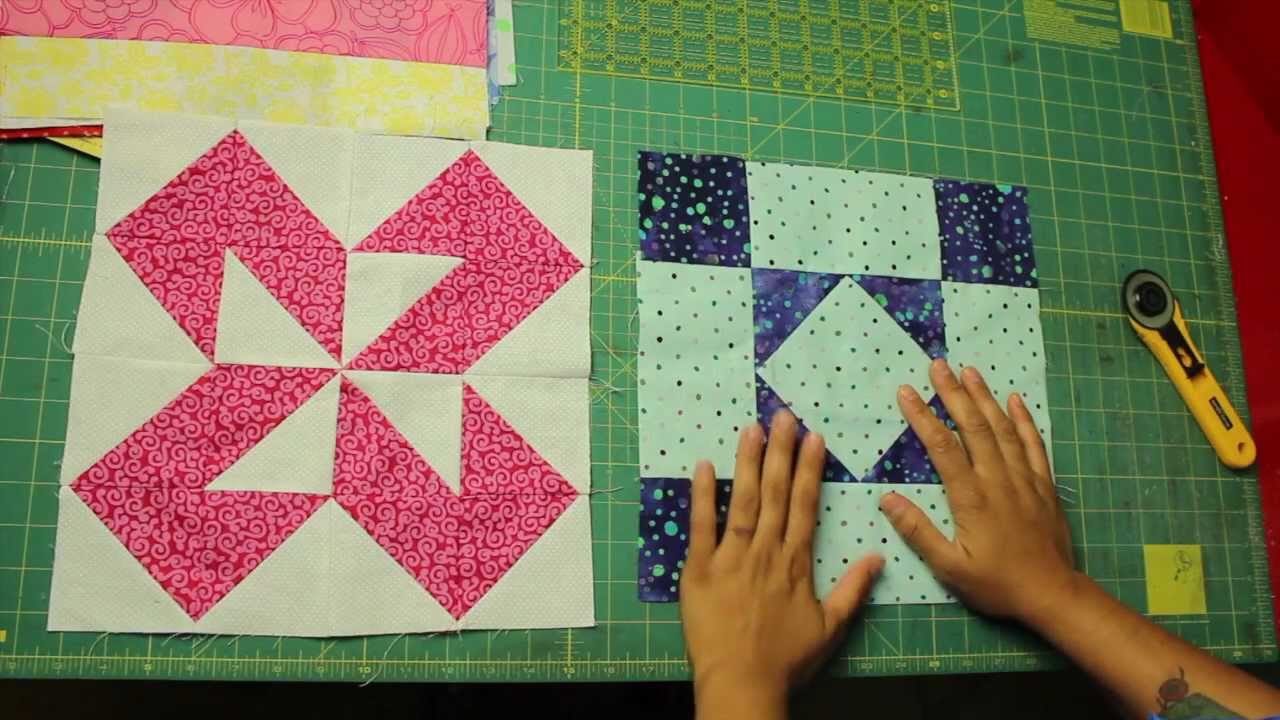
Arranging the Blocks
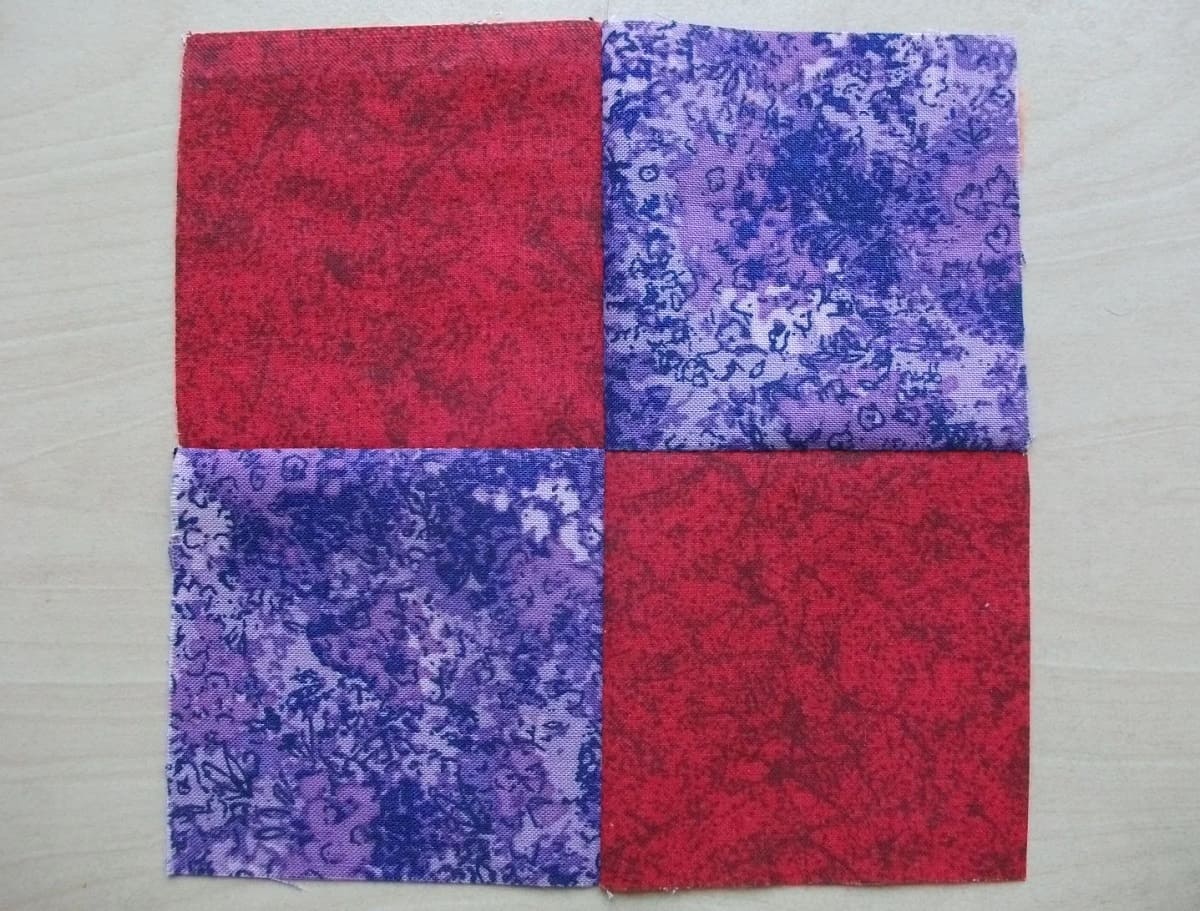
Now that you have cut your fabric squares, it’s time to arrange them to create visually pleasing quilt blocks. This step allows you to get creative and play with different layouts and patterns.
Start by laying out your fabric squares on a design wall or a large flat surface. This will give you a visual representation of how the blocks will look when sewn together.
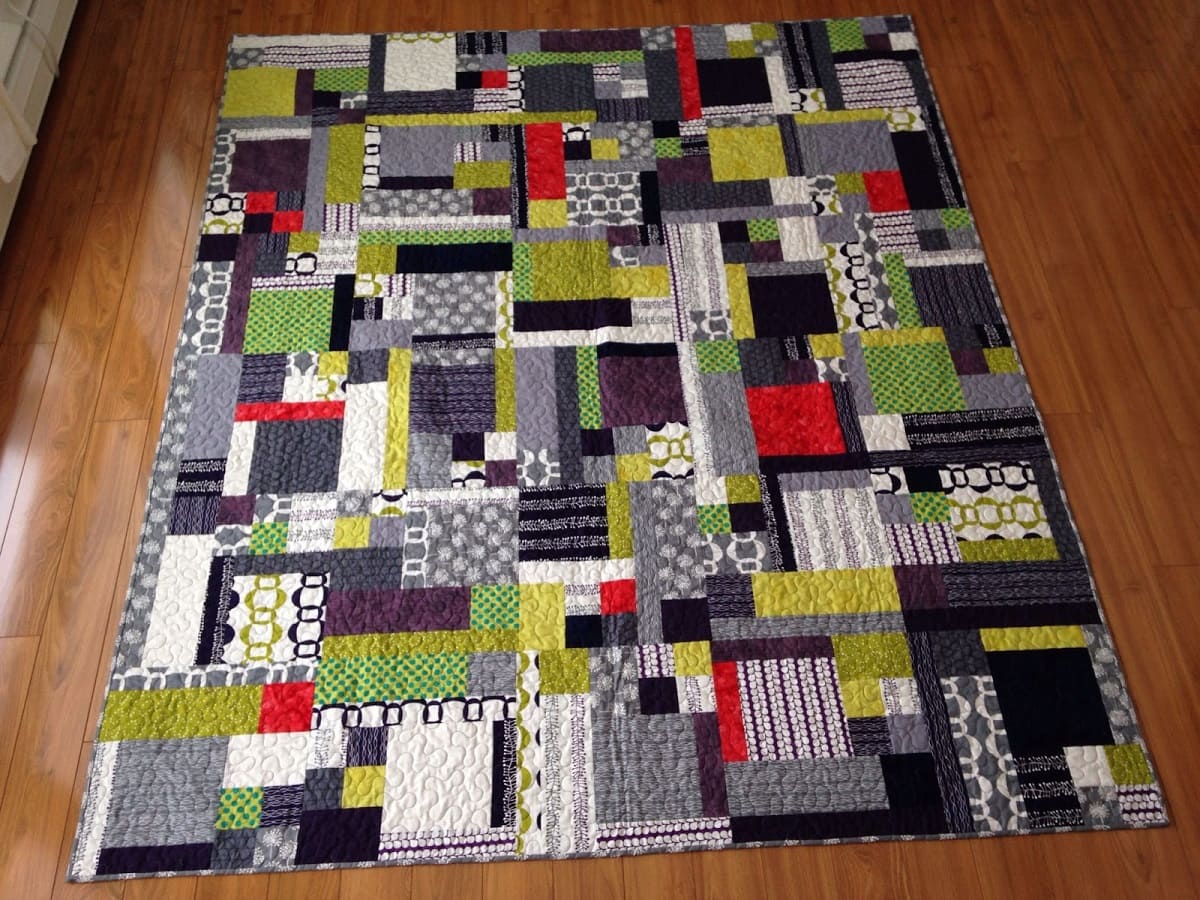
Consider the overall design you want to achieve. Do you want a random arrangement of colors and prints? Or do you prefer a more structured layout with specific patterns or color placements?
Experiment with different block arrangements. You can lay the squares out in rows, columns, or even create diagonal or zigzag patterns. Play with the colors and prints to find a layout that pleases your eye.
It’s helpful to take a step back and observe your layout from a distance. This will give you a better perspective on the overall balance and symmetry of the arrangement.
Consider the size and scale of the fabric prints as well. Mix large-scale prints with smaller ones to create visual interest. You can also alternate between solid squares and patterned squares to add variety.
If you’re unsure about the arrangement, take a photo or make a sketch of your layout. This will give you a visual reference to refer back to as you start sewing the blocks together.
Remember, there’s no right or wrong way to arrange the blocks. This step allows you to showcase your creativity and individual style. Trust your instincts and arrange the blocks in a way that brings you joy and satisfaction.
Once you’re happy with the layout, it’s time to move on to the next step: sewing the blocks together to create your beautiful block quilt.
Sewing the Blocks Together
Once you have finalized the arrangement of your fabric blocks, it’s time to start sewing them together. This is where the magic happens, as the individual blocks start to come together to form a cohesive quilt.
Start by taking the first two blocks in your layout and placing them right sides together. Align the edges of the blocks, making sure the corners match up precisely.
Using a ¼-inch seam allowance, sew the blocks together along one edge. Press the seam open or to the side, depending on your preference. Repeat this process for the remaining blocks, joining them row by row.
If you’re new to sewing or want to ensure precise seams, consider using pins or sewing clips to hold the fabric in place before stitching. This will help prevent any shifting or misalignment.
As you sew the blocks together, check for accuracy and adjust if needed. It’s important to maintain consistent seam allowances and keep the blocks aligned to create straight and uniform rows.
Once all the blocks are sewn together in rows, it’s time to sew the rows together to complete the quilt top. Place two adjacent rows right sides together, aligning the seams and edges. Sew them together using a ¼-inch seam allowance and press the seams open or to the side.
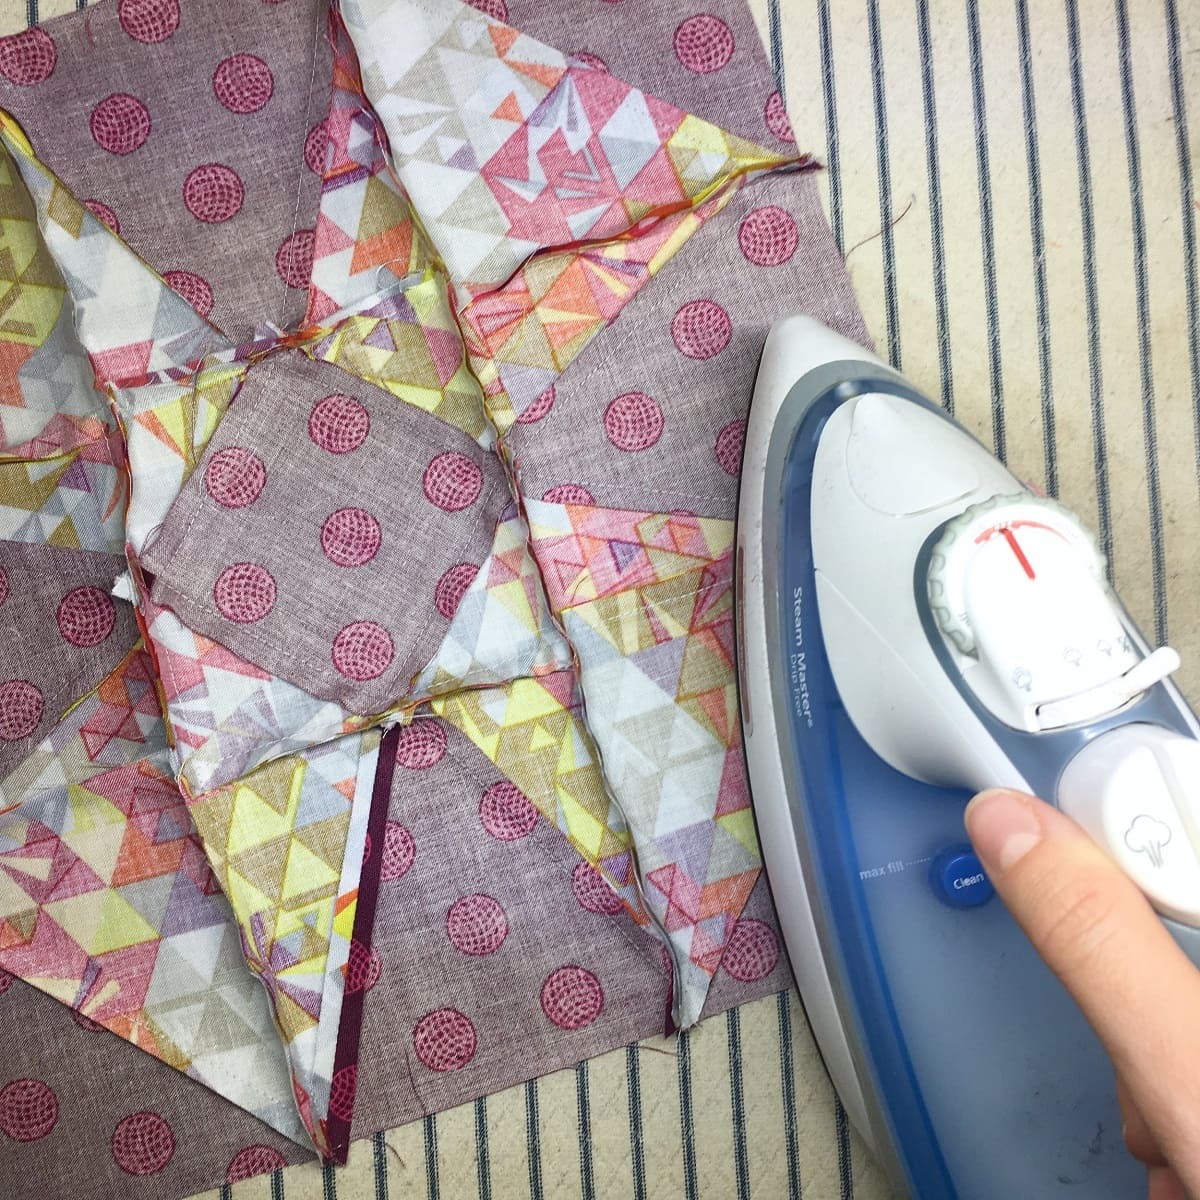
Continue joining the rows until all the rows are sewn together, completing the quilt top. Press the entire quilt top to ensure all seams lay flat and to give it a polished and professional look.
It’s advised to trim any excess threads or fabric edges as you go to keep your work neat and tidy.
Sewing the blocks together requires patience and attention to detail. Take your time, and if you encounter any challenges, remember that practice makes perfect. The end result will be a beautiful quilt top that showcases your creativity and hard work.
When making a block quilt, be sure to accurately measure and cut your fabric pieces to ensure that they fit together neatly and create a cohesive design. Accuracy in cutting and piecing is key to a successful block quilt.
Read more: How To Make A Heart Quilt Block
Adding Borders to the Quilt
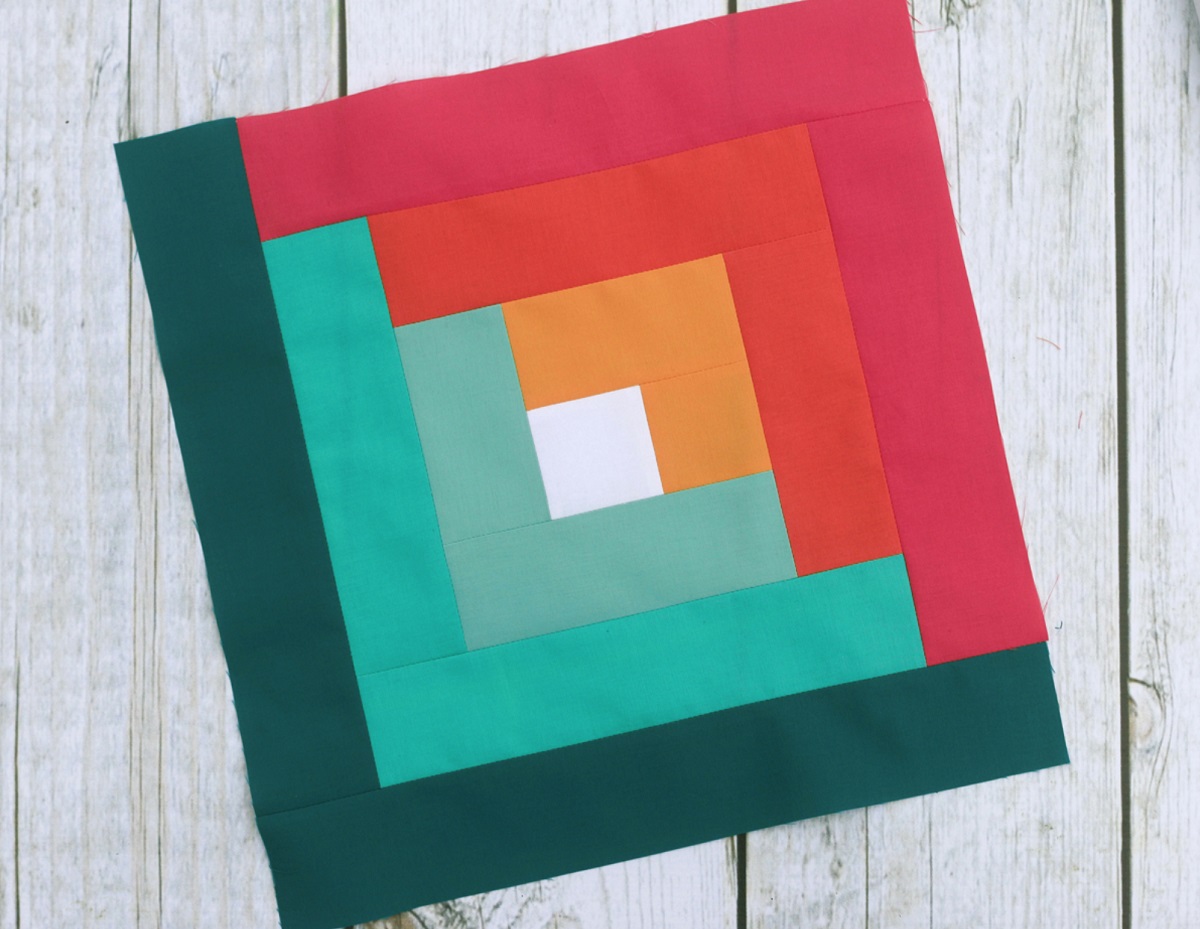
Adding borders to your quilt not only enhances its visual appeal but also provides structure and a finished look. Borders can be simple or intricate, and they can add an extra touch of creativity to your quilt design.
To begin, measure the sides of your quilt top and determine the desired width of your borders. The width can vary depending on your preference and the overall size of your quilt. Common widths range from 2 to 6 inches.
When selecting border fabrics, consider complementing or contrasting colors and prints that will enhance the design of your quilt. You can choose a fabric that matches the main color scheme or select a bold contrasting color to create a striking border.
To add the borders, measure and cut fabric strips that are the length of each side of your quilt top. The width of the strips should match the desired width of the border plus the seam allowance (usually ¼ inch).
Place the border strip right sides together with the quilt top along one side, aligning the raw edges. Sew the strip to the quilt top using a ¼ inch seam allowance. Press the seam towards the border.
Repeat this process for the remaining sides of the quilt top, adding borders and pressing the seams as you go. Take your time to ensure that the borders are sewn on straight and the corners are neatly mitered.
Once all the borders are attached, press the entire quilt top, including the borders, to ensure flat and crisp edges. Trimming any excess threads or fabric will give your quilt a polished look.
If you want to add more visual interest to your quilt, consider adding multiple borders. You can layer different widths and colors of borders to create a layered effect.
Adding borders to your quilt is an opportunity to get creative and further personalize your design. Don’t be afraid to experiment and have fun with different fabric choices and border widths. The borders will frame and complete your quilt, giving it a beautiful and professional finish.
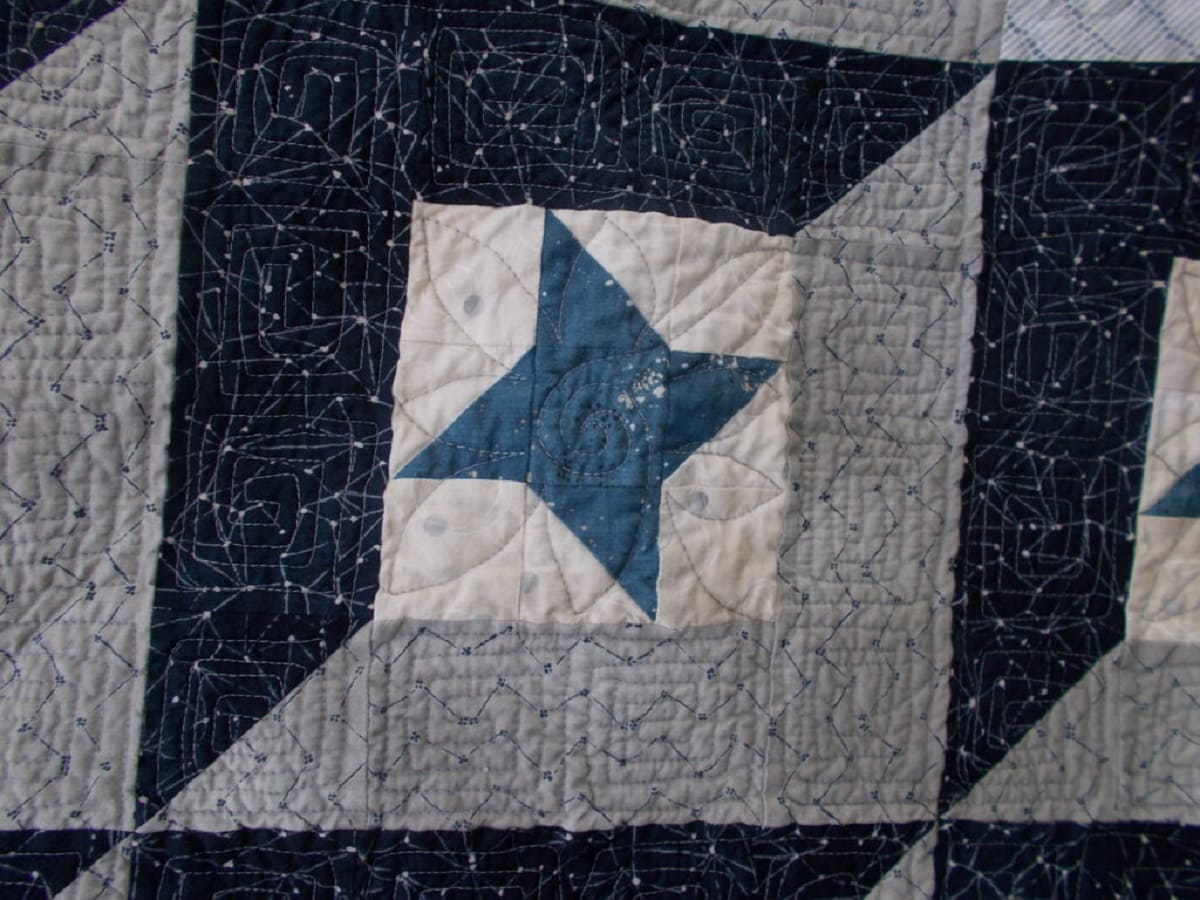
Quilting the Layers
Quilting refers to the process of stitching the quilt top, batting, and backing layers together. This step not only adds strength and durability to the quilt but also creates beautiful textures and patterns.
Before you begin quilting, you need to prepare the layers. Start by placing the quilt top right side up on a flat surface. Smooth out any wrinkles or creases, ensuring that it lies flat.
Next, place the batting on top of the quilt top. Batting provides insulation and adds a puffy, cozy feel to the quilt. Make sure the batting extends beyond the edges of the quilt top on all sides.
Finally, lay the backing fabric on top of the batting, right side down. Align the edges of the backing fabric with the edges of the quilt top and batting.
Once the layers are in place, secure them together using safety pins or basting spray. This will prevent them from shifting while you quilt.
There are different quilting techniques you can choose from, depending on your skill level and desired outcome. Here are a few common options:
1. Stitch in the Ditch: This technique involves stitching along the seams of the quilt blocks to create a subtle, understated quilting pattern.
2. Free Motion Quilting: With free motion quilting, you have the freedom to create intricate designs by moving the fabric freely under the needle of the sewing machine. This technique allows for endless creativity and customization.
3. Straight Line Quilting: Simple but effective, this technique involves stitching straight lines across the quilt top. You can use a walking foot or a quilting guide to maintain straight lines.
As you quilt, take your time and work in small sections. Start in the center of the quilt and gradually move outward, smoothing and adjusting the layers as you go. Remember to backstitch at the beginning and end of each line of quilting to secure the stitches.
Once you’ve finished quilting, remove any basting pins and trim away excess batting and backing fabric. Give the quilt a final press to flatten any wrinkles or creases.
Quilting the layers is a skill that takes practice, so don’t be discouraged if your first attempts aren’t perfect. The more you quilt, the better you will become. The end result will be a beautifully quilted piece that adds dimension and character to your block quilt.
Finishing Touches
With the quilting complete, it’s time to add the finishing touches to your block quilt. These final steps will ensure that your quilt is ready to be displayed, used, or gifted with pride.
First, trim the excess batting and backing fabric so that they are even with the edges of the quilt top. Use a quilting ruler and rotary cutter for precision.
Next, create the binding for your quilt. Binding is a fabric strip that wraps around the raw edges of the quilt, providing a clean and finished look. Cut binding strips, usually 2.5 to 3 inches wide, from your chosen fabric.
Join the binding strips together at a 45-degree angle to create a continuous binding strip. Fold the strip in half lengthwise and press to create a crease. Starting at one side of the quilt, align the raw edges of the binding with the quilt edges and pin or clip in place.
Stitch the binding to the quilt, leaving a gap of a few inches near the starting point. Backstitch at each end of the stitching to secure it. Trim any excess binding fabric.
Now, carefully fold the binding over the raw edges of the quilt and hand-sew it in place using a blind stitch or a decorative stitch. Take your time to ensure the stitches are neat and evenly spaced.
Once the binding is completely attached, close the gap left for turning by hand-stitching it closed. Give the entire quilt a final press to make it crisp and ready to use or display.
If desired, you can add additional embellishments to your block quilt. This could include applique, embroidery, or even quilt labels to personalize your creation.
Finally, take a step back and admire your finished block quilt. It’s a testament to your skills, creativity, and hard work. Display it proudly or give it as a heartfelt gift to someone special.
Remember that every quilt is unique, and each has its own story to tell. Embrace imperfections and quirks, as they add character and charm to your quilt.
Finishing touches truly bring a block quilt to life, transforming it from a collection of fabric squares into a cherished piece of art. Enjoy the process and celebrate your achievement!
Conclusion
Congratulations! You have now learned how to make a beautiful block quilt from start to finish. Through careful fabric selection, precise cutting, creative block arrangement, skillful sewing, and thoughtful finishing touches, you have created a unique and personalized quilt that reflects your style and creativity.
Making a block quilt is a labor of love and a journey of self-expression. It allows you to combine colors, patterns, and textures to create a unique piece of art that will bring warmth and beauty to any space.
As you ventured into the world of quilting, you discovered the joy of selecting fabrics, the satisfaction of precise cutting, the excitement of arranging blocks, the patience required for sewing, and the rewarding feeling of completing a quilt. Each step brought you closer to a finished quilt and allowed your creativity to shine through.
Now, as you wrap yourself or someone else in your finished block quilt, you’ll be reminded of the time, effort, and love invested in its creation. It will become a cherished heirloom that brings comfort and joy for years to come.
Remember, quilting is a skill that develops over time. Don’t be afraid to experiment, try new techniques, and challenge yourself with more complex designs in the future. Each quilt you create will be a testament to your growth and creativity as a quilter.
Whether you choose to make block quilts for yourself, for loved ones, or even for charitable causes, your creations will be cherished and appreciated. The art of quilting brings people together, preserves traditions, and creates lasting memories.
So, embrace your newfound quilting skills, let your creativity soar, and continue to bring warmth and beauty into the world, one block quilt at a time!
Frequently Asked Questions about How To Make A Block Quilt
Was this page helpful?
At Storables.com, we guarantee accurate and reliable information. Our content, validated by Expert Board Contributors, is crafted following stringent Editorial Policies. We're committed to providing you with well-researched, expert-backed insights for all your informational needs.


0 thoughts on “How To Make A Block Quilt”