Home>Gardening & Outdoor>Outdoor Structures>How To Fit Composite Decking Edge Trim
Outdoor Structures
How To Fit Composite Decking Edge Trim
Modified: September 2, 2024
Learn how to perfectly fit composite decking edge trim for your outdoor structures. Get expert tips and tricks for a seamless installation.
(Many of the links in this article redirect to a specific reviewed product. Your purchase of these products through affiliate links helps to generate commission for Storables.com, at no extra cost. Learn more)
Introduction
When it comes to constructing a beautiful and long-lasting deck, every detail matters. One crucial aspect that often gets overlooked is the installation of composite decking edge trim. This often-underestimated component plays a significant role in not only enhancing the aesthetics of your deck but also ensuring its structural integrity and longevity.
In this comprehensive guide, we will delve into the essential steps and considerations for fitting composite decking edge trim. Whether you're a seasoned DIY enthusiast or a novice looking to elevate your outdoor space, this article will equip you with the knowledge and confidence to tackle this important task.
Let's explore the world of composite decking edge trim and uncover the key insights and techniques needed to achieve a flawless finish for your deck.
Key Takeaways:
- Fitting composite decking edge trim is crucial for a beautiful and long-lasting deck. It protects edges, enhances aesthetics, and requires precise preparation and installation for a flawless finish.
- To fit composite decking edge trim, gather tools and materials, prepare the deck, and follow step-by-step installation guidelines. Attention to detail and finishing touches ensure a visually stunning and durable outcome.
Read more: How To Trim Grass Edges
Understanding Composite Decking Edge Trim
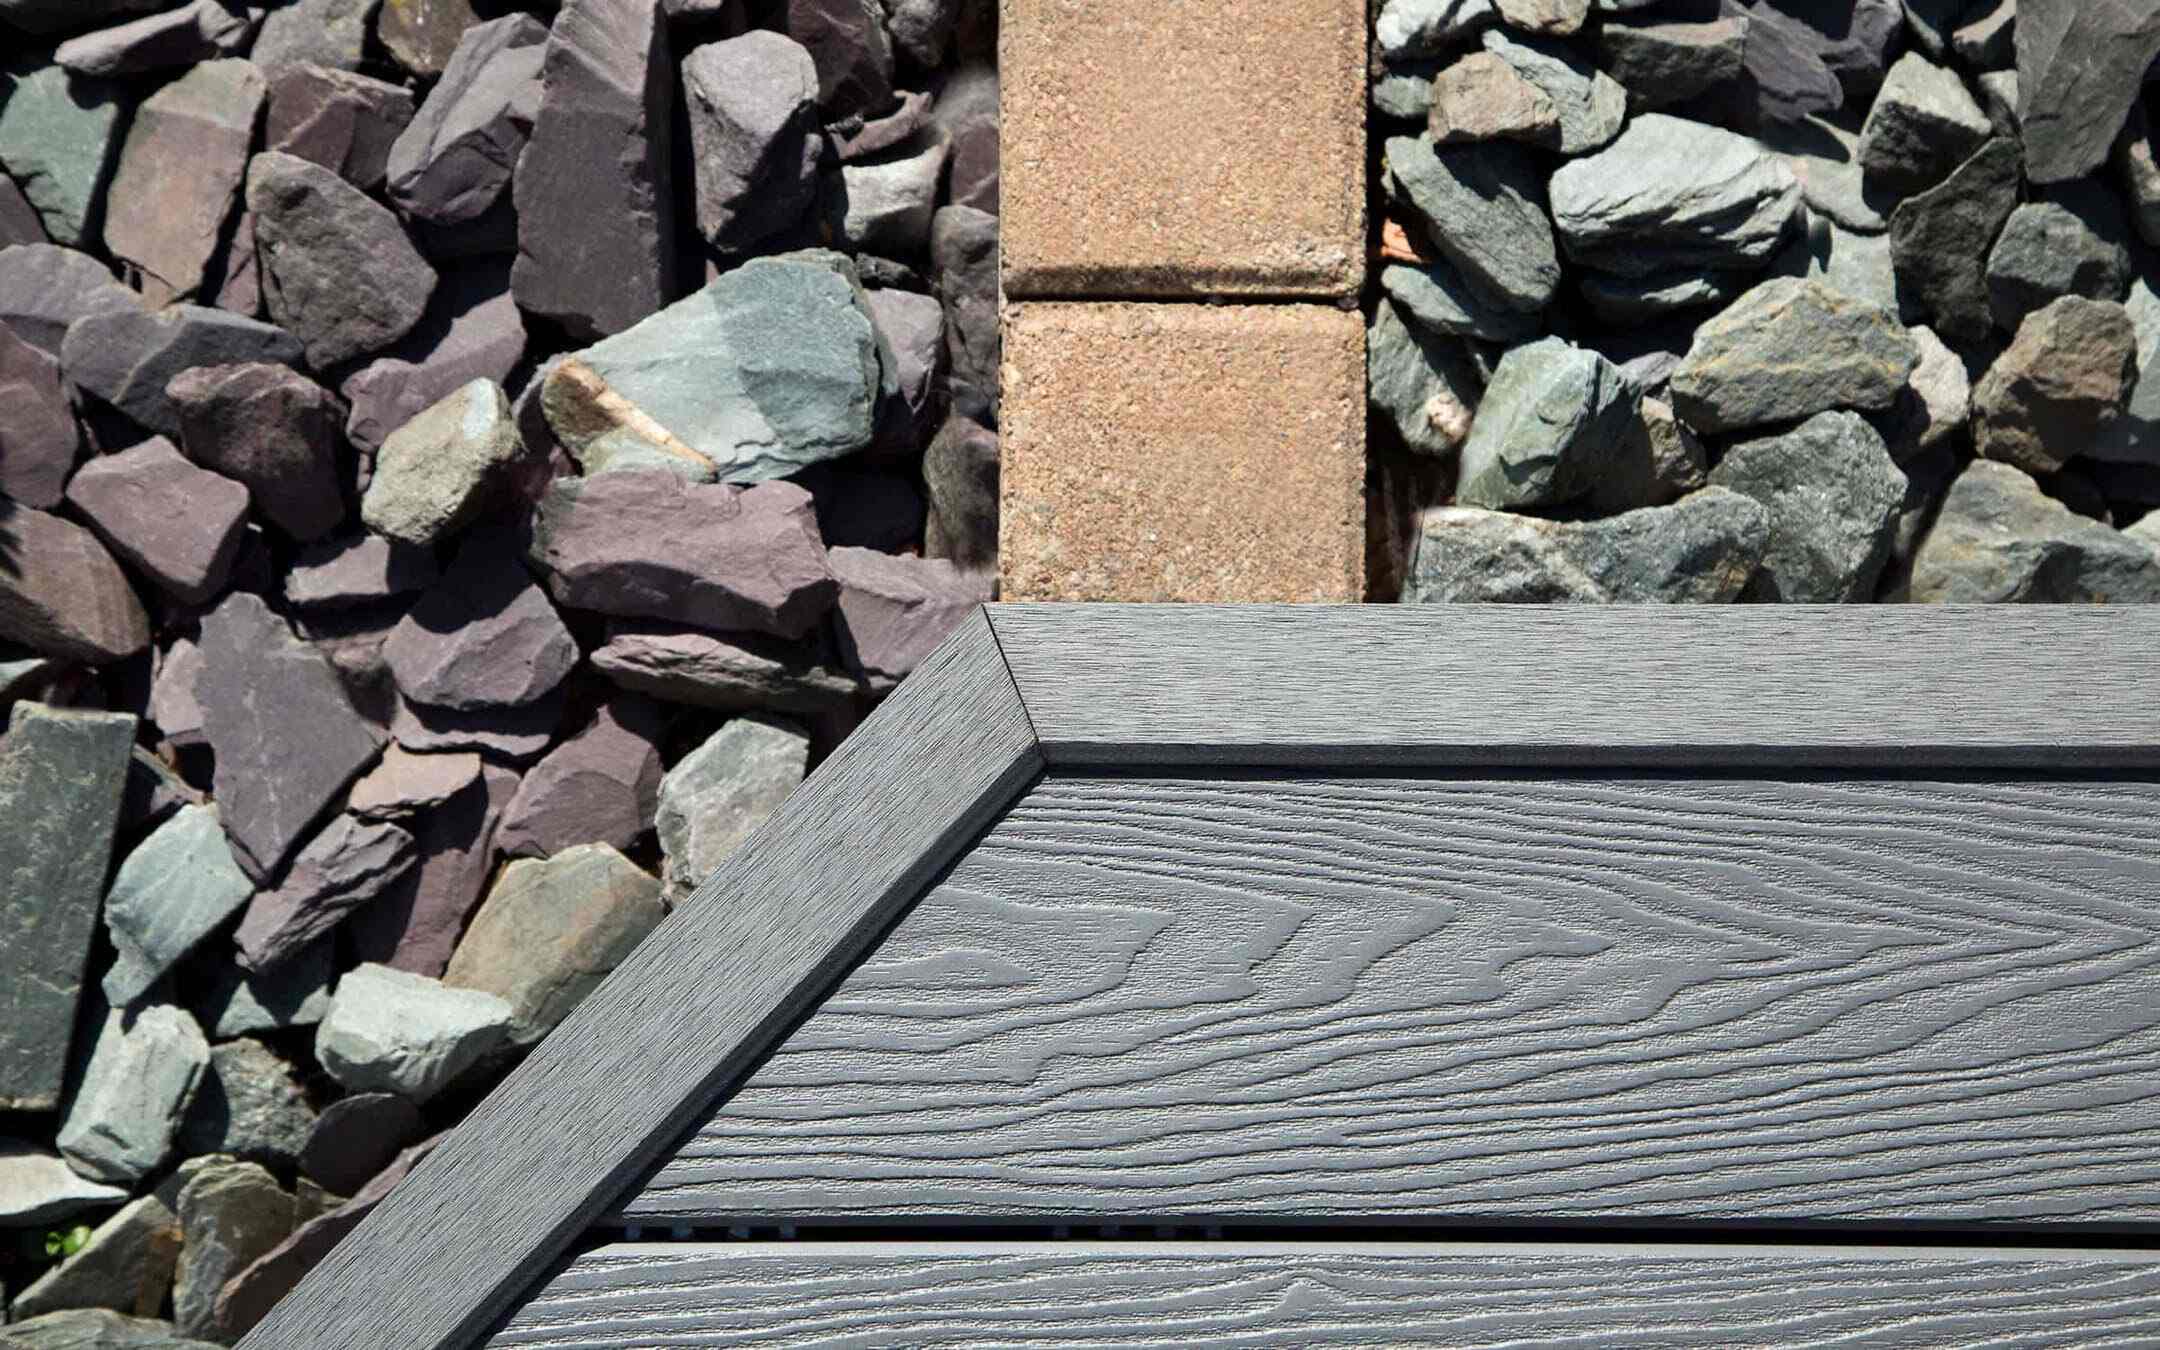
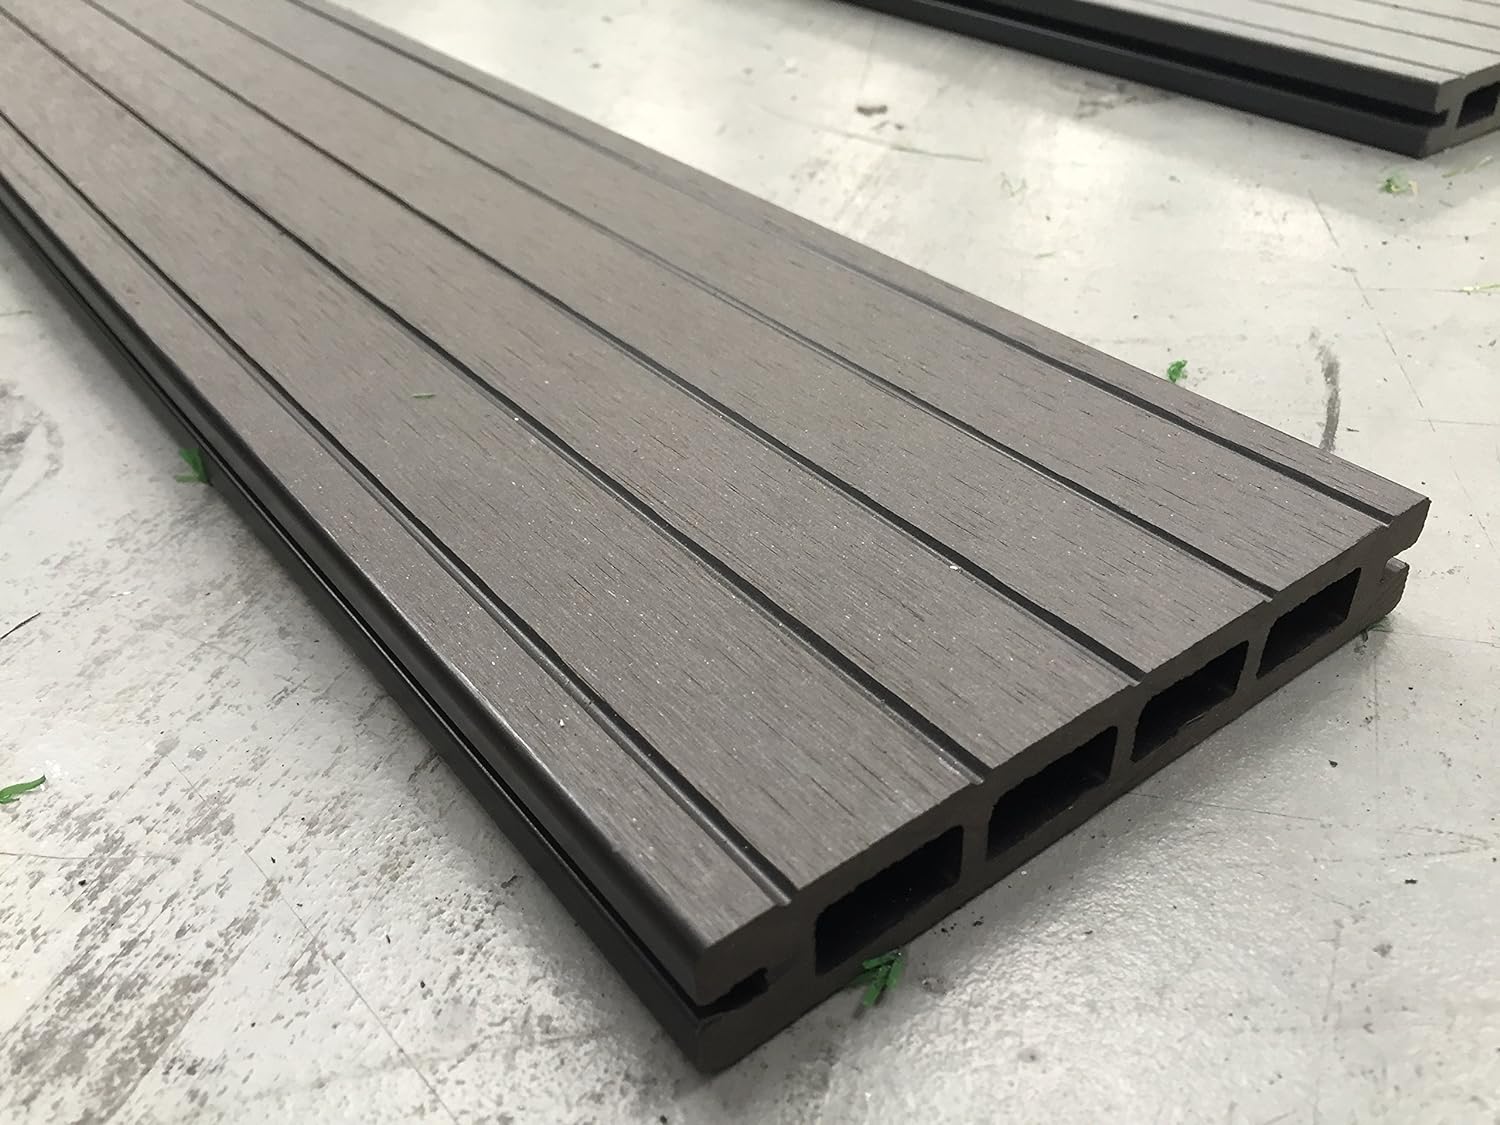
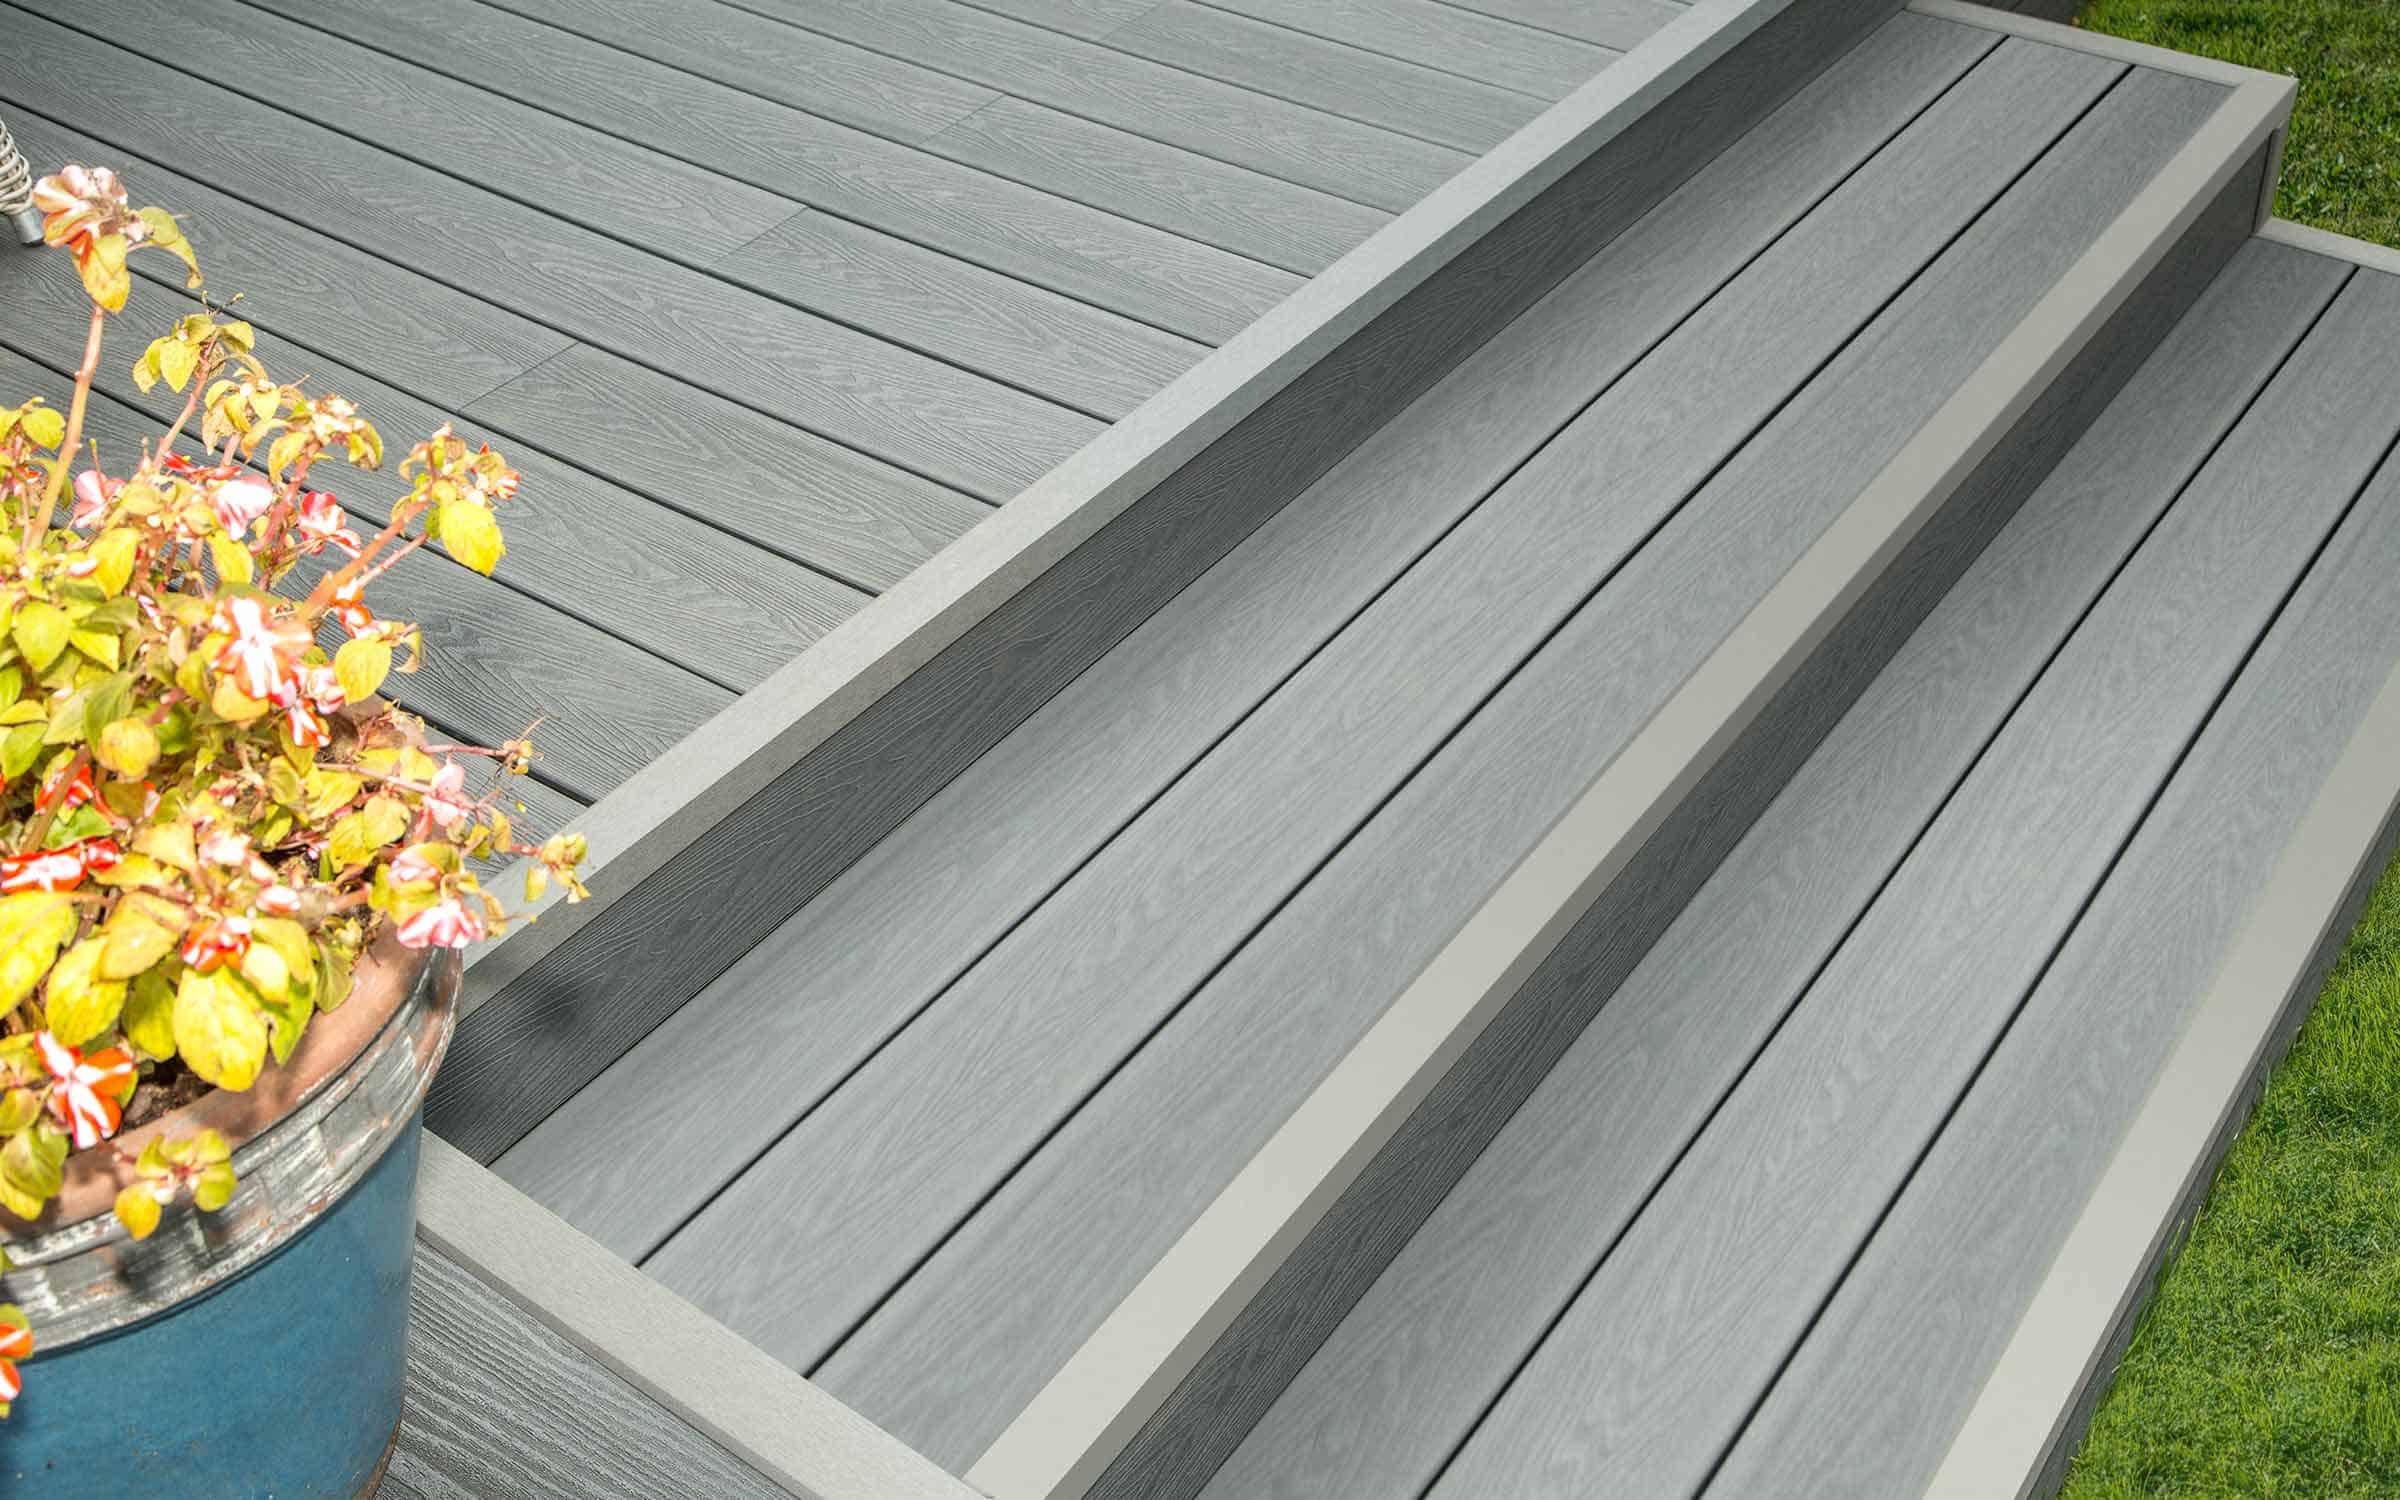
Composite decking edge trim serves as the perfect finishing touch for your deck, providing both functional and aesthetic benefits. This essential component is designed to conceal the exposed edges of the decking boards, creating a polished and professional look while offering protection against moisture, debris, and potential damage.
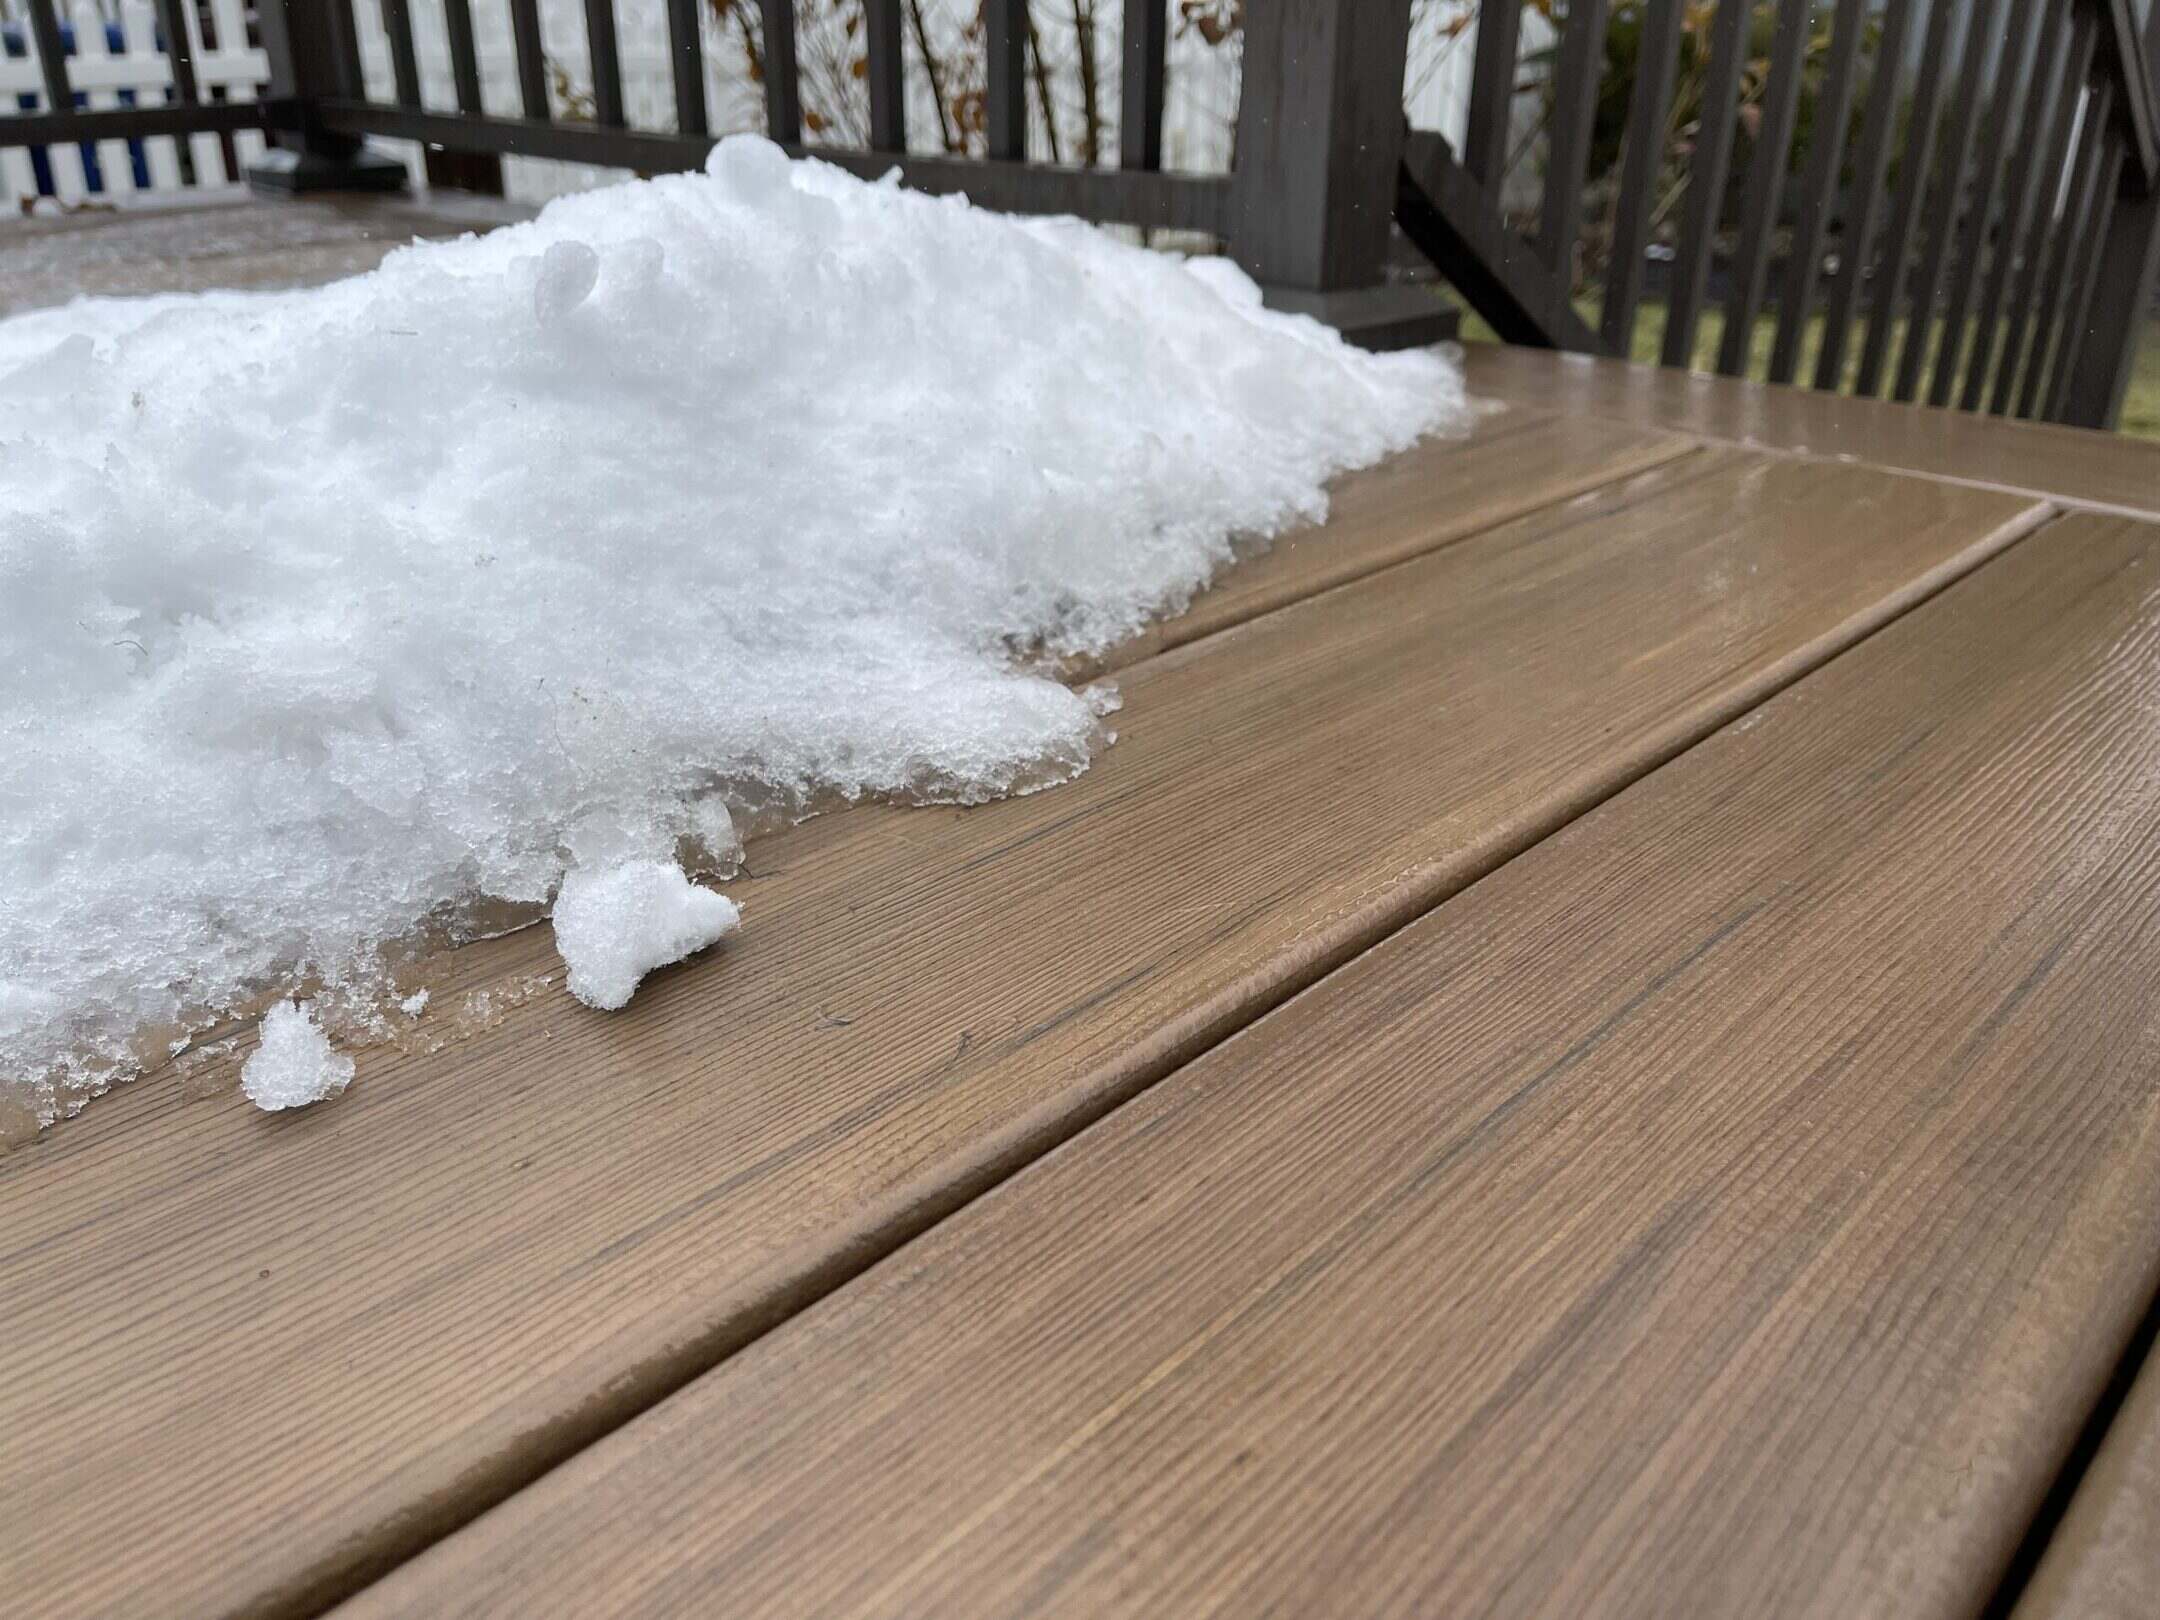
One of the primary functions of edge trim is to prevent moisture from penetrating the edges of the decking boards, which can lead to warping, rot, and decay over time. By sealing off these vulnerable areas, edge trim acts as a barrier, safeguarding the structural integrity of the deck and prolonging its lifespan.
Additionally, composite decking edge trim contributes to the overall visual appeal of the deck by creating a clean and seamless transition between the decking surface and the surrounding environment. This not only enhances the aesthetics of the deck but also adds a touch of sophistication and refinement to the outdoor space.
It’s important to note that edge trim is specifically designed to complement the unique properties of composite decking materials. Unlike traditional wood trim, composite decking edge trim is engineered to withstand the elements, resisting moisture, fading, and mold growth. This ensures that the trim maintains its appearance and performance over the long term, requiring minimal maintenance and upkeep.
By understanding the significance of composite decking edge trim and its impact on the overall functionality and appearance of your deck, you can approach the installation process with a clear understanding of its benefits and purpose.
Tools and Materials Needed
Before embarking on the installation of composite decking edge trim, it’s essential to gather the necessary tools and materials to ensure a smooth and efficient process. Here’s a comprehensive list of items you’ll need to complete the task:
Tools:
- Measuring tape
- Pencil or marker
- Miter saw or circular saw
- Drill/driver
- Screws
- Clamps
- Level
- Work gloves
- Safety goggles
Materials:
- Composite decking edge trim
- Composite decking boards
- Fasteners
- Wood sealer (if using wood substructure)
- Caulk or sealant
- Primer and paint (if painting the trim)
Having the right tools and materials at your disposal will streamline the installation process and ensure that you can work with precision and confidence. Additionally, it’s important to prioritize safety by wearing appropriate protective gear, such as work gloves and safety goggles, throughout the installation.
By preparing the necessary tools and materials in advance, you can approach the task of fitting composite decking edge trim with the assurance that you have everything required to achieve professional results.
Read more: How To Build A Deck With Composite Decking
Preparing the Decking Area
Before installing the composite decking edge trim, it’s crucial to prepare the decking area to ensure a solid foundation for the trim and decking boards. Follow these essential steps to set the stage for a successful installation:
1. Assess the Substructure:
Start by examining the substructure of the deck to ensure that it is structurally sound and free from any signs of damage or deterioration. If you identify any issues, address them promptly to prevent future complications.
2. Clean the Edges:
Thoroughly clean and inspect the edges of the decking boards to remove any debris, dirt, or residue that may hinder the proper adhesion of the edge trim. This step is crucial for promoting a secure and long-lasting bond between the trim and the decking surface.
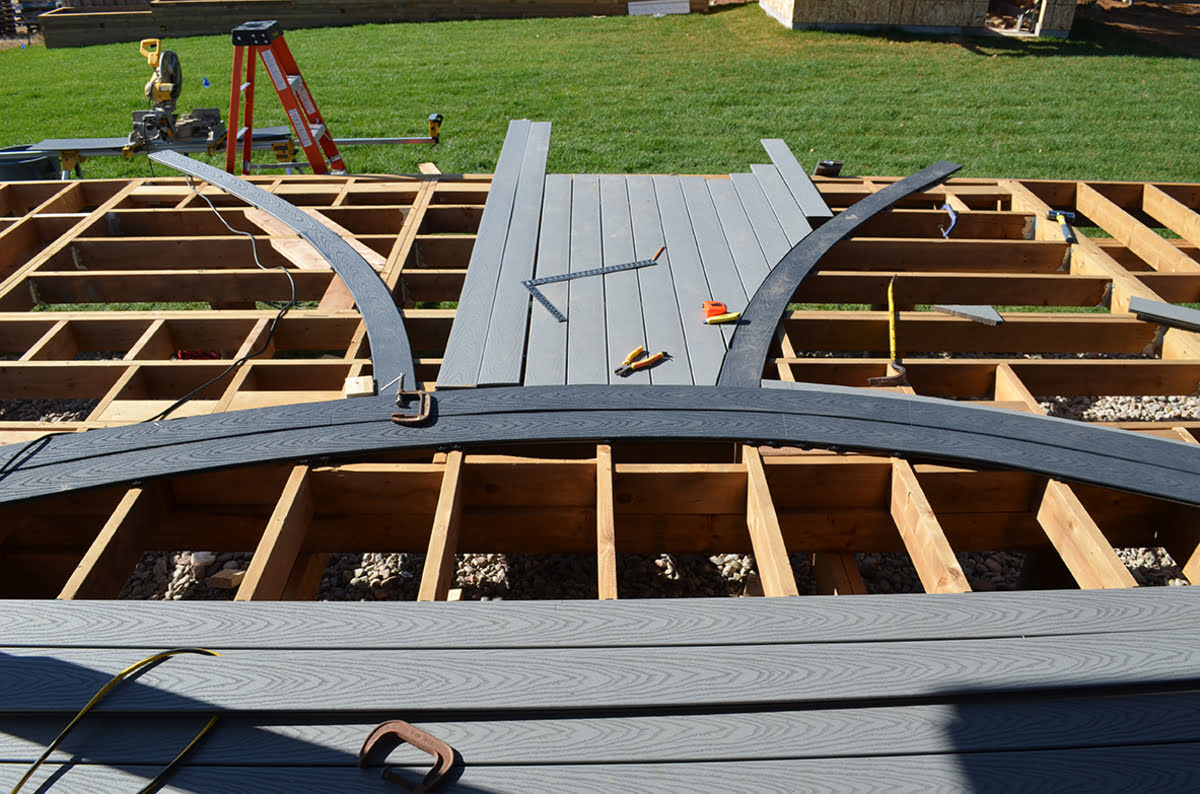
3. Measure and Cut:
Take precise measurements of the edges where the composite decking edge trim will be installed. Use a miter saw or circular saw to cut the trim pieces to the appropriate length, ensuring accurate and seamless fits along the perimeter of the deck.
Read more: What Is Composite Decking
4. Seal the Substructure (If Applicable):
If the deck substructure is constructed from wood, consider applying a high-quality wood sealer to protect it from moisture and potential decay. This extra layer of protection can enhance the longevity of the substructure and contribute to the overall durability of the deck.
By meticulously preparing the decking area before installing the edge trim, you can create a stable and well-prepared surface that sets the stage for a successful and visually appealing outcome. Taking the time to address these preparatory steps will contribute to the overall integrity and longevity of your composite decking installation.
Installing the Edge Trim
With the decking area prepared, you’re now ready to proceed with the installation of the composite decking edge trim. Follow these step-by-step guidelines to ensure a precise and secure fitting:
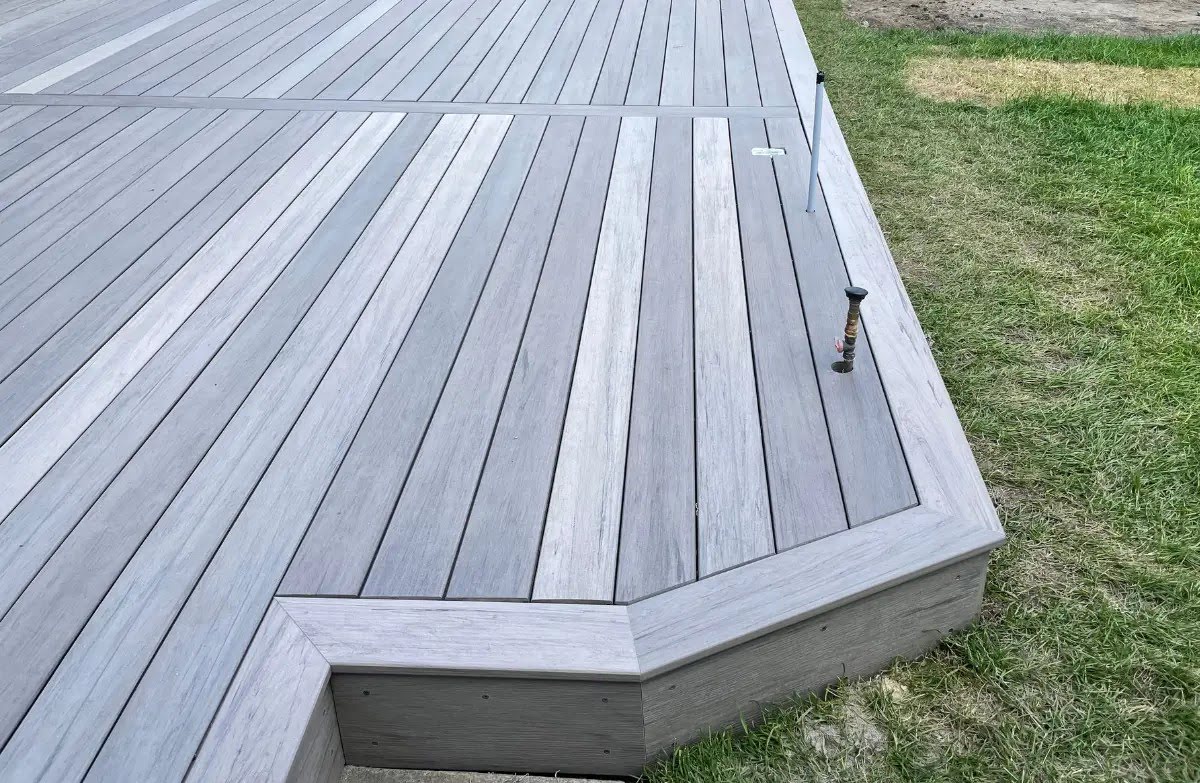
1. Positioning the Trim:
Begin by positioning the cut edge trim pieces along the exposed edges of the decking boards. Ensure that the trim aligns evenly with the edges and corners, maintaining a consistent overhang if desired.
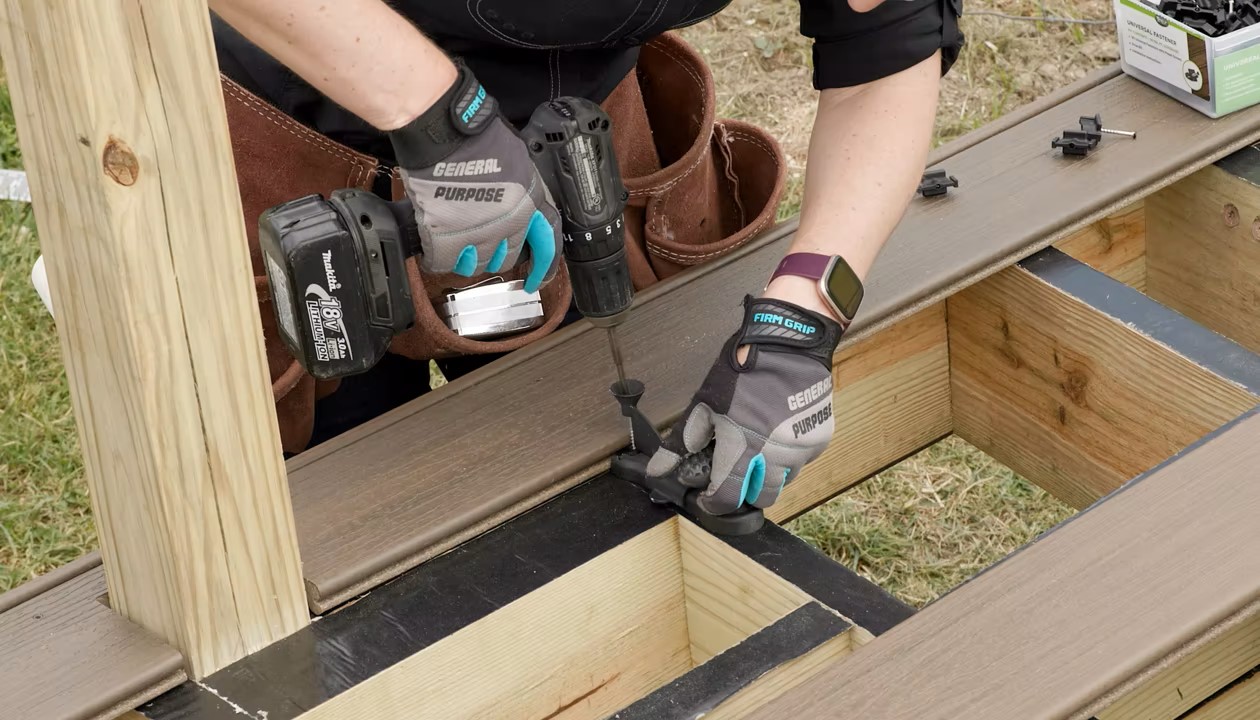
2. Securing the Trim:
Using a drill/driver and appropriate screws, secure the edge trim in place, ensuring that it is firmly attached to the decking boards and substructure. Consider using clamps to hold the trim in position while fastening it to achieve a seamless and professional finish.
Read more: How To Cut Composite Decking
3. Maintaining Alignment:
Throughout the installation process, use a level to verify that the edge trim remains straight and level along the entire perimeter of the deck. This attention to detail will contribute to a visually pleasing and structurally sound result.
4. Concealing Joints:
If the length of the deck requires multiple trim pieces to be joined together, ensure that the joints are precisely aligned and secured. Consider using a caulk or sealant to conceal the joints and create a cohesive and seamless appearance.
5. Finishing Touches:
Once the edge trim is securely installed, inspect the entire perimeter of the deck to confirm that the trim is uniformly positioned and securely fastened. Make any necessary adjustments or final touches to achieve a flawless and professional outcome.
By following these steps with precision and care, you can successfully install the composite decking edge trim, elevating the visual appeal and structural integrity of your deck. This meticulous approach will result in a polished and professional finish that enhances the overall aesthetic and functionality of your outdoor space.
Finishing Touches
Completing the installation of composite decking edge trim opens the door to the final touches that will elevate the overall appearance and functionality of your deck. Consider the following steps to add those finishing touches:
Read more: How To Screw Composite Decking
1. Surface Treatment:
If desired, apply a high-quality primer and paint to the installed edge trim to further enhance its durability and resistance to the elements. This step can also contribute to a cohesive color scheme and aesthetic harmony with the decking boards.
2. Sealant Application:
Consider applying a bead of caulk or sealant along the top edge of the installed trim to create a watertight seal and prevent moisture intrusion. This additional layer of protection can safeguard the edges of the decking boards and prolong their lifespan.
3. Visual Inspection:
Thoroughly inspect the entire deck, paying close attention to the newly installed edge trim. Verify that all trim pieces are securely fastened, joints are seamlessly concealed, and the overall appearance is uniform and aesthetically pleasing.
4. Functional Integration:
Ensure that the installed edge trim seamlessly integrates with the surrounding environment and complements the overall design of the deck. Its functionality should align with the intended purpose of providing protection and a polished finish.
Read more: How To Install Composite Decking
5. Maintenance Considerations:
Familiarize yourself with the recommended maintenance practices for composite decking and edge trim. Understanding how to care for and preserve these components will contribute to their longevity and sustained visual appeal.
By attending to these finishing touches, you can ensure that the installation of composite decking edge trim culminates in a visually stunning, structurally sound, and enduring addition to your outdoor space. These final details will further enhance the overall quality and resilience of your deck, allowing you to enjoy its beauty and functionality for years to come.
Conclusion
Embarking on the journey of fitting composite decking edge trim is a pivotal step in creating a visually captivating, structurally robust, and enduring outdoor deck. By understanding the significance of edge trim and following the essential guidelines outlined in this comprehensive guide, you are equipped to elevate your deck with precision and confidence.
From the initial preparations and precise measurements to the seamless installation and thoughtful finishing touches, every aspect of this process contributes to the overall integrity and aesthetic appeal of your deck. As you immerse yourself in this transformative endeavor, remember that attention to detail and a commitment to quality craftsmanship are the cornerstones of a successful outcome.
Embrace the opportunity to infuse your outdoor space with sophistication and functionality, knowing that the installation of composite decking edge trim is a testament to your dedication to creating a welcoming and enduring environment for relaxation and enjoyment.
As you admire the seamless transitions, polished finishes, and enhanced protection that the edge trim provides, take pride in the knowledge that your deck is not only a stunning extension of your home but also a testament to your meticulous care and craftsmanship.
With this guide as your companion, you are poised to embark on a transformative journey, elevating your deck to new heights of beauty and resilience. Embrace the process, enjoy the rewards, and revel in the enduring allure of your impeccably finished composite decking installation.
Frequently Asked Questions about How To Fit Composite Decking Edge Trim
Was this page helpful?
At Storables.com, we guarantee accurate and reliable information. Our content, validated by Expert Board Contributors, is crafted following stringent Editorial Policies. We're committed to providing you with well-researched, expert-backed insights for all your informational needs.


0 thoughts on “How To Fit Composite Decking Edge Trim”