Home>Gardening & Outdoor>Outdoor Structures>How To Fill Screw Holes In Composite Decking
Outdoor Structures
How To Fill Screw Holes In Composite Decking
Modified: January 9, 2024
Learn how to fill screw holes in composite decking to maintain the integrity of your outdoor structures. Follow our step-by-step guide for a seamless finish.
(Many of the links in this article redirect to a specific reviewed product. Your purchase of these products through affiliate links helps to generate commission for Storables.com, at no extra cost. Learn more)
Introduction
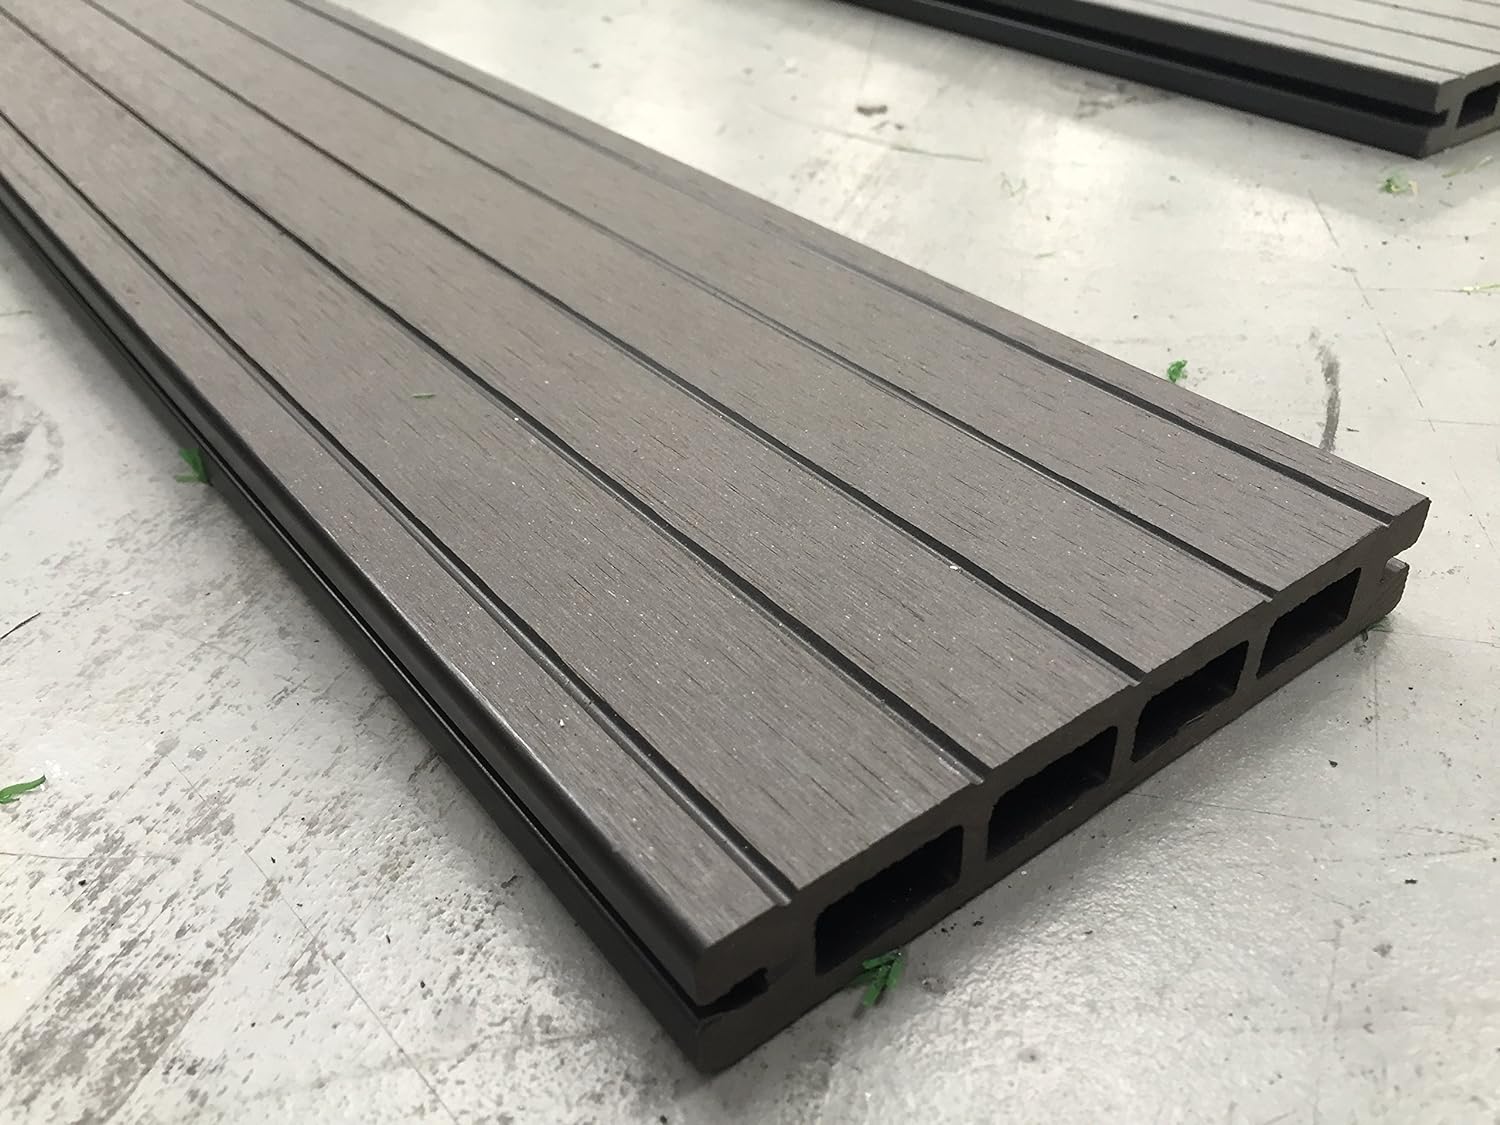
Composite decking has become a popular choice for outdoor structures due to its durability, low maintenance, and aesthetic appeal. However, one common issue that arises with composite decking is the presence of unsightly screw holes. These holes can detract from the overall appearance of the decking, but the good news is that they can be easily filled to restore the surface to its original beauty. In this guide, we’ll walk you through the steps to effectively fill screw holes in composite decking, allowing you to maintain a seamless and polished outdoor living space.
By following this simple process, you can ensure that your composite decking remains both structurally sound and visually appealing, enhancing the longevity and enjoyment of your outdoor environment.
Key Takeaways:
- Easily restore the beauty of your composite decking by filling screw holes with the right materials and a methodical approach, ensuring a seamless and professional finish.
- Invest time and care into filling screw holes in your composite decking to preserve its visual appeal and structural integrity, creating a stunning and inviting outdoor space.
Read more: How To Screw Composite Decking
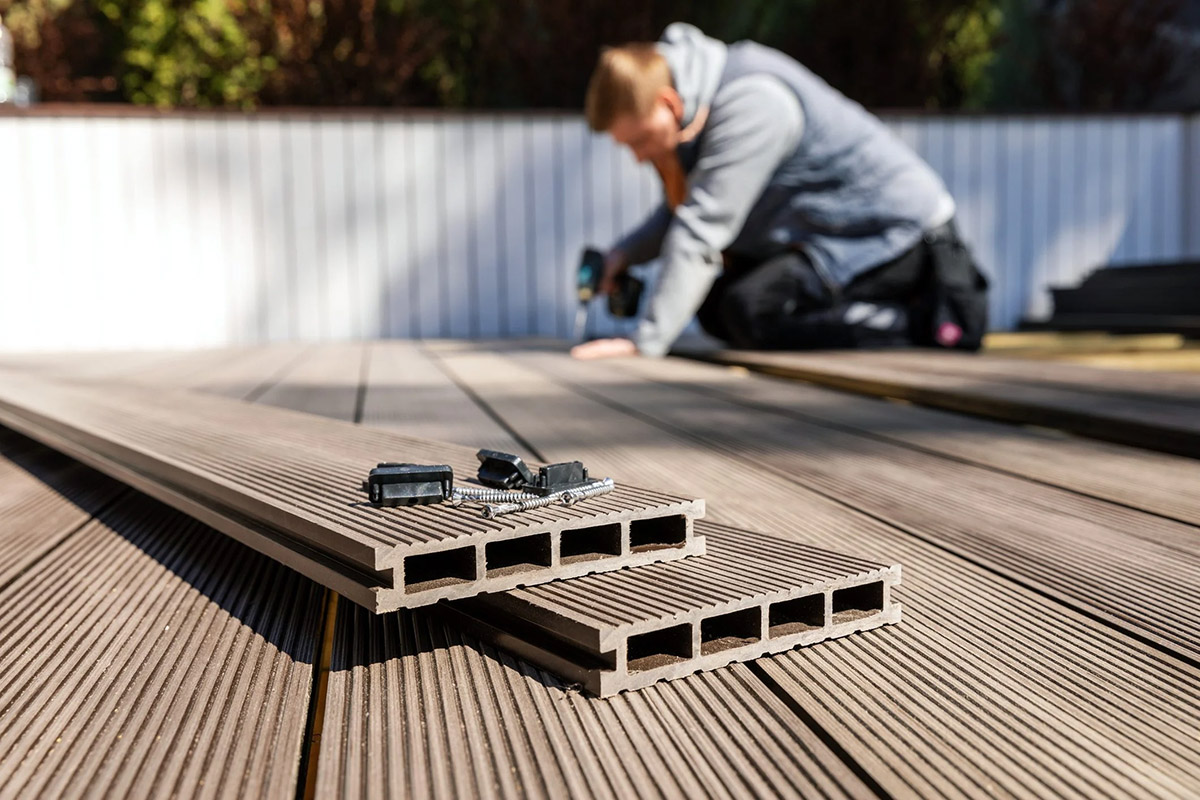
Materials Needed
Before you begin the process of filling screw holes in your composite decking, it’s essential to gather the necessary materials. Here’s what you’ll need:
- Composite deck filler or putty
- Putty knife or applicator
- Sandpaper (fine grit)
- Clean cloth or rag
- Mild soap and water solution
- Optional: Composite deck color-matched plugs (for a seamless finish)
These materials will enable you to effectively fill the screw holes and achieve a smooth, uniform surface on your composite decking. With these items at hand, you’ll be well-prepared to tackle the task with confidence and precision.
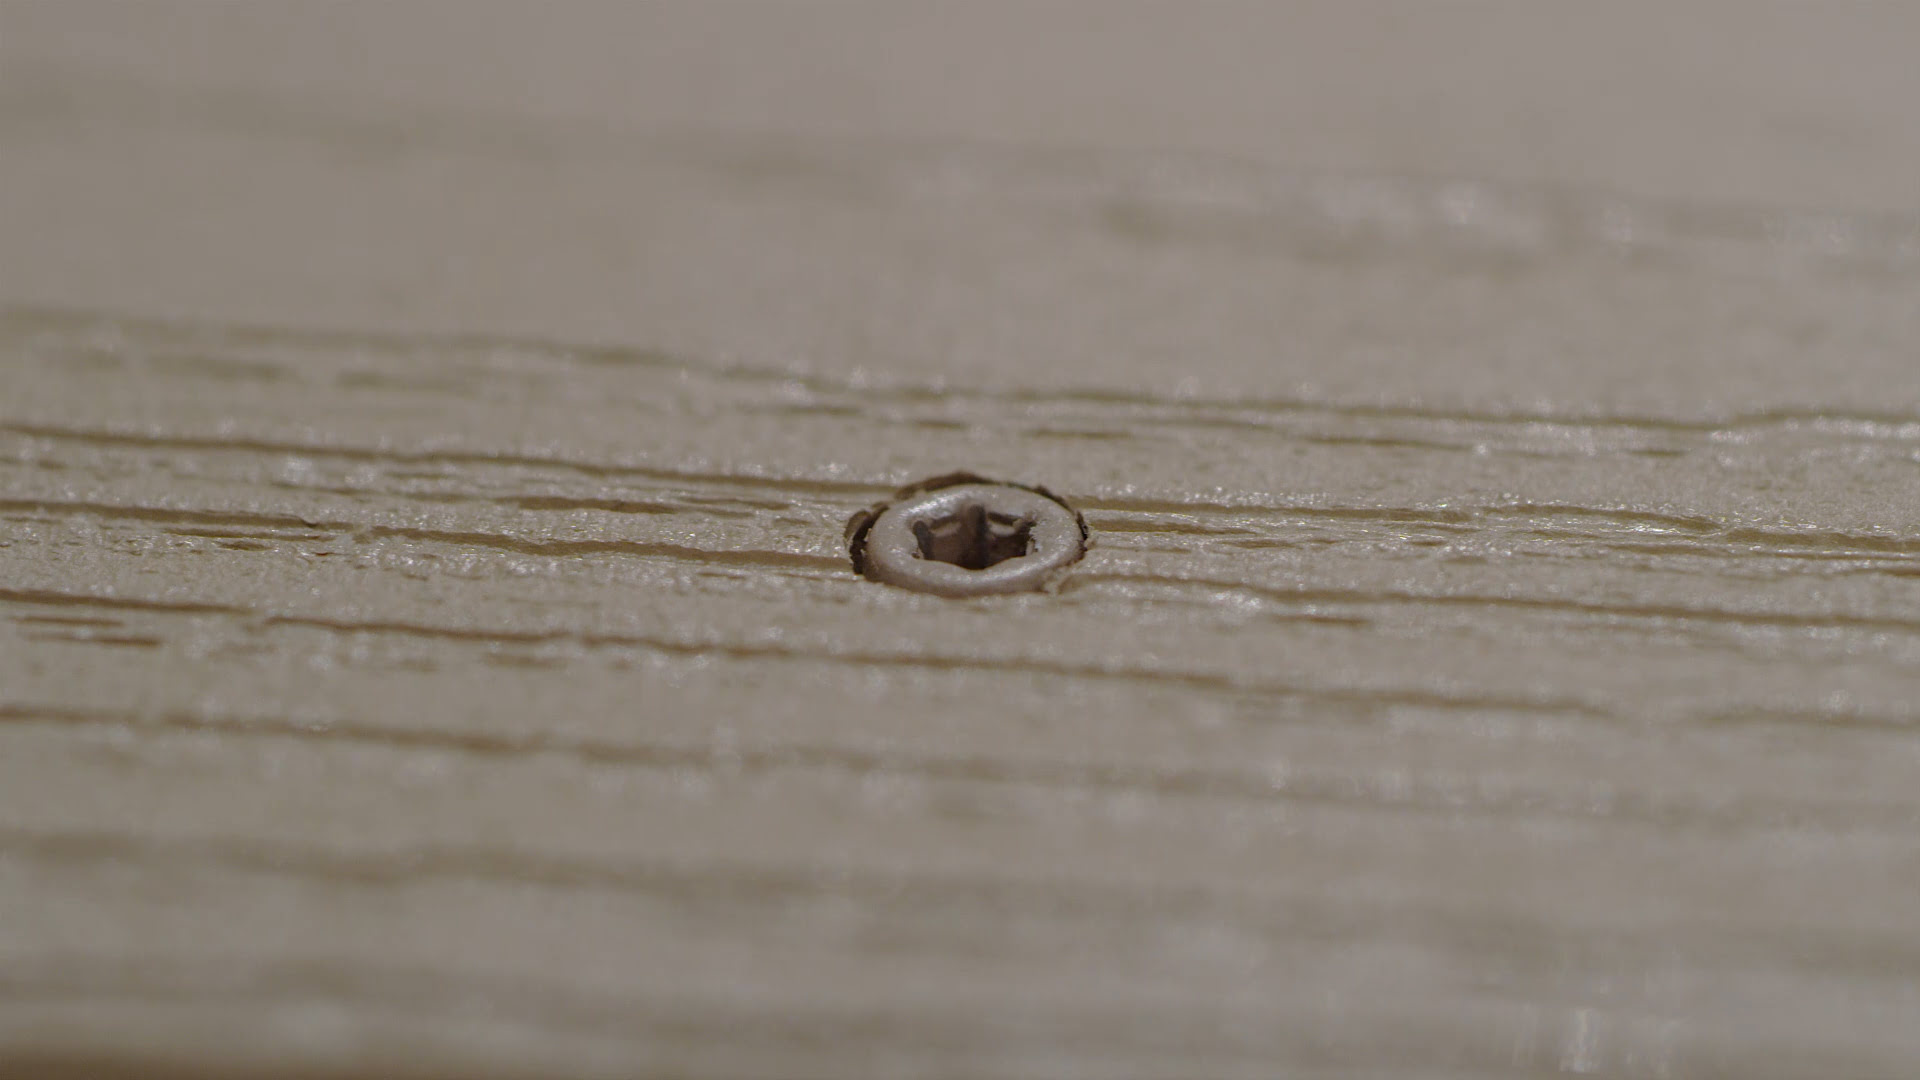
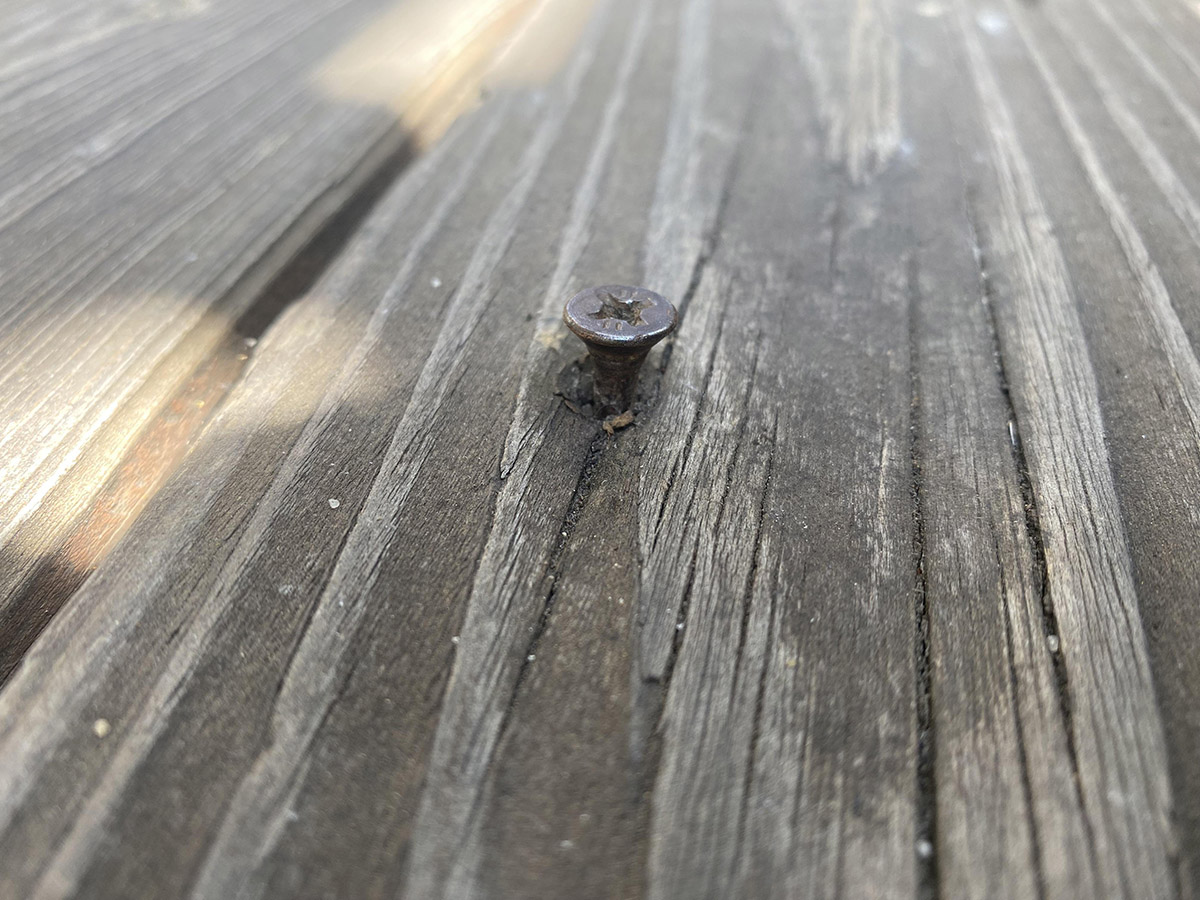
Step 1: Clean the Hole
Before filling the screw holes in your composite decking, it’s crucial to ensure that the area is clean and free from any debris or residue. Begin by using a mild soap and water solution to gently clean the surface around the hole. This will remove any dirt, dust, or other particles that may interfere with the filling process.
After cleaning the area, use a clean cloth or rag to thoroughly dry the surface. It’s important to ensure that the hole is completely clean and dry before proceeding to the next step, as any remaining moisture or debris could affect the adhesion and appearance of the filler.
By taking the time to properly clean the hole, you’ll create an optimal foundation for the filling material, setting the stage for a seamless and professional-looking result. This initial step is essential for achieving a polished and long-lasting finish on your composite decking.
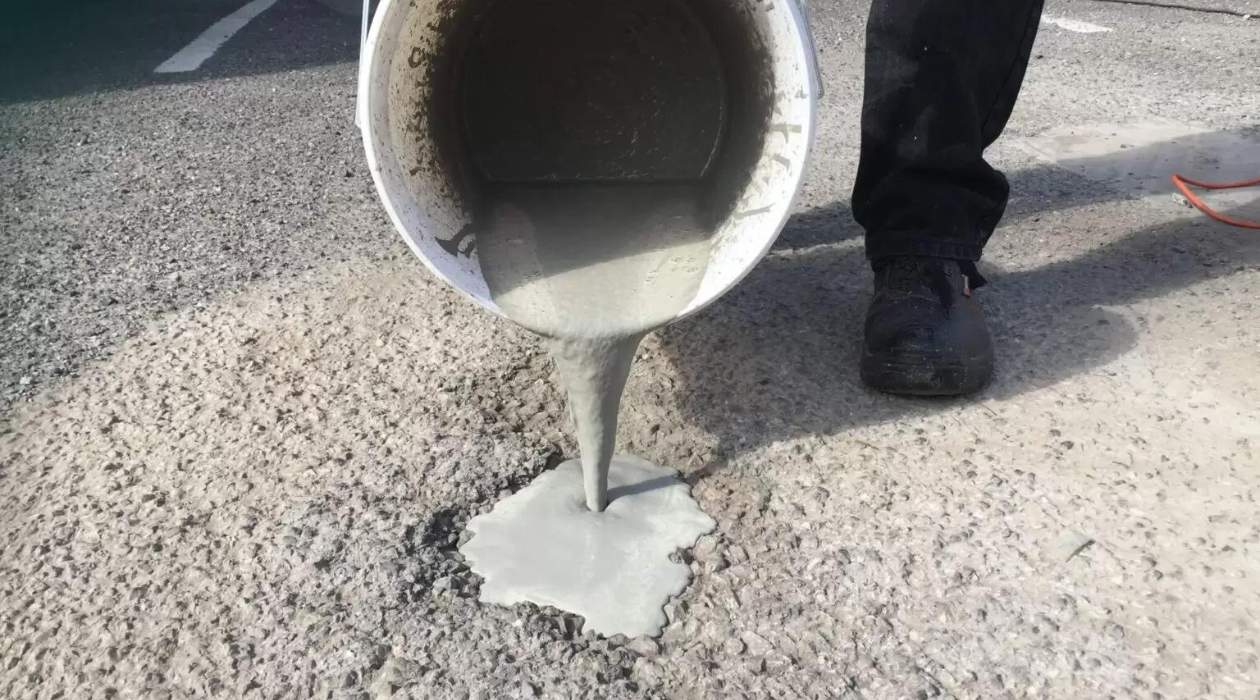
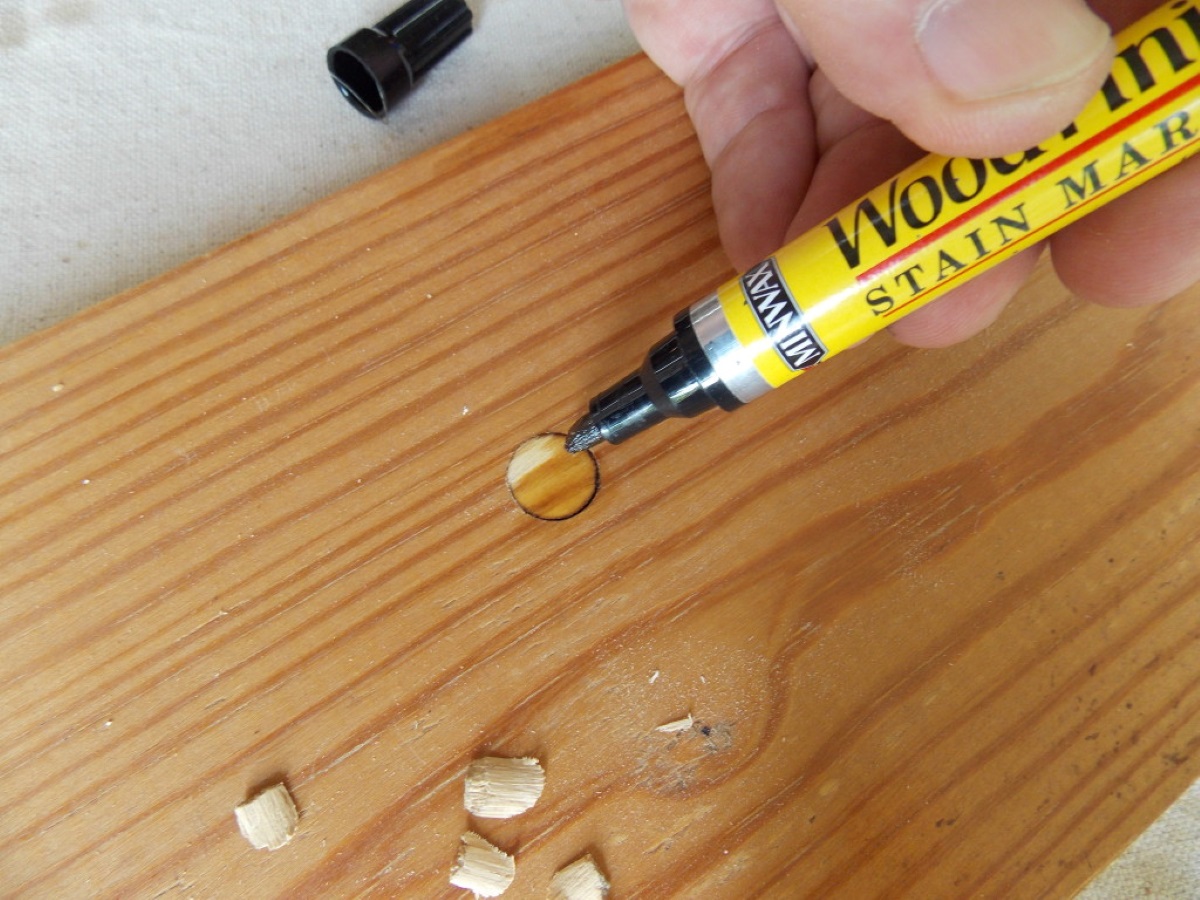
Step 2: Insert the Filler
With the screw hole clean and prepared, it’s time to fill the void with composite deck filler or putty. Using a putty knife or applicator, carefully apply the filler to the hole, ensuring that it is slightly overfilled to account for any shrinkage as it dries. The goal is to create a level surface that seamlessly blends with the surrounding decking material.
When selecting a filler, consider using a product specifically designed for composite decking to ensure optimal adhesion and color matching. Some fillers are available in colors that closely resemble common composite decking shades, providing a more cohesive and natural-looking result.
As you insert the filler, be mindful of any excess material that may accumulate around the hole. Use the putty knife to smooth and level the surface, removing any surplus filler to achieve a flush and uniform appearance. Taking care during this step will contribute to a professional finish that seamlessly conceals the screw hole, maintaining the overall integrity and aesthetic appeal of your decking.
Use a composite decking filler or epoxy putty to fill screw holes in composite decking. Make sure to follow the manufacturer’s instructions for the best results.
Step 3: Smooth the Surface
After the filler has been applied to the screw hole, it’s essential to ensure that the surface is smooth and level. Using a putty knife or a similar tool, gently smooth the filled area to create a seamless transition between the filler and the surrounding decking material. Take care to blend the filler with the composite surface, aiming for a consistent and natural finish.
Pay close attention to the edges of the filled area, as well as any potential ridges or uneven spots. By methodically smoothing the surface, you can achieve a visually pleasing result that seamlessly integrates the filled hole with the rest of the decking. This meticulous approach will contribute to a polished and cohesive appearance, ensuring that the repair is virtually indistinguishable from the original decking material.
By taking the time to smooth the surface with precision and care, you’ll elevate the overall aesthetic of your composite decking, creating a seamless and professional-looking surface that enhances the visual appeal of your outdoor living space.
Step 4: Sand the Area
Once the filled screw hole has been smoothed, the next crucial step is to sand the area to achieve a perfectly blended and uniform surface. Using fine-grit sandpaper, gently sand the filled area and its immediate surroundings. This process serves to refine the surface, ensuring that the filled hole seamlessly integrates with the rest of the decking material.
When sanding, maintain a consistent and even pressure to avoid creating uneven patches or rough spots. The goal is to create a level and smooth finish that harmonizes with the surrounding composite decking. By meticulously sanding the area, you’ll refine the surface to achieve a seamless and professional result, effectively concealing the screw hole and maintaining the overall integrity of the decking.
After sanding, carefully inspect the area to ensure that the surface is uniform and visually cohesive. Any remaining imperfections or irregularities can be addressed by further sanding, as the ultimate objective is to achieve a flawlessly integrated repair that seamlessly blends with the original decking material.
By diligently sanding the area, you’ll achieve a refined and visually pleasing result, ensuring that the filled screw hole is virtually indistinguishable from the surrounding composite decking, thereby preserving the aesthetic appeal and structural integrity of your outdoor living space.
Conclusion
Effectively filling screw holes in composite decking is a straightforward yet essential process for maintaining the visual appeal and structural integrity of your outdoor living space. By following the steps outlined in this guide, you can seamlessly restore the surface of your composite decking, ensuring a polished and professional finish that blends harmoniously with the surrounding material.
From cleaning the hole to sanding the area, each step plays a pivotal role in achieving a seamless and visually cohesive result. By meticulously preparing, filling, and refining the screw hole, you can effectively conceal the imperfection, preserving the overall beauty and functionality of your composite decking.
It’s important to note that the use of high-quality composite deck filler and a methodical approach to the filling process are key to achieving a professional result. Additionally, considering color-matched fillers or plugs can further enhance the seamless integration of the repair, ensuring that the filled screw hole is virtually indistinguishable from the rest of the decking.
By investing time and care into filling screw holes in your composite decking, you can enjoy a pristine and visually appealing outdoor environment, free from the distractions of unsightly imperfections. This simple yet impactful maintenance task contributes to the longevity and aesthetic quality of your composite decking, allowing you to fully appreciate and enjoy your outdoor living space for years to come.
With these steps at your disposal, you have the knowledge and tools to maintain the beauty and functionality of your composite decking, ensuring that it remains a stunning and inviting feature of your outdoor landscape.
Ready to tackle more home projects? If DIY home improvement is up your alley, our detailed guide will walk you through various techniques to spruce up your living space. Woodworking enthusiasts will appreciate our roundup of the 14 best woodworking projects for 2024, showcasing exciting creations from furniture to ornamental pieces. For those facing wear and tear at home, our comprehensive home repair article offers practical solutions to fix common issues effectively and efficiently. Dive into these resources and transform your home into a more beautiful and functional space today!
Frequently Asked Questions about How To Fill Screw Holes In Composite Decking
Was this page helpful?
At Storables.com, we guarantee accurate and reliable information. Our content, validated by Expert Board Contributors, is crafted following stringent Editorial Policies. We're committed to providing you with well-researched, expert-backed insights for all your informational needs.


0 thoughts on “How To Fill Screw Holes In Composite Decking”