Home>Gardening & Outdoor>Outdoor Structures>How To Install Composite Decking Border
Outdoor Structures
How To Install Composite Decking Border
Modified: April 23, 2024
Learn how to enhance your outdoor space with a composite decking border. Discover step-by-step installation tips for creating stunning outdoor structures.
(Many of the links in this article redirect to a specific reviewed product. Your purchase of these products through affiliate links helps to generate commission for Storables.com, at no extra cost. Learn more)
Introduction
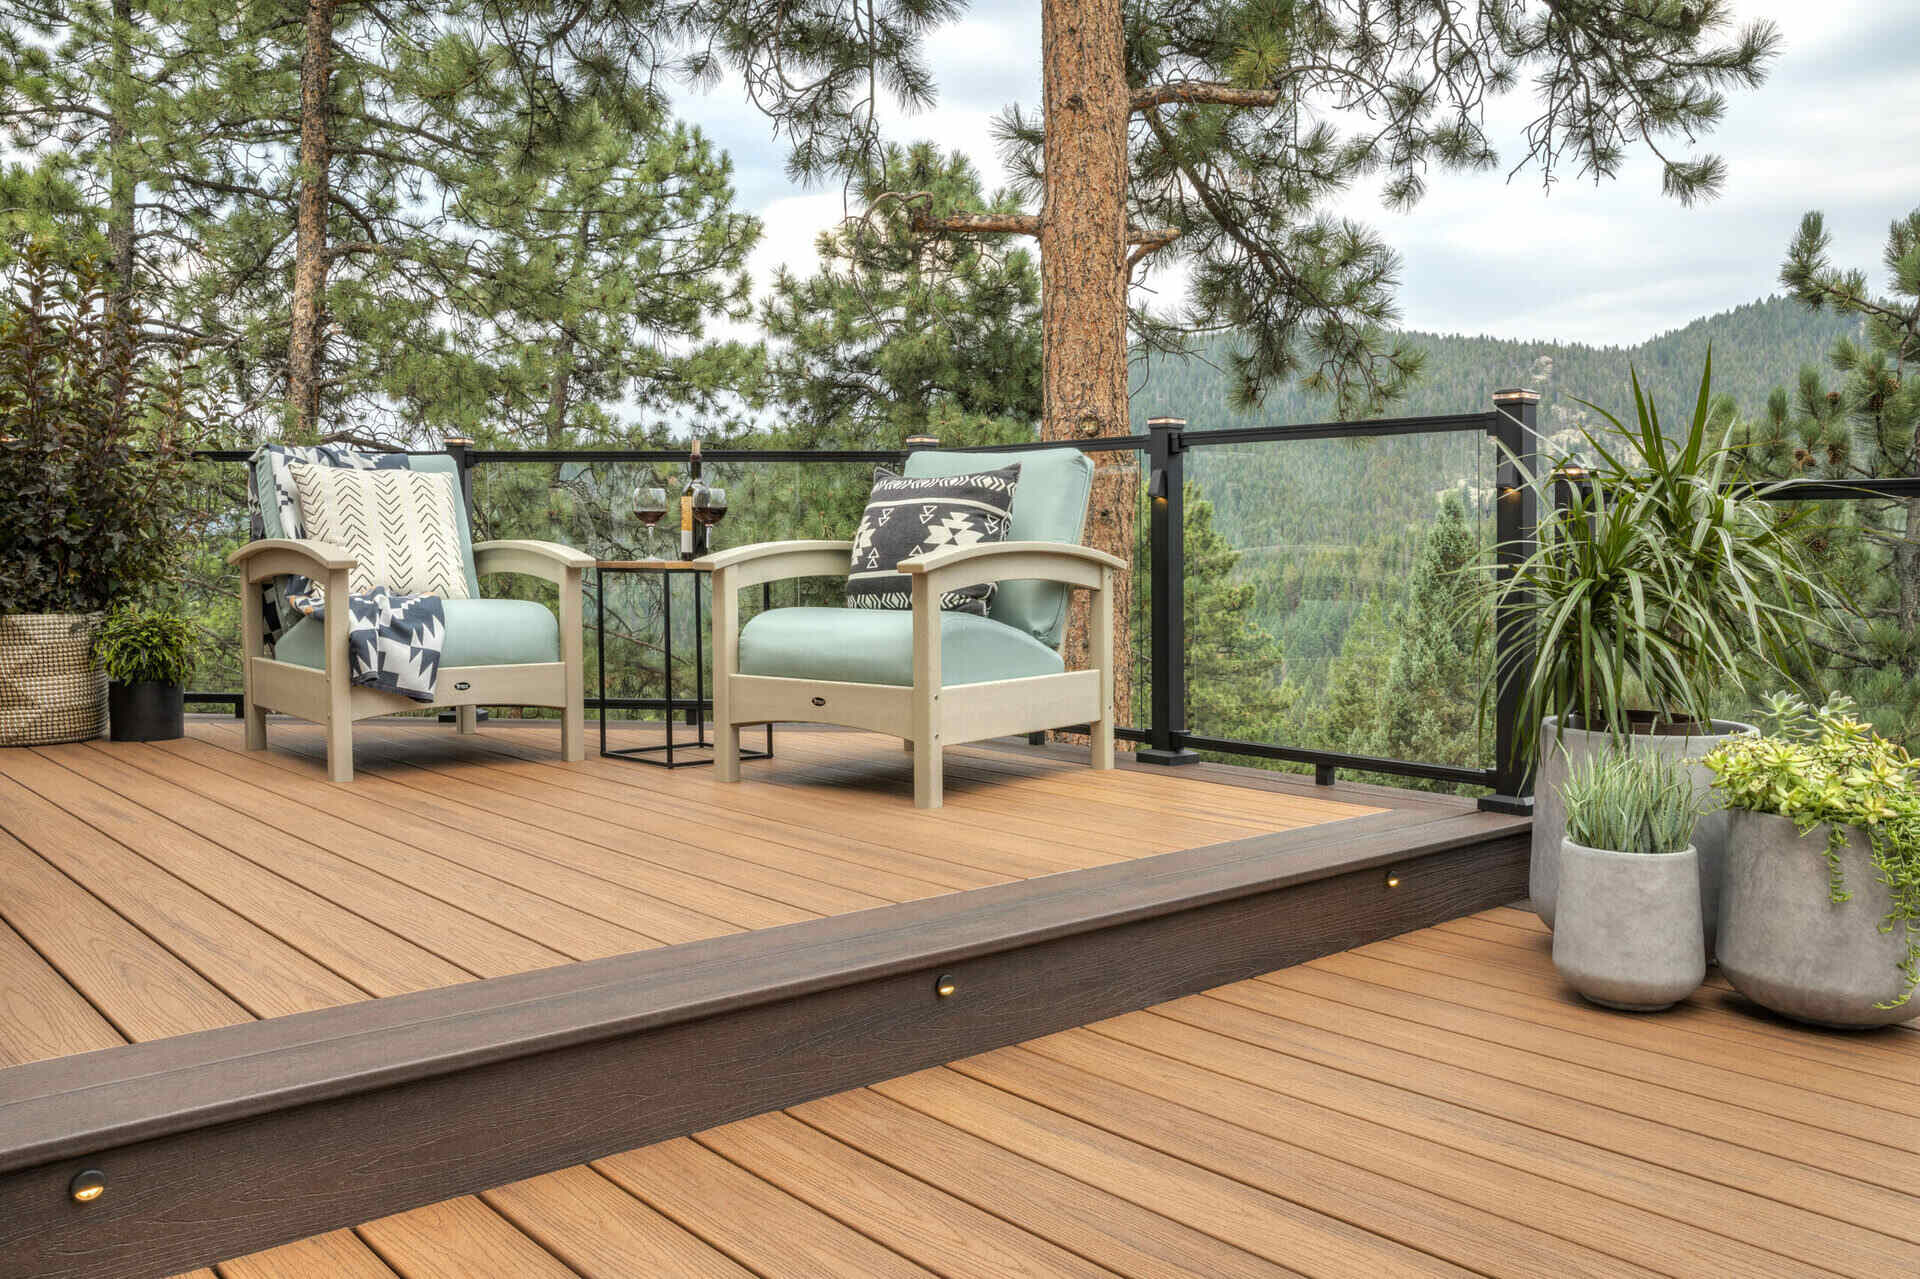
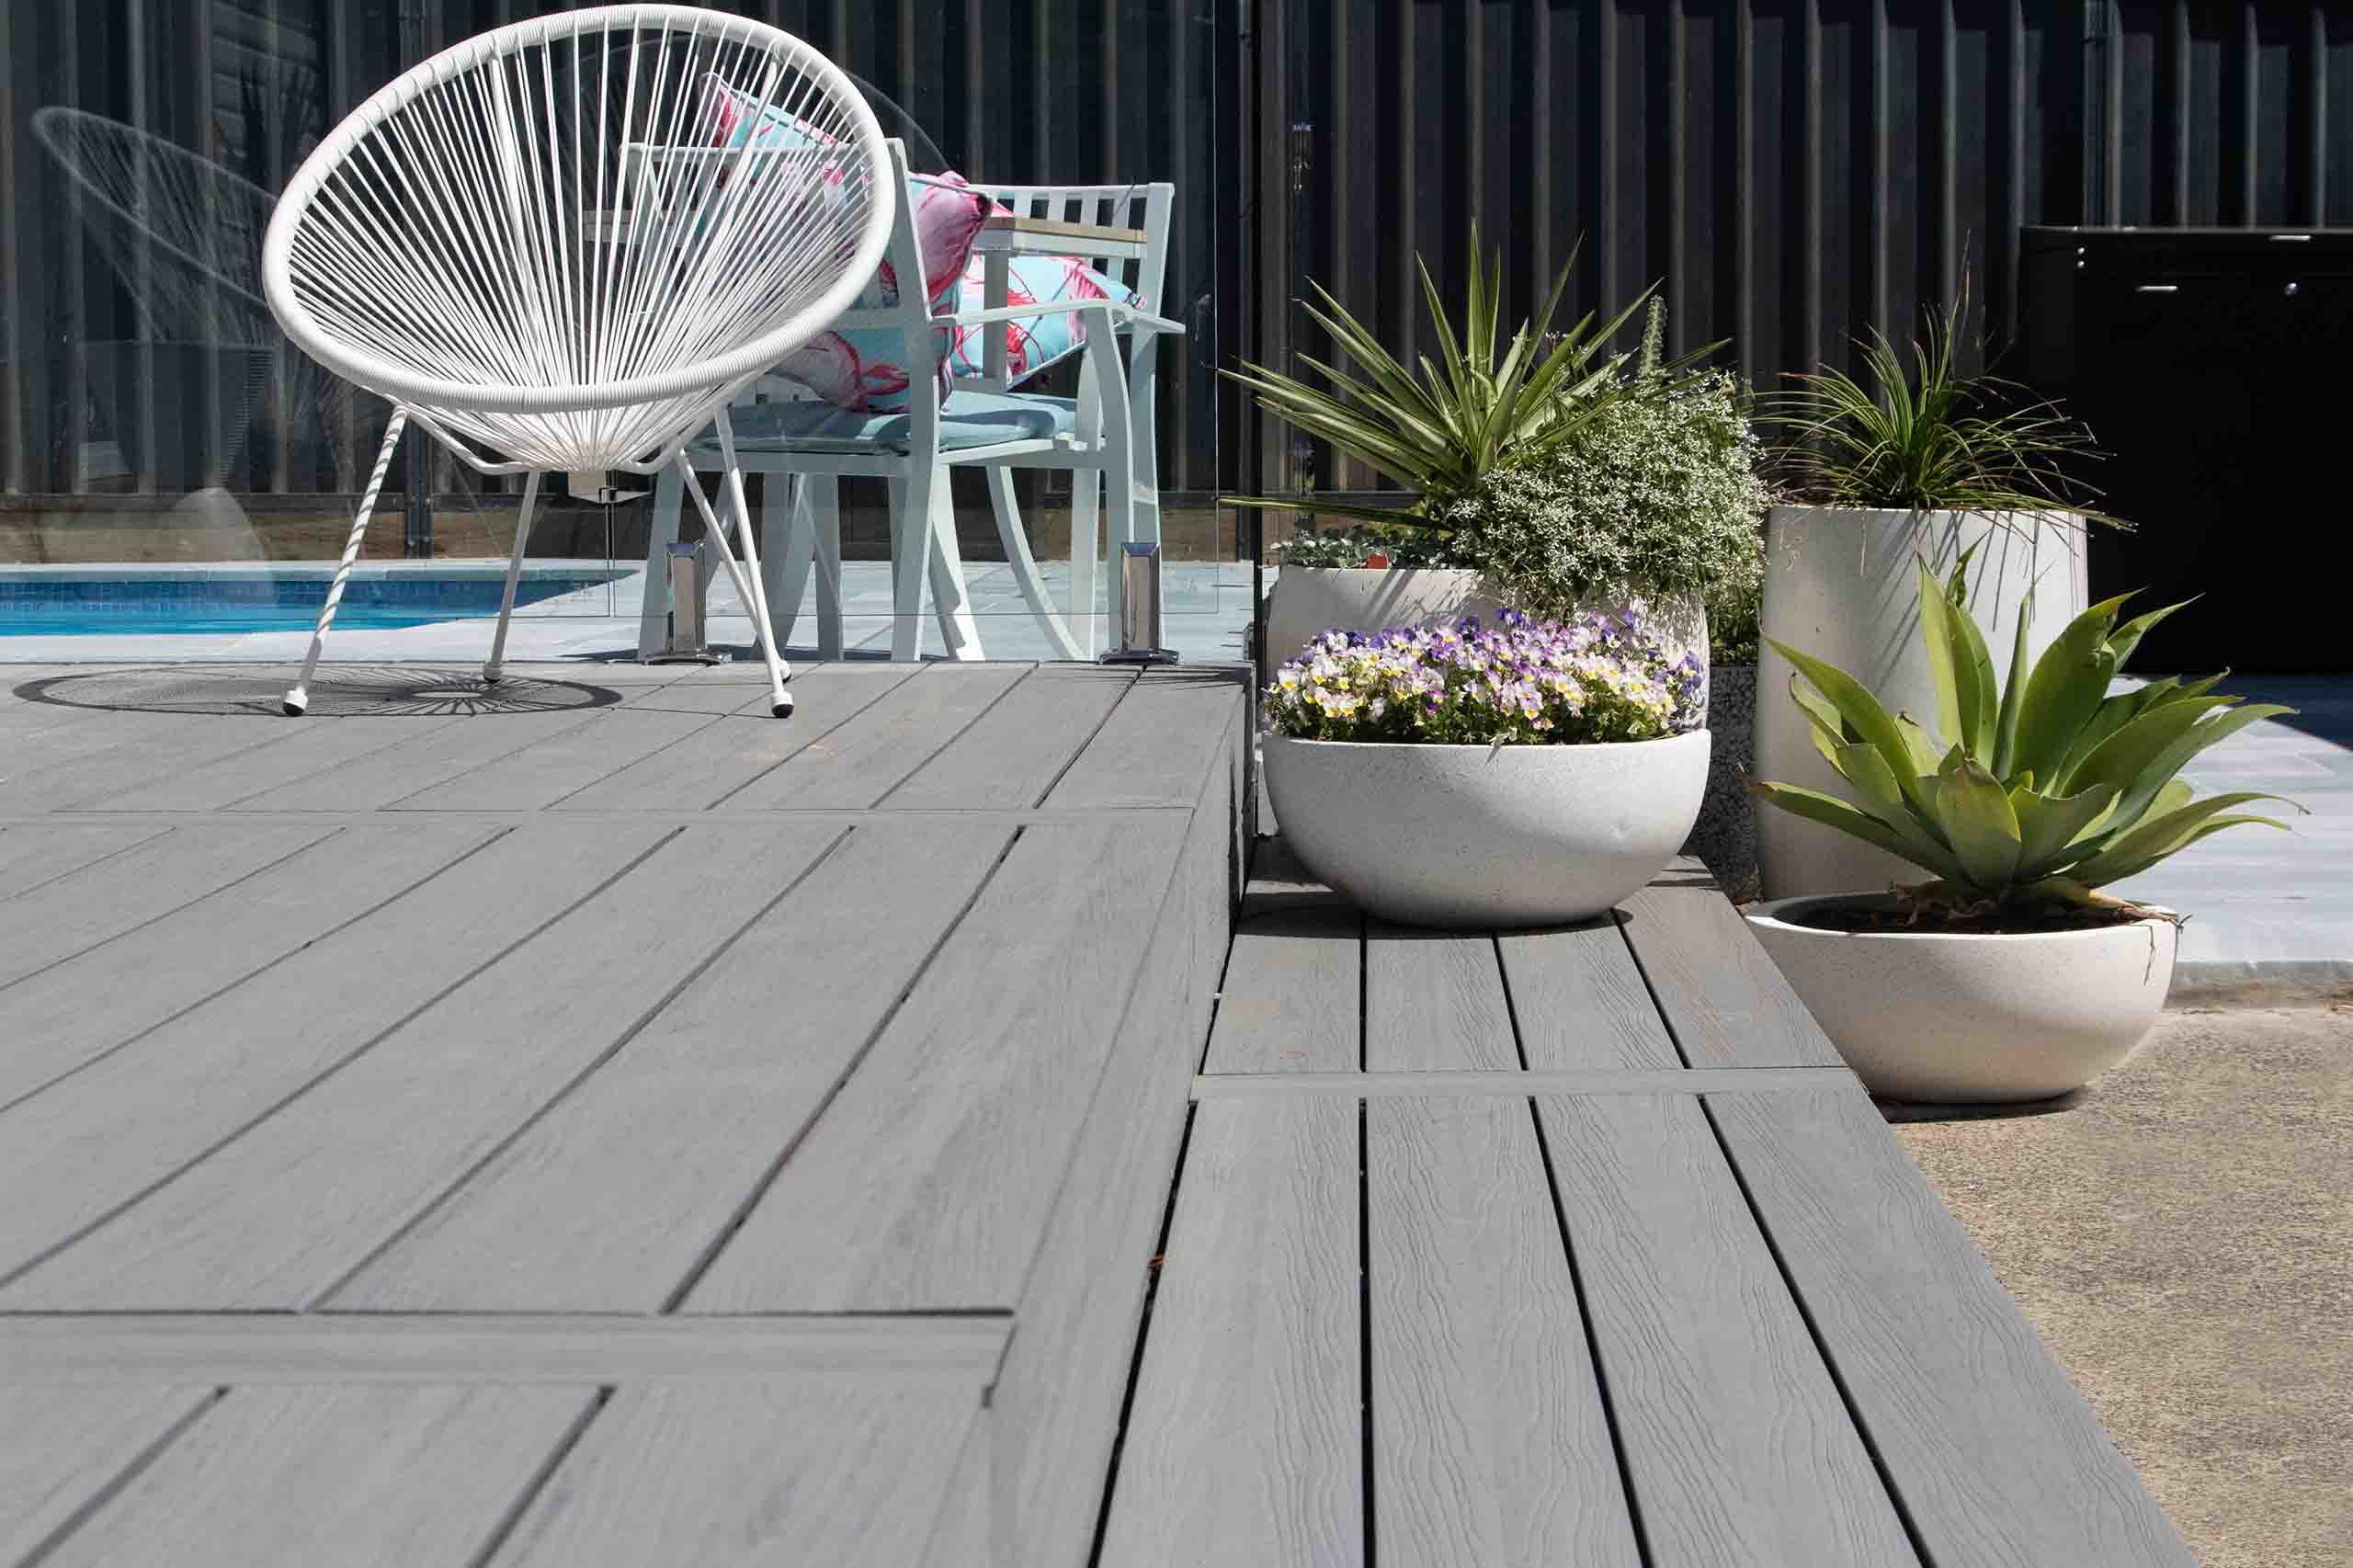
So, you've decided to enhance your outdoor living space with a beautiful composite decking border. Congratulations on this exciting endeavor! Adding a border to your composite decking not only elevates the aesthetic appeal of your outdoor area but also provides a practical finishing touch. Whether you're a seasoned DIY enthusiast or just starting to explore the world of outdoor structures, this guide will walk you through the process of installing a composite decking border with ease and confidence.
In the following sections, we will delve into the tools and materials you'll need, the essential preparation steps, and the detailed process of installing the border boards. Additionally, we'll cover the finishing touches that will bring your project to completion. By the end of this guide, you'll be well-equipped to embark on this project and transform your outdoor space into a stunning oasis.
Let's dive in and explore the steps to create a striking composite decking border that will not only define your outdoor space but also stand the test of time.
Key Takeaways:
- Transform your outdoor space with a composite decking border for a stunning and practical upgrade. Follow the guide for a seamless installation process and enjoy the lasting beauty of your new outdoor oasis.
- Add the finishing touches to your composite decking border, from sanding and protective finishes to lighting and landscaping. Create a welcoming and refined outdoor area that’s perfect for relaxation and entertainment.
Read more: How To Install Composite Decking
Tools and Materials
Before you begin the installation process, it's essential to gather the necessary tools and materials to ensure a smooth and efficient workflow. Here's a comprehensive list of what you'll need:
Tools:
- Measuring tape
- Hammer
- Circular saw or miter saw
- Drill/driver
- Spade or shovel
- Level
- Work gloves
- Safety goggles
- Dust mask
- Broom
- Clamps
- Chalk line
Materials:
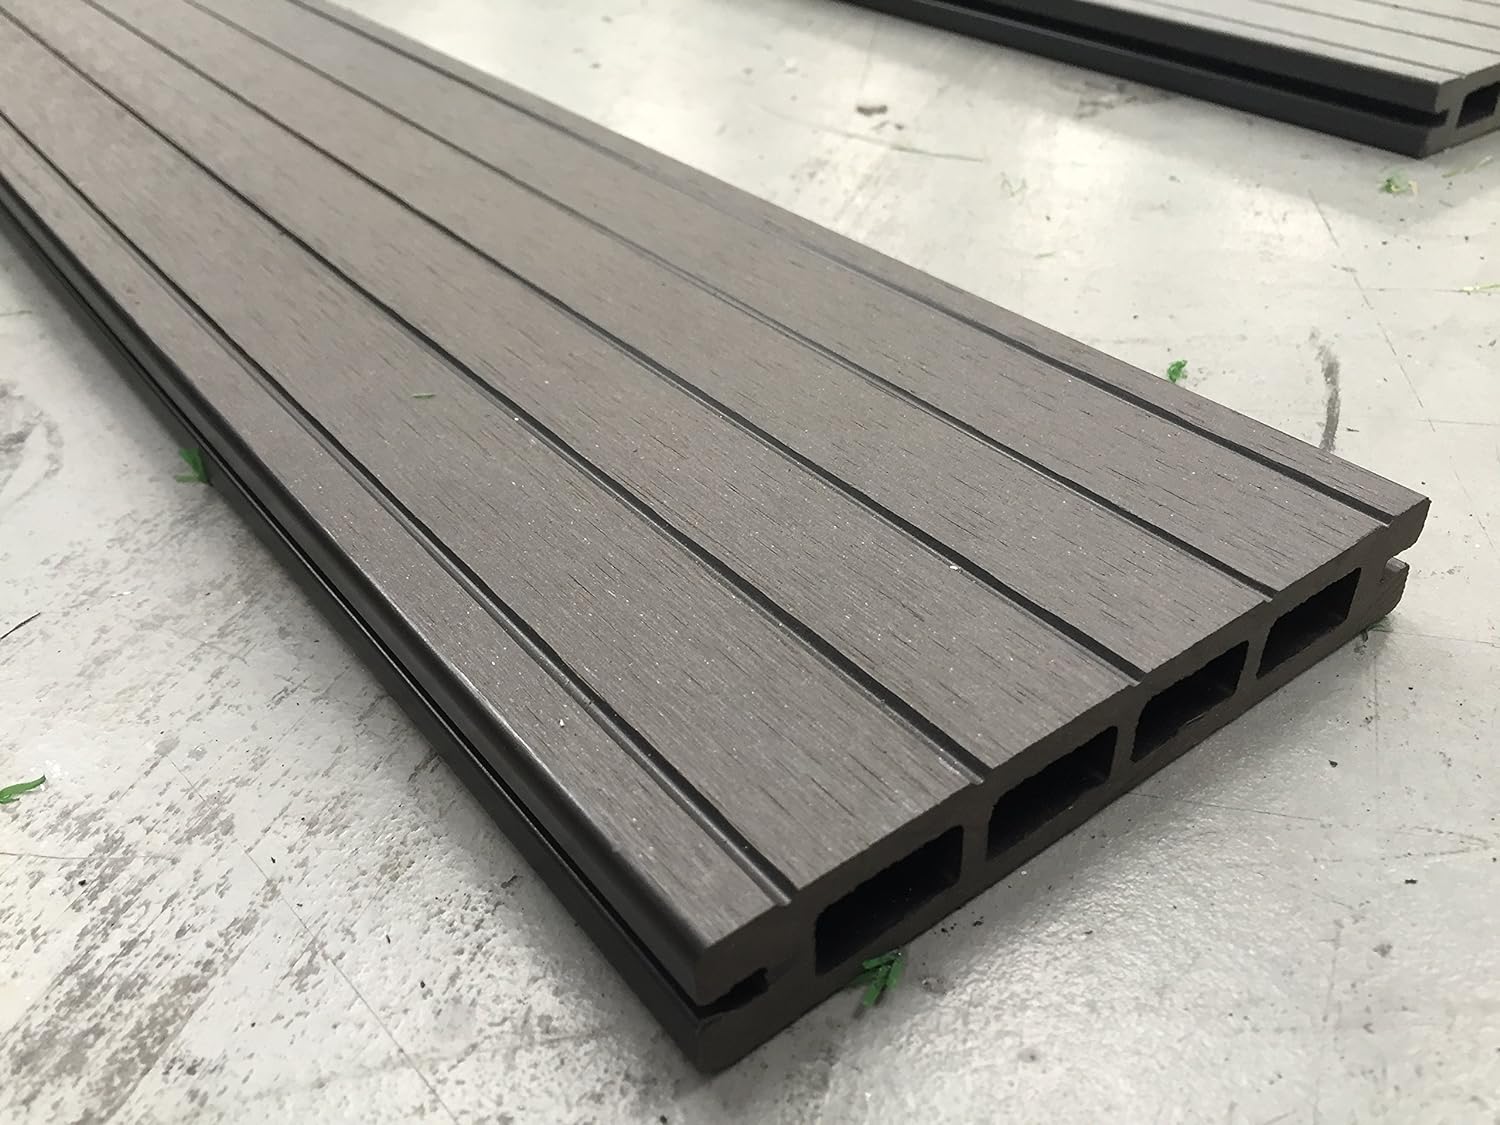
- Composite decking boards
- Composite deck screws
- Gravel or crushed stone
- Landscape fabric
- Pressure-treated lumber for framing (if required)
- Concrete mix (if using footings)
- Joist hangers (if attaching to an existing deck)
- Composite deck border edging (optional for a polished look)
It's important to ensure that you have all the tools and materials on hand before you begin the installation. This will streamline the process and minimize any potential interruptions as you work on creating your composite decking border.
Preparation
Proper preparation is key to the successful installation of a composite decking border. Before diving into the installation process, it’s important to take the time to prepare the area and ensure that the foundation is solid and level. Here are the essential steps to prepare for the installation:
Read more: How To Install Composite Decking On Stairs
1. Clear the Area:
Begin by clearing the designated area of any debris, plants, or obstacles. This will provide a clear workspace and allow you to assess the condition of the ground.
2. Mark the Border:
Use a measuring tape, chalk line, and stakes to mark the border where the composite decking border will be installed. This will serve as a guide for the installation process and ensure that the border is aligned and symmetrical.
3. Prepare the Ground:
If the ground is uneven, consider using a spade or shovel to level the area where the border will be installed. Additionally, if you’re installing the border on bare ground, consider laying landscape fabric to prevent weed growth and ensure long-term stability.
4. Establish the Foundation:
Depending on the specific requirements of your project, you may need to establish a solid foundation for the border. This can involve using pressure-treated lumber for framing, creating concrete footings, or attaching the border to an existing deck using joist hangers.
5. Create Drainage:
If your installation area is prone to water accumulation, consider incorporating proper drainage by adding a layer of gravel or crushed stone. This will help prevent water from pooling around the border and ensure the longevity of the structure.
By thoroughly preparing the area and establishing a solid foundation, you’ll set the stage for a seamless and durable composite decking border installation. Taking the time to prepare the groundwork will contribute to the long-term success and stability of your outdoor structure.
Installing the Border Boards
With the groundwork laid and the necessary tools and materials at your disposal, it’s time to embark on the installation of the composite decking border boards. This process involves precision, attention to detail, and a methodical approach to ensure a professional and polished outcome. Here’s a step-by-step guide to installing the border boards:
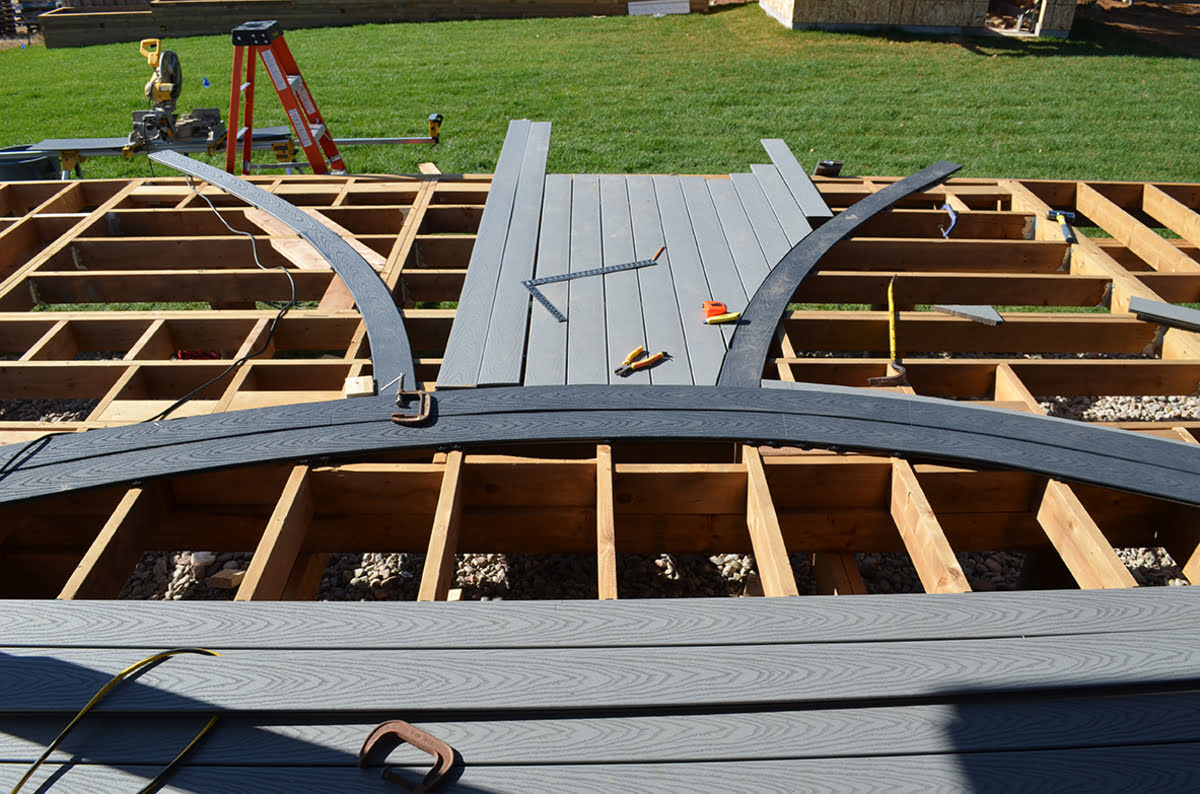
1. Measure and Cut:
Begin by carefully measuring the length of the border area and cutting the composite decking boards to the appropriate size using a circular saw or miter saw. Ensure that the cuts are precise and that the boards fit seamlessly within the designated space.
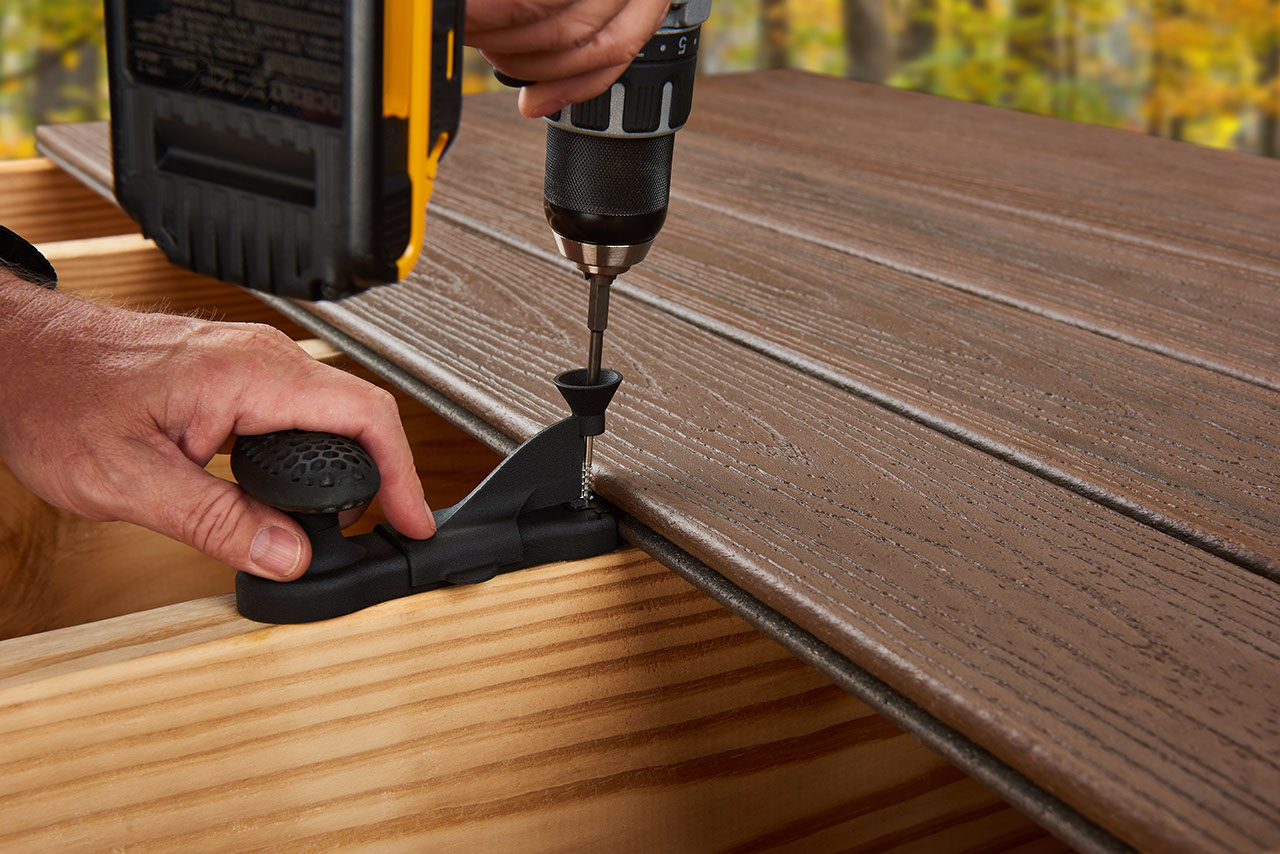
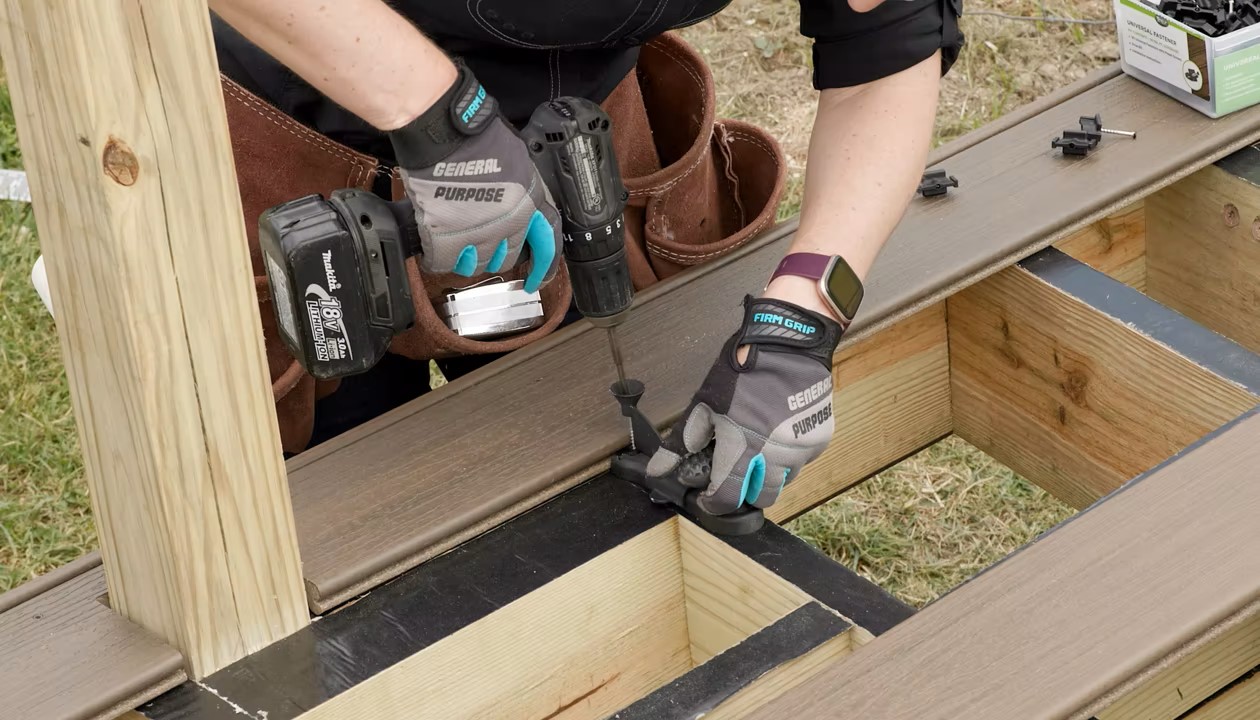
2. Secure the Boards:
Using a drill/driver and composite deck screws, secure the border boards in place. It’s important to space the screws evenly and maintain consistent alignment throughout the installation process to achieve a professional finish.
3. Check for Level:
Utilize a level to ensure that the border boards are perfectly level and aligned. Making any necessary adjustments at this stage will contribute to the overall stability and visual appeal of the composite decking border.
4. Consider Border Edging (Optional):
If you desire a refined and polished look, consider adding composite deck border edging to the outer perimeter of the border boards. This optional step can provide a clean and finished appearance while enhancing the structural integrity of the border.
5. Finishing Touches:
Once the border boards are securely in place, take the time to inspect the installation and make any final adjustments. Ensure that all screws are properly countersunk and that the border boards are seamlessly integrated with the existing decking, if applicable.
6. Clean the Area:
To complete the installation process, use a broom to clear any debris and dust from the composite decking border. This final touch will reveal the full beauty of your newly installed border and create a welcoming outdoor space.
By following these steps and exercising precision and care throughout the installation, you’ll achieve a composite decking border that not only enhances the visual appeal of your outdoor area but also stands as a testament to your craftsmanship and attention to detail.
Read more: How To Build A Deck With Composite Decking
Finishing Touches
As you near the completion of the composite decking border installation, it’s time to add the finishing touches that will elevate the overall appearance and functionality of your outdoor space. These final steps will contribute to the longevity and visual appeal of the border, ensuring that it seamlessly integrates with the existing decking and enhances the aesthetic charm of your outdoor area. Here’s how to add the essential finishing touches:
1. Sanding and Edging:
If desired, use sandpaper to smooth any rough edges or surfaces on the composite decking border boards. This step will not only enhance the tactile experience but also contribute to the refined look and feel of the border.
2. Apply a Protective Finish (Optional):
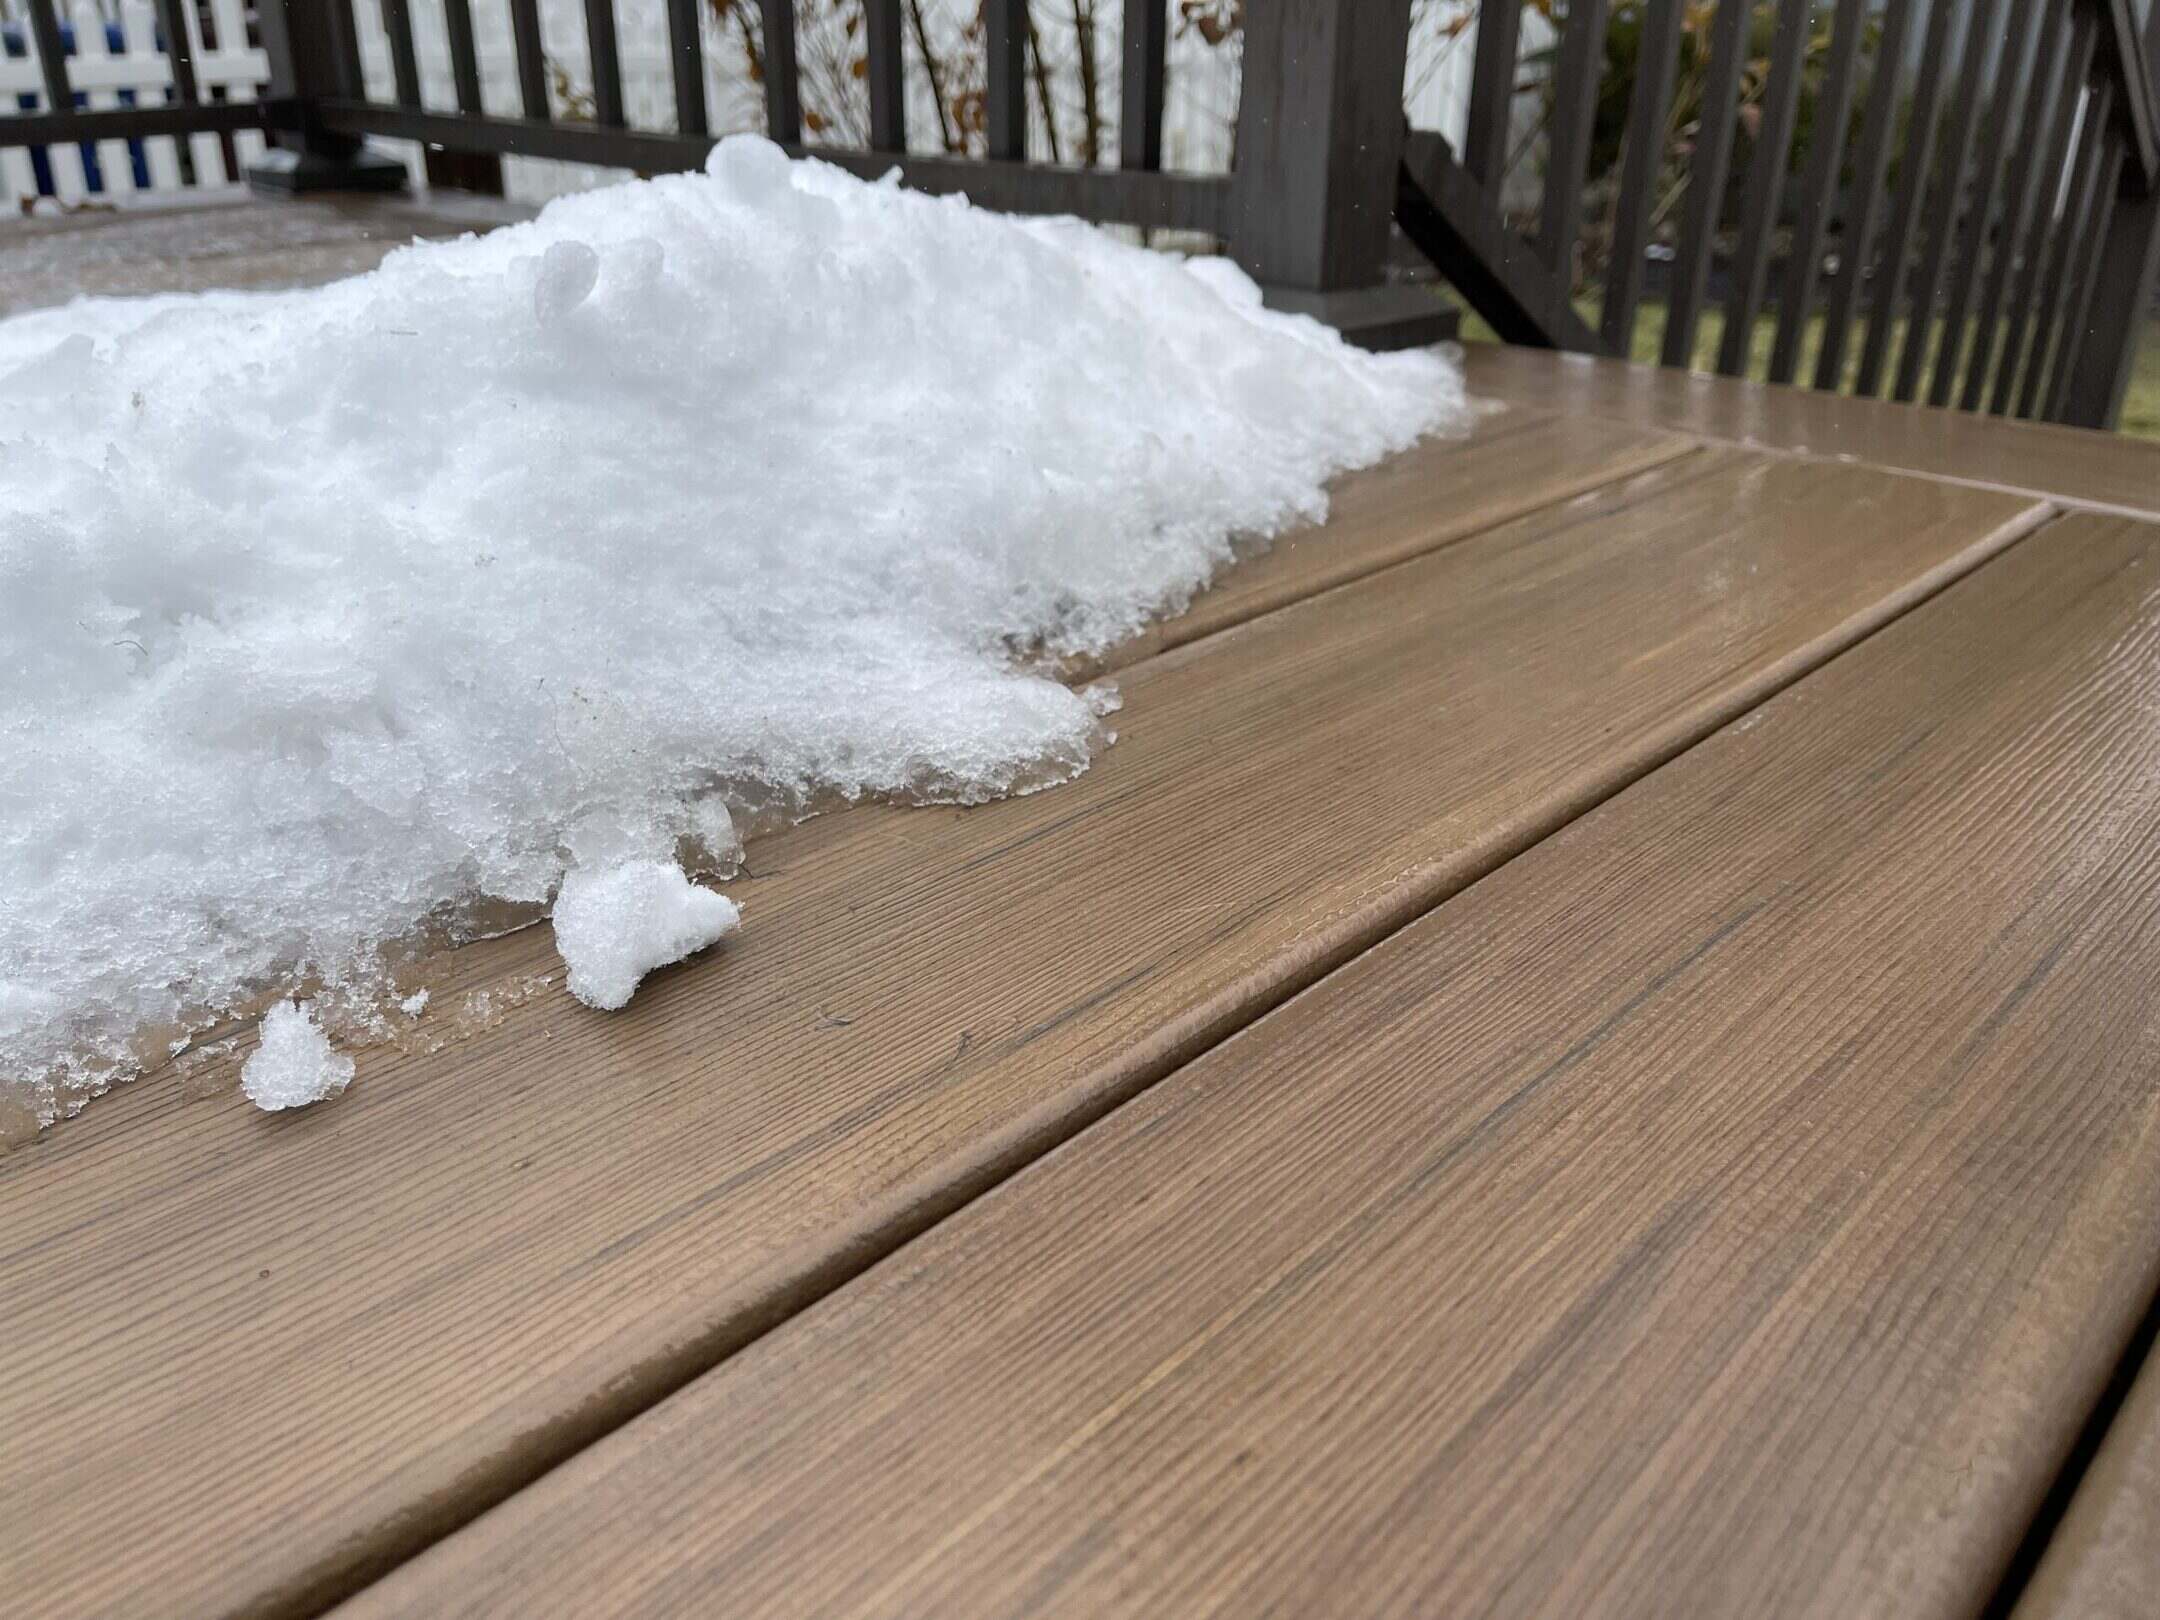
Consider applying a protective finish to the composite decking border to safeguard it against the elements and maintain its luster over time. There are various protective coatings and finishes available specifically designed for composite materials, offering enhanced durability and UV protection.
3. Incorporate Lighting (Optional):
To add a touch of ambiance and functionality to your outdoor space, consider integrating lighting elements into the composite decking border. LED deck lights or solar-powered fixtures can illuminate the border, creating a captivating atmosphere for evening gatherings and enhancing safety.
Read more: What Is Composite Decking
4. Landscaping and Décor:
Once the border installation is complete, take the opportunity to enhance the surrounding area with landscaping features and outdoor décor. This could include potted plants, decorative stones, or outdoor furniture that complements the aesthetic of your composite decking border.
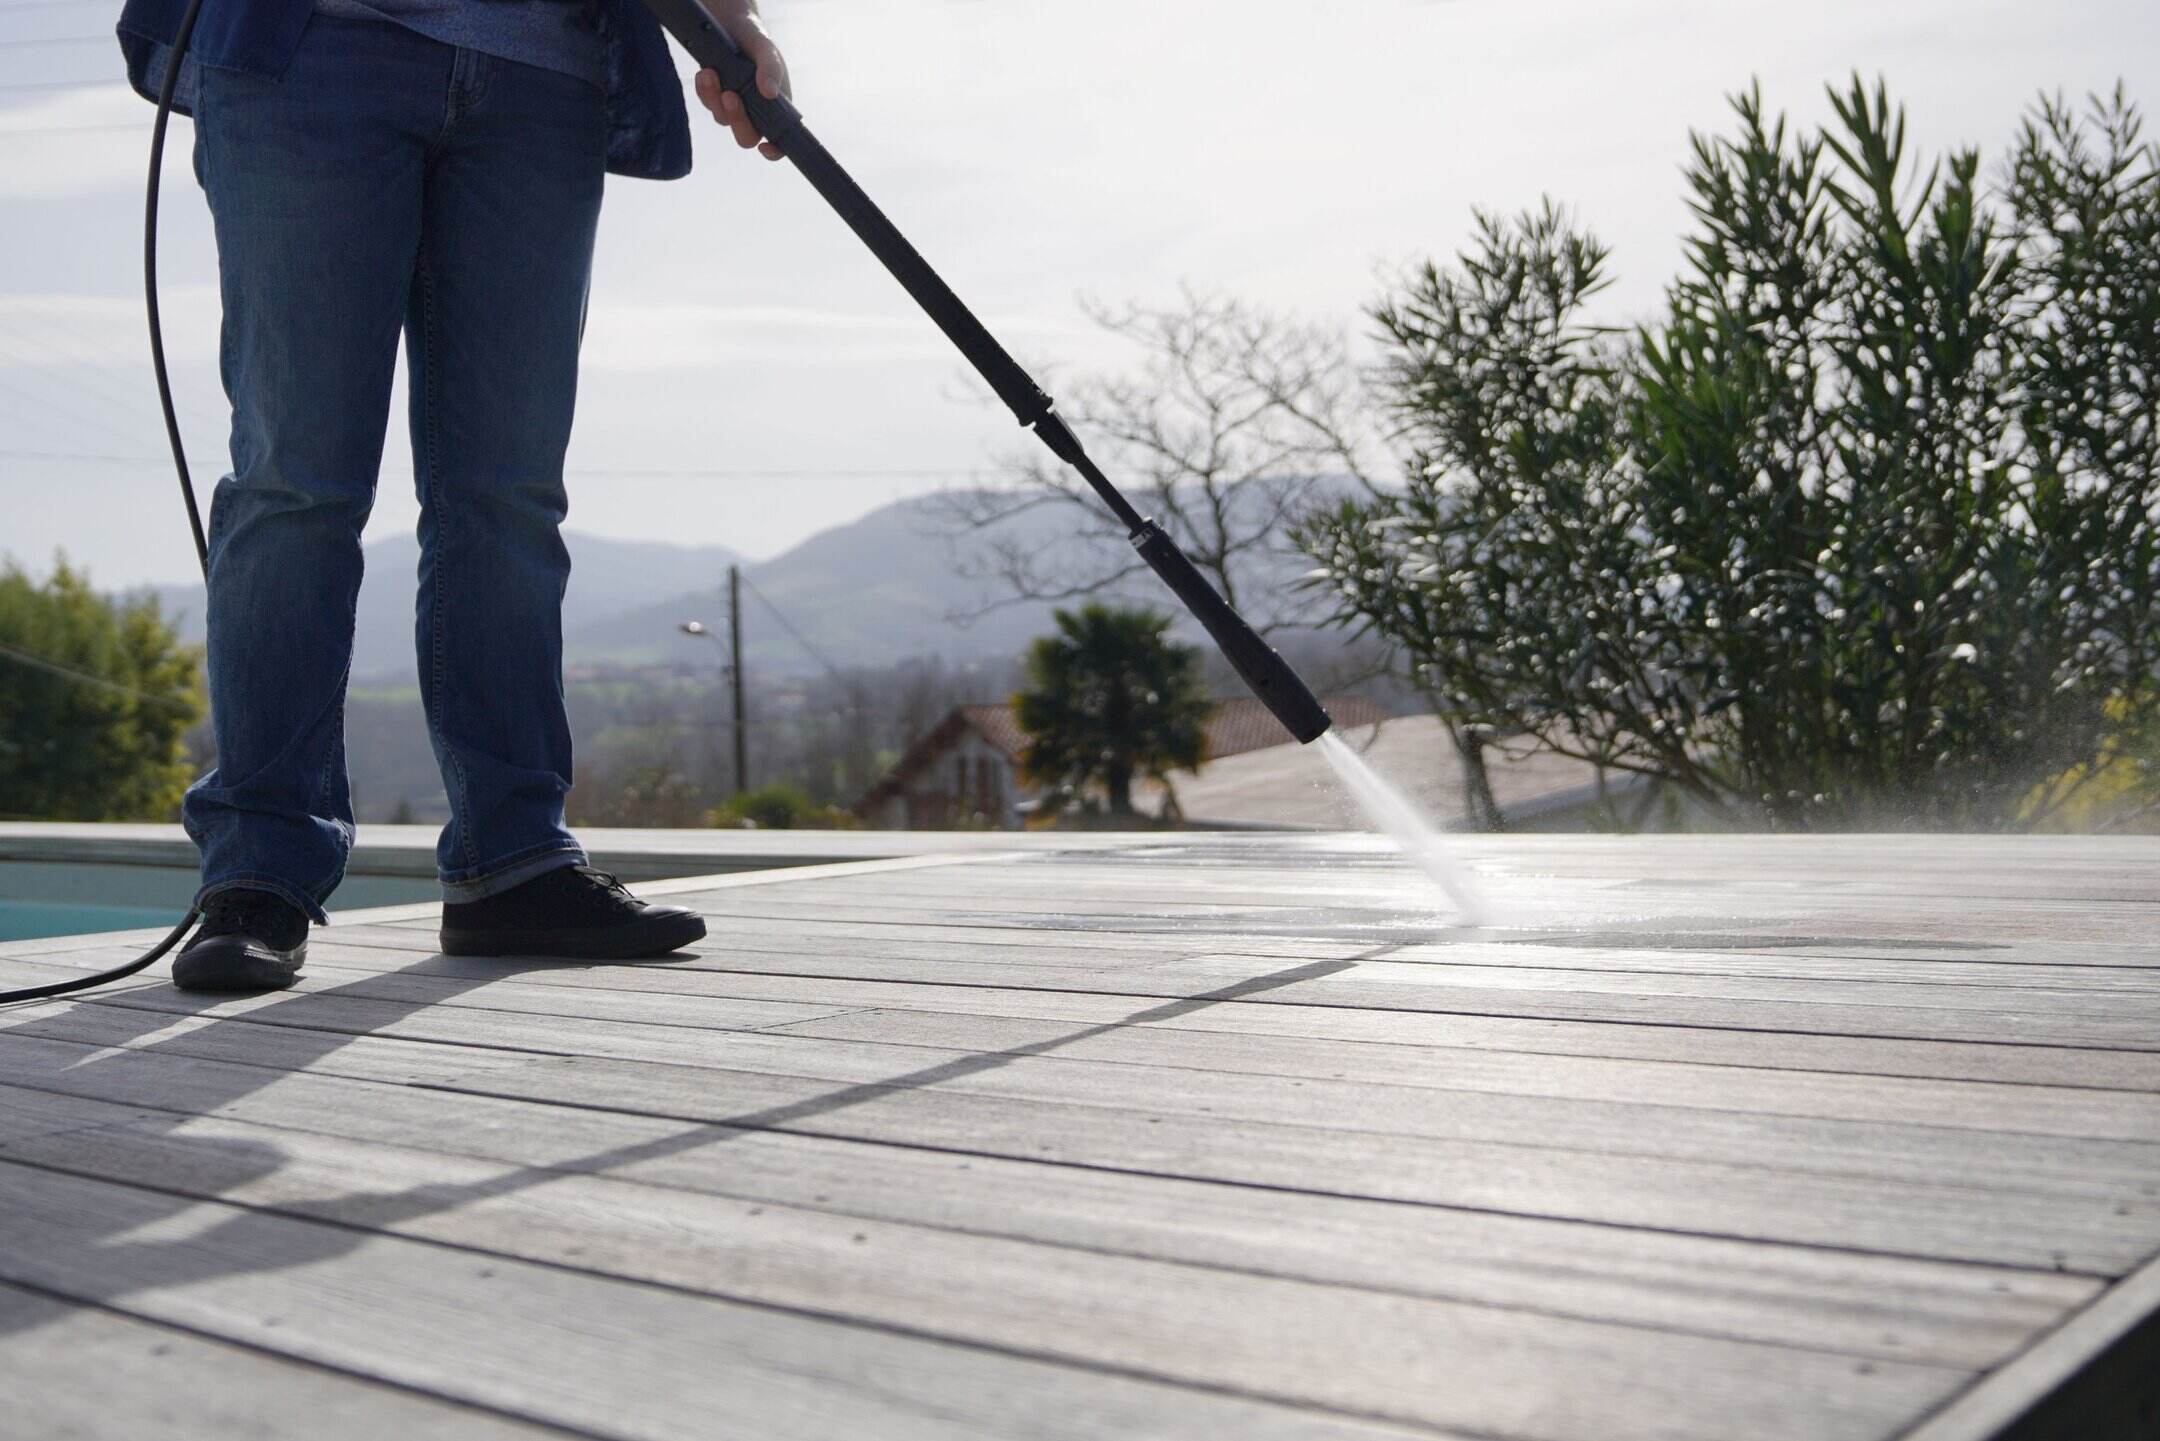
5. Regular Maintenance:
To preserve the beauty and integrity of your composite decking border, establish a routine maintenance schedule. This may involve regular cleaning, inspecting for any signs of wear or damage, and addressing any maintenance needs promptly to prolong the lifespan of the border.
By attending to these finishing touches, you’ll not only complete the installation of the composite decking border but also infuse your outdoor space with a sense of refinement and functionality. These thoughtful additions will contribute to the overall appeal and enjoyment of your outdoor area, creating a welcoming and inviting environment for relaxation and entertainment.
Conclusion
Congratulations on successfully completing the installation of your composite decking border! By following the comprehensive guide provided here, you’ve transformed your outdoor space into a captivating and functional area that reflects your attention to detail and craftsmanship. The composite decking border serves as a defining feature, adding character and elegance to your outdoor environment while providing a practical and durable structure.
As you admire the seamless integration of the border with your existing decking and the polished appearance it lends to the entire space, take pride in the accomplishment of this project. Your dedication to precision and thoroughness throughout the installation process has resulted in a stunning composite decking border that will stand the test of time.
Whether you chose to incorporate optional finishing touches such as protective coatings, lighting, or landscaping elements, or opted for a minimalist and sleek design, your outdoor space now exudes a sense of sophistication and charm. The composite decking border not only enhances the visual appeal of your outdoor area but also provides a functional and durable boundary that defines and elevates the entire space.
As you enjoy the fruits of your labor, remember that regular maintenance and care will prolong the lifespan and beauty of your composite decking border. Establishing a maintenance routine and addressing any upkeep needs promptly will ensure that your outdoor structure remains a source of pride and enjoyment for years to come.
Thank you for embarking on this transformative journey with us. We hope that this guide has empowered you to create a composite decking border that enriches your outdoor living experience and becomes a focal point for relaxation, entertainment, and cherished moments with family and friends.
Here’s to the enduring beauty and functionality of your composite decking border, and to the countless memories that will unfold in your enhanced outdoor oasis.
Frequently Asked Questions about How To Install Composite Decking Border
Was this page helpful?
At Storables.com, we guarantee accurate and reliable information. Our content, validated by Expert Board Contributors, is crafted following stringent Editorial Policies. We're committed to providing you with well-researched, expert-backed insights for all your informational needs.


0 thoughts on “How To Install Composite Decking Border”