Home>Gardening & Outdoor>Outdoor Structures>How To Lay Composite Decking Tiles On Soil
Outdoor Structures
How To Lay Composite Decking Tiles On Soil
Modified: September 2, 2024
Learn how to easily lay composite decking tiles on soil to create stunning outdoor structures. Follow our step-by-step guide for a hassle-free installation.
(Many of the links in this article redirect to a specific reviewed product. Your purchase of these products through affiliate links helps to generate commission for Storables.com, at no extra cost. Learn more)
Introduction
Are you looking to transform your outdoor space with a stylish and low-maintenance flooring solution? Composite decking tiles are a fantastic option for creating a beautiful and functional patio, balcony, or terrace. These innovative tiles offer the natural look of wood while providing the durability and easy maintenance of composite materials. One of the most appealing features of composite decking tiles is their versatility. They can be installed on various surfaces, including soil, making them an excellent choice for outdoor areas with uneven ground.
In this guide, we will walk you through the process of laying composite decking tiles on soil, providing you with the knowledge and confidence to tackle this project with ease. Whether you're a seasoned DIY enthusiast or a first-time homeowner eager to enhance your outdoor living space, this step-by-step tutorial will equip you with the essential information to achieve professional-looking results.
By following our comprehensive instructions and tips, you'll be able to create a stunning outdoor area that combines beauty, functionality, and longevity. Let's dive into the exciting world of composite decking tiles and discover how you can elevate your outdoor environment with this innovative and practical flooring solution.
Key Takeaways:
- Prepare the soil by cleaning, leveling, and compacting it before laying composite decking tiles. This ensures a stable foundation for long-lasting and beautiful outdoor flooring.
- Secure the tiles in place using adhesive or fasteners, and consider expansion gaps for resilience. This proactive approach fortifies the surface, allowing for a durable and visually striking outdoor space.
Read more: How To Lay Trex Composite Decking
Step 1: Prepare the Soil
Before you begin the installation process, it’s crucial to prepare the soil to ensure a stable and level foundation for your composite decking tiles. Here’s a detailed breakdown of the preparatory steps:
- Clean the Area: Start by clearing the designated area of any debris, rocks, or vegetation. Use a rake or shovel to remove any surface irregularities and create a smooth, even base for the tiles.
- Level the Ground: Use a leveling tool, such as a long straight board or a carpenter’s level, to assess the evenness of the soil. If you notice any significant variations in the ground level, consider using a soil tamper to compact the soil and create a uniform surface.
- Address Drainage: Proper drainage is essential to prevent water from accumulating beneath the decking tiles. If the soil has poor drainage or is prone to retaining water, consider incorporating a layer of gravel or crushed stone to enhance drainage capabilities.
- Allow for Slope: To facilitate water runoff and prevent standing water, it’s advisable to create a slight slope in the soil, directing it away from your home or other structures. This slope will help maintain the integrity of the tiles and promote efficient water dispersal.
- Compact the Soil: Once the soil is leveled and properly prepared, use a soil compactor or tamper to firmly compact the soil. This step is crucial for establishing a solid and stable base that can support the weight of the decking tiles and withstand outdoor elements.
By meticulously preparing the soil, you’ll lay the groundwork for a successful and long-lasting composite decking tile installation. Taking the time to address these foundational elements will contribute to the overall stability and performance of your outdoor flooring, ensuring that you can enjoy your new space for years to come.
Step 2: Lay a Weed Barrier
Once the soil is properly prepared, the next crucial step in the installation process is to lay a high-quality weed barrier. This essential layer serves as a protective shield, preventing unwanted vegetation from penetrating the surface and compromising the integrity of your composite decking tiles. Here’s a detailed guide on how to effectively install a weed barrier:
- Select the Right Barrier Material: Choose a durable and permeable weed barrier fabric specifically designed for outdoor use. Opt for a material that offers excellent weed suppression while allowing for proper water drainage and soil aeration.
- Measure and Cut the Barrier: Unroll the weed barrier fabric over the prepared soil, ensuring that it fully covers the entire installation area. Use scissors or a utility knife to carefully cut the fabric to the appropriate size, allowing for a slight overlap at the edges to create a seamless barrier.
- Secure the Edges: Use landscape staples or anchor pins to secure the edges and corners of the weed barrier, effectively anchoring it to the soil. This will prevent shifting or movement during the subsequent steps of the installation process.
- Overlap and Seam Integrity: If multiple pieces of weed barrier fabric are required to cover the entire area, ensure that they overlap by several inches. This overlap will provide additional protection against weed growth and maintain the barrier’s integrity.
- Inspect for Tears or Gaps: Thoroughly examine the laid weed barrier for any tears, punctures, or gaps that may compromise its effectiveness. Address any issues promptly and make necessary adjustments to guarantee comprehensive coverage.
By incorporating a high-quality weed barrier into your installation, you’ll fortify the foundation of your composite decking tile project, minimizing the risk of weed intrusion and preserving the pristine appearance of your outdoor space. This proactive measure will contribute to the long-term beauty and functionality of your decking area, allowing you to relish the benefits of a low-maintenance and weed-free outdoor oasis.
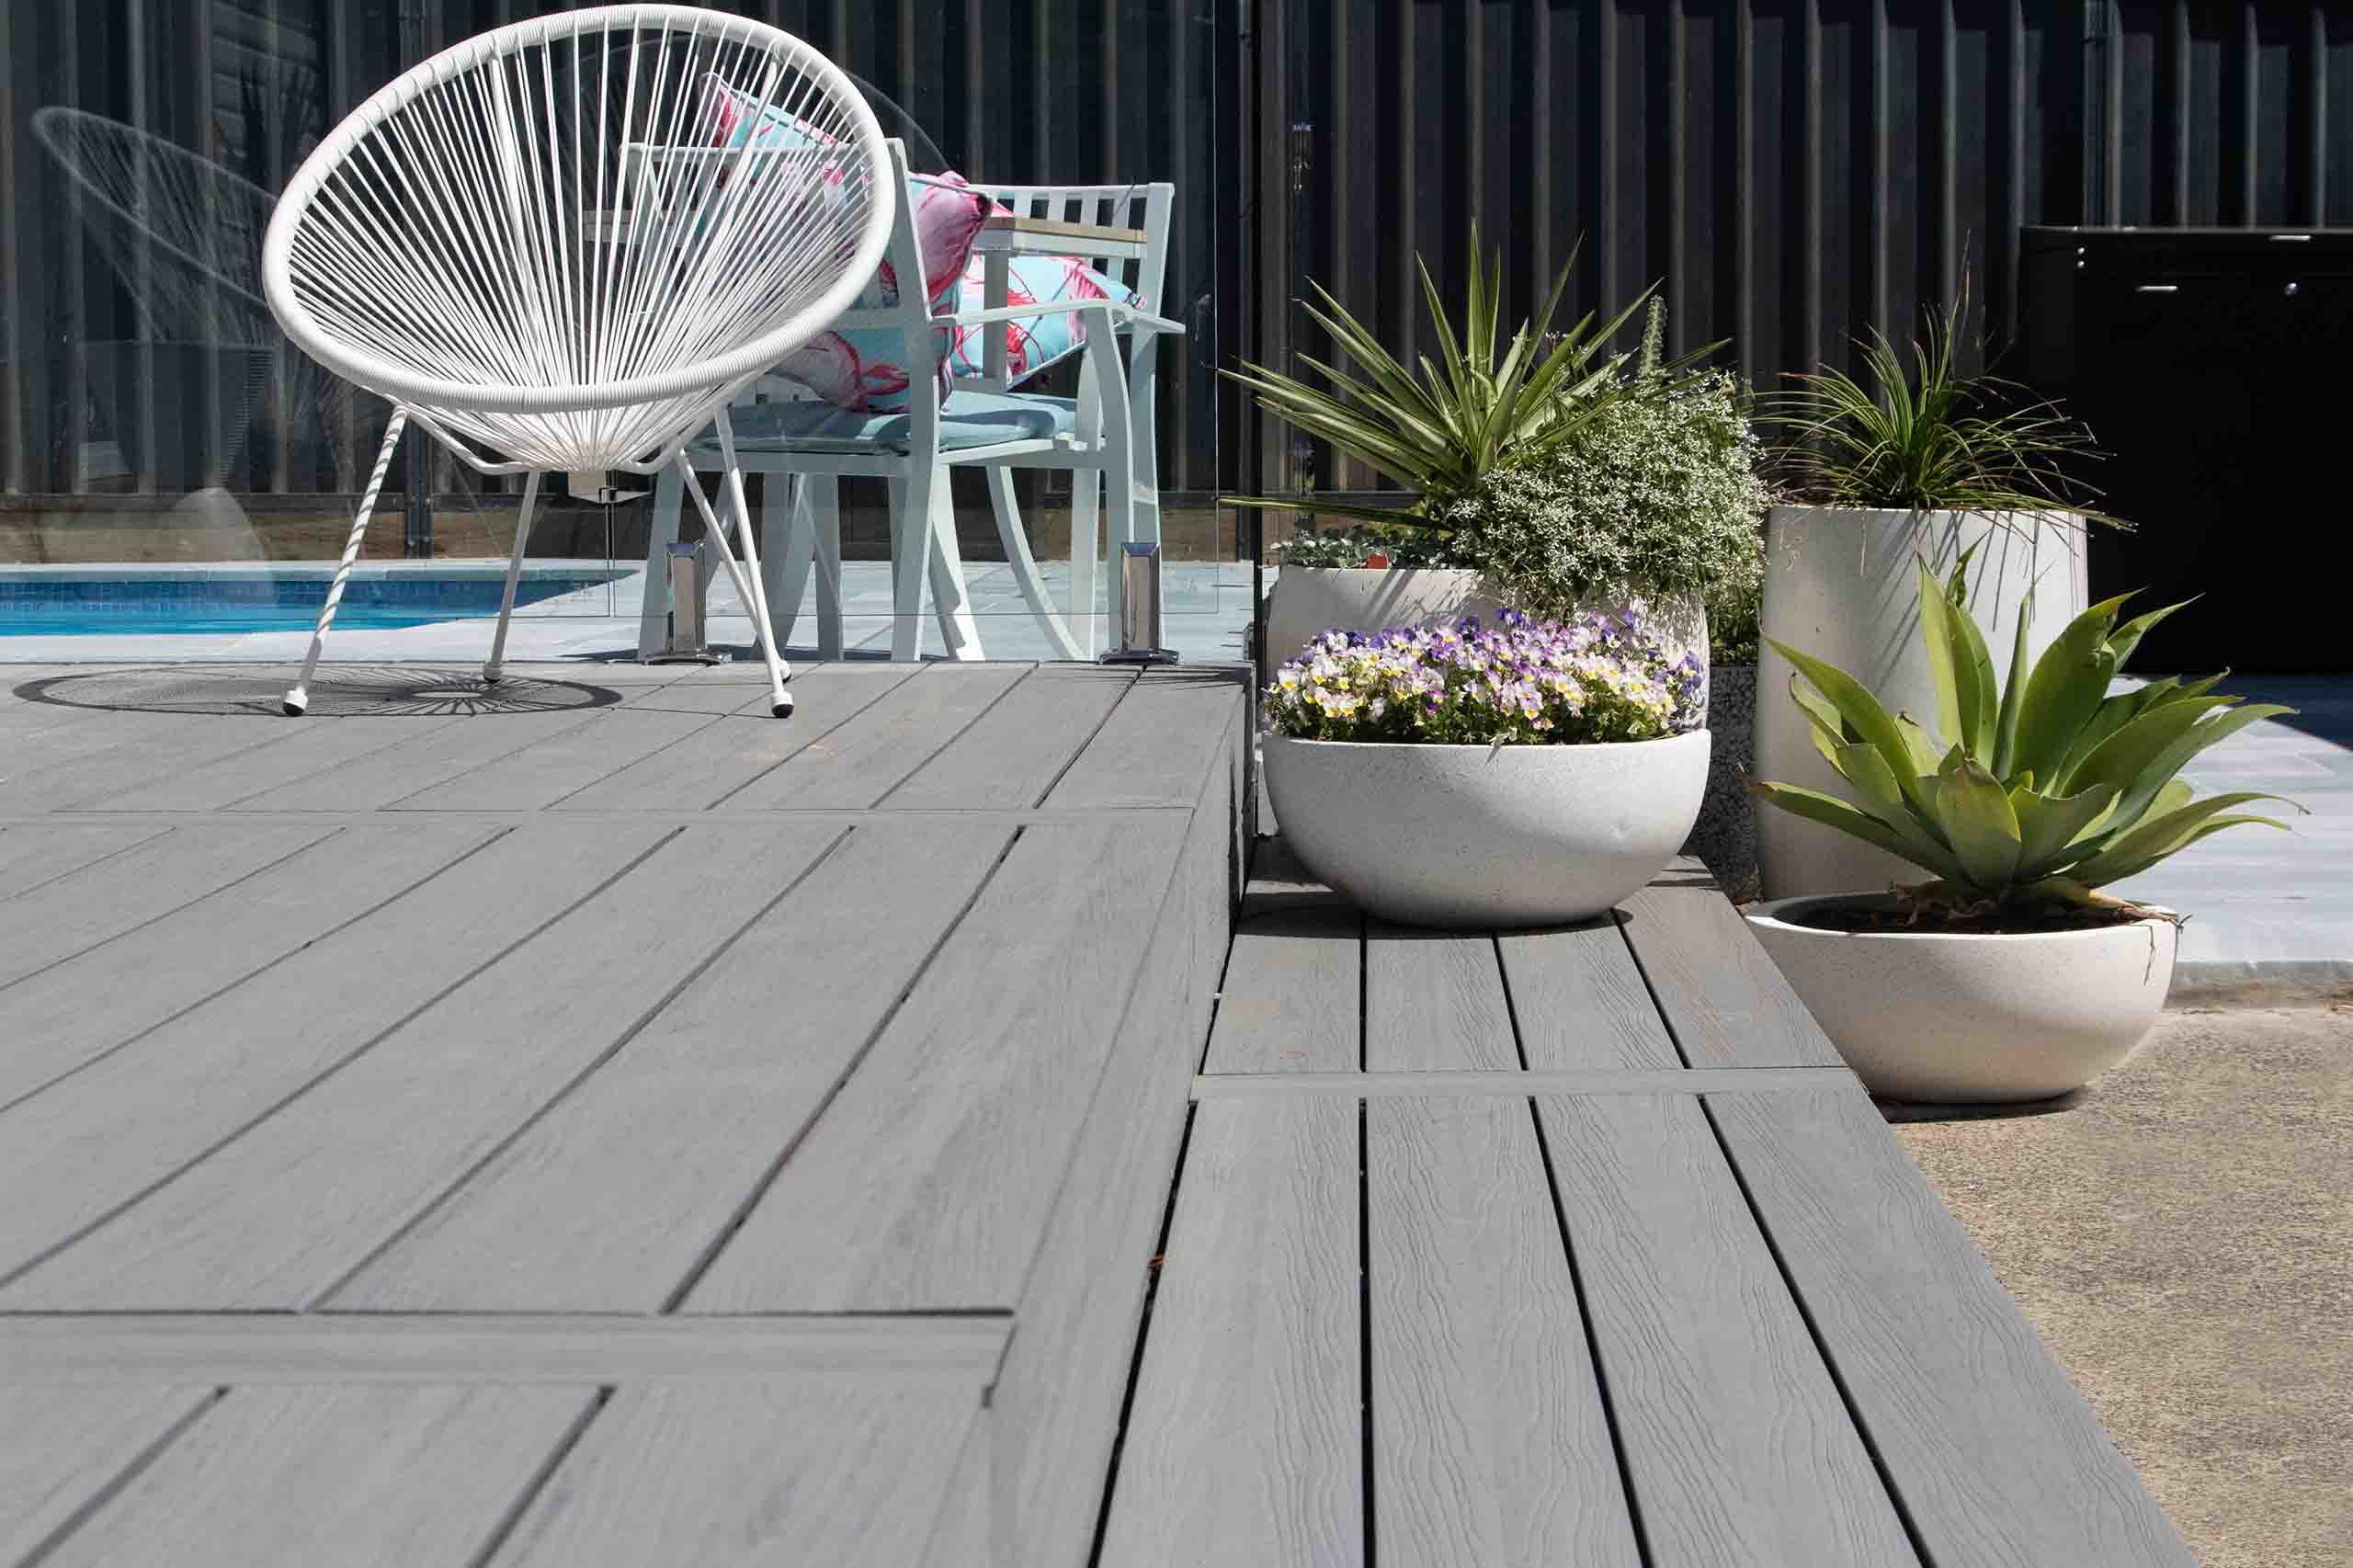
Before laying composite decking tiles on soil, make sure to level the ground and remove any debris. Use a weed barrier to prevent weed growth and ensure proper drainage. Place the tiles tightly together for a secure and even surface.
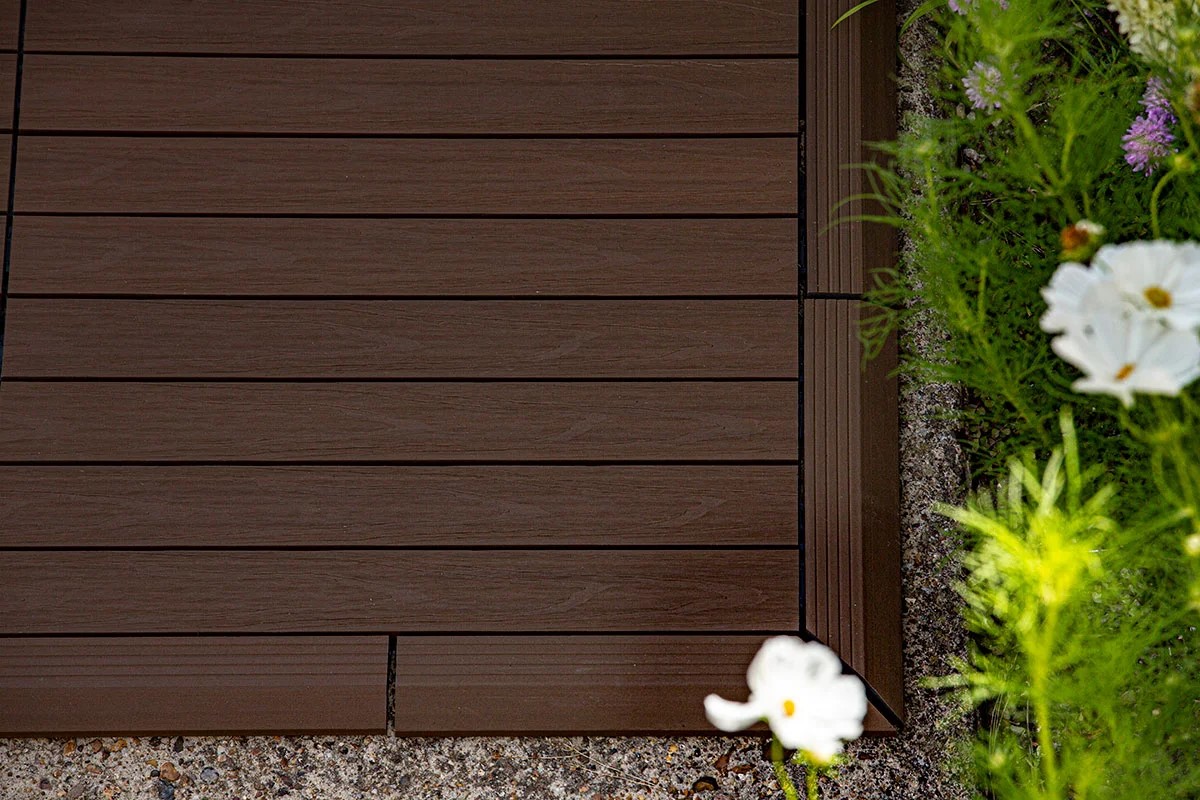
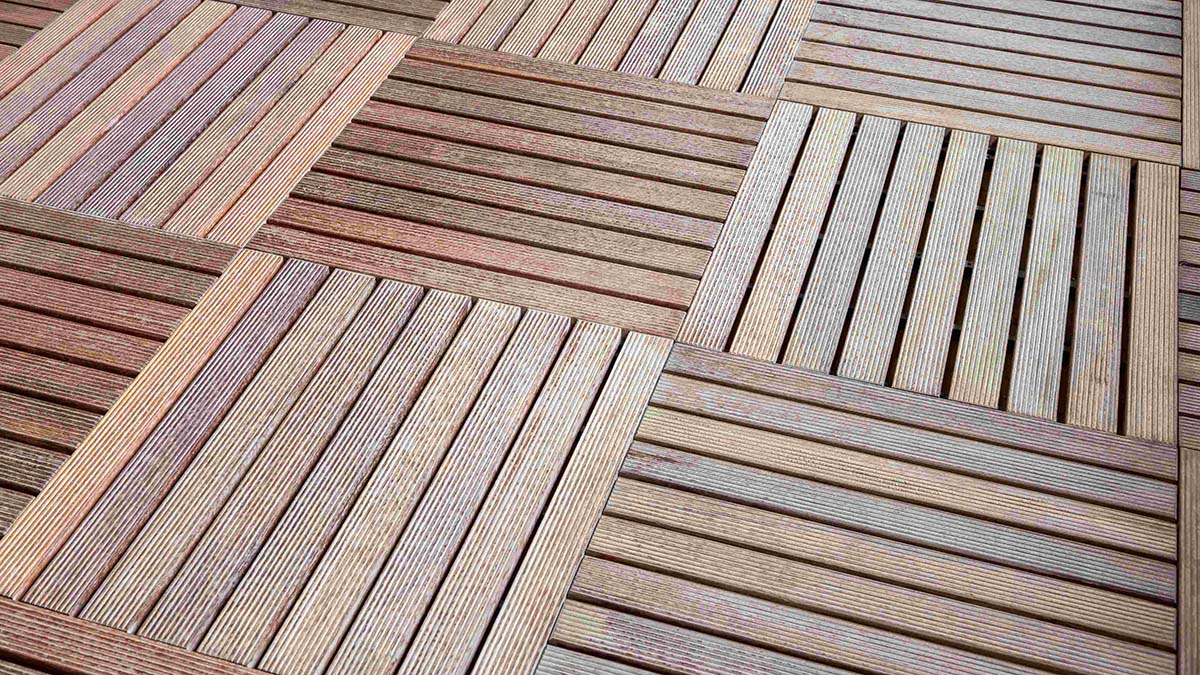
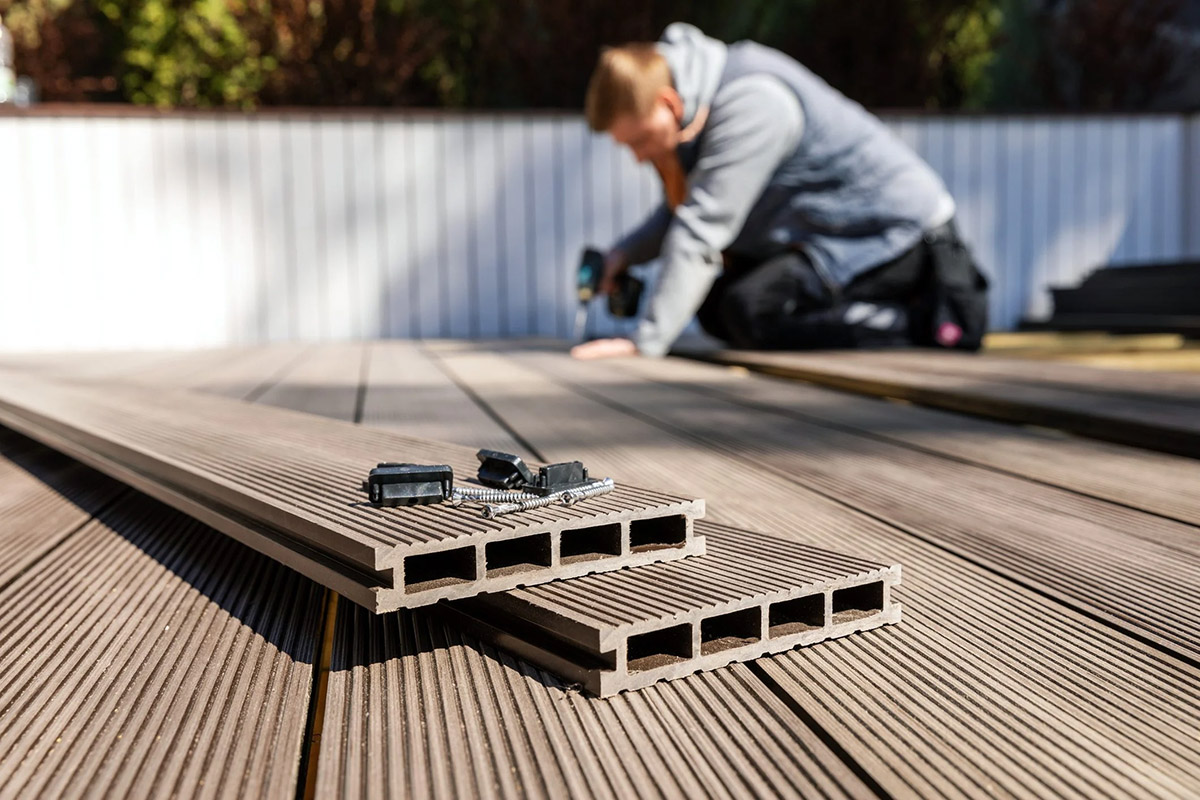
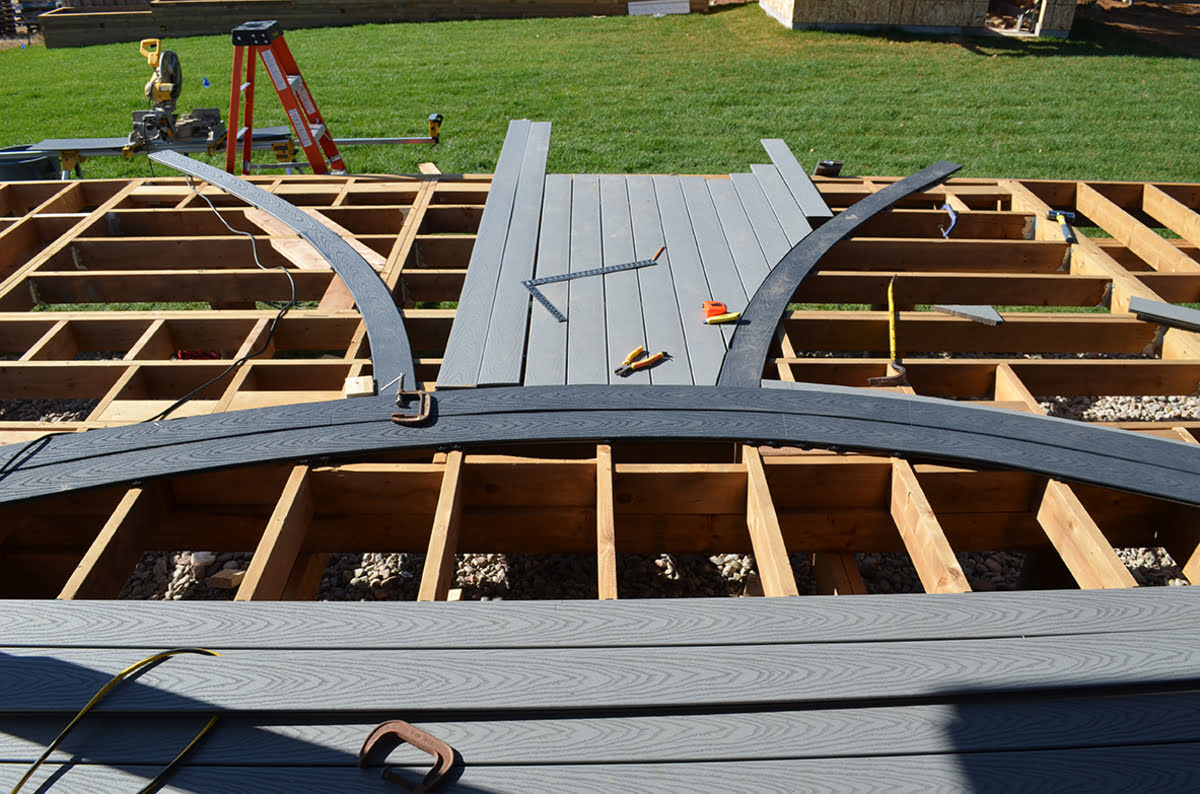
Step 3: Install the Composite Decking Tiles
With the soil prepared and the weed barrier in place, you’re now ready to embark on the exciting phase of installing the composite decking tiles. This transformative step will bring your outdoor space to life, infusing it with the natural beauty and modern elegance of composite materials. Follow these detailed instructions to ensure a seamless and visually stunning installation:
- Plan the Layout: Begin by envisioning the layout and orientation of the decking tiles within the designated area. Consider the desired pattern, direction, and alignment to achieve a visually appealing and harmonious arrangement.
- Start at the Edge: Position the first tile at one edge of the installation area, ensuring that it aligns with the surrounding structures or borders. Gently place the tile in position, taking care to maintain a consistent gap between neighboring tiles for proper expansion and drainage.
- Interlock the Tiles: If your composite decking tiles feature an interlocking design, carefully connect the grooves and tabs of adjacent tiles, creating a secure and unified surface. Apply gentle pressure to ensure a snug fit, promoting stability and structural integrity.
- Trimming and Cutting: If adjustments are needed to accommodate corners, edges, or obstructions, use a saw or specialized cutting tool designed for composite materials to trim the tiles with precision. This step will allow you to achieve a tailored fit and a polished overall appearance.
- Check for Consistency: Regularly assess the levelness and alignment of the installed tiles, making necessary adjustments to maintain a uniform and professional finish. Pay attention to the spacing and ensure that the tiles are securely positioned without any protrusions or unevenness.
As you progress through the installation process, take pride in witnessing the remarkable transformation of your outdoor space as the composite decking tiles come together to create a visually captivating and functional surface. With each tile meticulously placed, you’re one step closer to enjoying a stunning outdoor environment that seamlessly blends aesthetics and practicality.
Step 4: Secure the Tiles in Place
As you near the completion of the composite decking tile installation, it’s essential to ensure that the tiles are securely fastened in place, guaranteeing stability and longevity. By implementing proper securing methods, you’ll fortify the structural integrity of the surface, allowing you to fully appreciate the beauty and functionality of your outdoor space. Follow these key steps to effectively secure the tiles:
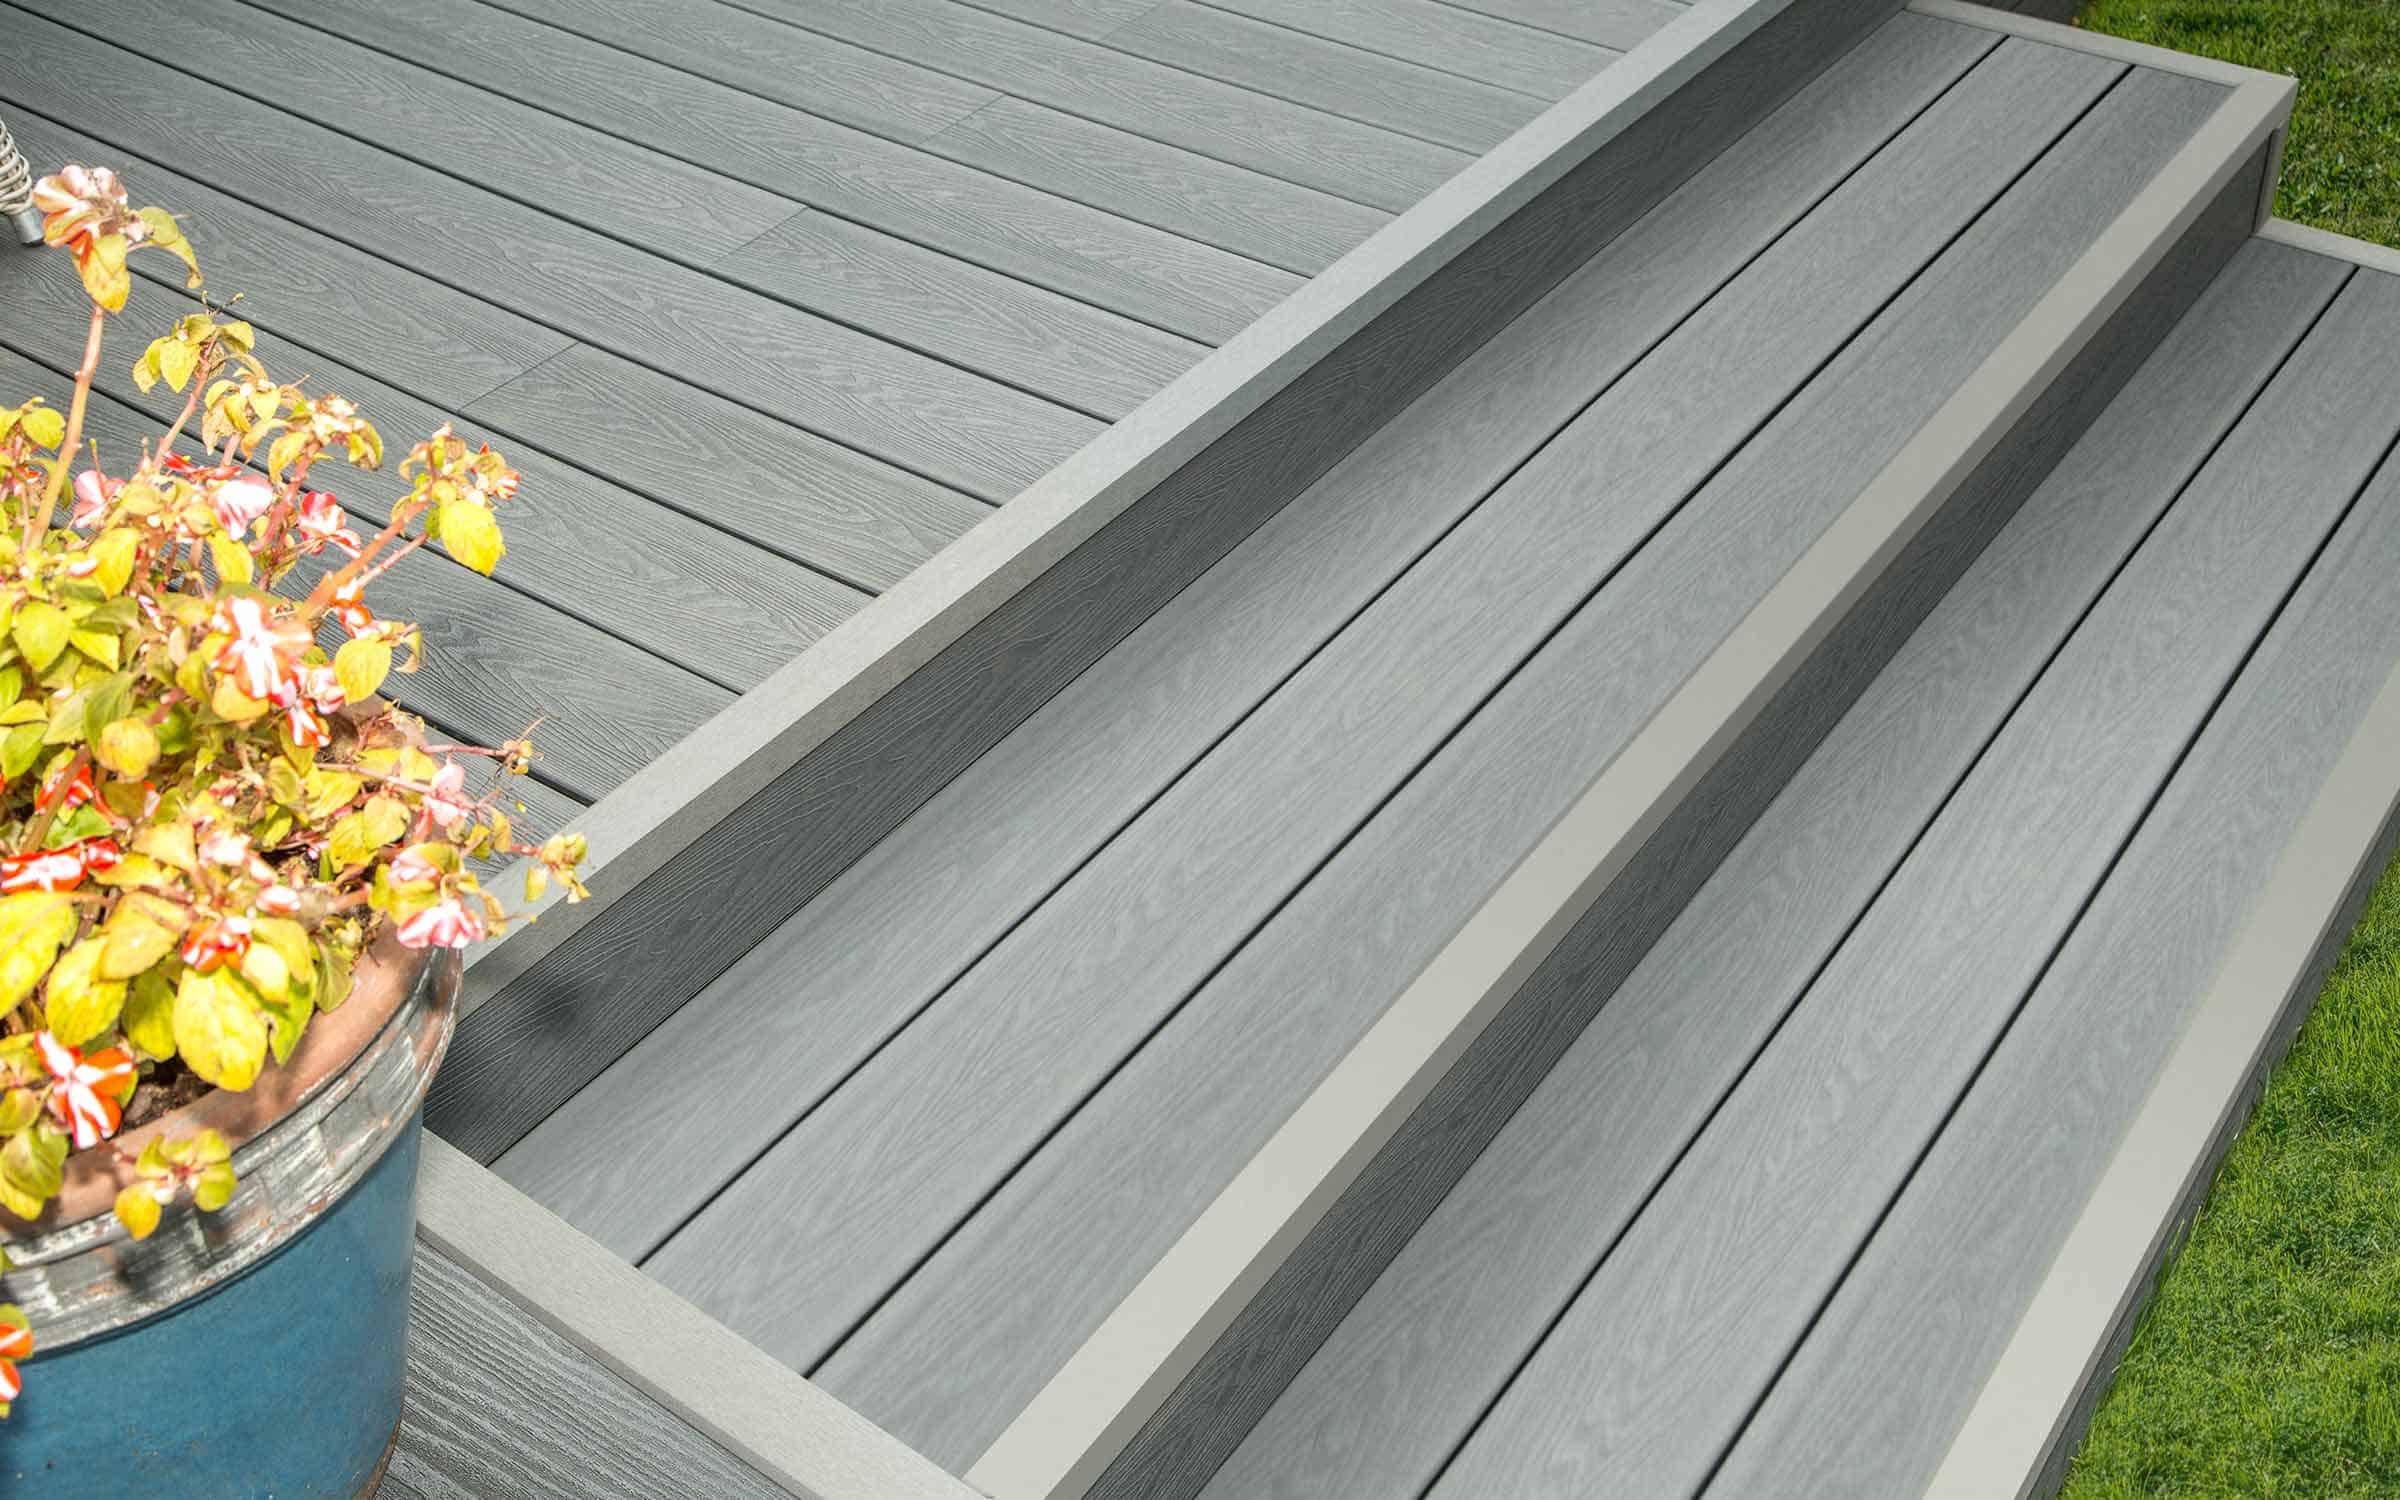
- Utilize Corner and Edge Pieces: If your project involves edges, corners, or border areas, consider using specialized corner and edge pieces designed to provide a seamless and secure finish. These purpose-built components will enhance the overall aesthetics and safeguard the perimeter of the installed tiles.
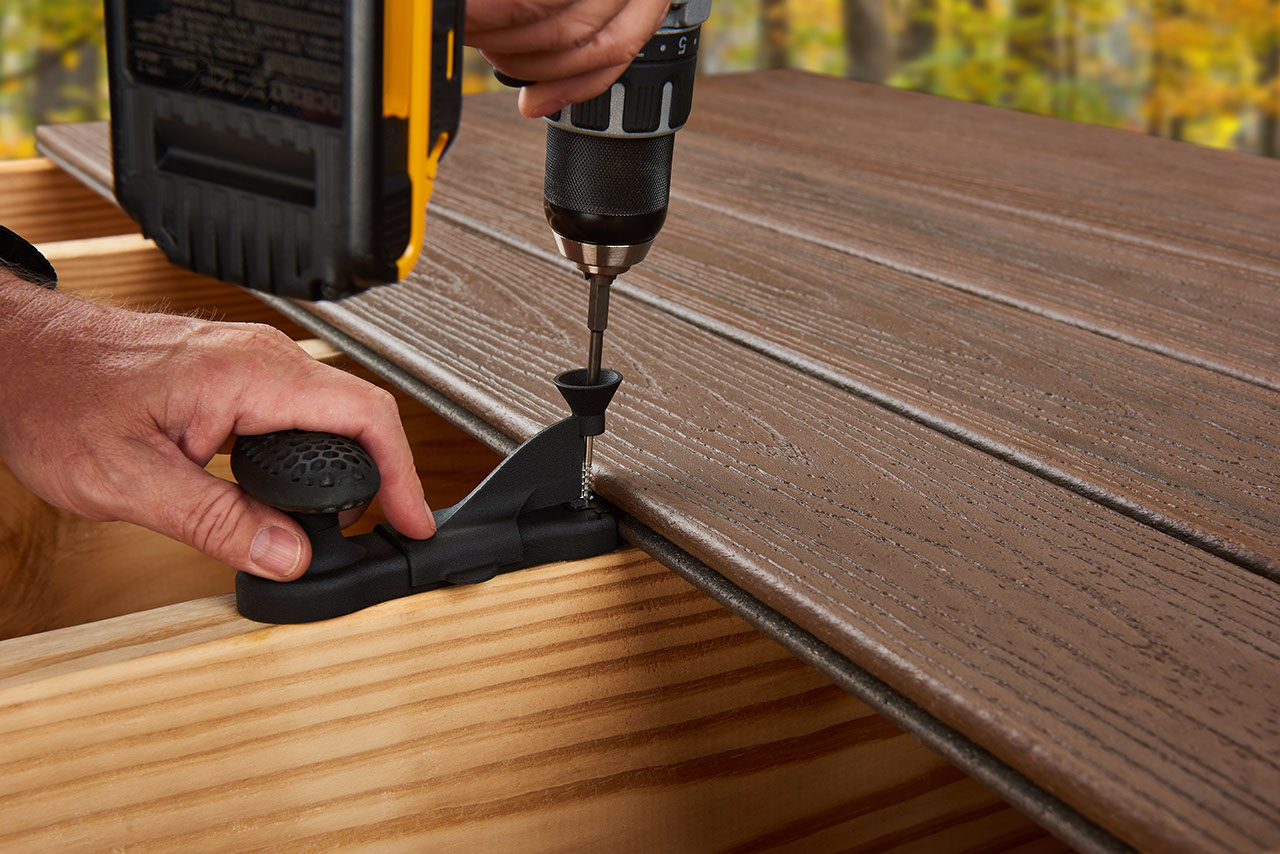
- Apply Adhesive or Fasteners: Depending on the specific design and requirements of your composite decking tiles, you may need to apply a suitable adhesive or utilize recommended fasteners to reinforce the connection between the tiles and the underlying surface. Follow the manufacturer’s guidelines to ensure proper adhesion and structural support.
- Inspect and Adjust: Thoroughly inspect the entire installed surface, verifying the alignment, spacing, and overall stability of the composite decking tiles. Address any loose or misaligned tiles by applying additional adhesive or fasteners as needed, ensuring a uniform and secure outcome.
- Consider Expansion Gaps: In regions with fluctuating temperatures and environmental conditions, it’s important to incorporate expansion gaps as recommended by the manufacturer. These gaps accommodate natural thermal expansion and contraction, preserving the integrity of the tiles and minimizing the risk of warping or buckling.
- Test for Resilience: Once the tiles are secured in place, perform a gentle yet thorough test to assess the resilience and stability of the entire surface. Walk across the installed area and apply light pressure to different sections, confirming that the tiles remain firmly anchored and free from shifting or movement.
By diligently securing the composite decking tiles, you’ll fortify the foundation of your outdoor flooring, ensuring that it can withstand the demands of daily use and the impact of various weather conditions. This proactive approach will contribute to the long-term durability and visual appeal of your outdoor space, allowing you to relish a captivating and resilient environment for relaxation and entertainment.
Read more: How To Lay Composite Decking On Concrete
Conclusion
Congratulations on successfully completing the installation of composite decking tiles on soil! By following the comprehensive steps outlined in this guide, you’ve embarked on a transformative journey to elevate your outdoor space with a stunning and practical flooring solution. As you admire the seamless integration of composite materials into your environment, it’s important to reflect on the key takeaways and the remarkable benefits you’ve unlocked through this project.
First and foremost, the meticulous preparation of the soil has laid the groundwork for a stable and level foundation, ensuring the longevity and performance of your composite decking tiles. By addressing drainage, soil compaction, and surface uniformity, you’ve established an ideal substrate for the installation, setting the stage for enduring beauty and functionality.
The incorporation of a premium weed barrier serves as a vital safeguard, shielding the installed tiles from invasive vegetation and preserving the pristine appearance of your outdoor space. This proactive measure will minimize maintenance efforts and allow you to revel in a weed-free and visually appealing environment, enhancing the overall enjoyment of your outdoor oasis.
As you navigated the process of installing the composite decking tiles, you witnessed the seamless fusion of aesthetics and practicality, culminating in a visually captivating and functionally superior surface. The careful planning, precise placement, and meticulous adjustments have resulted in a transformative outdoor area that exudes modern elegance and enduring charm.
By diligently securing the tiles in place and considering factors such as expansion gaps and specialized edge pieces, you’ve fortified the structural integrity of the surface, ensuring its resilience in the face of everyday use and environmental fluctuations. This proactive approach will allow you to savor a durable and visually striking outdoor space that beckons relaxation and social gatherings.
As you bask in the success of your composite decking tile installation, take pride in the creation of a captivating outdoor environment that harmoniously blends natural aesthetics with modern convenience. Whether you’re unwinding with a book, hosting gatherings with loved ones, or simply savoring the beauty of nature, your newly transformed outdoor space stands as a testament to your vision and dedication.
Embrace the endless possibilities that your revitalized outdoor area offers, and savor the moments of tranquility and joy it inspires. With composite decking tiles gracing your outdoor space, you’ve unlocked a realm of beauty, functionality, and enduring allure.
Frequently Asked Questions about How To Lay Composite Decking Tiles On Soil
Was this page helpful?
At Storables.com, we guarantee accurate and reliable information. Our content, validated by Expert Board Contributors, is crafted following stringent Editorial Policies. We're committed to providing you with well-researched, expert-backed insights for all your informational needs.


0 thoughts on “How To Lay Composite Decking Tiles On Soil”