Home>Furniture>Outdoor Furniture>How To Lay Decking Tiles
Outdoor Furniture
How To Lay Decking Tiles
Modified: October 20, 2024
"Learn how to lay decking tiles and transform your outdoor space with our step-by-step guide. Create a beautiful and functional area with our easy-to-install outdoor furniture."
(Many of the links in this article redirect to a specific reviewed product. Your purchase of these products through affiliate links helps to generate commission for Storables.com, at no extra cost. Learn more)
Introduction
Welcome to our comprehensive guide on how to lay decking tiles! Whether you’re looking to transform your outdoor space or spruce up your patio, decking tiles are a fantastic option that offers both versatility and aesthetics. These tiles provide an easy solution for upgrading your outdoor area without the need for extensive construction or specialized tools.
In this article, we will walk you through the step-by-step process of choosing the right decking tiles, preparing the surface, installing the tiles, cutting them to fit, securing them properly, and adding those finishing touches to complete the look. We’ll also provide you with some maintenance tips to ensure the longevity of your newly laid decking tiles.
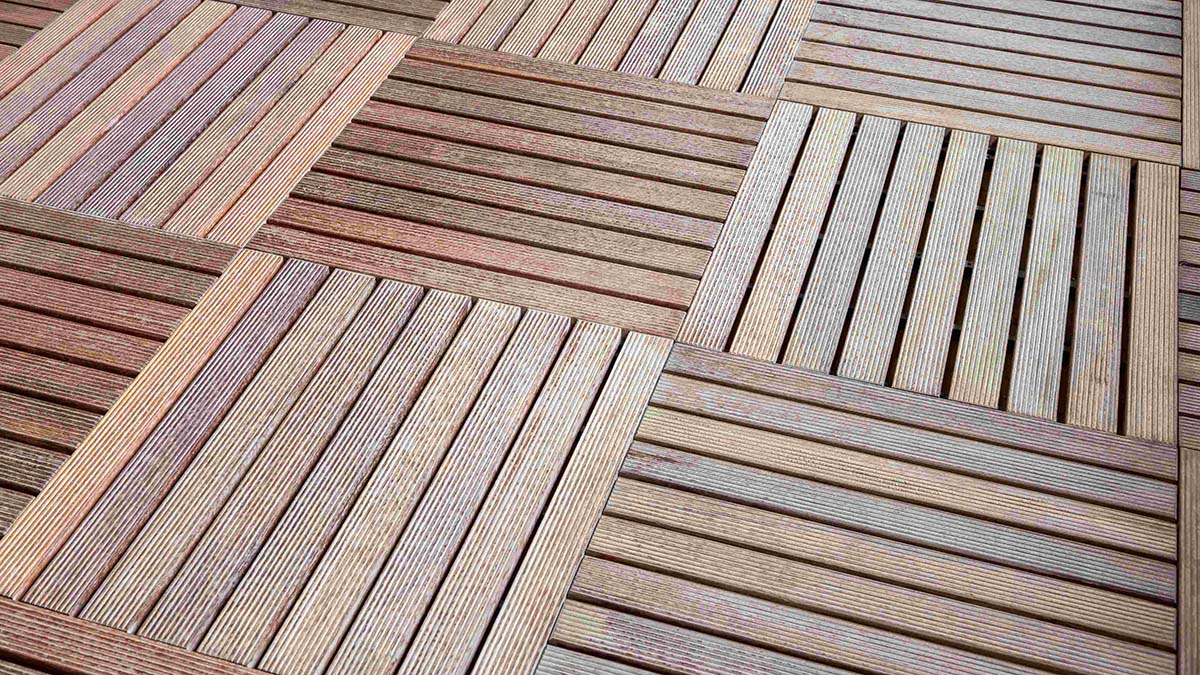
Before we dive into the details, let’s briefly discuss what makes decking tiles such a popular choice for outdoor furniture. Decking tiles are essentially interlocking tiles that are designed to be laid directly on top of a hard, flat surface, such as concrete, asphalt, or a compacted gravel base. They come in a variety of materials, including wood, composite, and stone, allowing you to choose the option that best suits your style and needs.
Whether you have a small balcony, a spacious deck, or a backyard patio, decking tiles offer a quick and easy way to create a stunning outdoor space that you can enjoy. Plus, they’re portable, which means you can easily remove and reposition them if needed.
Now that you have a general understanding of what decking tiles are and why they are a great choice for your outdoor furniture needs, let’s delve into the first step: choosing the right decking tiles for your project.
Key Takeaways:
- Transform your outdoor space with decking tiles! Choose the right material, prepare the surface, and secure the tiles for a stunning and durable result.
- Maintain your decking tiles for long-lasting beauty. Clean regularly, address stains promptly, and follow manufacturer’s recommendations for protective coating reapplication.
Read more: How To Lay Composite Decking Tiles On Soil
Choosing the Right Decking Tiles
When it comes to choosing the right decking tiles for your outdoor space, there are a few important factors to consider. Let’s take a look at each of them:
- Material: The material of the decking tiles will play a significant role in not only the overall look, but also the durability and maintenance required. Wood decking tiles offer a natural and timeless aesthetic, with options such as teak, cedar, and pressure-treated pine. Composite decking tiles are made from a blend of wood fibers and recycled plastic, providing a low-maintenance and eco-friendly option. Stone decking tiles, such as slate or granite, offer a luxurious and durable option.
- Size and Shape: Decking tiles come in various sizes and shapes, allowing you to customize the layout and design of your outdoor space. Consider the dimensions of the area you intend to cover and choose tiles that fit well within the space, while also allowing for any desired patterns or configurations.
- Interlocking System: One of the main advantages of decking tiles is their interlocking system, which ensures a secure and stable installation. Look for tiles that have a reliable interlocking mechanism that will hold the tiles together firmly to avoid any shifting or movement.
- Slip Resistance: Safety should always be a priority when selecting decking tiles. Outdoor spaces are exposed to various weather conditions, so it’s important to choose tiles with adequate slip resistance to prevent any accidents, especially in wet conditions. Look for tiles with a textured or grooved surface for enhanced grip.
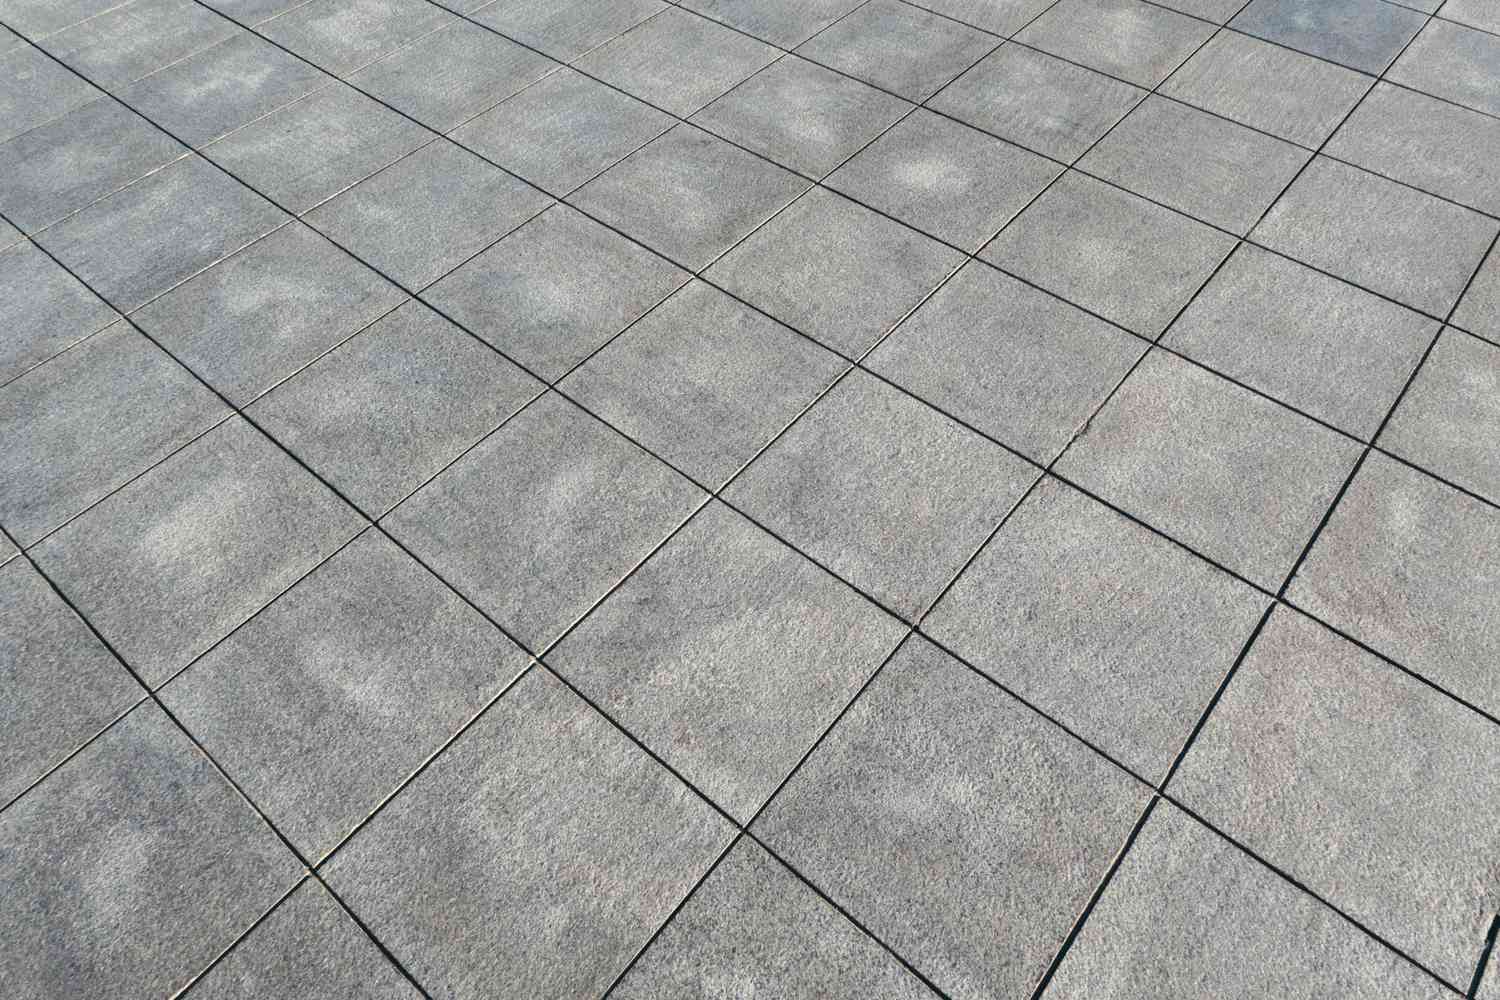
- Color and Design: Decking tiles come in a wide range of colors and designs, allowing you to create a cohesive and visually appealing outdoor space. Consider the existing color scheme and style of your home and choose tiles that complement or enhance the overall aesthetic.
Taking these factors into account will help you make an informed decision when choosing the right decking tiles for your project. Once you have selected the perfect tiles, it’s time to move on to the next step: preparing the surface.
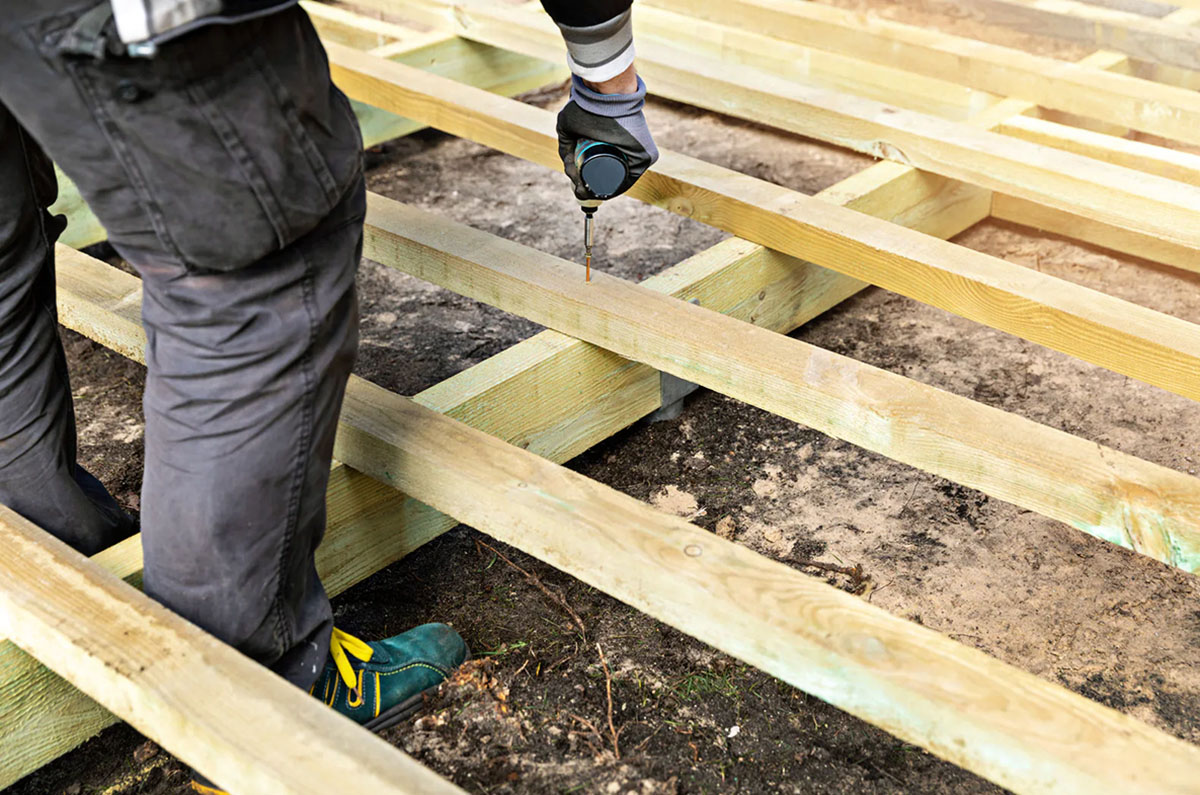
Preparing the Surface
Before installing your decking tiles, it is essential to properly prepare the surface to ensure a stable and long-lasting installation. Here are the steps to follow:
- Clean the Surface: Start by thoroughly cleaning the surface where the decking tiles will be placed. Remove any debris, dirt, or vegetation using a broom, leaf blower, or pressure washer. Ensure that the surface is free from any loose particles that may impact the installation.
- Smooth Any Uneven Surfaces: If the surface has any uneven areas or bumps, it is necessary to address them. Use a leveling compound or sand the area to create a smooth and even surface. This step is crucial to avoid any rocking or movement of the tiles once installed.
- Apply a Weed Barrier: To prevent weed growth and unwanted vegetation from sprouting between the decking tiles, it is recommended to lay down a weed barrier. This will help maintain a clean and visually appealing outdoor space.
- Check for Drainage: Ensure that the surface has proper drainage to prevent water accumulation. If necessary, create shallow channels or make adjustments to the slope to allow water to flow away from the area. This will help prevent any water damage to the tiles or the underlying surface.
By taking the time to properly prepare the surface, you will create a solid foundation for your decking tiles. This will result in a smoother installation process and ensure the longevity and stability of your outdoor space.
With the surface prepared, we are now ready to move on to the exciting part – installing the decking tiles!
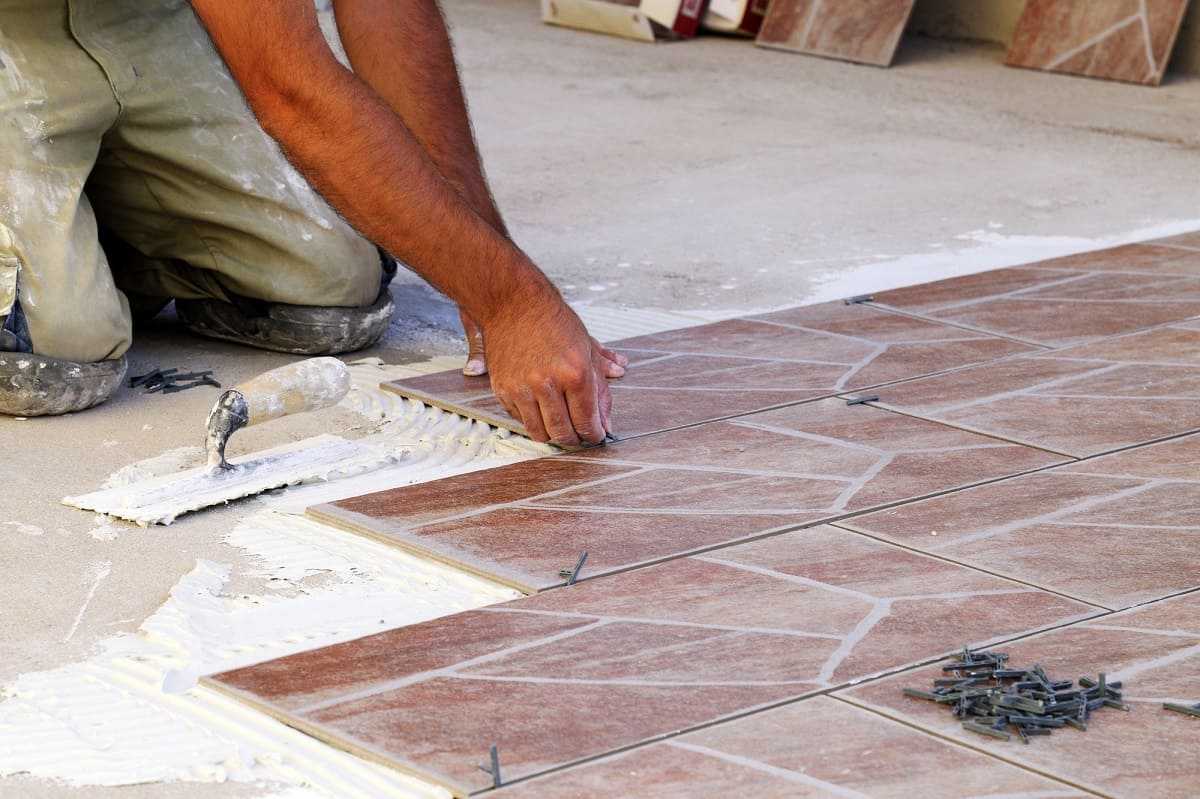
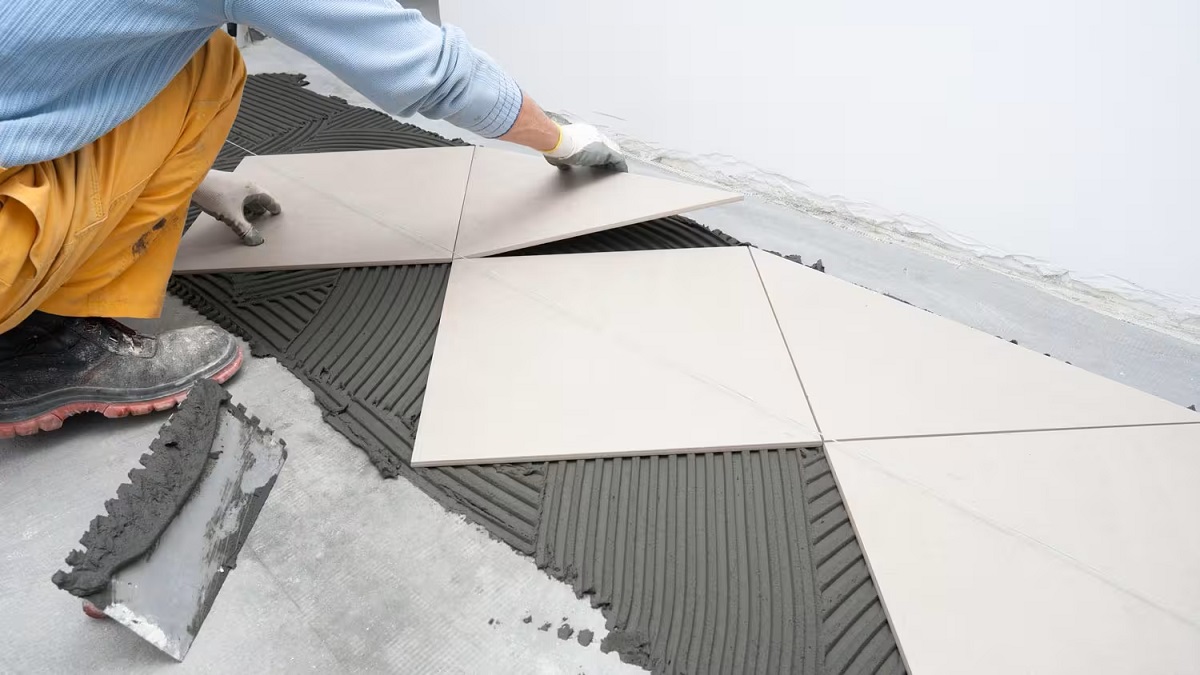
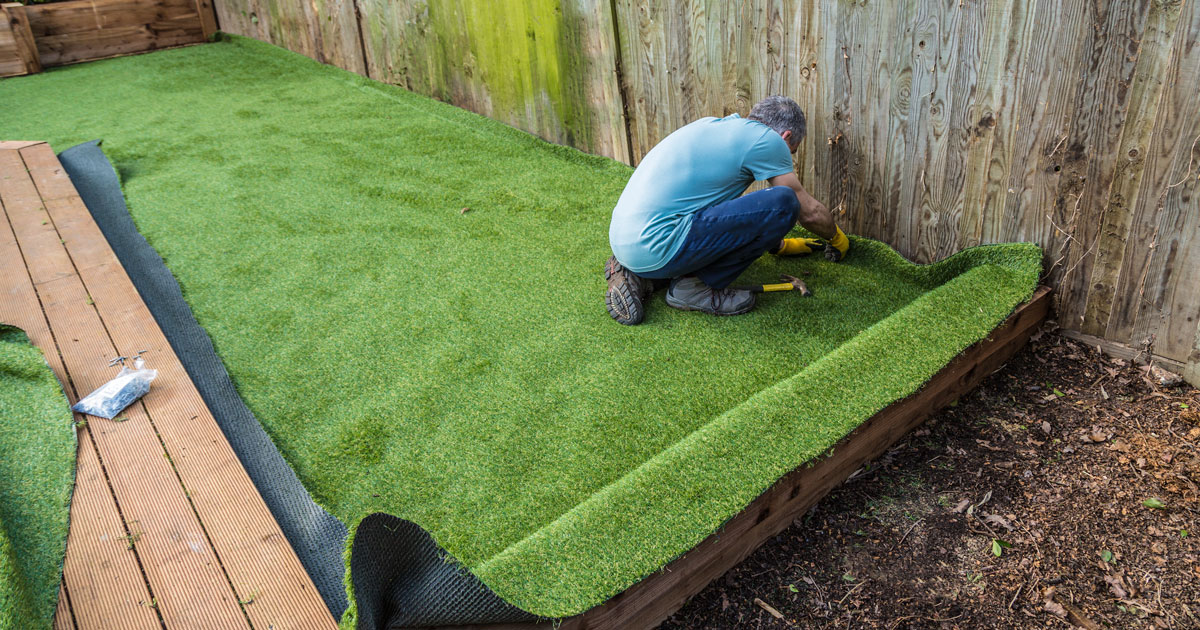
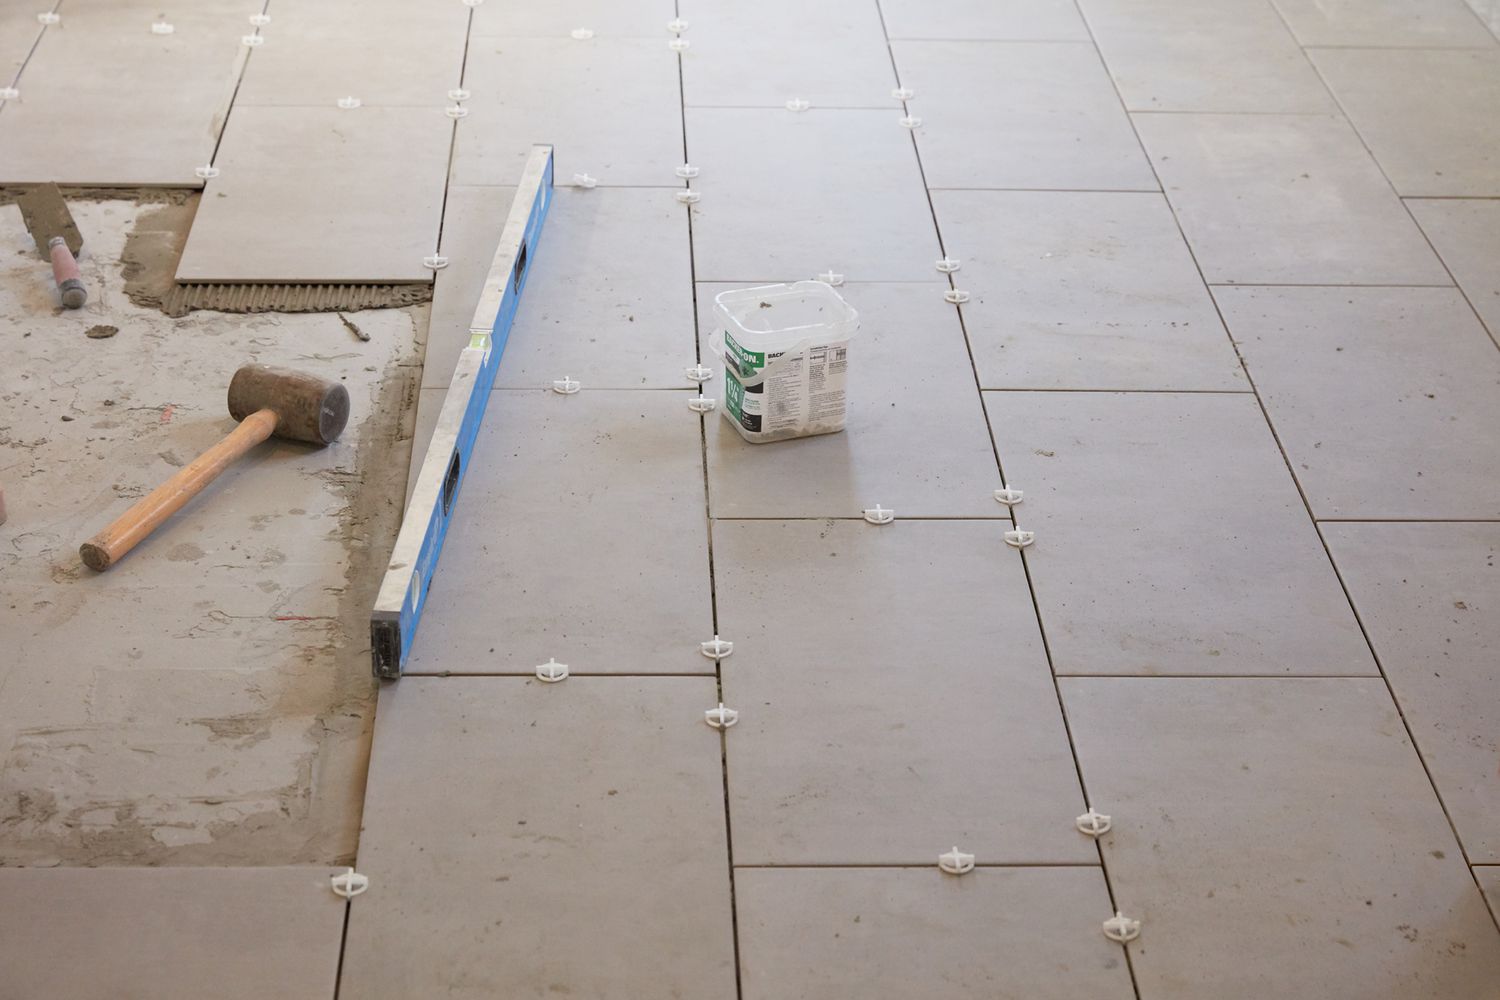
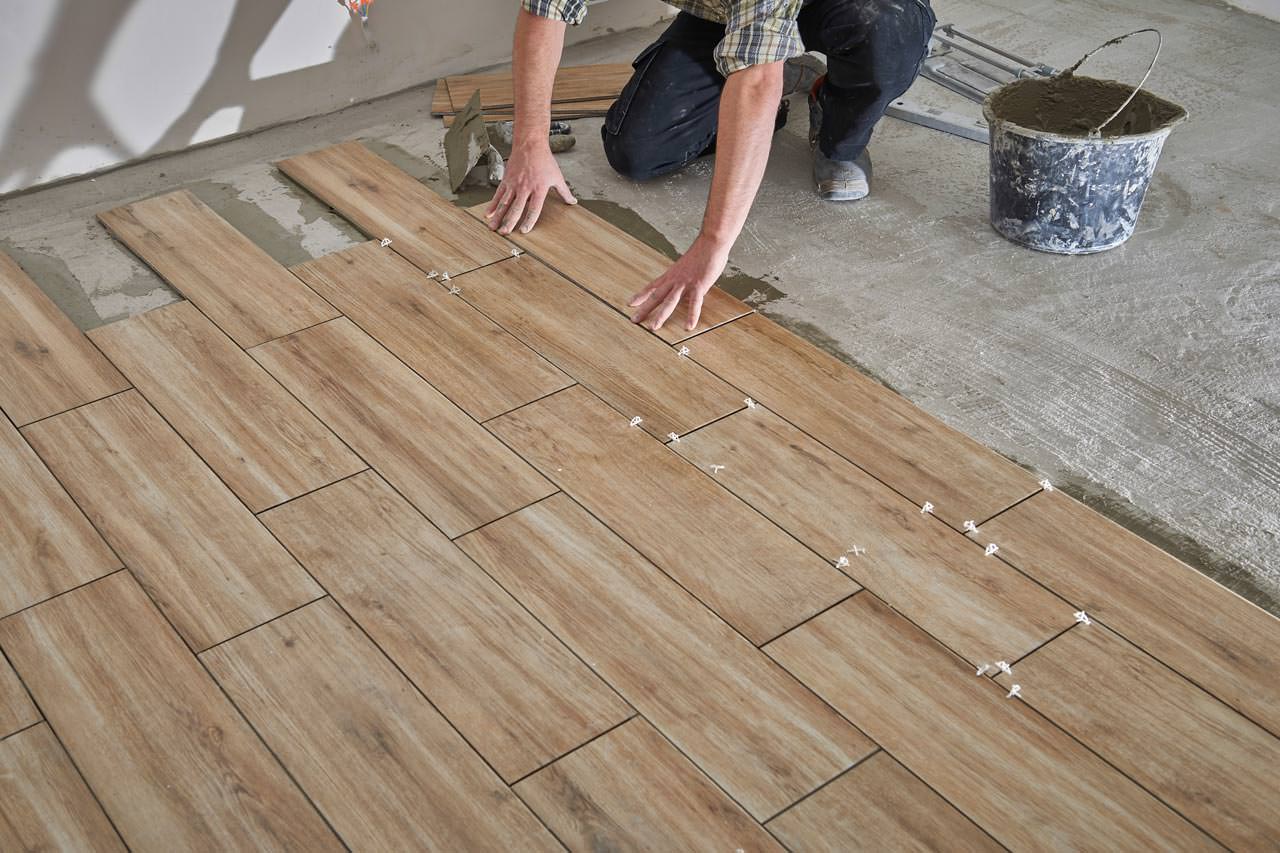
Installing the Tiles
Now that you have prepared the surface, it’s time to start installing your decking tiles. Follow these steps for a successful installation:
- Start from a Corner: Begin laying the tiles from one corner of the area. This will allow you to work your way across the entire space methodically.
- Interlock the Tiles: Place the first tile in the corner and interlock it with the adjacent tile. Ensure that the tiles fit snugly together, creating a seamless connection. Continue adding tiles, interlocking them in a row until you reach the end of the row.
- Stagger the Rows: To achieve a more visually appealing result, stagger the rows of tiles. This means that the first tile in the second row should not align directly with the first tile in the first row. Instead, offset it slightly to create a more natural and balanced look.
- Use Spacers: To maintain even spacing between the tiles, consider using spacers. Spacers will help ensure that there is enough room for expansion and contraction and allow for proper water drainage.
- Tap the Tiles: As you install each tile, use a rubber mallet or a hammer with a protective block to gently tap the tiles into place. This will ensure that they are securely attached to the surface and eliminate any gaps between the tiles.
- Check for Levelness: Periodically check the levelness of the tiles throughout the installation process. Adjust as necessary, using a level or a straight edge, to ensure a flat and even surface.
Continue installing the tiles row by row until the entire area is covered. Take your time to ensure that the tiles are properly interlocked, securely attached, and visually aligned.
Once all the tiles are in place, it’s time to add those finishing touches and make any necessary adjustments to ensure the perfect fit. Let’s move on to the next step: cutting tiles to fit.
Cutting Tiles to Fit
In some cases, you may need to cut the decking tiles to fit around edges, corners, posts, or any other obstacles in your outdoor space. Here’s how to do it:
- Measure and Mark: Measure the area where the tile needs to be cut and mark the cutting line using a pencil or chalk. Double-check the measurements to ensure accuracy.
- Use the Right Tools: Depending on the material of your decking tiles, you will need the appropriate tools to make the cuts. For wood tiles, a saw – either a circular saw or a jigsaw – works well. For composite or stone tiles, a tile cutter or a wet saw may be required.
- Make the Cut: Carefully follow the marked cutting line and make the cut using the appropriate tool. Take your time and apply steady pressure to ensure a clean and precise cut.
- Test the Fit: After making the cut, test the tile to ensure it fits properly in the designated area. Make any necessary adjustments or additional cuts if needed.
- Smooth the Edges: If the cut edges are rough or uneven, use sandpaper or a file to smooth them out. This will help maintain a seamless and professional look.
Remember to prioritize safety when cutting the tiles. Wear protective eyewear, gloves, and appropriate safety gear to avoid any accidents or injuries.
With the tiles successfully cut and fitted, it’s time to secure them in place to ensure stability and prevent any movement. Let’s move on to the next step: securing the tiles.
Before laying decking tiles, make sure the surface is clean and level. Use a grid system to ensure even spacing and alignment. Start from one corner and work your way across for a professional finish.
Read more: How To Lay Decking On Grass
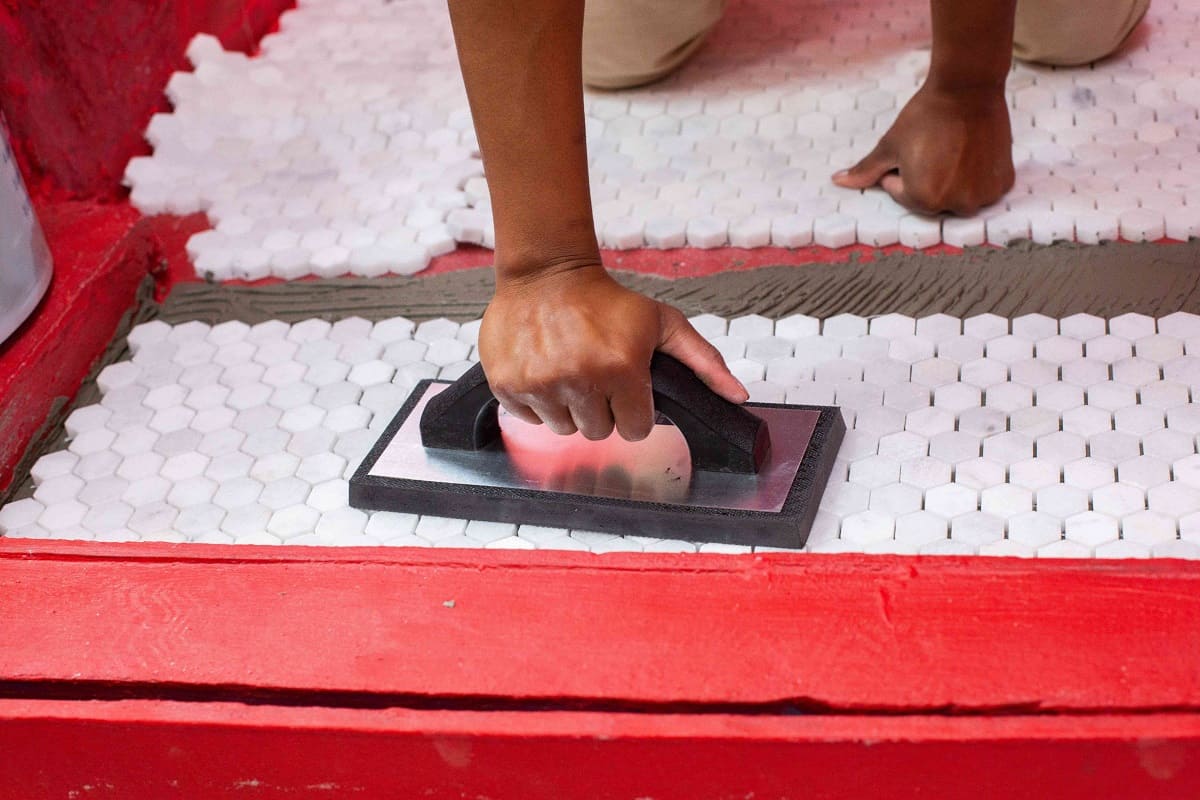
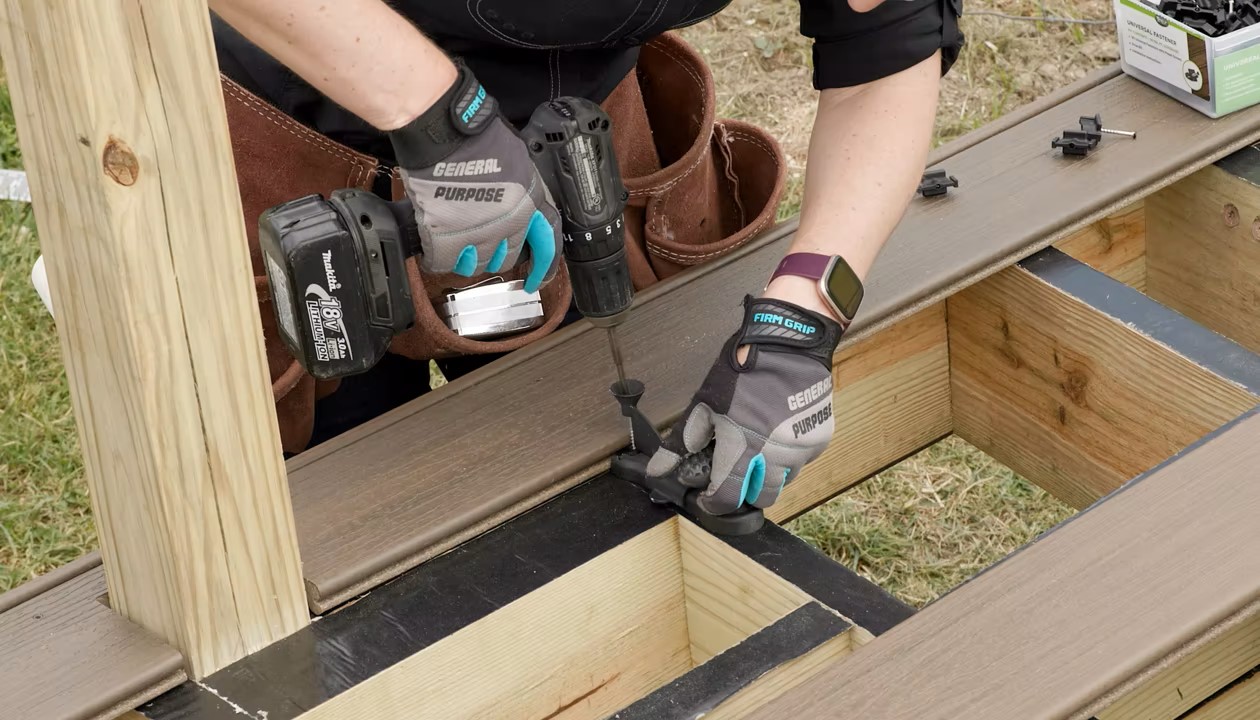
Securing the Tiles
Securing your decking tiles is crucial to ensure their stability and prevent any shifting or movement. Here are the steps to properly secure the tiles:
- Use Adhesive: Applying adhesive can help hold the tiles in place and create a more secure installation. Use a weather-resistant adhesive that is suitable for your chosen decking tile material. Apply the adhesive to the bottom of each tile before placing it on the prepared surface.
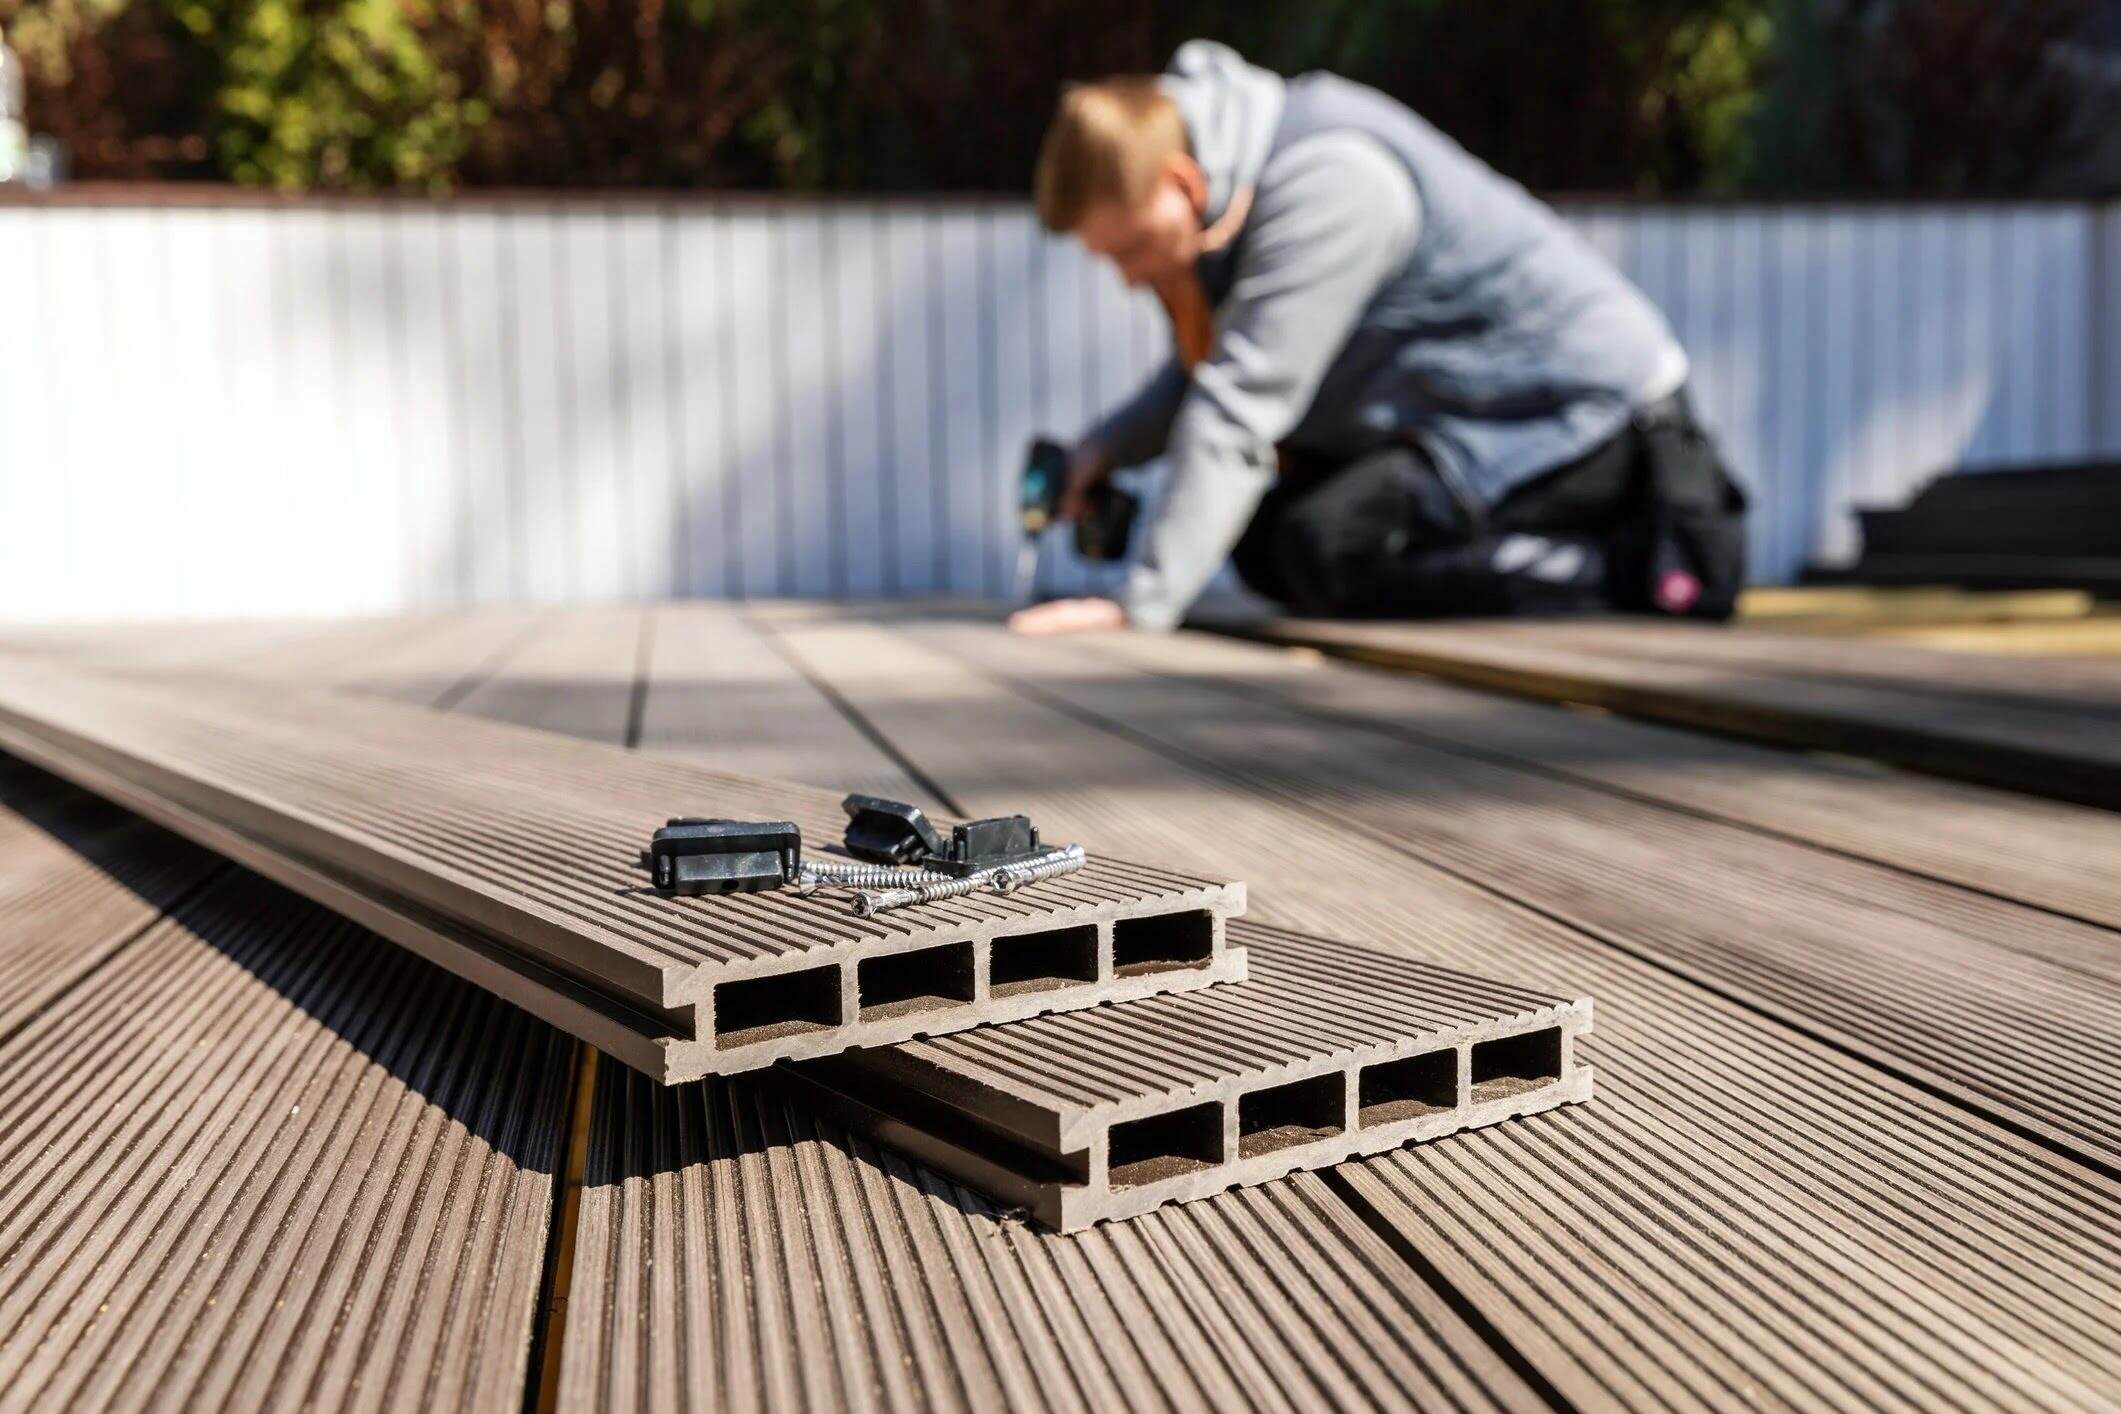
- Insert Connectors: Some decking tile systems come with connector pieces that can be inserted between the tiles. These connectors provide additional stability and help keep the tiles aligned. Follow the manufacturer’s instructions to insert the connectors as needed.
- Add Corner Trims: If your decking tiles have exposed corners, it’s a good idea to install corner trims. These trims not only enhance the visual appeal but also provide added protection and stability. Secure the corner trims using the recommended fasteners or adhesive.
- Consider Screw Fastening: For certain types of decking tiles, such as wood or composite tiles, using screws to secure them may be recommended. Pre-drill holes and use corrosion-resistant screws to attach the tiles to the surface. Ensure that the screws are flush with the tile surface for a smooth finish.
- Double-Check Alignment: As you secure each tile, double-check the alignment and spacing to ensure a consistent and visually pleasing result. Make any necessary adjustments or reposition tiles if needed.
Properly securing the tiles will give you peace of mind, knowing that your outdoor flooring is stable and will withstand regular use, weather conditions, and foot traffic. Take your time during this step to ensure a secure and professional installation.
Once the tiles are secured, it’s time to add those final finishing touches to truly complete the look of your outdoor space. Let’s move on to the next step: the finishing touches.
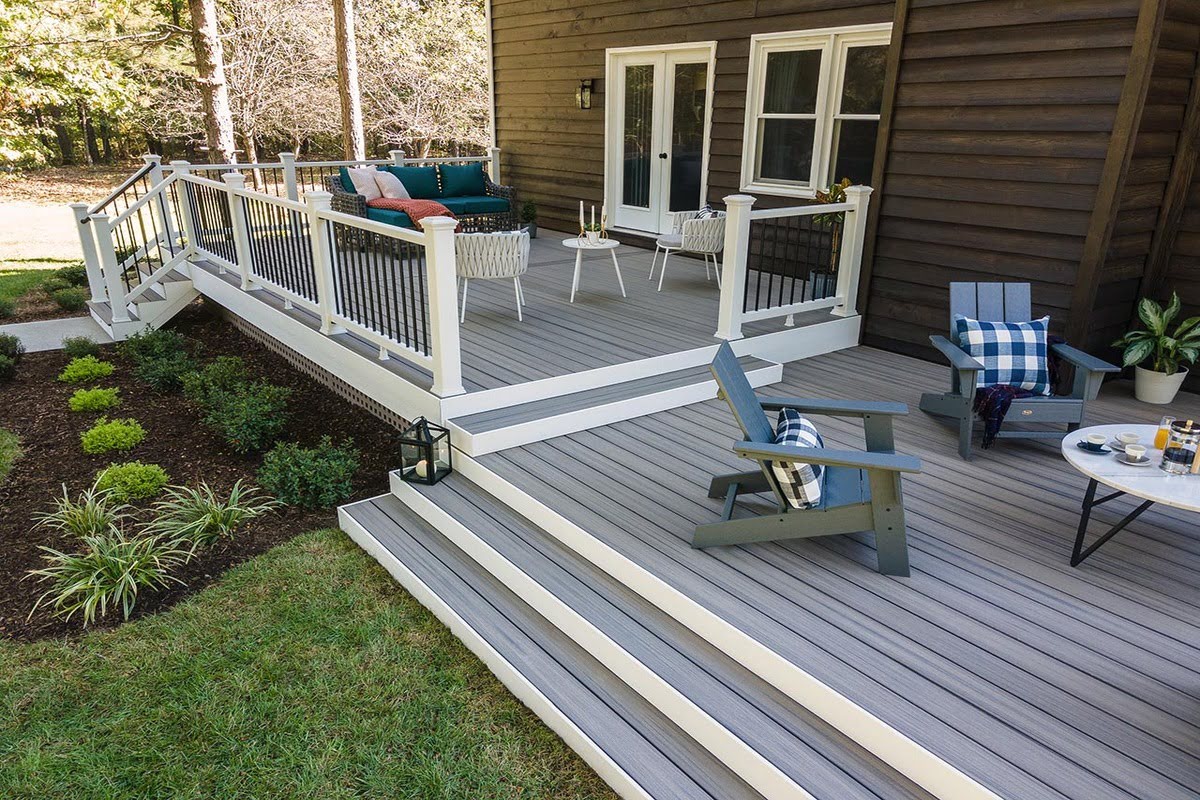
Finishing Touches
With the decking tiles installed and secured, it’s time to add those final finishing touches to enhance the overall look and functionality of your outdoor space. Here are some ideas and tips:
- Add Edging: Installing edging around the perimeter of your decking tiles can provide a polished and clean finish. Choose edging materials that complement the style of your tiles, such as wood, stone, or metal.
- Install Railing or Balustrades: If your outdoor area requires safety measures or if you simply want to create a defined space, consider adding railing or balustrades. This can provide extra security and also serve as a decorative element.
- Accessorize with Outdoor Furniture: Complete your outdoor space by adding comfortable and stylish furniture pieces. Consider a table and chairs for dining al fresco, lounge chairs for relaxation, or even cozy sofas for an outdoor living room feel.
- Accessorize with Plants and Decorations: Add life and color to your decking area by incorporating potted plants, hanging baskets, or flower boxes. Additionally, consider adding outdoor lighting, decorative lanterns, or string lights to create a cozy and inviting ambiance.
- Consider Outdoor Rugs or Mats: To add warmth and comfort underfoot, consider placing outdoor rugs or mats on your decking tiles. Choose materials that are durable and weather-resistant, designed specifically for outdoor use.
Remember to consider the overall style and theme of your outdoor space when selecting the finishing touches. Aim for a cohesive and harmonious look that reflects your personal taste and creates an inviting atmosphere.
Now that you have completed the installation and added those finishing touches, it’s important to maintain your decking tiles to ensure their longevity and beauty. Let’s move on to the final section: maintenance tips.
Maintenance Tips
To keep your decking tiles in excellent condition and prolong their lifespan, regular maintenance is key. Here are some essential maintenance tips to follow:
- Clean Regularly: Sweep or brush off any debris, leaves, or dirt from the surface of the tiles regularly. This will help prevent any buildup that can affect the appearance and potential damage.
- Wash the Tiles: Depending on the material of your decking tiles, you can use a mild detergent and water solution to clean them. Scrub gently with a soft brush or mop, and rinse thoroughly with water. Avoid using harsh chemicals or abrasive cleaners that may damage the tiles.
- Address Stains Promptly: If you notice any stains or spills on the tiles, clean them up as soon as possible. Blot the stain gently with a clean cloth or sponge, and clean the area with the appropriate cleaning method recommended for your specific tile material.
- Inspect for Damage: Regularly inspect the decking tiles for any signs of damage, such as cracks, splits, or loose pieces. If you notice any issues, address them promptly to prevent further damage and ensure the safety of your outdoor space.
- Reapply Protective Coating: If your decking tiles have a protective coating, such as a sealant or stain, check the manufacturer’s recommendations for reapplication. Regularly reapplying a protective coating will help maintain the appearance and protect the tiles from weathering and UV damage.
- Avoid Heavy Weight and Scratches: Be mindful of placing heavy furniture or objects directly on the tiles to avoid causing damage or indentations. Use furniture pads or coasters to distribute weight and prevent scratches.
By following these maintenance tips, you can ensure that your decking tiles remain in excellent condition and provide you with a beautiful outdoor space for years to come.
With proper maintenance, your decking tiles will continue to enhance your outdoor area’s aesthetics and functionality. Now that we’ve covered everything you need to know about laying and maintaining decking tiles, it’s time for you to enjoy your transformed outdoor space!
Remember to consult the manufacturer’s instructions and recommendations specific to your chosen decking tiles for any additional care and maintenance requirements.
We hope this guide was helpful in assisting you with your decking tile project. Enjoy your new outdoor oasis!
Conclusion
Congratulations on completing our comprehensive guide on how to lay decking tiles! We’ve covered everything you need to know to transform your outdoor space and create a stunning and functional area using these versatile tiles.
From choosing the right decking tiles to preparing the surface, installing the tiles, cutting them to fit, securing them properly, and adding those finishing touches, you now have the knowledge and guidance to embark on your decking tile project with confidence.
Remember to pay attention to the specific details of your chosen decking tile material and follow the manufacturer’s instructions for the best results. By doing so, you will ensure a secure and long-lasting installation that will withstand various weather conditions and provide you with an enjoyable outdoor space for years to come.
Regular maintenance is essential to keep your decking tiles looking their best. Take the time to clean them regularly, address stains promptly, inspect for damage, and reapply protective coatings as needed. By following these maintenance tips, you can preserve the beauty and durability of your decking tiles.
Now, it’s time to sit back, relax, and enjoy your newly transformed outdoor oasis. Whether you’re hosting gatherings, soaking up the sun, or simply unwinding after a long day, your decking tiles will provide a beautiful and comfortable setting for all your outdoor activities.
We hope this guide has been helpful, and that your decking tile project brings you joy and satisfaction. So go ahead, let your creativity shine, and create a stunning outdoor space that reflects your personal style and enhances your outdoor living experience.
Thank you for choosing us as your guide in this journey. Cheers to many memorable moments in your beautiful new outdoor area!
Frequently Asked Questions about How To Lay Decking Tiles
Was this page helpful?
At Storables.com, we guarantee accurate and reliable information. Our content, validated by Expert Board Contributors, is crafted following stringent Editorial Policies. We're committed to providing you with well-researched, expert-backed insights for all your informational needs.

0 thoughts on “How To Lay Decking Tiles”