Home>Furniture>Outdoor Furniture>How To Lay Roof Decking
Outdoor Furniture
How To Lay Roof Decking
Modified: November 1, 2024
Discover the best way to lay roof decking for your outdoor furniture. Get expert tips and step-by-step instructions for a sturdy and durable setup.
(Many of the links in this article redirect to a specific reviewed product. Your purchase of these products through affiliate links helps to generate commission for Storables.com, at no extra cost. Learn more)
Introduction
When it comes to transforming the rooftop into a usable space, installing roof decking is an essential step. Roof decking not only provides a solid foundation for outdoor activities but also protects the roof structure from the elements. Whether you are planning to create a rooftop garden, a cozy outdoor lounge, or a rooftop patio, laying roof decking is an important task that requires careful planning and execution.
In this article, we will guide you through the process of laying roof decking, from preparing the roof surface to securing the decking boards. By following these steps, you will be able to create a sturdy and beautiful rooftop space that adds value to your property.
Before we delve into the steps, it’s crucial to ensure that you have the necessary tools and materials on hand. You will need a tape measure, circular saw, drill or screwdriver, hammer, nails or screws, decking boards, joists, flashing, edge trim, and waterproofing membrane. Make sure to wear appropriate safety gear, including gloves and goggles, throughout the process.
Now, let’s get started with step one: preparing the roof deck.
Key Takeaways:
- Preparing the roof deck, calculating joist spacing, and securing the decking are crucial steps in creating a sturdy and beautiful rooftop space. Attention to detail and safety are key throughout the process.
- Installing flashing, edge trim, and a waterproofing membrane adds durability and protection to the roof decking. Regular maintenance and inspection are essential for prolonging the deck’s lifespan and enjoying outdoor activities.
Read more: How To Lay Decking Tiles
Step 1: Prepare the Roof Deck
The first step in laying roof decking is to prepare the roof deck itself. Start by removing any debris, such as leaves or branches, and thoroughly clean the surface. This will ensure a clean and smooth foundation for the decking.
If there are any existing roofing materials, such as shingles or tiles, you will need to remove them. Use a pry bar and hammer to carefully lift and remove the roofing materials. Be cautious not to damage the underlying roof structure.
Next, inspect the roof for any signs of damage or decay. Check for rotting wood, water damage, or weakened areas. It is crucial to address these issues before proceeding with the installation of the decking to ensure the structural integrity of the roof.
If you come across any damaged or rotten sections, replace them with new plywood or roof sheathing. Cut the replacement pieces to fit and securely fasten them to the roof structure using nails or screws.
Once the roof deck is clean and any necessary repairs have been made, it’s time to move on to step two: calculating and marking joist spacing.
Step 2: Calculate and Mark Joist Spacing
Properly calculating and marking the joist spacing is essential to ensure the stability and strength of the roof decking. The spacing between the joists will depend on the size and type of decking boards you will be using.
Start by measuring the length and width of the roof deck. Divide the length by the desired spacing between the joists, usually 16 or 24 inches. This will give you the total number of joists needed for the length of the deck.
Repeat this calculation for the width of the deck, and you will have the total number of joists needed for the width.
Once you have the total number of joists required, use a tape measure and a straight edge to mark the locations of the joists on the perimeter of the roof deck. This will help you visualize the placement of the joists and ensure an even distribution.
It is important to leave a gap of about 1/8 inch between the ends of the decking boards to allow for expansion and contraction due to temperature changes. Take this into consideration when marking the joist locations, making sure to adjust accordingly.
Double-check your calculations and measurements before moving on to the next step. Accurate joist spacing is crucial for the stability and longevity of the roof decking.
With the joist spacing marked, it’s time to move on to step three: cutting and installing the joists.
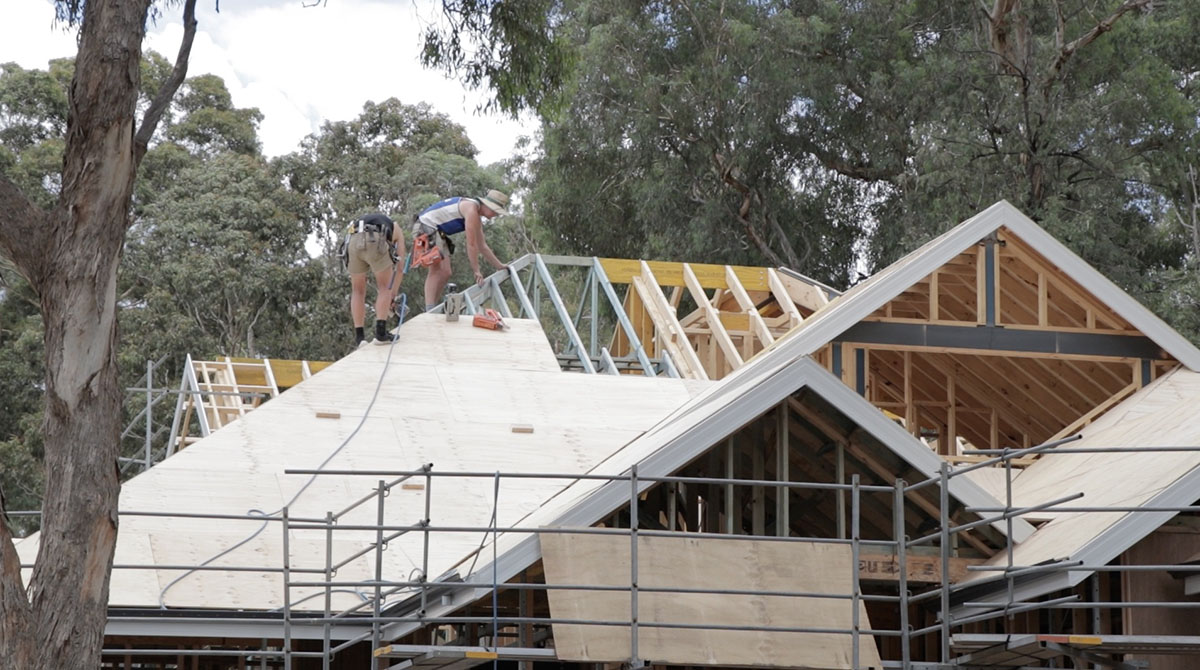
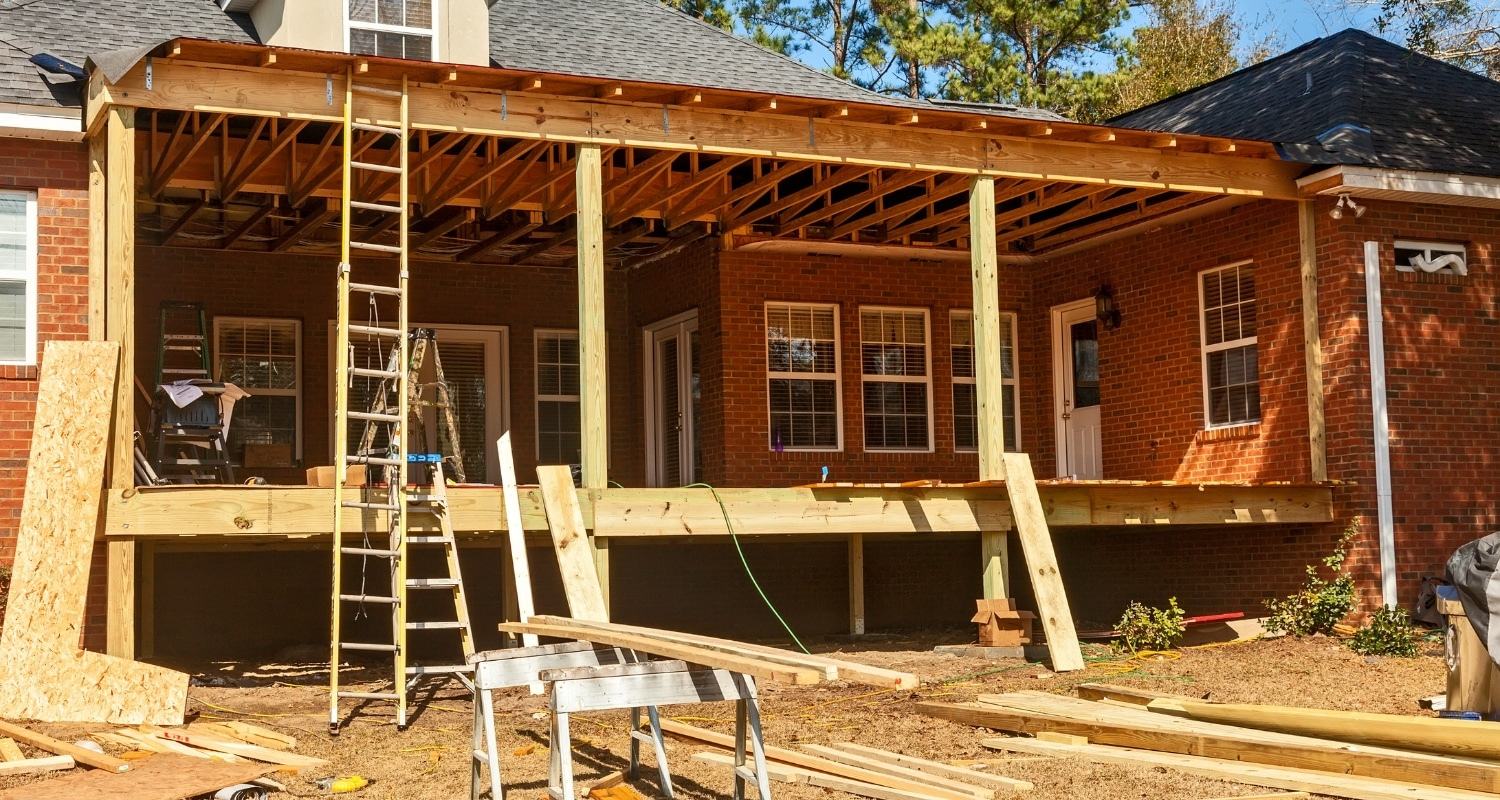
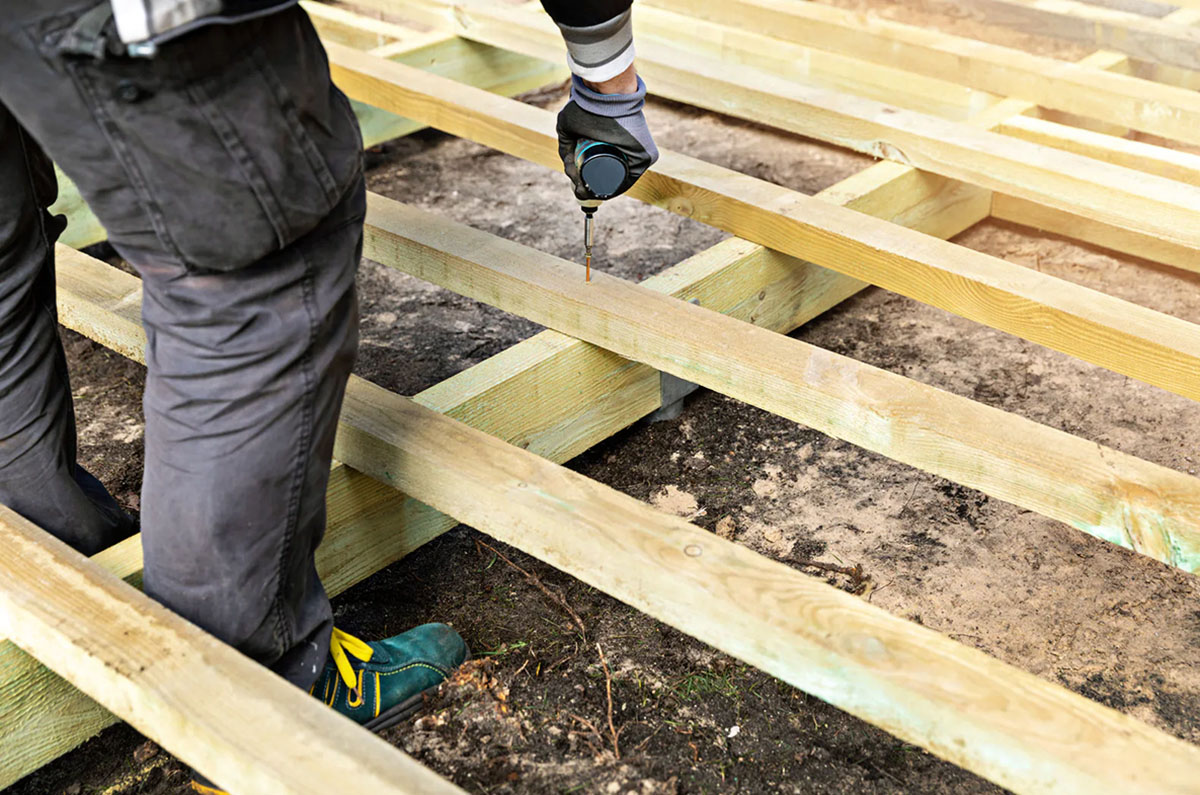
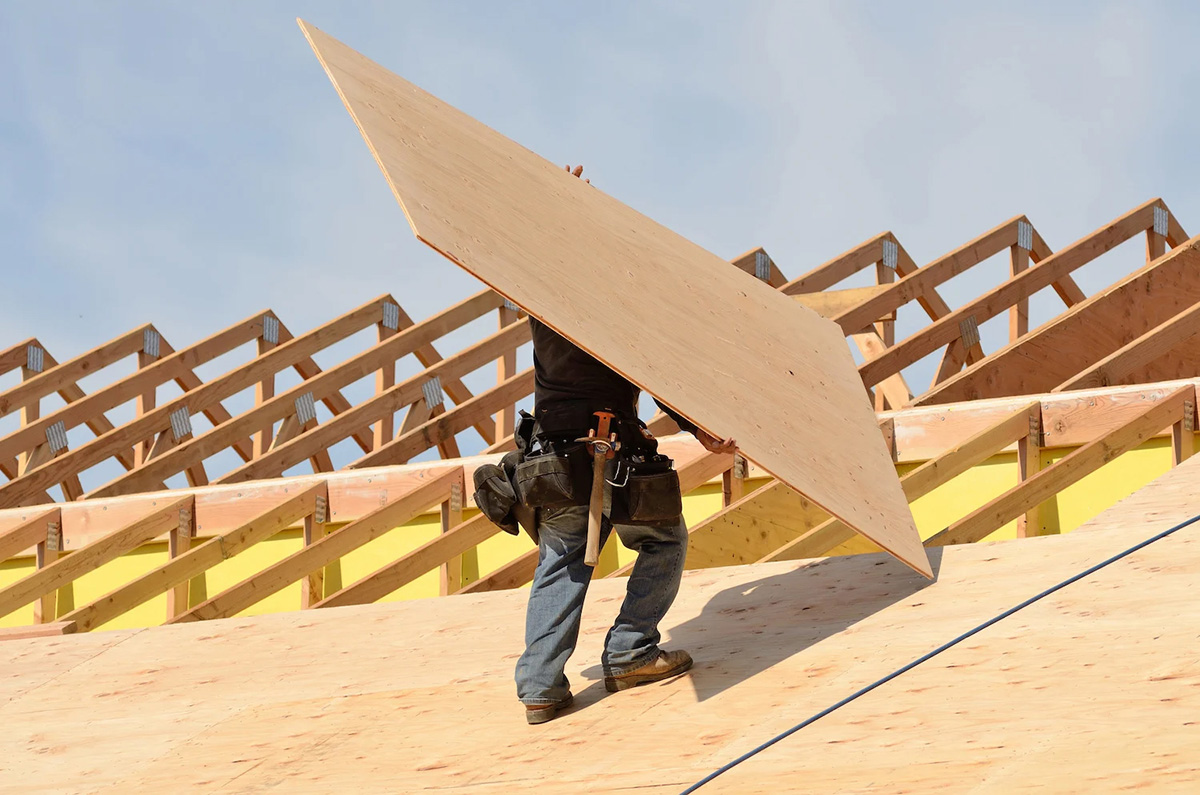
Step 3: Cut and Install Joists
Once you have calculated and marked the joist spacing, it’s time to cut and install the joists. Joists provide the framework and support for the roof decking, so it’s important to ensure they are installed properly.
Start by cutting the joists to the appropriate length, based on the dimensions of the roof deck. Use a circular saw to make accurate and clean cuts. Remember to wear protective gear, such as safety goggles, when operating power tools.
Next, position the first joist along the marked line on the roof deck. Use a level to ensure that it is perfectly level. If necessary, use shims to adjust the height and ensure a level surface.
Secure the joist to the roof deck by driving nails or screws through the joist and into the roof structure. Make sure to space the fasteners evenly along the length of the joist. Repeat this process for the remaining joists, checking for level at each one.
It is important to maintain the predetermined spacing between the joists as you install them. This will provide structural stability and prevent sagging of the roof decking over time.
Once all the joists are installed, double-check their alignment and levelness. Make any necessary adjustments before moving on to the next step.
With the joists in place, it’s time to move on to step four: laying the first row of decking.
Step 4: Lay the First Row of Decking
With the joists securely installed, it’s time to start laying the decking boards. Begin with the first row, ensuring that it is aligned properly and running perpendicular to the joists.
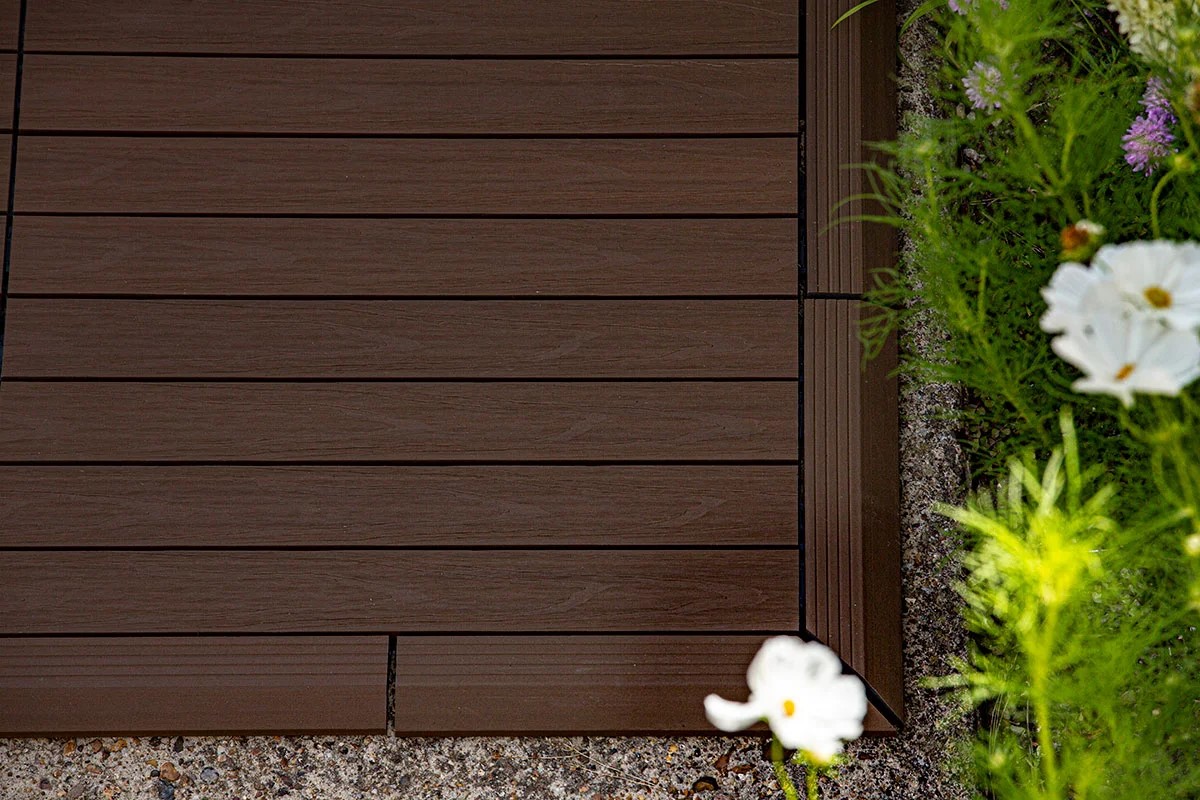
Start by measuring and cutting the first decking board to fit the length of the roof deck. Leave a small gap, about 1/8 inch, between the end of the board and the edge of the roof deck to allow for expansion.
Place the first board on the joists, making sure it is flush with the edge of the roof deck and aligned with the marked joist locations. You can use a carpenter’s square to ensure that the board is perfectly perpendicular to the joists.
Secure the first board to the joists by using either nails or screws. Make sure to use the appropriate fasteners for outdoor applications to prevent corrosion and ensure durability.
Continue laying the first row of decking, cutting and fitting each board as necessary. Make sure to leave the same small gap between each board to allow for expansion.
If necessary, use a circular saw or jigsaw to make any angled cuts to accommodate corners or obstructions on the roof deck.
Take your time during this step to ensure that each board is securely fastened and laid in a straight and level manner. This will serve as the foundation for the rest of the roof decking installation process.
Now that the first row of decking is in place, it’s time to move on to step five: continuing to install decking rows.
When laying roof decking, make sure to use the proper size and thickness of plywood to support the weight of the roof. Additionally, stagger the joints of the decking to create a stronger and more stable base.
Read more: How To Lay Decking On Grass
Step 5: Continue Installing Decking Rows
With the first row of decking securely in place, it’s time to continue with the installation by adding more rows. Follow these steps to ensure a smooth and professional-looking result.
Start by measuring and cutting the decking boards for the next row. Make sure to stagger the joints between boards to add strength and stability to the roof decking. This also creates a more aesthetically pleasing pattern.
Lay the first board of the second row, making sure it is aligned with the first row and flush with the previous board. Secure it to the joists using the appropriate fasteners.
Continue adding more rows of decking, repeating the process of measuring, cutting, aligning, and securing each board.
As you continue, periodically check that the boards are level and aligned properly. This will help to maintain a consistent and visually appealing appearance.
Remember to leave a small gap between each board to allow for expansion. This gap will help prevent warping and ensure that your roof decking remains in good condition over time.
Continue installing rows of decking until you reach the end of the roof deck. Make any necessary adjustments and cuts to fit the last row if needed.
Take your time and pay attention to the details during this step to achieve a professional-looking result. A well-installed roof decking will not only enhance the usability of your rooftop but also add value to your property.
Now that you have completed the installation of the decking rows, let’s move on to step six: securing the decking.
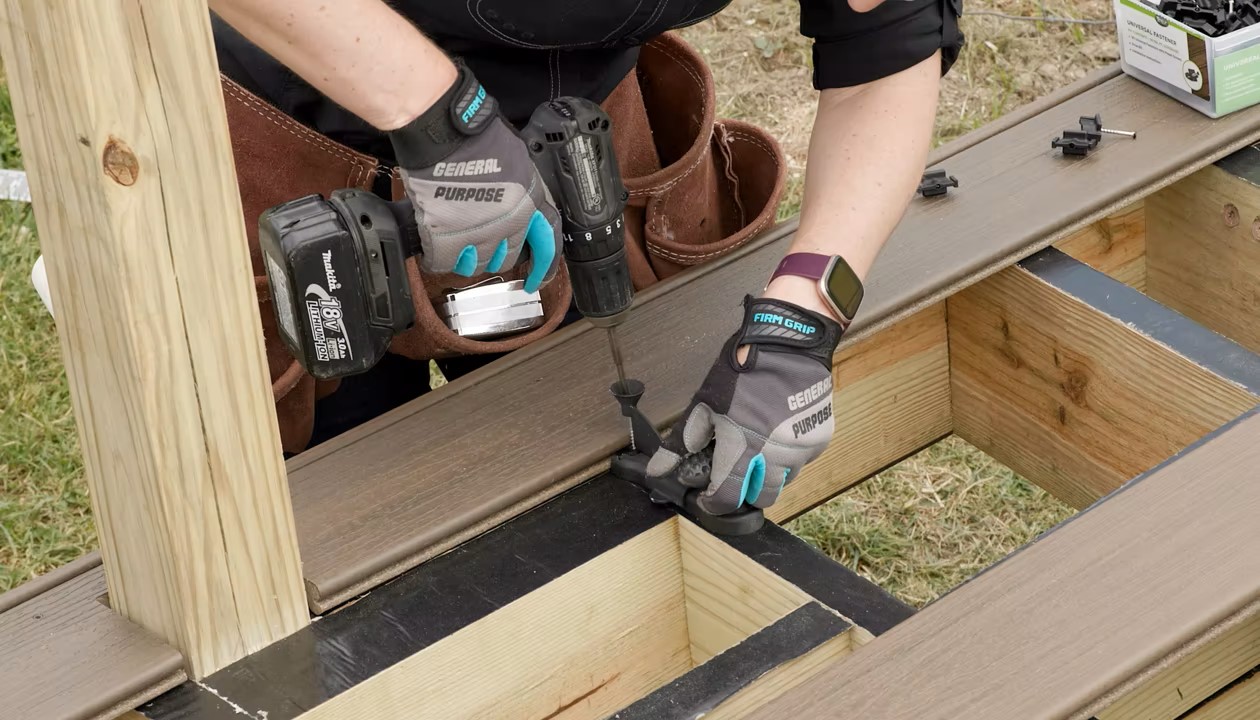
Step 6: Secure the Decking
After installing all the decking rows, it’s important to secure the boards to the joists to ensure stability and longevity. Follow these steps to properly secure the decking:
Start by inspecting each board and ensuring that it is aligned properly and flush with the adjacent boards. Use a level to check for any unevenness.
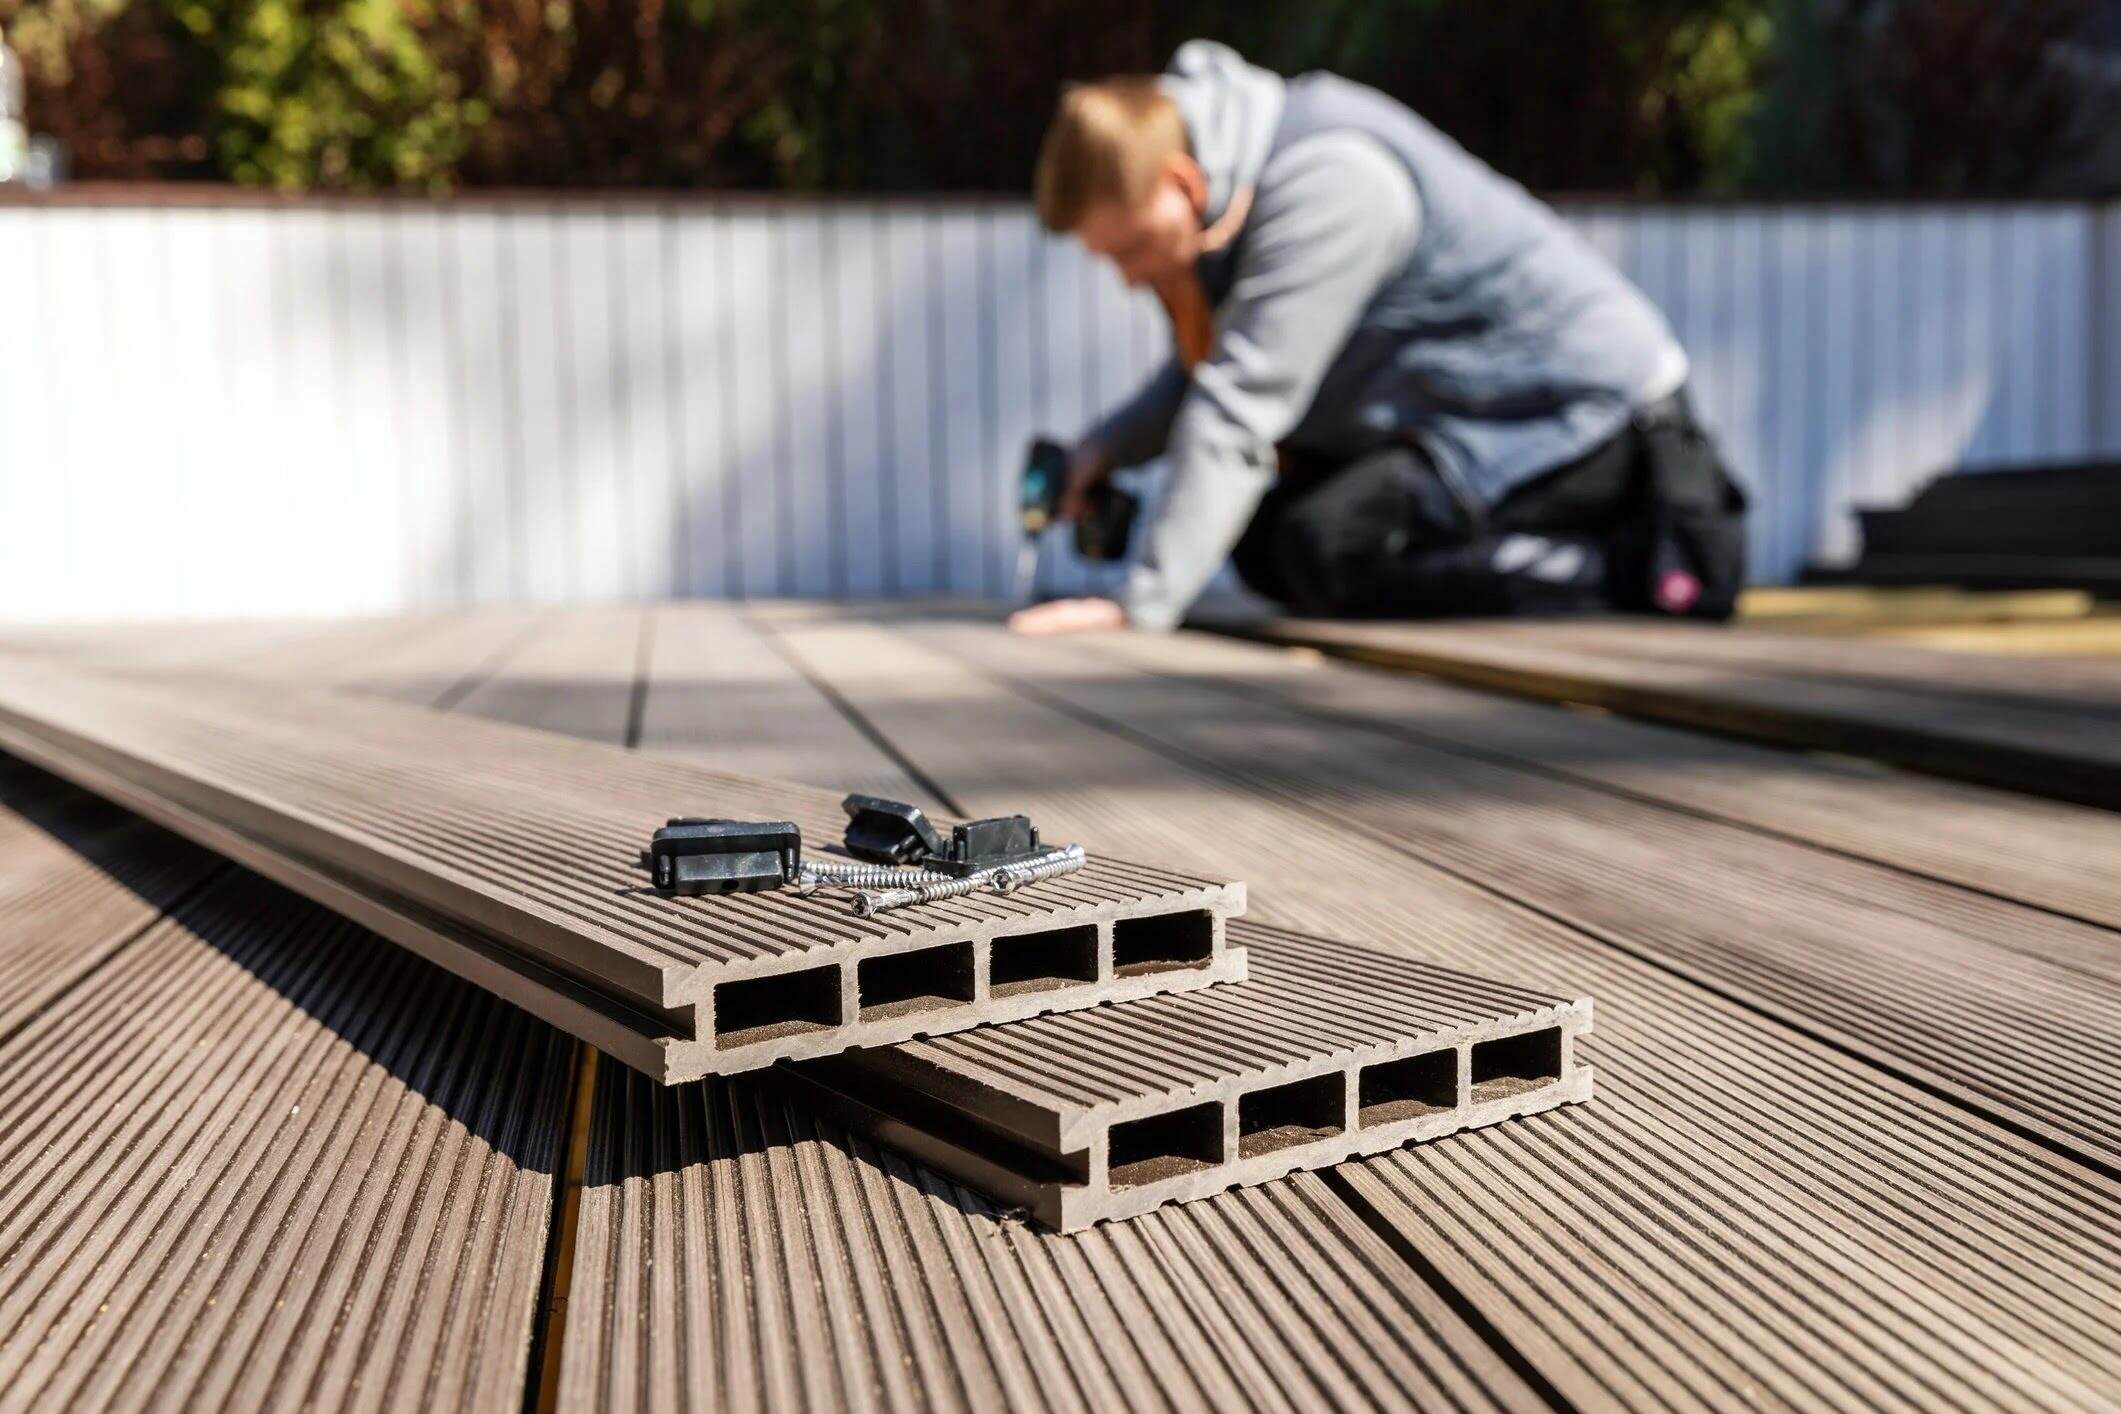
Once the alignment is confirmed, secure the decking boards to the joists using either nails or screws. The choice of fastener will depend on the type of decking material you are using.
If you are using nails, make sure to use corrosion-resistant deck nails and drive them through the decking boards and into the joists. Place a nail at each joist location, ensuring that they are securely fastened.
If you are using screws, use stainless steel or coated deck screws. These screws provide better corrosion resistance and hold the decking boards firmly in place. Insert the screws through the decking and into the joists at each joist location.
Space the nails or screws evenly along each board and make sure to avoid over-tightening, as this can cause the boards to warp or split.
Continue securing each row of decking in the same manner until all the boards are firmly fastened to the joists.
Double-check your work to ensure that all the boards are securely attached and that there are no loose or unstable areas.
By properly securing the decking, you are ensuring its durability and preventing any potential issues, such as loose or squeaky boards, in the future.
Now that the decking is securely fastened, let’s move on to step seven: installing flashing and edge trim.
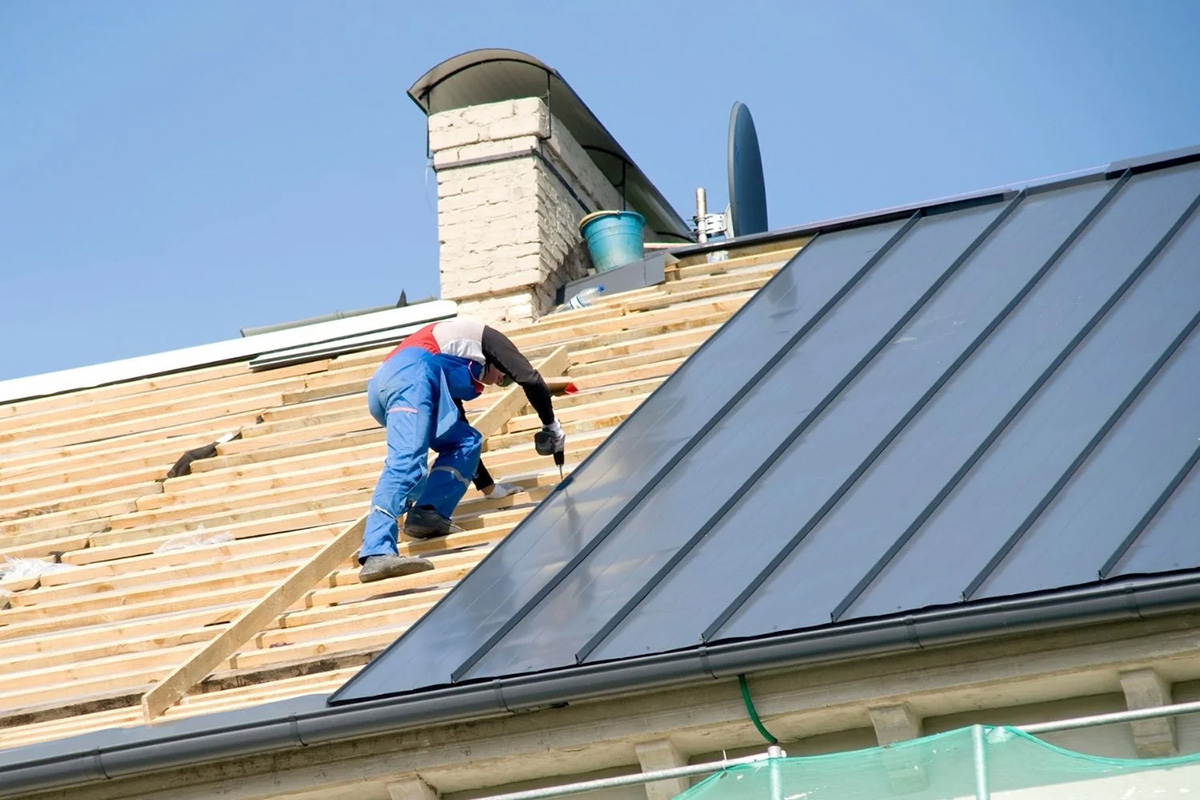
Step 7: Install Flashing and Edge Trim
Installing flashing and edge trim is an important step in ensuring the longevity and integrity of your roof decking. Follow these steps to properly install flashing and edge trim:
Start by installing flashing along the edges of the roof deck. Flashing is a thin metal or PVC material that helps to prevent water penetration and protect the underlying structure.
Measure and cut the flashing to fit the length of each edge, ensuring a slight overhang to direct water away from the deck. Secure the flashing to the edge of the roof deck using fasteners appropriate for the material.
Make sure to overlap the flashing pieces at the corners and secure them together to provide a watertight seal.
Next, install edge trim along the perimeter of the roof deck. Edge trim not only provides a neat and finished look but also helps to protect the edges of the decking boards from moisture and wear.
Measure and cut the edge trim to fit each edge, making sure to miter the corners for a seamless appearance. Secure the edge trim to the decking boards using screws or nails, spacing them evenly along the length.
Make sure that the edge trim is aligned with the decking boards and provides a smooth transition between the deck surface and the edge.
In areas where the decking meets walls or other structures, use a J-channel or similar flashing to cover the gap and provide additional protection.
Properly installing flashing and edge trim is critical to prevent water damage, protect the decking boards, and ensure the overall durability of your roof deck. Take your time during this step to achieve a professional and finished look.
Now that you have installed the flashing and edge trim, it’s time to move on to step eight: applying waterproofing membrane.
Step 8: Apply Waterproofing Membrane
Applying a waterproofing membrane is the final step in ensuring that your roof decking is adequately protected from water damage. Follow these steps to apply the waterproofing membrane:
Start by thoroughly cleaning the surface of the decking. Remove any dirt, dust, or debris that could interfere with the adhesion of the membrane.
Choose a high-quality waterproofing membrane suitable for outdoor use and compatible with your decking material. Roll out the membrane over the entire surface of the decking, ensuring it covers all the seams and edges.
Secure the waterproofing membrane in place by fastening it to the decking using adhesive or mechanical fasteners, as recommended by the manufacturer.
Make sure to follow the manufacturer’s instructions regarding the proper application technique, whether it involves rolling, spraying, or brushing on the membrane.
Ensure that the waterproofing membrane is smooth and free from any wrinkles or air pockets. Smooth it out using a roller or squeegee, if necessary.
Pay special attention to areas such as the edges, seams, and corners where water could potentially penetrate. Apply extra layers of the membrane in these vulnerable areas for added protection.
Allow the waterproofing membrane to fully cure and dry according to the manufacturer’s instructions before proceeding with any further steps.
Applying a waterproofing membrane is essential for protecting your roof decking from water damage, such as leaks and rot. It not only adds an additional layer of protection but also helps to extend the lifespan of your roof deck.
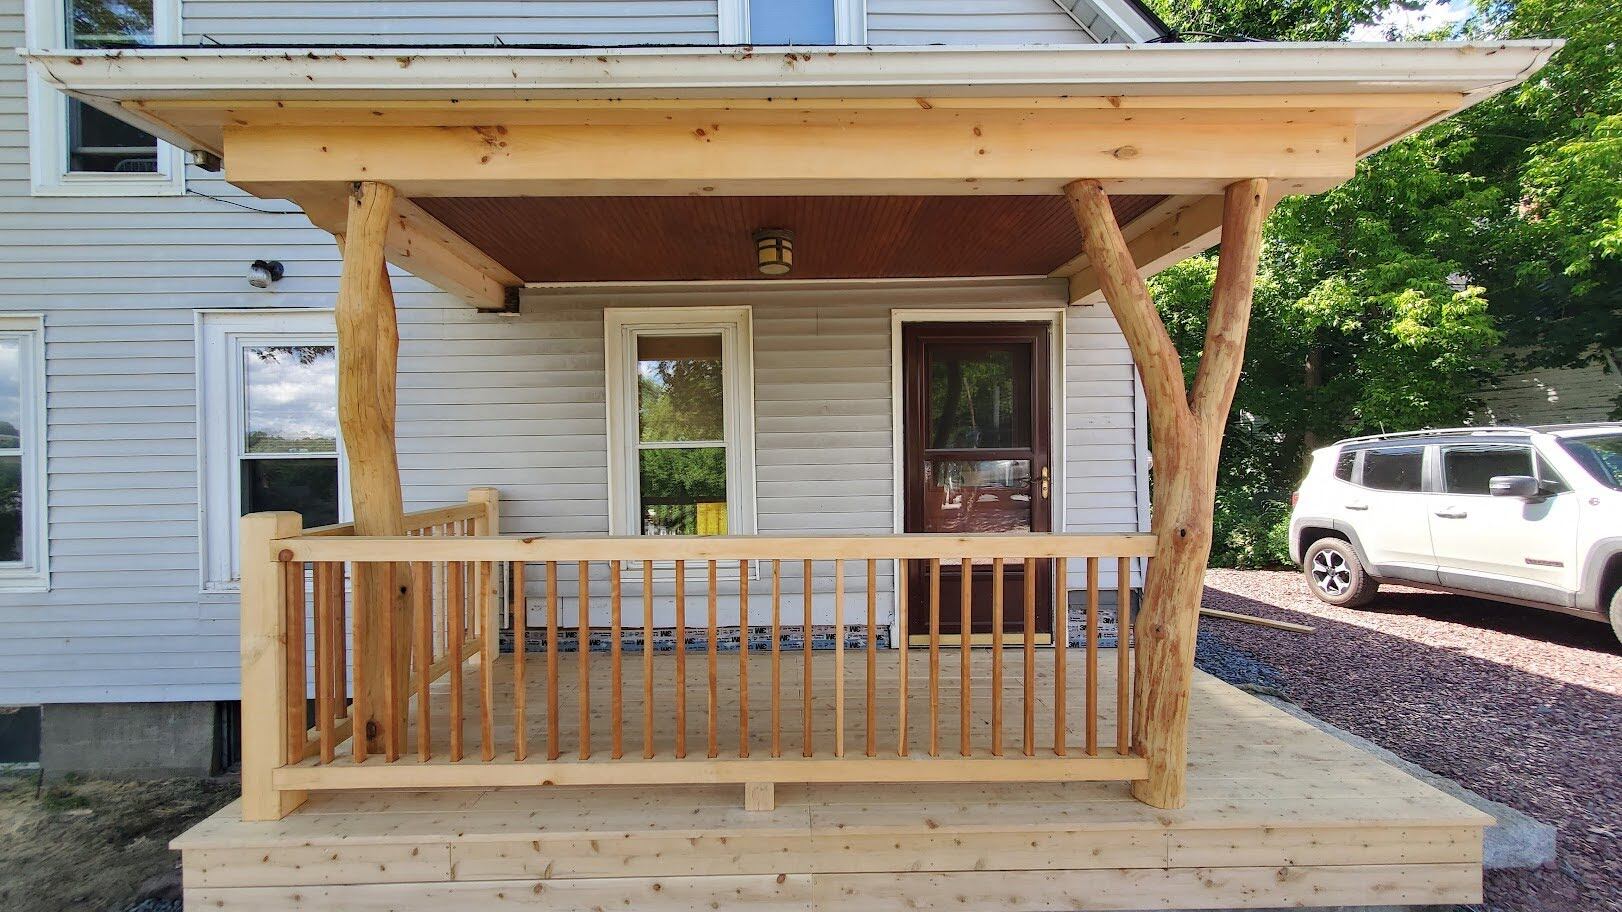
Congratulations! You have successfully completed the process of laying roof decking. The finished result is a durable, beautiful, and functional outdoor space that you can enjoy for years to come.
Remember to regularly inspect and maintain your roof decking to ensure its continued performance and longevity. This includes checking for any signs of damage, cleaning the surface, and addressing any issues promptly.
Enjoy your newly created rooftop oasis and make unforgettable memories with friends and family!
If you have any questions or need further assistance, don’t hesitate to consult with a professional or seek expert advice.
Read more: How To Lay Astro Turf On Decking
Conclusion
Laying roof decking is a rewarding and essential process for transforming your rooftop into a usable and enjoyable outdoor space. By following the steps outlined in this article, you have learned how to prepare the roof deck, calculate and mark joist spacing, cut and install joists, lay the first row of decking, continue installing decking rows, secure the decking, install flashing and edge trim, and apply a waterproofing membrane.
Each step plays a crucial role in ensuring the stability, durability, and protection of your roof decking. From preparing the roof surface to applying the finishing touches, attention to detail and proper execution are key.
Remember, safety should be a top priority throughout the entire process. Wear appropriate safety gear and exercise caution when using power tools or working at heights.
By investing time and effort into the installation of roof decking, you have created a space that offers endless possibilities. Whether it’s a rooftop garden, a cozy outdoor lounge, or a rooftop patio, your newly completed deck provides a venue for relaxation, entertainment, and connection with the outdoors.
Keep in mind that regular maintenance and inspection of your roof decking are vital to prolong its lifespan. Be proactive in addressing any issues, such as damaged boards or signs of water penetration, to ensure that your deck remains in optimal condition for years to come.
Enjoy your newfound rooftop oasis and make lasting memories with friends and family. Embrace the beauty of nature while appreciating the comfort and functionality of your carefully crafted roof deck.
If you have any questions or need further guidance, don’t hesitate to consult with professionals or seek expert advice. They can provide additional insights and assistance to help you make the most out of your roof decking.
Congratulations on completing your roof decking project. Here’s to many enjoyable moments and unforgettable experiences in your elevated outdoor space!
Frequently Asked Questions about How To Lay Roof Decking
Was this page helpful?
At Storables.com, we guarantee accurate and reliable information. Our content, validated by Expert Board Contributors, is crafted following stringent Editorial Policies. We're committed to providing you with well-researched, expert-backed insights for all your informational needs.


0 thoughts on “How To Lay Roof Decking”