Home>Gardening & Outdoor>Pool & Spa Care>How To Build A Homemade Hot Tub
Pool & Spa Care
How To Build A Homemade Hot Tub
Modified: February 26, 2024
Learn how to create your own homemade hot tub and enjoy a relaxing spa experience at home. Get expert tips on pool and spa care for a rejuvenating soak.
(Many of the links in this article redirect to a specific reviewed product. Your purchase of these products through affiliate links helps to generate commission for Storables.com, at no extra cost. Learn more)
Introduction
So, you've been dreaming of having your own hot tub, a place where you can relax and unwind after a long day. While purchasing a hot tub is a popular option, building your own homemade hot tub can be a rewarding and cost-effective alternative. Not only does it allow you to customize the design to fit your space and preferences, but it also provides a sense of accomplishment and pride in creating something with your own hands.
Building a homemade hot tub is a project that requires careful planning, creativity, and a bit of DIY spirit. From designing the layout to gathering materials and constructing the tub, each step presents an opportunity to infuse your personal touch and ingenuity. Whether you're a seasoned DIY enthusiast or a newcomer to the world of construction, this guide will walk you through the process of building your very own homemade hot tub, providing tips, tricks, and insights to help you along the way.
So, roll up your sleeves, put on your thinking cap, and get ready to embark on an exciting journey of creating a luxurious oasis in your own backyard. Let's dive into the planning and design phase to lay the foundation for your homemade hot tub project.
Key Takeaways:
- Building a homemade hot tub is a rewarding DIY project that requires careful planning, creativity, and the right materials and tools. It’s a unique way to create a luxurious retreat in your own backyard.
- From designing the layout to installing the heating system and adding finishing touches, building a homemade hot tub allows you to infuse your personal style and craftsmanship into a relaxing and rejuvenating oasis.
Read more: How To Build In-Ground Hot Tub
Planning and Designing Your Hot Tub
Before you start gathering materials and diving into construction, it's crucial to carefully plan and design your homemade hot tub. Consider the available space in your backyard or designated area, as well as any local building codes or regulations that may impact the construction. Additionally, think about the features you want your hot tub to have, such as seating capacity, shape, and overall aesthetic.
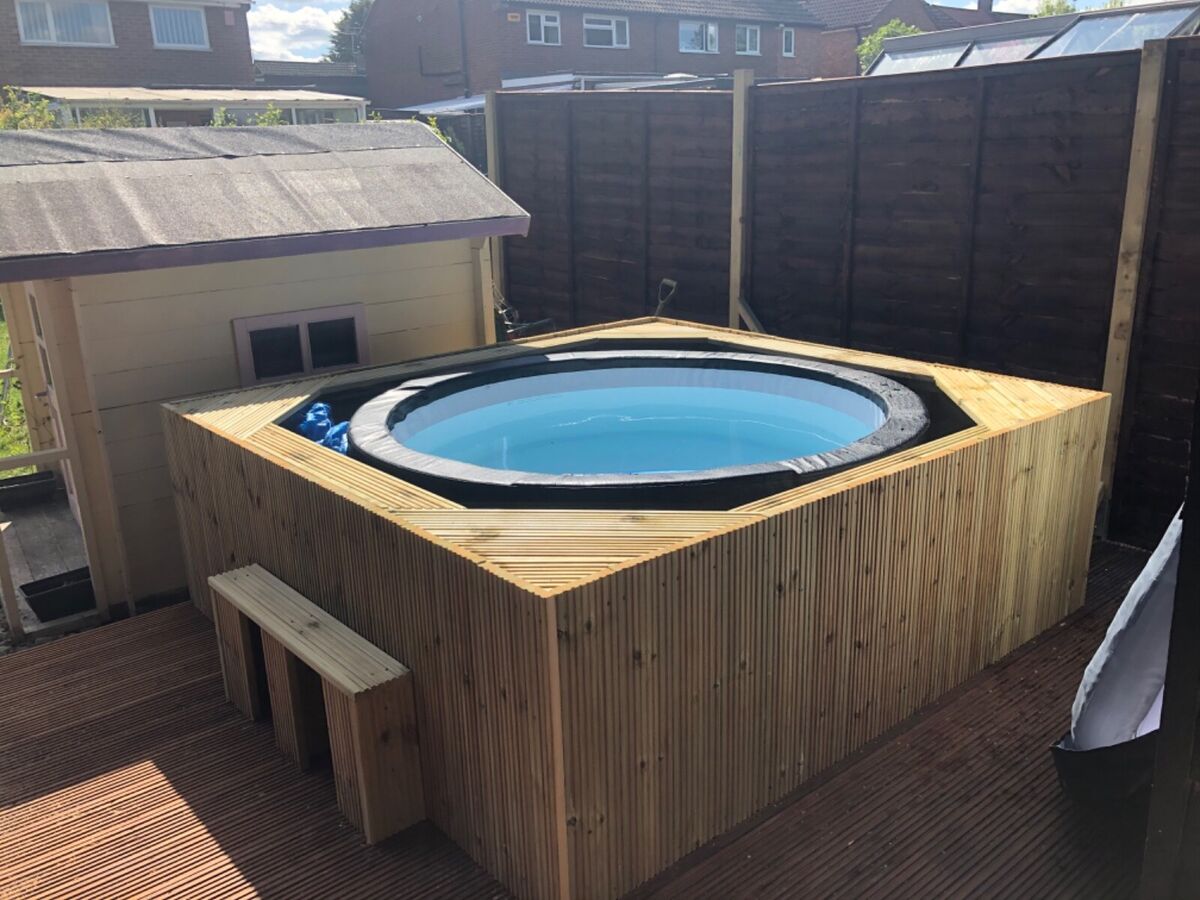
Begin by sketching out your ideal hot tub design, taking into account the dimensions and layout that best suit your space. Consider whether you want a traditional wooden tub, a modern fiberglass design, or a repurposed stock tank for a rustic touch. Take inspiration from existing hot tub designs while adding your own unique elements to make it truly yours.
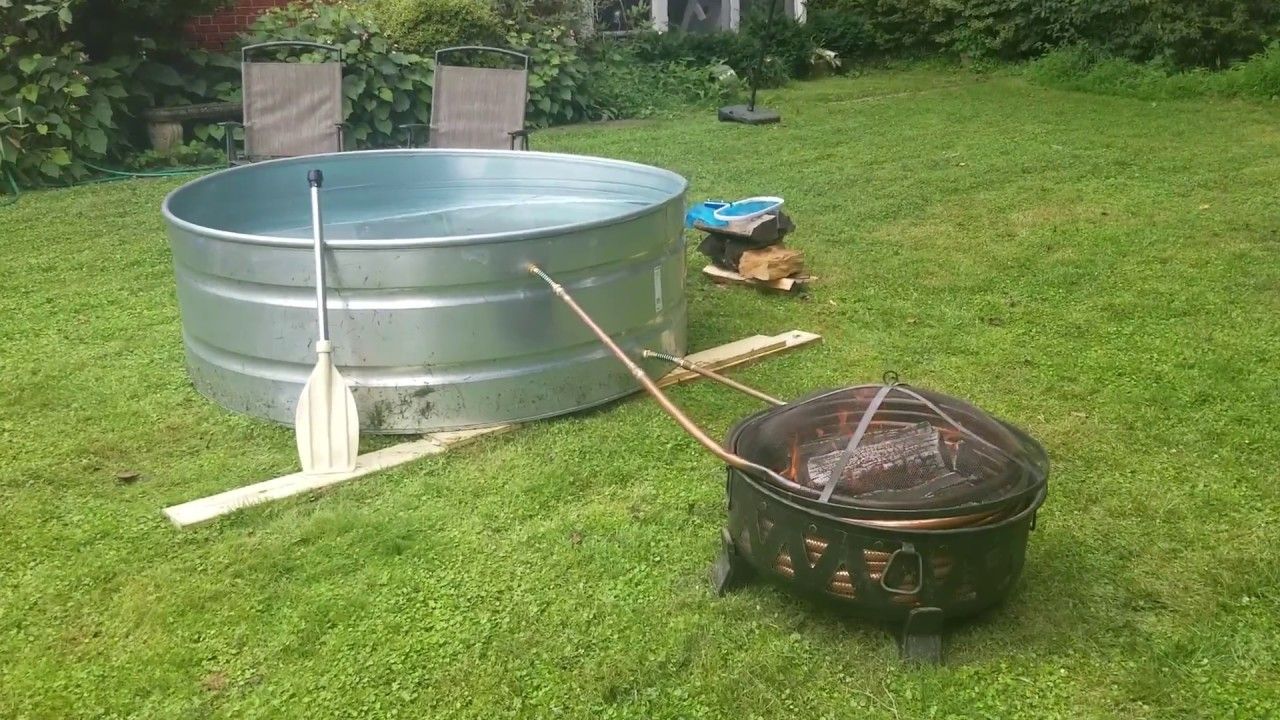
Another important aspect of planning is determining the heating system for your hot tub. Will you opt for a wood-fired heater for a traditional feel, or would you prefer a more modern electric or gas heating setup? Each option comes with its own considerations, such as cost, maintenance, and environmental impact.
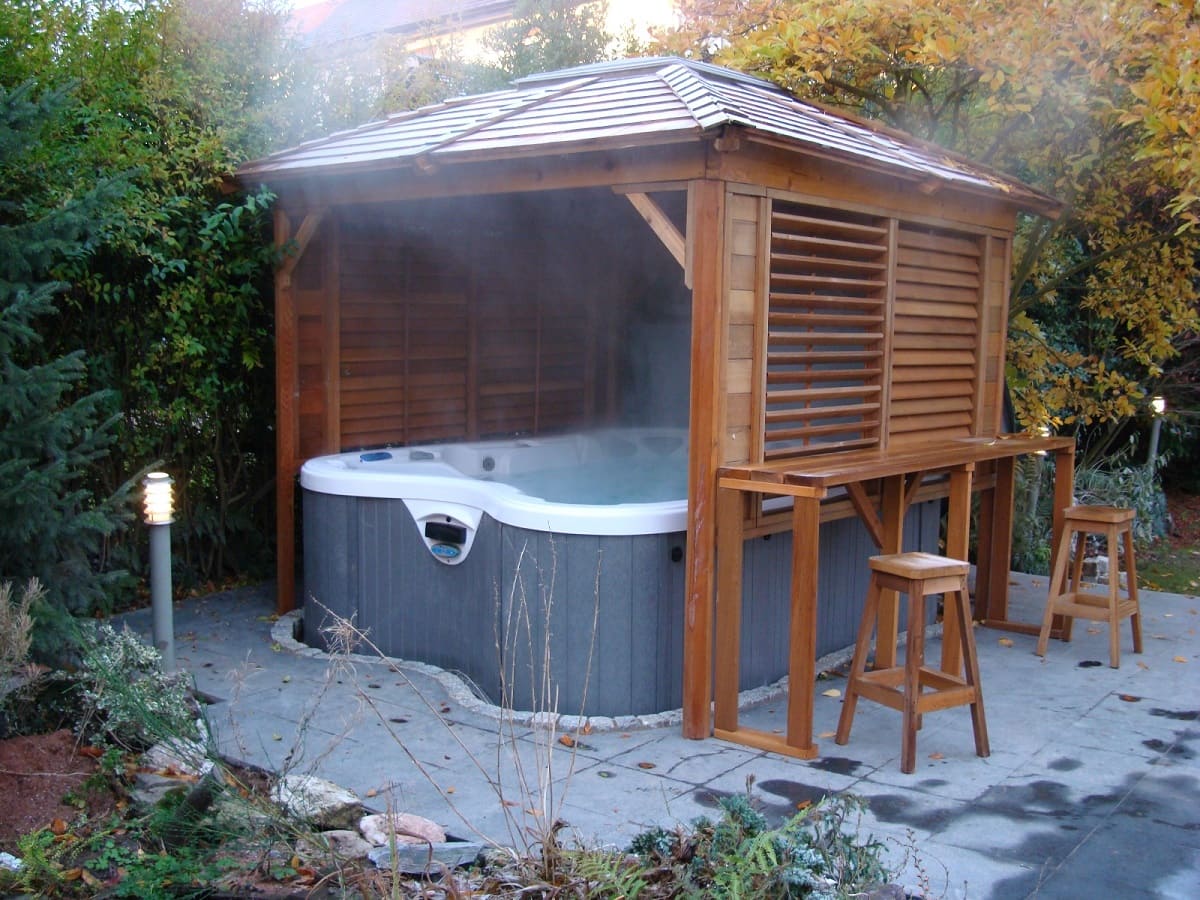
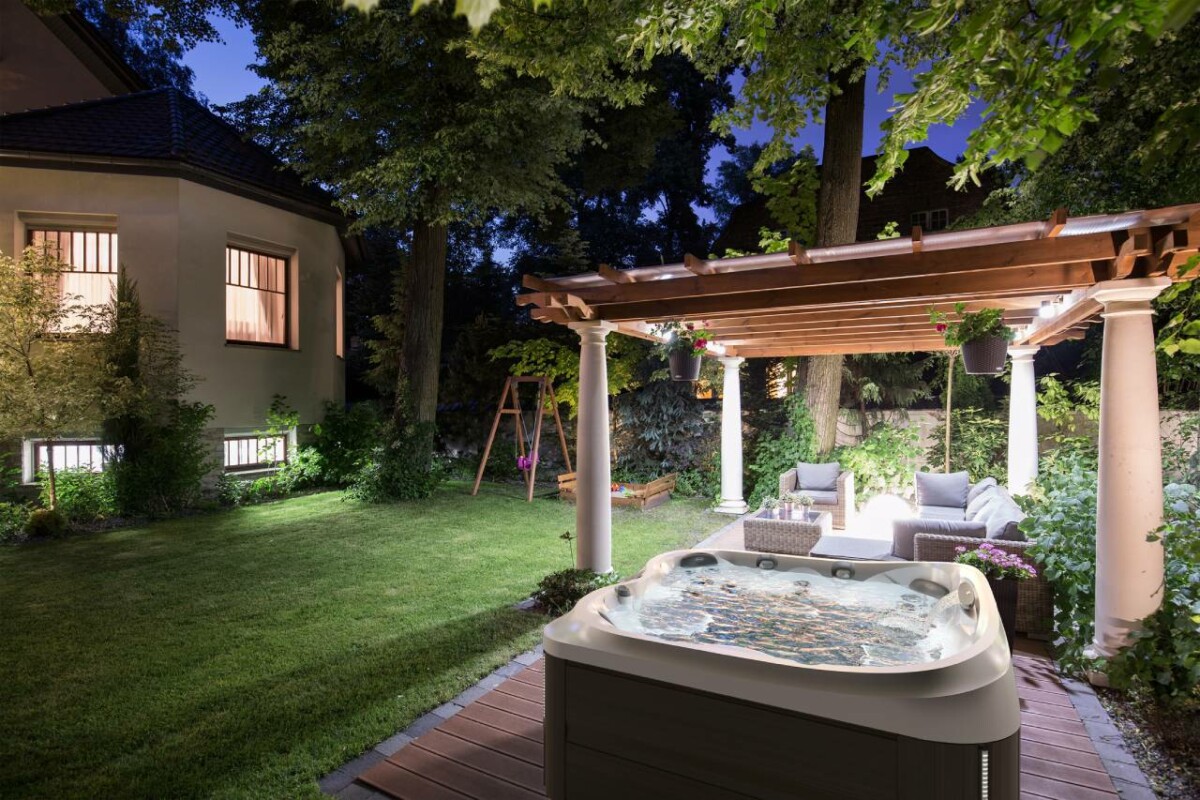
Moreover, think about the overall ambiance you want to create around your hot tub. Will it be integrated into a larger outdoor living space, surrounded by lush greenery and ambient lighting? Visualizing the atmosphere you want to achieve can guide your design choices and help create a cohesive and inviting outdoor retreat.
Once you have a clear vision of your homemade hot tub, it's time to move on to the next step: gathering the necessary materials and tools to bring your design to life.
Gathering Materials and Tools
With your hot tub design in hand, it’s time to gather the materials and tools needed to turn your vision into a reality. The specific materials required will depend on your chosen design and heating system, but there are some common elements you’ll likely need.
If you’re building a wooden hot tub, you’ll need high-quality, weather-resistant wood such as cedar or redwood for the tub walls. Look for wood that can withstand exposure to moisture and temperature changes without warping or deteriorating. Additionally, you’ll need sturdy hardware such as screws, bolts, and brackets to assemble the tub frame securely.
For the hot tub’s interior, a waterproof lining or sealant is essential to prevent leaks and maintain the structural integrity of the tub. Depending on your design, you may also require insulation materials to regulate the temperature and improve energy efficiency.
When it comes to the heating system, gather the necessary components based on your chosen method. For a wood-fired heater, you’ll need fire-resistant materials for the heater enclosure, chimney pipe, and firebox. If you opt for an electric or gas heater, ensure you have the appropriate wiring, piping, and safety features in place.
Aside from materials, having the right tools is crucial for a successful construction project. A sturdy saw for cutting wood, a drill for securing components, and measuring tools for precision are essential. Depending on your design, you may also need specialized tools for working with plumbing, electrical wiring, or metal fabrication.
As you gather materials and tools, consider the safety and longevity of the components. Investing in high-quality materials and durable tools can contribute to the overall durability and performance of your homemade hot tub.
Once you have all the necessary materials and tools at your disposal, it’s time to roll up your sleeves and start building the frame of your hot tub.
Building the Hot Tub Frame
With the materials and tools in hand, it’s time to embark on the exciting phase of constructing the frame of your homemade hot tub. The frame serves as the foundation for the tub, providing structural support and shaping the overall form of the hot tub.
Begin by cutting the wood to the appropriate dimensions based on your design. Whether you’re crafting a circular, oval, or rectangular hot tub, precision in cutting the wood is essential to ensure a seamless fit and a sturdy frame. Take care to create smooth, even edges that will facilitate a secure assembly.
Assemble the cut wood pieces to form the walls of the hot tub, securing them tightly with the chosen hardware. For added stability and durability, consider reinforcing the corners and joints with additional supports or bracing. This step is crucial in ensuring that the hot tub can withstand the weight of the water and occupants without sagging or weakening over time.
When building the frame, it’s important to plan for access panels or hatches that allow for maintenance and potential repairs in the future. Incorporating these access points into the design can make servicing the hot tub’s interior components more manageable and less intrusive.
As you construct the frame, periodically check for levelness and alignment to maintain the integrity of the structure. A level, well-constructed frame is essential for the proper installation of the hot tub’s interior components and the overall functionality of the tub.
Once the frame is securely assembled, take the time to inspect the construction for any potential gaps or weak points. Address any areas of concern promptly to ensure that the frame provides a solid and reliable base for the next phase of the hot tub construction.
With the hot tub frame in place, the foundation for your homemade hot tub is set. The next step involves installing the heating system, a critical component that will provide the soothing warmth essential for a truly relaxing hot tub experience.
When building a homemade hot tub, make sure to use a waterproof and durable material for the tub, such as cedar or redwood, to ensure longevity and prevent leaks.
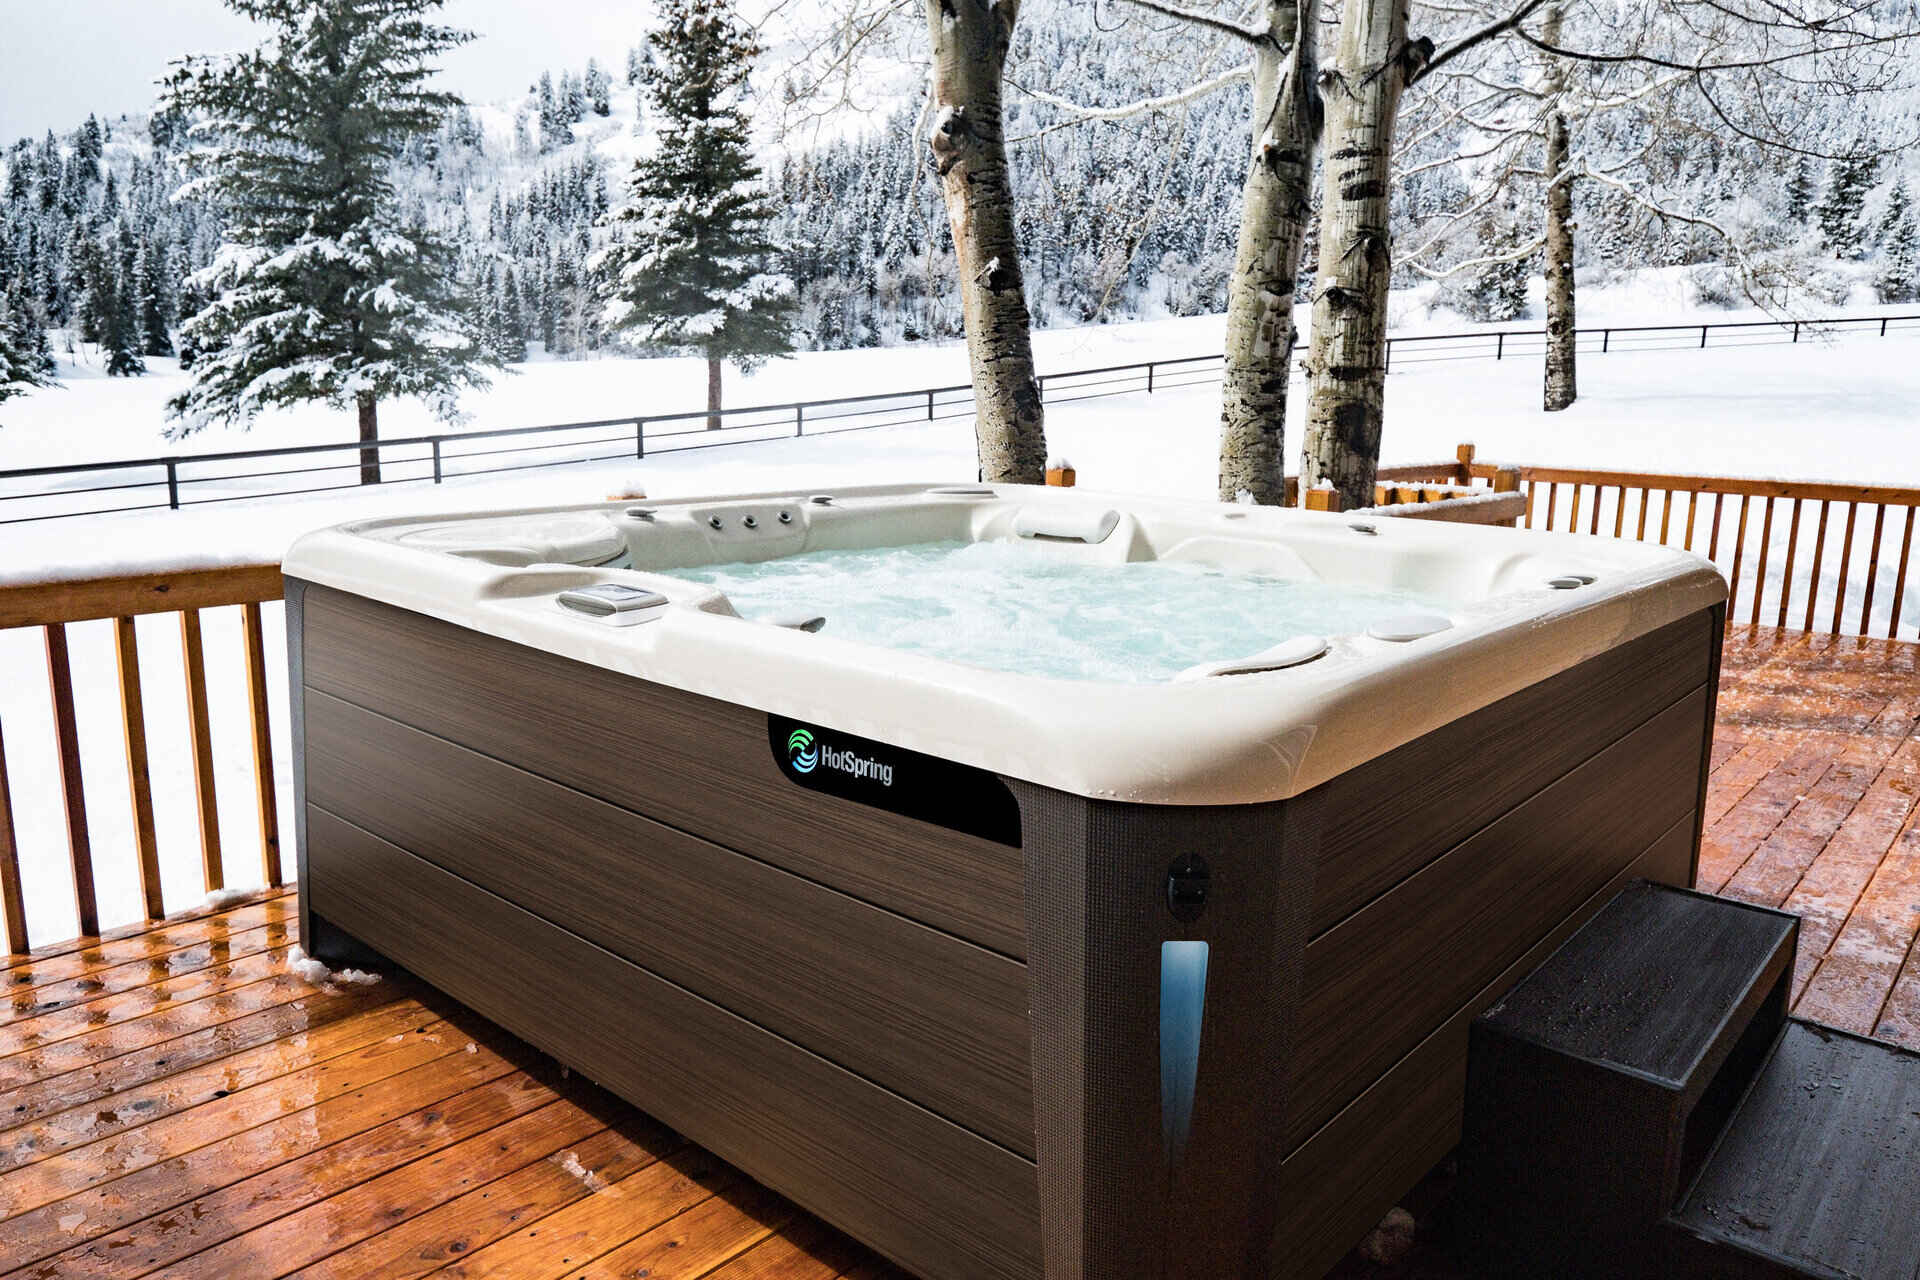
Installing the Heating System
The heating system is the heart of your homemade hot tub, providing the warmth and comfort that make the experience truly rejuvenating. Whether you’ve chosen a wood-fired, electric, or gas heating setup, the installation process requires careful attention to detail and safety considerations.
If you’ve opted for a wood-fired heater, begin by constructing the firebox and chimney assembly according to the manufacturer’s guidelines. It’s crucial to position the firebox securely and ensure proper ventilation to prevent the buildup of smoke and fumes within the hot tub area. Additionally, establish a safe distance between the firebox and the hot tub to minimize the risk of accidental contact or heat damage.
For electric or gas heating systems, follow the specific installation instructions provided with the heater. This may involve connecting the heater to a dedicated power source or gas line, depending on the chosen heating method. Prioritize safety measures such as ground fault circuit interrupters (GFCIs) for electric heaters and proper ventilation for gas-powered systems.
Integrate the heating system seamlessly into the hot tub design, ensuring that the components are securely positioned and that any exposed wiring or piping is adequately protected. Concealment of wiring and piping can enhance the visual appeal of the hot tub while minimizing potential hazards.
Once the heating system is installed, perform thorough testing to ensure that it operates efficiently and safely. Verify that all controls, sensors, and safety features are functioning as intended, and address any issues promptly to guarantee a reliable and secure heating setup.
As you complete the installation of the heating system, take the time to familiarize yourself with the maintenance requirements and operational considerations specific to your chosen heating method. Understanding how to maintain and operate the heating system will contribute to the long-term enjoyment and performance of your homemade hot tub.
With the heating system in place, your homemade hot tub is one step closer to providing a luxurious and soothing retreat in your own backyard. The next phase involves creating the seating and insulation to enhance comfort and optimize the hot tub’s energy efficiency.
Read more: How To Build Deck For Hot Tub
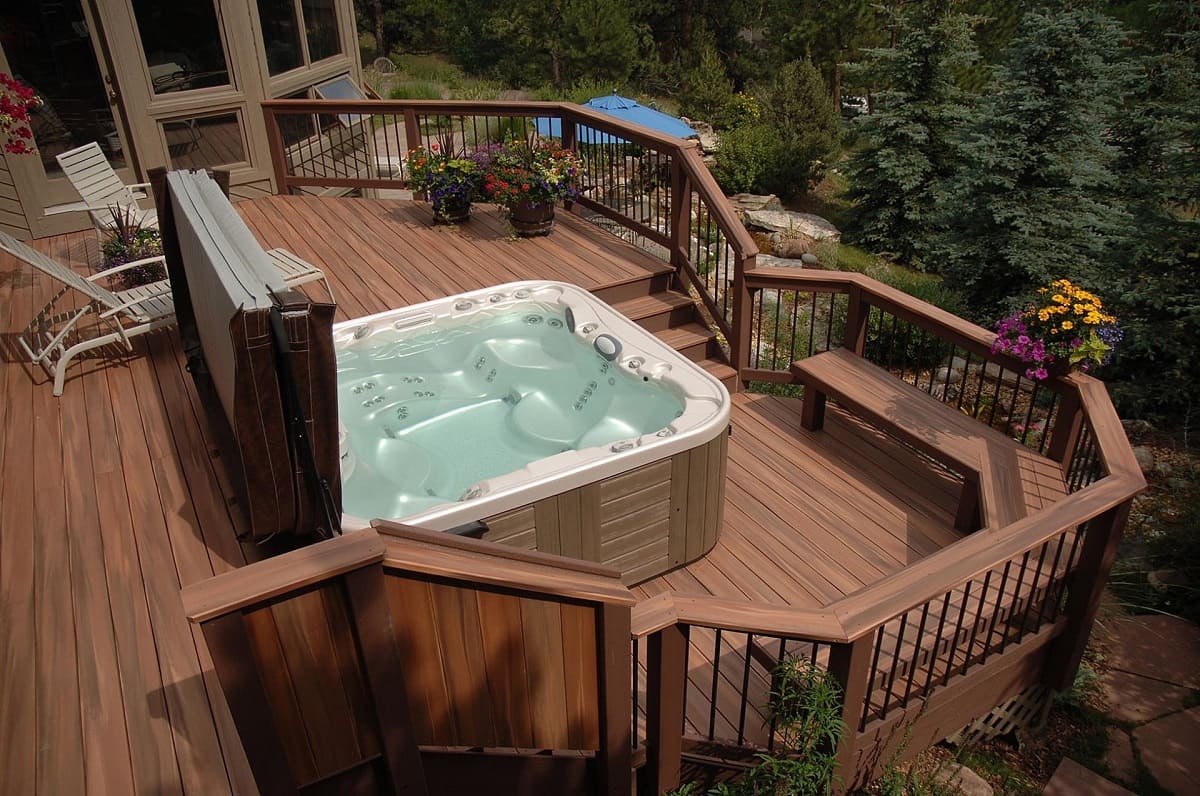
Creating the Seating and Insulation
As you venture into the next phase of building your homemade hot tub, the focus shifts to creating comfortable seating and implementing effective insulation to optimize energy efficiency and heat retention.
When designing the seating for your hot tub, consider the number of occupants it should accommodate and the desired comfort level. Whether you opt for built-in bench-style seating or individual contoured seats, prioritize ergonomics and ample space for relaxation. Additionally, ensure that the seating configuration allows for easy access to the hot tub’s interior and aligns with the overall aesthetic of your design.
Integrating insulation into the hot tub construction is essential for maintaining water temperature and minimizing heat loss. Depending on your chosen materials and design, insulation can be added between the tub walls and an interior lining or incorporated into the base of the hot tub. Consider using insulating materials such as foam panels or spray foam to create a thermal barrier that enhances the hot tub’s energy efficiency.
Sealing any gaps or potential sources of heat loss is crucial to the effectiveness of the insulation. Pay attention to areas where the tub walls meet the seating, as well as any openings for plumbing or electrical components. Properly sealing these areas can prevent heat from escaping and contribute to a consistently warm and inviting hot tub experience.
In addition to thermal insulation, acoustic insulation can be beneficial for reducing noise and creating a more serene atmosphere around the hot tub. Consider incorporating sound-absorbing materials or strategic placement of landscaping features to minimize external disturbances and enhance the overall ambience of your outdoor oasis.
As you create the seating and implement insulation, take the opportunity to personalize the hot tub with additional features that enhance comfort and convenience. This may include integrated cup holders, storage compartments for towels and accessories, or adjustable headrests for added relaxation.
By prioritizing comfortable seating and effective insulation, you’re not only enhancing the functionality of your homemade hot tub but also elevating the overall comfort and enjoyment it offers. With the foundation and essential components in place, it’s time to add the finishing touches that will transform your hot tub into a stunning and inviting retreat.
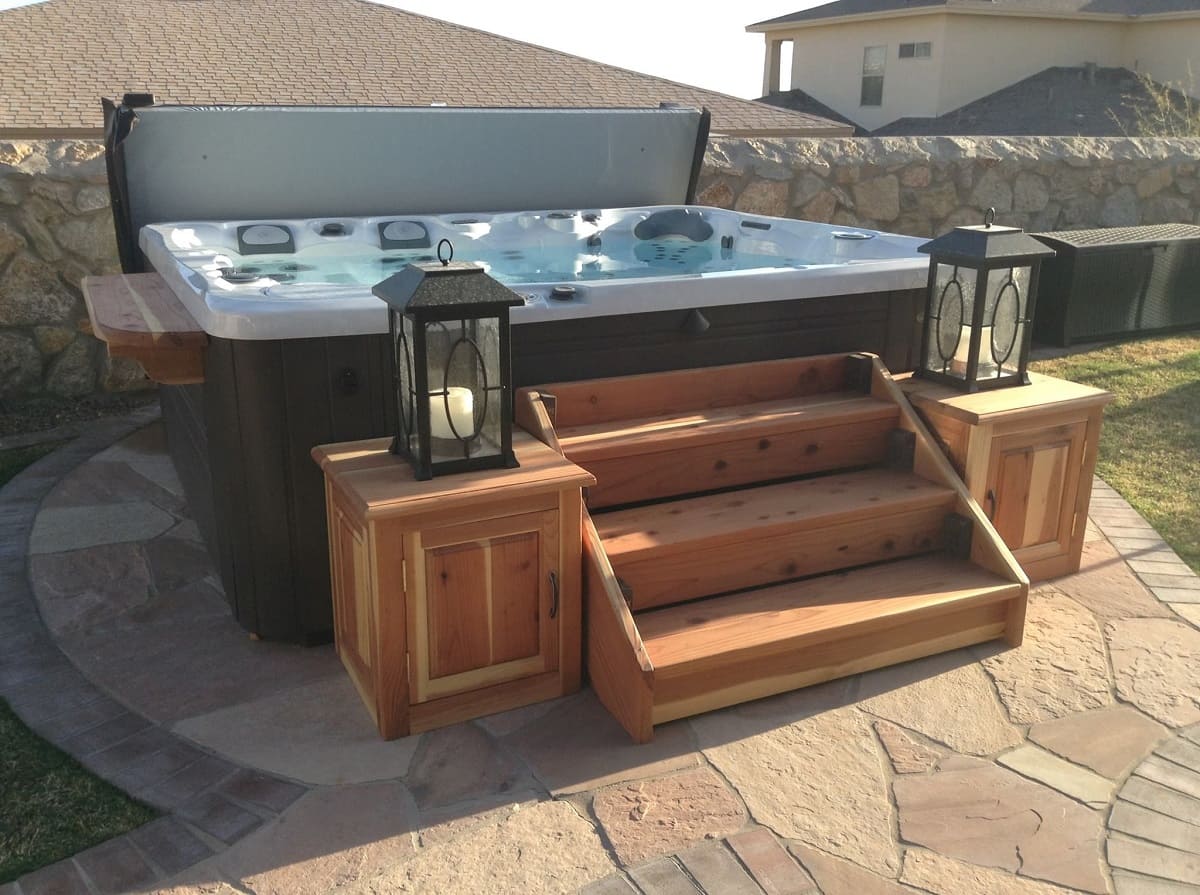
Adding the Finishing Touches
As you approach the final stages of building your homemade hot tub, it’s time to add the finishing touches that will elevate its aesthetic appeal and functionality. These details can transform your hot tub from a construction project into a luxurious and inviting retreat in your own backyard.
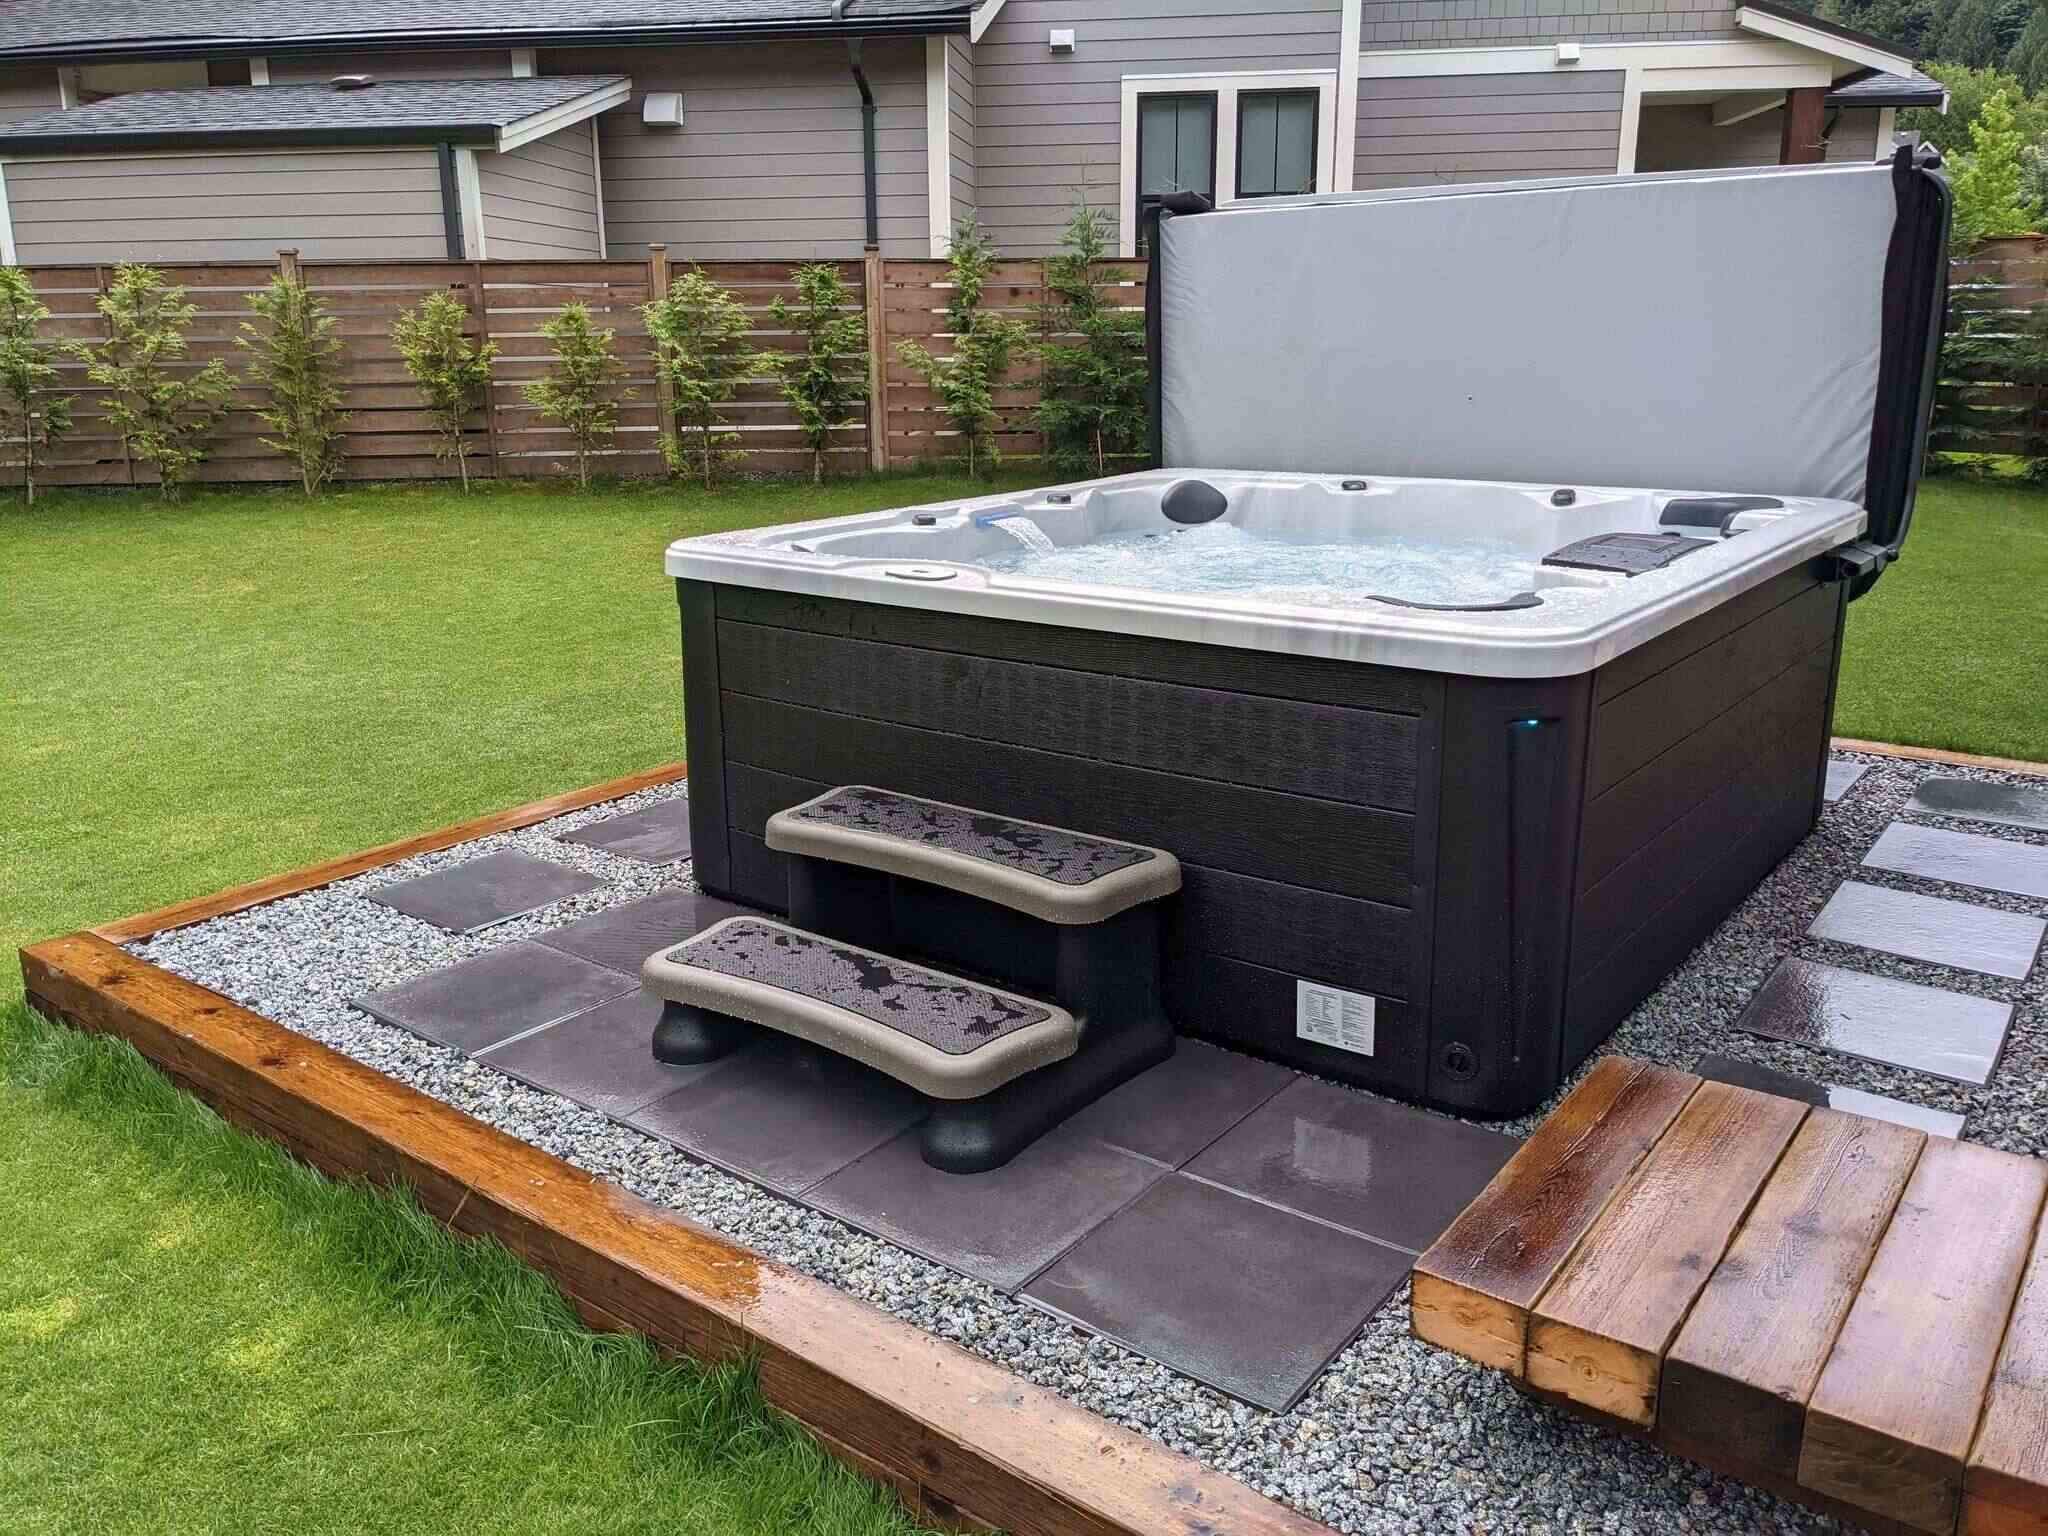
One essential finishing touch is the hot tub’s exterior cladding or finish. Whether you choose to showcase the natural beauty of wood with a clear sealant, apply a protective stain, or opt for a more contemporary finish, the exterior treatment can enhance the hot tub’s visual impact while providing durability and weather resistance.
Consider incorporating lighting features around the hot tub area to create a captivating ambiance during evening soaks. LED strip lights, discreetly placed fixtures, or solar-powered lanterns can illuminate the space and contribute to a relaxing and inviting atmosphere. Additionally, lighting can enhance safety and visibility around the hot tub, especially if it’s integrated into a larger outdoor living area.
To further personalize your homemade hot tub, explore the addition of accessories and conveniences that enhance the overall experience. This may include a convenient storage solution for towels and robes, a secure spot for drinks and snacks, or even a built-in sound system for enjoying music while relaxing in the warm waters.
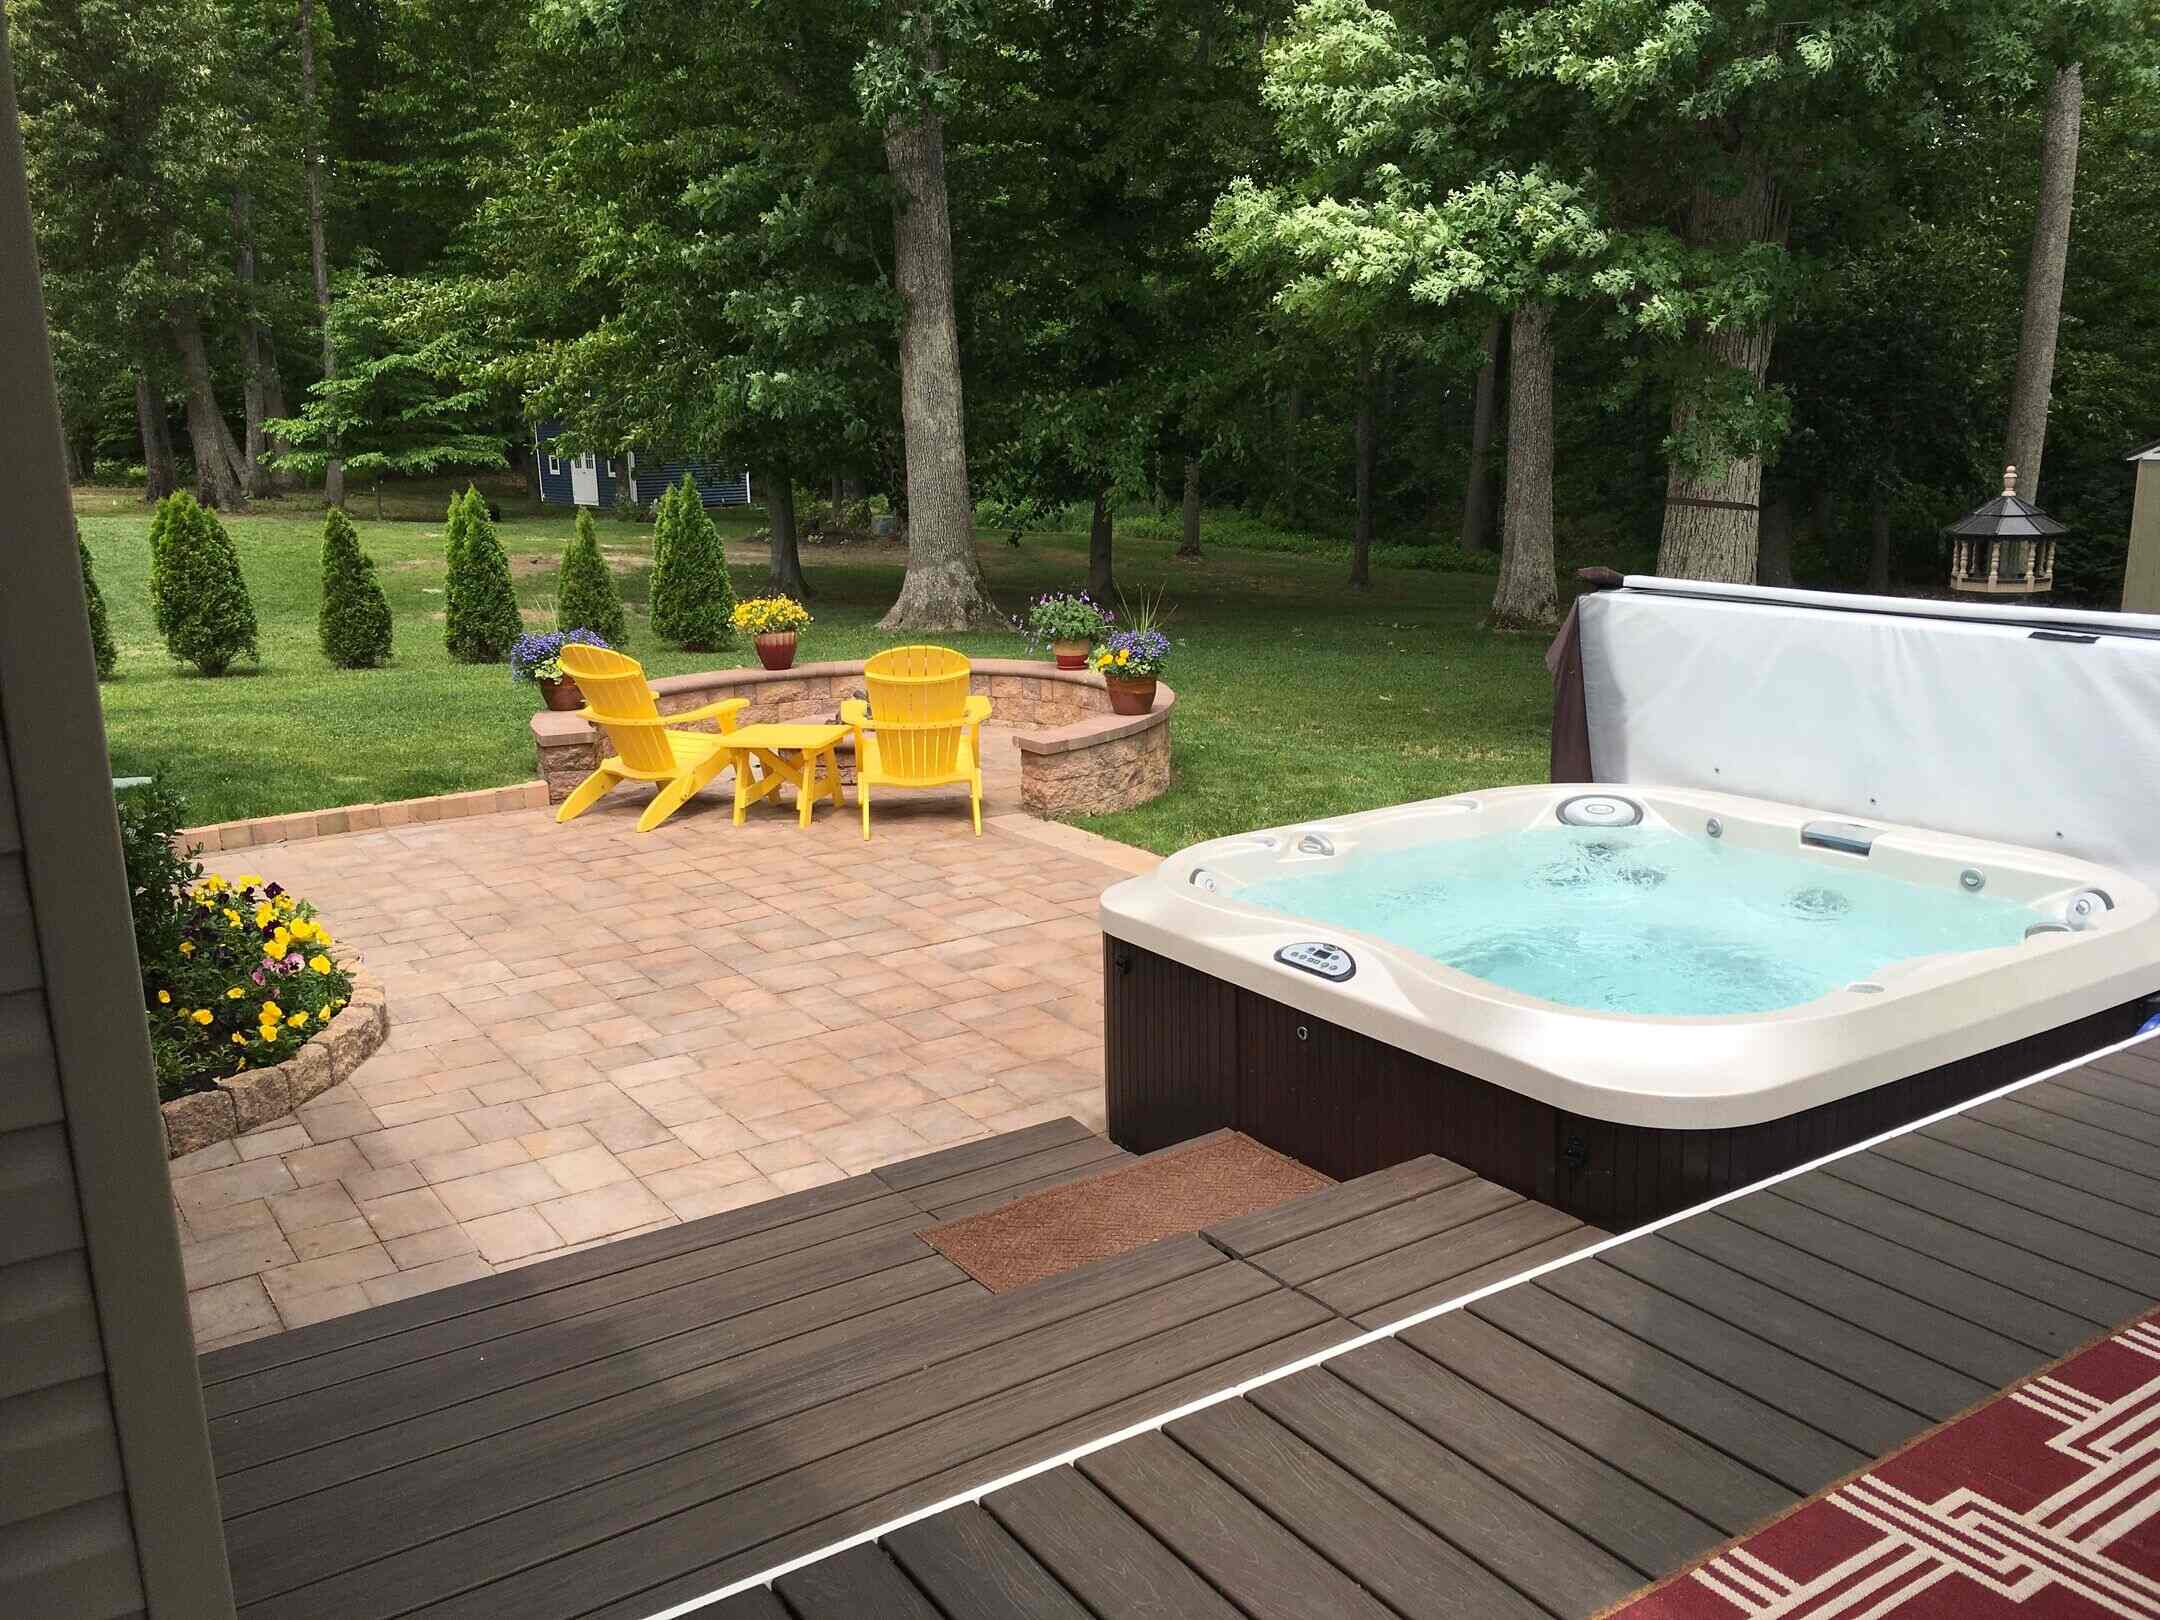
Landscaping and hardscaping elements can complement the hot tub, creating a cohesive and visually appealing outdoor retreat. Surrounding the hot tub with lush greenery, strategically placed potted plants, or decorative stones can enhance the natural beauty of the space and promote a sense of tranquility and privacy.
Finally, consider adding safety features such as handrails, non-slip surfaces, and clearly marked steps to ensure a secure and worry-free hot tub experience for you and your guests. Safety should always be a priority, and these elements can provide peace of mind while enhancing the functionality of the hot tub area.
With the finishing touches in place, your homemade hot tub is ready to provide a luxurious and rejuvenating escape right in your own backyard. By infusing your personal style and preferences into the design, you’ve created a unique and inviting oasis that reflects your creativity and craftsmanship.
Now, it’s time to step back, relax, and bask in the satisfaction of bringing your homemade hot tub vision to life.
Conclusion
Congratulations on completing the journey of building your very own homemade hot tub! From the initial planning and design phase to the meticulous construction and thoughtful finishing touches, you’ve poured your creativity, dedication, and craftsmanship into creating a luxurious retreat in your own backyard.
Building a homemade hot tub is not just a construction project; it’s an opportunity to craft a space that reflects your unique vision and provides a sanctuary for relaxation and rejuvenation. By embracing the DIY spirit and infusing your personal touch into every aspect of the hot tub’s creation, you’ve crafted a one-of-a-kind oasis that embodies your ingenuity and passion for craftsmanship.
As you prepare to enjoy the fruits of your labor, take a moment to appreciate the journey you’ve undertaken. Building a homemade hot tub is a testament to your resourcefulness, creativity, and willingness to embrace a hands-on approach to creating a space that enhances your lifestyle and well-being.
Whether you’re unwinding after a long day, hosting gatherings with friends and family, or simply indulging in moments of solitude, your homemade hot tub stands as a testament to your ability to turn a dream into a tangible and rewarding reality.
As you immerse yourself in the soothing waters of your homemade hot tub, surrounded by the beauty and craftsmanship you’ve brought to life, savor the satisfaction of knowing that you’ve created a space that brings joy, relaxation, and a touch of luxury to your everyday life.
So, here’s to the countless moments of tranquility, laughter, and cherished memories that await in your homemade hot tub. Cheers to your creativity, determination, and the remarkable achievement of building a personalized oasis that embodies your unique style and spirit.
Now, it’s time to revel in the comfort and luxury of your very own homemade hot tub. Sit back, relax, and let the warm waters and the pride of your accomplishment wash over you.
Frequently Asked Questions about How To Build A Homemade Hot Tub
Was this page helpful?
At Storables.com, we guarantee accurate and reliable information. Our content, validated by Expert Board Contributors, is crafted following stringent Editorial Policies. We're committed to providing you with well-researched, expert-backed insights for all your informational needs.


0 thoughts on “How To Build A Homemade Hot Tub”