Home>Gardening & Outdoor>Pool & Spa Care>How To Build An Outdoor Hot Tub

Pool & Spa Care
How To Build An Outdoor Hot Tub
Modified: October 30, 2024
Learn how to build an outdoor hot tub and create the perfect oasis for pool and spa care. Get expert tips and advice for your DIY project.
(Many of the links in this article redirect to a specific reviewed product. Your purchase of these products through affiliate links helps to generate commission for Storables.com, at no extra cost. Learn more)
Introduction
Welcome to the ultimate guide on how to build an outdoor hot tub! Imagine relaxing under the open sky, surrounded by nature, in your very own hot tub. Building an outdoor hot tub can be a rewarding and enjoyable project, allowing you to create a luxurious oasis in your backyard. In this comprehensive guide, we will walk you through the step-by-step process of constructing a stunning outdoor hot tub, from selecting the perfect location to adding the finishing touches. Whether you are a seasoned DIY enthusiast or a first-time builder, this article will provide you with the knowledge and inspiration to bring your hot tub dreams to life.
So, roll up your sleeves and get ready to embark on an exciting journey of craftsmanship and relaxation. Let’s dive into the details of creating your own outdoor hot tub retreat!
Key Takeaways:
- Building an outdoor hot tub requires careful planning, sturdy construction, and attention to detail. From selecting the perfect location to adding the finishing touches, creating a luxurious oasis is a rewarding and enjoyable project.
- Proper plumbing and electrical work are vital for the functionality and safety of your outdoor hot tub. By addressing these aspects meticulously, you’ll ensure a worry-free relaxation experience for years to come.
Read more: How To Build In-Ground Hot Tub
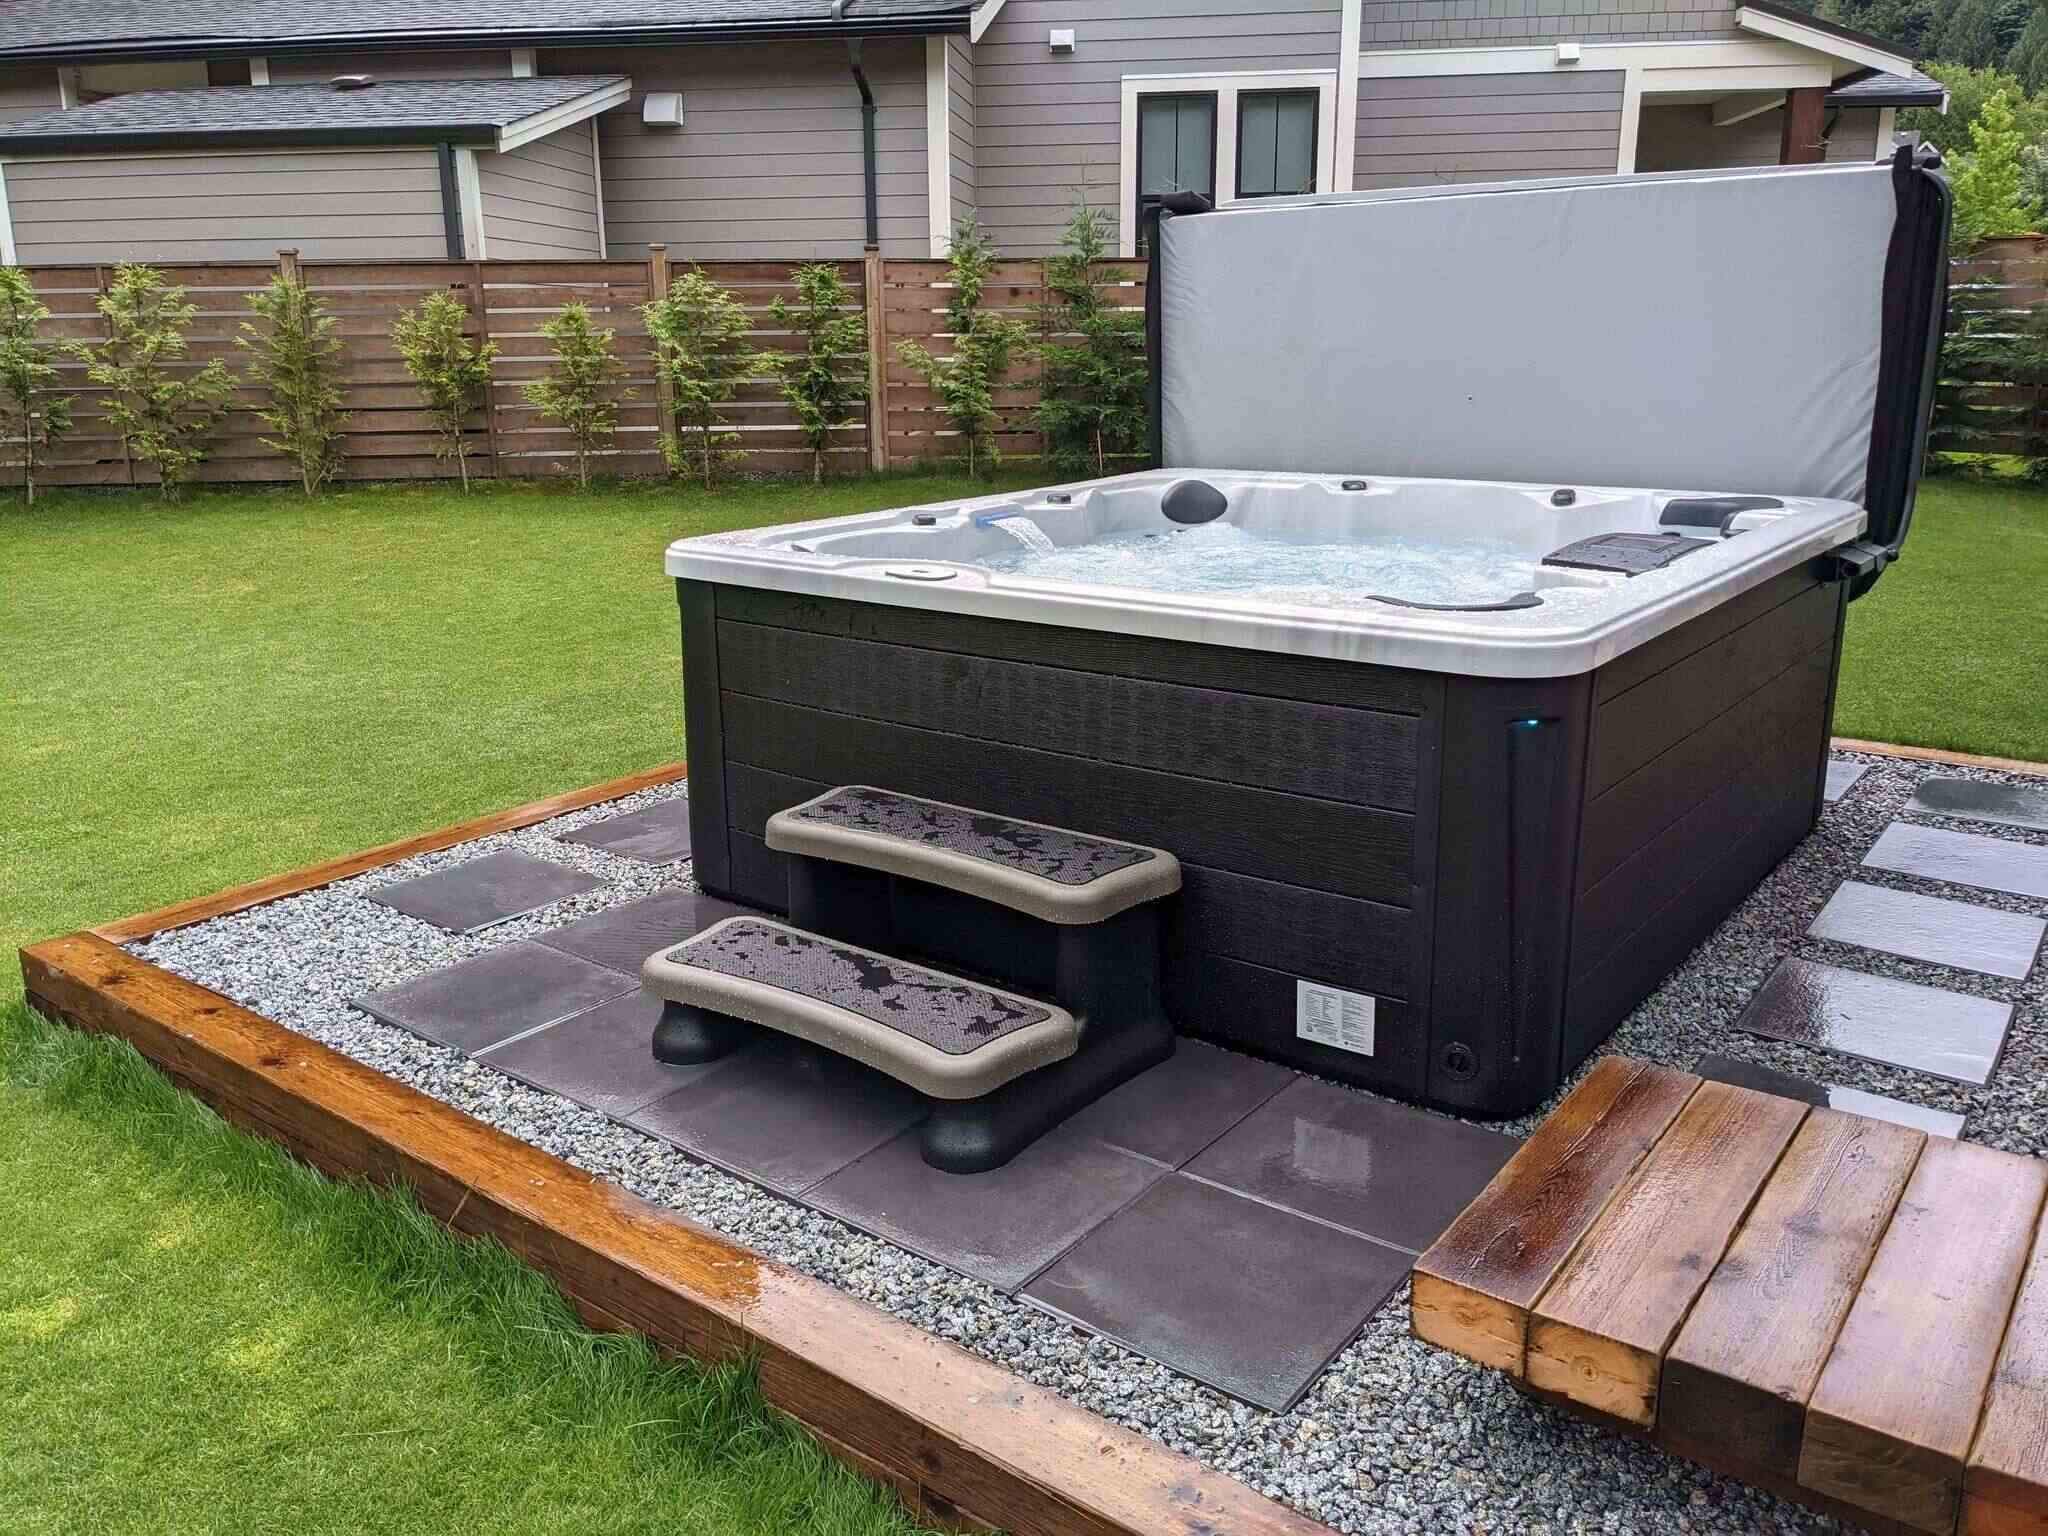
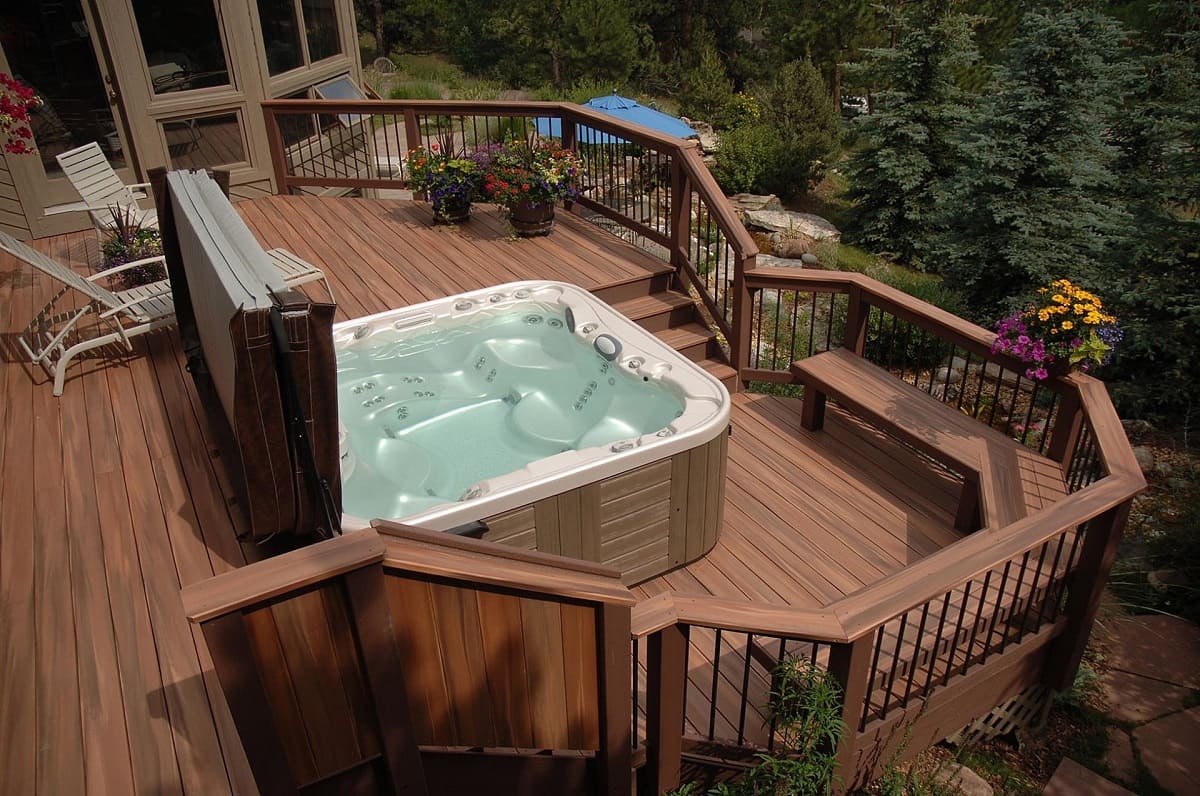
Step 1: Selecting the Location
Choosing the right location for your outdoor hot tub is crucial for creating a serene and functional space. Consider the following factors when selecting the perfect spot:
- Accessibility: Ensure that the location is easily accessible from your home, allowing for convenient and safe access to the hot tub.
- Privacy: Select a secluded area that offers privacy from neighbors and passersby. This will enhance the relaxation experience and create a tranquil atmosphere.
- Supportive Ground: The chosen location should have a level and stable surface to support the weight of the hot tub, water, and occupants. A concrete pad or a sturdy deck can serve as an ideal foundation.
- Scenic Views: If possible, position the hot tub to take advantage of scenic views or natural features in your backyard, such as a garden, trees, or a picturesque landscape.
- Sun and Shade: Consider the sun exposure throughout the day. A balance of sunlight and shade will allow for comfortable soaking at any time, while also preventing excessive heat or glare.
After assessing these factors, mark the chosen location and take measurements to aid in the planning and construction process. Keep in mind that the location should comply with any local building codes or regulations regarding outdoor structures and installations.
Once you have found the perfect spot, you are ready to move on to the next step: gathering the materials and tools needed for building your outdoor hot tub.
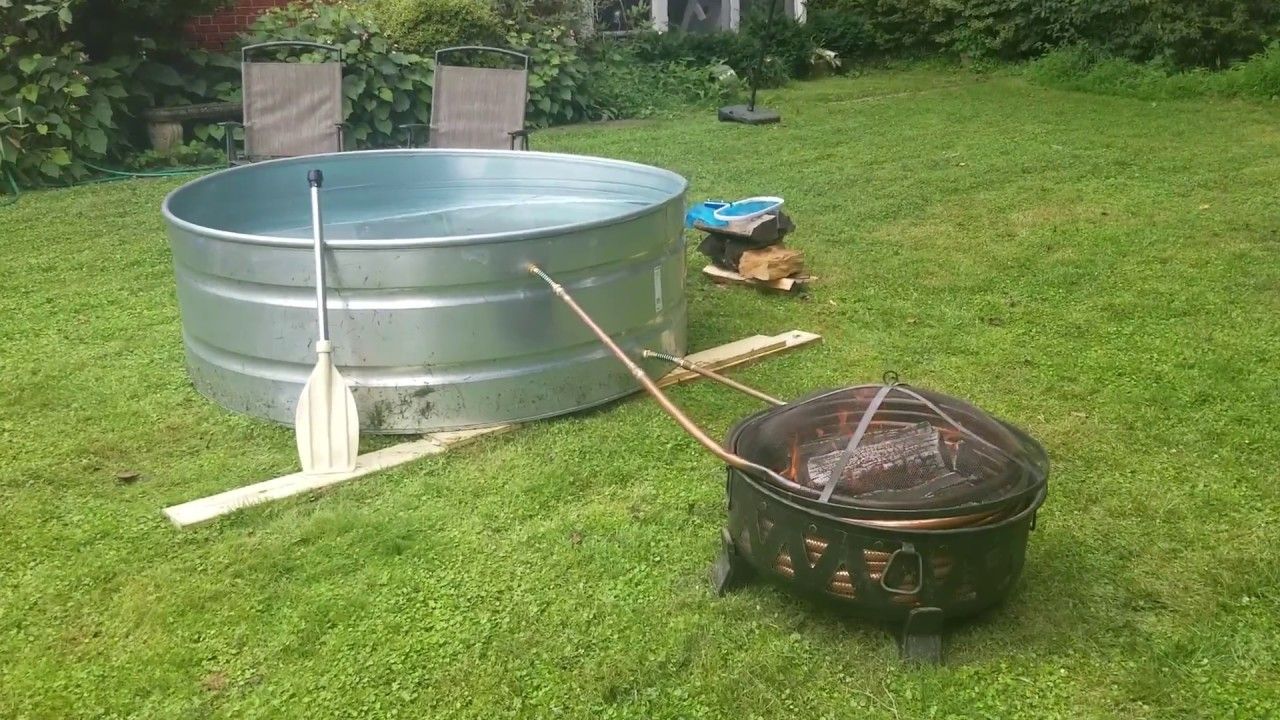
Step 2: Gathering Materials and Tools
Before diving into the construction of your outdoor hot tub, it’s essential to gather all the necessary materials and tools. Here’s a comprehensive list to ensure you have everything you need:
Materials:
- Tub Shell: Select a durable and weather-resistant tub shell, such as fiberglass, acrylic, or wood. Ensure that it is designed for outdoor use and can withstand varying weather conditions.
- Support Structure: Depending on the chosen location, you may need materials for constructing a sturdy support structure, such as pressure-treated lumber, concrete blocks, or metal framing.
- Plumbing Components: Acquire high-quality PVC pipes, fittings, and valves for the hot tub's plumbing system. Consider using flexible PVC for ease of installation and maintenance.
- Electrical Components: If your hot tub requires electrical connections, gather the necessary components, including a GFCI-protected power supply, wiring, and appropriate fixtures.
- Insulation and Sealing Materials: Invest in insulation materials and sealants to ensure energy efficiency and water-tightness. This may include foam insulation, weather-stripping, and silicone sealant.
- Filtration and Heating System: If not included with the tub, purchase a reliable filtration system, heater, and associated components to maintain water quality and temperature.
- Finishing Materials: Depending on your design preferences, gather materials for finishing the hot tub's exterior, such as tile, stone veneer, or wood cladding.
Tools:
- Measuring and Marking Tools: Tape measure, level, and marking tools for accurately laying out the hot tub's location and dimensions.
- Cutting Tools: Circular saw, jigsaw, or other cutting tools for shaping materials and creating openings for plumbing and electrical connections.
- Fastening Tools: Hammer, screwdriver, drill, and appropriate fasteners for assembling the support structure and securing components.
- Plumbing and Electrical Tools: Pipe cutter, PVC primer and cement, wire strippers, and electrical testers for installing the plumbing and electrical systems.
- Safety Gear: Safety glasses, work gloves, and any other protective gear necessary for safe construction and installation.
By ensuring that you have all the required materials and tools at hand, you’ll be well-prepared to progress to the next phase: building the hot tub base.
Read more: How To Build Deck For Hot Tub
Step 3: Building the Hot Tub Base
Creating a solid and level base for your outdoor hot tub is essential for its structural integrity and long-term performance. Follow these steps to construct a sturdy foundation:
- Site Preparation: Clear the selected area of any debris, vegetation, or obstacles. Use a shovel or a skid steer to excavate the site, ensuring that the ground is level and free from any unevenness.
- Foundation Material: Depending on your preference and the site’s requirements, choose an appropriate foundation material such as concrete, gravel, or compacted sand. Ensure that the material provides a stable and level surface for the hot tub.
- Formwork: If using concrete, construct formwork to contain and shape the poured concrete. Use sturdy boards and stakes to create the formwork according to the hot tub’s dimensions.
- Pouring and Leveling: Pour the chosen foundation material into the prepared area, ensuring an even distribution. Use a level and a screed to smooth and level the surface, providing a precise base for the hot tub.
- Curing and Inspection: Allow the foundation material to cure according to the manufacturer’s recommendations. Once cured, inspect the base to ensure it meets the required standards of levelness and stability.
Building a reliable base for your hot tub sets the stage for the next phase: installing the hot tub itself. With the foundation in place, you’re ready to proceed to the exciting task of positioning and securing the hot tub in its designated location.
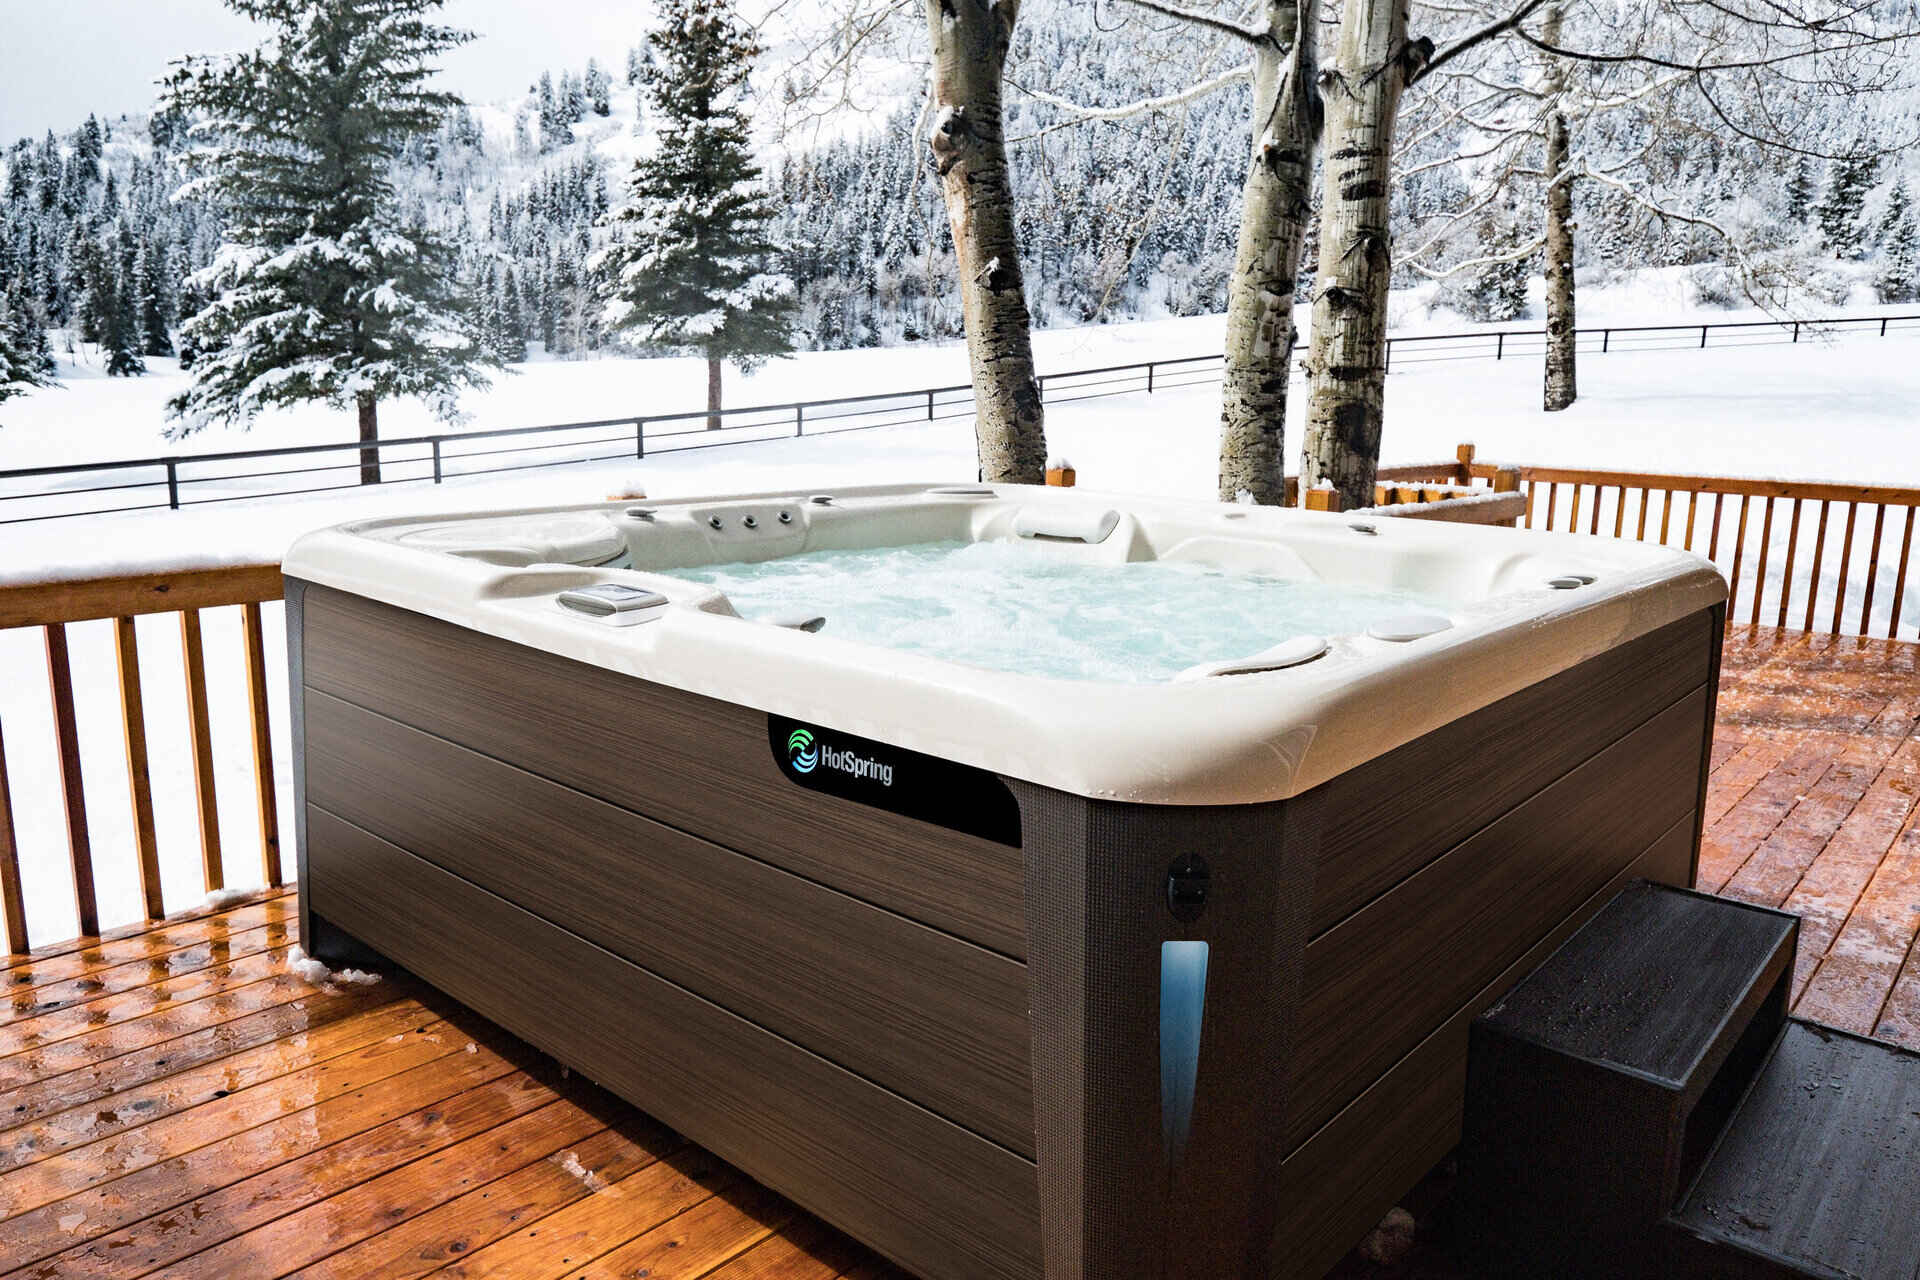
Step 4: Installing the Hot Tub
With the base prepared, it’s time to install the hot tub in its designated location. Follow these steps to ensure a seamless and secure installation:
- Positioning the Hot Tub: Enlist the help of others to carefully lift and position the hot tub onto the prepared base. Take precise measurements to ensure that the tub is centered and aligned according to your initial plans.
- Leveling: Use a carpenter’s level to ensure that the hot tub is perfectly level in all directions. Adjust the positioning as needed to achieve a balanced and stable orientation.
- Securing the Hot Tub: Once properly positioned and leveled, secure the hot tub to the base or support structure using appropriate fasteners or anchor systems. This step is crucial for ensuring the hot tub remains in place, especially in areas prone to high winds or seismic activity.
- Connecting Utilities: If applicable, connect the hot tub to the plumbing and electrical systems. Follow the manufacturer’s guidelines for proper installation and ensure that all connections are secure and watertight.
- Testing: Fill the hot tub with water and conduct a thorough test of the systems, including the filtration, heating, and jet functions. Check for any leaks, unusual noises, or malfunctions, and address them promptly.
By following these steps, you’ll successfully install the hot tub, bringing you one step closer to enjoying the luxurious relaxation it offers. The next phase involves the essential plumbing and electrical work required to ensure the hot tub functions flawlessly.
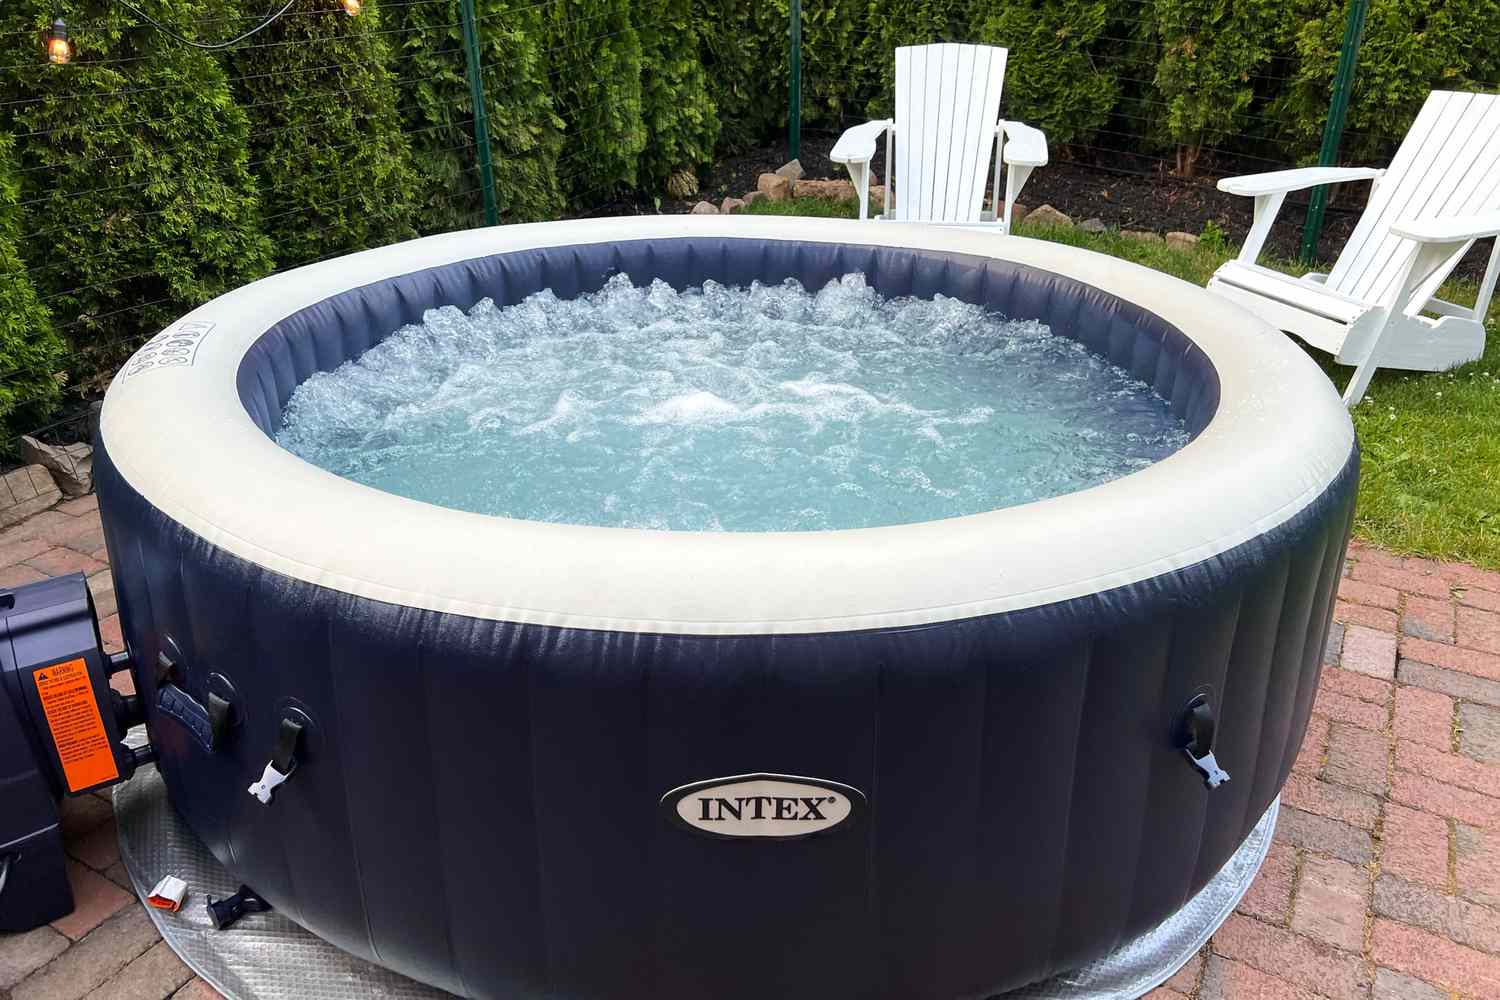
Consider using a portable hot tub instead of building a permanent one. Portable hot tubs are easier to install, require less maintenance, and can be moved if needed.
Step 5: Plumbing and Electrical Work
Proper plumbing and electrical work are vital for the functionality and safety of your outdoor hot tub. Follow these essential steps to ensure that the plumbing and electrical systems are installed correctly:
- Plumbing Installation: Begin by connecting the hot tub to the plumbing system. This involves attaching the appropriate PVC pipes, fittings, and valves according to the hot tub manufacturer’s specifications. Ensure that the plumbing connections are secure and leak-free.
- Drainage Considerations: Plan for proper drainage around the hot tub to prevent water accumulation and potential damage to the surrounding area. This may involve creating a drainage system or directing excess water away from the hot tub location.
- Electrical Connections: If your hot tub requires electrical power, enlist the services of a qualified electrician to handle the electrical connections. This includes wiring the hot tub to a dedicated GFCI-protected circuit and ensuring that all electrical components are installed in compliance with local codes and safety standards.
- Grounding and Bonding: Properly ground and bond the hot tub and associated electrical components to minimize the risk of electrical hazards. This is a critical safety measure that should not be overlooked.
- Testing and Inspection: After completing the plumbing and electrical installations, conduct thorough testing of the systems to verify their functionality. Inspect all connections, valves, and electrical components to ensure they meet the necessary standards for safe operation.
By meticulously addressing the plumbing and electrical aspects of your outdoor hot tub, you’ll ensure that it operates reliably and safely, providing you with a worry-free relaxation experience. With these systems in place, you’re ready to move on to the final phase: adding the finishing touches to your outdoor hot tub oasis.
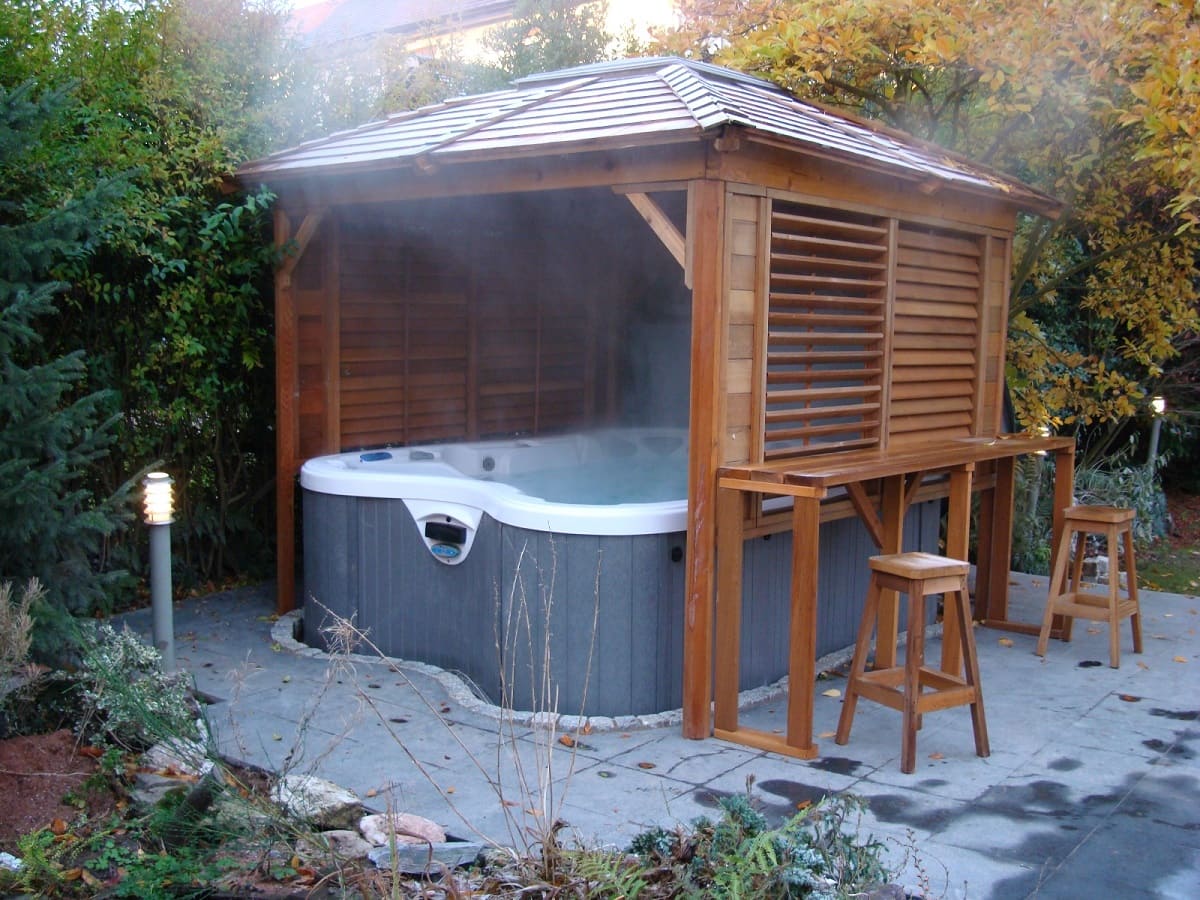
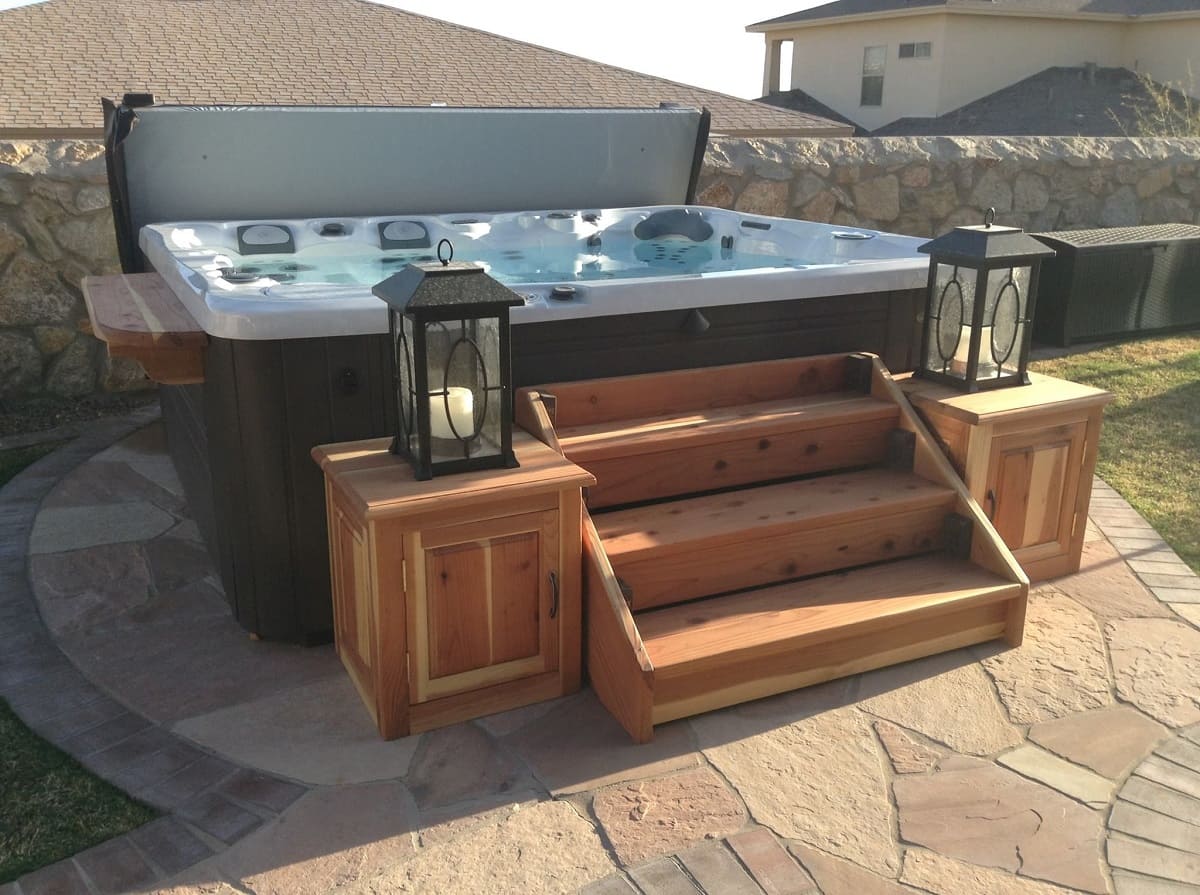
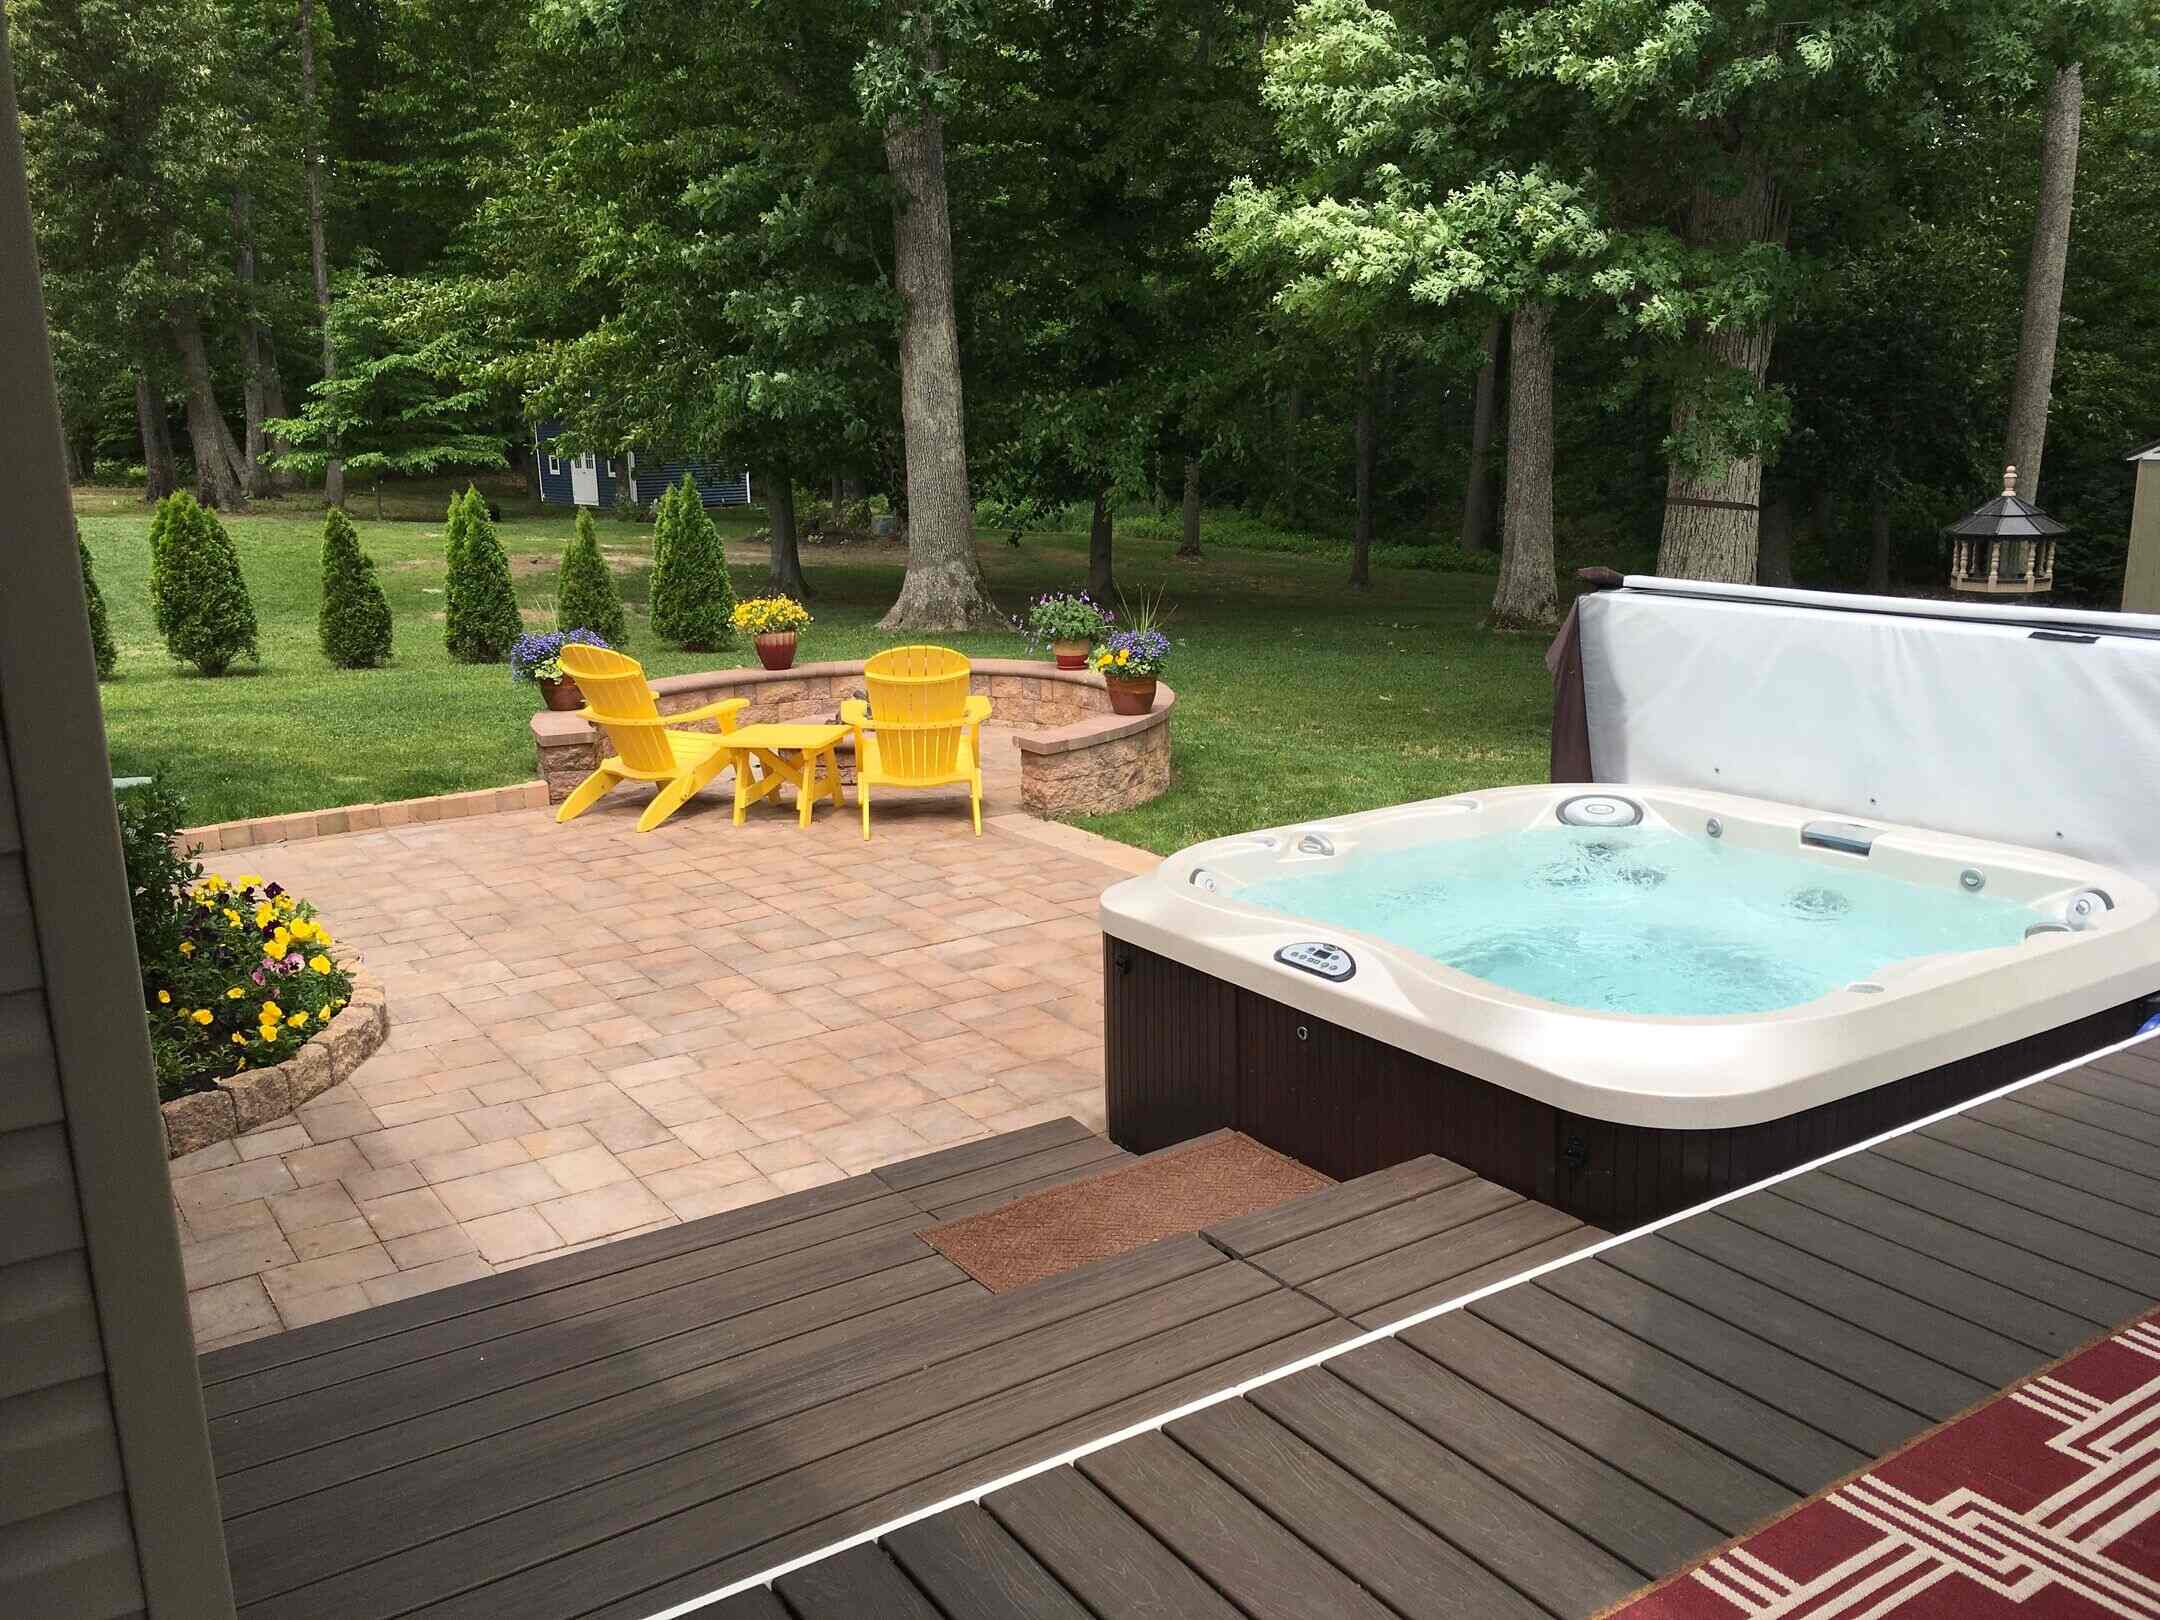
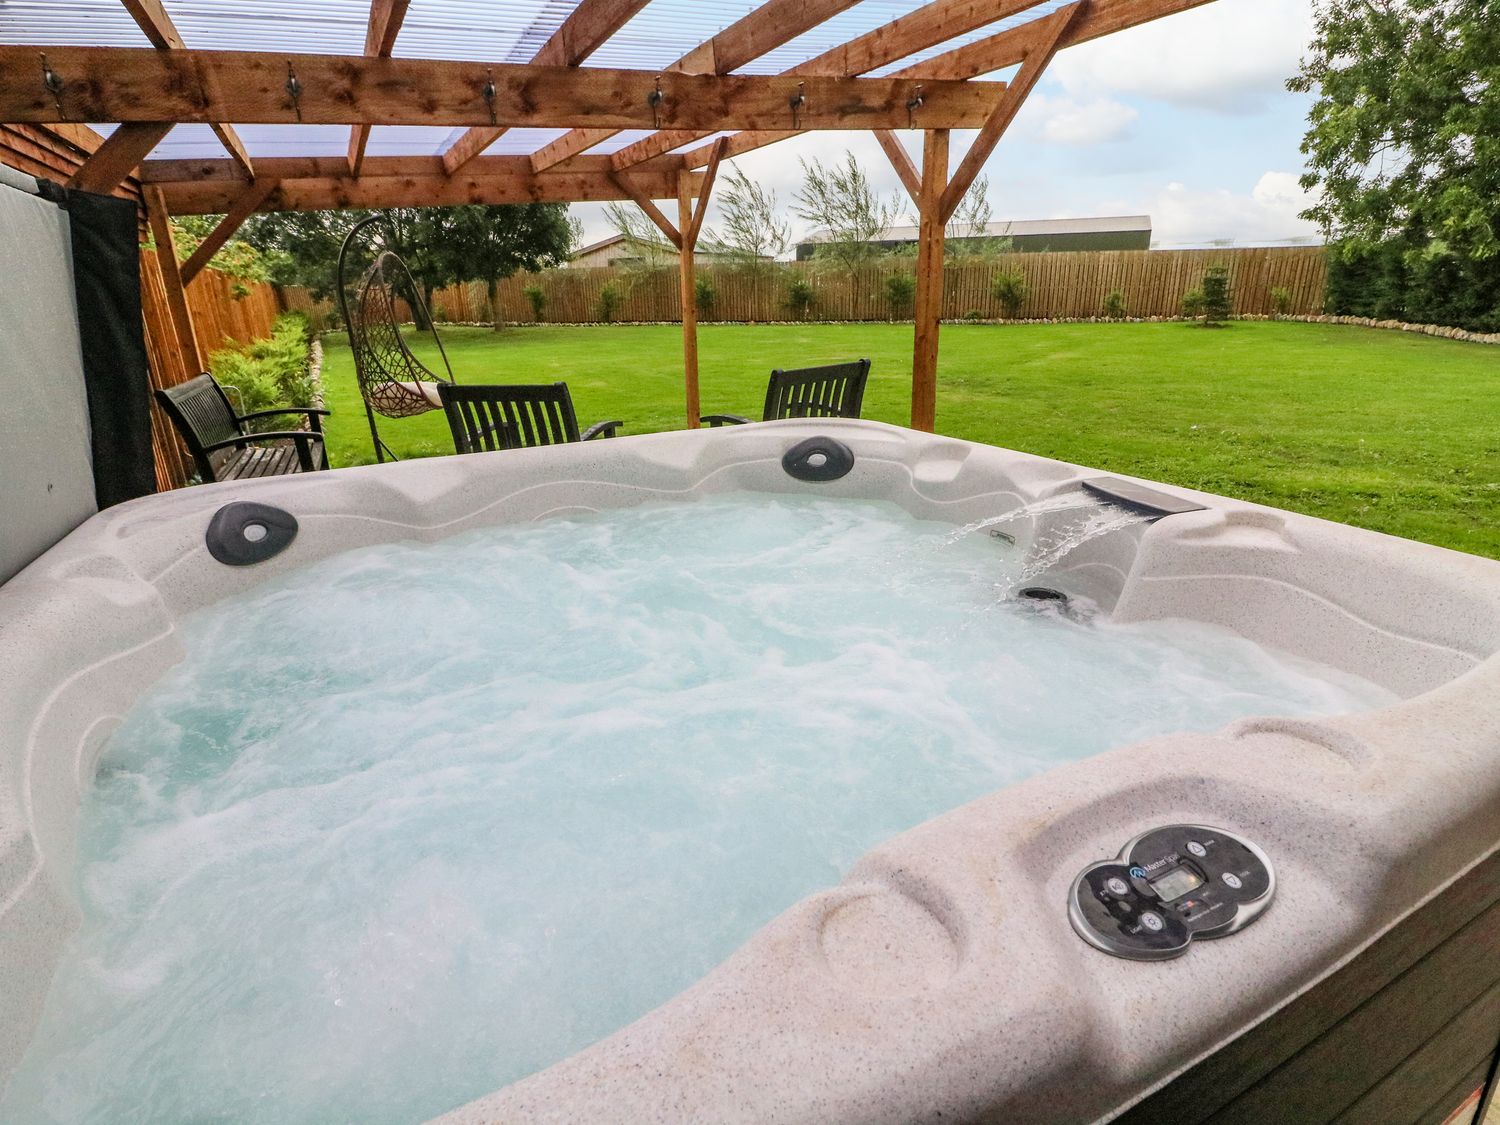
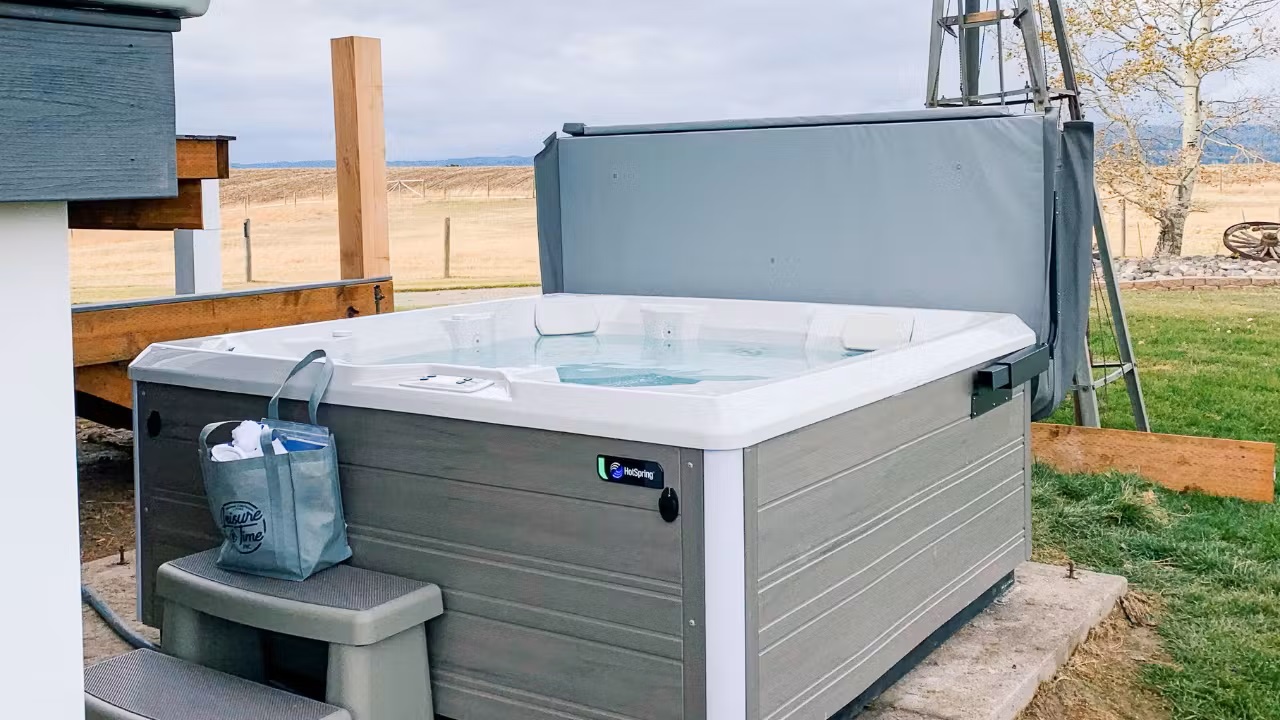
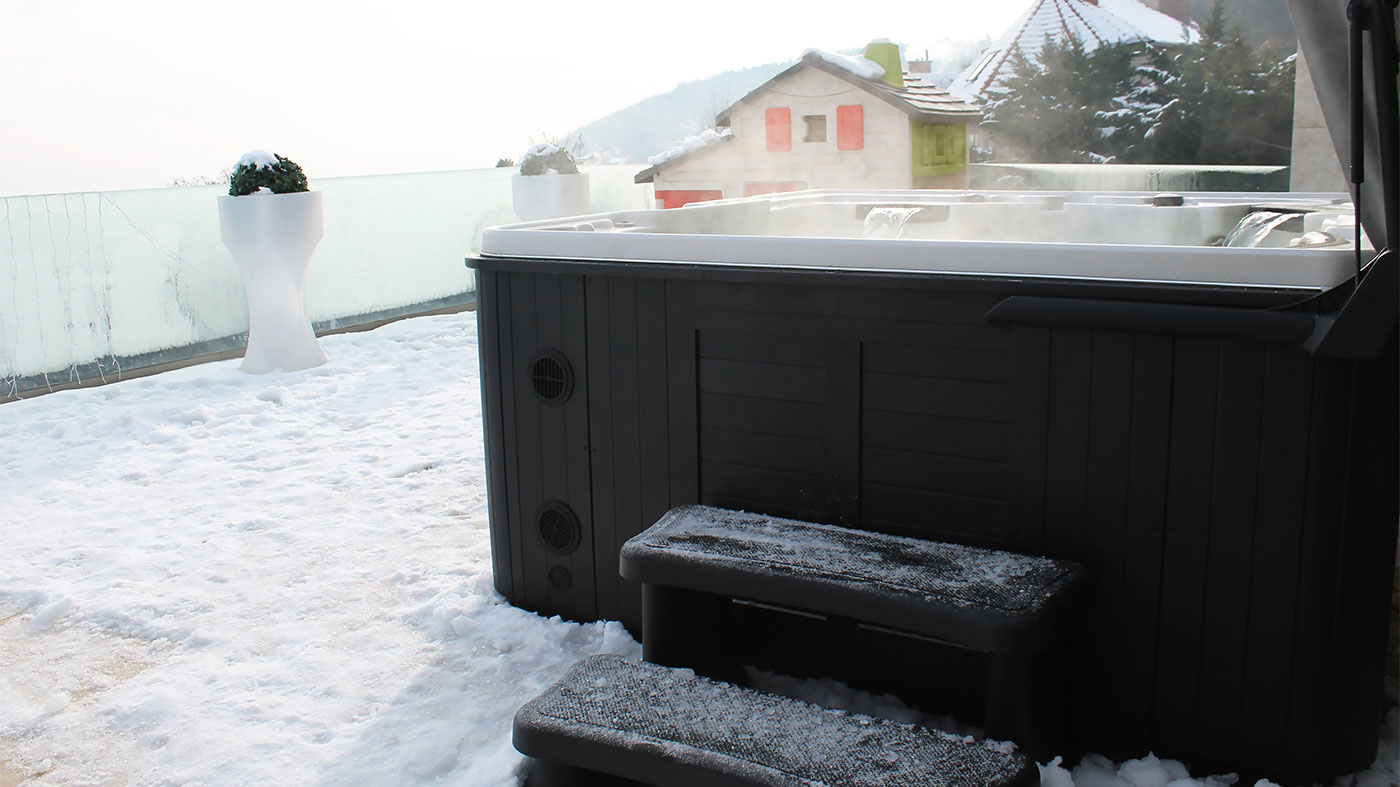
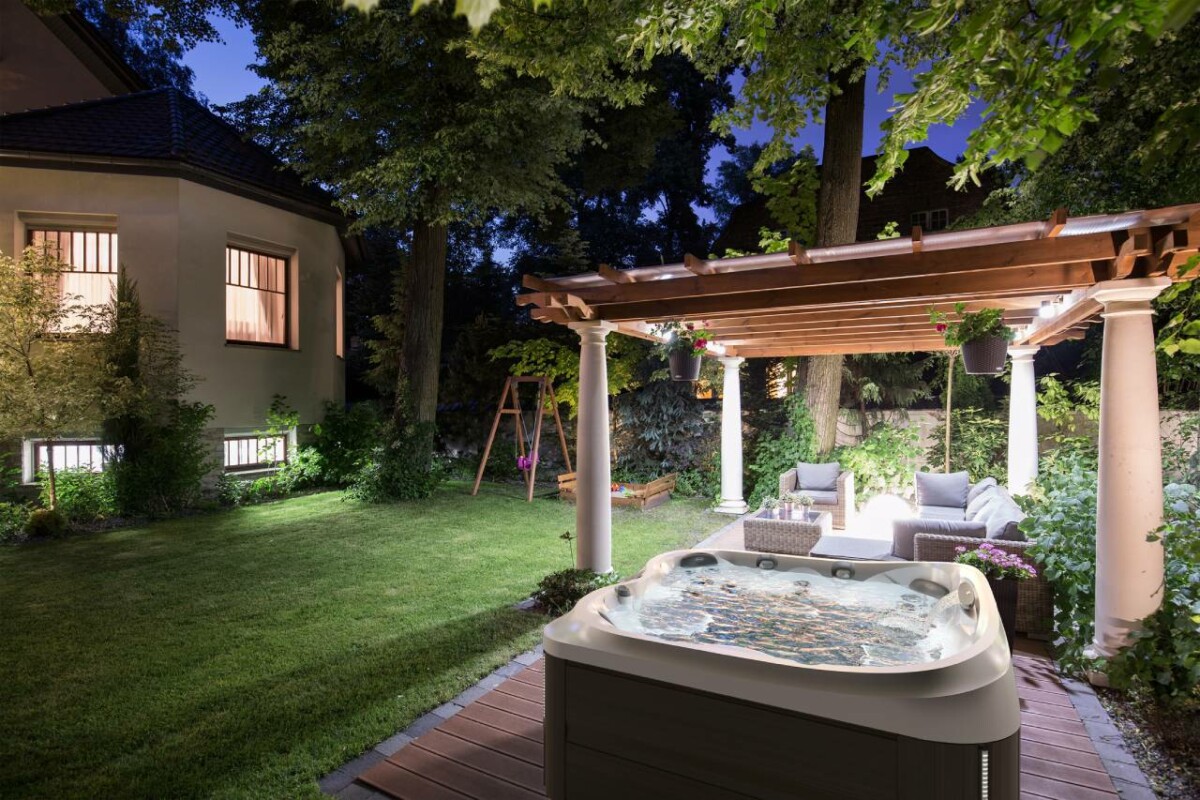
Step 6: Adding Finishing Touches
With the structural and functional elements in place, it’s time to add the finishing touches that will elevate your outdoor hot tub into a stunning and inviting retreat. Consider the following steps to enhance the aesthetics and comfort of your hot tub oasis:
- Exterior Cladding: If desired, apply the chosen exterior cladding material, such as tile, stone veneer, or wood paneling, to enhance the visual appeal of the hot tub. Ensure that the cladding material is suitable for outdoor use and complements the surrounding landscape.
- Surrounding Décor: Create a welcoming ambiance around the hot tub by incorporating outdoor furniture, decorative lighting, and lush greenery. Design a cohesive and relaxing environment that complements the hot tub’s presence.
- Privacy Features: Install privacy screens, pergolas, or landscaping elements to enhance the seclusion and tranquility of the hot tub area. This will provide a sense of intimacy and comfort for you and your guests.
- Comfort Accessories: Consider adding comfort-enhancing accessories such as waterproof cushions, spa pillows, and towel racks to elevate the comfort level and functionality of the hot tub space.
- Lighting and Ambiance: Incorporate lighting features, such as LED strips, outdoor lanterns, or soft-glowing fixtures, to create a captivating ambiance around the hot tub, especially for evening relaxation sessions.
By attending to these finishing touches, you’ll transform your outdoor hot tub into a captivating and luxurious retreat that beckons you to unwind and rejuvenate. With the completion of these final steps, your outdoor hot tub oasis is ready to provide you with countless moments of relaxation and enjoyment.
Read more: How To Build Hot Tub Surround
Conclusion
Congratulations on completing the journey of building your own outdoor hot tub! With careful planning, precise execution, and a touch of creativity, you’ve created a captivating oasis that promises relaxation and rejuvenation. As you bask in the warmth of your hot tub, surrounded by the beauty of nature, take a moment to appreciate the craftsmanship and dedication that went into bringing this serene retreat to life.
Building an outdoor hot tub is not just about constructing a functional spa; it’s about crafting an experience – a space where you can escape the stresses of everyday life and immerse yourself in tranquility. Whether you’re enjoying a solo soak under the stars or hosting memorable gatherings with friends and family, your outdoor hot tub represents a labor of love and a source of endless enjoyment.
Remember to maintain your hot tub with regular care and attention to ensure its longevity and optimal performance. Keep the water clean, the systems well-maintained, and the surrounding area inviting. By doing so, you’ll continue to reap the benefits of your outdoor hot tub for years to come.
As you revel in the soothing embrace of your hot tub, let it serve as a reminder of the fulfillment that comes from creating something beautiful and functional with your own hands. Your outdoor hot tub is more than just a construction project; it’s a symbol of your ability to transform dreams into reality and to carve out moments of bliss in the midst of everyday life.
So, embrace the warmth, savor the tranquility, and cherish the memories made in your outdoor hot tub oasis. Your journey from construction to relaxation has been a remarkable one, and the rewards are yours to enjoy for years ahead.
Frequently Asked Questions about How To Build An Outdoor Hot Tub
Was this page helpful?
At Storables.com, we guarantee accurate and reliable information. Our content, validated by Expert Board Contributors, is crafted following stringent Editorial Policies. We're committed to providing you with well-researched, expert-backed insights for all your informational needs.

0 thoughts on “How To Build An Outdoor Hot Tub”