Home>Gardening & Outdoor>Pool & Spa Care>How To Build Steps For Hot Tub

Pool & Spa Care
How To Build Steps For Hot Tub
Modified: January 24, 2024
Learn how to build steps for your hot tub with our comprehensive pool and spa care guide. Create a safe and stylish entryway for your relaxation oasis.
(Many of the links in this article redirect to a specific reviewed product. Your purchase of these products through affiliate links helps to generate commission for Storables.com, at no extra cost. Learn more)
Introduction
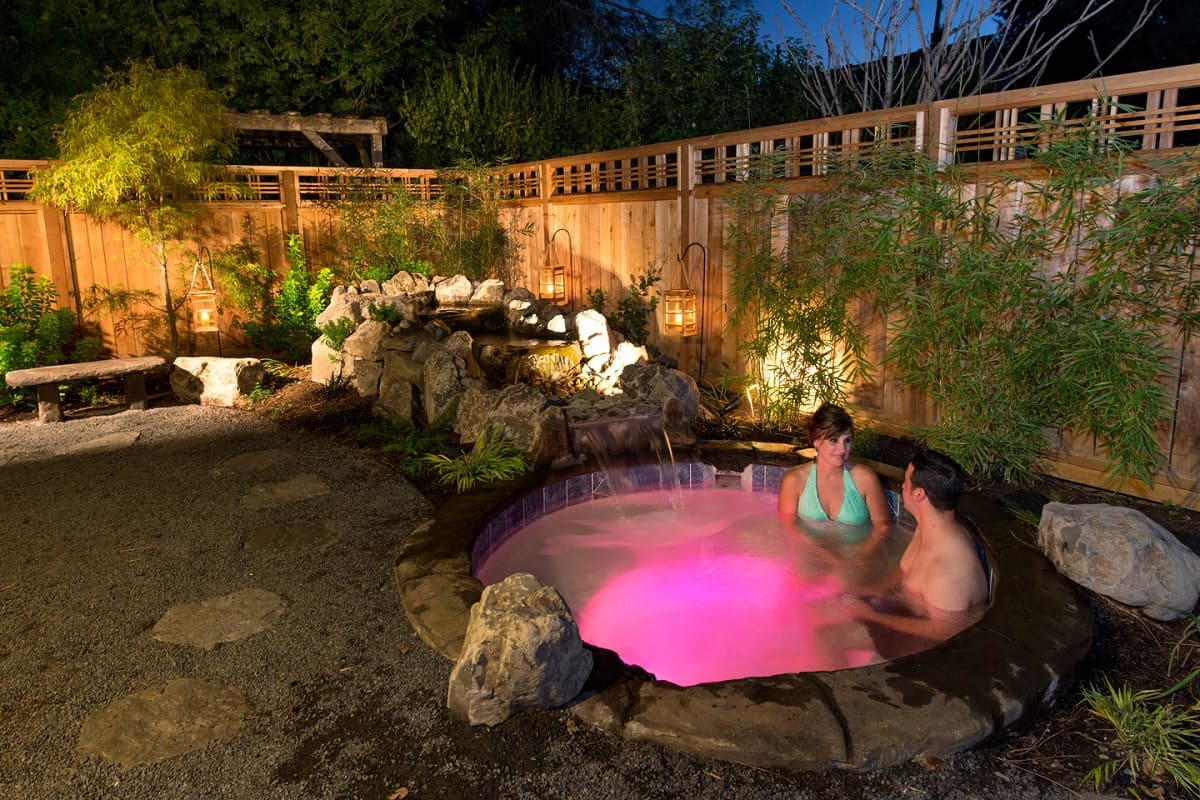
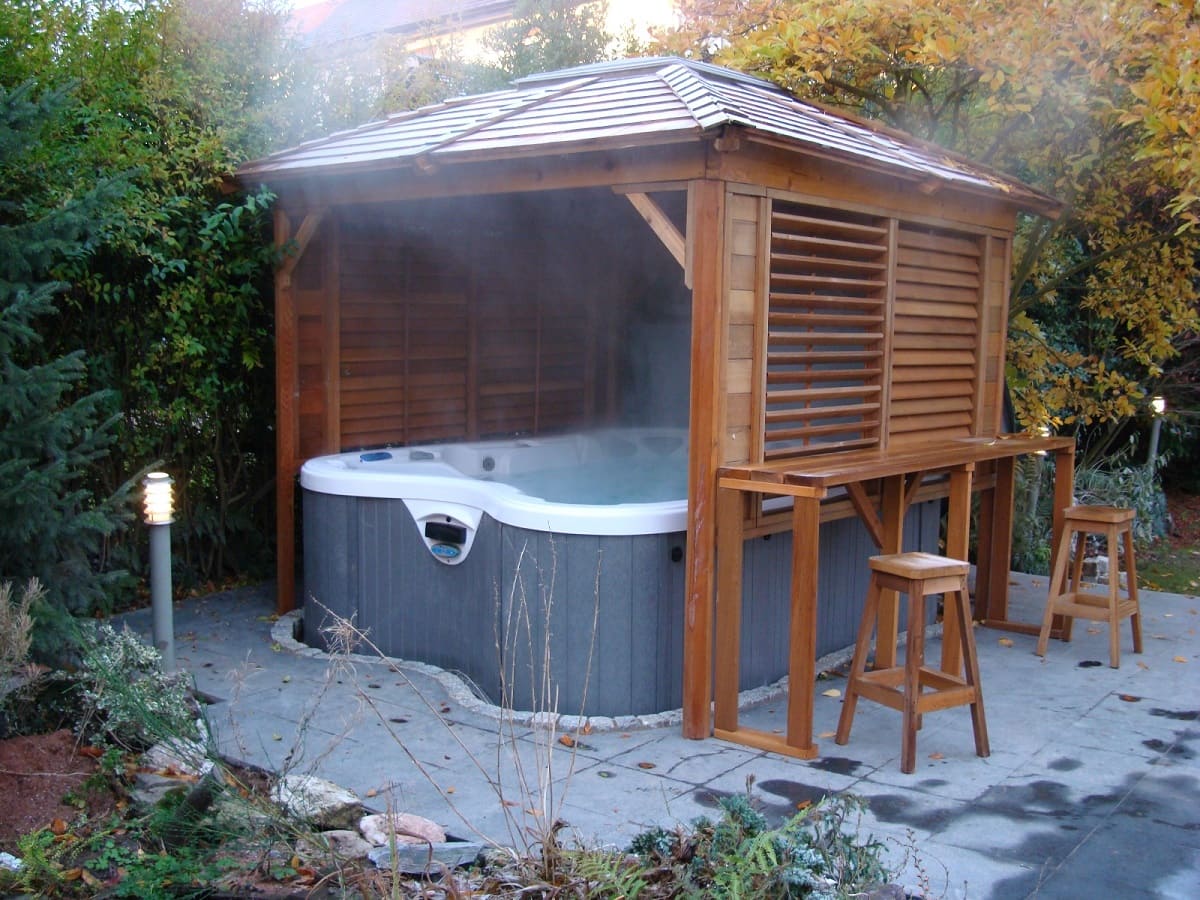
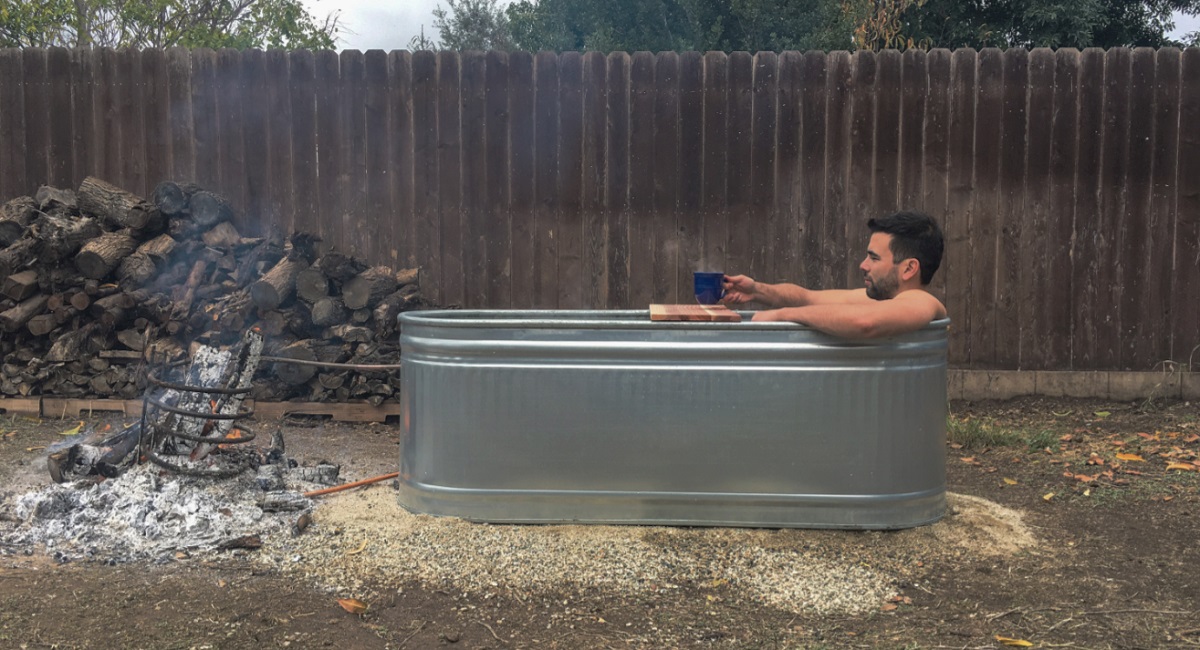
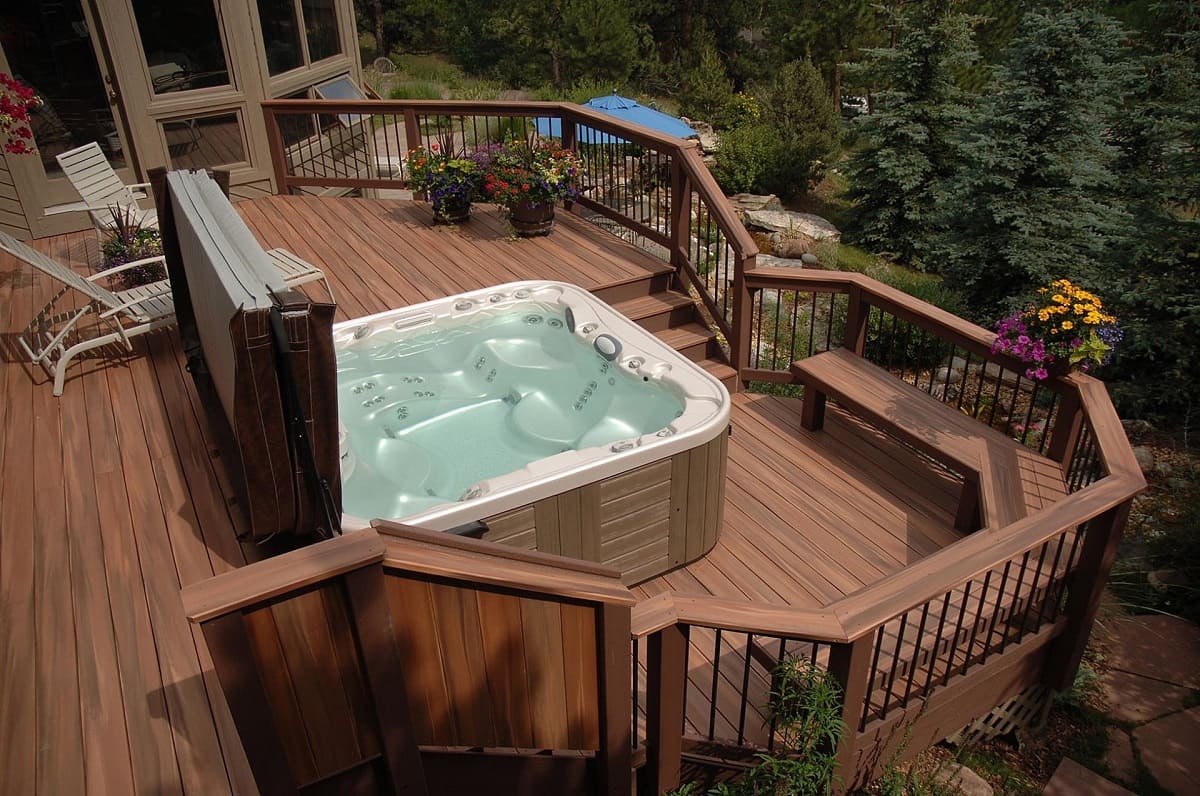
Welcome to the ultimate guide on how to build steps for a hot tub! Whether you've recently invested in a luxurious hot tub for your backyard oasis or you're simply looking to upgrade your current setup, custom-built steps can add both functionality and aesthetic appeal to your spa area. By constructing your own steps, you can tailor them to perfectly fit your hot tub's design and your specific needs.
In this comprehensive guide, we'll walk you through the step-by-step process of building sturdy and stylish steps for your hot tub. From gathering the necessary materials and tools to adding the finishing touches, we'll cover every aspect of the construction process. By the end of this article, you'll have the knowledge and confidence to embark on this exciting DIY project.
So, roll up your sleeves, gather your supplies, and let's dive into the rewarding endeavor of creating custom steps for your hot tub. Whether you're a seasoned DIY enthusiast or a newcomer to the world of woodworking, this guide is designed to empower you with the skills and know-how to complete this project successfully. Let's get started!
Key Takeaways:
- Personalized and Practical: Building your own hot tub steps allows you to create a custom design that perfectly fits your spa area, providing safe and stylish access to your hot tub.
- Empowering and Enjoyable: Engaging in DIY projects like building hot tub steps not only enhances your skills but also adds a touch of personalized craftsmanship to your outdoor oasis, creating a welcoming and inviting retreat.
Read more: How To Build Steps Around Hot Tub
Step 1: Gather Materials and Tools
Before diving into the construction process, it’s essential to gather all the necessary materials and tools. Here’s a comprehensive list to ensure you’re well-prepared for the project:
Materials:
- Pressure-treated lumber: Opt for durable, weather-resistant lumber that can withstand outdoor conditions. Consider using 2×6 or 2×8 boards for the steps' treads and 4×4 posts for the frame.
- Deck screws: Choose corrosion-resistant screws designed for outdoor use to secure the steps' components.
- Wood glue: Select a high-quality, weatherproof wood glue to reinforce the joints and enhance the steps' sturdiness.
- Gravel or leveling sand: If your hot tub is placed on a bare surface, you'll need gravel or leveling sand to create a stable foundation for the steps.
- Exterior wood finish: Consider applying a protective finish to the steps to shield the wood from moisture and UV exposure.
Tools:
- Tape measure: An essential tool for accurately measuring the dimensions of the hot tub and planning the step design.
- Circular saw: For cutting the lumber to the required lengths and angles.
- Power drill: Needed for pre-drilling holes and driving screws into the wood.
- Square: Use a carpenter's square to ensure precise right angles during the assembly process.
- Level: An indispensable tool for ensuring the steps are perfectly horizontal and level during installation.
- Paintbrushes or applicators: If you plan to apply a wood finish, have the necessary brushes or applicators on hand.
- Safety gear: Always prioritize safety by wearing protective eyewear, gloves, and hearing protection while working with power tools and lumber.
By gathering these materials and tools, you’ll set the stage for a smooth and efficient construction process. With everything at your fingertips, you can proceed to the next step with confidence, knowing that you’re well-equipped to bring your custom hot tub steps to life.
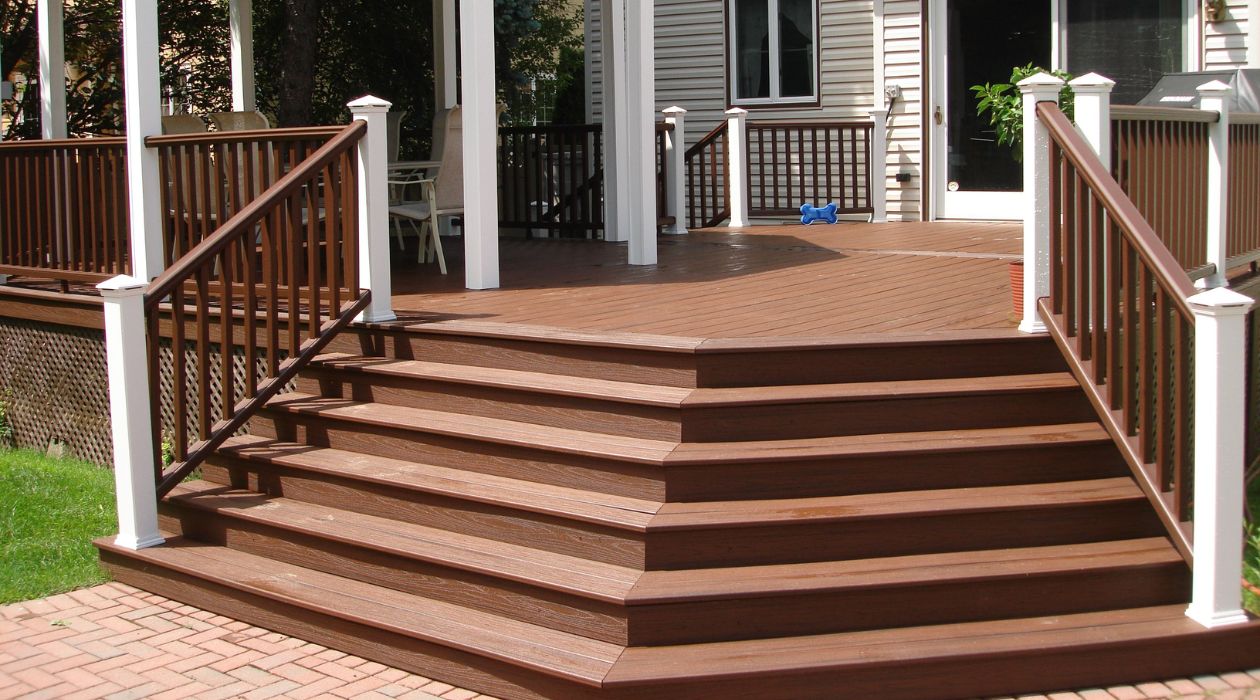
Step 2: Measure and Plan
Accurate measurements and thoughtful planning are crucial for creating steps that seamlessly integrate with your hot tub and complement its design. Here’s a detailed guide to help you through this essential phase of the project:
Start by measuring the height of the hot tub’s exterior wall. This measurement will determine the height of your steps. Typically, a step height of 6 to 8 inches provides a comfortable and easily accessible transition into the hot tub.
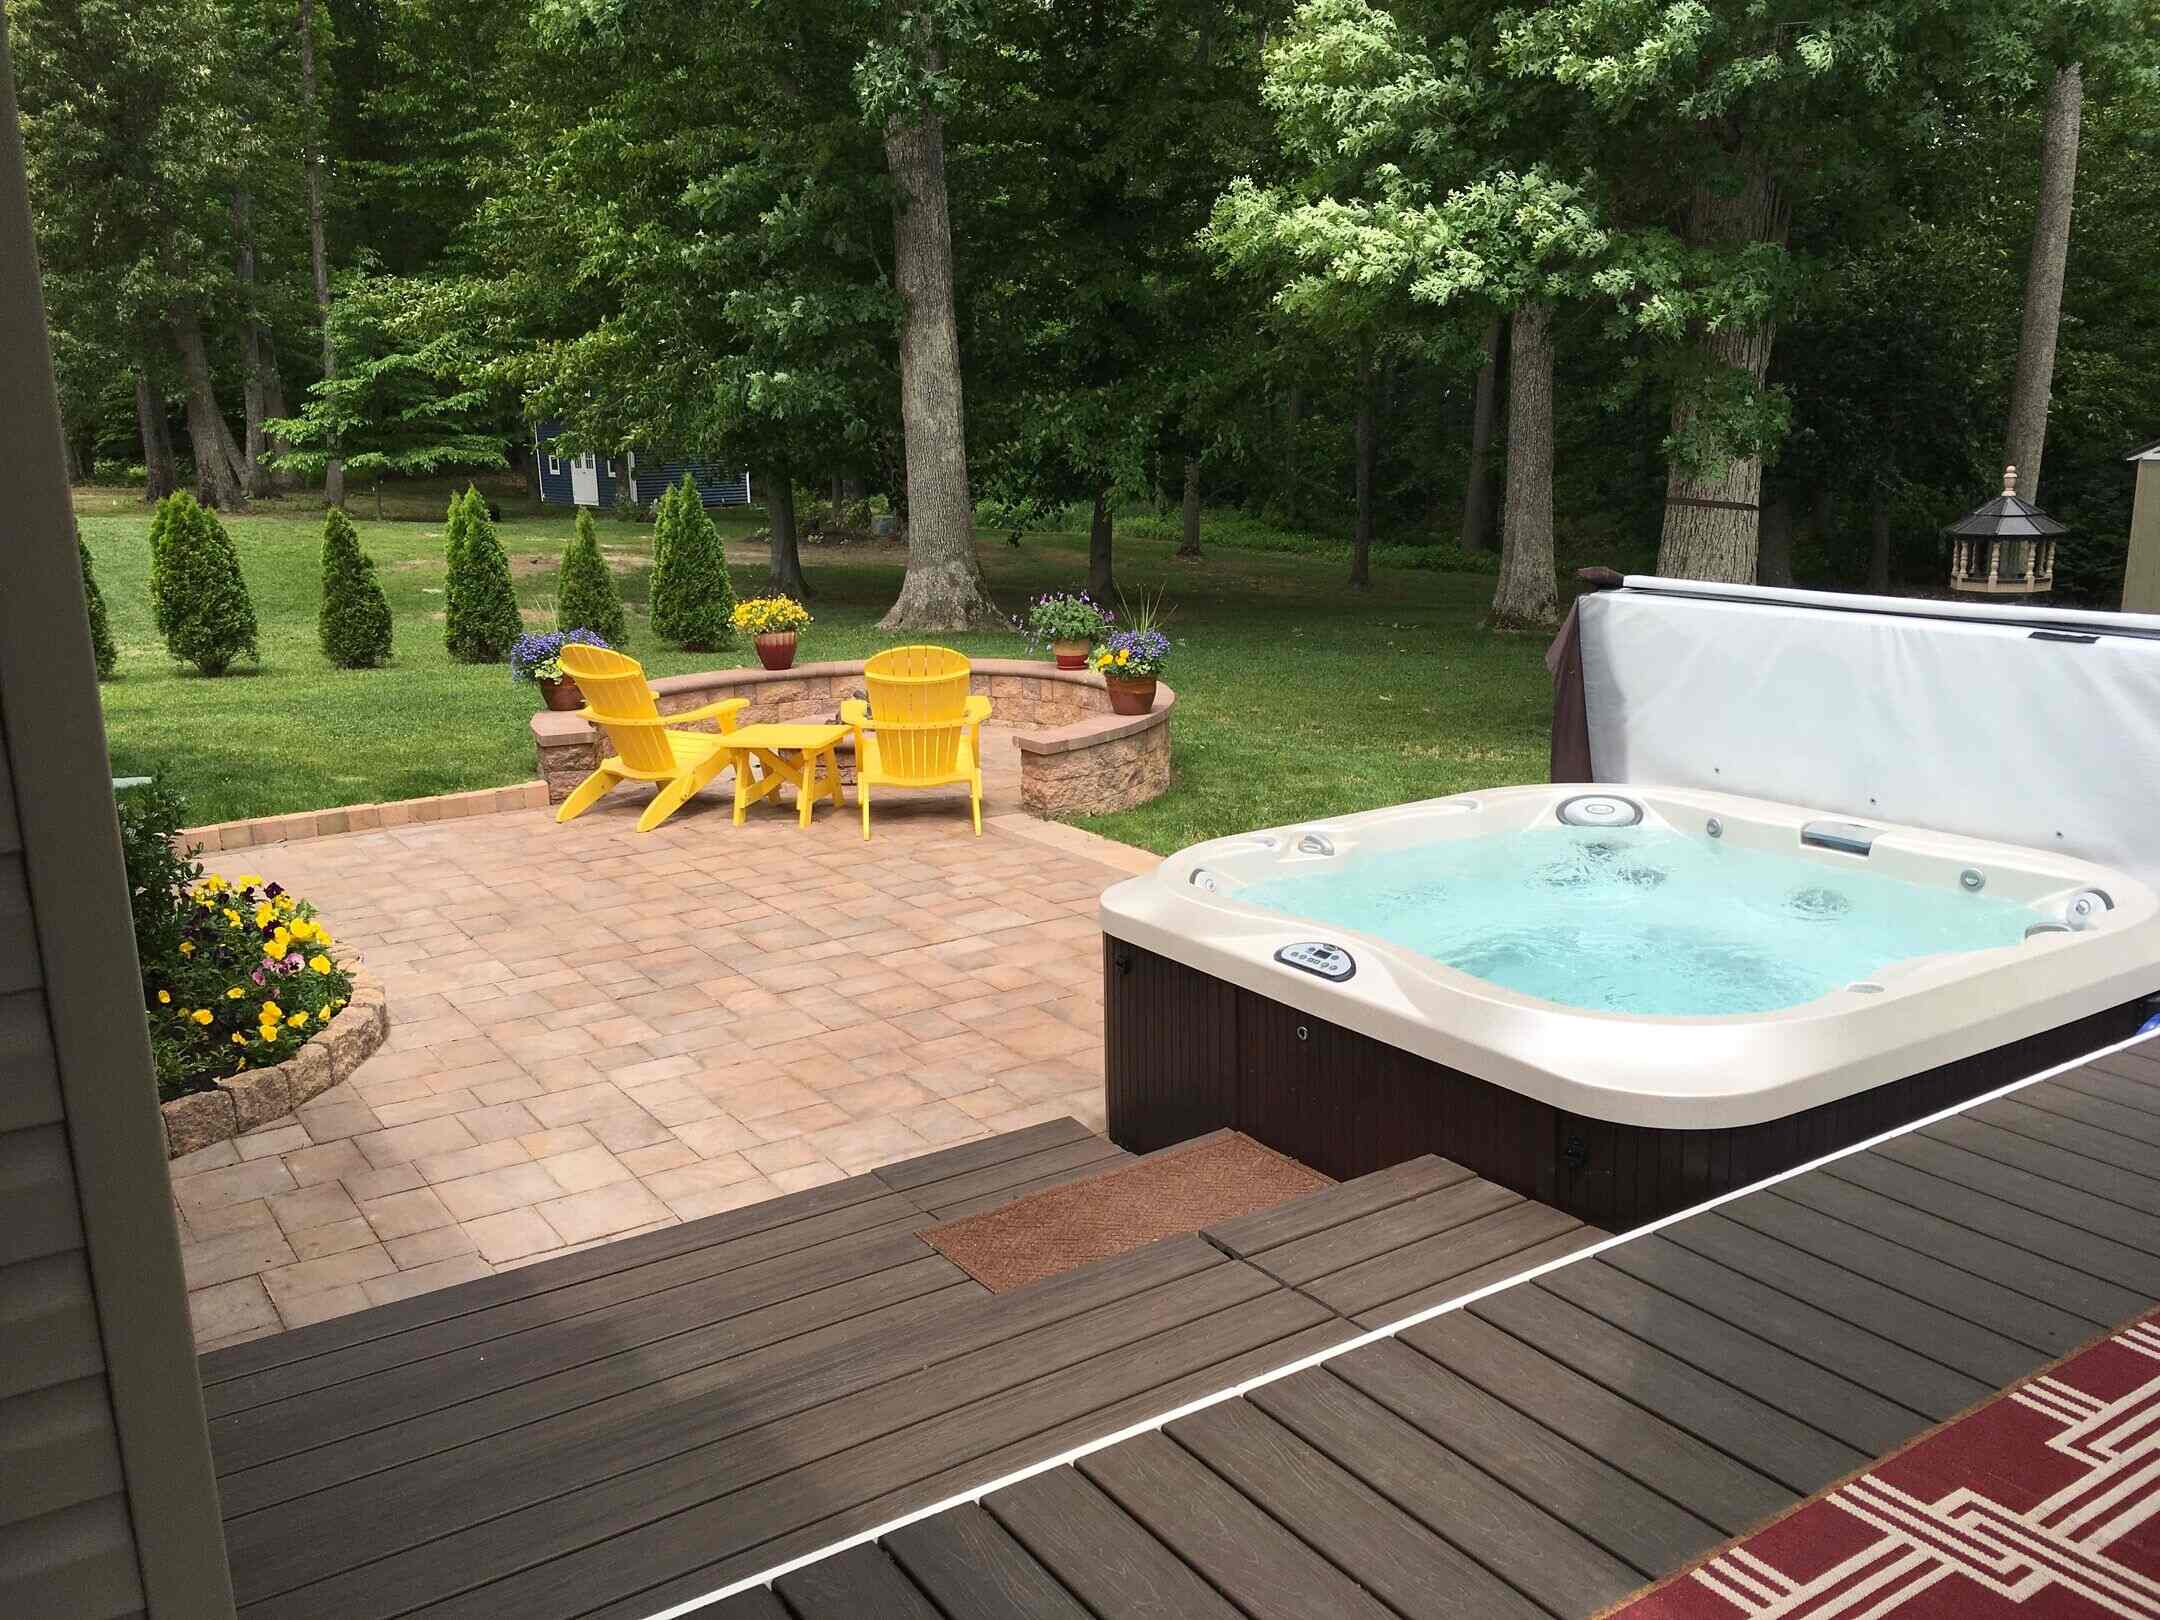
Next, measure the available space around the hot tub to determine the optimal width and depth for the steps. Consider the practical aspects of step design, such as ensuring there’s ample room for safe and convenient access to the hot tub. Additionally, think about the aesthetic appeal of the steps and how they will enhance the overall look of your spa area.
With these measurements in hand, sketch a simple plan for the steps, including the dimensions, the number of treads, and the overall layout. Visualizing the design on paper will help you identify any potential challenges and refine the details before moving on to the construction phase.
When planning the steps, take into account the type of lumber you’ll be using and how it will blend with the hot tub’s surroundings. Whether you opt for a natural wood finish or plan to stain or paint the steps, envision how they will harmonize with the existing aesthetics of your outdoor space.
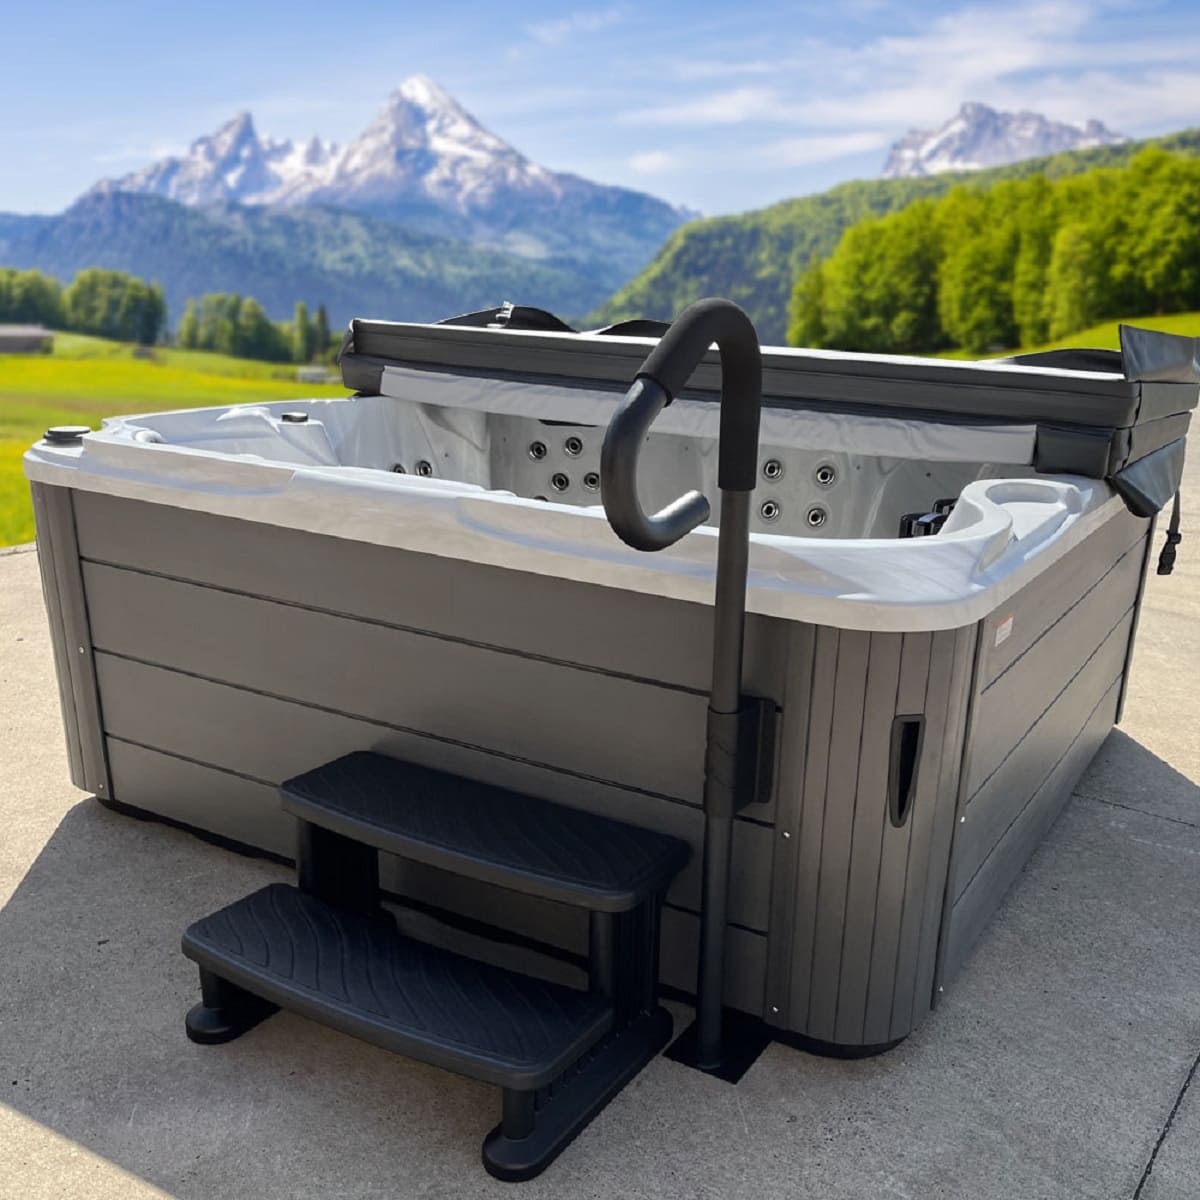
Consider incorporating design elements that add both functionality and visual appeal, such as handrails for added safety or built-in storage compartments beneath the steps. By carefully measuring and planning the steps, you’ll lay a solid foundation for a successful construction process and ensure that the end result aligns with your vision for the perfect hot tub entryway.
With a well-thought-out plan in place, you’ll be ready to move on to the next exciting phase of bringing your custom hot tub steps to life.
Read more: How To Build Hot Tub Surround
Step 3: Cut the Lumber
With your plan in hand and the measurements finalized, it’s time to bring your vision to life by cutting the lumber to the required dimensions. This step is crucial in ensuring that the individual components of the steps are precisely sized and aligned. Here’s a detailed guide to cutting the lumber for your hot tub steps:
Begin by setting up a well-lit and spacious work area where you can safely and comfortably handle the lumber and power tools. Ensure that the work surface is stable and that you have ample space to maneuver the boards during the cutting process.
Refer to your plan and measurements as you mark the lumber for cutting. Use a tape measure and a pencil to clearly indicate the lengths and angles for each component, including the treads, risers, and any additional features you’ve incorporated into the design.
When cutting the lumber, precision is key. Use a reliable circular saw with a sharp blade to make clean and accurate cuts. If your design includes angled cuts for the steps, take extra care to ensure that the angles are precise to guarantee a seamless fit during assembly.
As you progress through the cutting process, organize the cut pieces according to their designated roles in the assembly. Keeping the components labeled and grouped will streamline the construction phase and prevent confusion during the assembly of the steps.
Throughout the cutting process, prioritize safety by wearing appropriate protective gear, such as safety goggles and gloves. Additionally, be mindful of your surroundings and maintain a clear workspace to minimize the risk of accidents while handling power tools.
By meticulously cutting the lumber to match your design specifications, you’ll set the stage for a smooth and efficient assembly process. With the components accurately sized and ready for assembly, you’re one step closer to bringing your custom hot tub steps to fruition.
Step 4: Assemble the Steps
As the lumber is cut to precision, it’s time to embark on the exciting phase of assembling the steps for your hot tub. This pivotal step brings together the individual components, transforming them into a cohesive and functional structure. Here’s a comprehensive guide to help you navigate the assembly process:
Begin by arranging the cut lumber in the designated assembly area, ensuring that all the necessary components are within reach. Refer to your plan and layout to guide the assembly, and consider using a carpenter’s square to ensure that the angles and joints are perfectly aligned.
If your design incorporates risers between the treads, start by attaching them to the sides of the treads. Secure the components using wood glue and corrosion-resistant deck screws, ensuring a strong and durable bond. Take care to maintain consistent spacing between the treads and risers for a uniform and visually appealing design.
As you progress with the assembly, periodically check for levelness and alignment using a reliable spirit level. Ensuring that the steps are perfectly level and plumb during assembly is crucial for their stability and overall functionality.
Consider reinforcing the joints with additional screws or metal brackets for added structural integrity, especially if the steps will support significant weight. By reinforcing the assembly at key points, you’ll enhance the durability and longevity of the steps, providing peace of mind for years to come.
If your design includes handrails or additional features, incorporate them into the assembly process at this stage. Securely attach the handrails to the designated points on the steps, ensuring that they are well-aligned and provide ample support for safe access to the hot tub.
Throughout the assembly process, maintain a keen eye for detail and craftsmanship, striving for precision and a seamless fit between the components. With each step securely assembled, you’ll witness your vision taking shape, culminating in a set of custom steps that perfectly complement your hot tub.
As the assembly nears completion, you’re ready to transition to the next phase of the project—attaching the steps to the hot tub and adding the finishing touches to bring your creation to its full potential.
When building steps for a hot tub, make sure to use materials that are durable and can withstand exposure to water and moisture. Consider using pressure-treated wood or composite materials for longevity and safety.
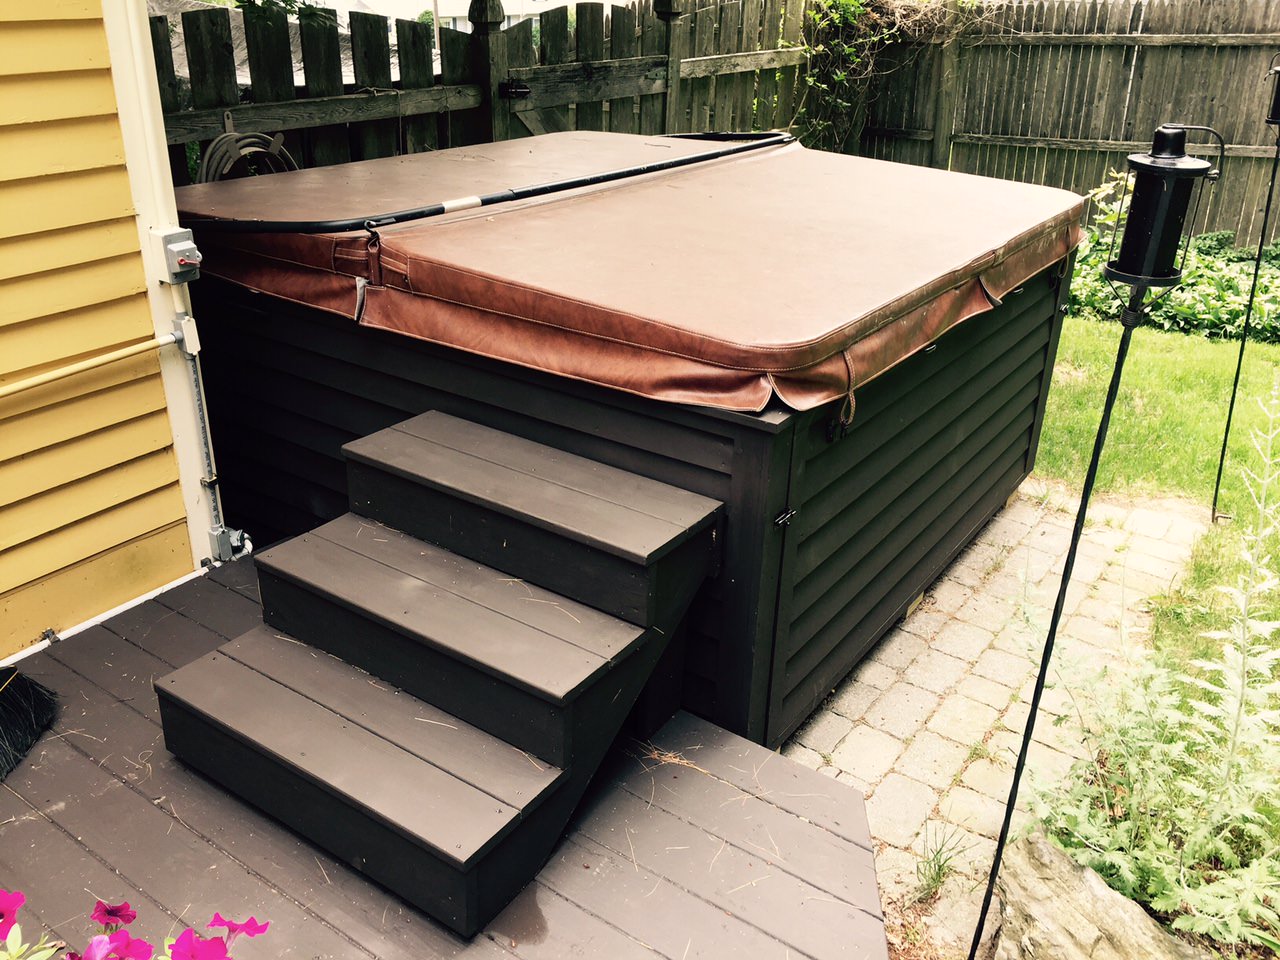
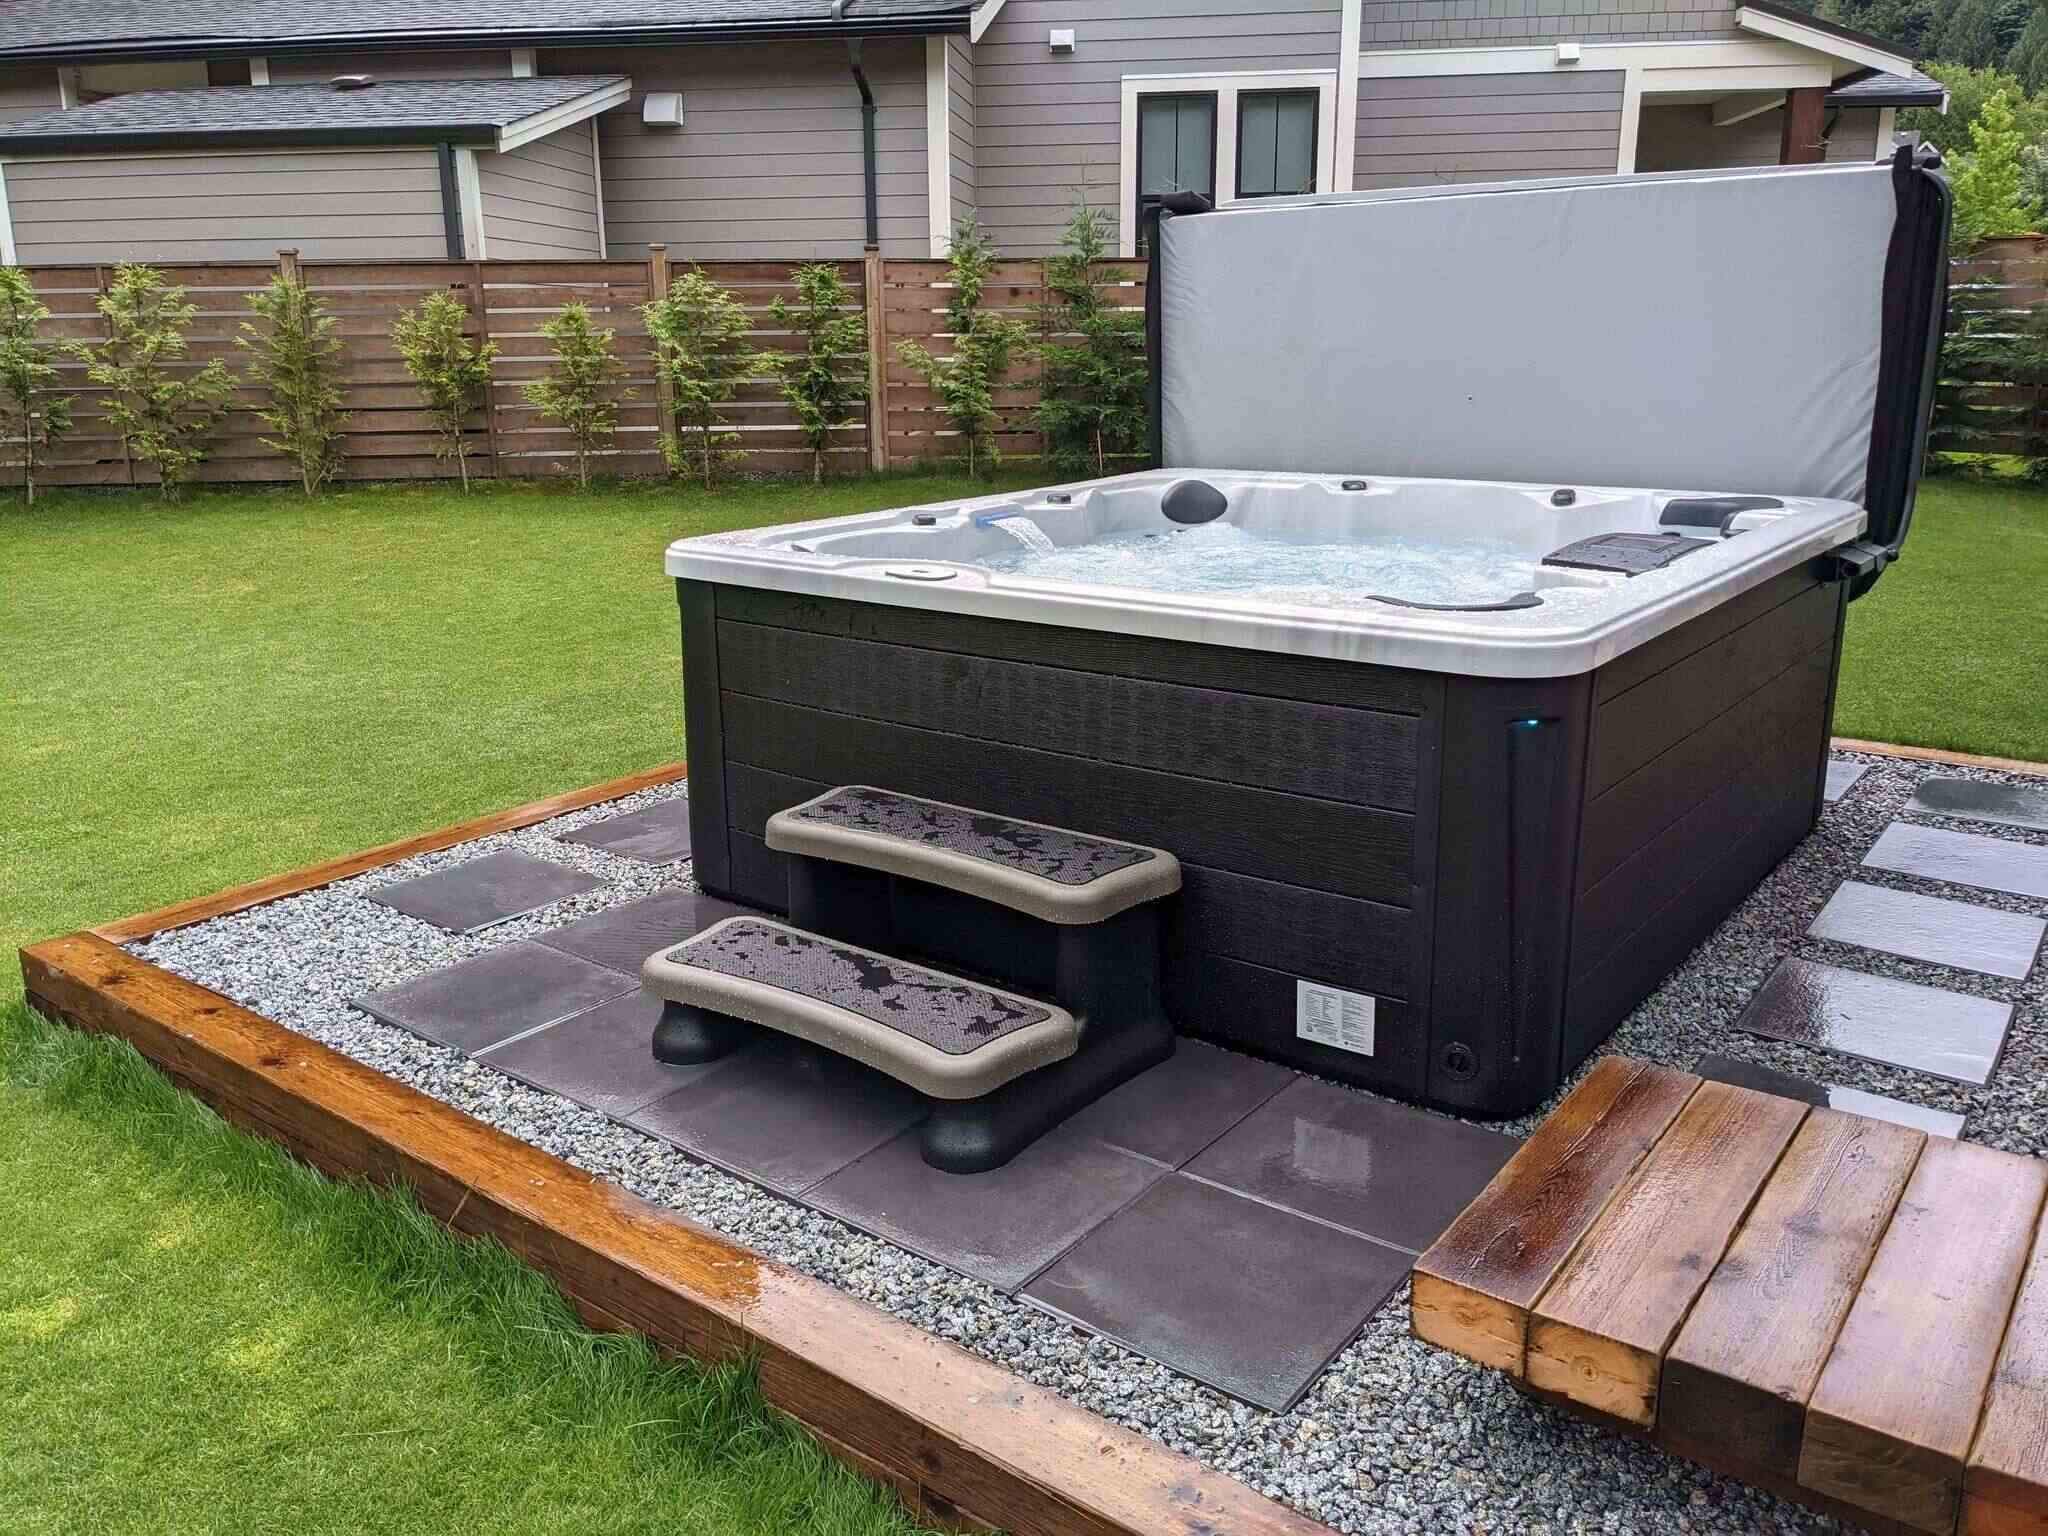
Step 5: Attach the Steps to the Hot Tub
With the steps meticulously assembled, it’s time to seamlessly integrate them with your hot tub, creating a seamless and inviting entryway. This pivotal step involves securing the steps to the hot tub, ensuring stability, and a secure connection. Here’s a comprehensive guide to help you navigate this phase of the project:
Before attaching the steps, carefully assess the placement and alignment to ensure that they seamlessly align with the hot tub’s exterior. Consider enlisting the assistance of a friend or family member to help position the steps accurately, especially if they are large or heavy.
If your hot tub is placed on a solid surface, such as a concrete pad, use corrosion-resistant screws or anchors to secure the steps directly to the ground, ensuring a stable and immovable connection. For hot tubs installed on a deck or raised platform, consult local building codes and regulations to determine the appropriate method for attaching the steps securely.
As you position the steps against the hot tub, use a reliable spirit level to ensure that they are perfectly level and aligned with the hot tub’s exterior. This meticulous attention to detail will result in a professional and visually appealing integration, enhancing the overall aesthetics of your spa area.
Once the steps are positioned and aligned, securely fasten them to the hot tub, double-checking the stability and ensuring that they can support the weight of individuals accessing the hot tub. Prioritize safety by verifying that the steps are firmly anchored and free from any wobbling or instability.
If your design incorporates handrails, ensure that they are securely attached to the steps and provide ample support for safe and convenient access to the hot tub. Handrails not only enhance safety but also add a touch of elegance to the steps, elevating the overall appeal of your spa area.
Upon completing the attachment of the steps to the hot tub, take a moment to admire your handiwork and envision the enhanced functionality and beauty they bring to your outdoor space. With the steps seamlessly integrated, you’re ready to add the finishing touches that will elevate them to their full potential.
Step 6: Finishing Touches
As the construction phase nears its completion, it’s time to add the finishing touches that will elevate the visual appeal and longevity of your custom-built hot tub steps. This step involves applying protective finishes, ensuring stability, and adding thoughtful details that enhance both the aesthetic and functional aspects of the steps. Here’s a comprehensive guide to the final phase of this rewarding project:
Consider applying a high-quality exterior wood finish to the steps, protecting them from the elements and enhancing their natural beauty. Whether you opt for a clear sealant to preserve the wood’s natural appearance or a colored stain to complement your outdoor decor, a protective finish will safeguard the steps from moisture, UV exposure, and general wear and tear.
Inspect the steps for any protruding screws or rough edges, and address them by carefully sanding and smoothing the surfaces. This attention to detail ensures that the steps are not only visually appealing but also safe and comfortable to use for individuals entering and exiting the hot tub.
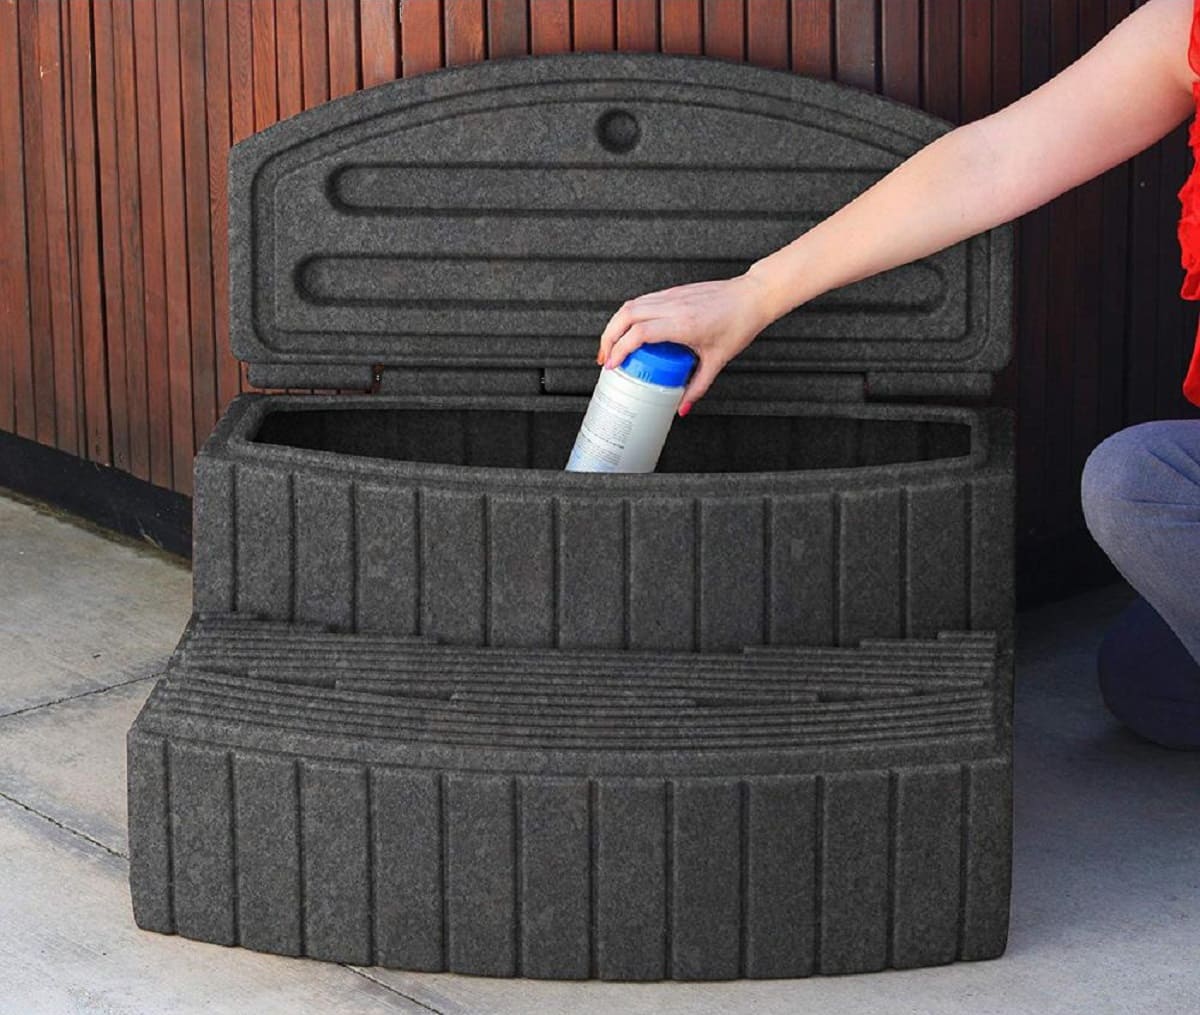
If your design incorporates storage compartments beneath the steps, consider adding weatherproof bins or baskets to provide convenient storage for hot tub essentials, such as towels, robes, and cleaning supplies. This thoughtful addition maximizes the functionality of the steps, keeping essential items within easy reach for a relaxing hot tub experience.
Ensure that any exposed hardware, such as screws and fasteners, is corrosion-resistant to withstand outdoor conditions and maintain the structural integrity of the steps over time. Choosing the right hardware contributes to the longevity and durability of your custom steps, ensuring that they remain a reliable and enduring feature of your outdoor oasis.
Consider adding non-slip treads or adhesive strips to the steps’ surfaces to enhance safety, especially when the steps may be used with wet feet. This simple yet effective addition minimizes the risk of slips and falls, prioritizing the safety and well-being of those enjoying your hot tub.
With the finishing touches applied, take a moment to admire the transformation of your hot tub area. The custom-built steps not only provide seamless access to the hot tub but also serve as a visually striking and functional addition to your outdoor space. With the project now complete, you can look forward to enjoying countless relaxing moments in your hot tub, knowing that your custom steps are a testament to your craftsmanship and creativity.
Read more: How To Build Deck For Hot Tub
Conclusion
Congratulations on completing the journey of building custom steps for your hot tub! This rewarding DIY project has not only enhanced the functionality and accessibility of your hot tub but has also added a touch of personalized craftsmanship to your outdoor oasis. As you reflect on the fulfilling process of bringing your vision to life, consider the following key takeaways:
Personalization and Practicality: By crafting your own hot tub steps, you’ve tailored them to perfectly complement your hot tub and outdoor space. The thoughtful design and precise construction have resulted in steps that not only provide safe and convenient access but also harmonize with the aesthetics of your spa area.
Skill Development and Empowerment: Engaging in DIY projects such as building hot tub steps fosters a sense of empowerment and accomplishment. The skills and knowledge gained throughout the process have equipped you to tackle future woodworking endeavors with confidence and creativity.
Enhanced Enjoyment and Relaxation: Your custom-built steps have transformed the hot tub area into a welcoming and inviting retreat. As you and your guests enjoy the soothing waters of the hot tub, the seamless access provided by the steps contributes to a heightened sense of relaxation and enjoyment.
Longevity and Quality Craftsmanship: Through meticulous planning, precise construction, and attention to detail, you’ve created steps that are not only visually appealing but also built to withstand the rigors of outdoor use. The durable materials, secure attachment, and protective finishes ensure that your custom steps will continue to enhance your hot tub experience for years to come.
As you bask in the satisfaction of completing this enriching project, take pride in the fact that your custom steps are a testament to your creativity, resourcefulness, and dedication to enhancing your outdoor living space. Whether you embark on future DIY endeavors or simply relish the tranquil moments in your hot tub, the custom steps stand as a tangible reminder of the joy and fulfillment that come from bringing your ideas to fruition.
With your hot tub area now adorned with custom-built steps, you’re poised to create lasting memories and experiences in a space that reflects your unique vision and craftsmanship. Embrace the relaxation, comfort, and beauty that your outdoor oasis provides, knowing that your custom steps have played a pivotal role in elevating the ambiance and functionality of your hot tub area.
Frequently Asked Questions about How To Build Steps For Hot Tub
Was this page helpful?
At Storables.com, we guarantee accurate and reliable information. Our content, validated by Expert Board Contributors, is crafted following stringent Editorial Policies. We're committed to providing you with well-researched, expert-backed insights for all your informational needs.

0 thoughts on “How To Build Steps For Hot Tub”